Family photo displays don’t have to be a cheesy thing that only grandmas do, and to prove it, here’s a bunch of tips and different ways to create family photo displays in your home!
Whether you want to cover a whole wall with memories or just add an accent to a shelf or mantle, we’ve got your options covered …
Looking for a frame DIY for your photos? Check out:
- Wooden Circle Photo Frame DIY
- Pom-Pom Photo Frame DIY
- Lucite Block Photo Frame DIY
- Floating Acrylic Frame DIY
- Quick + Easy Wooden Hanger Frames
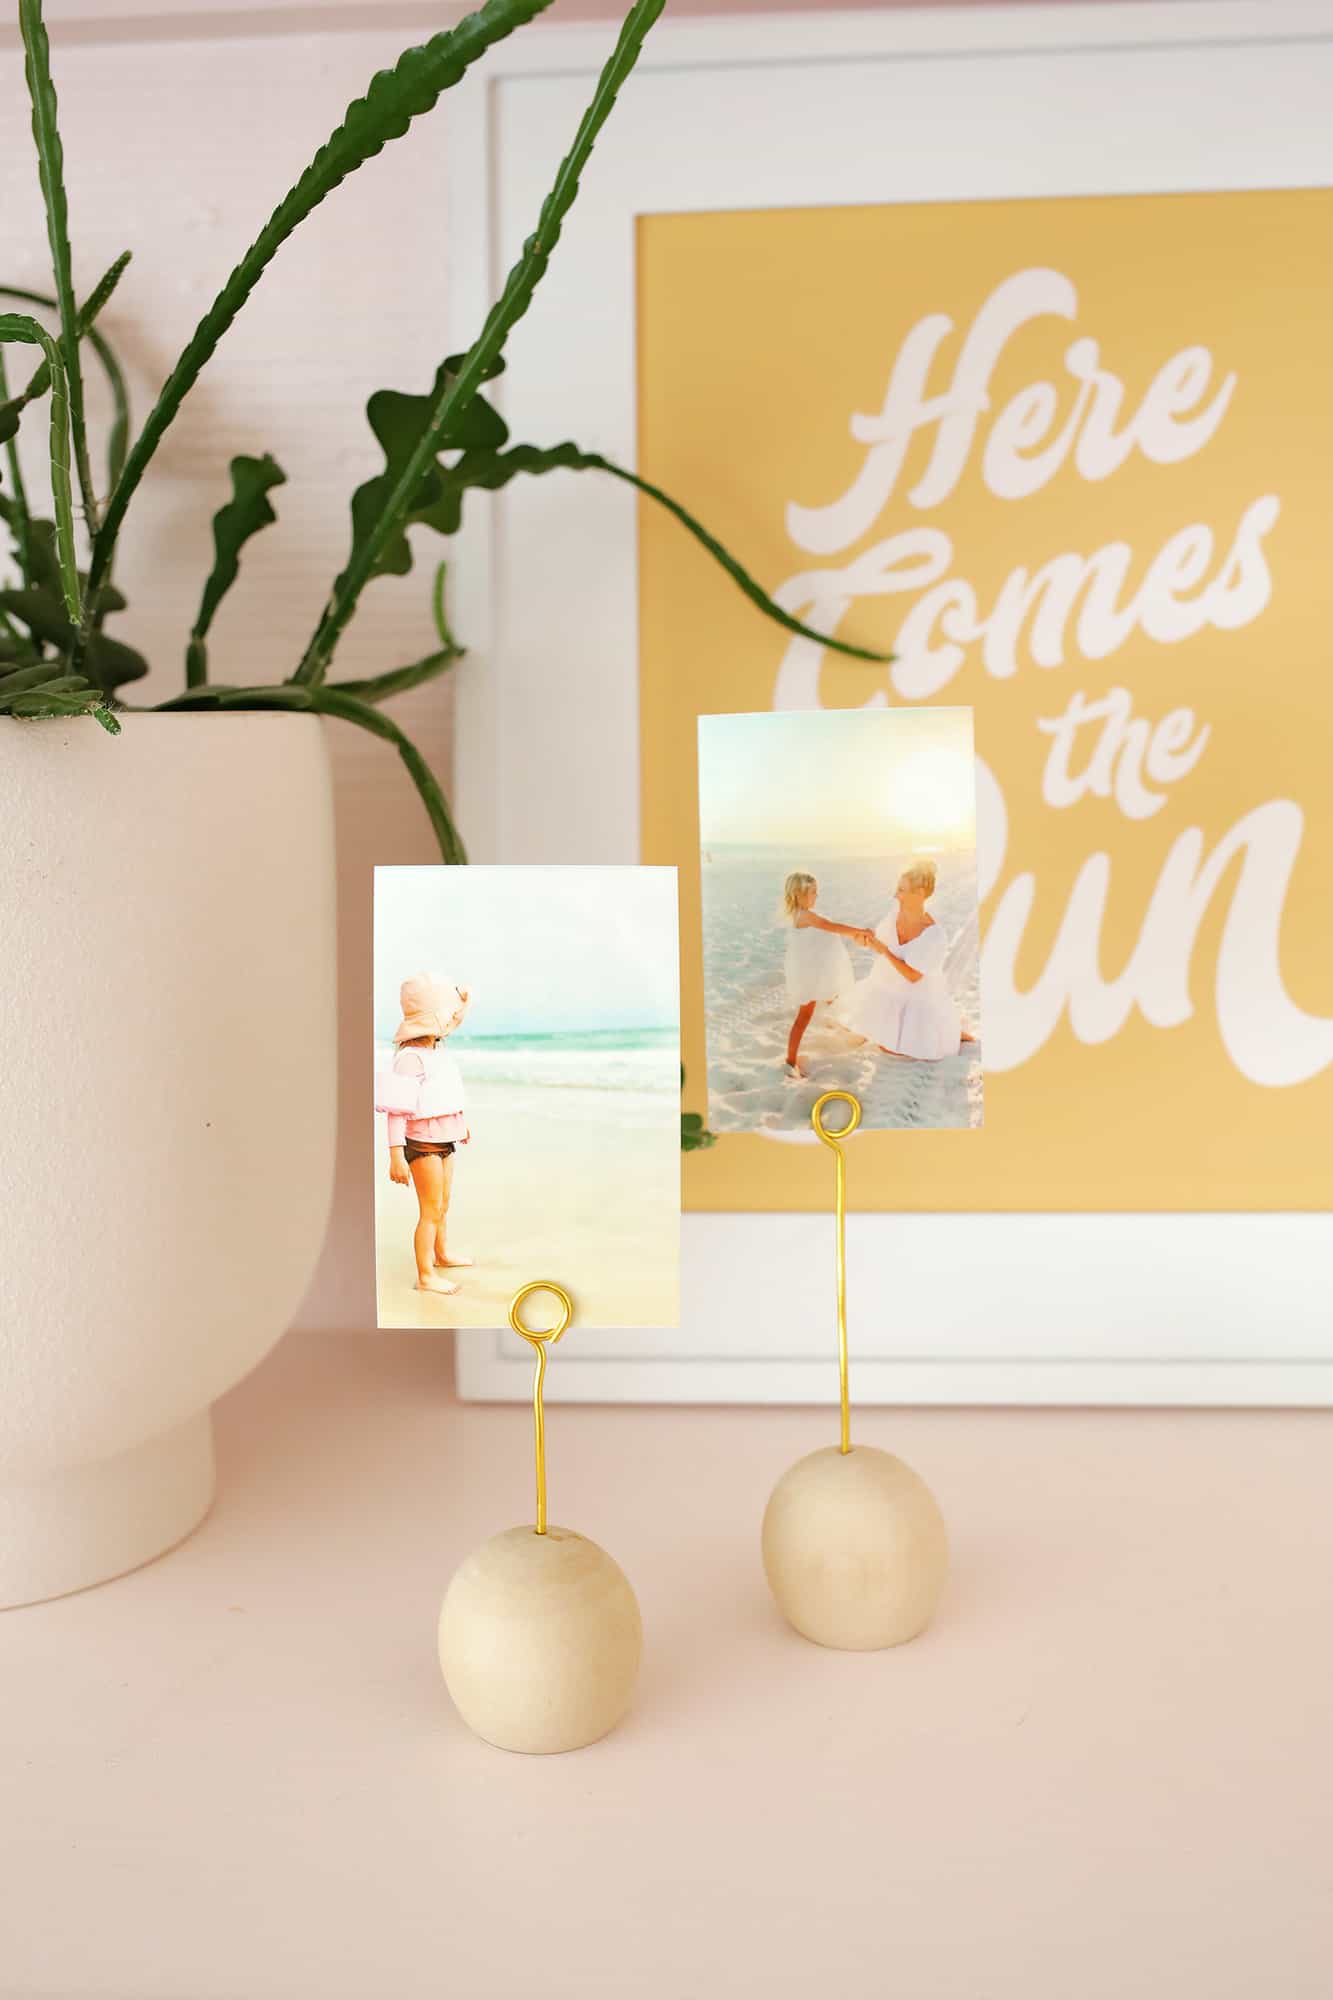
For this post, we are partnering with Canon USA, and one of our favorite things about using their printers to print at home is the flexibility it gives you to choose from. You can print large scale photos, mantle-sized options, as well as smaller pocket-sized 2″ x 3″ photos (and everything in between) depending on the printer option that’s right for you.
Printing from home also means that you can switch out your photos whenever you like from the comfort of your own home!
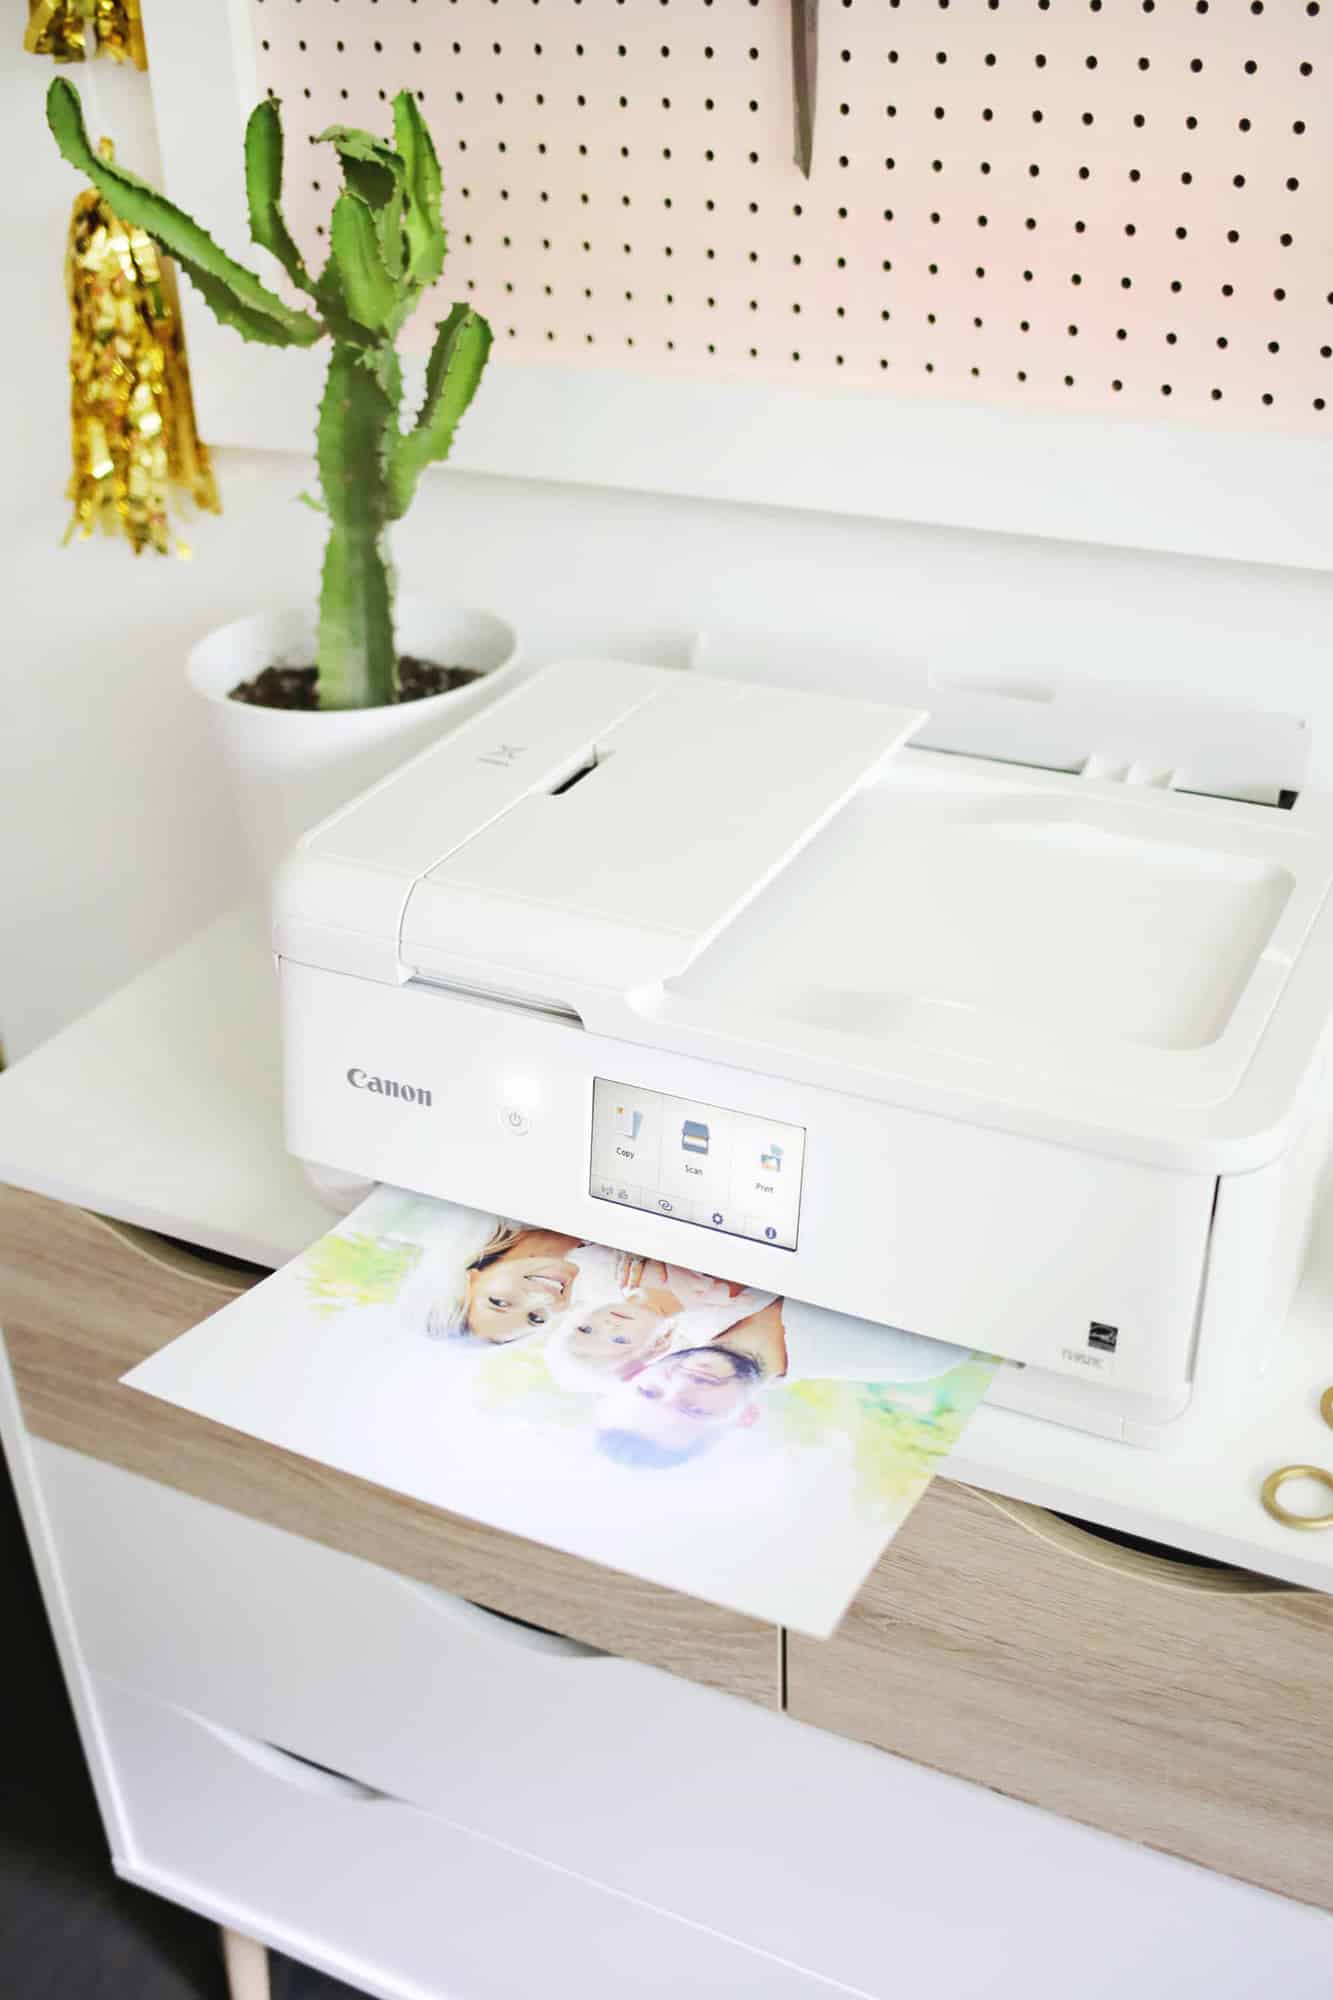
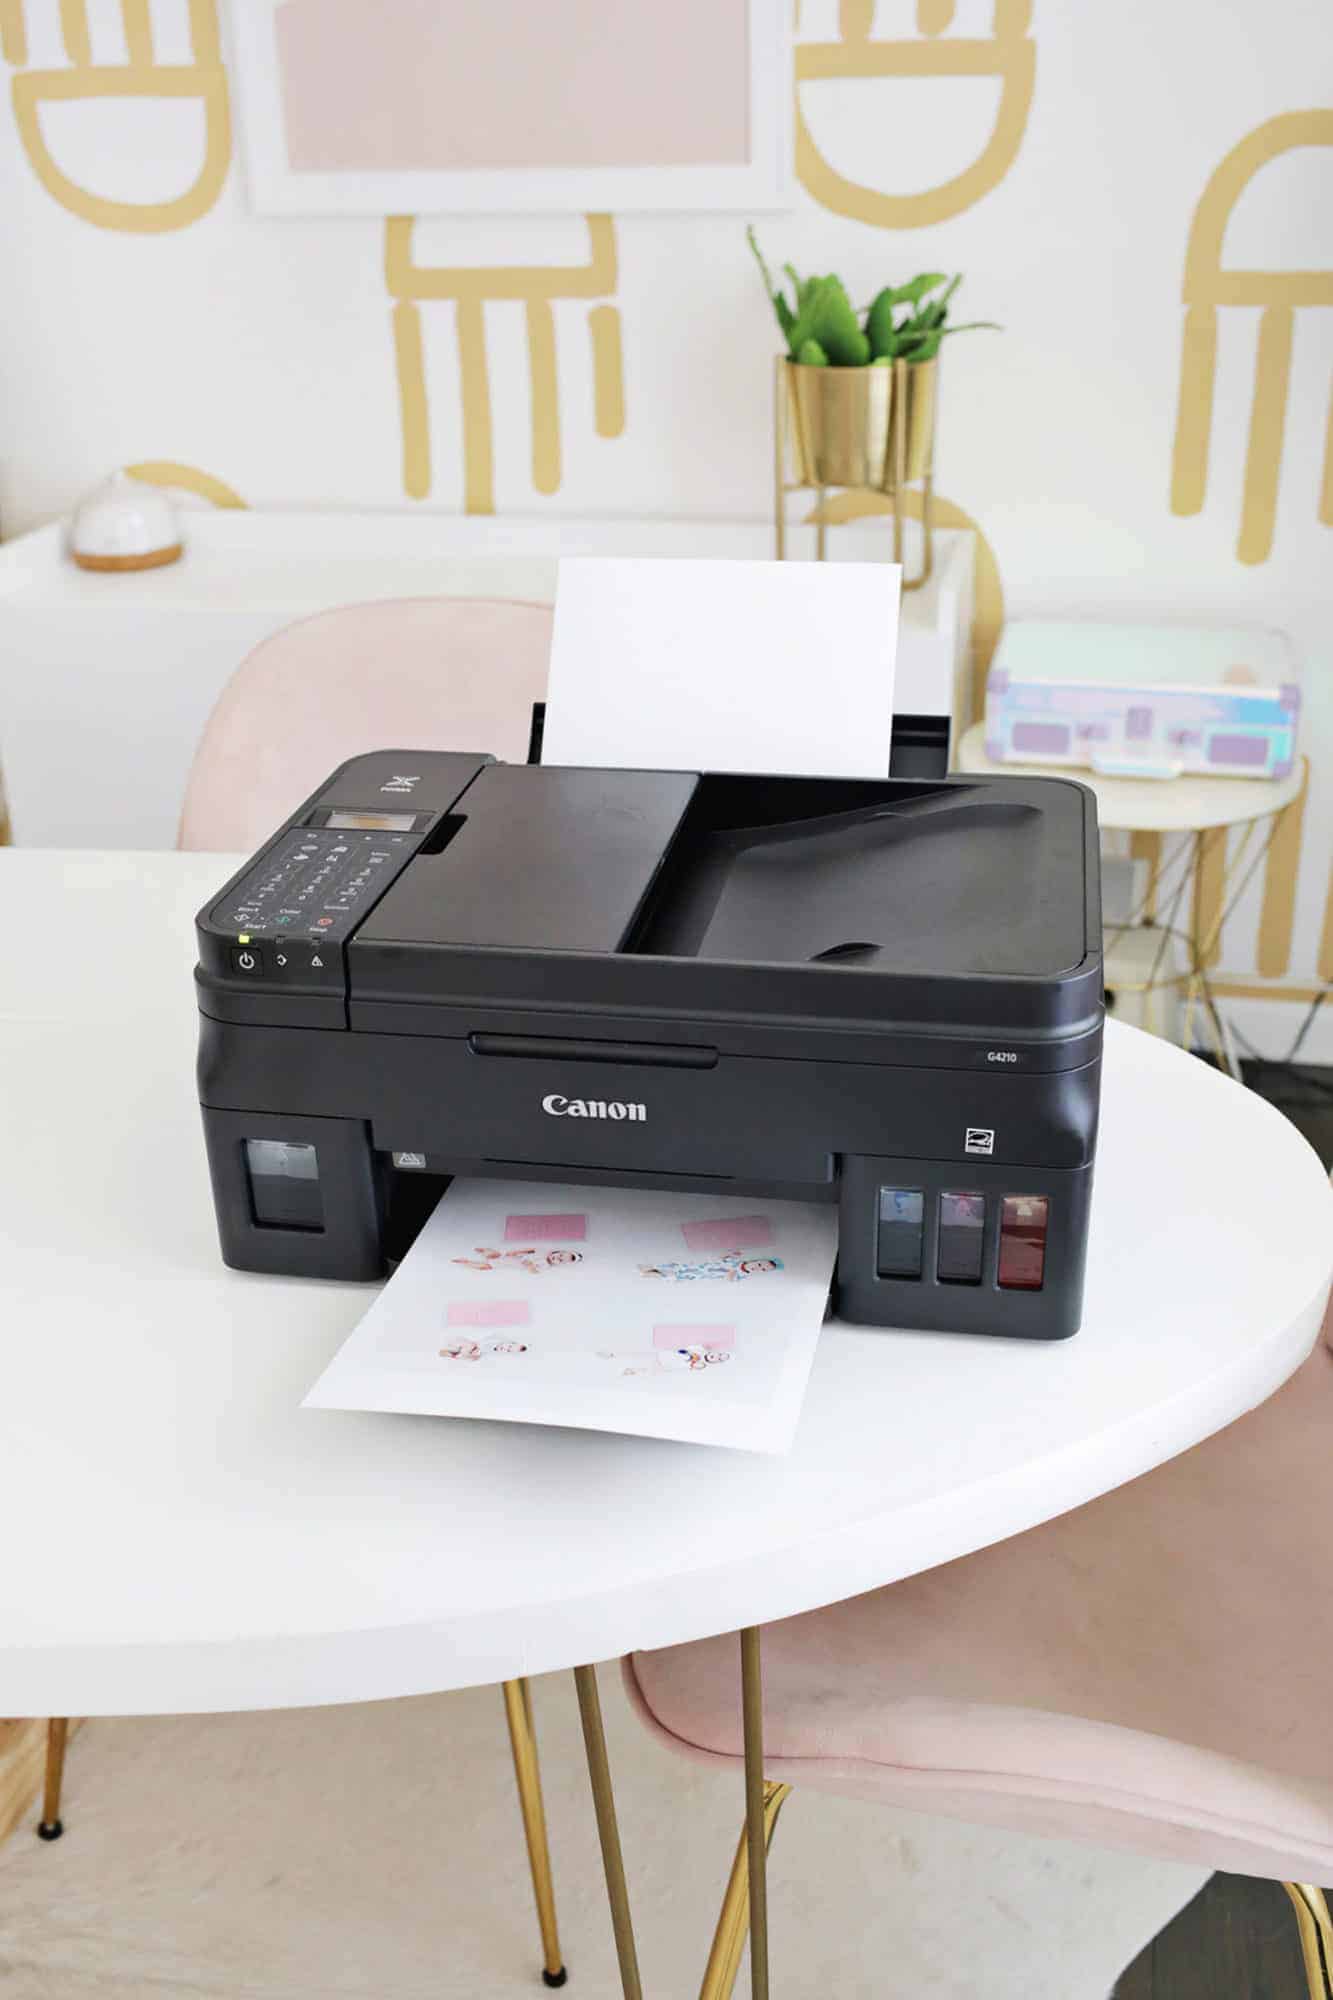
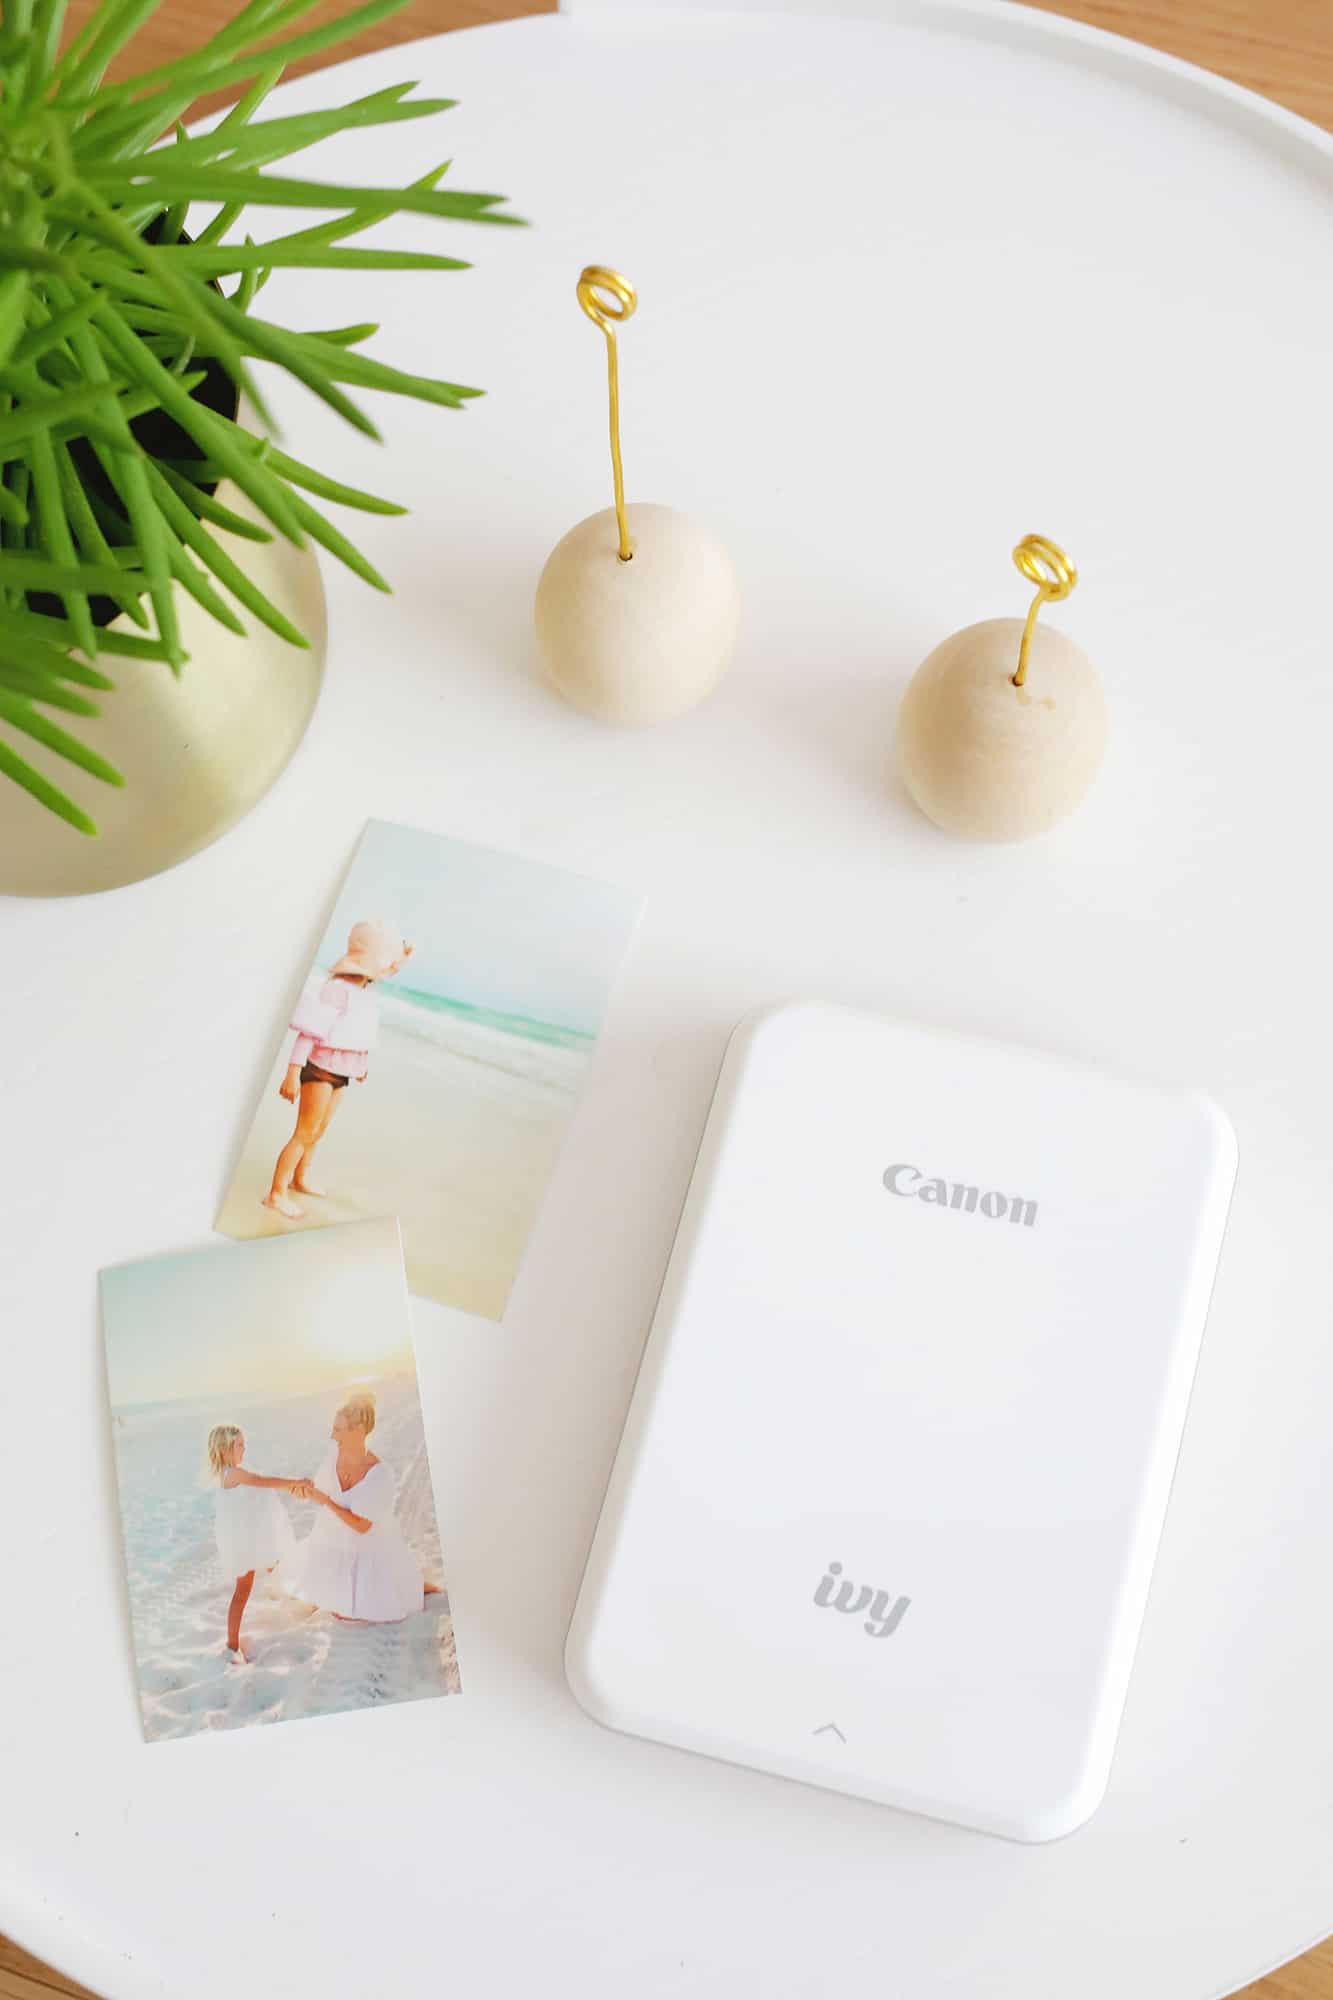
One question we get asked quite a bit is which printer we recommend, and we do have a few printers across the team. Our three favorite printers are the:
- First, the PIXMA TS9521C, which is an all-in-one crafting printer. It can handle up to 12×12 borderless prints and is an amazing multi-function printer.
- The PIXMA MegaTank G3260 printer is super versatile and has a massive ink supply, so you don’t have to refill your printer ink very often. There’s nothing worse than being ready to go on a project and having to go find ink!
- The Canon IVY is the cutest pocket printer that lets you print directly from your phone. It uses ZINK technology so you don’t need ink and you can turn your photos into stickers by peeling the back!
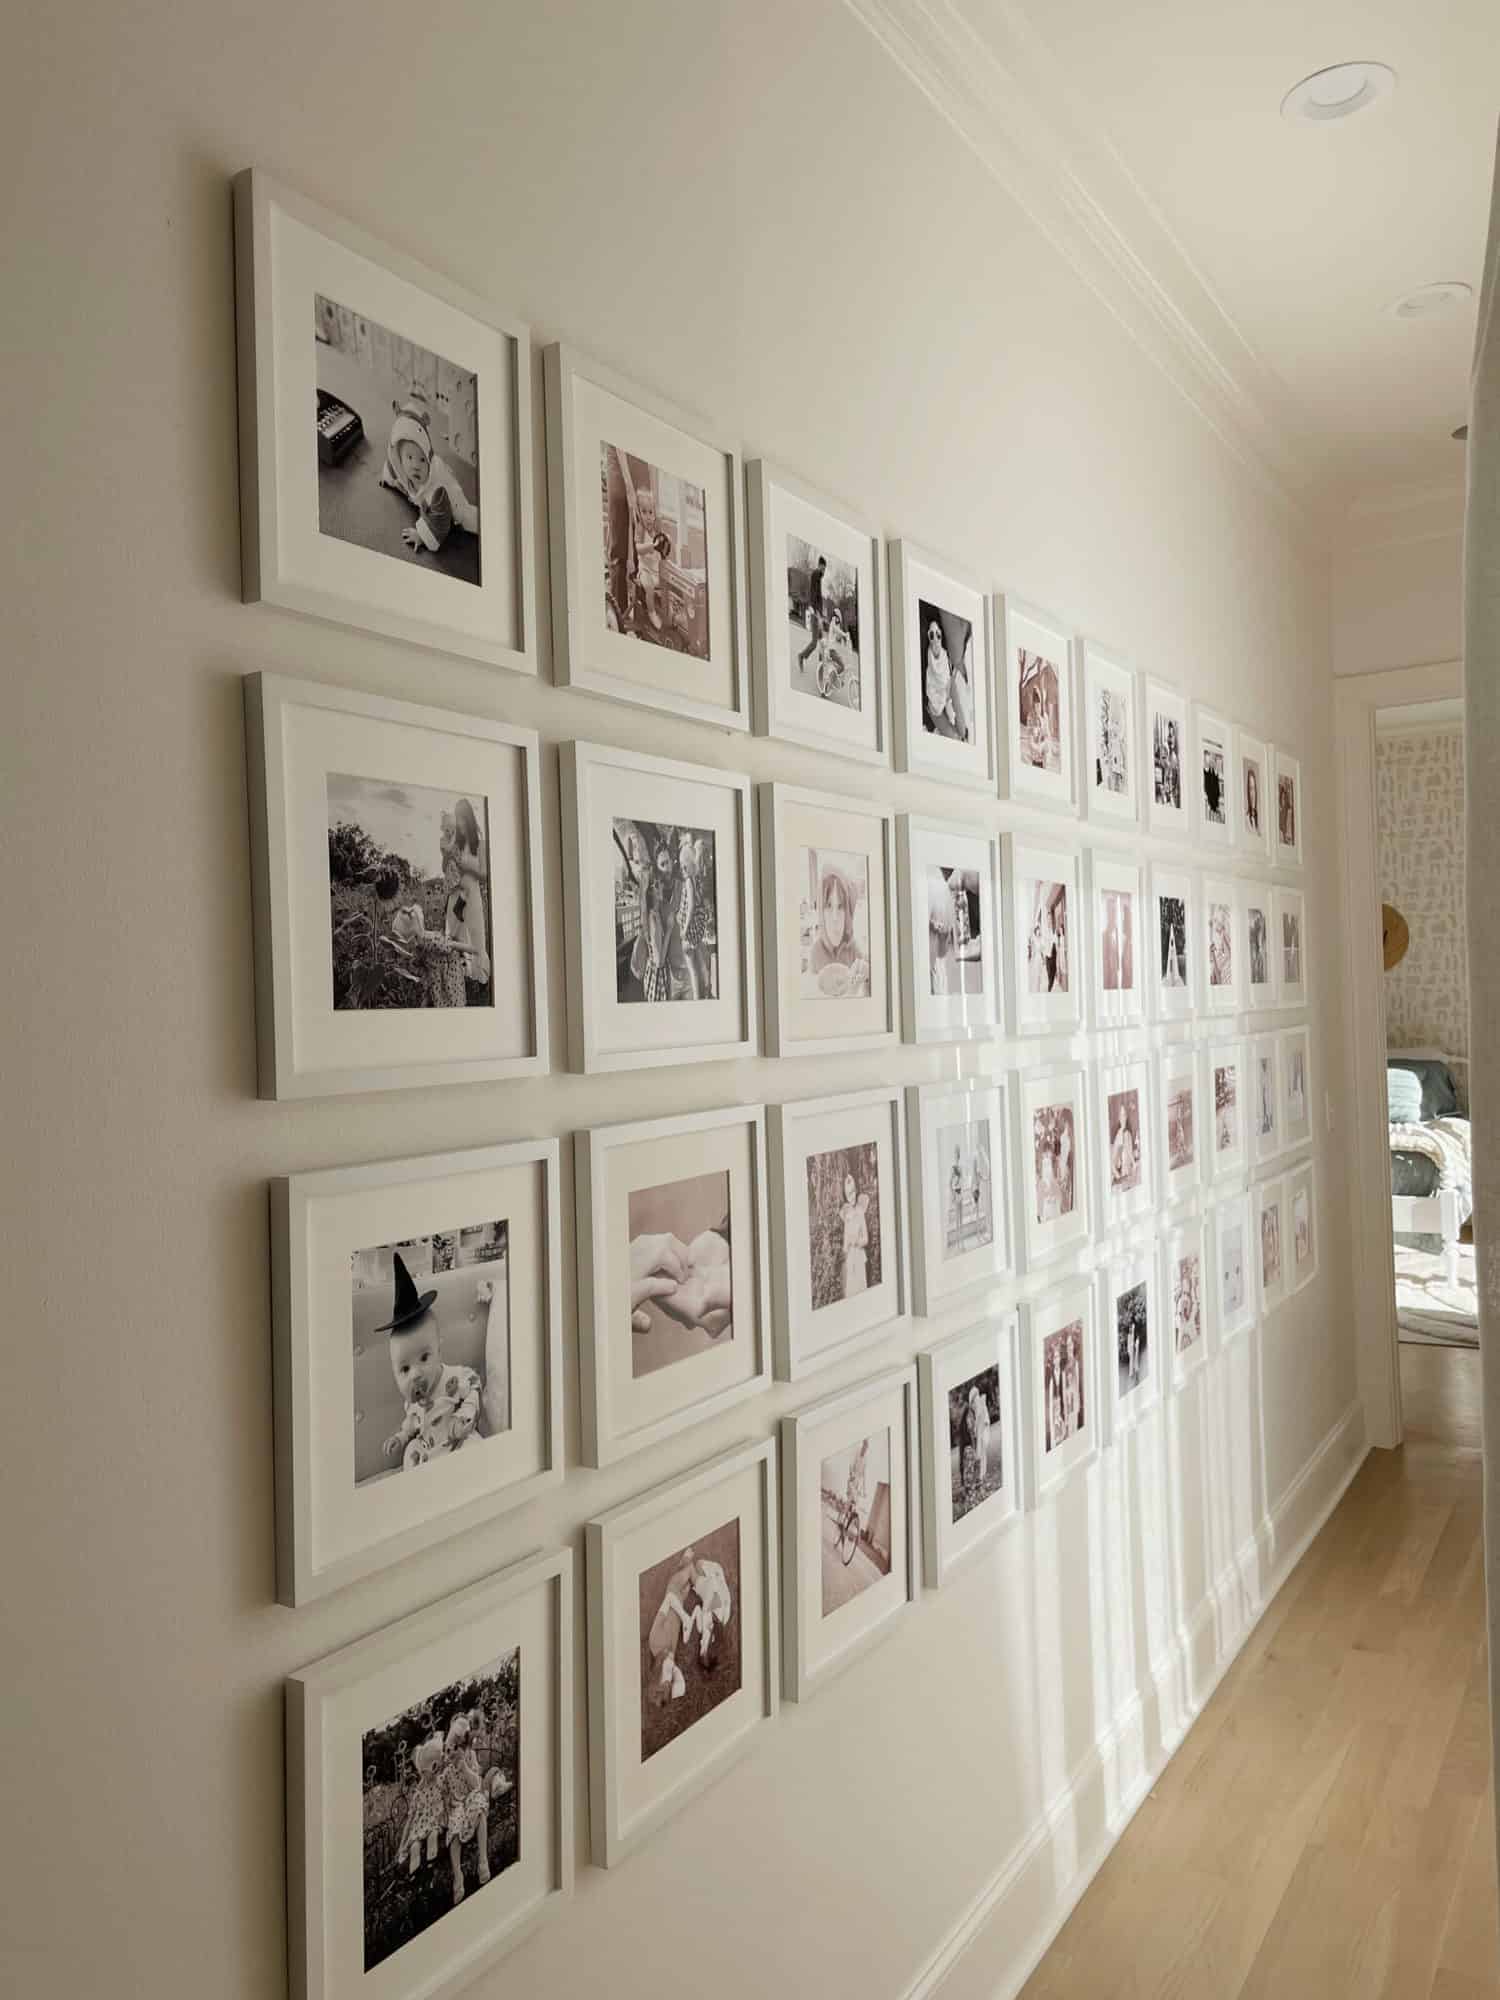
Stick with the same frame and size for easy matching:
Elsie’s large family gallery wall is full of photo memories, but by keeping the same size and frame for each one, it really helps it all look like part of a collection. You can choose frame colors that are similar to your wall color if you want them to blend into the wall a bit more.
Sometimes this is helpful for large galleries so it doesn’t look too overwhelming and heavy. Or, you can choose a frame color/material that stands out if you want to make it more of a visual statement.
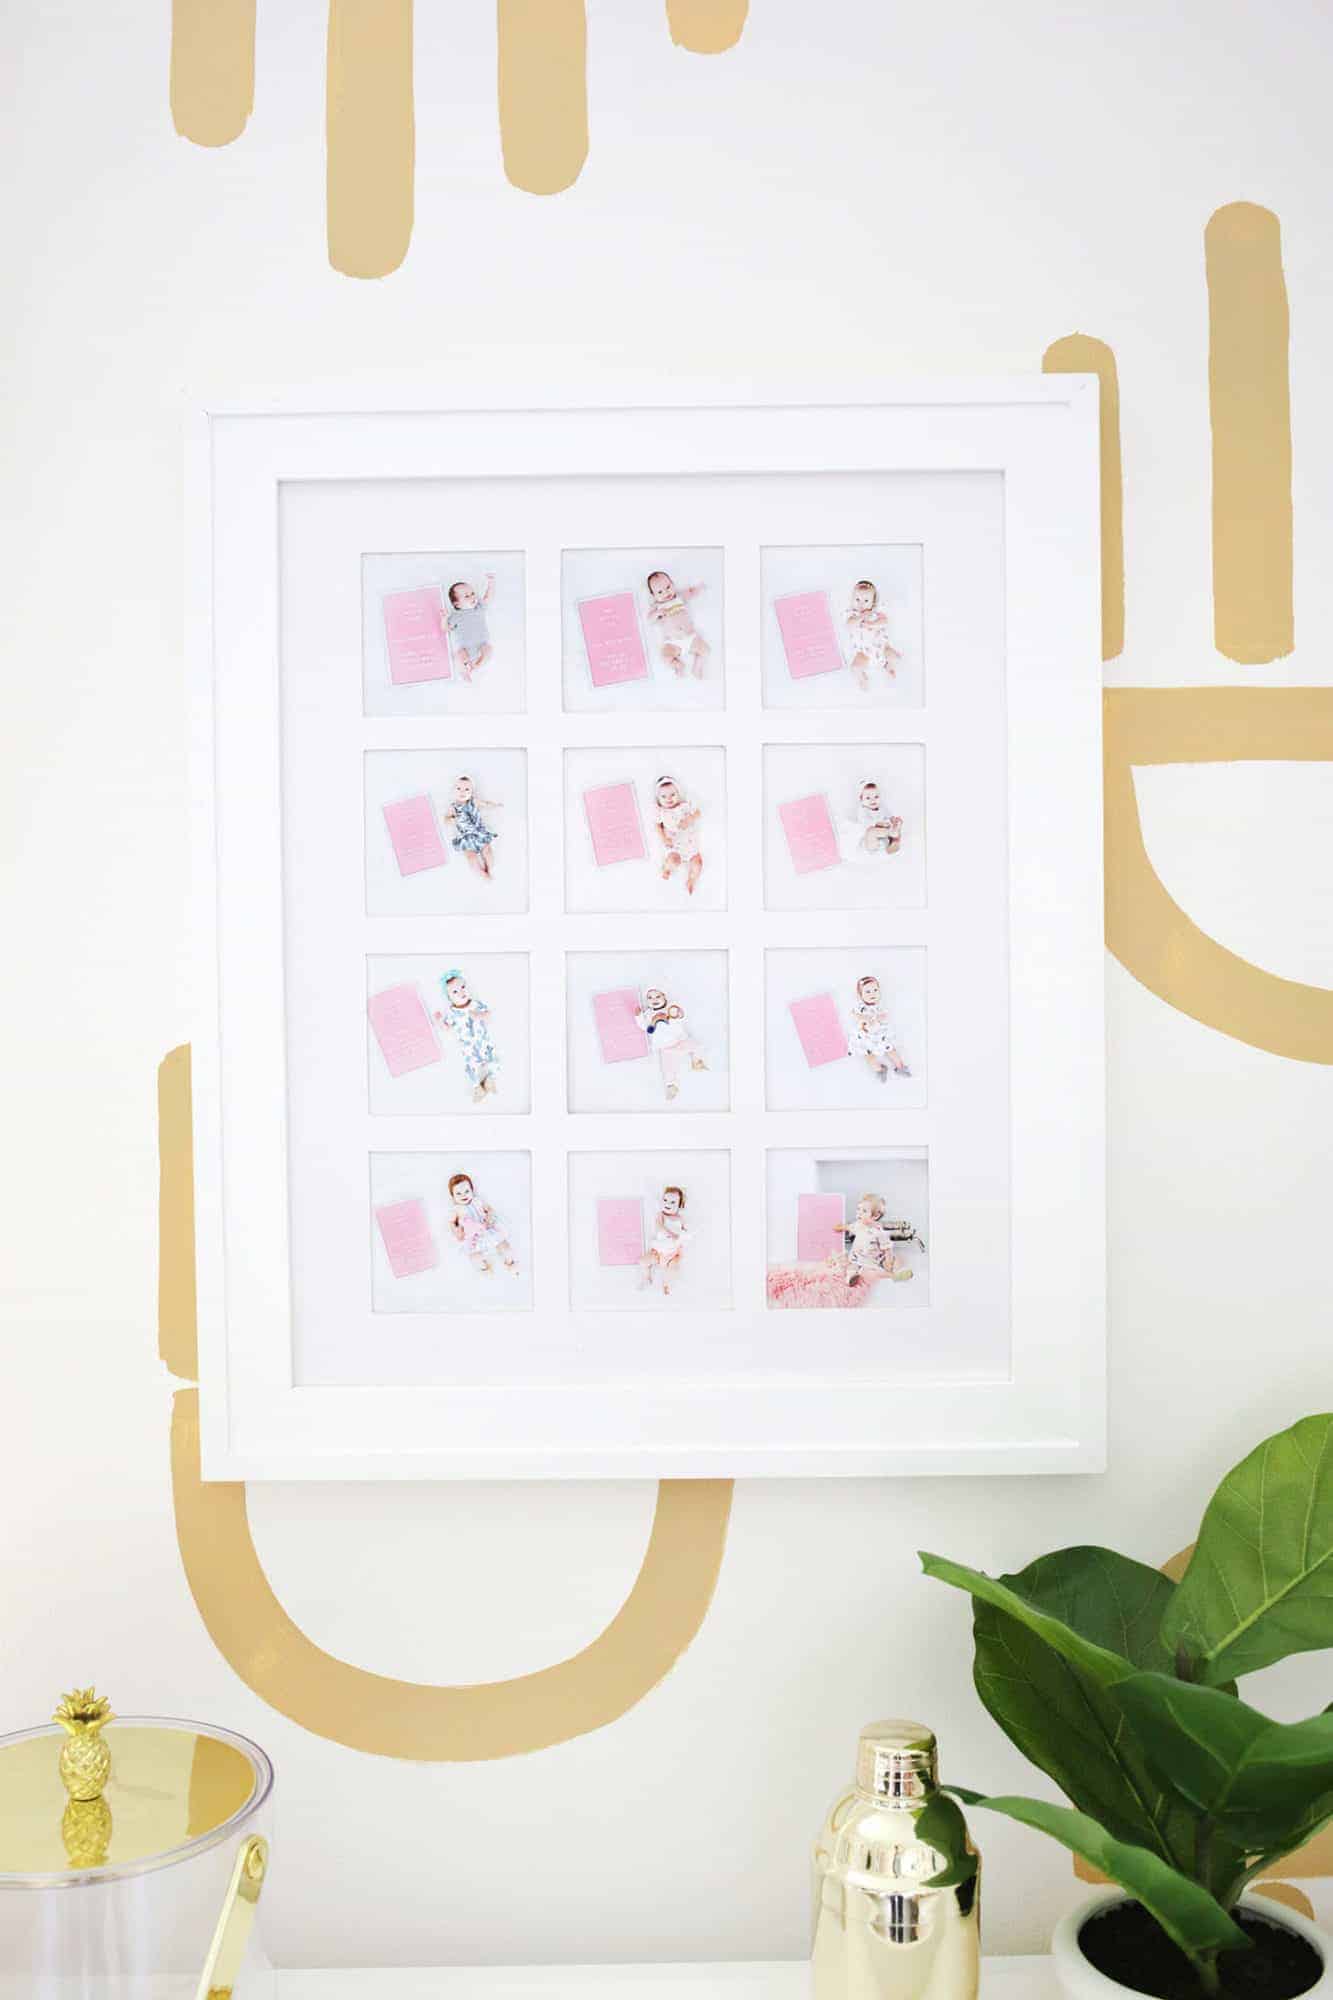
Use one frame to contain multiple related photos:
When you have a series of photos that are related to each other (first day of school every year, yearly family vacation photo, etc.), using one frame like I did for my daughter’s first year photos is a great way to have a photo collection in one spot.
Simply cut a mat to your frame size and then cut as many windows as you need so your family photo collection can live in harmony in one frame.
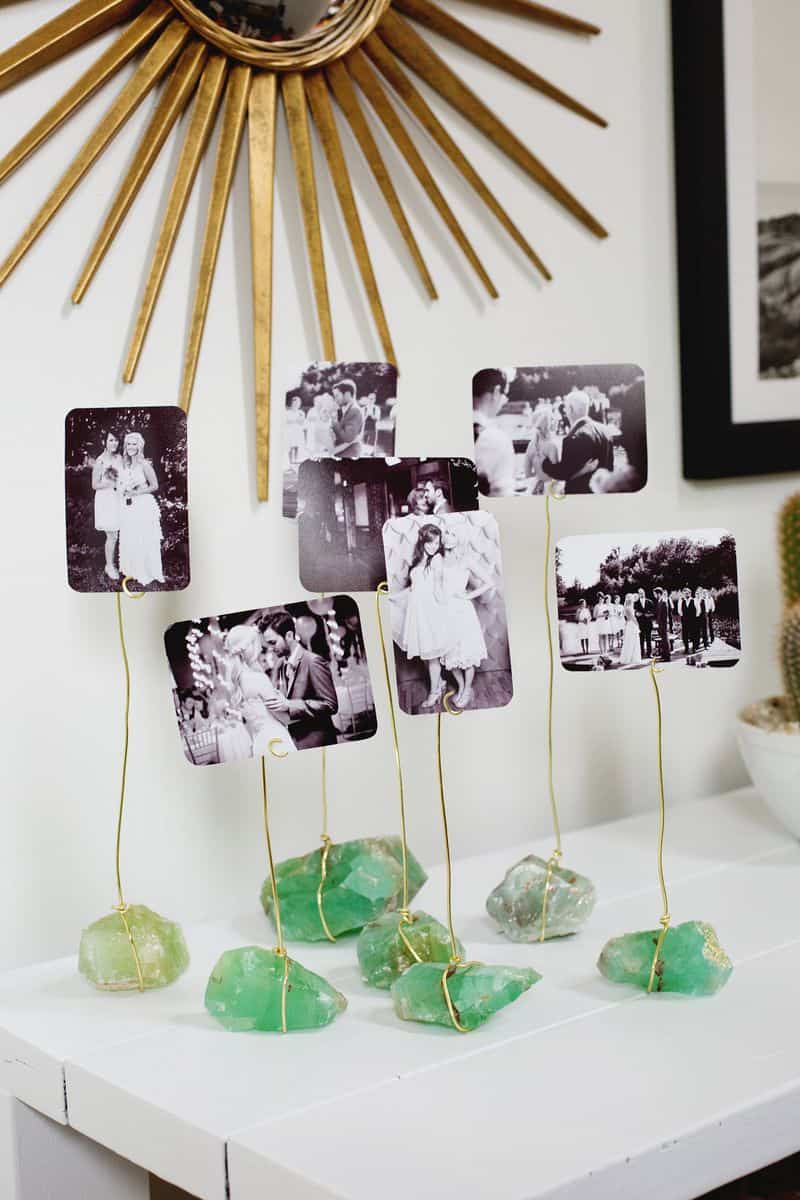
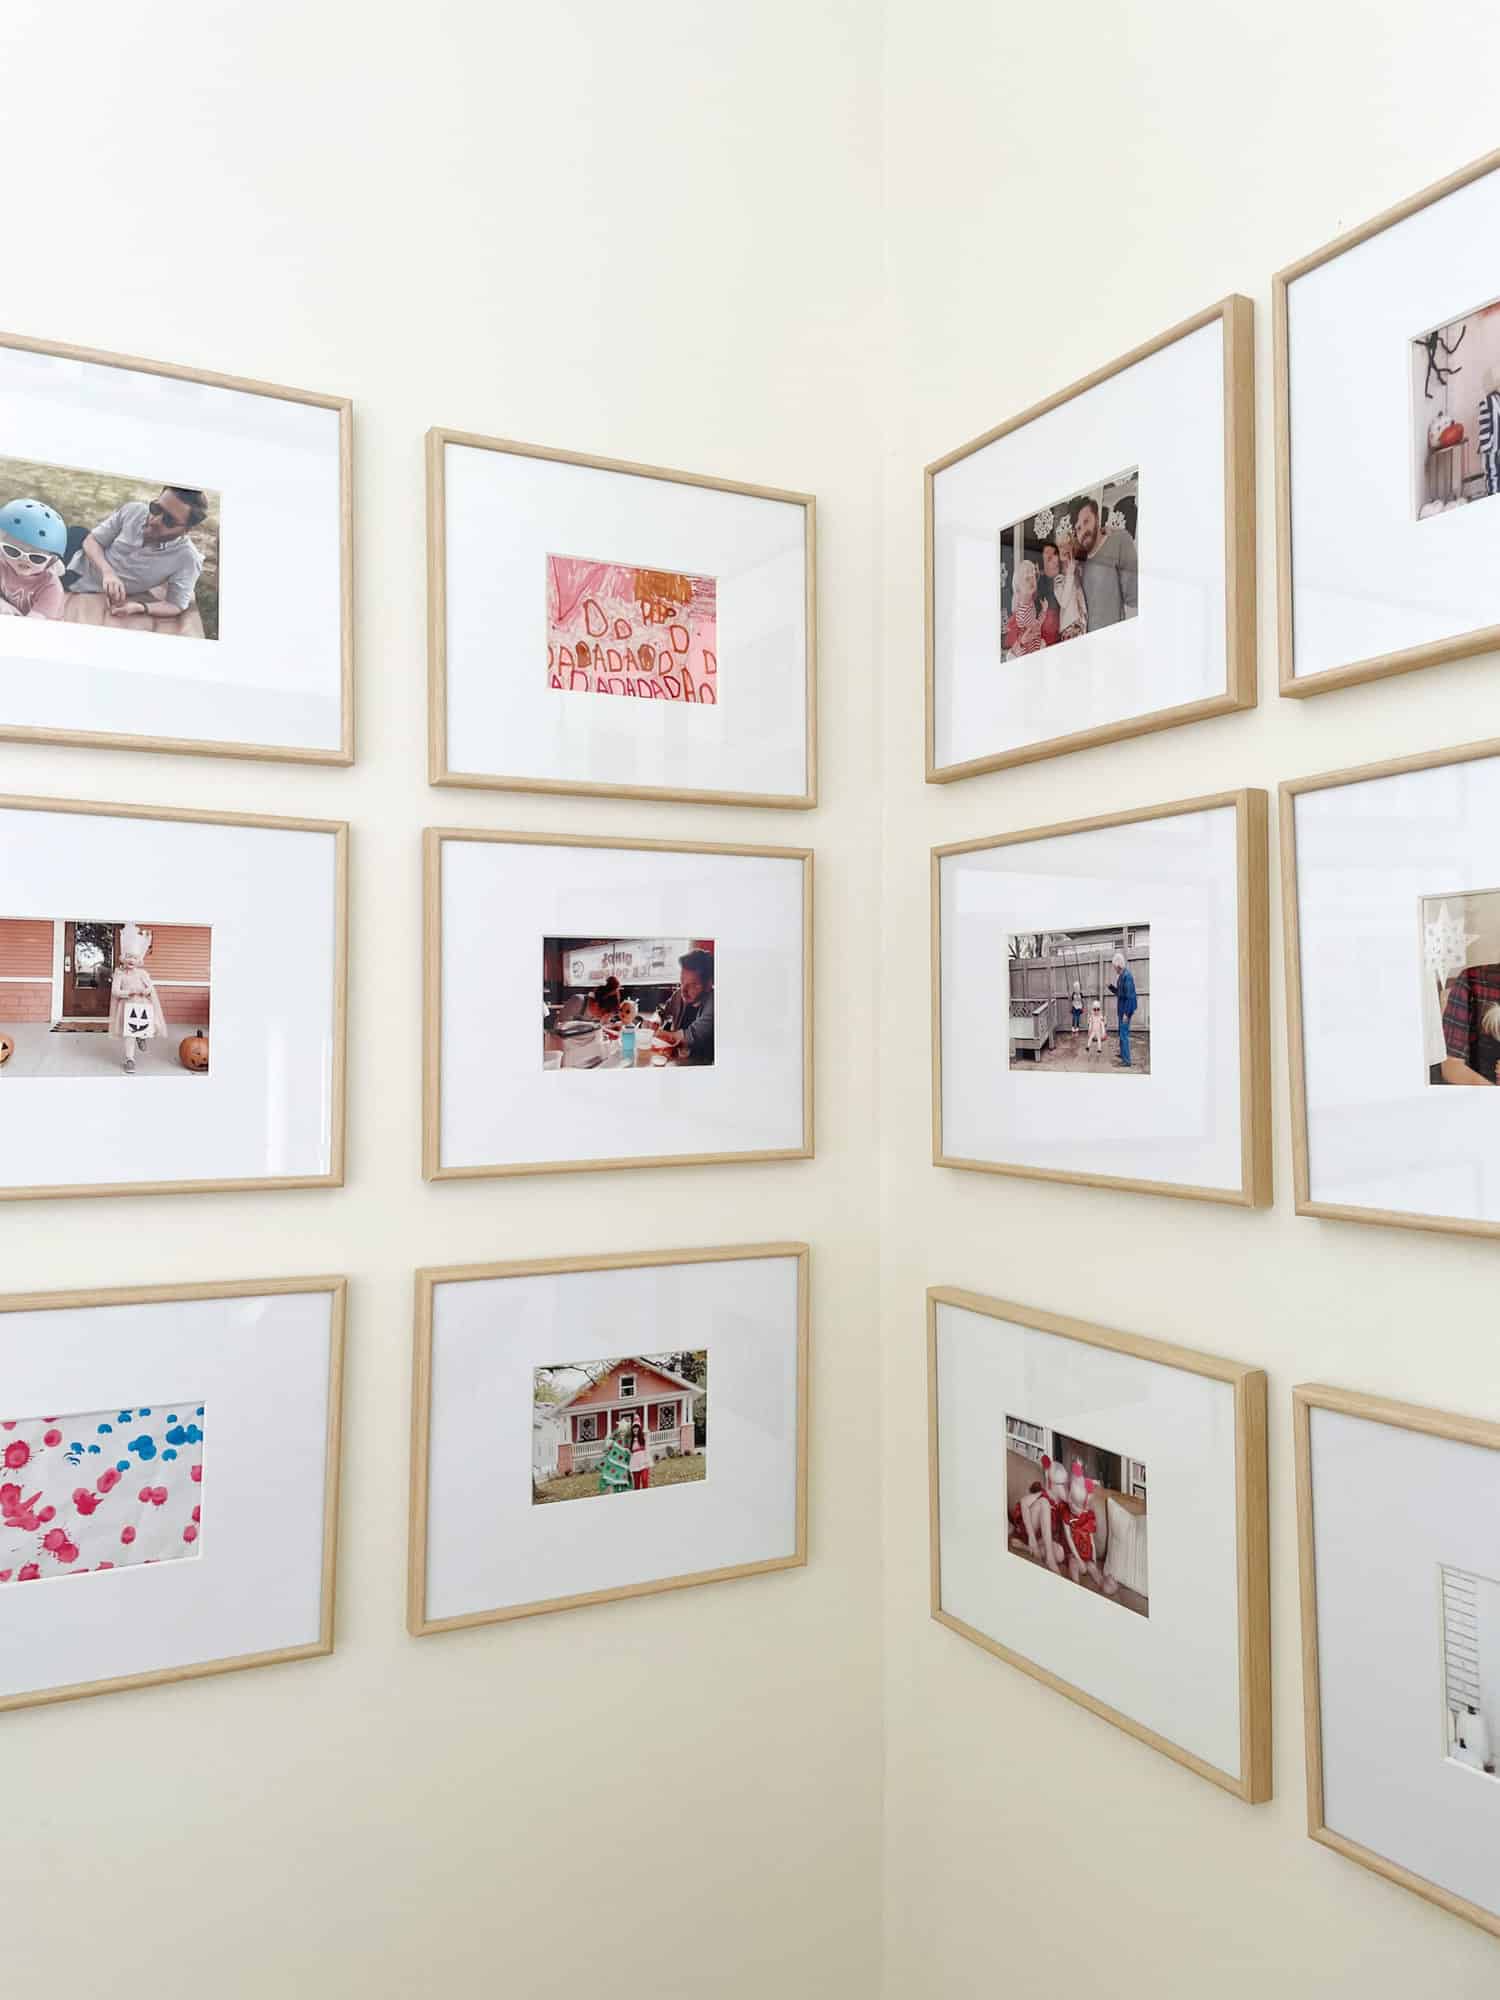
Choose a similar color palette for your photos:
Keeping your photos within a limited color palette is a great way to give a balanced and cohesive look to a photo display. Whether you choose an all black-and-white option (probably the easiest way to go) or choose photos that have similar colors in them, matching the tones will go a long way in making it feel like a curated collection.
If your photos have a range of colors that are a bit all over the place without much of a theme, then turning them black and white or sepia toned like Emma’s Mineral Photo Display is a good way to get them all to match and override the color clashing.
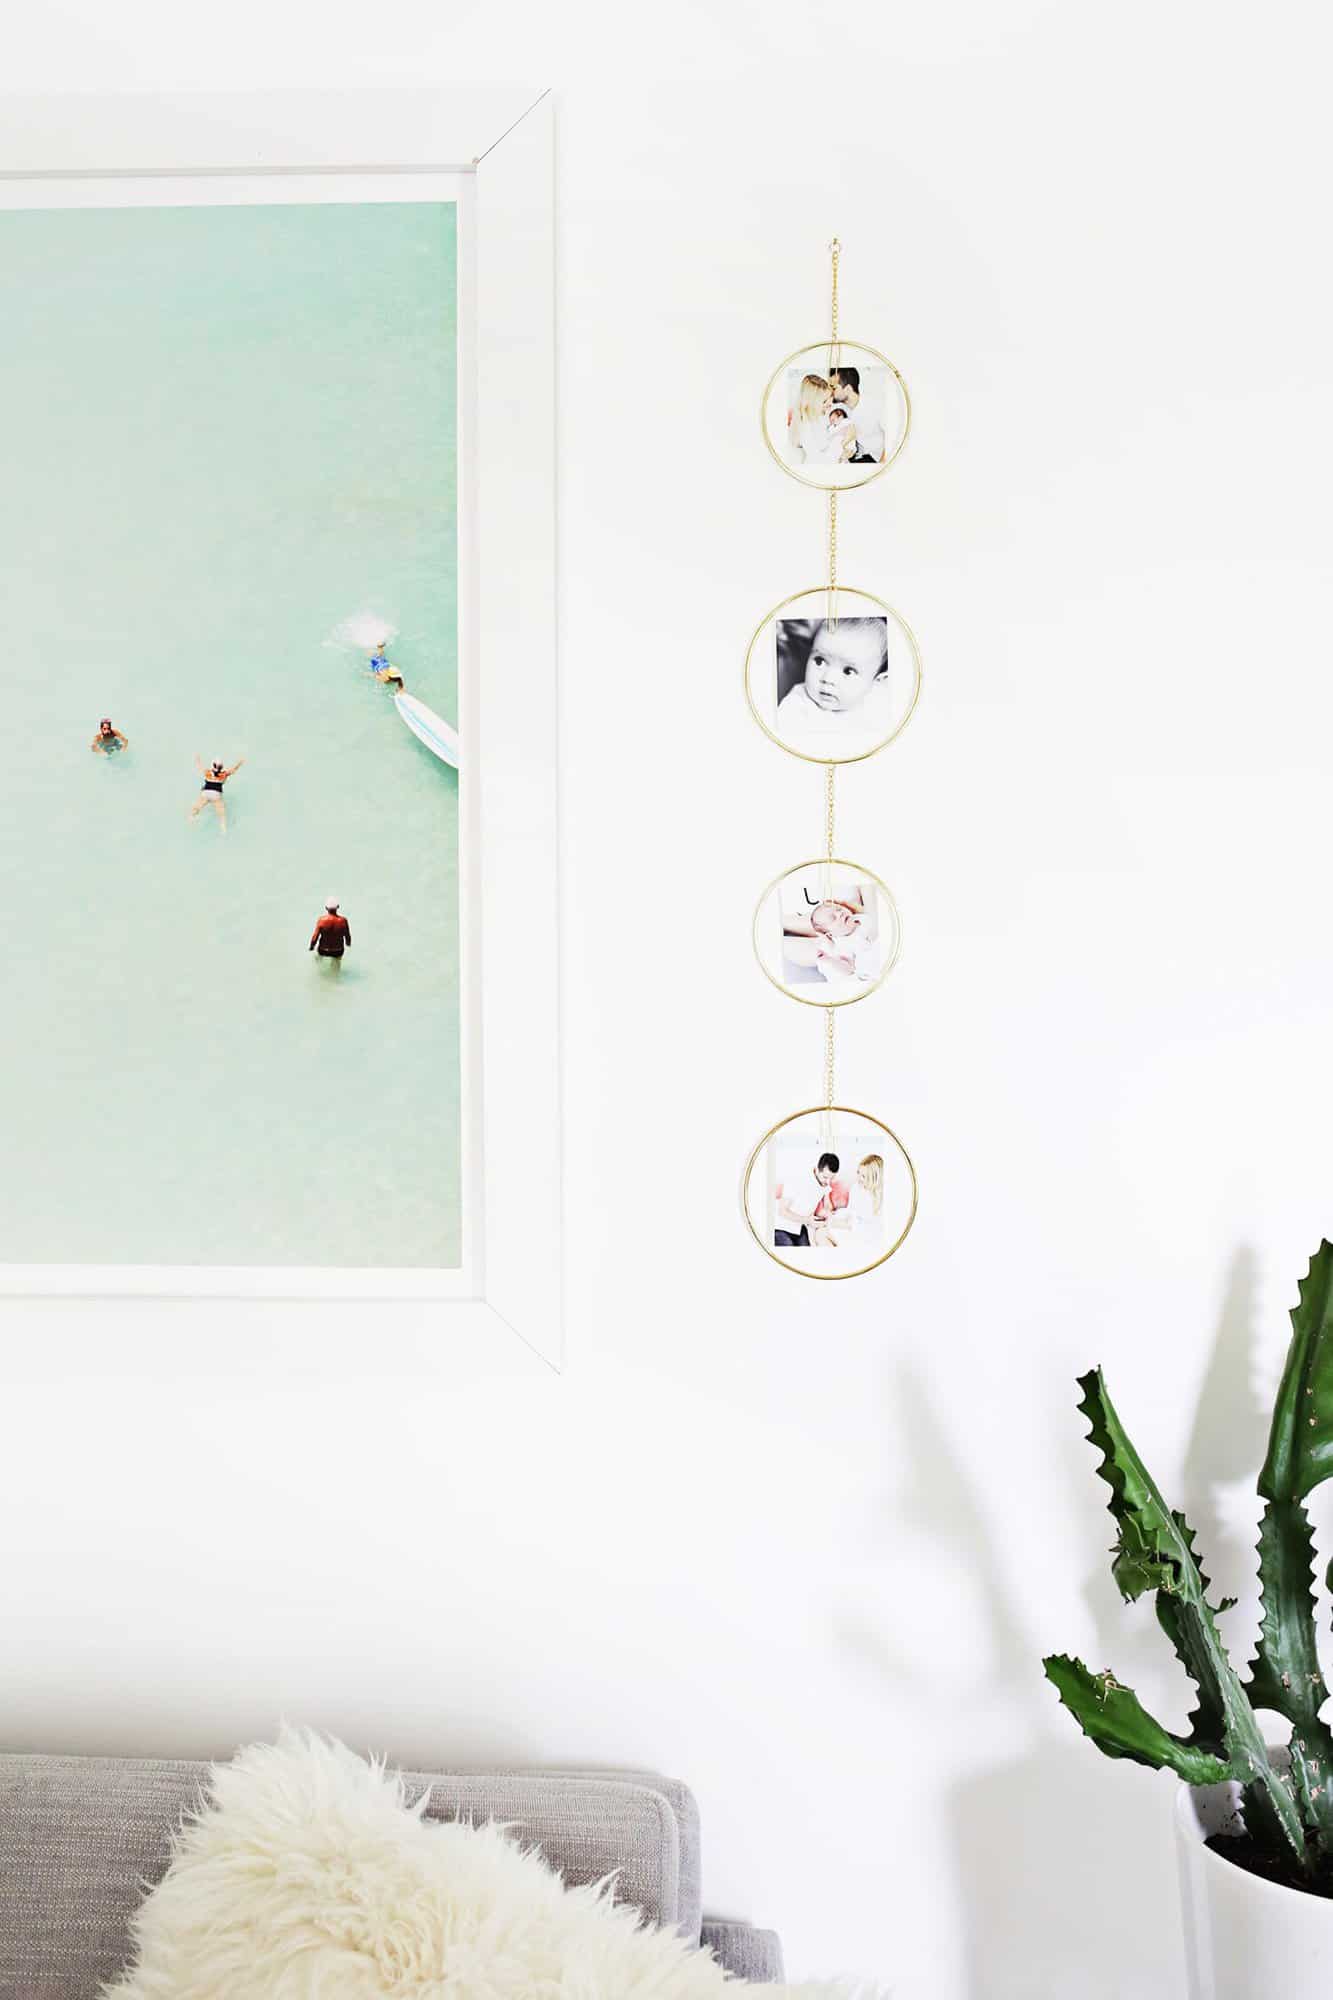
Choose a mix of close up and further away shots for your photos:
Having different photo crops is another way to add visual interest. Sometimes you may want to show more of the setting (like your beach photo or when you went to the Grand Canyon), but mix that in with closer shots or selfies so all the people and faces aren’t far away.
You can also hang a small display like I did with this Vertical Gold Hoop Photo Display!
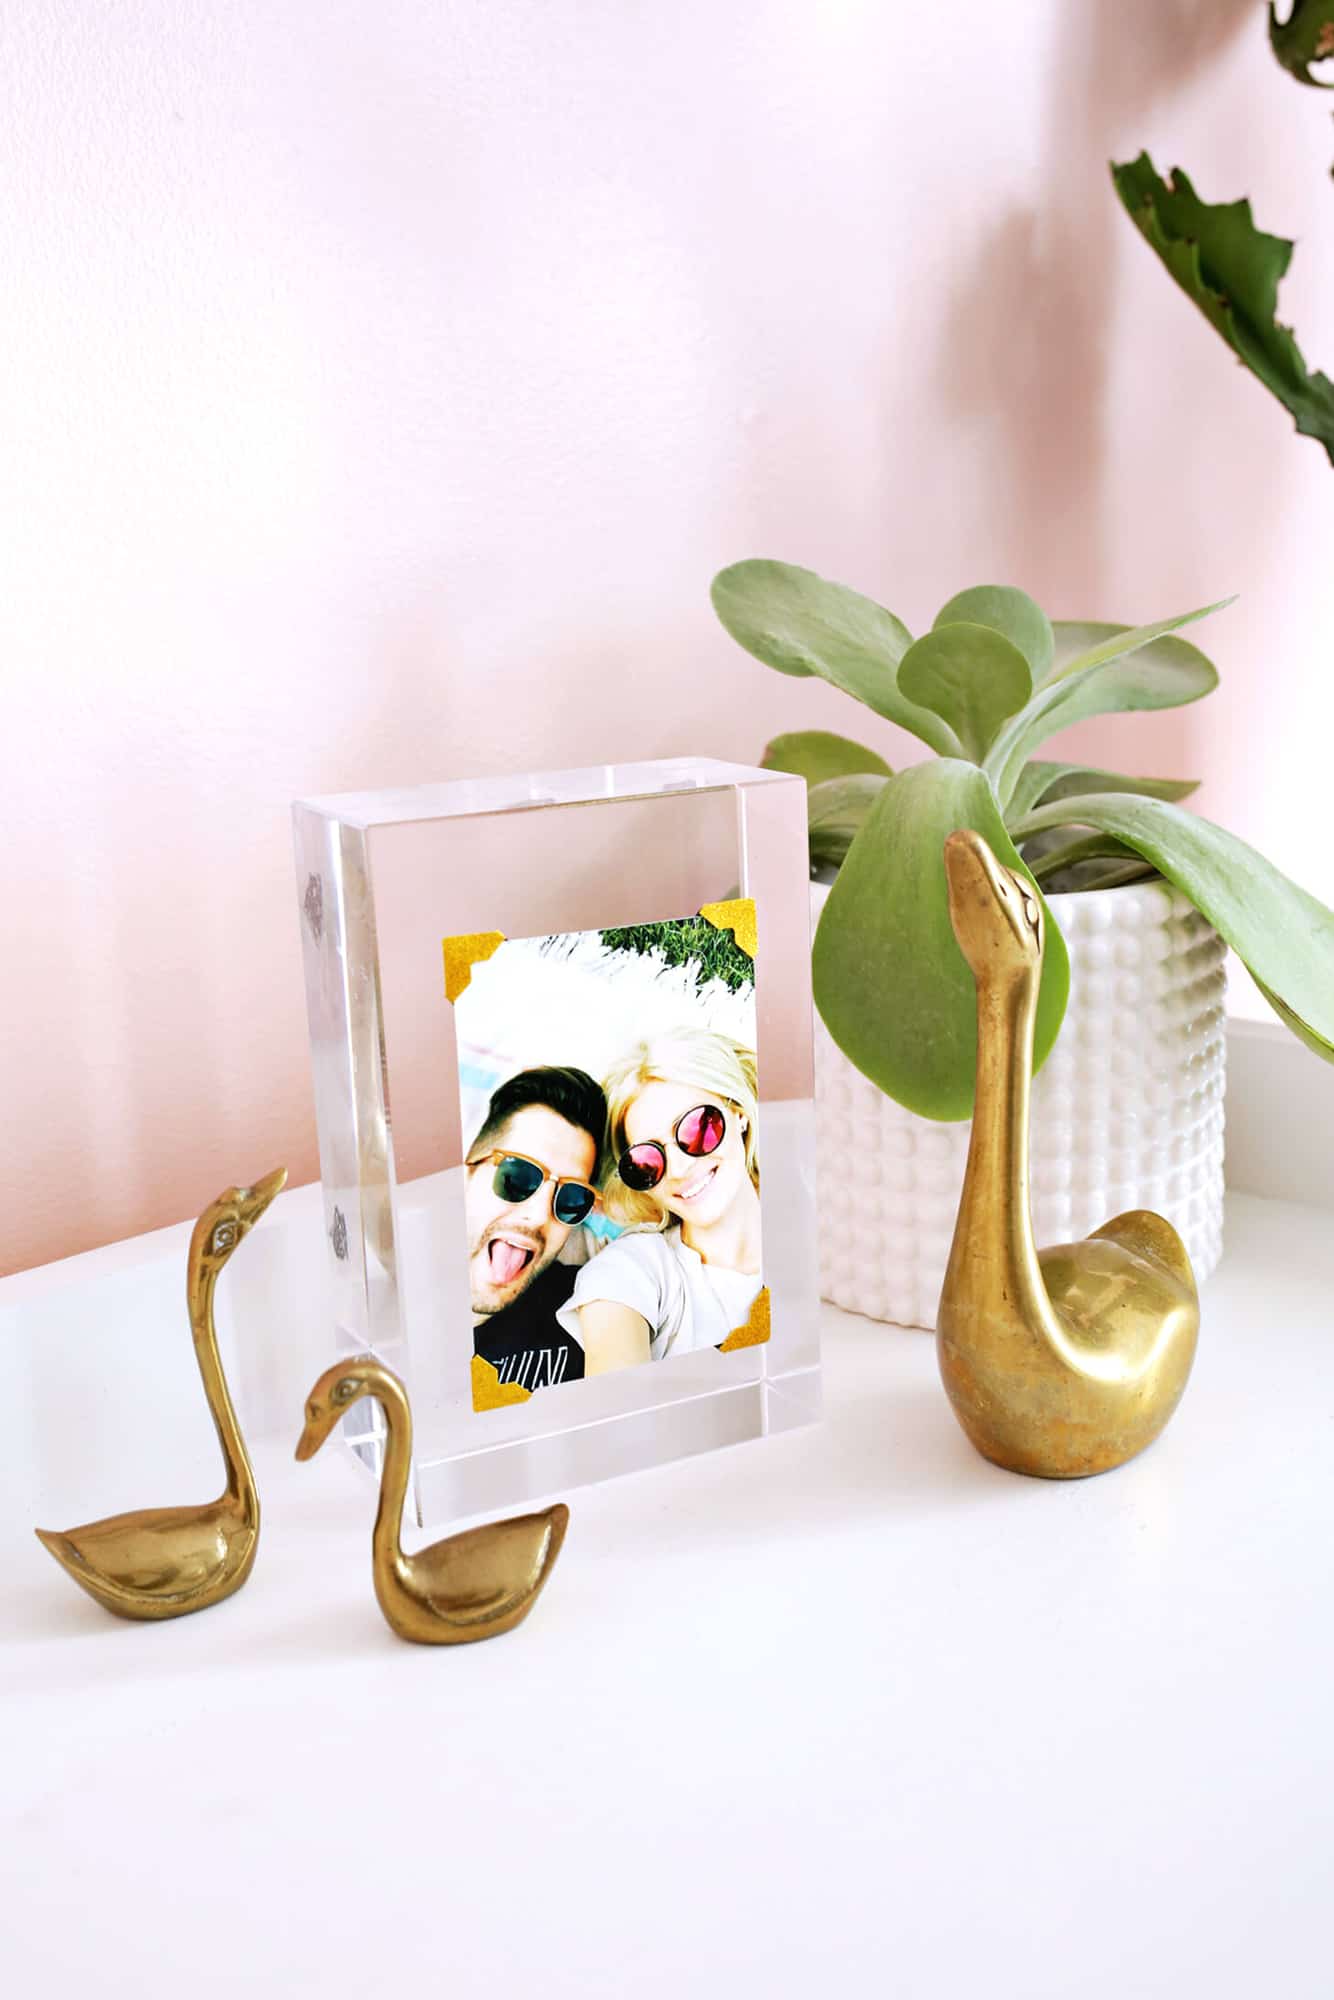
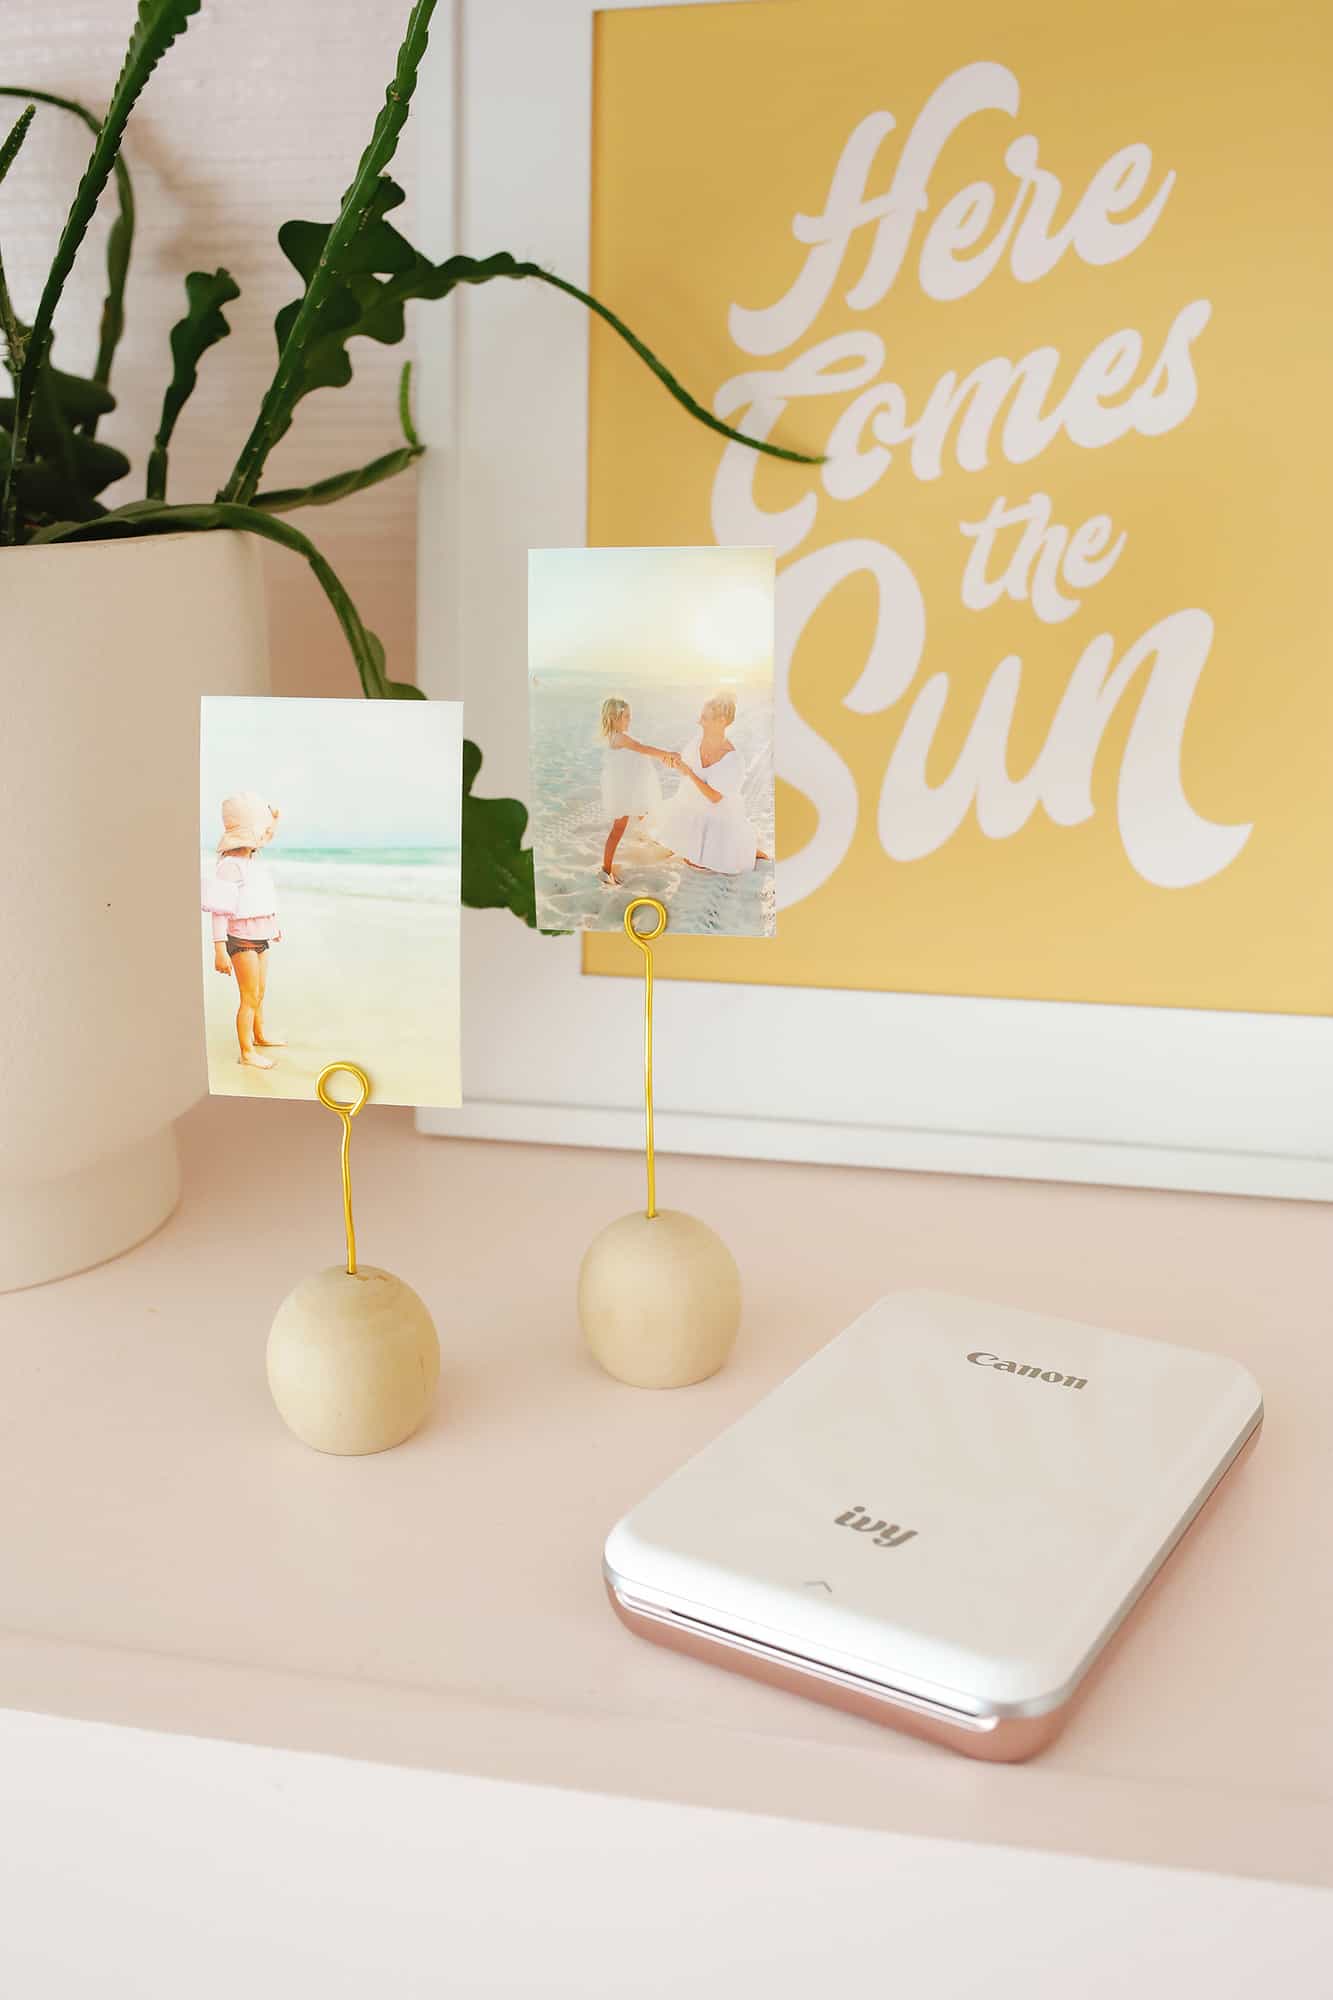
Go big (and small):
Using a large scale photo display on a wall is a great way to add a personal touch to a space, but not every family photo display needs to be huge.
Mix it up with larger displays in some areas and use other smaller displays (like this easy five-minute wooden ball photo holder DIY or Lucite Block Photo Frame DIY) on mantles, desks, dressers, and shelves.
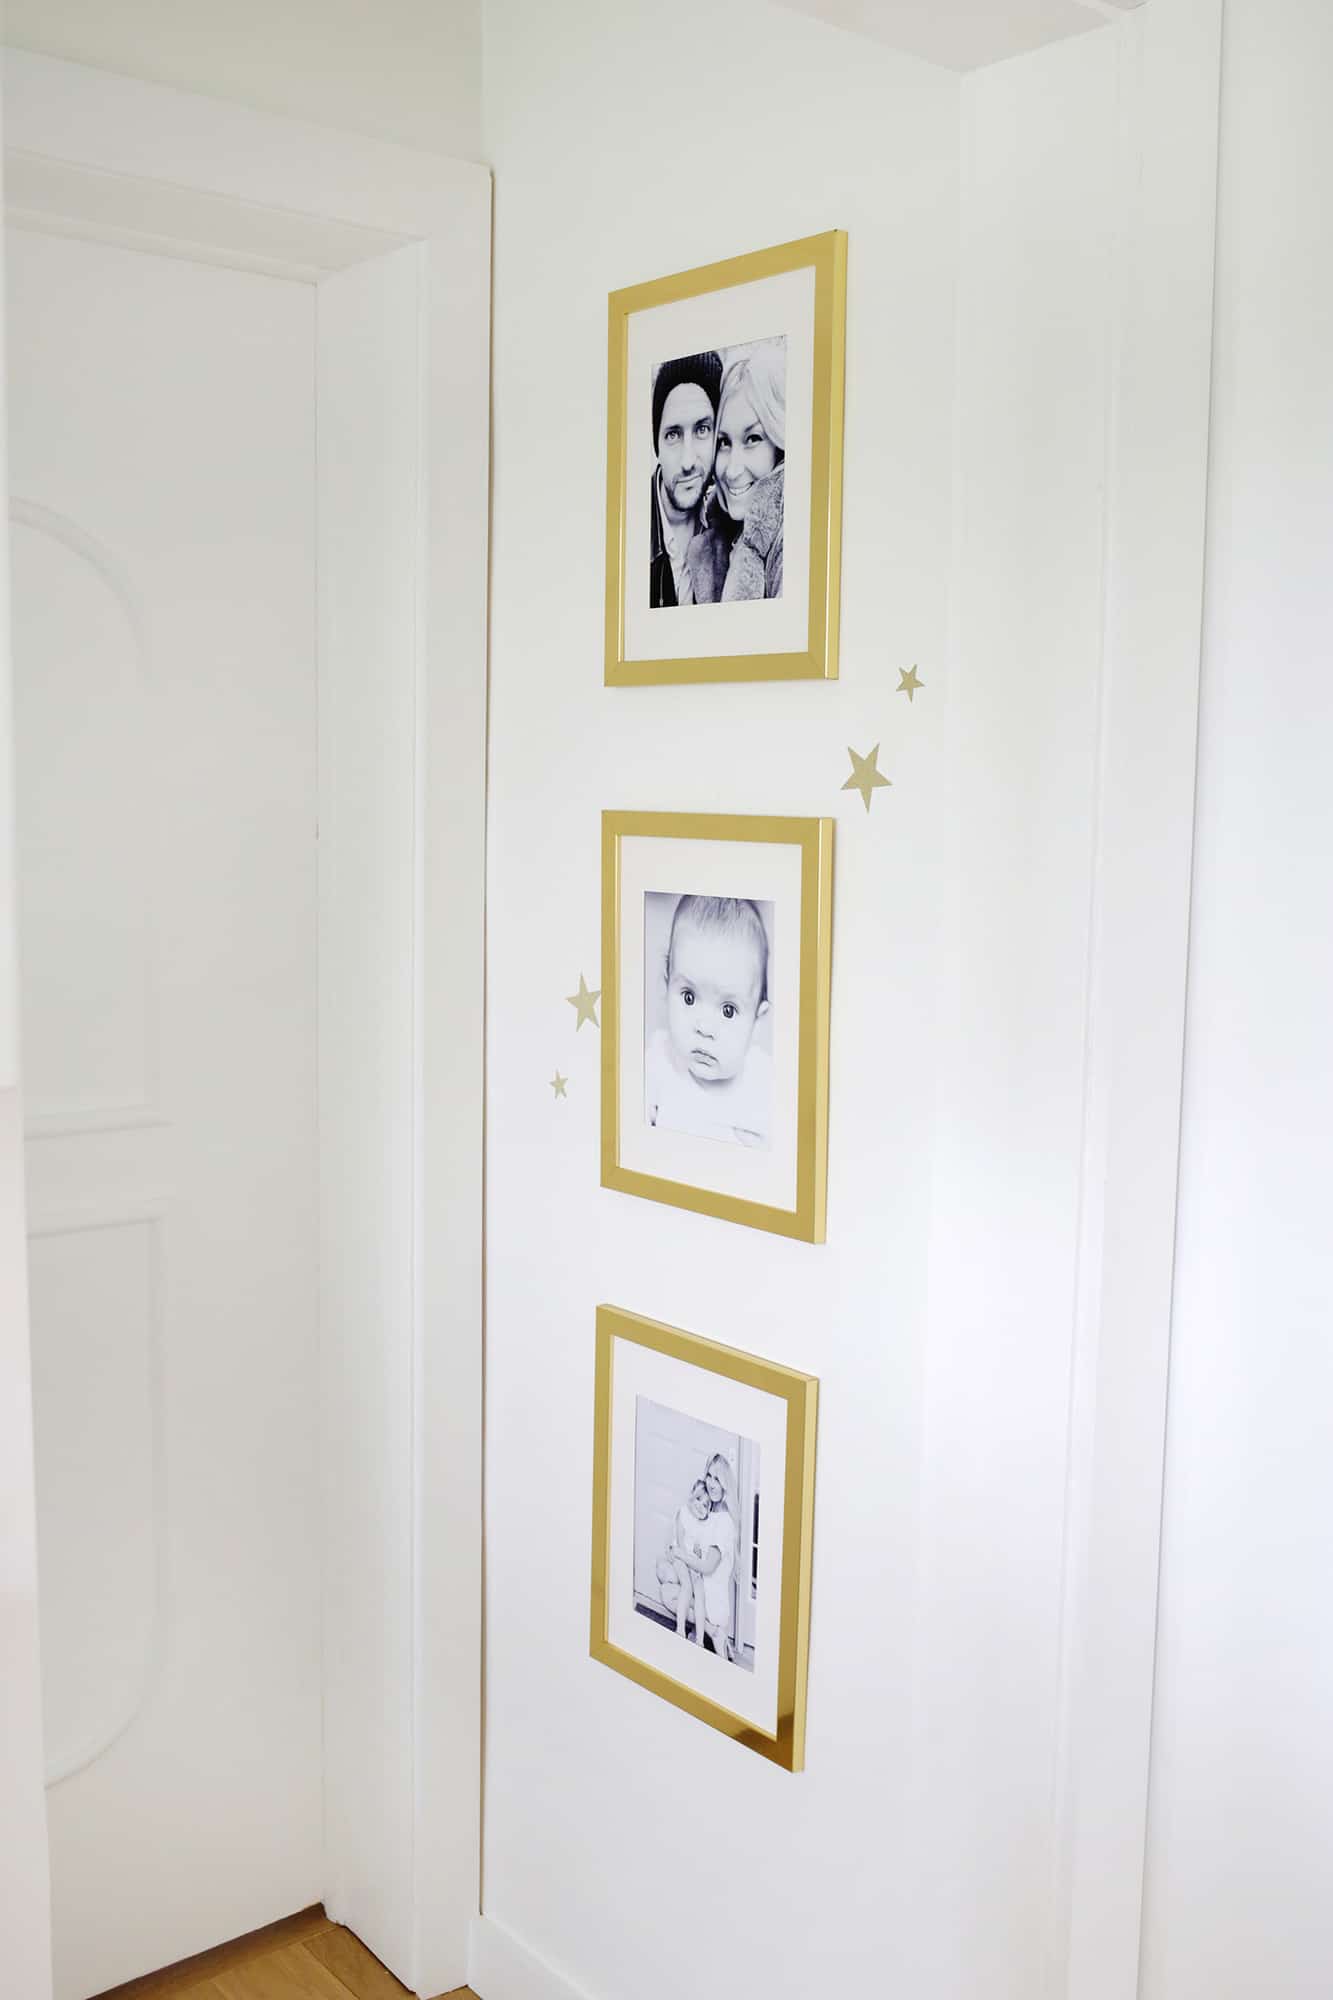
Don’t forget to update!
I’m definitely guilty as a parent of keeping around photos of my daughter when she was teeny-tiny, but I try to make sure that I also have a mix of photos throughout the years so I don’t eventually have a teenager with only her baby pictures up.
Make an effort to take new photos and actually print out and display recent memories so that your walk down memory lane can come right up to where you are now.
There you go! Following these simple tips can help you get a cohesive family photo display that fits into your home and your personality.
Hope this inspires you to print out some of your favorite memories! Do you have any other creative ways you like to display your family pictures? xo. Laura
Check out our Home Decor category for more decorating ideas!
]]>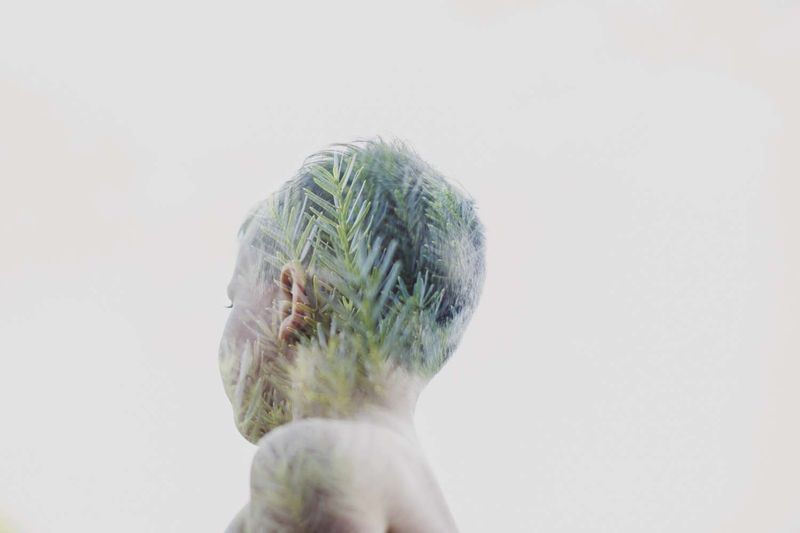 Double exposures happened all of the time before digital cameras, and most of the time it was because of a mistake or the camera not going to the next frame on the negative (the film).
To do a double exposure intentionally, you just expose the same frame of film twice. It was really easy to do with manual film cameras. You end up with two pictures put together. But you can also do it with a digital camera and get exactly what you want without having to go through rolls and rolls of film.
Quick disclaimer: Only some digital cameras have the capability to do double exposures in camera. If you’re unsure whether your specific model will do a double exposure or not, just look at your manual. I know manuals can be tricky sometimes, so just google it and check if you’re having trouble finding out!
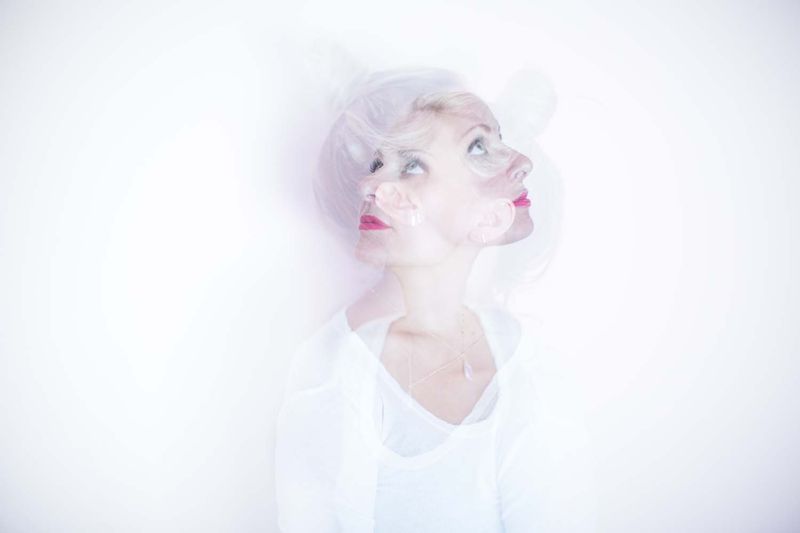 First, let’s go over how to technically do a double exposure. Here are the steps for my camera, which is a Canon 5D Mark III:
-There is a little button on the back. It’s on the top left, and it looks like a little paintbrush and a rectangle. Press that button and it will take you to a menu.
-Scroll to the middle option, which says “multiple exposures” and select it.
-Now select “On: Func/Ctrl”. On the multi-expos ctrl, select “additive”.
-Next, on number of exposures, choose “2”.
-Next, on save source imgs, choose “all images”.
-Then, on continue mult-exp, choose “continuously” only if you want your camera to keep shooting double exposures. If you want your camera to stop shooting double exposures, select “1 shot only” and your camera will go back to normal mode after one double exposure is made.
-The very bottom option lets you choose the image for your base image. Since you need two images, you can choose one that you already took! So if you have a photo in mind that you’d like as a base image, select it! If you have a Canon 5D Mark III, you can turn on your “Live View” option and see both images together. This is called an overlay.
With the live view option, you can see exactly how you want to frame and compose your second image on your base image.
Quick note: As with most things in technology, there are many options that you can choose/change. Here, I just give you the basic idea, but there is SO much more you can do! This tutorial is just meant to get you started and jump start your double exposure knowledge.
Once you have a grasp on the basic concept, I would encourage you to dabble with your camera, read your manual, and discover all of the different options that your camera offers with double exposure. You can change blending options, how your camera saves the images, and much more.
 Once your options are selected in the menu, tap your shutter release to get out of the menu and hit your live view button. Now you are ready to go.
For your base image (if you didn’t choose one you previously shot), find your subject, focus and meter, then take the picture. Your camera will have a little icon that will flash once you take the picture because it is telling you that it is in multiple exposure mode.
Now when you move your camera to take your next image, you will see what I like to call a ghost image of the picture you just took. Your camera keeps the hazy image on your screen so that you can see what your next image will look like on top of your previous one. Cool, huh?
Once you have your second image framed, don’t forget to put your focus box where you want it, and your camera will focus on that specific part of your second picture. And again, this is what my specific brand and model does; your camera could be different.
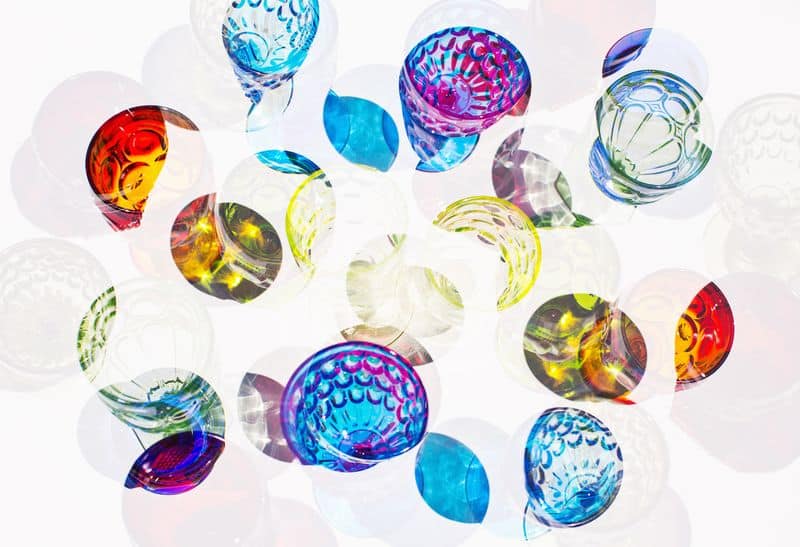
When you take the next photo, keep in mind that your SECOND picture will be seen in the dark areas of your first image. So where is a good place to start? Try taking a photo with negative space and only a minimal dark part.
This could be a cityscape with the sky blown out or a simple silhouette of a person. Your second photo will now fill in the dark spots. Since you had negative space in your first photo, your second photo will kind of melt into the white nothingness.
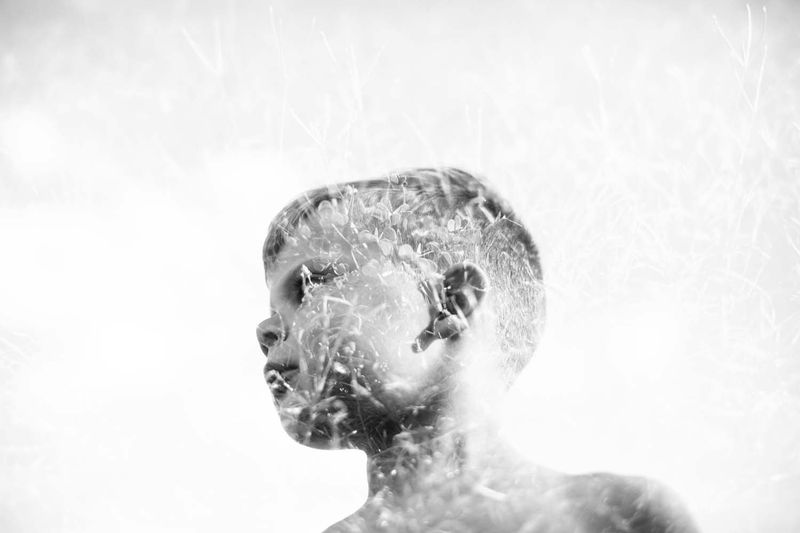 To practice this concept, make sure you keep your manual handy! It helps SO much when you are learning a new technical skill. Practice taking pictures with your base image being a really light background or blown out sky with a dark silhouette.
For your second image, try capturing something with lots of detail and color! I hope you guys have fun with this and are able to create some really beautiful images!! The options are endless. Just create whatever your heart desires. It can be something abstract as well.
The shot below is straight out of the camera. The image was turned for my second image and it created a right angle.
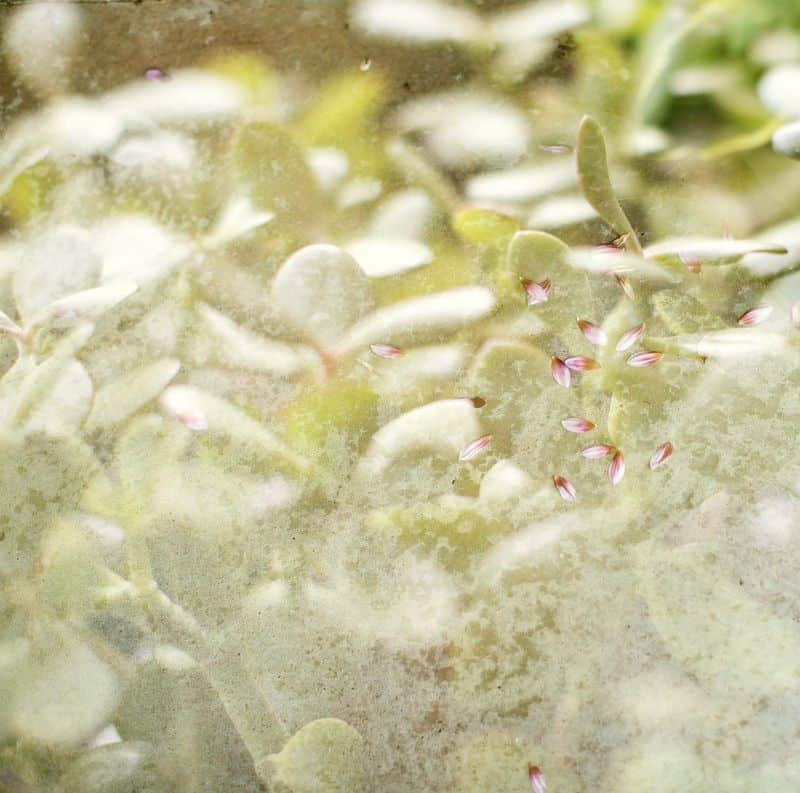 *If you have done your research and your camera will not do a double exposure in camera, don’t lose heart. You can easily create a double exposure in Photoshop by opening the two images (use the same principles that we talked about above), and drag the second image onto your first (base) image.
Once the pictures are on top of each other, lower the opacity of the second picture until you like what you see. Once the second picture’s opacity is lowered, you will start seeing the beautiful results.
If this makes you feel totally lost, don’t worry! It just takes practice. Let me know if you have any questions! – Janae
–What is Magic Hour?
–How to Split Your Focus
–Tips for Taking Photos in Cold Weather
Credits // Author and Photography: Janae Hardy.
]]>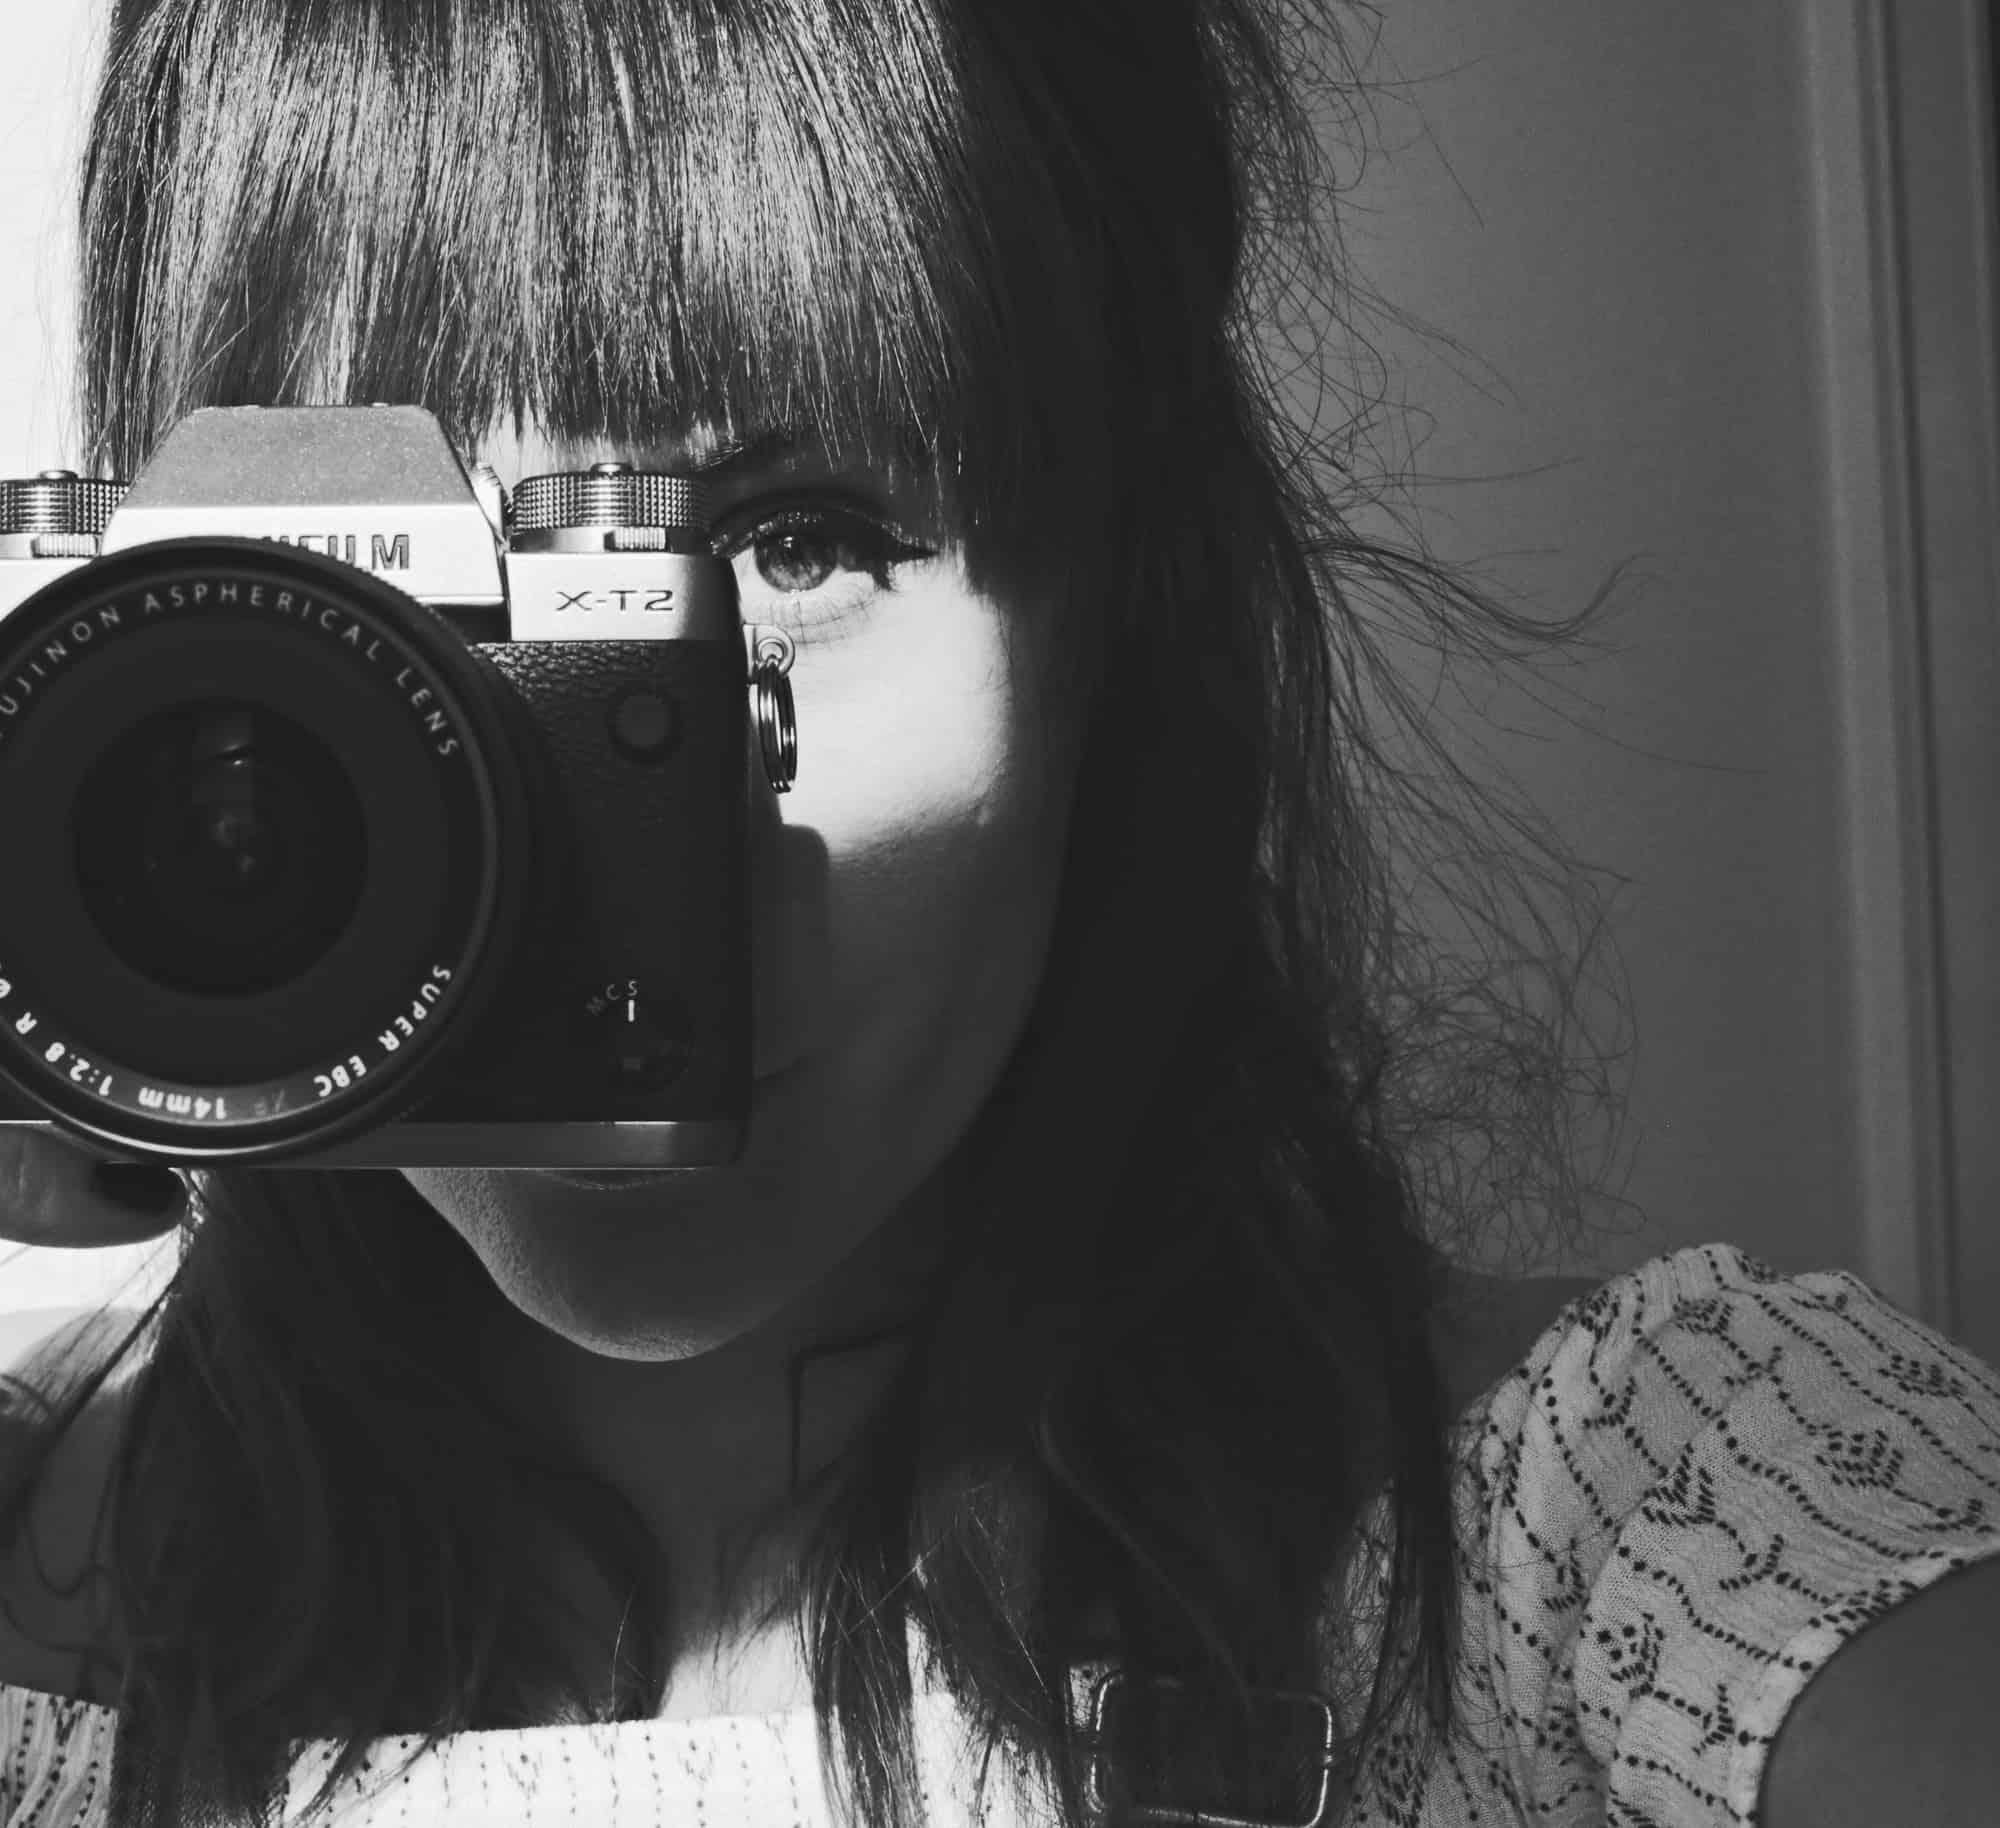 I have been receiving a lot of of requests for a review on my Fujifilm X-T2. As some of you may know, I’ve had progressively nicer Canon SLR cameras since I was switched over from film (augh! yes- I used to shoot film exclusively as a necessity and not a novelty). I went through three or four (can’t remember for sure) models in over the past decade and I absolutely love those cameras! So, you’re probably thinking, why did you switch to a smaller, less powerful camera?
Well, a few months back I got confronted in a store for taking photos for the blog. I won’t go into too much detail, but just know that I had asked permission and that the confrontation was SUPER EMBARRASSING. I left the store in tears. It was just so weird.
As I was recapping to Jeremy what had happened, I said that I felt like maybe our big cameras made us seem more suspicious or something. I mean, in this day and age, everyone takes 95% of photos with their phone. It’s less and less common to see people out and about with a lot of camera gear. Or maybe the shop owner was just having a stressful day. But either way, I felt that moving forward I wanted to have an OPTION to get photos better than an iPhone, but without a large DSLR.
I had been looking at Fuji and Leica cameras, but was hesitant to purchase one because I felt like I only wanted it because it was cute. I was afraid I wouldn’t really use it, so I held off. These cameras are very cute, and look like vintage film cameras. I love it because my hero in photography is my late grandfather, who carried a very similar looking camera. And depending on the lens you have on, they can be super small … purse size.
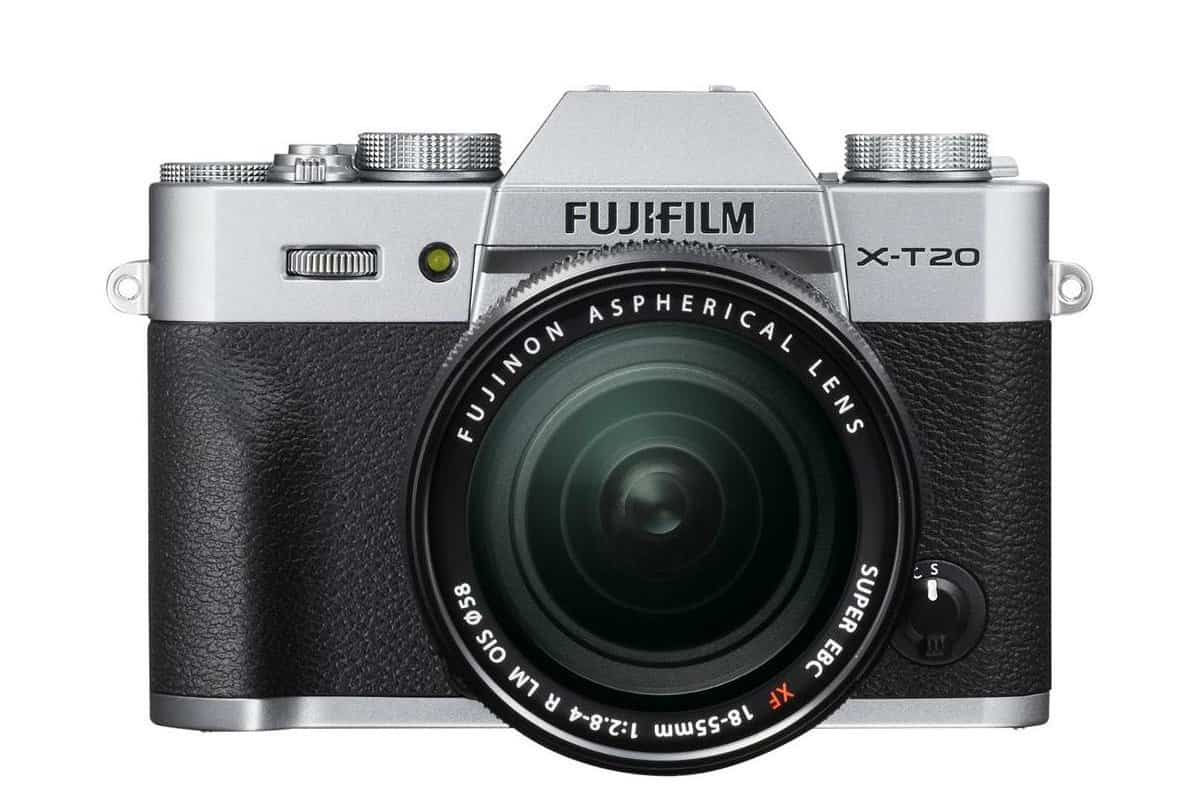
A couple hours after that crazy embarrassing experience in the local store, we met up with Jeremy’s label owner for dinner and drinks. He had a tiny Fujifilm camera with him, the Fujifilm X100F. I asked him a bunch of questions, he gave me a little sales pitch (he is SUPER into his camera) and I was totally sold. DESTINY!
I did a bit of research and decided to opt for a model with the option to change lenses. I wasn’t ready to have a camera with no lens changing, as I wanted something more in between my big Canon and my phone. So I chose the Fujifilm X-T2.
I purchased lenses with family vacations and photos at home in mind. I wanted a wide angle lens (for wide room photos and scenery).
OK, so first a little photos show and tell and then I’ll share my review of the camera and the three lenses I have been using.
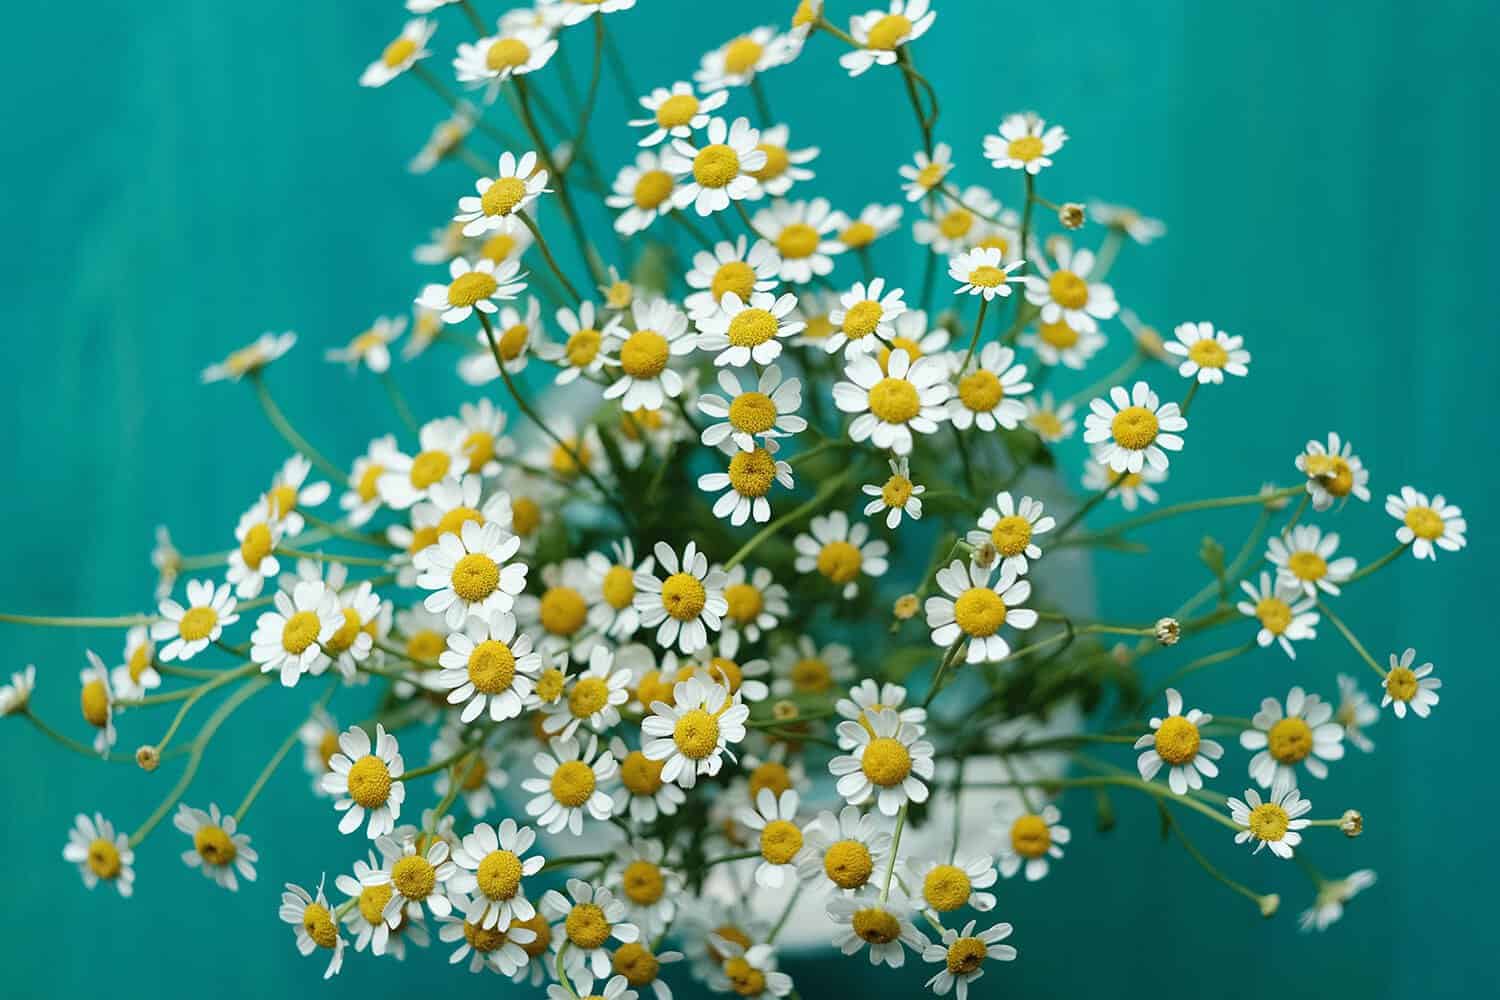
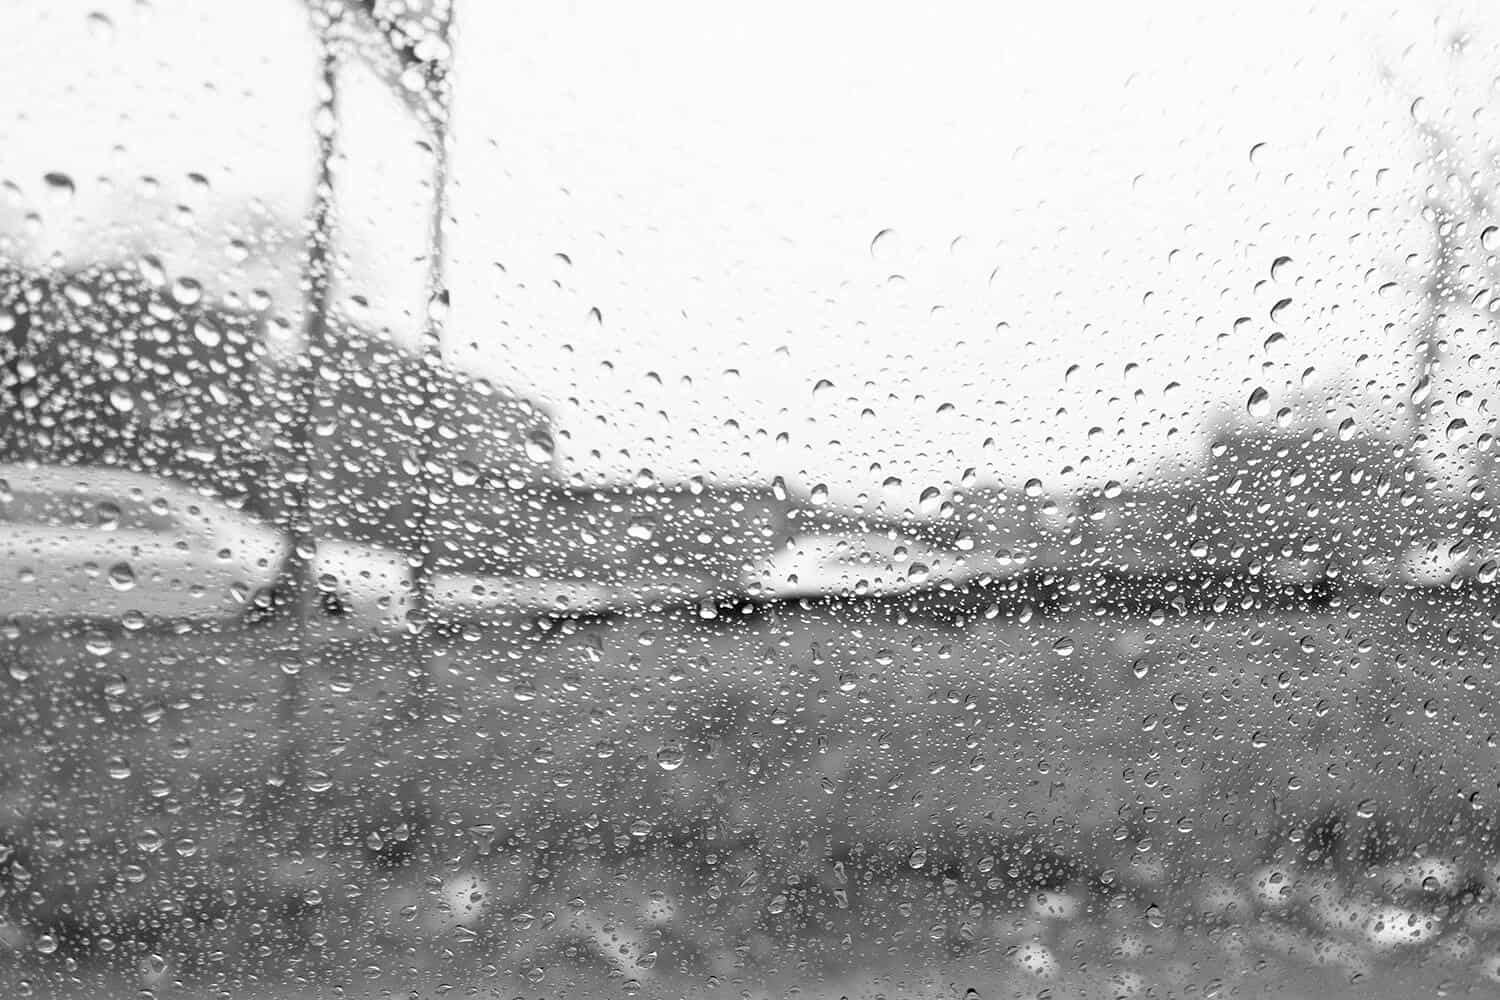
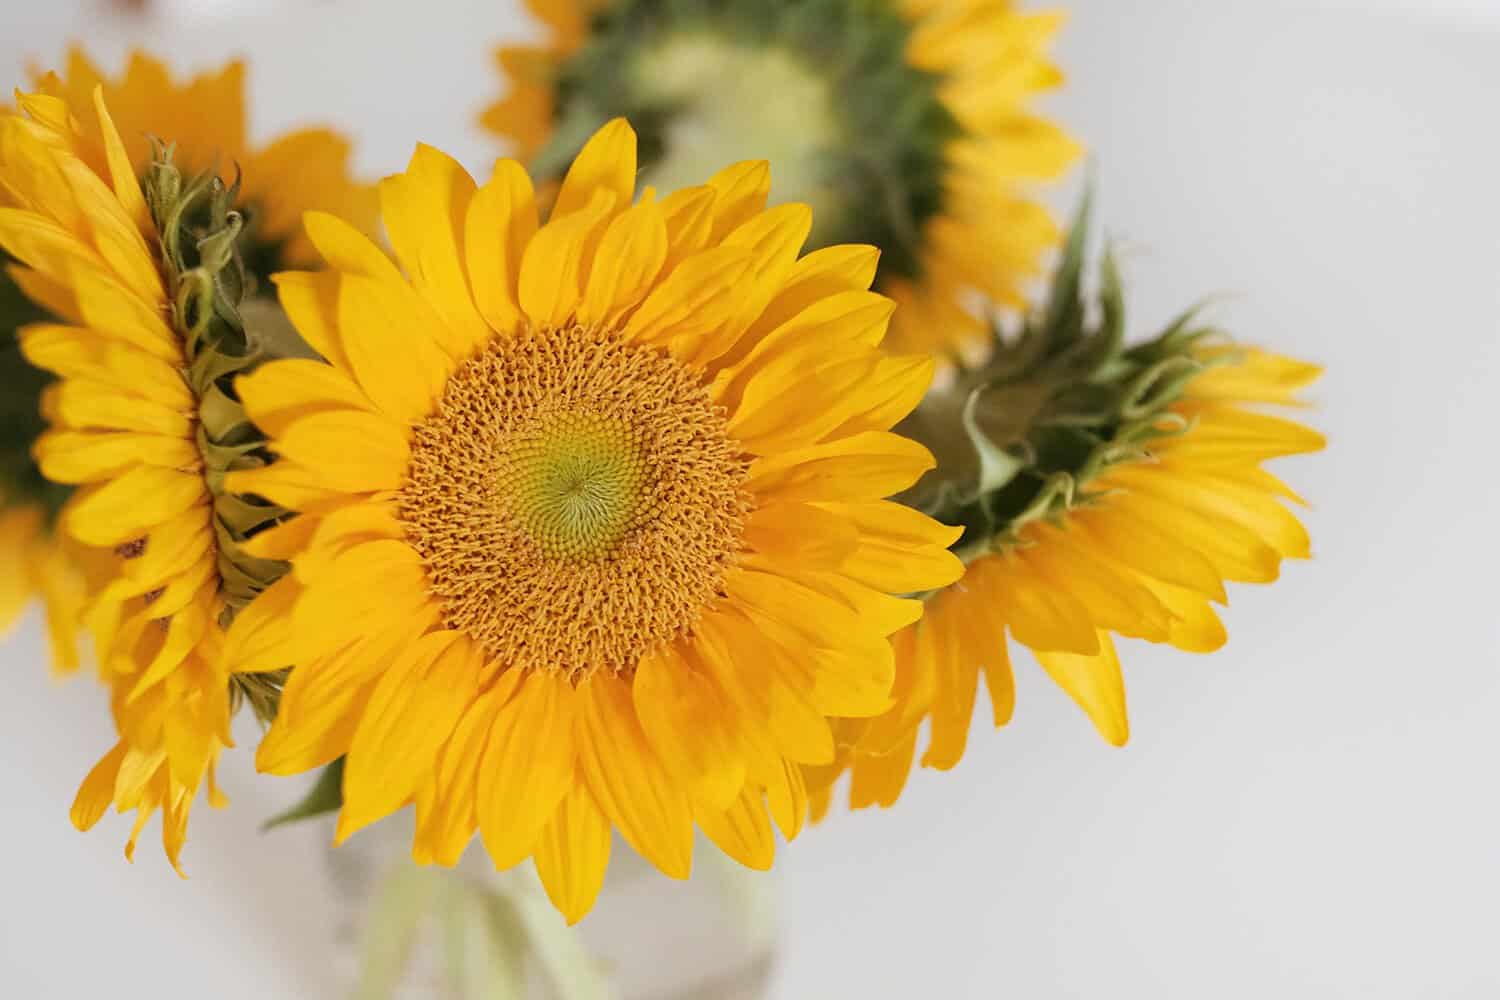
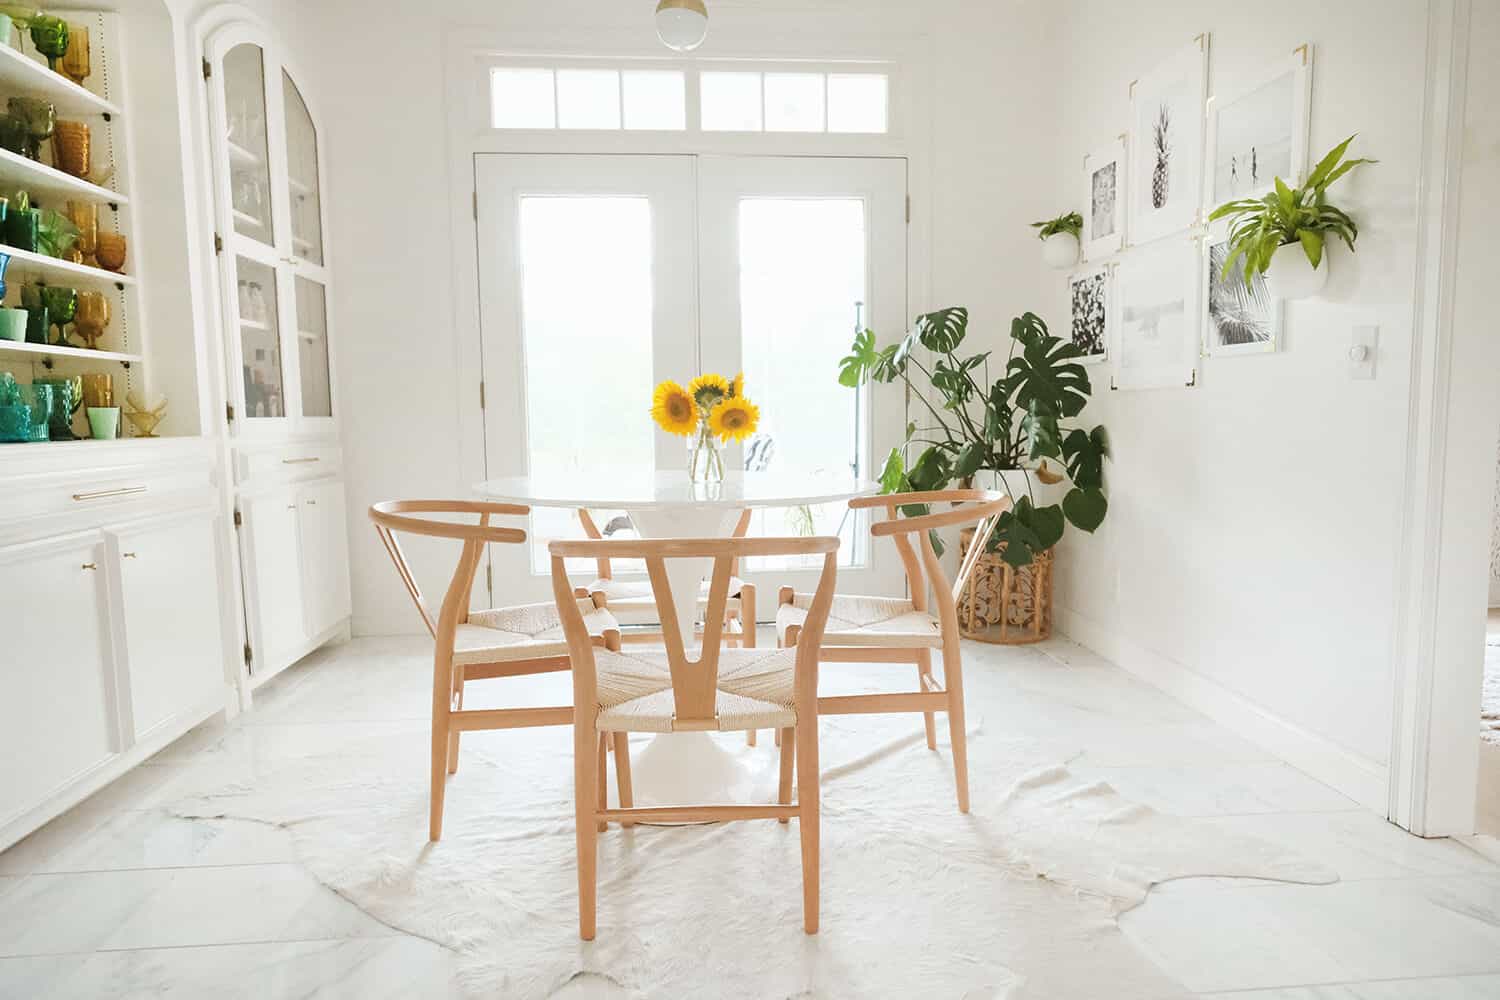
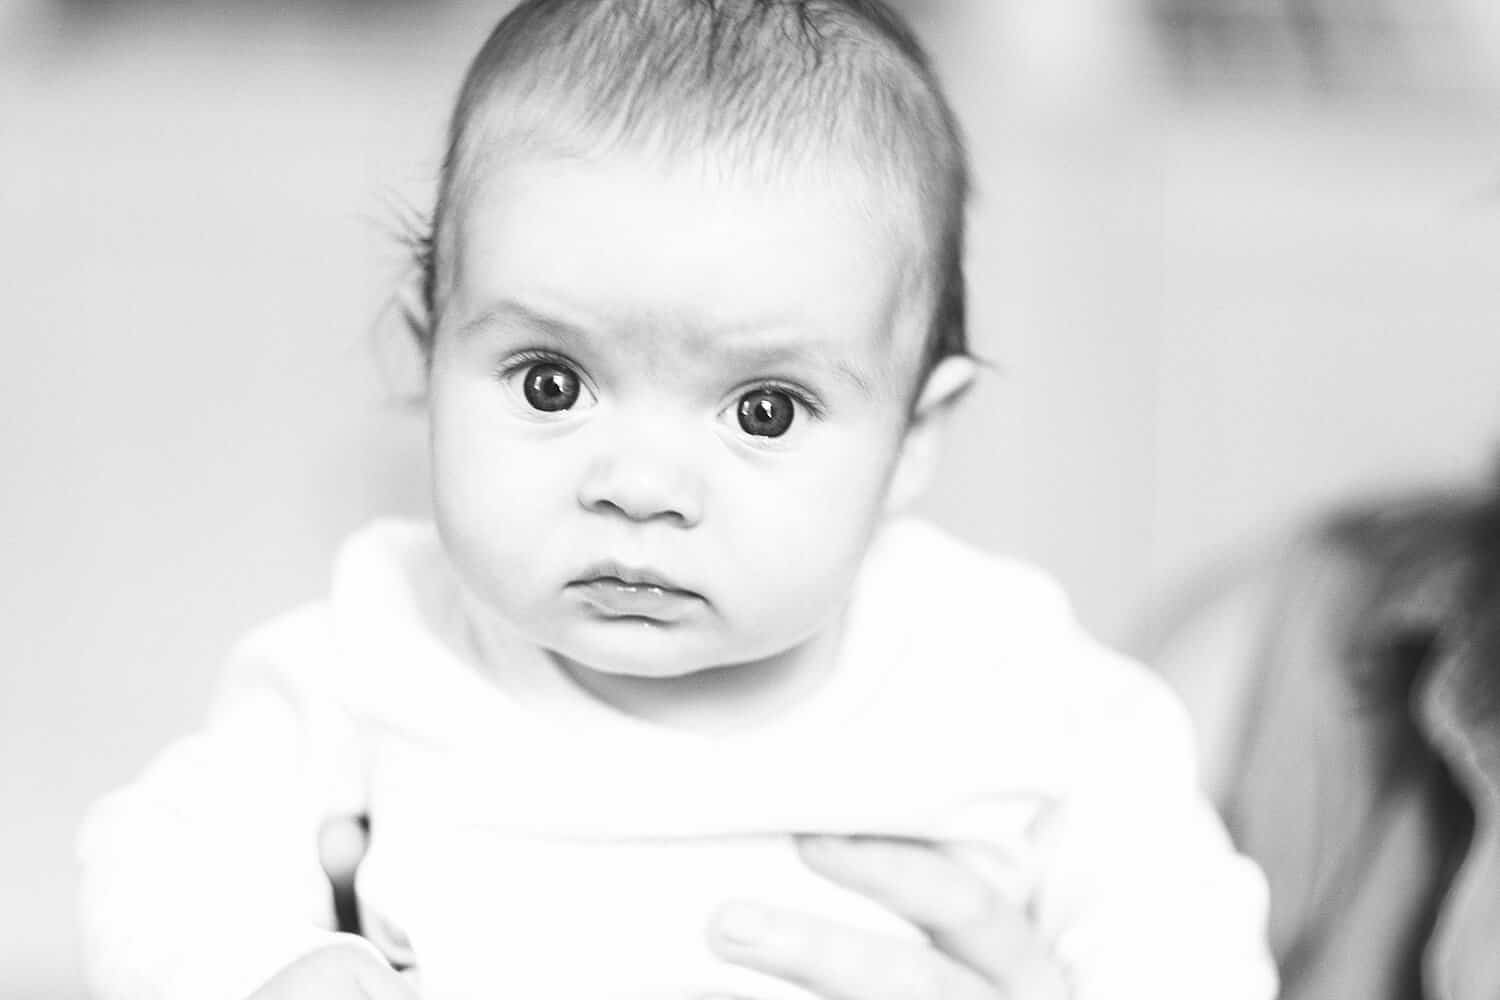 I am still getting the hang of it, but totally impressed with the quality so far.
Lenses I use:
Pancake Lens (FujinonXF27mmF2.8)
This is the smallest and lightest option. I keep this on a lot of the time, especially for travel or if I’m taking my camera out in my purse. Some of the other lenses I chose are a little on the large size, which is fine at home or if I bring a full camera bag. But this is the basic lens I would recommend if you only want to buy one!
Wide Lens (Fujinon XF14mmF2.8 R)
This lens is my most used lens at home because it’s perfect for interior photos, and I like to take a lot of snapshots that show a wider view of our home. I also used it (exclusively) on a trip to New York for Jeremy’s CD release. I’ll show a photo of that below. I thought it handled a diverse lineup of photos really well. The only downside to this lens is that it’s not tiny, but it’s definitely more powerful and gets a wider view than the pancake lens.
Portrait Lens (Fujinon XF56mmF1.2 R)
I added this lens because it can create beautiful portraits, and with a kiddo on the way, it seemed like an obvious choice. I just used it recently to snap a few photos of Laura’s little Lola and it felt pretty magical. My first lens (ever) when I bought my first DSLR was a portrait lens, so this gave me some nostalgia.
*Amazon shopping tip! Click below on each product where it says “Used and New”. Sometimes you can get HUGE discounts (of these I got at half price that way and it was still brand new).
In summary, here are my pros and cons of this camera …
Pros: It’s tiny, it’s adorable, and it has a novelty element to it that make it really *fun* to shoot. It has built in film simulation filters (I used the black and white in the concert and rain photo above, but for color I leave it turned off). It has options for adding grain, which I like because it feels more like film.
Cons: This is a mirrorless camera, so when you look through the viewfinder you are seeing a video screen, not real life. I have found that the photos look at lot better once I get them on my computer than they do on the playback screen. Overall, it feels more like a toy than the bigger SLRs I am used to shooting.
I am having so much fun with this camera. I will definitely take it with me on our next vacation! It’s filling a need I had in my life for a less serious, less bulky and more fun camera. It’s brought me a lot of inspiration to just shoot random photos again.
If you have any questions, I’ll do my best to answer in the comments! xx. Elsie
]]> Just wanted to share a little bit about some underwater photography gear that I’ve used (and loved).
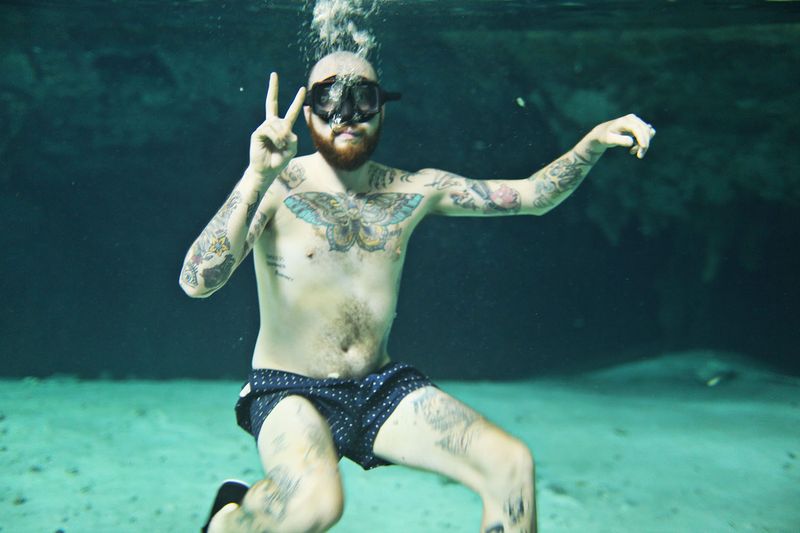
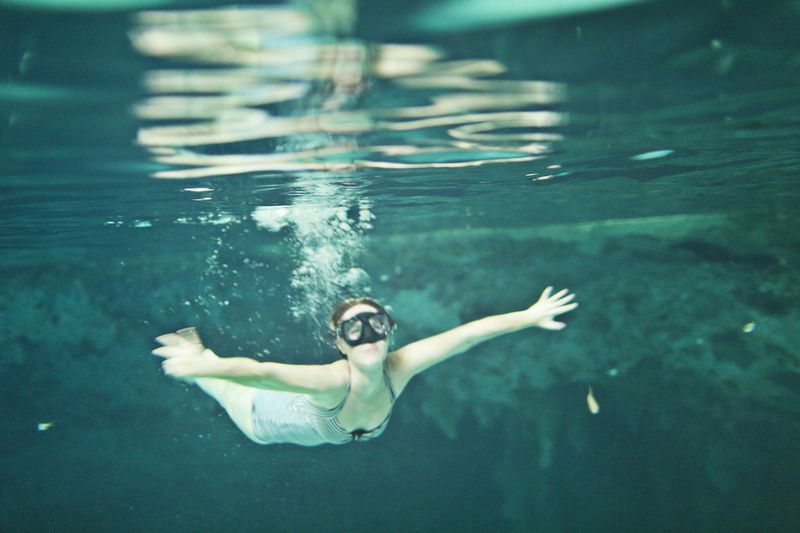


I recently went on a short trip to Tulum with some friends and business associates (how grown up-ha!). Maybe you saw some of my snapshots from the trip over the weekend? Anyway, one of the days we were there, we visited some of the Cenotes, which are kind of like cave pools. The ones we visited were called Dos Ojos, and if you get a chance to visit any Cenotes in that area, I highly recommend it because they were like nothing I have ever seen before! We actually have lots of caves in the Ozarks where I live, but nothing quite like this.
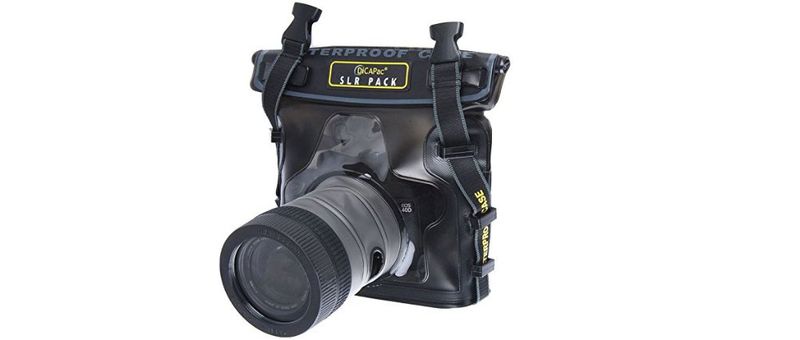
For my birthday this past year, Trey got me a DSLR Waterproof Case
I LOVE this case. It works so well, and I love that I can just use it in addition to my DSLR that I already take with me on trips. Even if you don’t want to completely submerge your camera, you can still use it to protect your gear while on a boat or near the water. For me there are only two real drawbacks to this case. First, it’s pretty bulky. So you have to make space to pack it in your suitcase and then you have to be willing to carry it while out exploring. For me this is no big deal because carrying a DSLR is already a bit cumbersome at times, so I’m used to it. I think it’s totally worth the inconvenience because I LOVE photography. The second drawback is you can’t really change your settings once the camera is in the bag. You can turn the camera on and off and press the shutter release button, but other than that, it’s pretty tough to do much else. I like to shoot in manual mode, so I’m constantly changing my settings. So having to shoot in auto during a fairly tough lighting situation (underwater caves) is a bit frustrating, but you still can get so many good pictures that it’s still worth it if you ask me. On the plus side, if you are with friends, it’s fun to pass the camera around and let everyone play with it. So having it stuck in auto mode sort of works out as not everyone wants to mess with camera settings all the time.
The second piece of gear we’ve used and loved is the GoPro HERO3: Black Edition

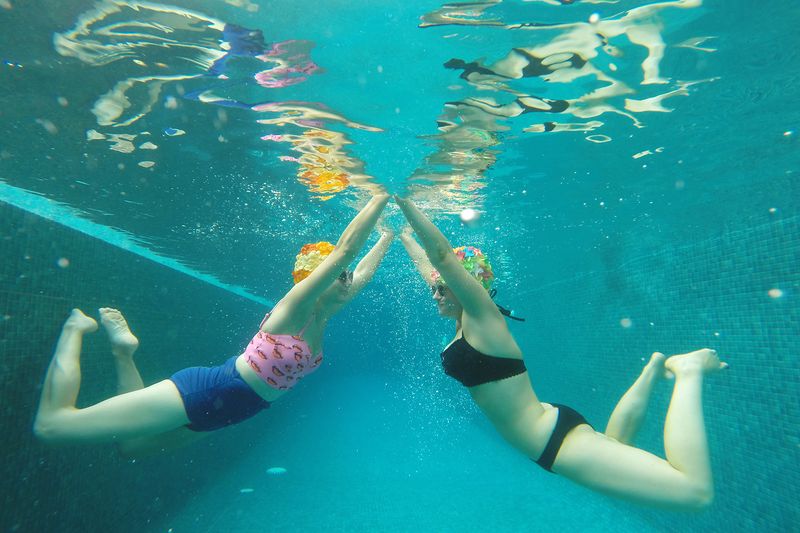
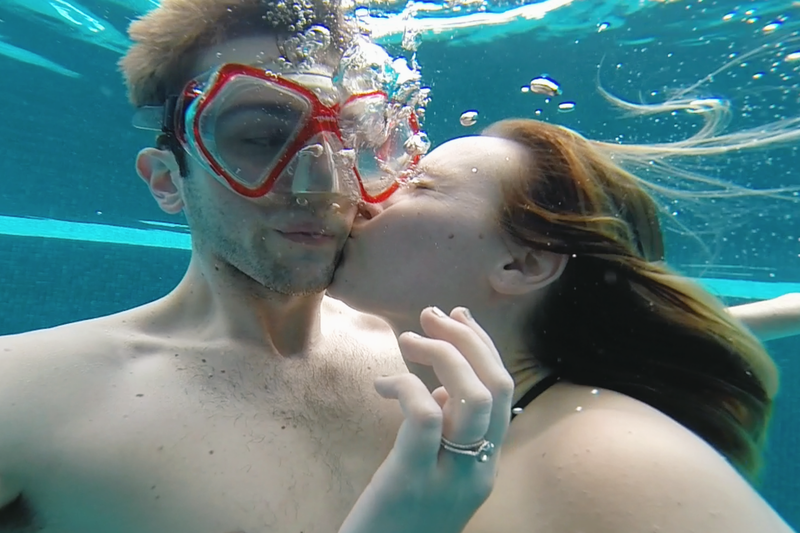
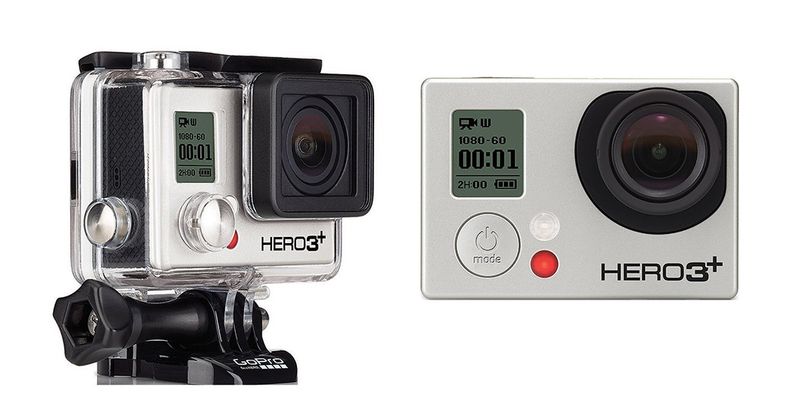
The only real drawback to the GoPro for me is we basically had to buy a whole new camera just for the features we wanted (waterproof, lightweight). Although, it is certainly less expensive than my DSLR was. The other thing is it’s completely different from using a DSLR camera, so it’s not quite the same photo-taking experience, which is important to me. But, it works great and takes great photos. So if you’re looking to capture some fun underwater moments, it’s a fantastic product to try.
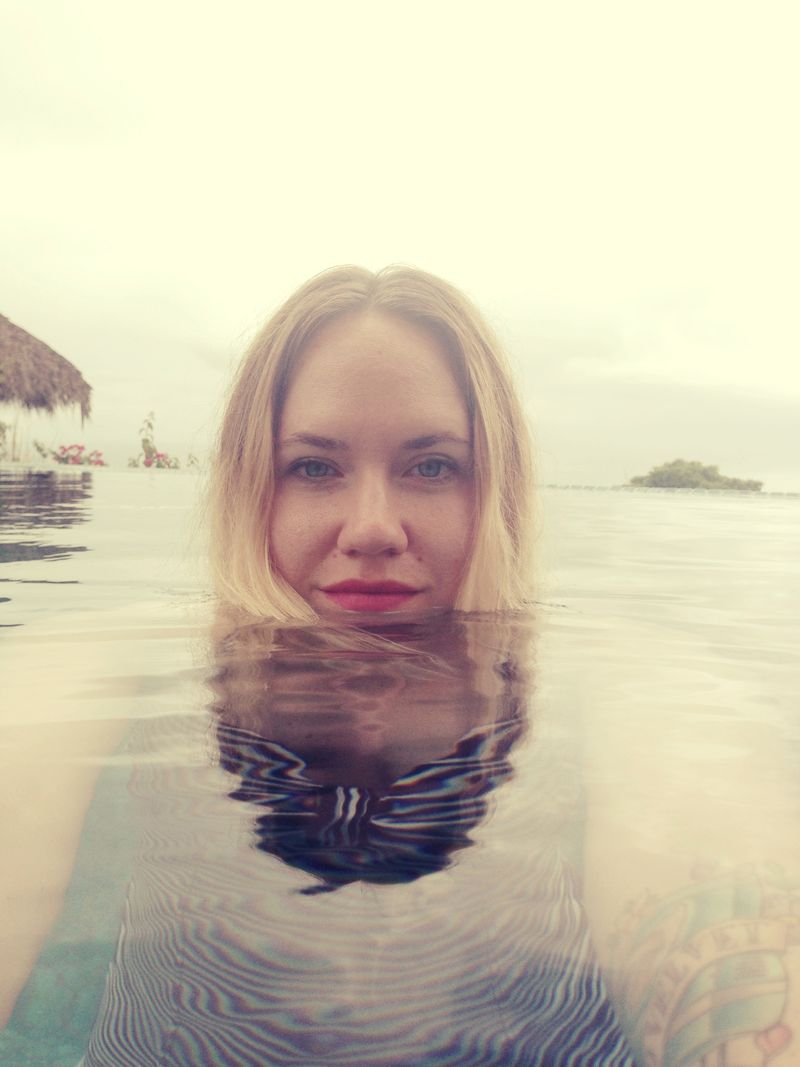
Credits // Author: Emma Chapman. Photography: Emma Chapman and Trey George. Photos edited with A Beautiful Mess actions.
]]>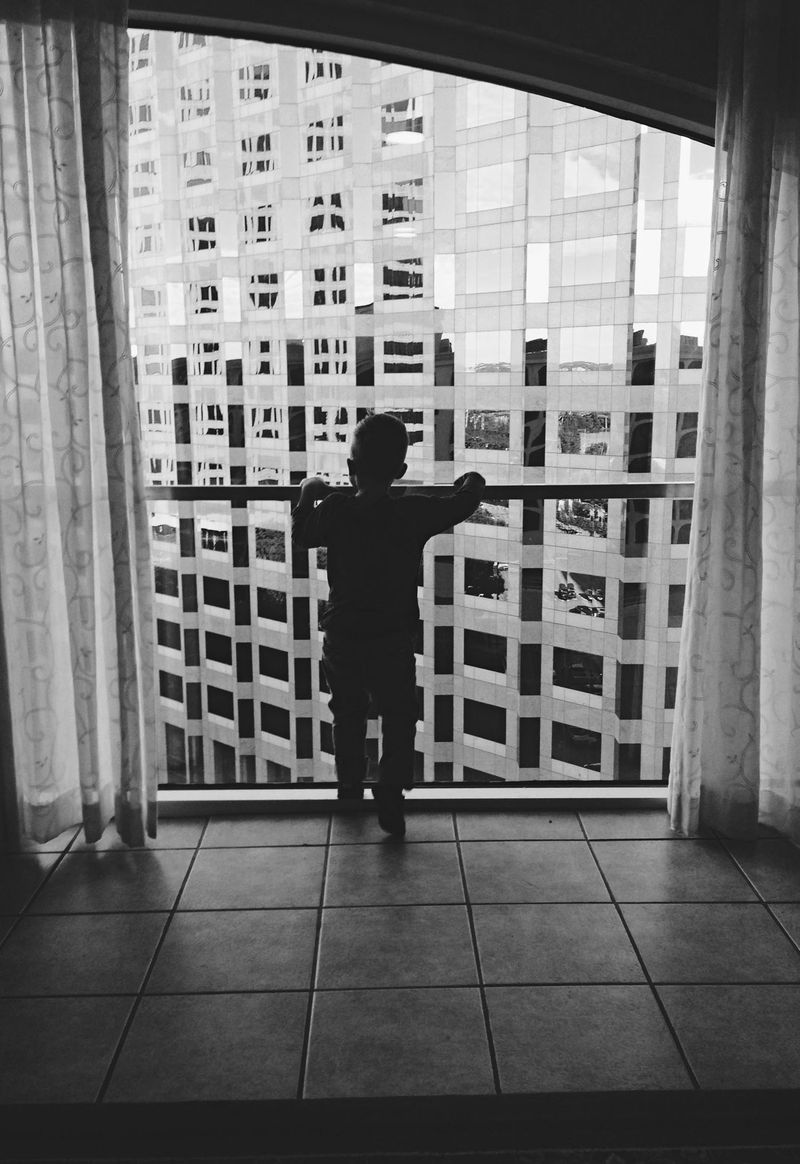 I love a good black and white photo. In college, my classmates and I shot in black and white film (with the exception of one class) for the entire four years of college. Digital photography didn’t quite make its appearance until after I graduated. It’s crazy how the tides have changed completely! In college I used a manual film camera, developed the film by shaking the canister with different chemicals, let the film strip dry, then made a test sheet with my negatives using a little machine called an enlarger. Then I made photos on the enlarger, developed the photos in the darkroom using different chemical baths, and lastly dried the photos. All of this happened in a darkroom with a dim, red light bulb. This took hours upon hours of time! When digital cameras first came on the scene, I couldn’t believe we had the ability to take a picture and INSTANTLY see it on a screen! I was floored by my first digital camera (it was 3.4 megapixels). Now we even have great cameras on our phones that take stunning photos. Oh how the times have changed!
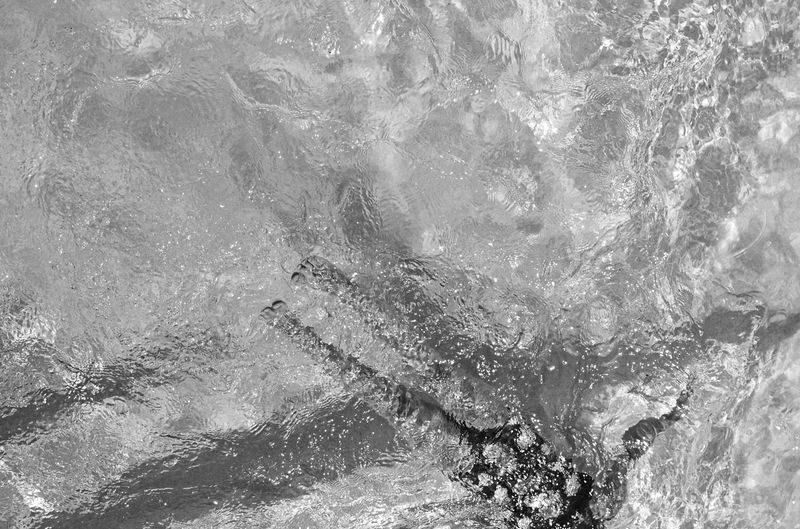
But even through all of the changes in technology, black and white photography still holds a special place in people’s hearts.
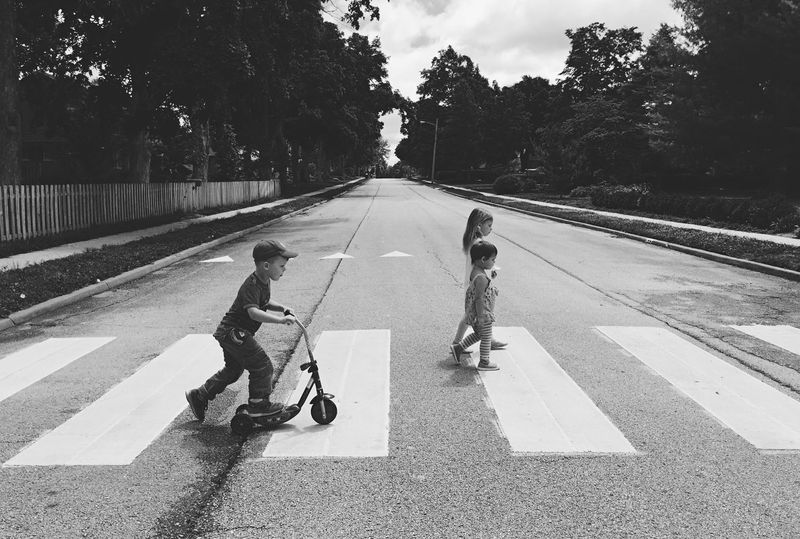
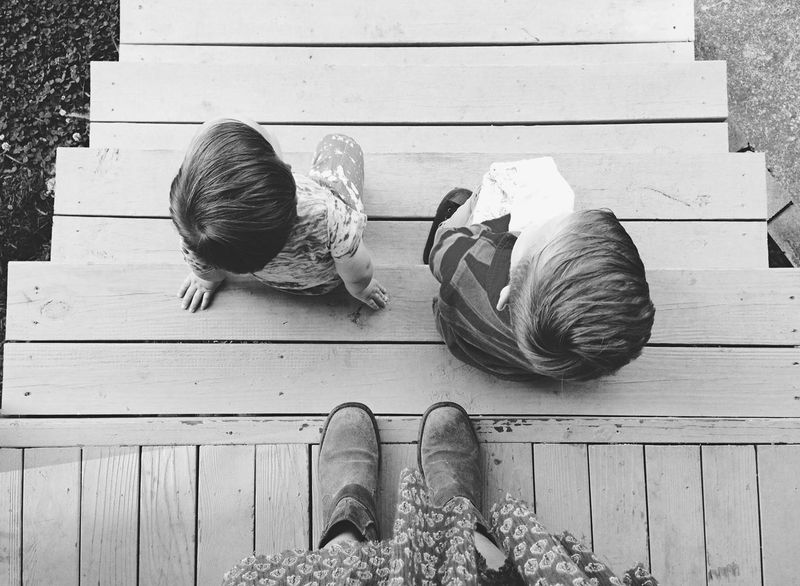
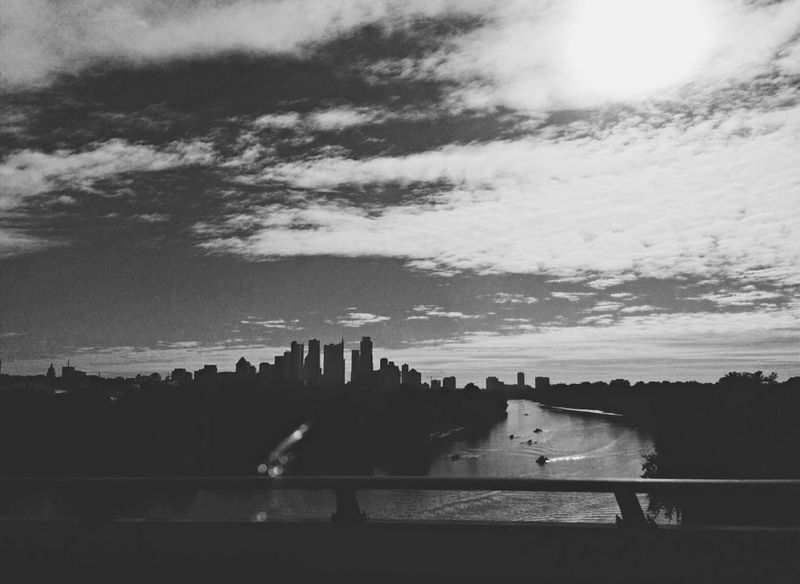
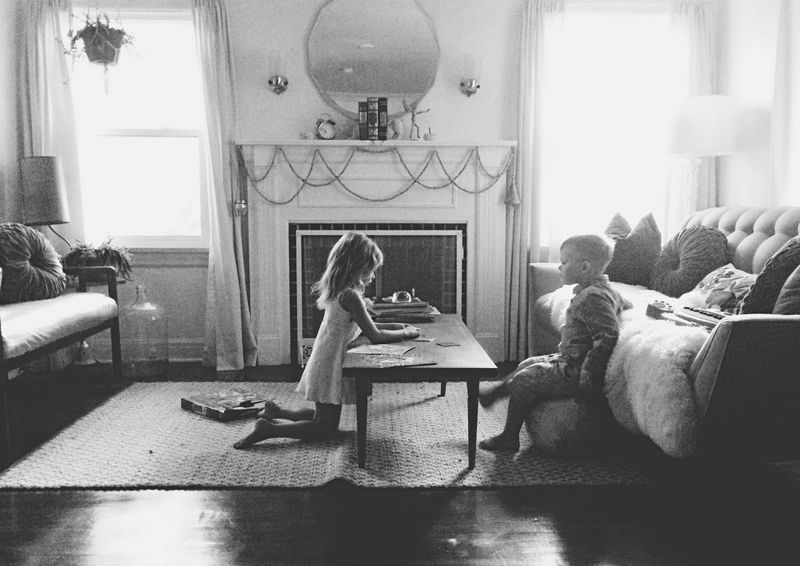
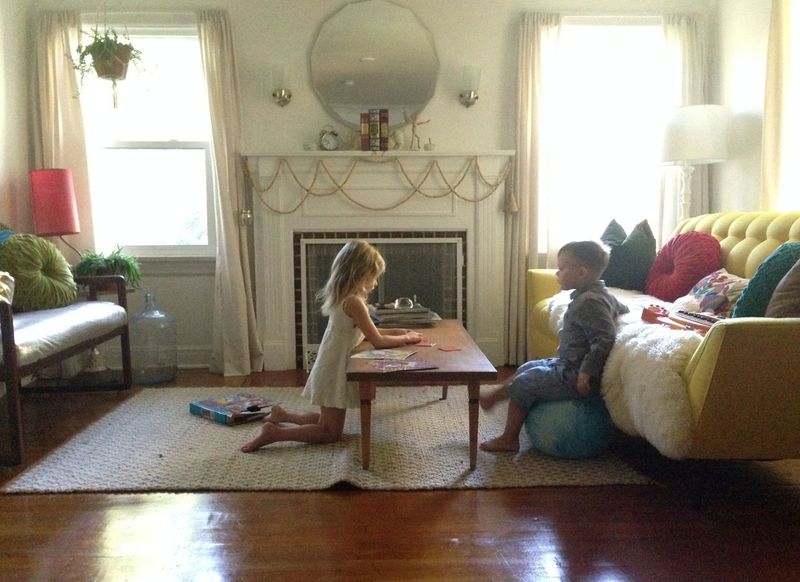
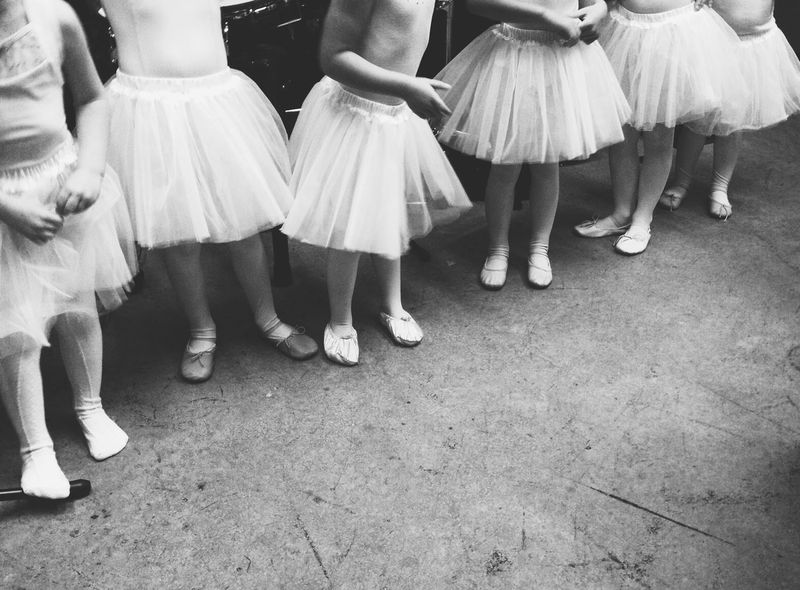
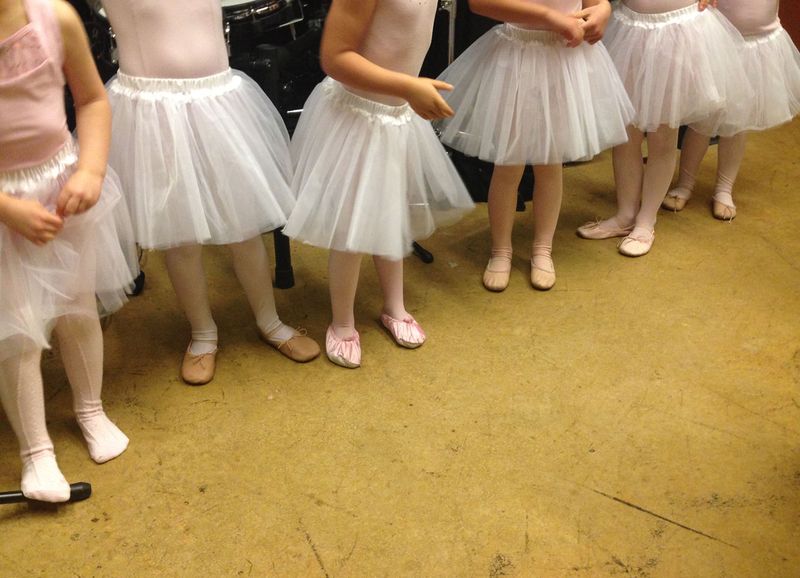
iPhone: Whatever app you like to use for editing, just change your photo to black and white and then increase the contrast afterward. This can help your photos really pop!
Photoshop: Honestly, I use the A Beautiful Mess Photoshop actions on a daily basis when I edit for clients or when I take pictures for the ABM blog. There are different black and white actions to choose from in each collection. When you purchase an action pack, you also receive instructions to set them up and use them!
Thanks for letting me share! xo. Janae
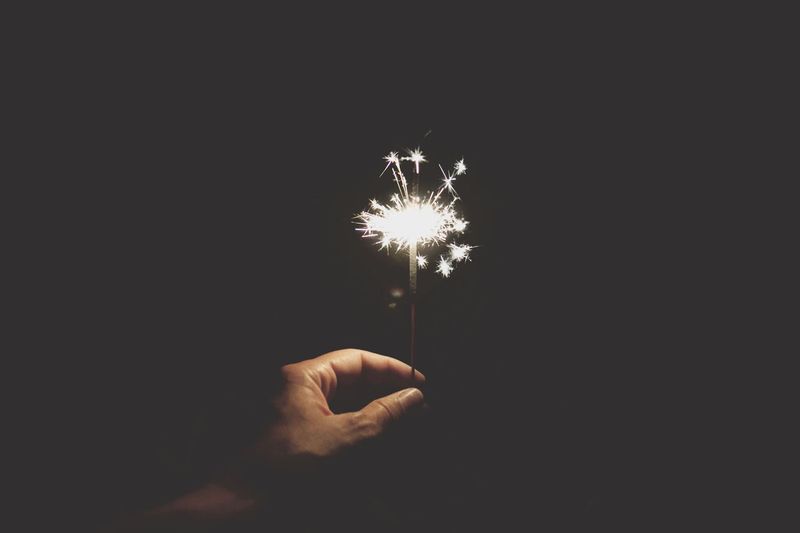
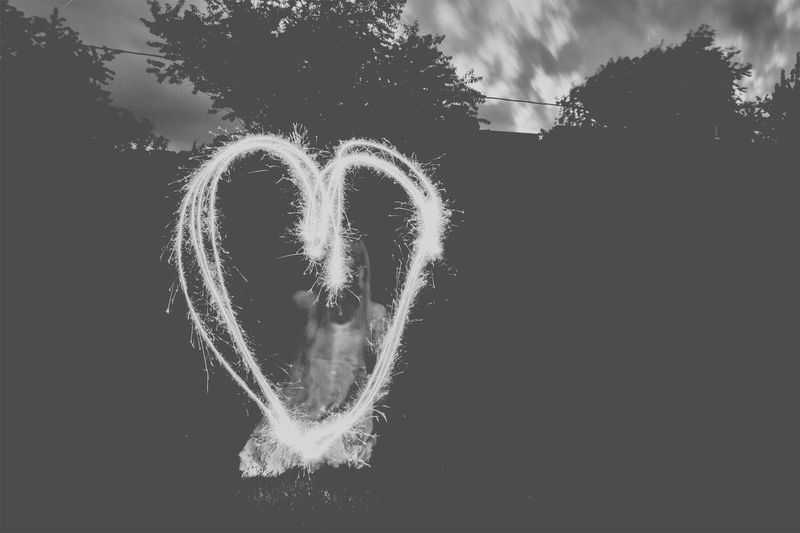
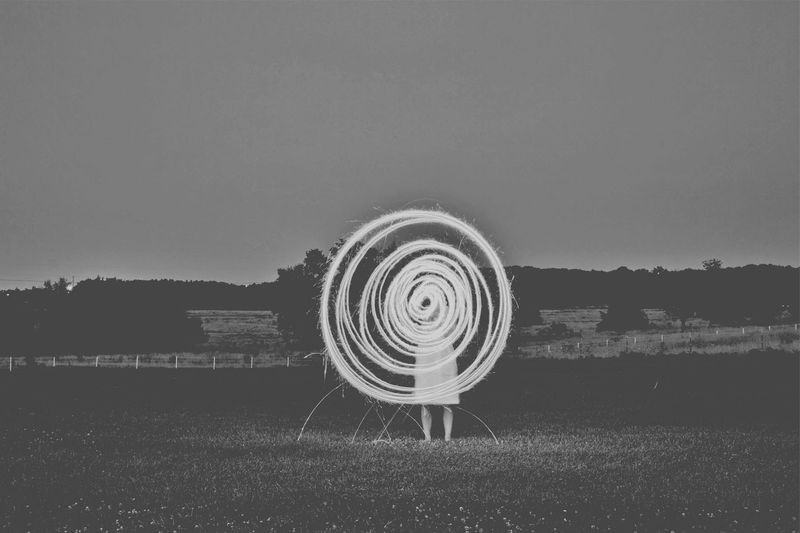
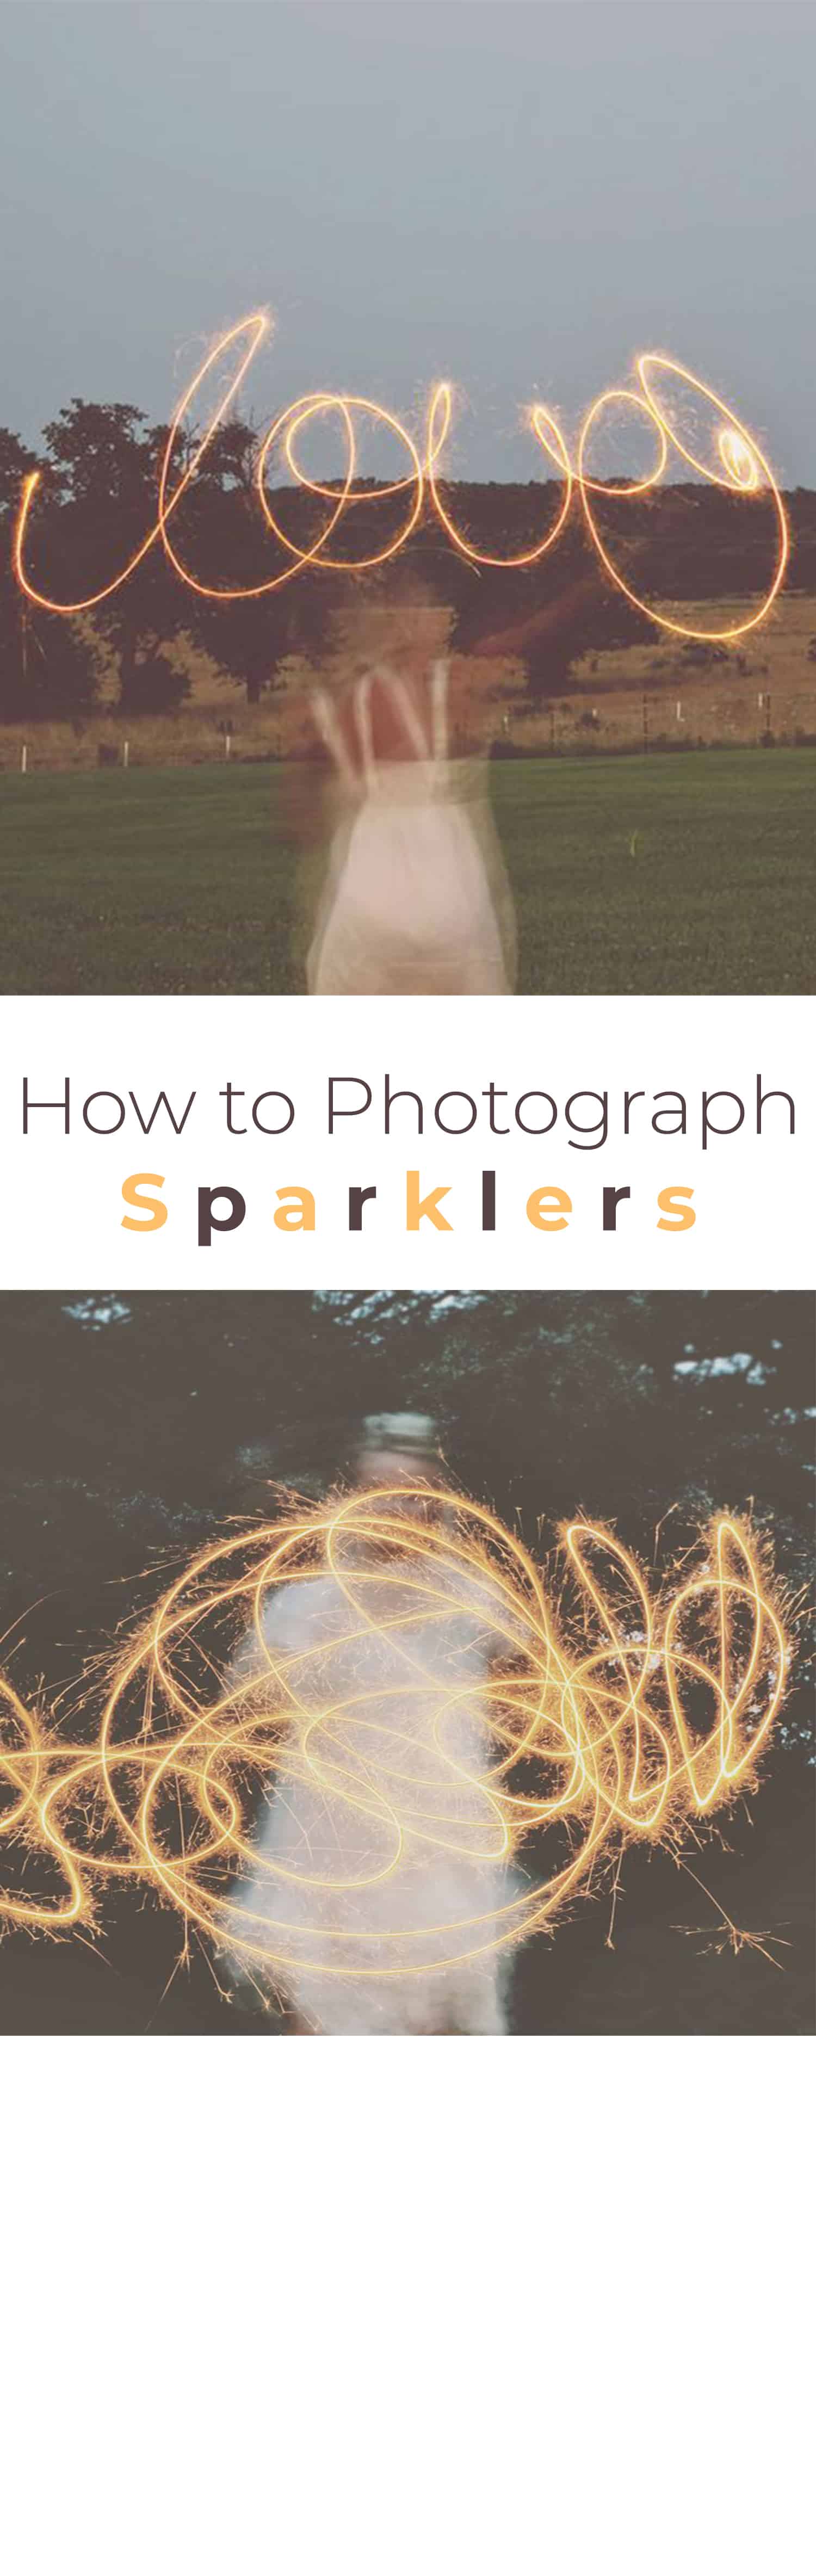
]]>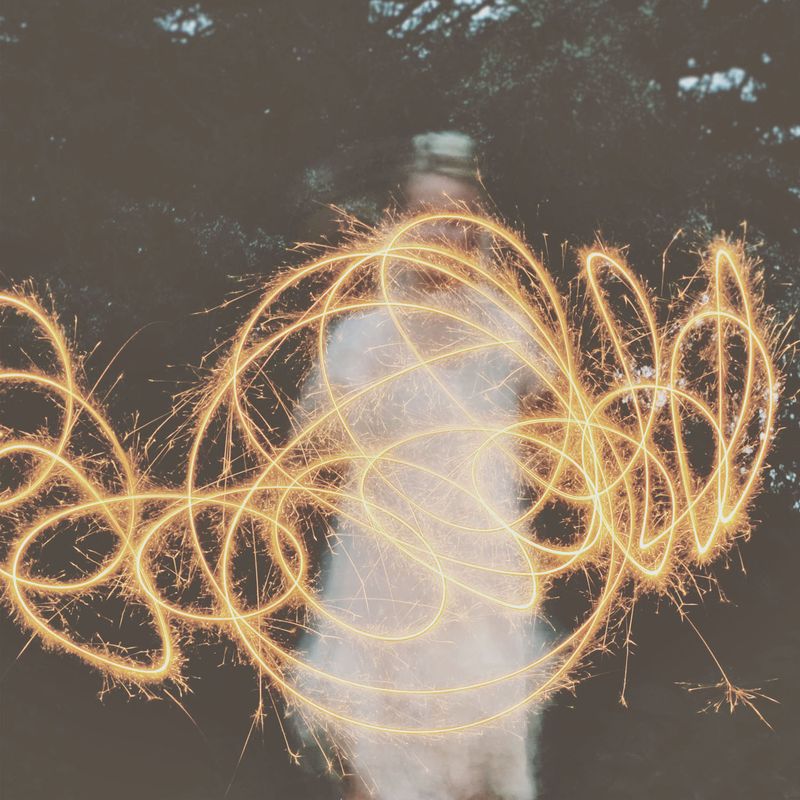 Light painting is a beautiful phrase, isn’t it? Light painting happens when your camera records the movement of light. In this post I’m going to show you how to paint with light using sparklers!

What you will need:
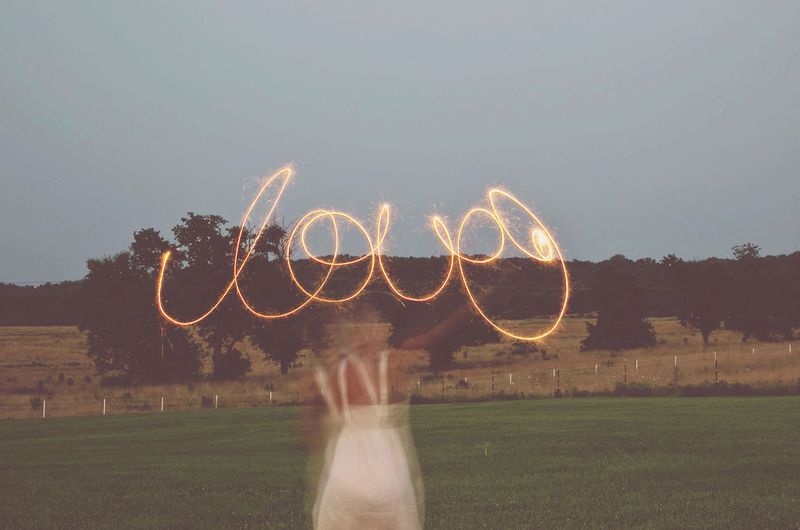 The light is really low right after golden hour, but you should have a tiny bit left to light up your scene. The light from your sparklers will not be as strong because it is not pitch black, but that’s OK. If you are trying this out for the first time, I would hold off photographing in pitch black until you can really master light painting with your camera.
 Some photographers like the ambient light from magic hour and others don’t. It’s totally up to you! If you do decide to shoot in the dark, bring a flashlight and buddy to hold it for you. Set your camera on a sturdy tripod or sturdy spot (pile of books, table, etc.).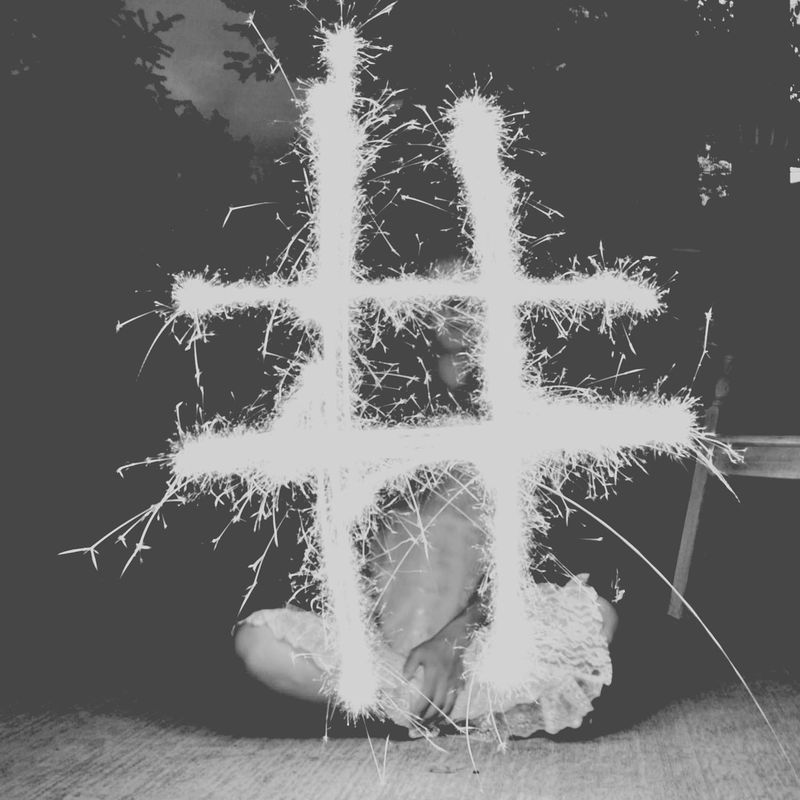
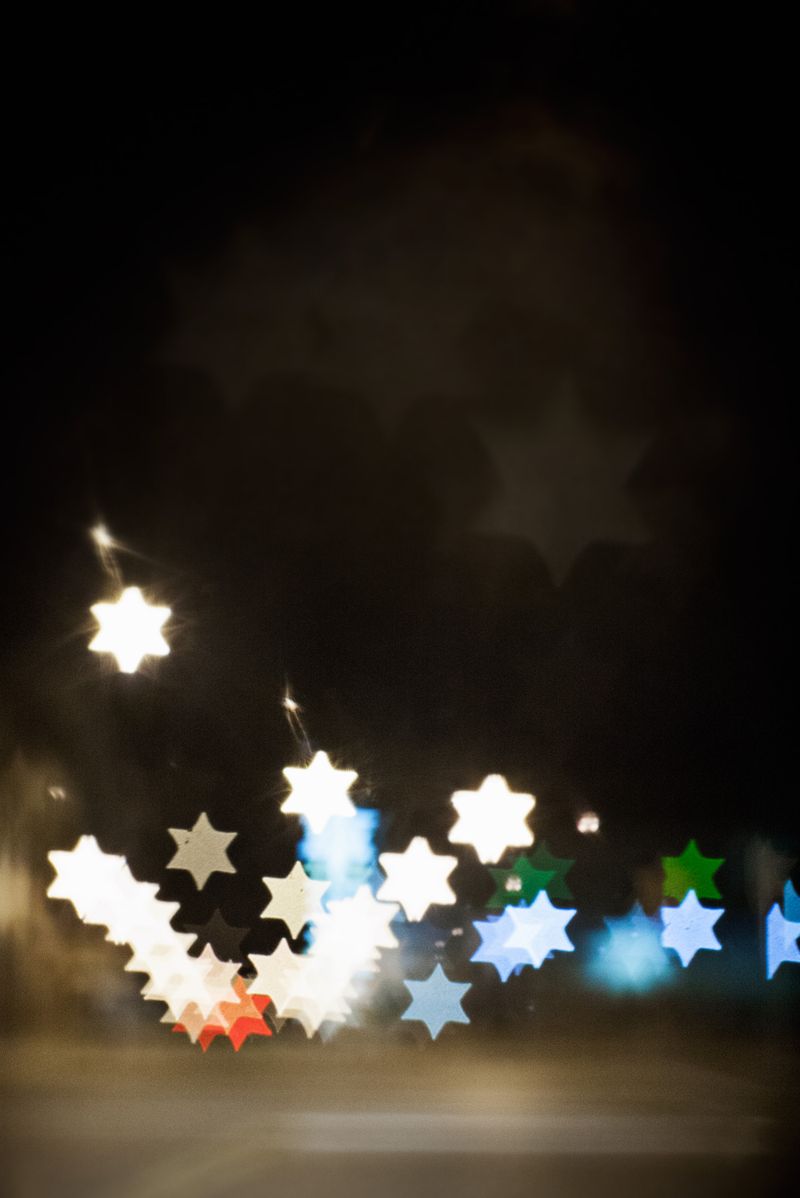
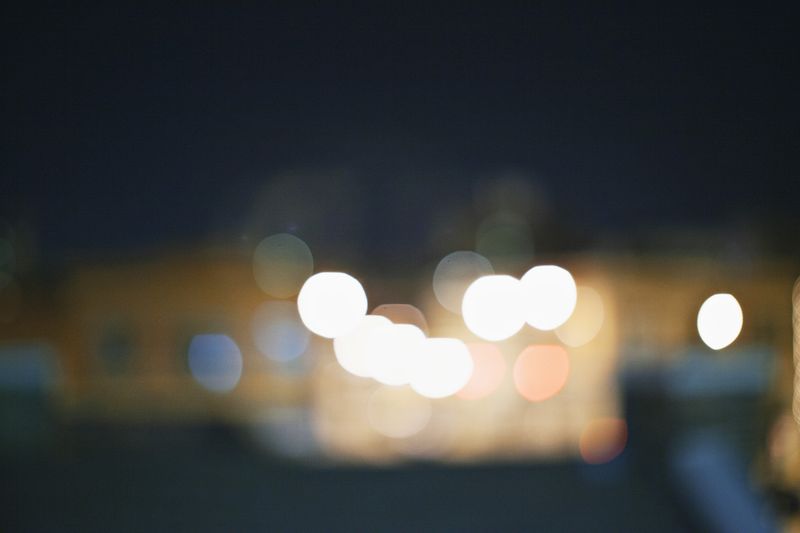
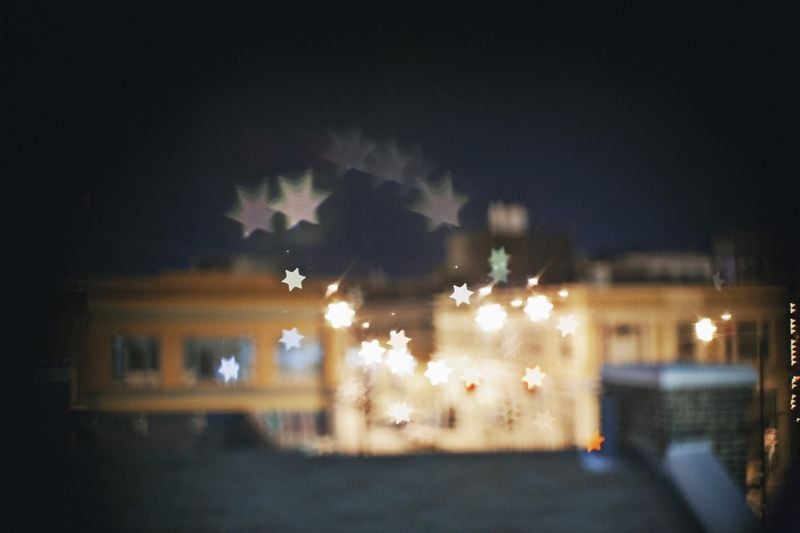
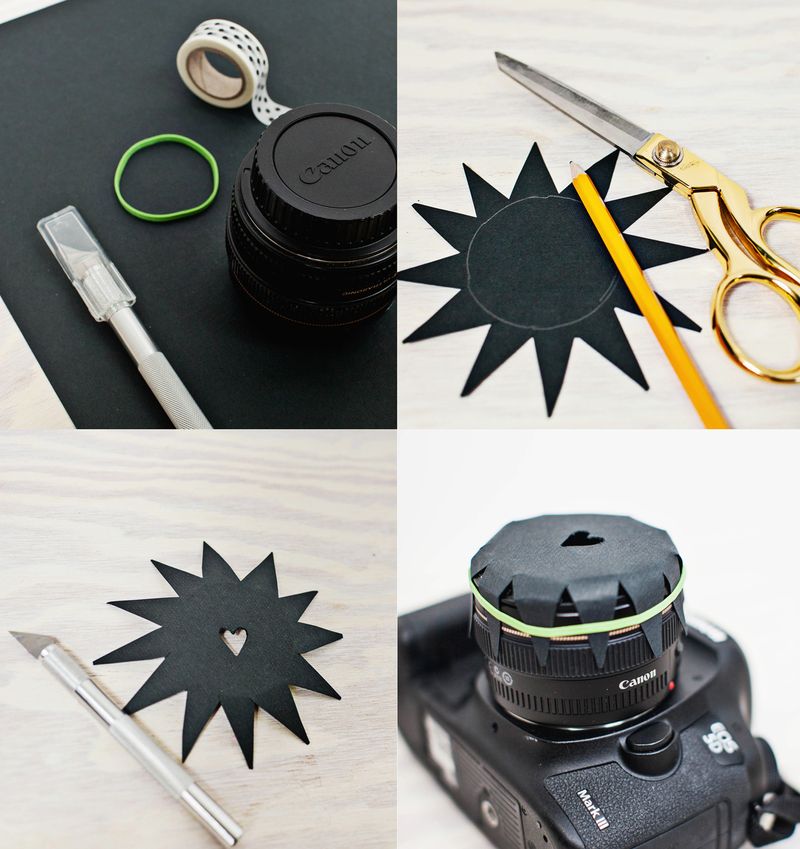
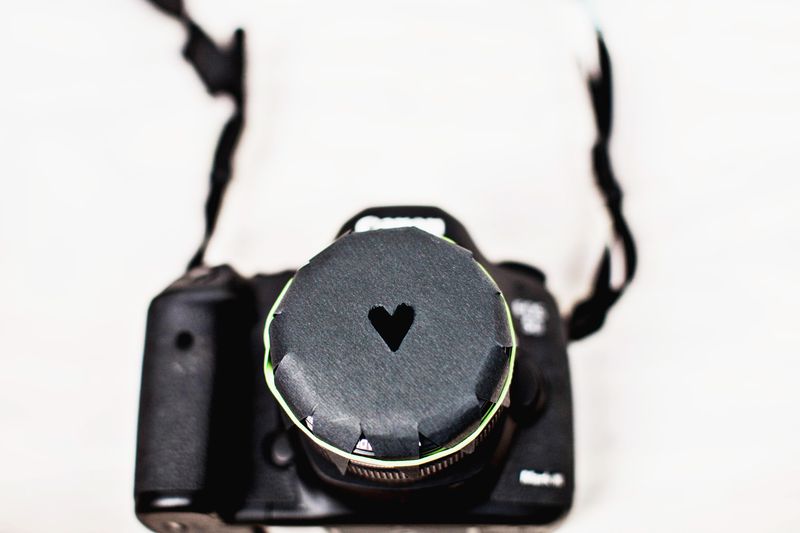 Next, take your DSLR, switch it to manual and set your aperture to the lowest number. The lower the number, the less depth of field you will have…which results in a great bokeh/blurry background! Turning your camera on manual focus will give you full control of focusing. Play with your focus ring until you see the shapes appear!
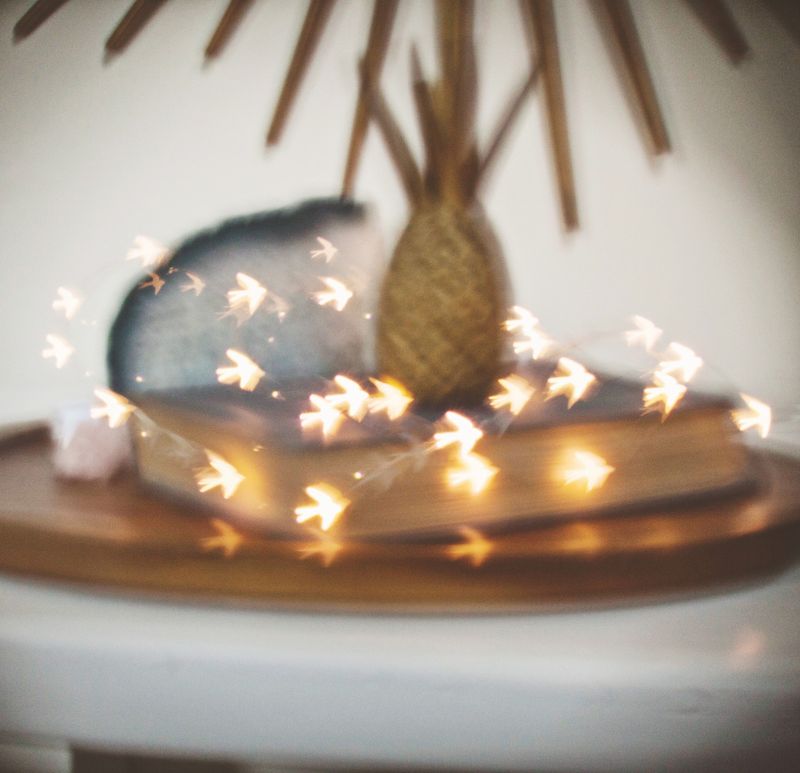 For these pictures I used a thin string of LED lights. These lights are really great to practice with! I used these
 .
.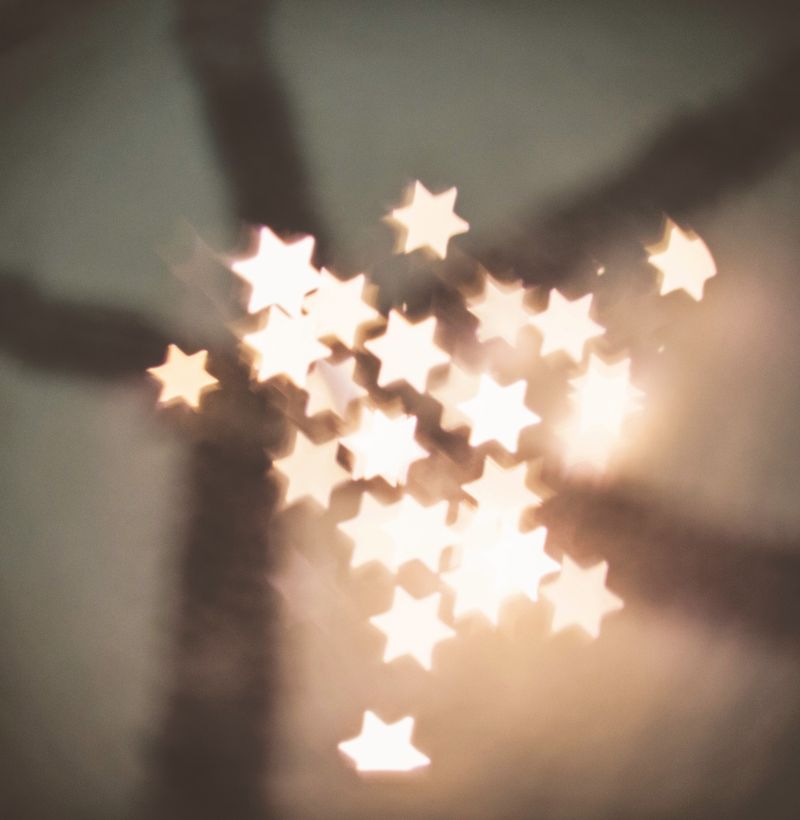
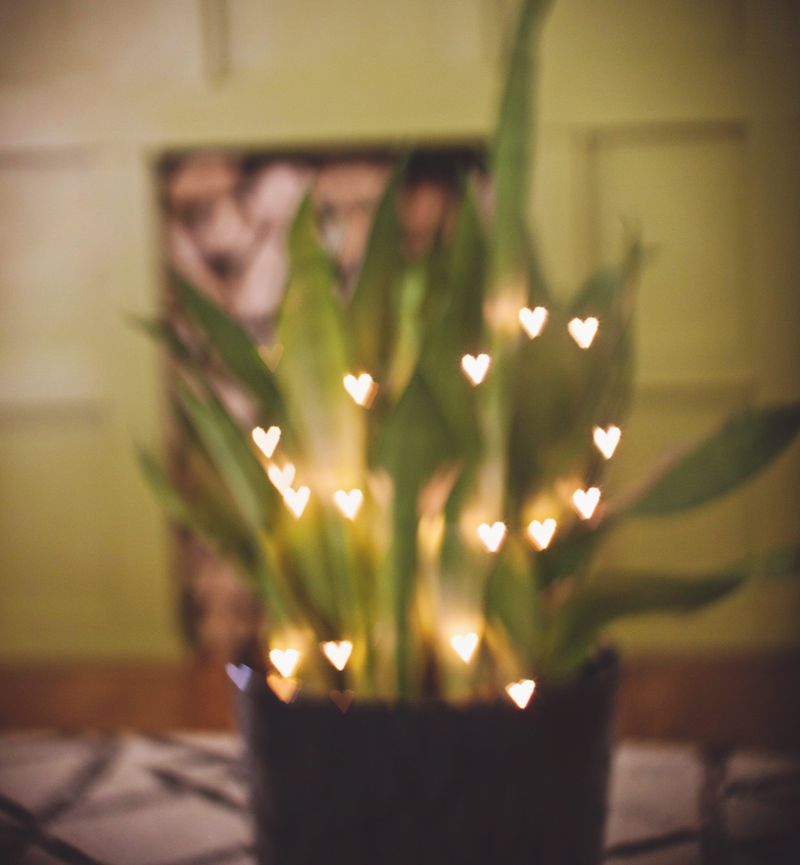 The results are quirky and fun. If you don’t want to make your own bokeh kit, you can buy one instead. A premade kit is easy to set up and you get lots of variety with the shapes. It comes with a lens cover that has tabs where you can insert different shapes. Instead of paper, the kit is made from a sturdier plastic material so you get more longevity. I found this kit here.
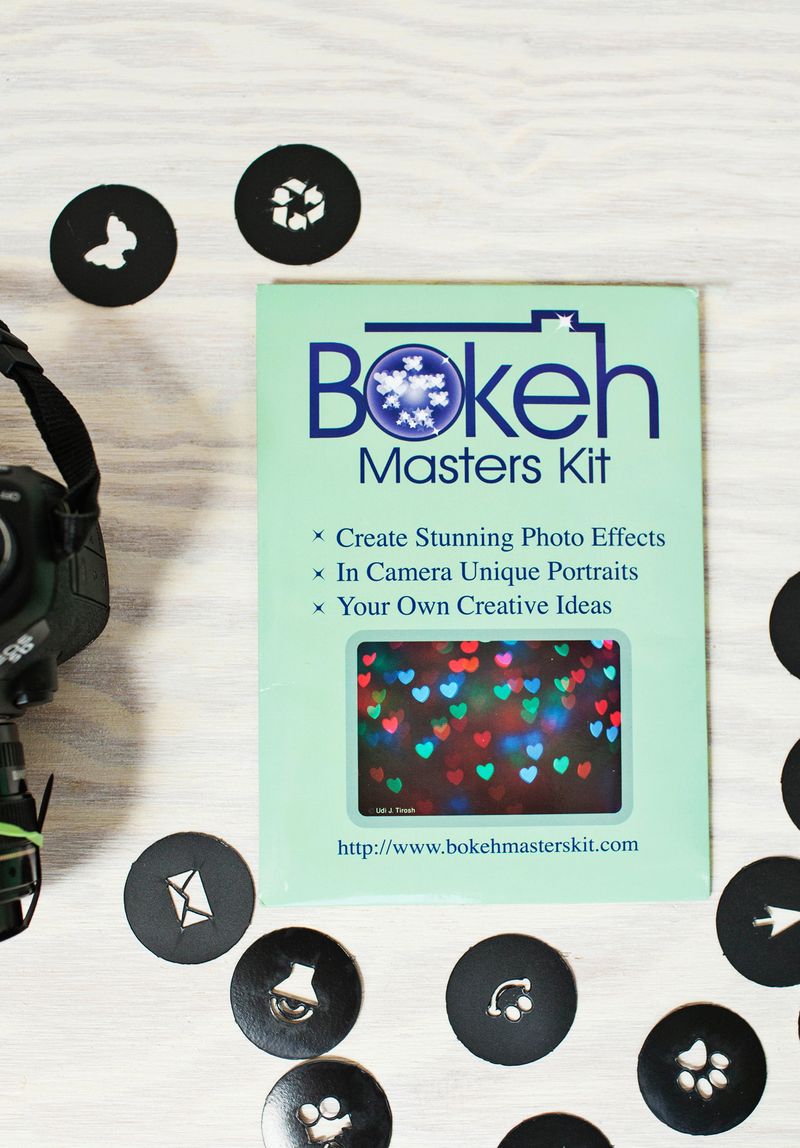 With the kit, just open, read the quick instructions, and you are ready to go.
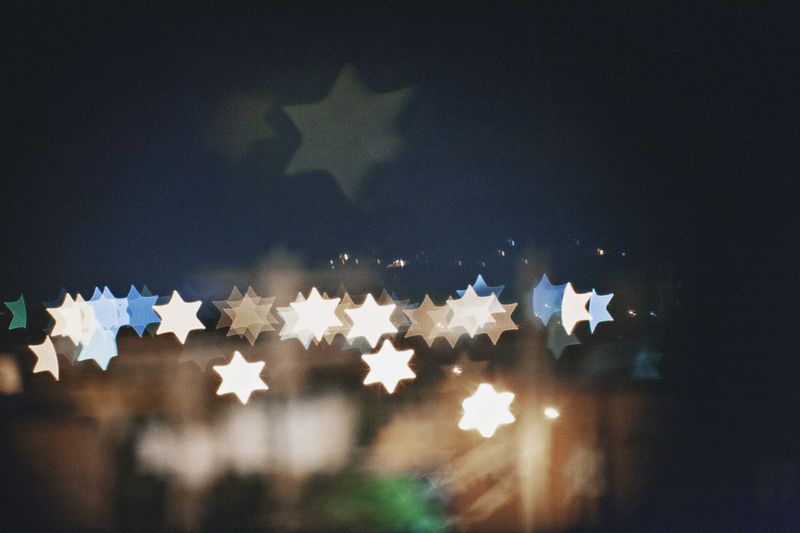
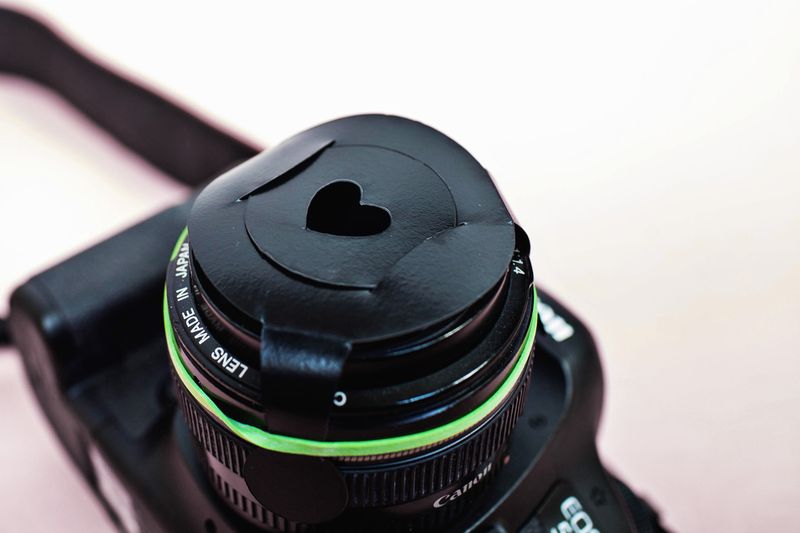 Tips for great bokeh: Make sure that you always have lights in your background. Each light will take on the cutout shape on your camera lens. If you want lots of shapes, then have lots of lights in the background! Also, the bigger the lights, the bigger the shapes. You can use any kind of light: cityscape, stop lights, patio lights, candlelight, indoor lighting…the options are endless!
  href=”http://www.theitsybitsyhouse.com/” target=”_blank” rel=”noopener”>Janae
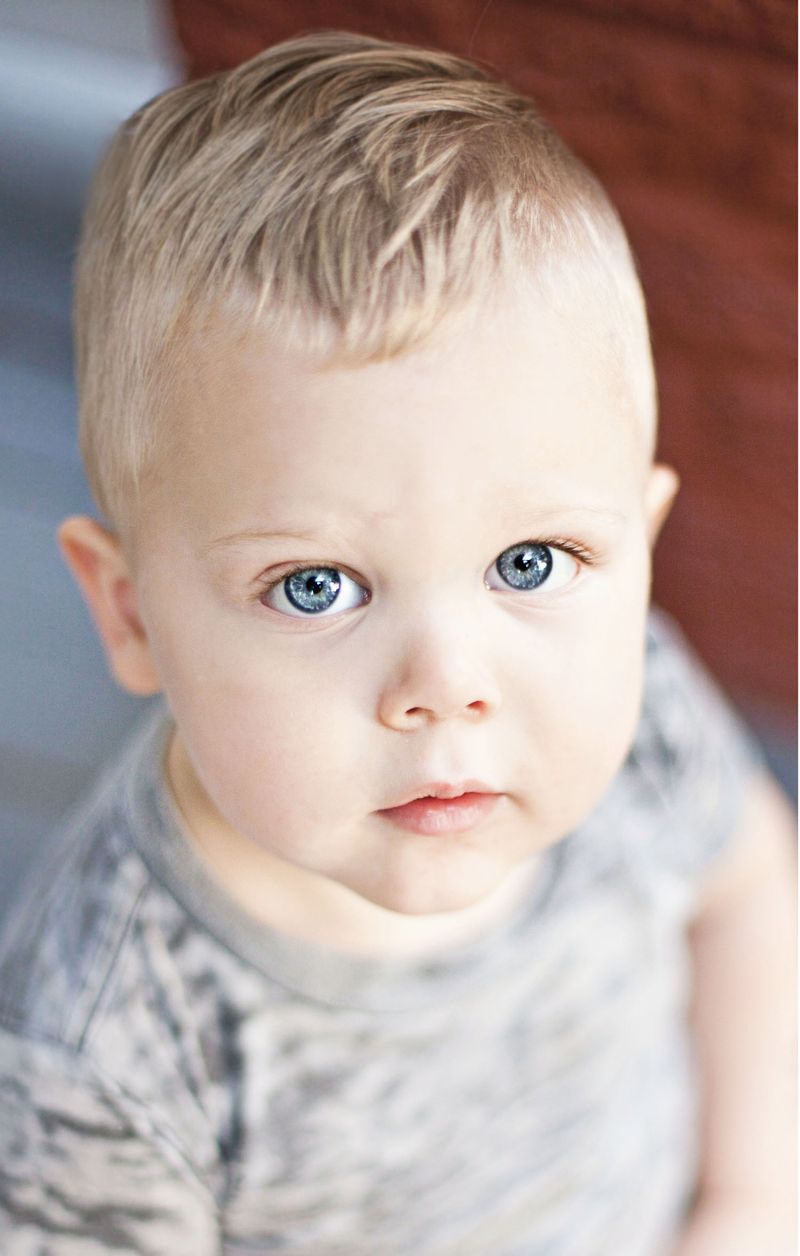 Have you ever seen a portrait (photograph or painting) and you get lost looking into the subject’s eyes? I went to an art museum that had a huge Daguerrotype (a type of early photography where the image was literally ingrained on the metal plate) collection on display. There is something about a Daguerrotype that makes the subject’s eyes deep and alive. I stood in that museum for who knows how long studying each and everything about the portraits. I just couldn’t help it…they were mesmerizing! The beauty of each Daguerrotype was amazing. I felt like I was looking at the person in real life (even though they were taken in the 1800s). A Daguerrotype has a way of making the human eye glow that no other photo process (in my opinion) can do. The subject’s eyes are a huge part of a successful portrait…they are the window into the soul, after all!
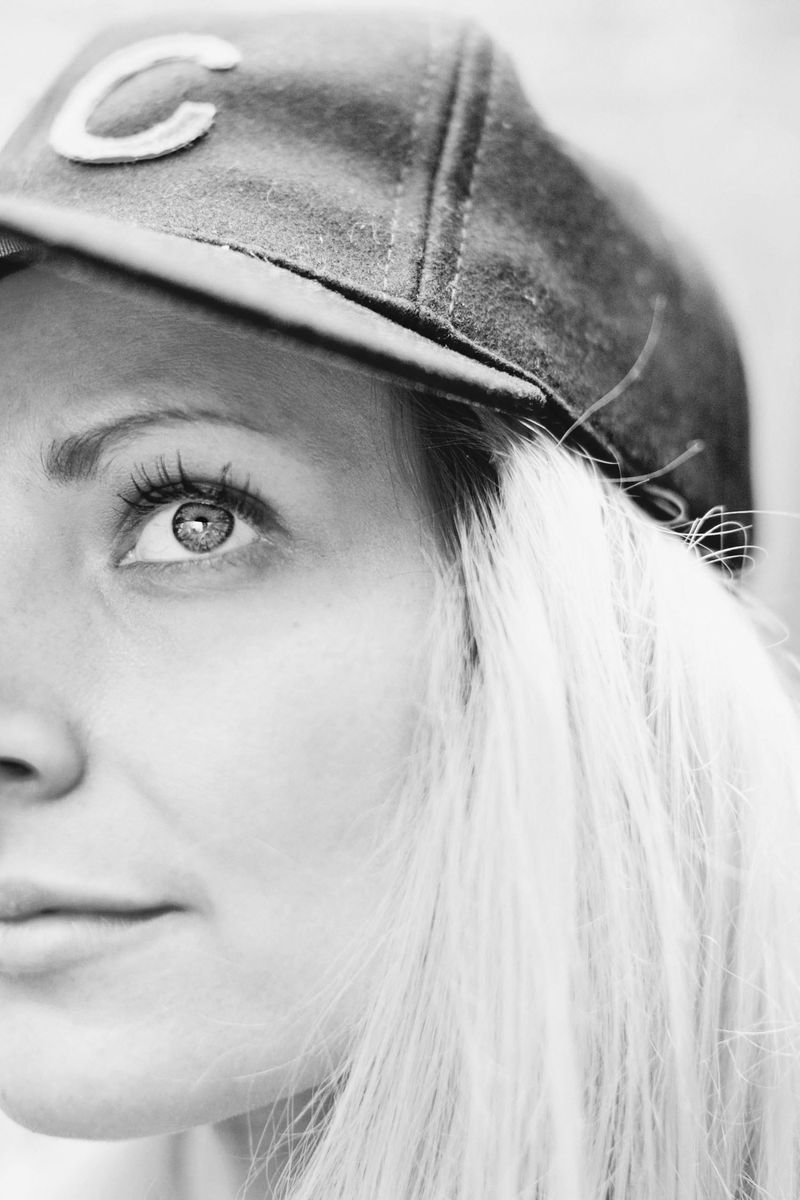
A detail in portrait photography that often gets overlooked is illuminating the subject’s eyes…when this happens it is called “catchlight”. Utilizing catchlights are a great way to enhance any portrait. If you’re not sure what a catchlight is, the explanation is super simple: A catchlight is the light source reflecting in your subject’s iris. It looks like a tiny white spot in the eye, but don’t let the small size of the catchlights fool you because those little highlights add depth and life to your portrait! An image without catchlights can easily appear lifeless.
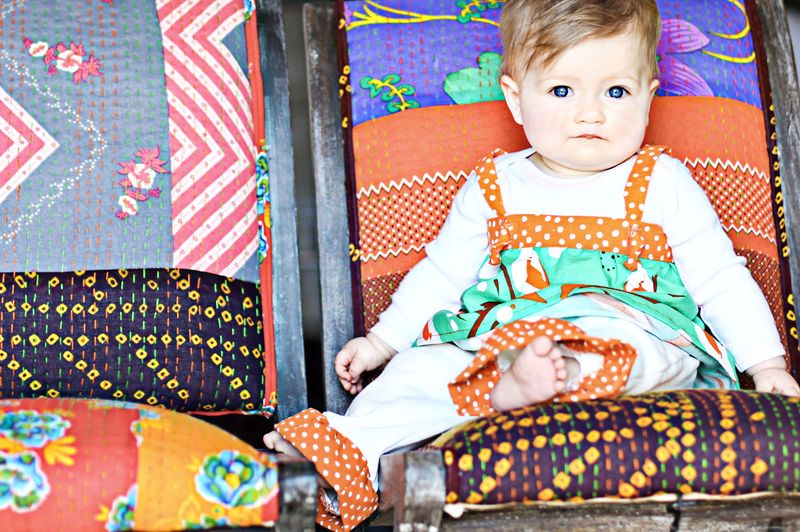
Light Source: Catchlights will mimic the shape of a light source. Different light sources will create different shapes. If you’re in a studio and the lights you’re using are square or rectangular, then your catchlights will be square or rectangular.
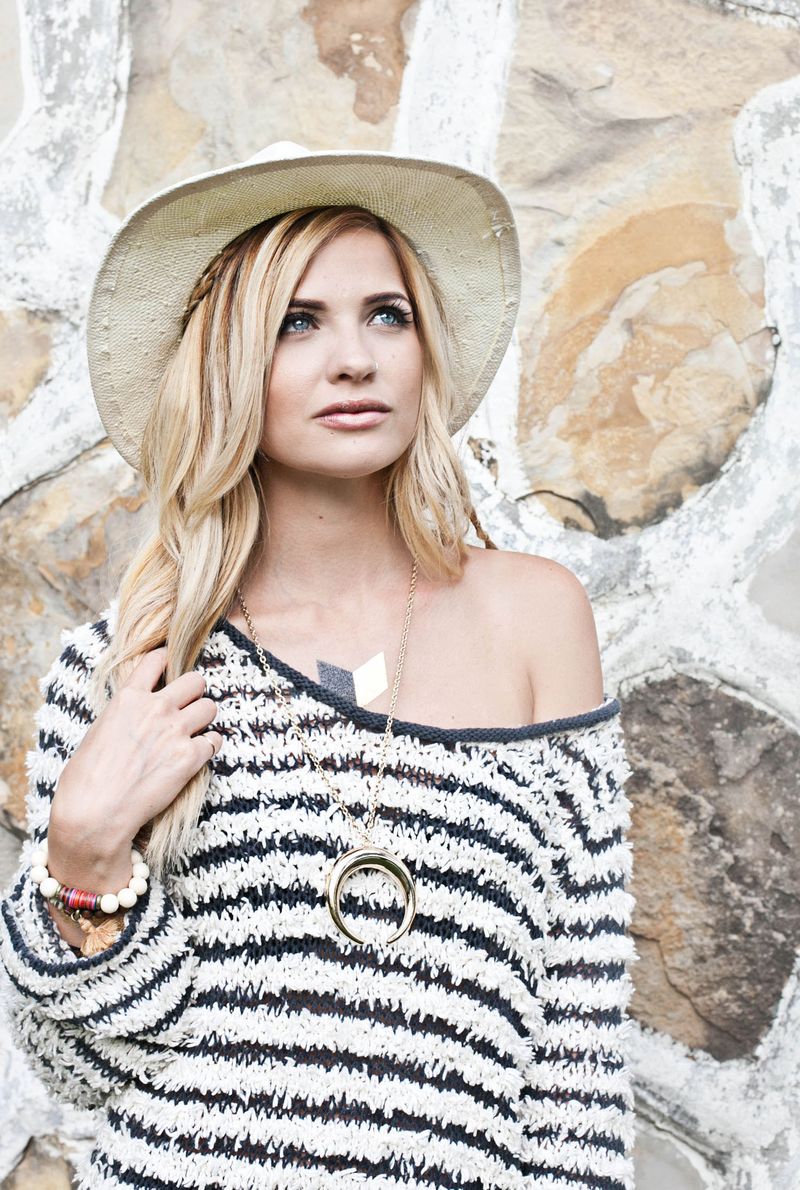
When you are outdoors, you can get some interesting catchlight shapes! Say there is a canopy of trees that is partially blocking the sun, then your subject will likely have the image of the trees reflecting in their irises (if they are facing toward the trees). Some photographers like their catchlights hitting the iris at exactly 10 o’clock OR 2 o’clock. They like these positions because when a subject is outside on a sunny day, the natural placement of the catchlights from the sun usually fall on the eye at 10 or 2. By no means do you have to follow that rule. It’s just one of those rules of thumb in the photo world that is worth mentioning.
Posing to get strong catchlights: Have your subject dip (or lower) their chin. This gives the appearance that your subject’s eyes are bigger.
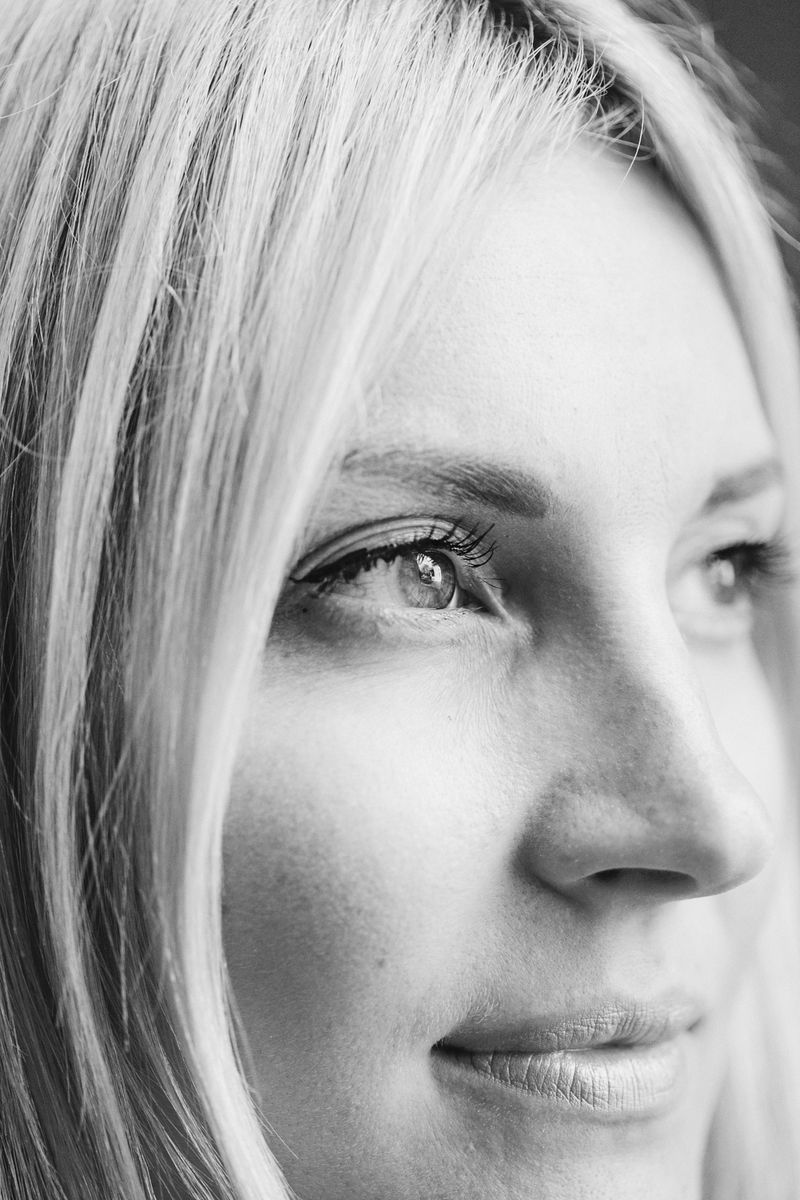
Using a low aperture will also make your subject’s eyes pop. The low aperture will make your subject’s face and eyes sharp while the background melts away.
Using reflectors to achieve great catchlights: If you really want to get the light bouncing off of your subject’s irises, go for a reflector! Reflectors are an essential piece of equipment when you are photographing outdoors. Have your subject hold the reflector under their face and move it around until you like the catchlights. Snap a few pictures to see if you are liking the results! If you are not happy with the results, simply have your subject move to the side. I call this “shuffling”. I usually have my subject do lots of shuffling until the lighting on their face is JUST right. Getting great light in your subject’s eyes takes time and keen observation. Let’s face it, it’s such a teeny tiny part that it can easily be overlooked.
Quick tips when photographing outdoors: Have your subject face the sun to get catchlights. If the light is too bright, then stick them in the shade but still facing the sun. Sticking your subject in the shade will give you even light and you still get great catchlights if they are facing the sun. Use your reflector to bounce the light back onto your subject.
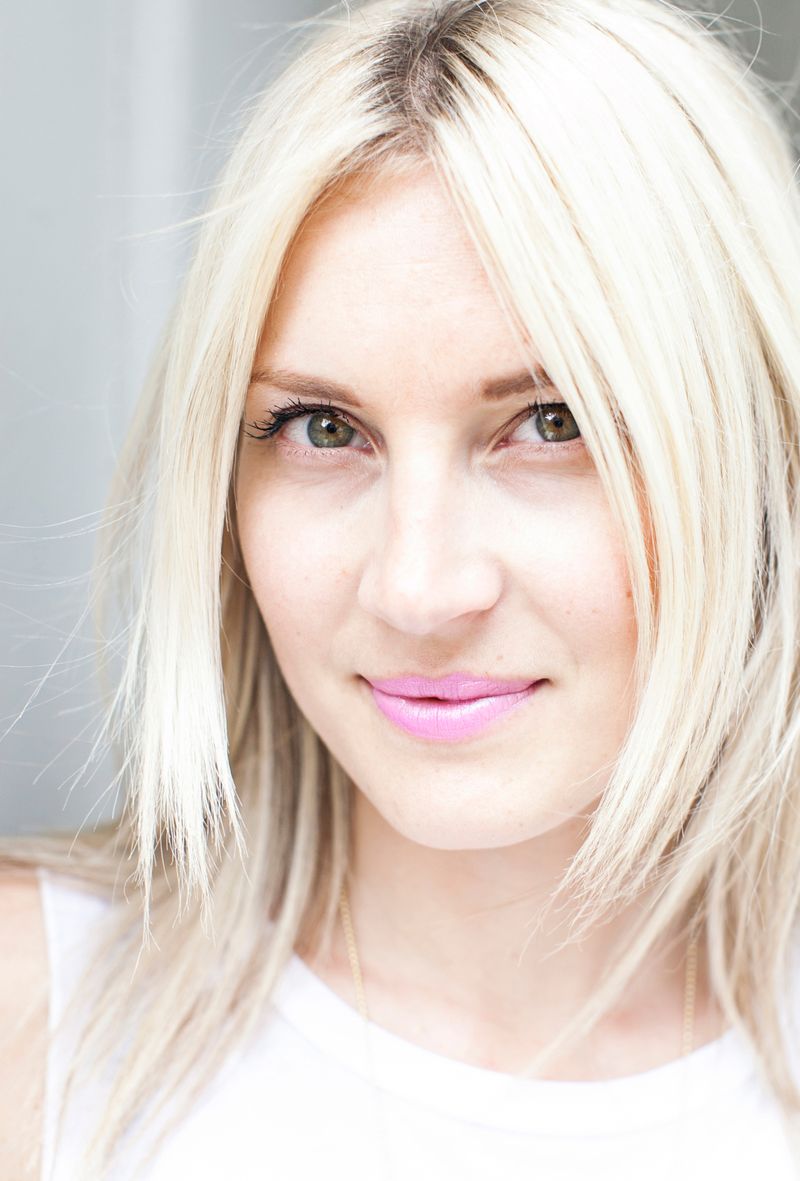
If you are indoors: You can create catchlights when you are indoors too! Find a window or door and put your subject in front of that light source. The light will reflect and create catchlights.

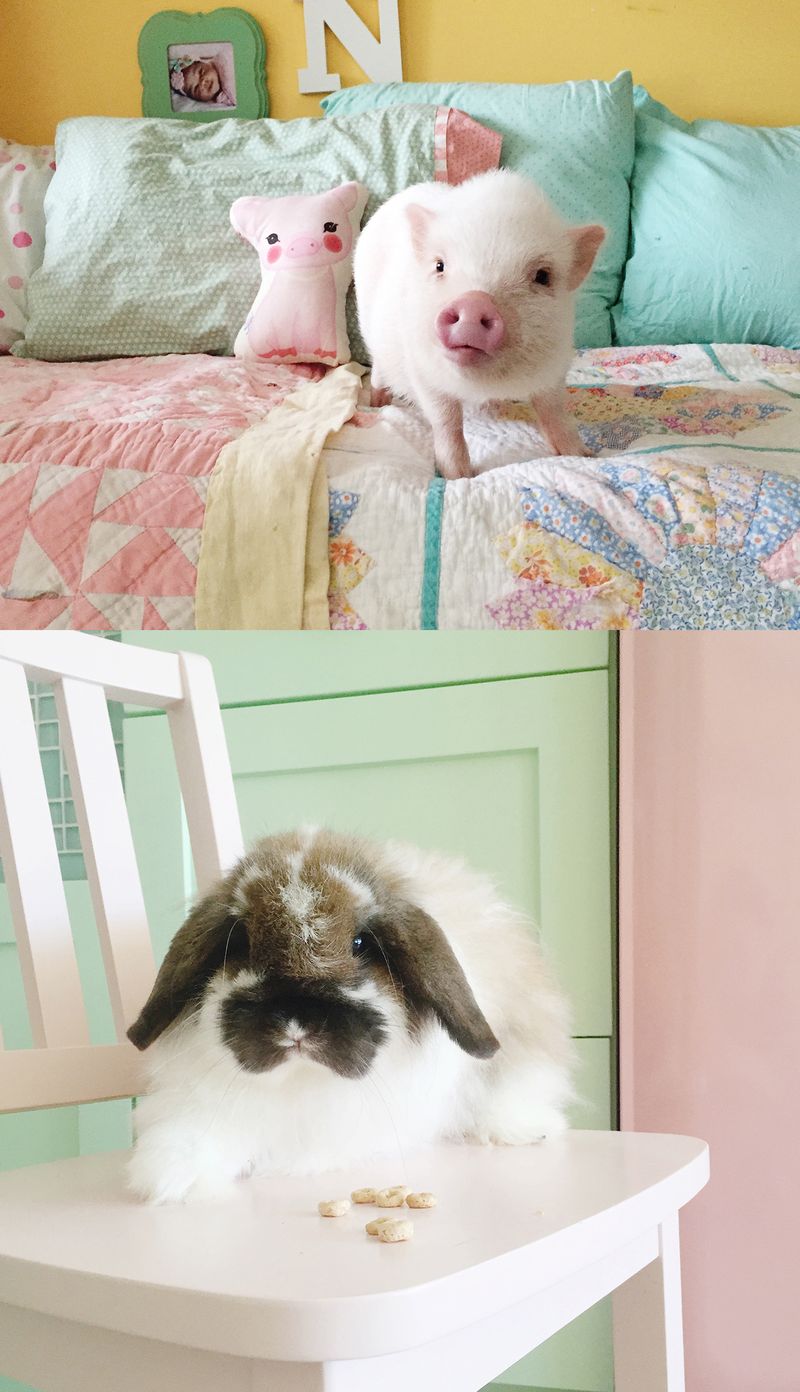 Hi! I’m Lindsey from Live Sweet Photography, and I am so excited to share my favorite tips about photographing all those critters in your life! We have quite the furry family at our home, and I love capturing all their cuteness!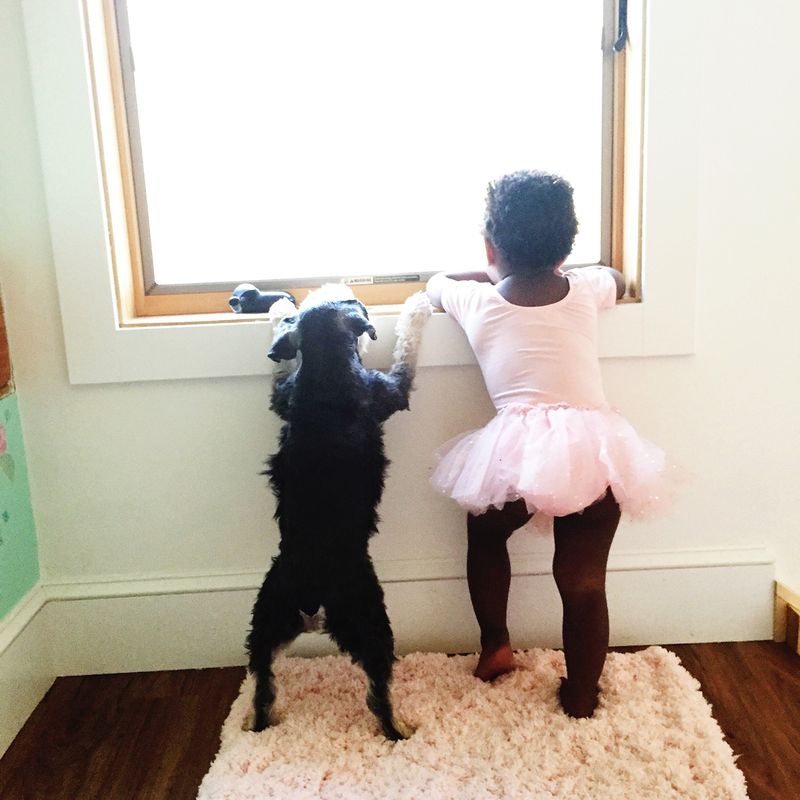
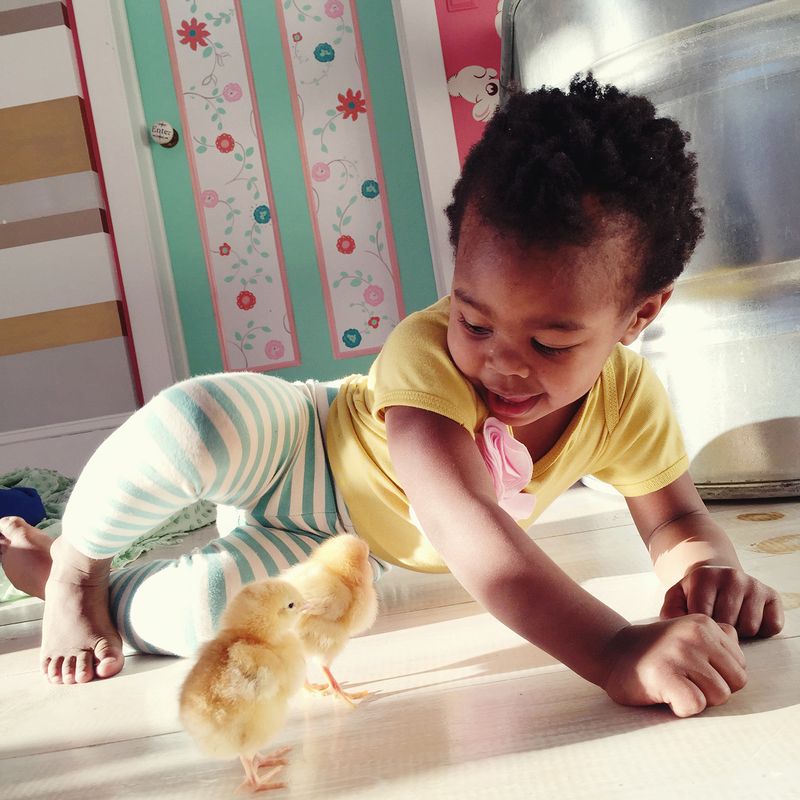 Use Natural Light (Whenever Possible!)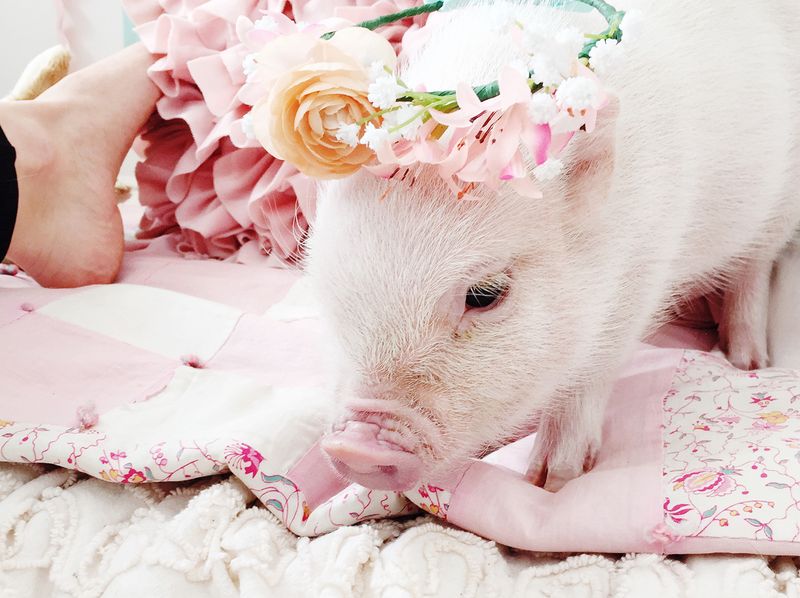
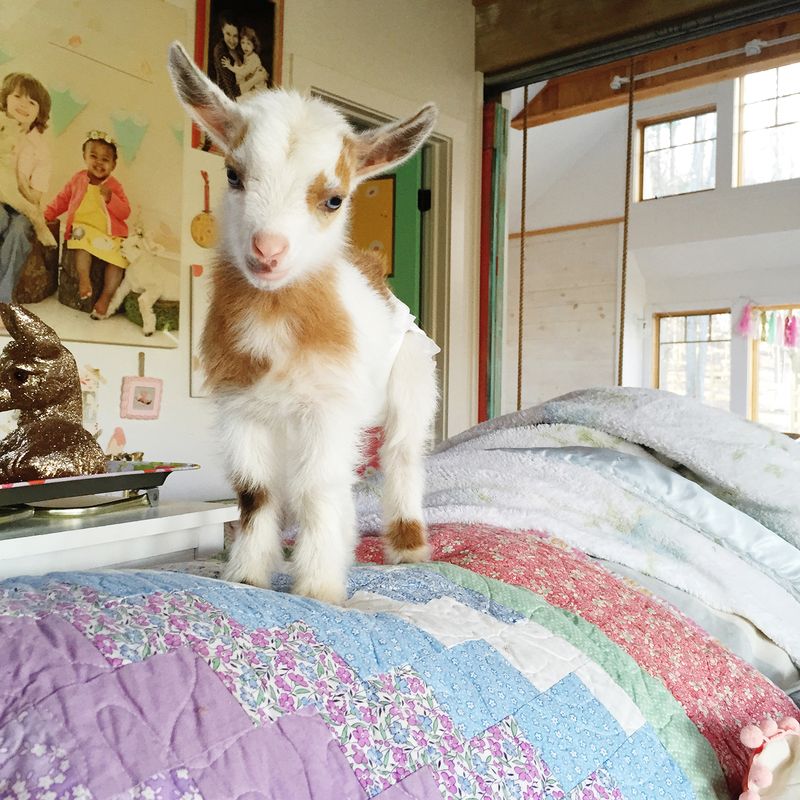 Get On Their Level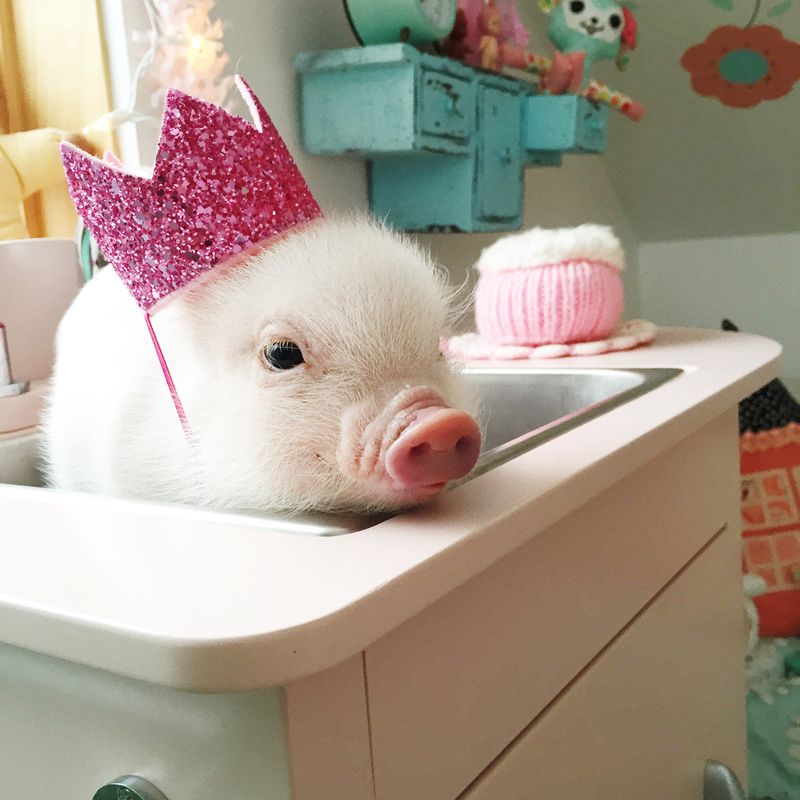
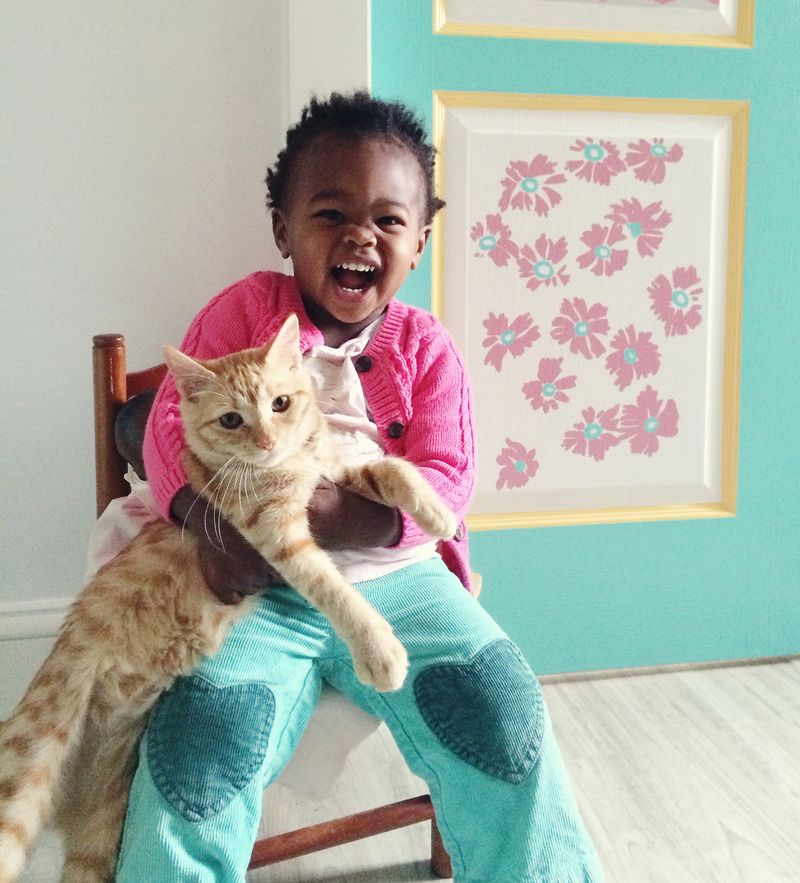
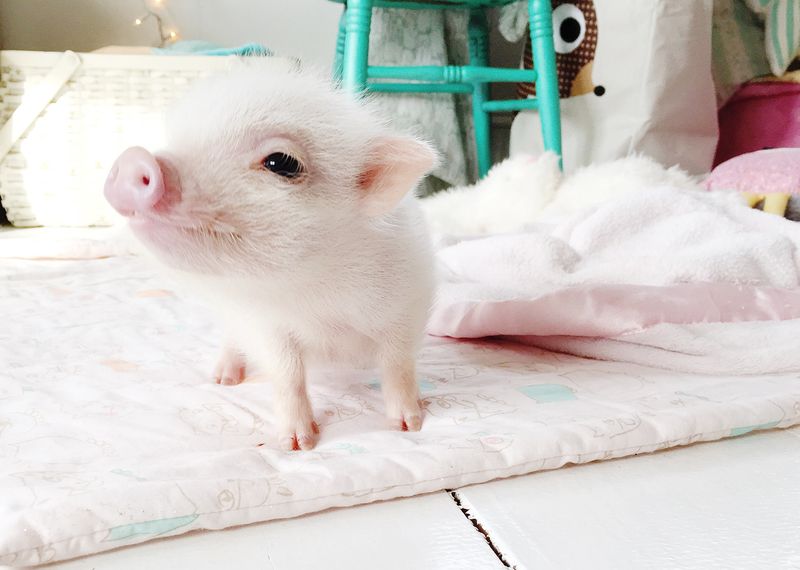
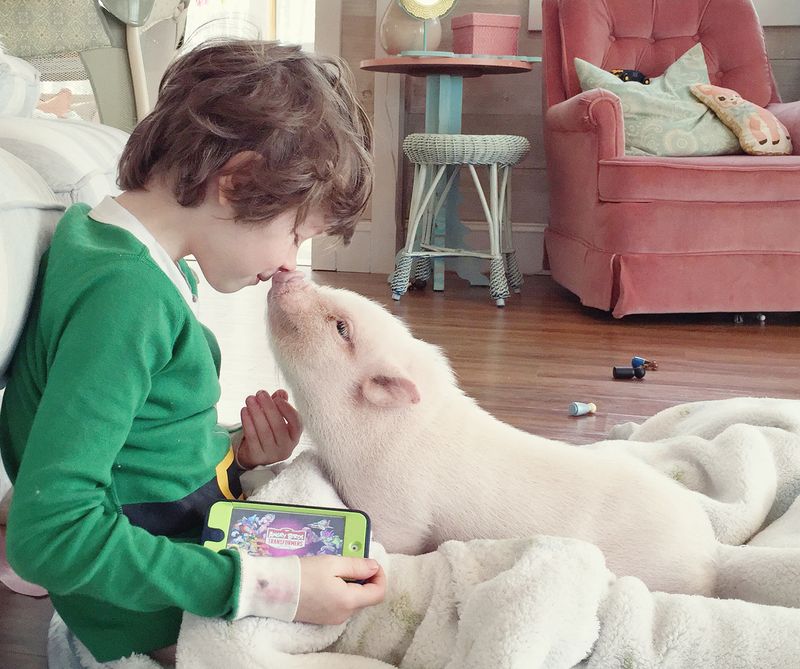 Shoot Lots of Options
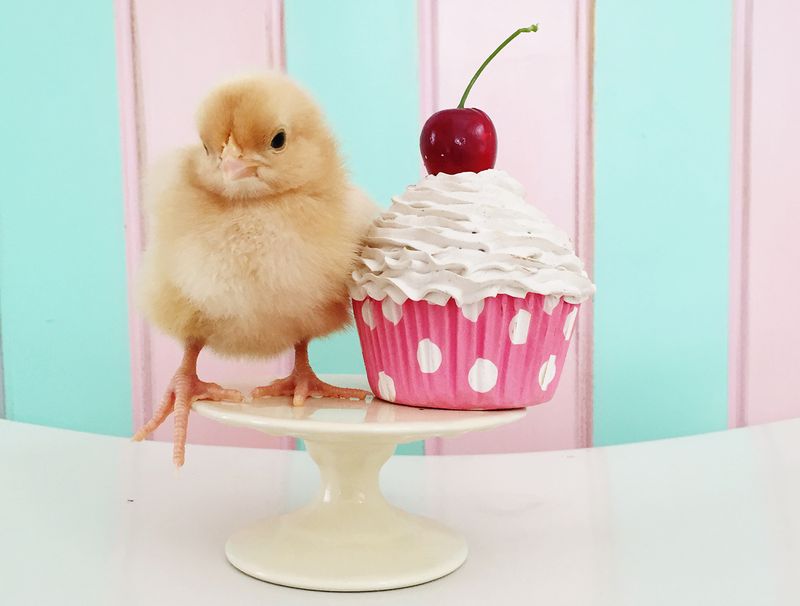 Try Using Props
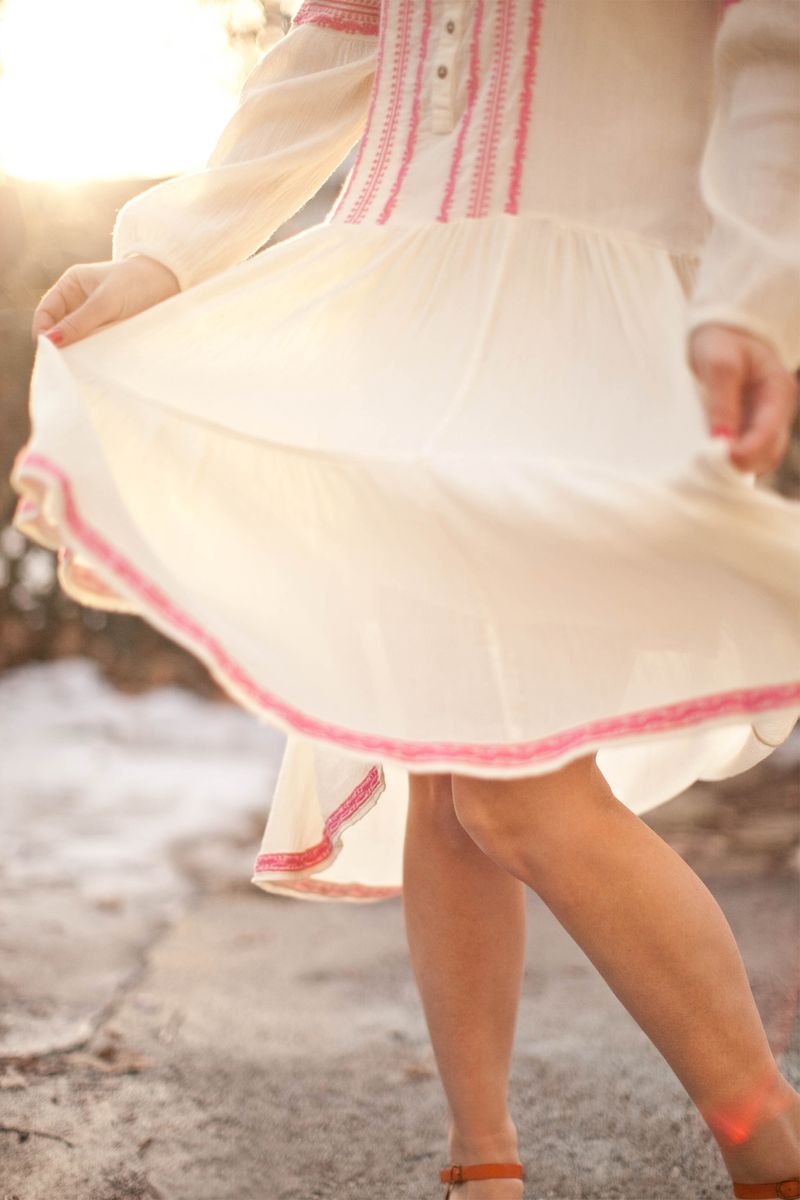
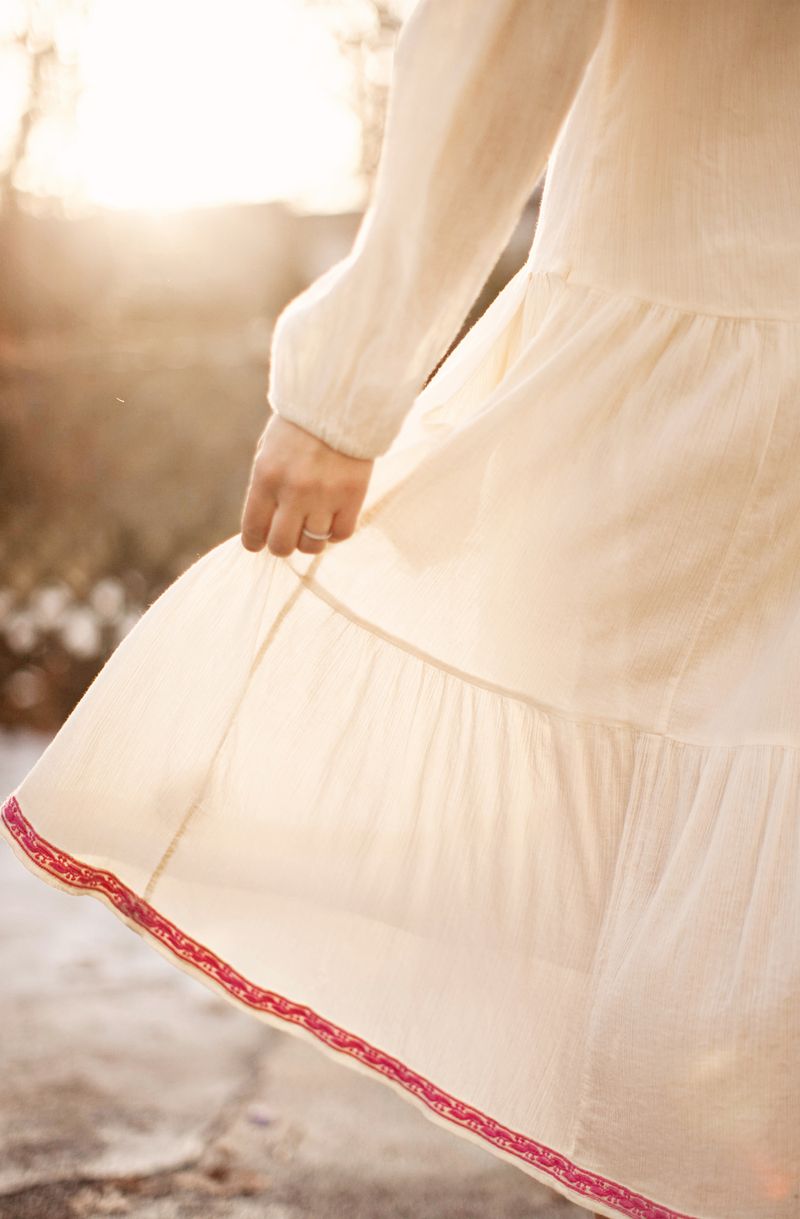 The phrase “magic hour” is music to my ears. It’s that time of day when all things are right in the photography world. I’ve nearly wrecked my car as I’ve passed a gorgeous field illuminated at magic hour.
The beauty of the dripping golden light falling everywhere making everything glow is just unbeatable and so darn pretty. If you aren’t sure what magic hour is (sometimes called golden hour), then let me explain. It is that time of day when the sun is near the horizon, glowing, and just about to set.
It is the hour as the sun rises and the hour as the sun sets. Before the sun rises/sets, it emits this hazy light that makes everything gorgeous. Most photographers agree that this time of day is THE best time to photograph.
Magic hour’s name is very true. The light is truly magical!
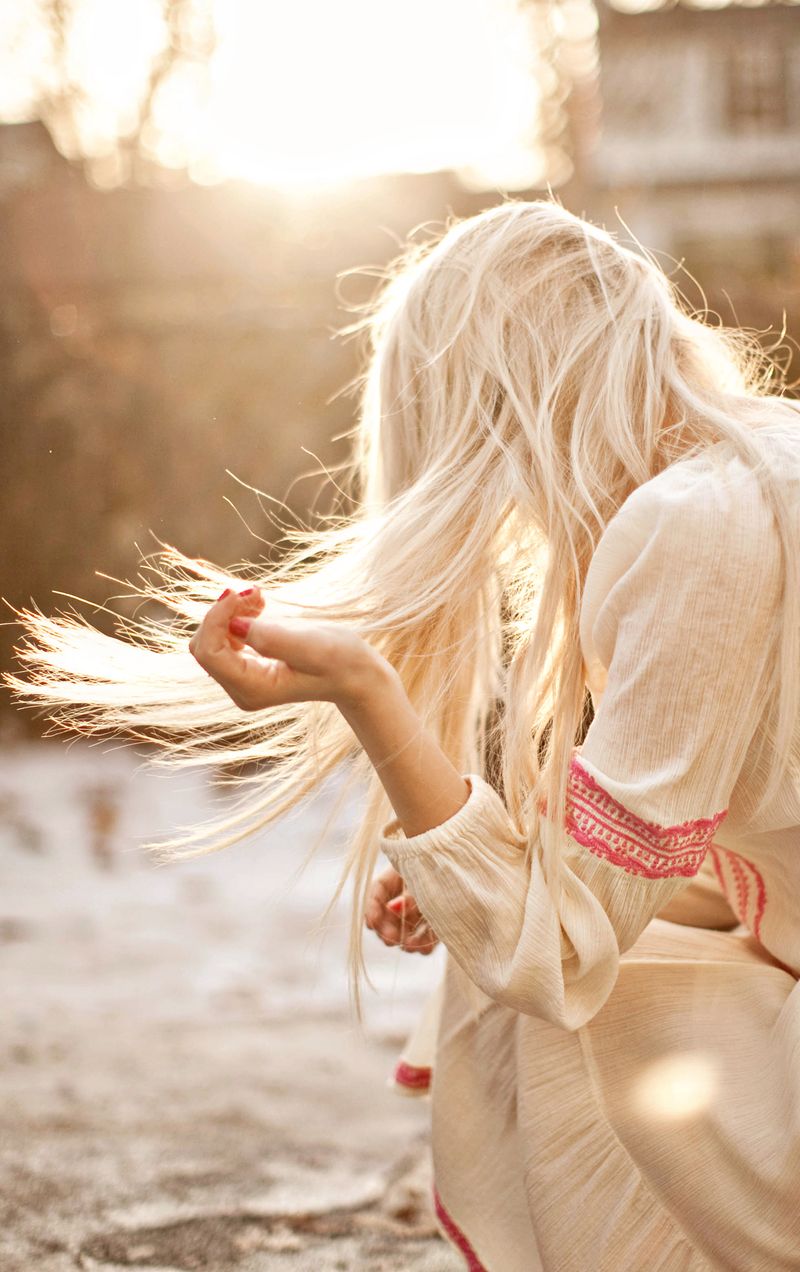
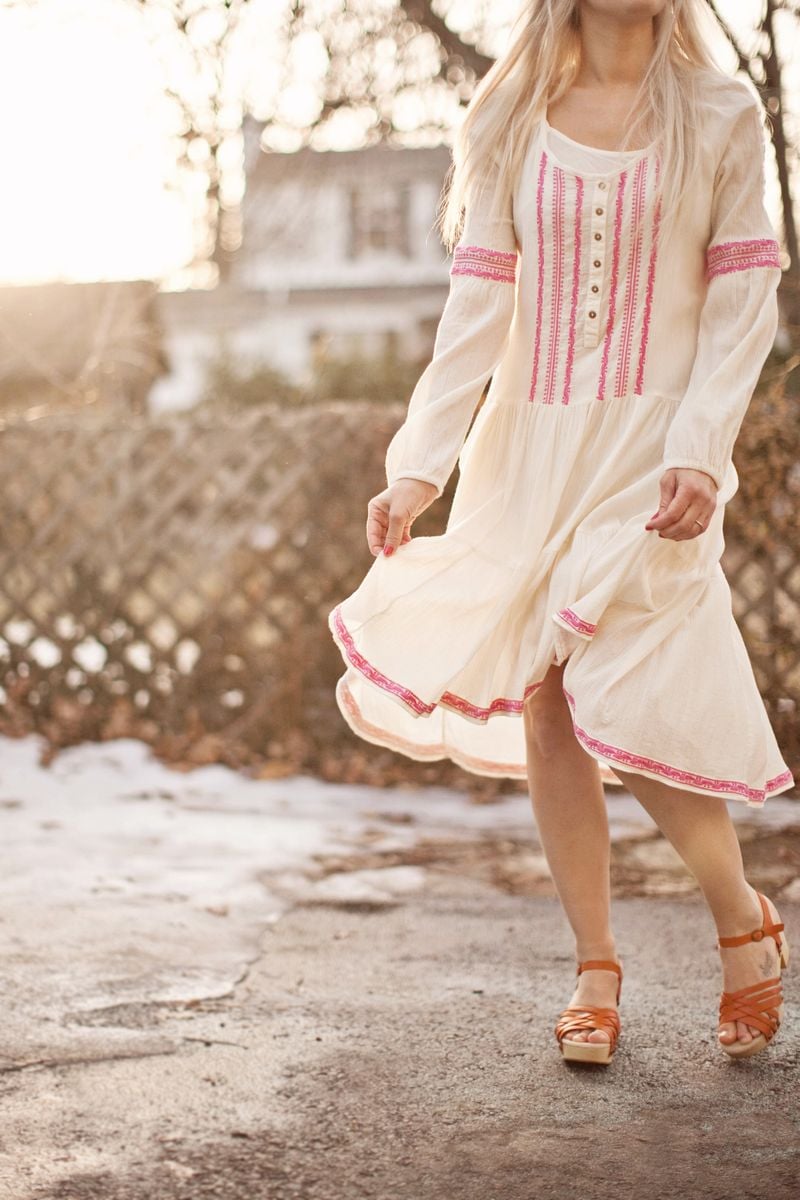
Taking pictures in the afternoon is really challenging. Think of holding a flashlight above your head with the light coming down your face. It would create harsh shadows of your facial features. Now think if you had the flash light pointed directly in front of your face.
You wouldn’t have such harsh shadows and the light would be more even on your face. The same holds true when the sun is pointed directly in front of you, instead of directly above you. The direction of the light is everything!
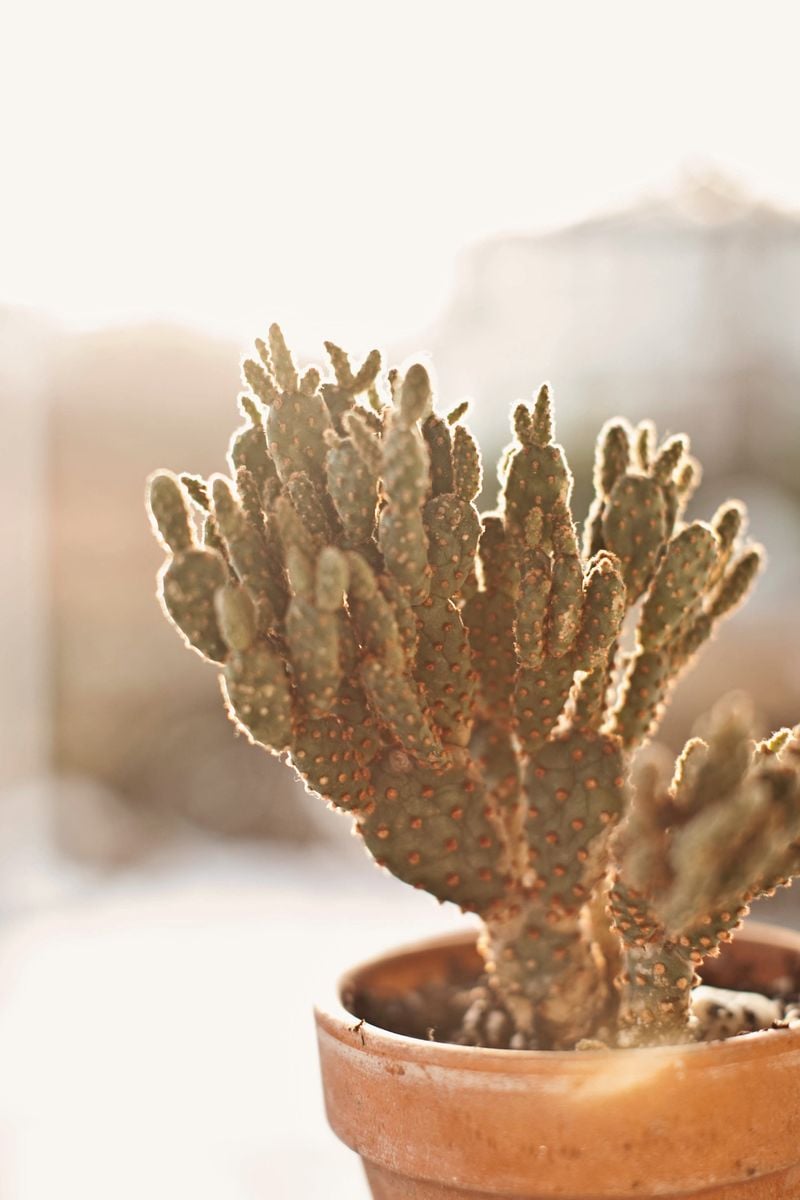
I also think that the light is not as strong as the evening light, which casts a strong warm hue. The morning light is more pure if that makes sense
It’s worth the wait to get the best light. Determining when magic hour happens in your location is really important. There is an app called Magic Hour that will tell you when magic hour happens in your area…it’s super helpful!
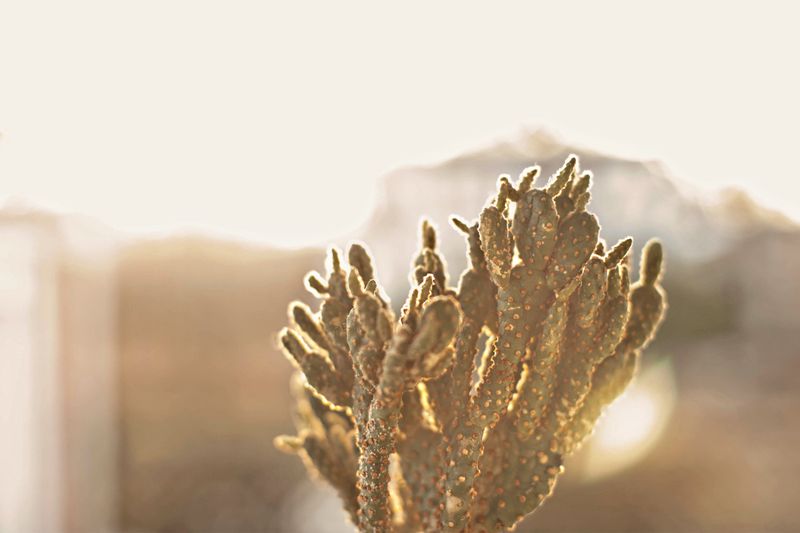
Stick your subject in an area that is shaded (often called “open shade”). Taking advantage of the even lighting will definitely enhance your subject. Harsh lighting will create strong shadows on your subject and let’s face it, who wants harsh shadows all over their face? If the scene you are wanting to photograph your subject in has no available shadows and your only choice is to photograph in the open sunlight, then grab a scrim and a helper.
A scrim is just a piece of light-weight fabric that diffuses the light. The scrim is placed between the light source (sun) and subject. As the light goes through the scrim, it is softened and diffused and takes away the harsh shadows and bright highlights. Investing in this piece of photography equipment is well worth it and will give you a ton of freedom to photograph at whatever time of day you like!
What if magic hour light doesn’t happen? This has happened many times. A photo session will be scheduled months in advance, the time is set at magic hour, and then it turns out to be cloudy…what to do? If that golden light is just not happening, it can be really disappointing if you had your heart set on it!
But don’t be discouraged because the cloudy weather actually diffuses the sun and makes the light really soft and even. You won’t get the sun streaming through and making your subject glow, but you can still capture beautiful images.
iPhone and magic hour? Let’s face it, we always have our phones, and it’s more convenient to carry around your phone rather than a large camera! Some of my favorite photos of magic hour were taken with my iPhone.
If you point your iPhone on your magic hour scene, the whole picture/scene will likely be dark (this is because the phone will balance/meter the light by darkening the picture to compensate for the bright sun). When you are about to take a picture on your iPhone, simply tap a darker spot of the scene on your phone screen.
By tapping the dark spot you are telling your phone to meter the light based on the spot you just tapped on, and your scene should brighten right up! If it brightens too much, then try tapping a spot that is a little lighter than the last spot. Sometimes I have to tap 3 to 4 spots on my iPhone screen before I like the light.
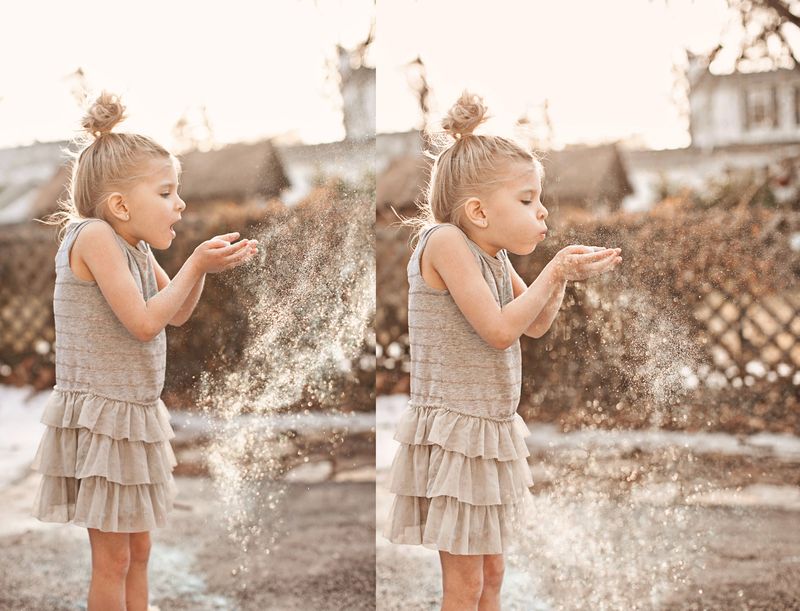
One morning as I was making breakfast and my husband was headed out the door for work, I stopped him and said, “Wait, I’ll be right back!” I had spotted the most beautiful fog-filled light behind our house.
I went outside to the alley that was behind our house and took pictures, trying to catch it with my camera. My husband was a little late to work that day (bless his heart)…but the pictures were amazing because the light was juuuuussst right. 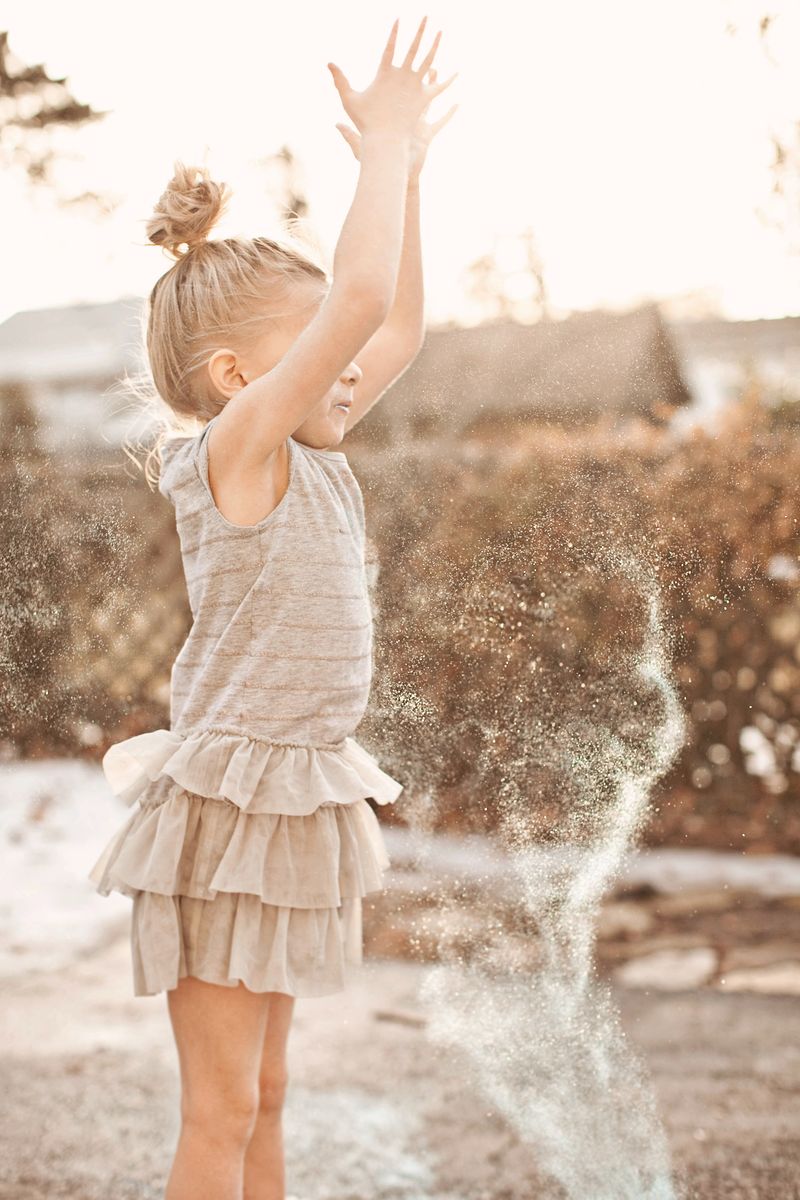
Looking for more photography tips? Check out my other posts!
–How to Split Your Focus
–How to Shoot a Double Exposure
–Tips for Taking Photos in Cold Weather
Credits//Author and Photography: Janae Hardy.
]]>