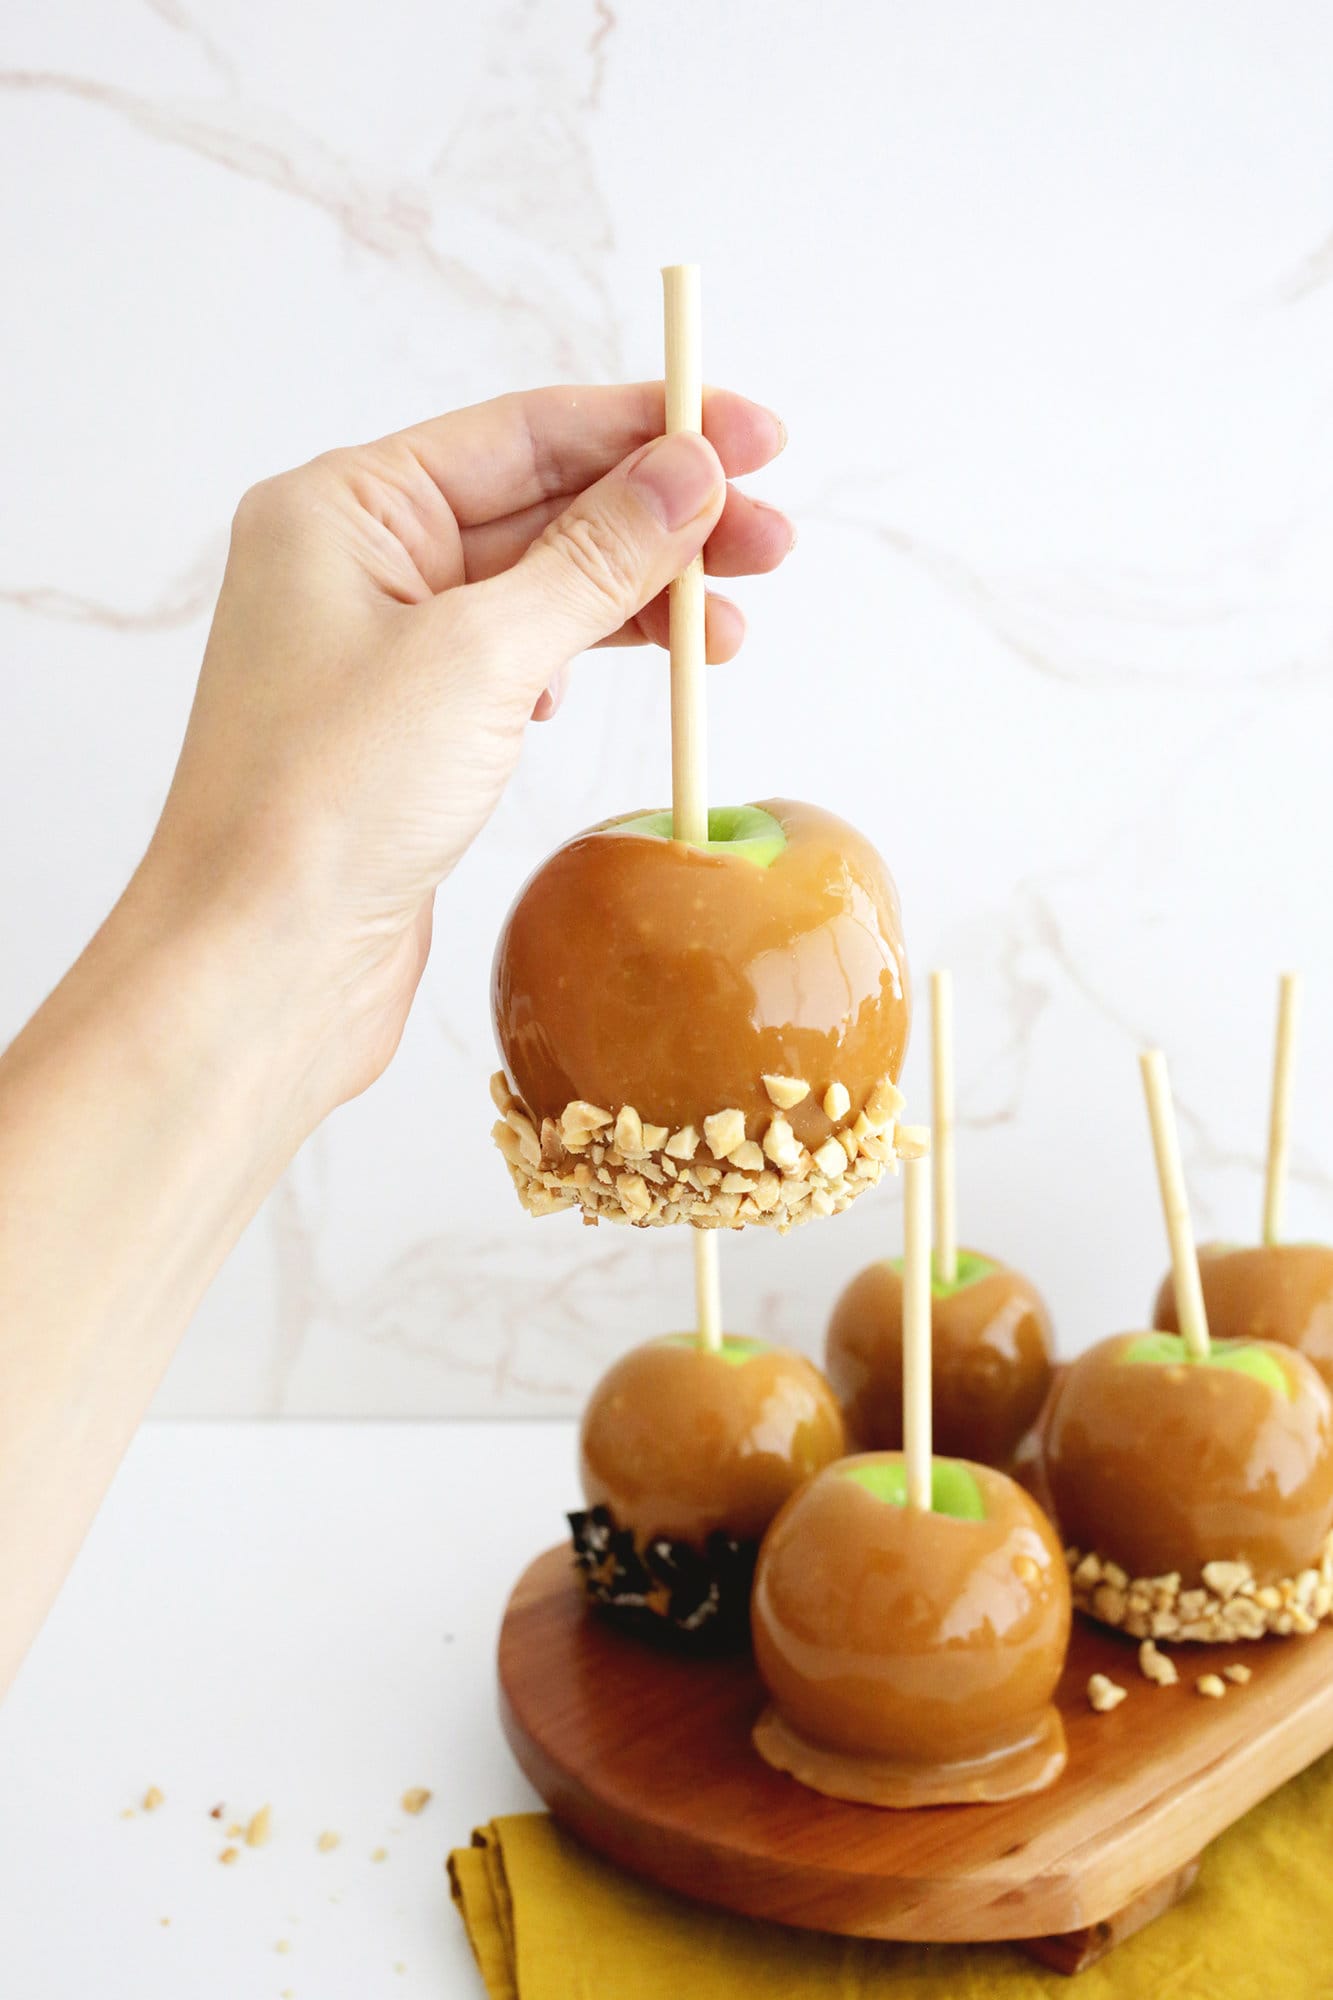
Caramel apples also make great gifts so you can make a batch to hand out at Halloween parties, as a thank-you present, or just make a few for your family on a crisp fall day. Add fun toppings to make it a gourmet treat!
Looking for more fall recipes? Check out:
- 15 Pumpkin Desserts To Bake This Fall
- Candy Apples
- Classic Hot Toddy
- Overnight Cinnamon Rolls – Small Batch
- Soft Pumpkin Muffins
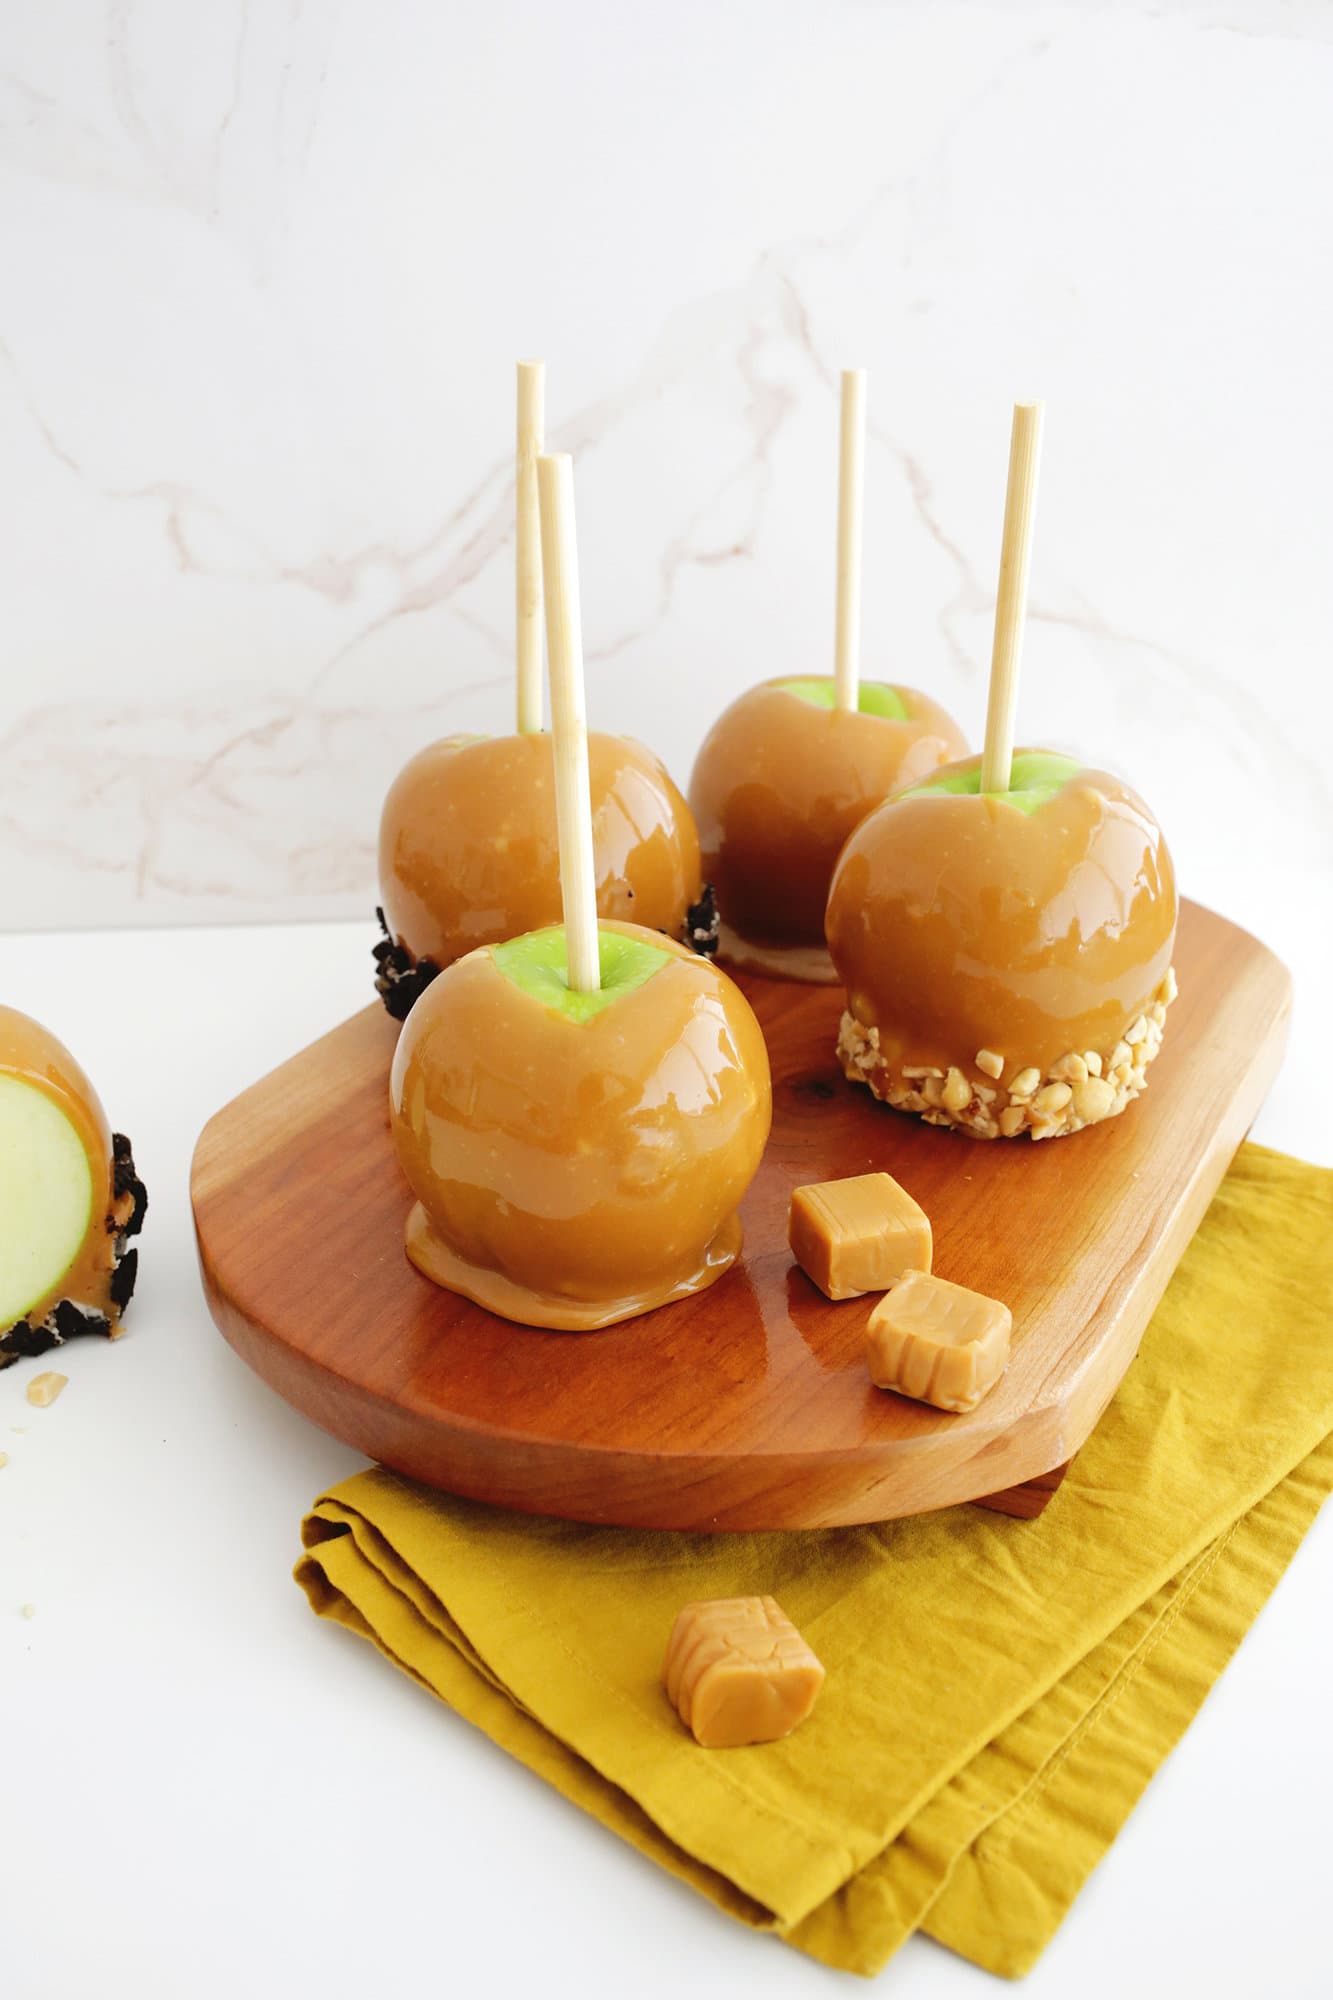
What kind of apples are best for caramel apples?
The variety of apple that you choose for your caramel apple depends entirely on your taste! If you have a sweet tooth, you would probably enjoy a sweeter variety like a Fuji, Honeycrisp, Gala, or a Pink Lady as your apple base. For a more tart contrast to your sweet caramel topping, Granny Smith apples are the most popular choice. These are all firmer choices than say a softer Macintosh variety and give you a better crunch factor when eating your treat.
Caramel Apple Tip! Look for apples that are small to medium in size and round in shape for that perfect caramel apple look!
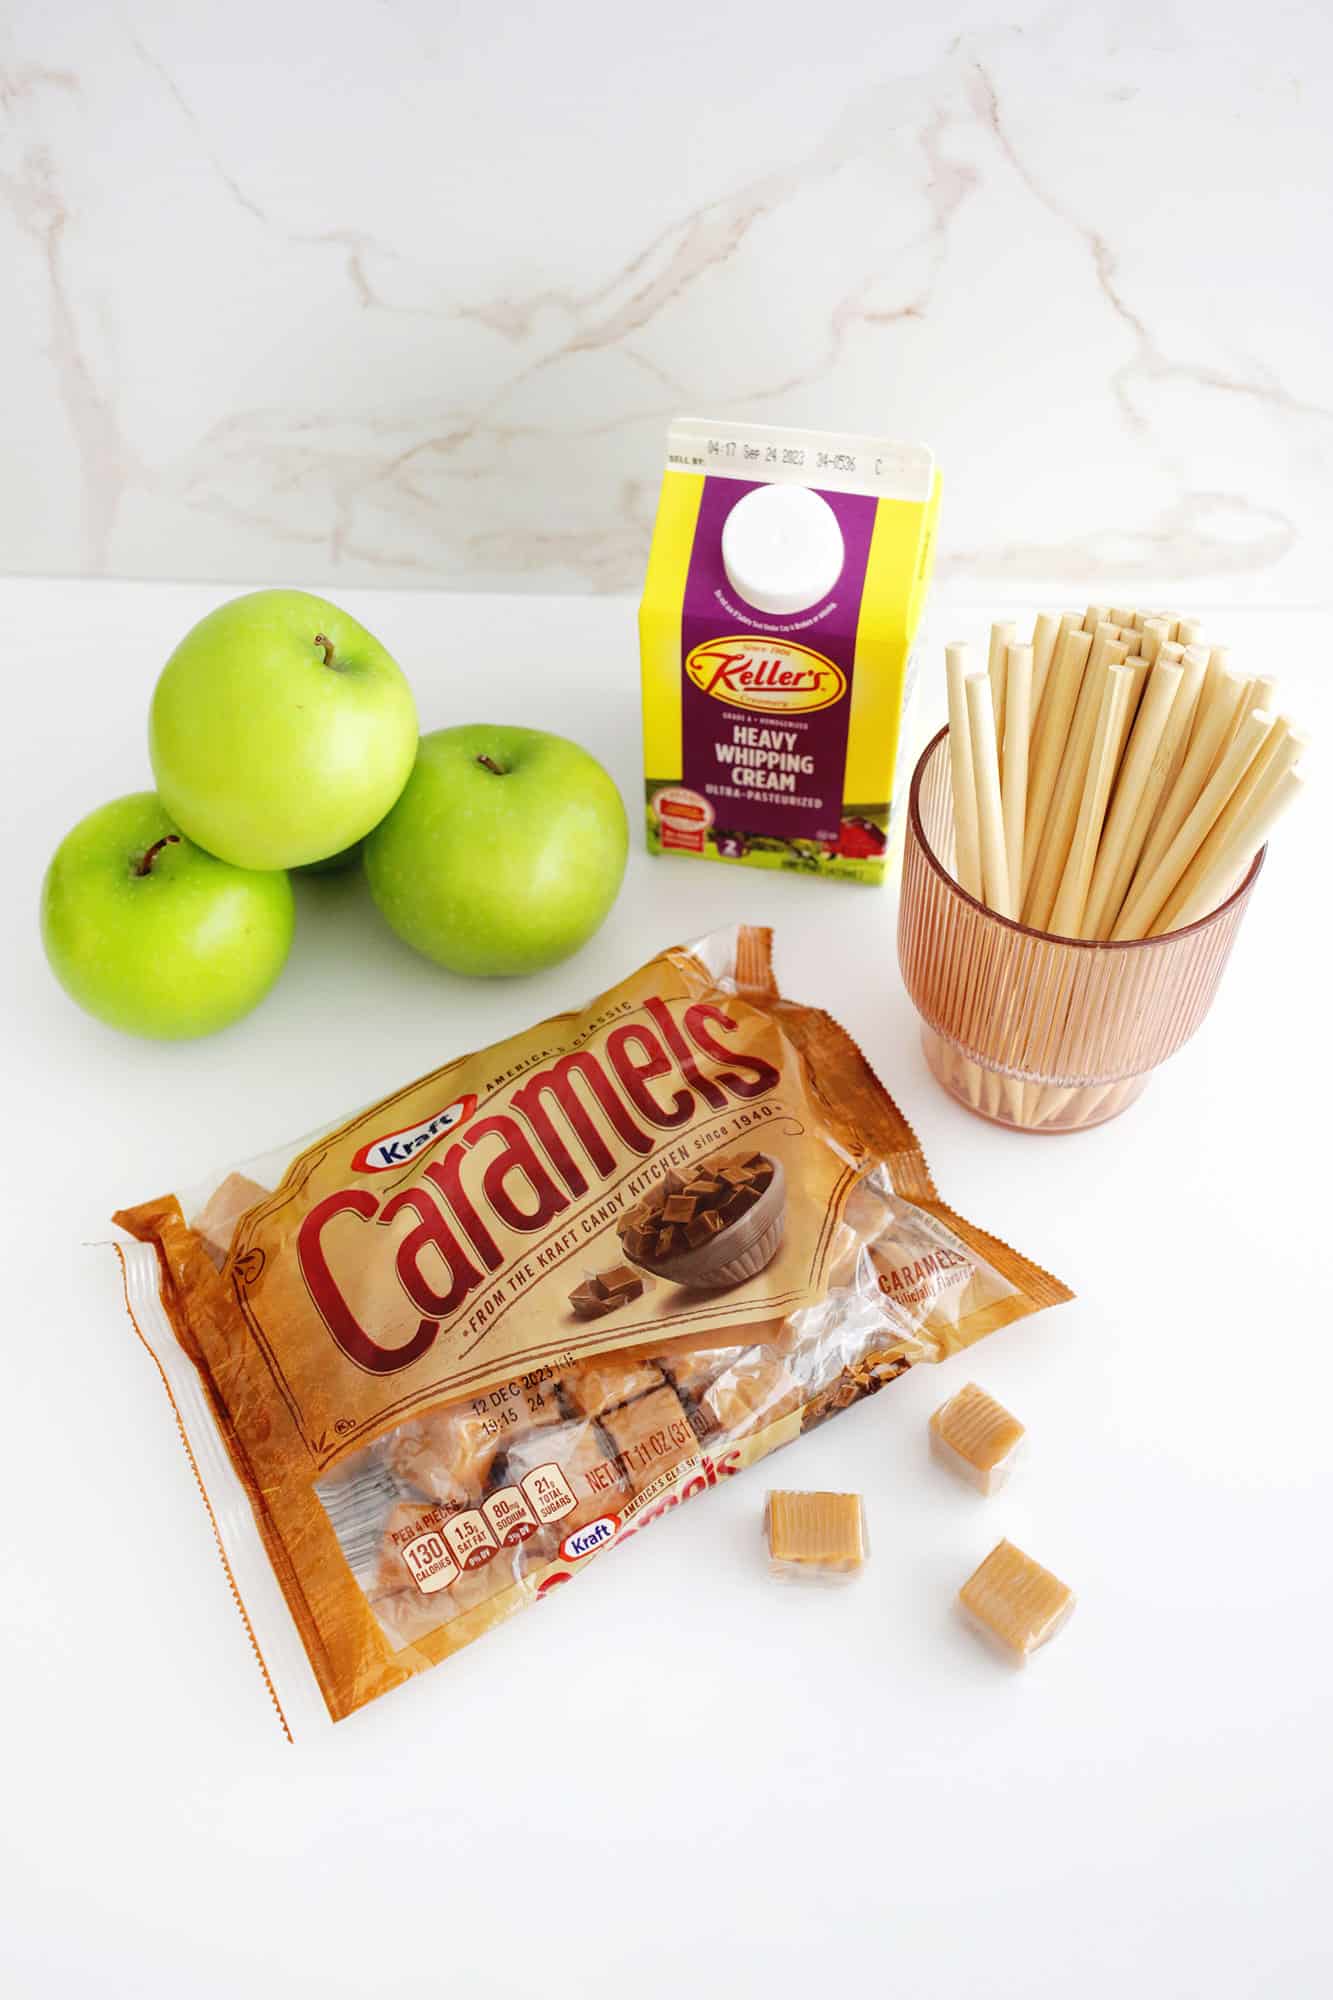
Caramel Apple Ingredients:
- Wrapped Caramels: Using premade caramels is the fastest and easiest way to go about making your caramel apples. Most grocery stores sell these in the baking area or right next to the apples in fall, but you can also get them online if your local store doesn’t carry them.
- Fresh Apples: Choose a firm apple that is either more sweet or more tart depending on how much sweetness you want to add to the caramel layer. Make sure to wash off the wax before dipping your apple so that the caramel has a better chance of sticking and won’t slide off.
- Heavy Cream or Milk: Just adding a little heavy cream or milk to the caramel will help thin it out a bit to make it more “dippable.”
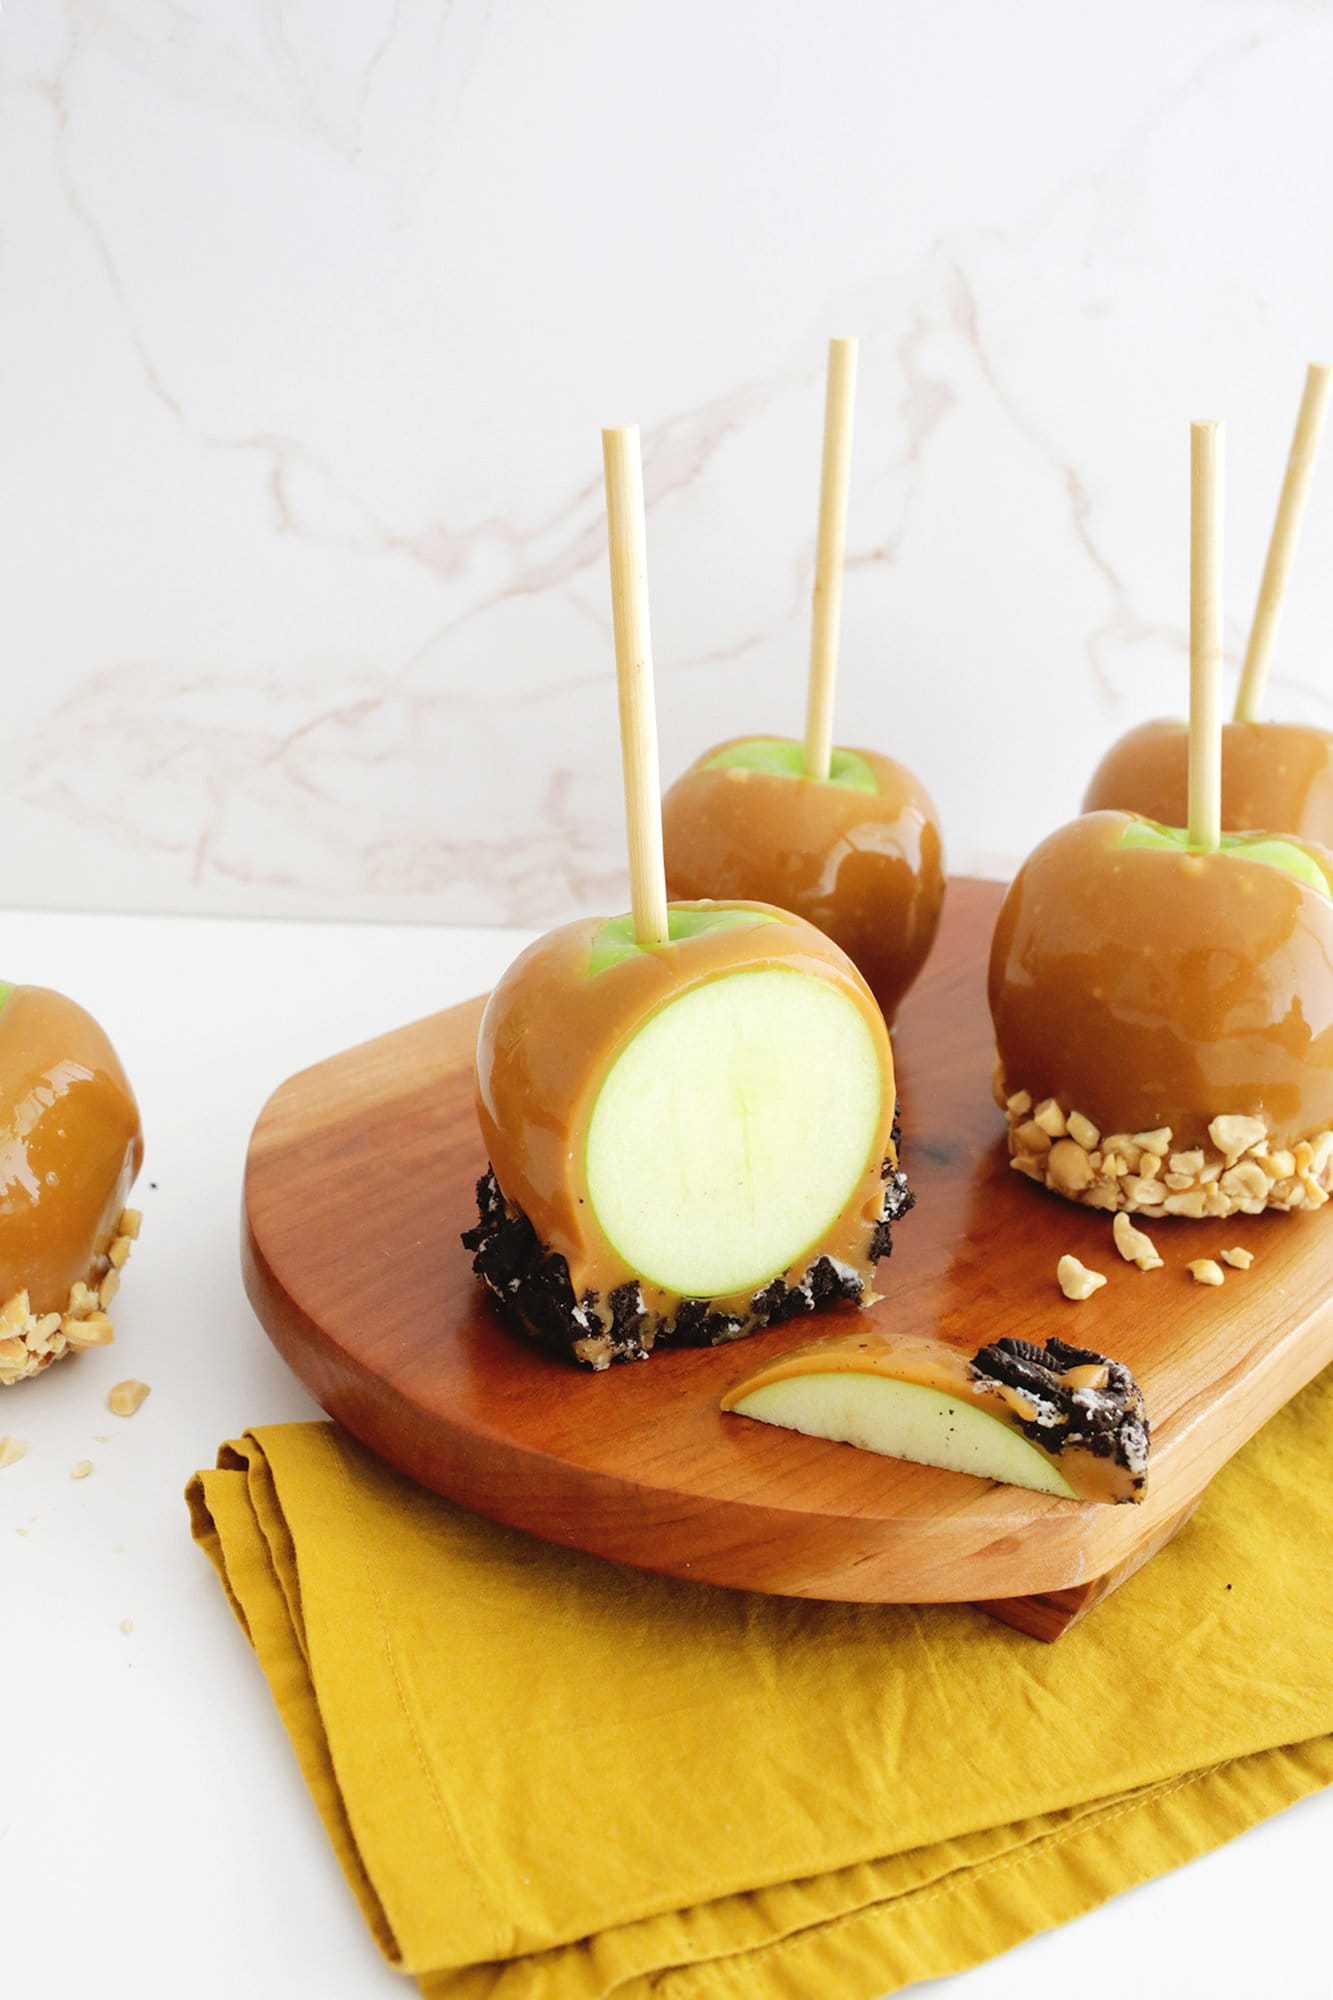
- Toppings (optional): For a gourmet caramel apple, you can do a second dip after the caramel into fun toppings like crushed candy bars like Butterfingers or mini M&Ms, pretzels, sprinkles, flaked sea salt, chopped pecans or other nuts, crushed Oreos, or coconut! You can also use chopped dark chocolate, milk chocolate, or white chocolate chips as well.
Looking for a delicious caramel dip to eat with apples? Try our Cream Cheese Fruit Dip (4 Ways!)
Tools You Need To Make Caramel Apples:
- Skewers: While the classic caramel apple is usually perched upon a wooden stick, you can also use a popsicle stick, or, in a pinch, even just stick a fork into it if you don’t have any thick skewers at home.
- Melting tools: To melt your caramel, you want either a microwave and microwave-safe bowl, a saucepan, a double-boiler pot, or a glass Pyrex-type bowl to set on top of a saucepan of boiling water.
- Nonstick Cooking Spray: You’ll want to make sure your apples don’t stick to the plate or pan you are placing them on, so use some nonstick cooking spray on the surface first to make sure you can remove them easily. You can also use a lined baking sheet to cool your apples on, so just lay some wax paper on a baking sheet or flat surface.
- Dipping container (optional but helpful): While you can just roll your apple around in the bowl or pot you melted the caramel in, for smaller batches it’s also nice to have a Pyrex glass measuring cup to melt the caramel in so you have a nice little container to dunk the apple right in to.
Tips for Making Caramel Apples:
- Remove the wax from your apples. You’ll want to wash your apples and try to remove the wax from the apples before dipping them so the caramel will stick better. Run the apples under some hot water and use a fruit wash or dish soap and a clean scrubby pad or textured towel to rub vigorously over the apples to help remove some of the wax. Dry apples very well so no moisture remains.
- Chill apples before and after dipping. After you add your skewer, you can chill your apples in the fridge so that the caramel sets up faster and less will run off the surface when dipping (and then put them back in the fridge so the caramel will set up faster).
- Have toppings already prepped. If you are dipping your apple into toppings, make sure you already have your bowls of toppings ready so the caramel doesn’t set before you can get your toppings together.
- Drizzle chocolate after cooling: You can also drizzle melted chocolate over your apple for a yummy addition, but wait until the apples are cool so the warm caramel doesn’t melt the chocolate.
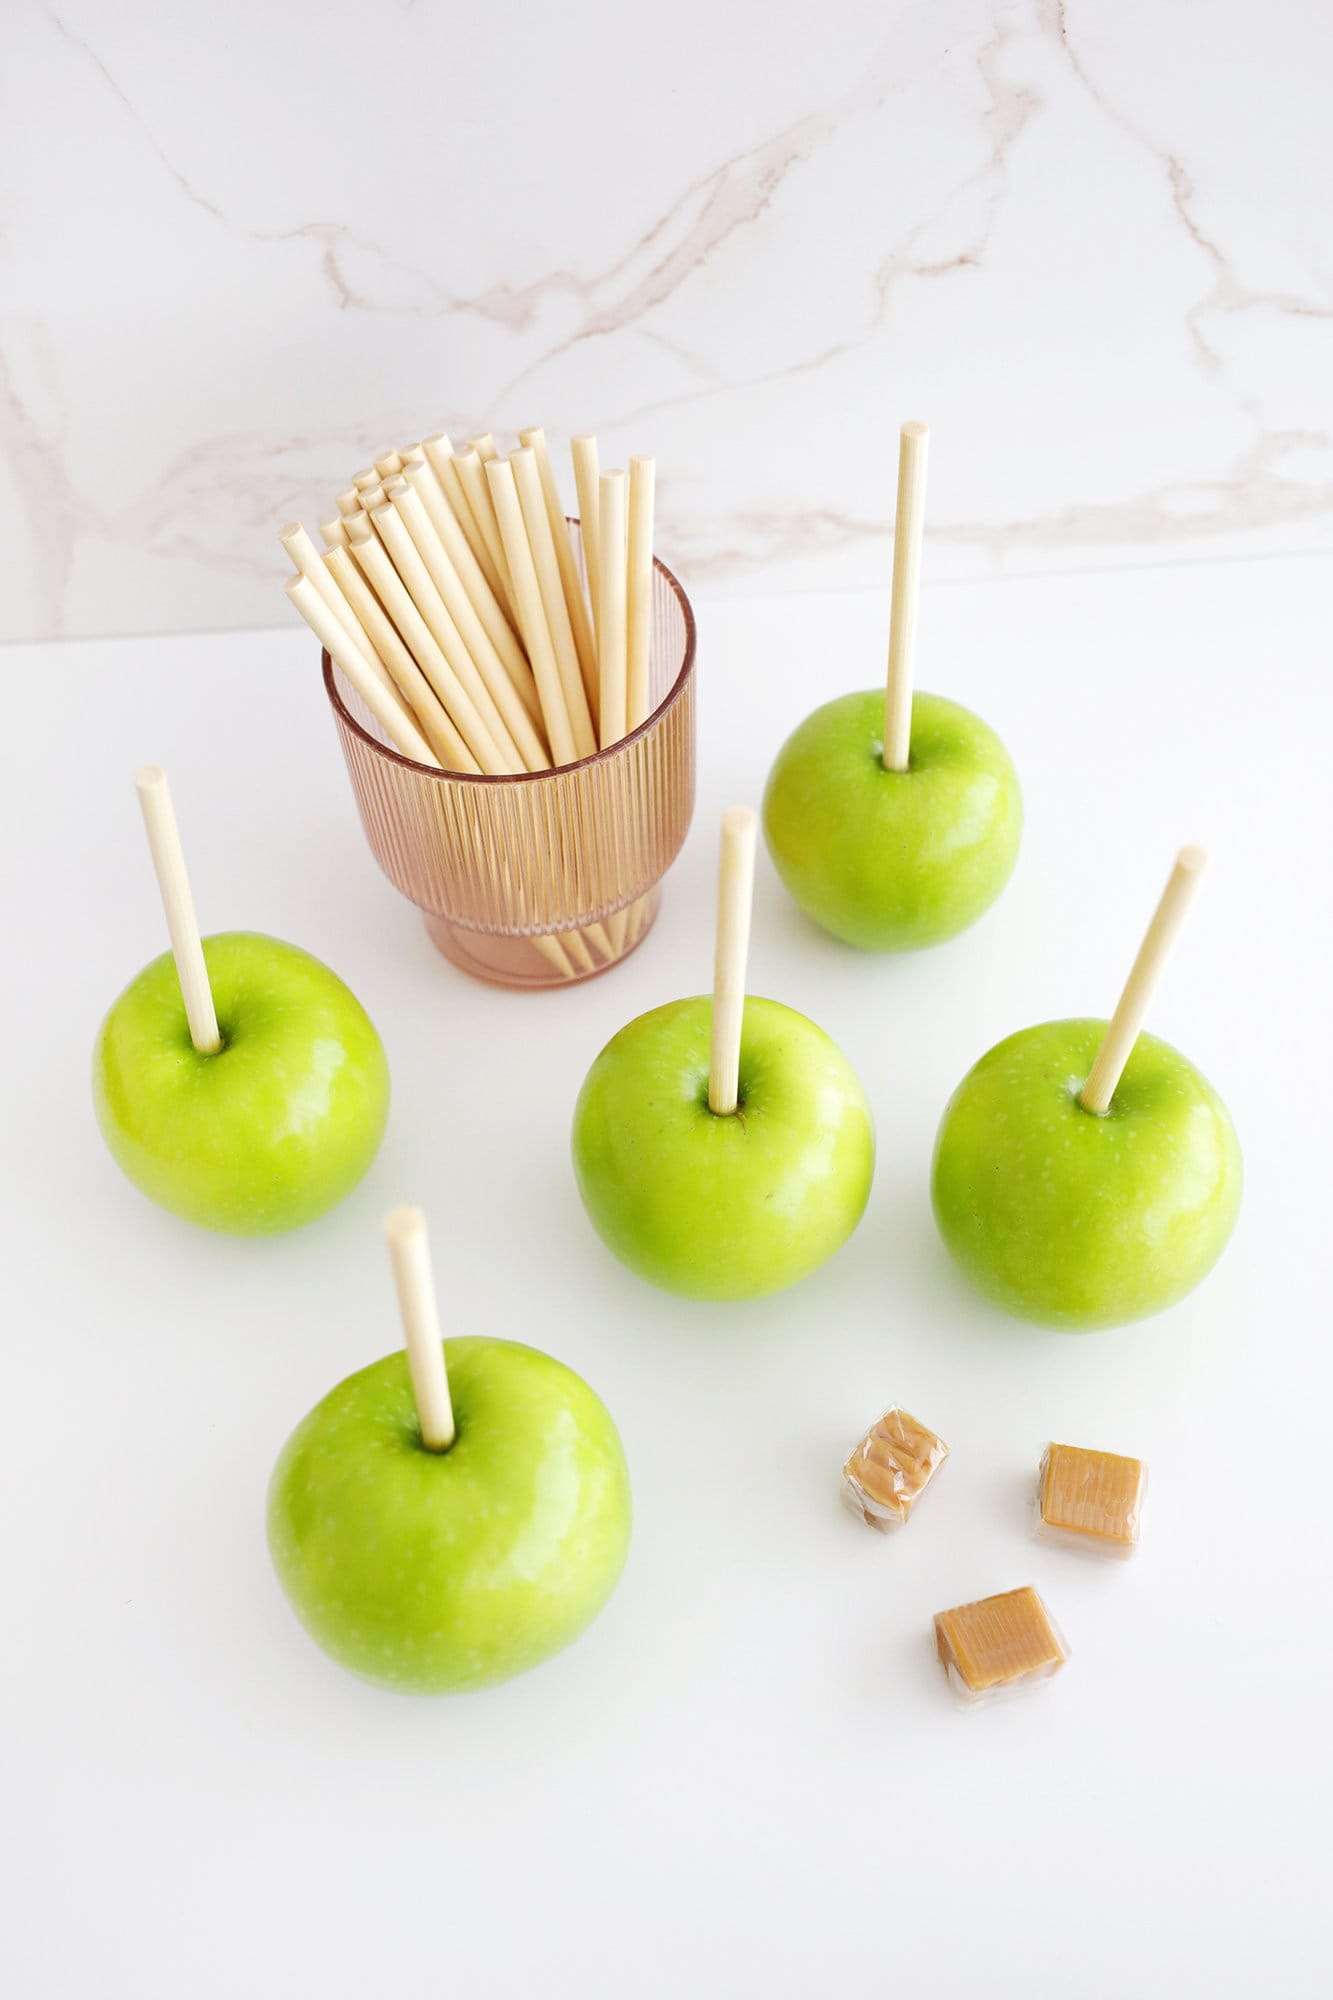
How to Make Caramel Apples:
Prepare the apples: Once clean, make sure the apples are thoroughly dry before dipping! Skewer your apple with your stick or fork and set aside.
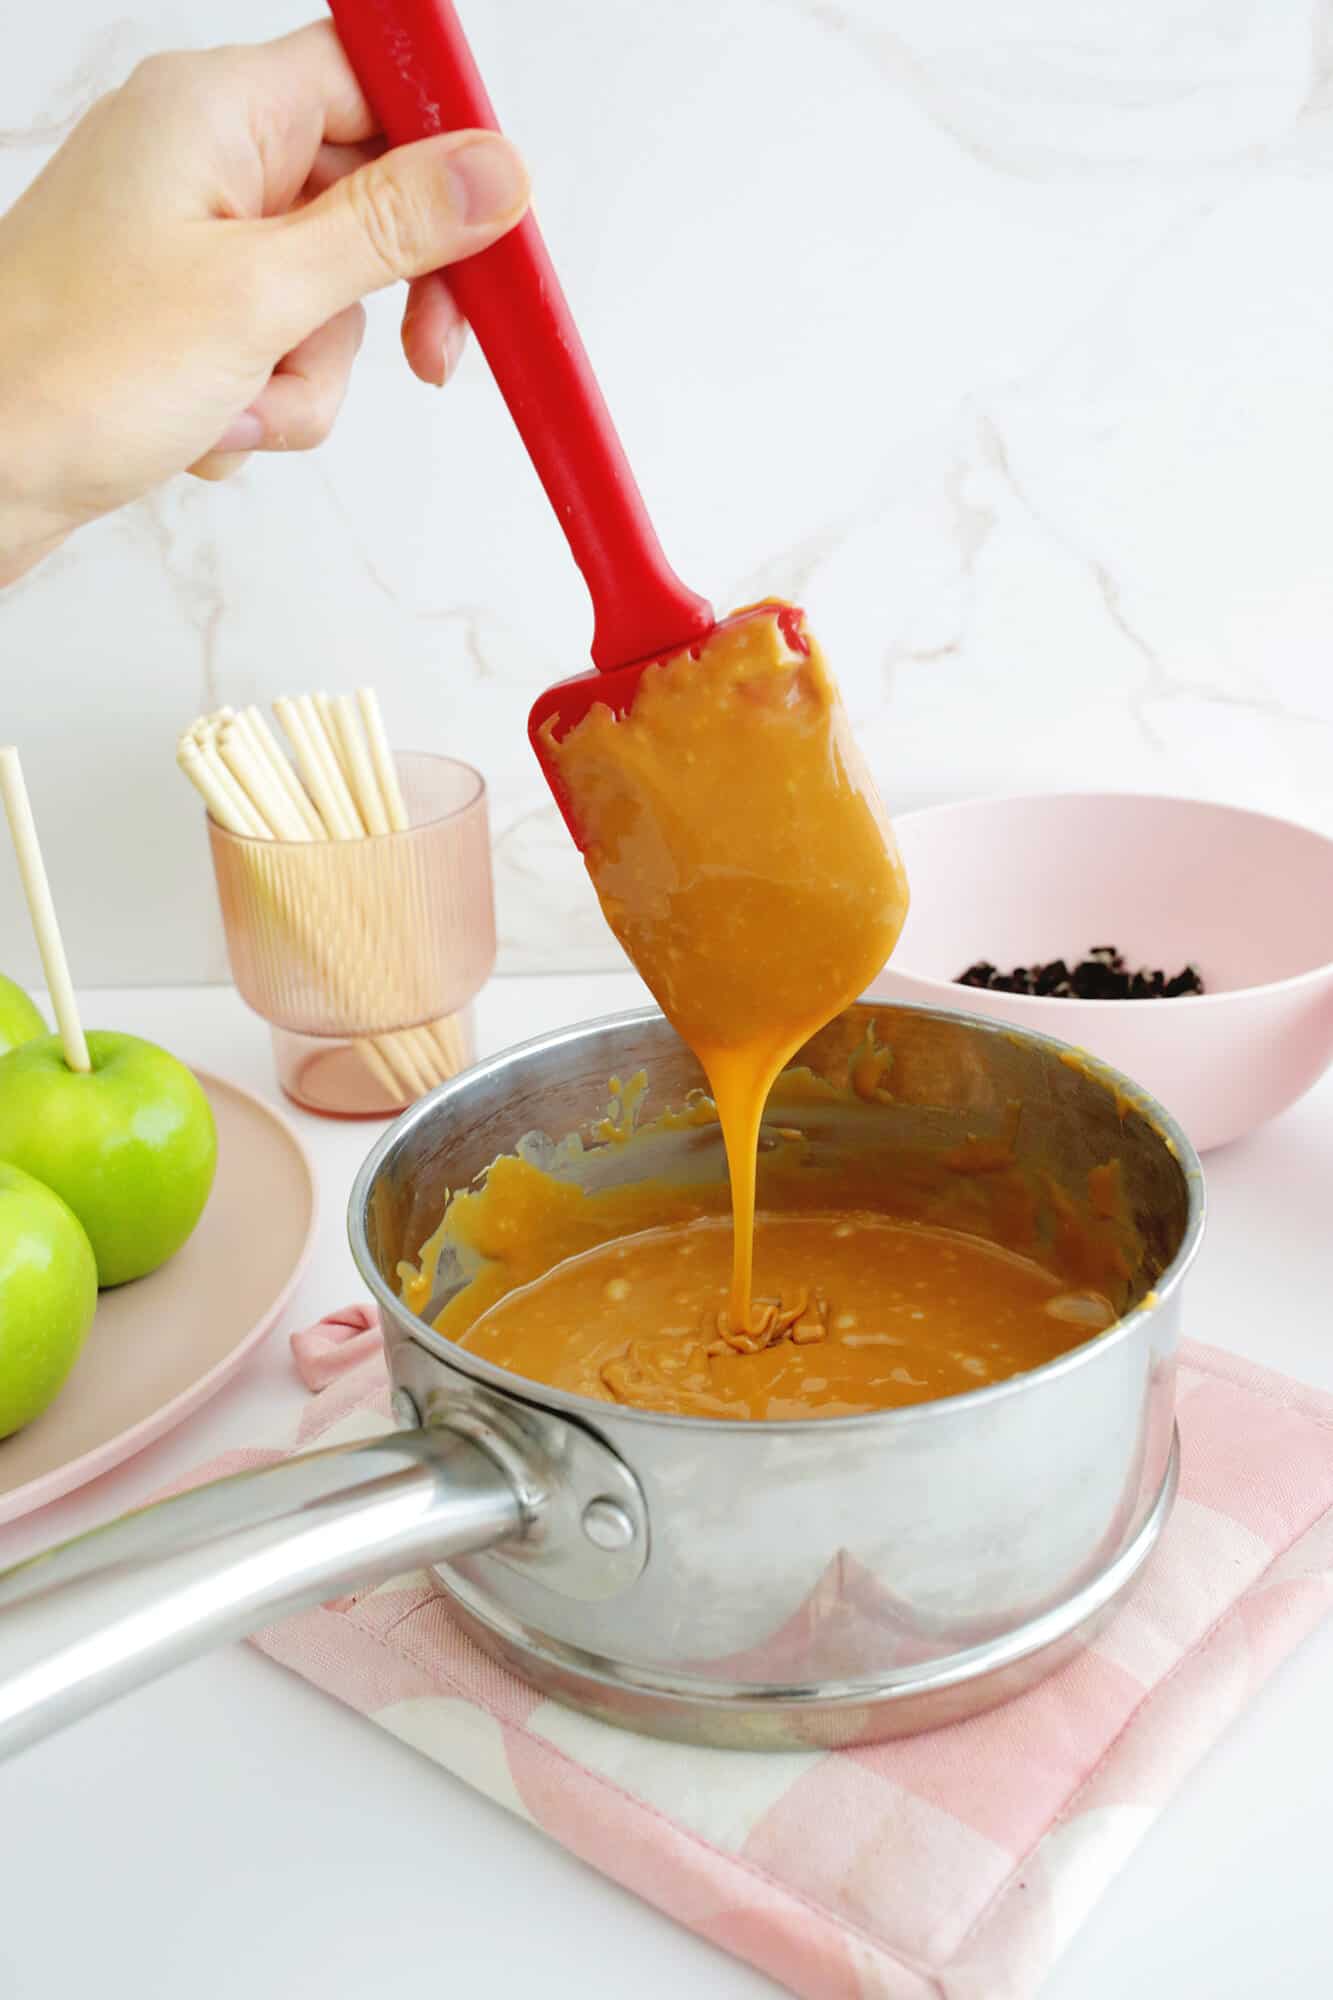
Melt the caramel: Put your caramels and heavy cream/milk in a microwave-safe bowl and heat for 30-second increments, stirring well between each heating session, until the caramel is smooth and melted. If the mixture seems thin, let it sit for a minute or two to thicken up a bit before dipping.
Can I make caramel apples on the stovetop without a microwave?
Yes! If you don’t have a microwave, you can still make caramel apples easily in a saucepan, a double-boiler pot, or a glass Pyrex-type bowl set on top of a saucepan of boiling water (it will take longer to melt this way, so be patient).
For a regular saucepan, add caramels and milk to the pan and heat on medium-low heat, stirring until melted. If using the double-boiler or bowl on top method, just bring a few inches of water to a boil in a pot, set the top of the double boiler or glass bowl on top with your caramel and milk, reduce the heat to a low boil/simmer and stir occasionally until melted.
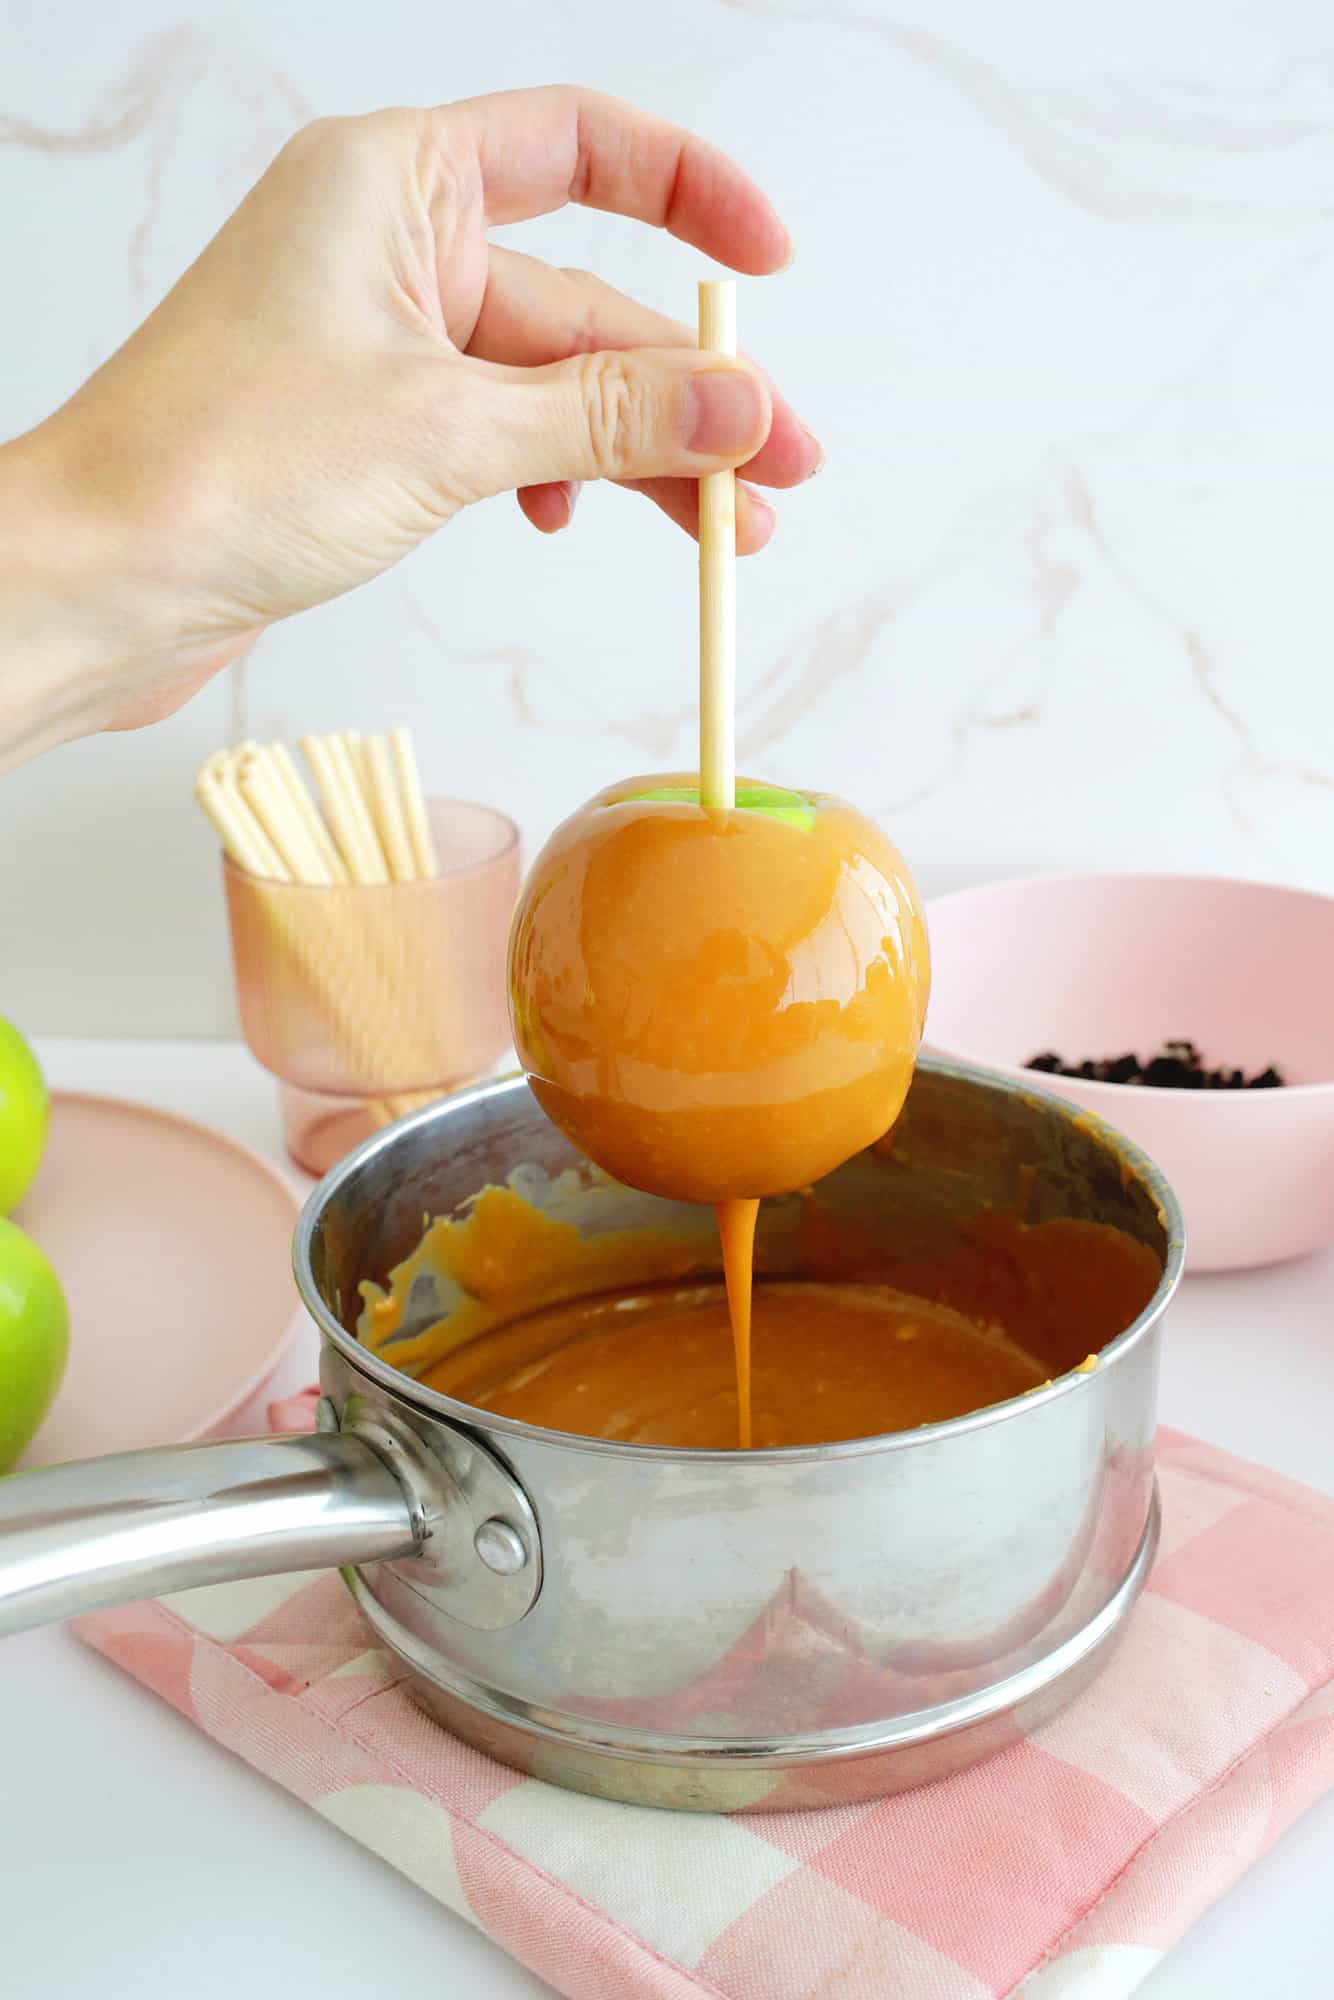
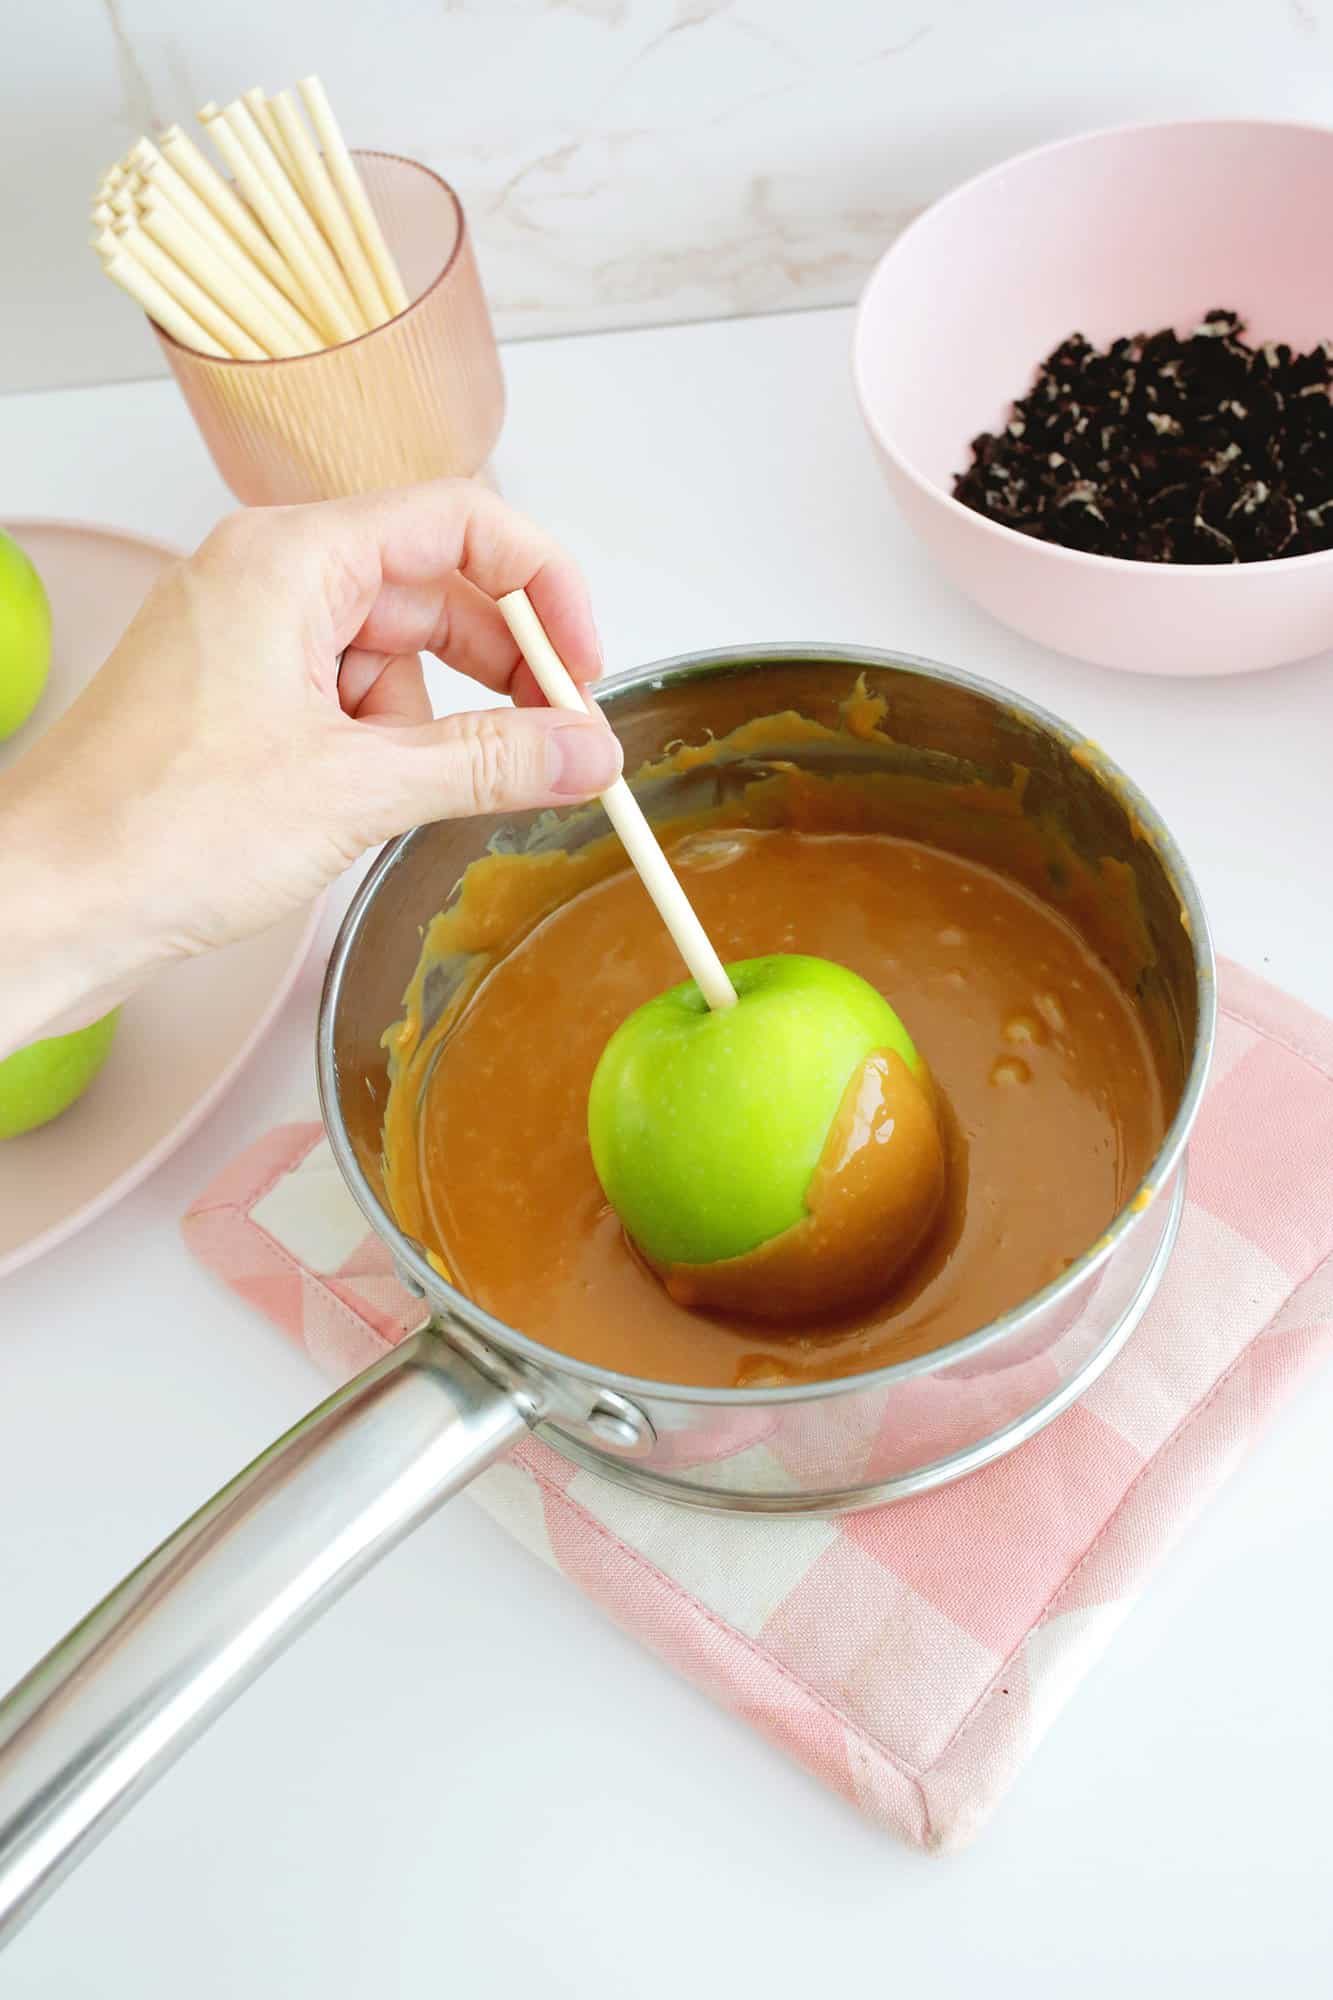
Dip apples: Now that your caramel is melted, spray a tray or plate with nonstick cooking spray and dip your apple into the melted caramel at an angle, twisting it around until the apple is coated as well as you would like.
Lift the apple to let the excess caramel drip off and scrape the bottom over the side of the bowl to get extra excess. As the caramel gets lower in the bowl, you can also use a spoon to pour the caramel over the apple to cover the sides or tilt the bowl or pan so the caramel pools in one spot.
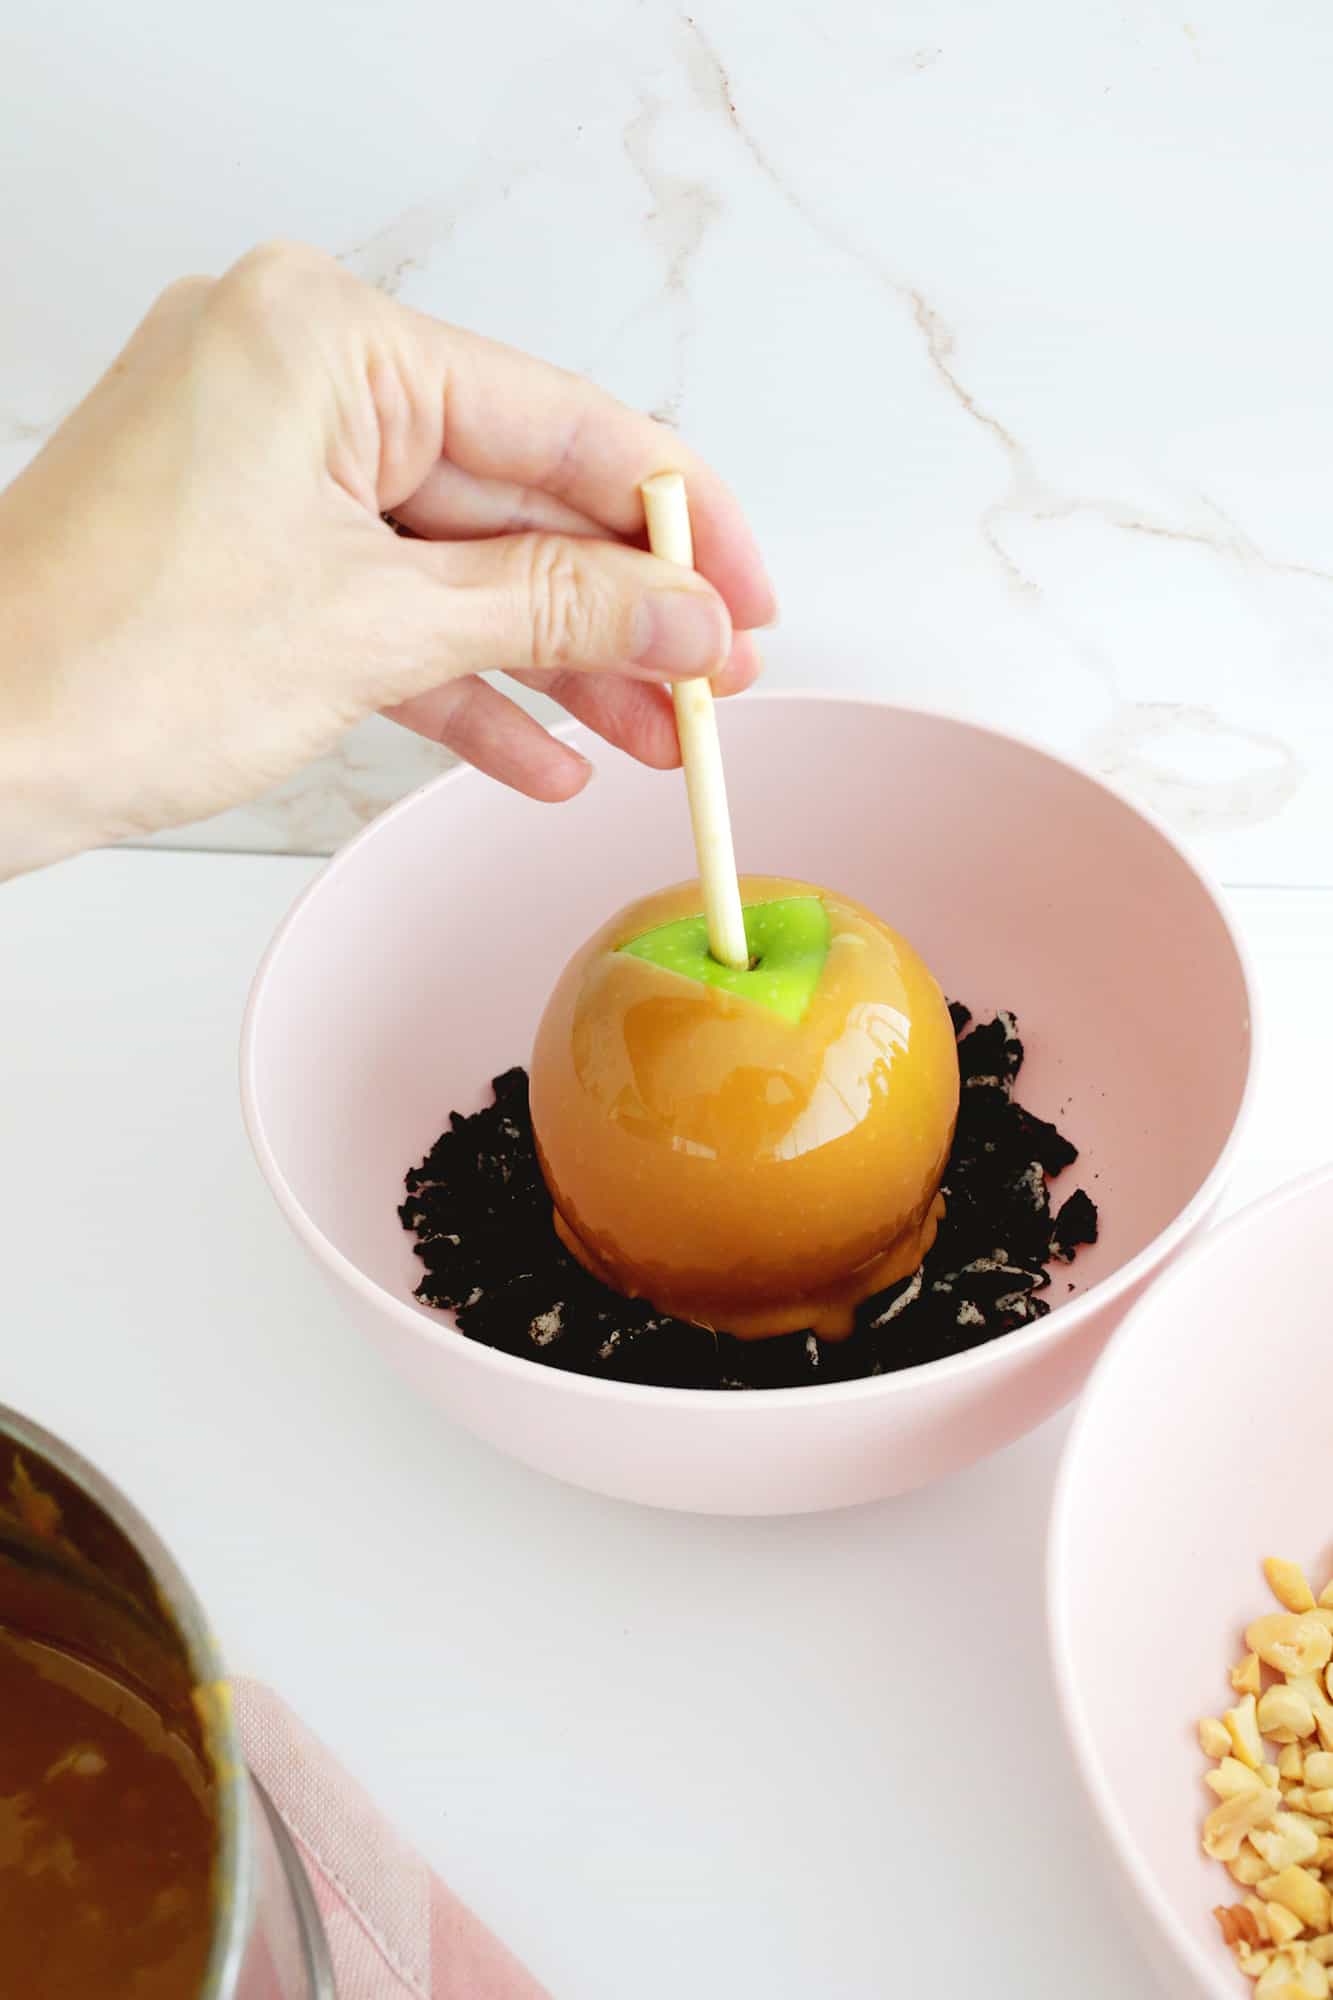
After dipping in your caramel, you can do a second dip into your topping of choice to give it some added flavor before setting it on your tray or plate. Try some black and orange sprinkles for a Halloween caramel apple treat!
If your caramel starts to set as you continue dipping your apples, reheat it for 15 seconds at a time in the microwave until the texture is dippable again.
Let the caramel set: Let your apples cool in the fridge for about 15-30 minutes to allow the caramel to fully set on your nonstick sprayed parchment paper or lined wax paper surface. Now your apple is ready to eat!
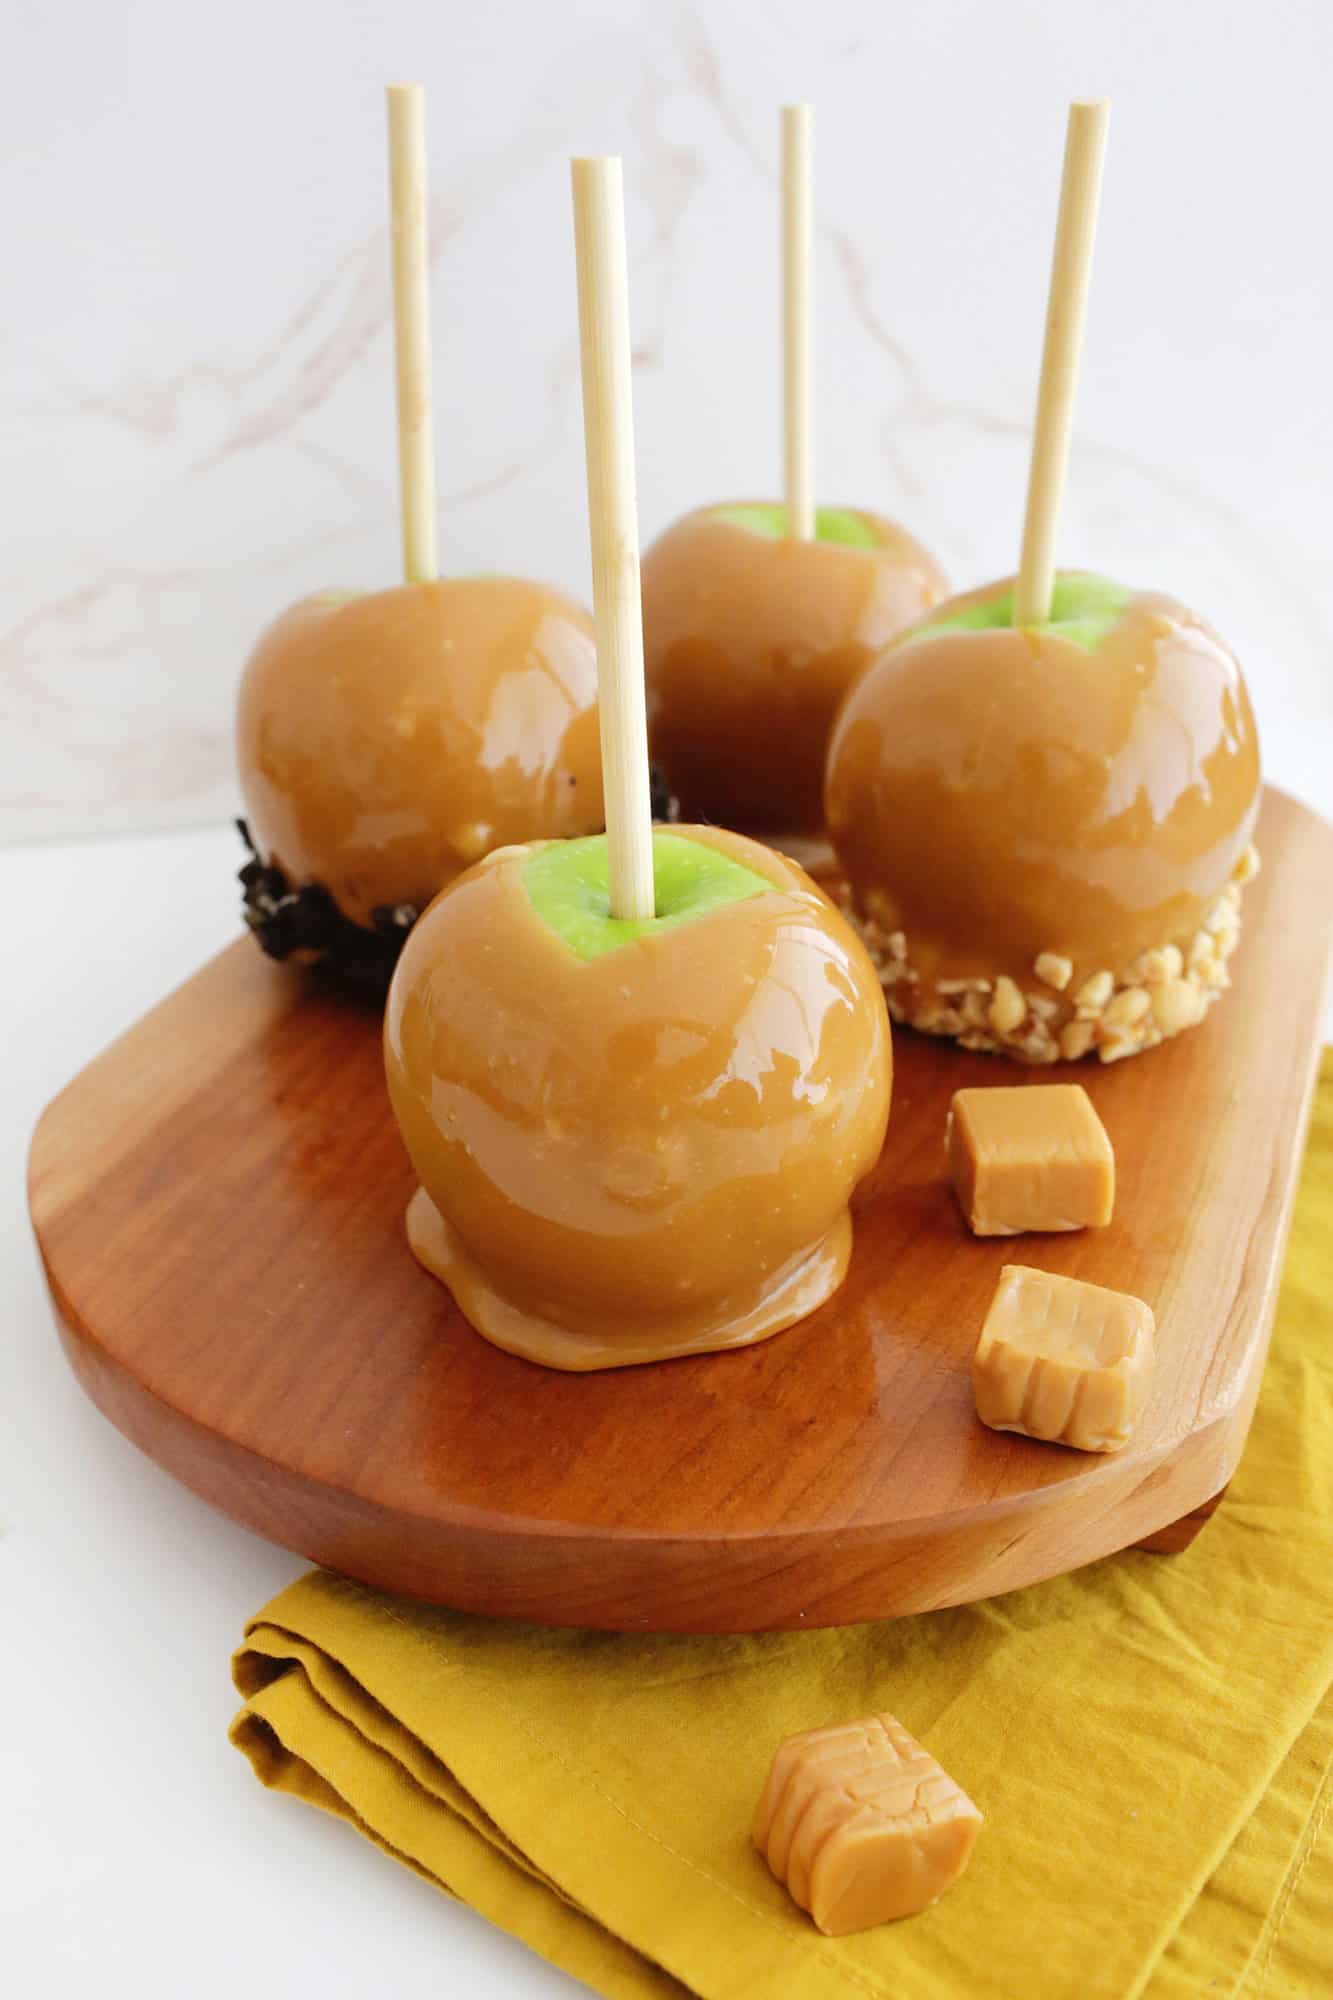
How do I store caramel apples?
You can store caramel apples in the fridge for up to two weeks and you can also wrap them in cellophane or clear treat bags individually to give as gifts!
Caramel Apple Tip: Don’t cut into your apples until you are ready to eat them, otherwise they will start to turn brown.
Looking for more apple recipes? Check out:
- Apple Dumplings
- No-Bake Caramel Apple Cheesecake
- Baked Apple Donuts with Cinnamon Sugar
- 5-Minute Apple Crisp (For One!)
- Apple Dumpling Monkey Bread
- Easy Apple Pie Bars
Easiest Homemade Caramel Apple
Equipment
- 8-10 wooden skewers
- microwave or saucepan or double boiler if using the stove
- microwave or heatproof bowl
Ingredients
- 2 11-ounce bag of wrapped caramels like Kraft brand
- 8-10 small to medium apples
- 3 tablespoons heavy whipping cream or milk
- chopped toppings of your choice
Instructions
- Prepare the apples: Make sure the apples are thoroughly dry before dipping! Skewer your apple with your stick or fork and set aside.
- Melt the caramel: Put your caramels and heavy cream/milk in a microwave-safe bowl and heat for 30-second increments, stirring well between each heating session, until the caramel is smooth and melted. If the caramel seems thin, let it sit for a minute or two to thicken up a bit before dipping.
- Dip the apples: Now that your caramel is melted, spray a tray or plate with nonstick cooking spray and dip your apple into the melted caramel at an angle, twisting it around until the apple is coated as well as you would like. Lift the apple to let the excess caramel drip off and scrape the bottom over the side of the bowl to get extra excess. As the caramel gets lower in the bowl, you can also use a spoon to pour the caramel over the apple to cover the sides or tilt the bowl or pan so the caramel pools in one spot.After dipping in your caramel, you can do a second dip into your topping of choice to give it some added flavor before setting it on your tray or plate. Try some black and orange sprinkles for a Halloween caramel apple treat!If your caramel starts to set as you continue dipping your apples, reheat it for 15 seconds at a time in the microwave until the texture is dippable again.
- Let the caramel set: Let your apples cool in the fridge for about 15-30 minutes to allow the caramel to fully set. Now your apple is ready to eat!
Notes
Nutrition
Related: Non-alcoholic Halloween Drinks, Halloween Food Ideas.

El Diablo Cocktail
Learn to make the El Diablo cocktail using reposado tequila, crème de cassis, lime juice, grenadine and ginger beer.

Corpse Reviver
Learn to make a Corpse Reviver No. 1 cocktail using absinthe, gin, Lillet Blanc, orange liqueur and fresh lemon juice.
Halloween Jello Shots
Four easy ideas to make fun Halloween jello shots for your Halloween party!
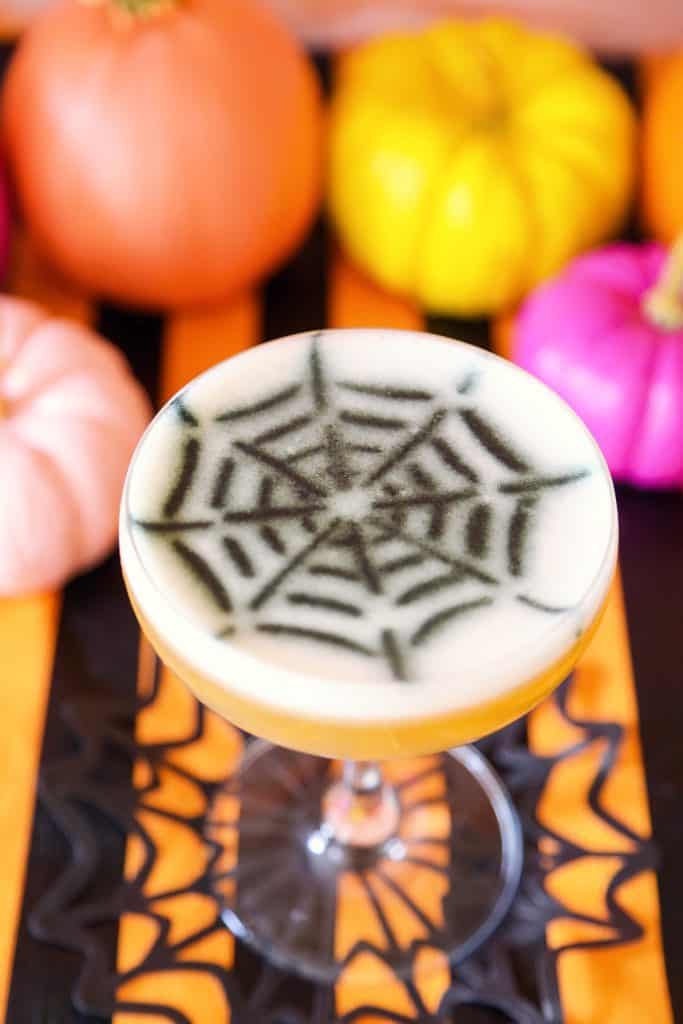
Spider Bite Cocktail
Learn to use a stencil to add a creepy spider web to your cocktail.
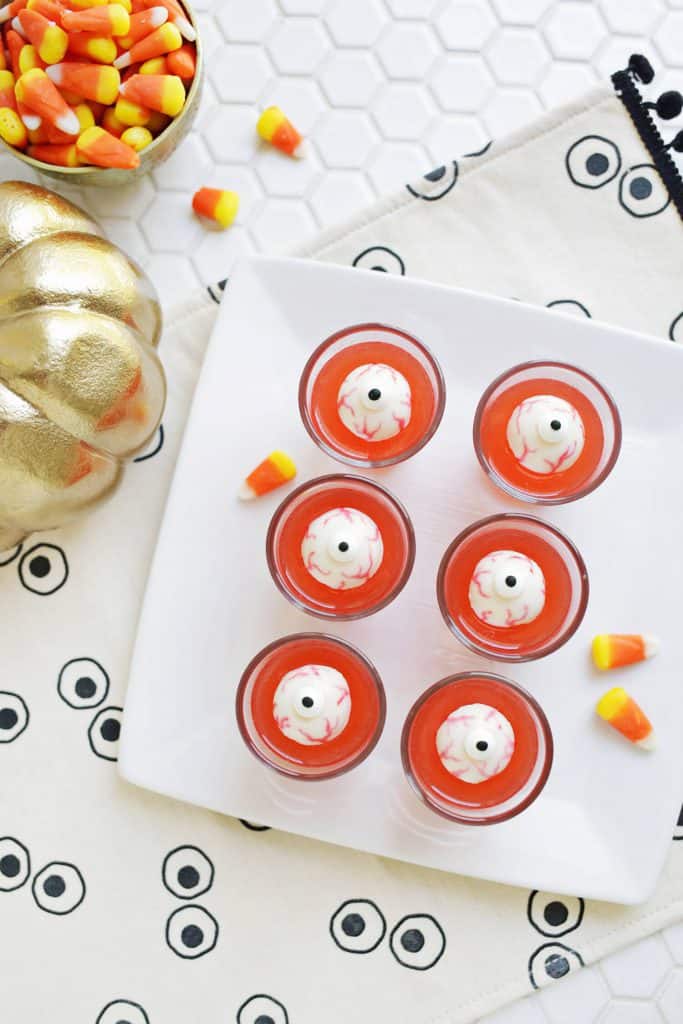
Spooky Eyeball Jello Shots!
The perfect jello shots for grownups trick-or-treating.
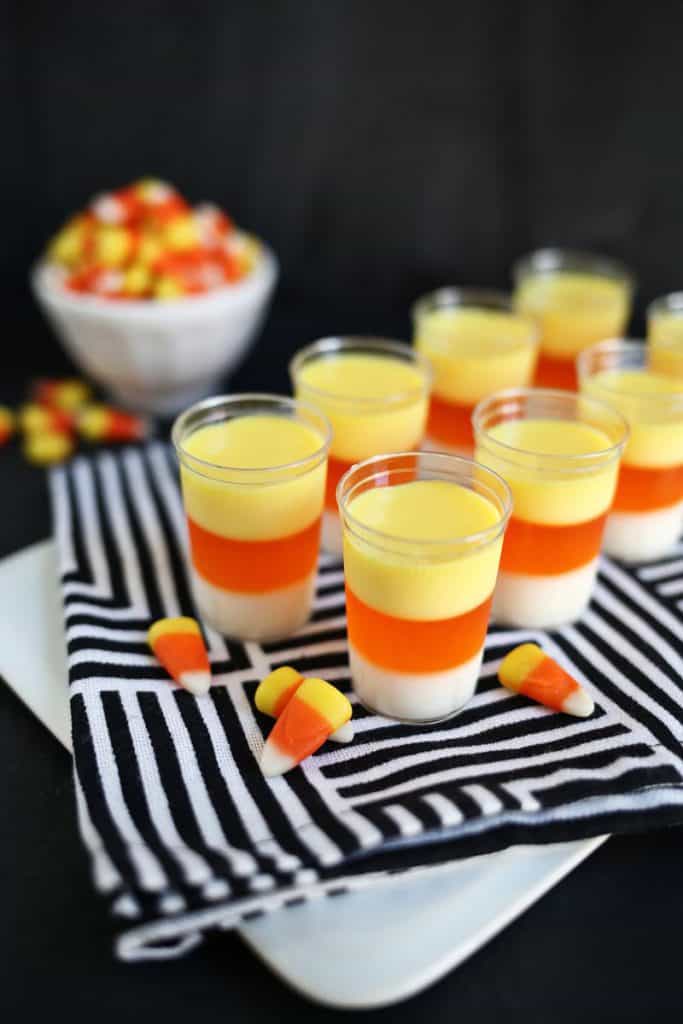
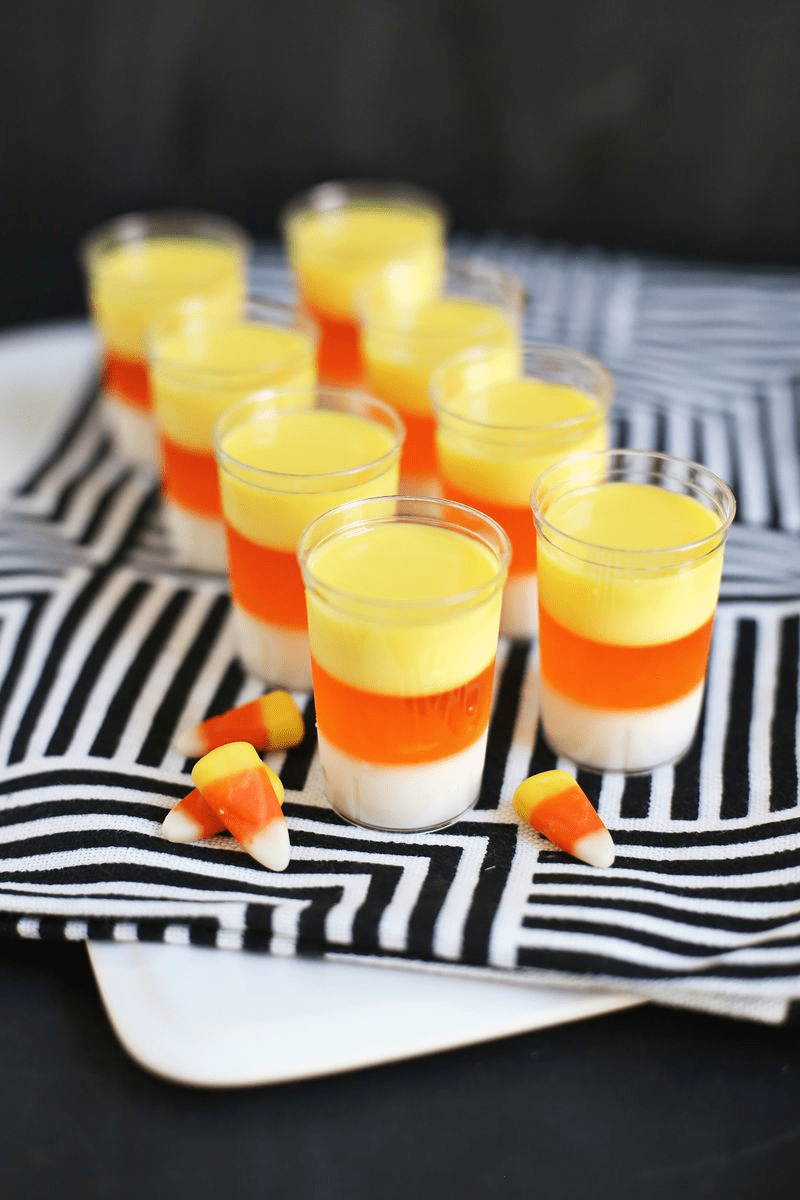
Candy Corn Jello Shots
Learn to make layered jello shots in the colors of candy corn.
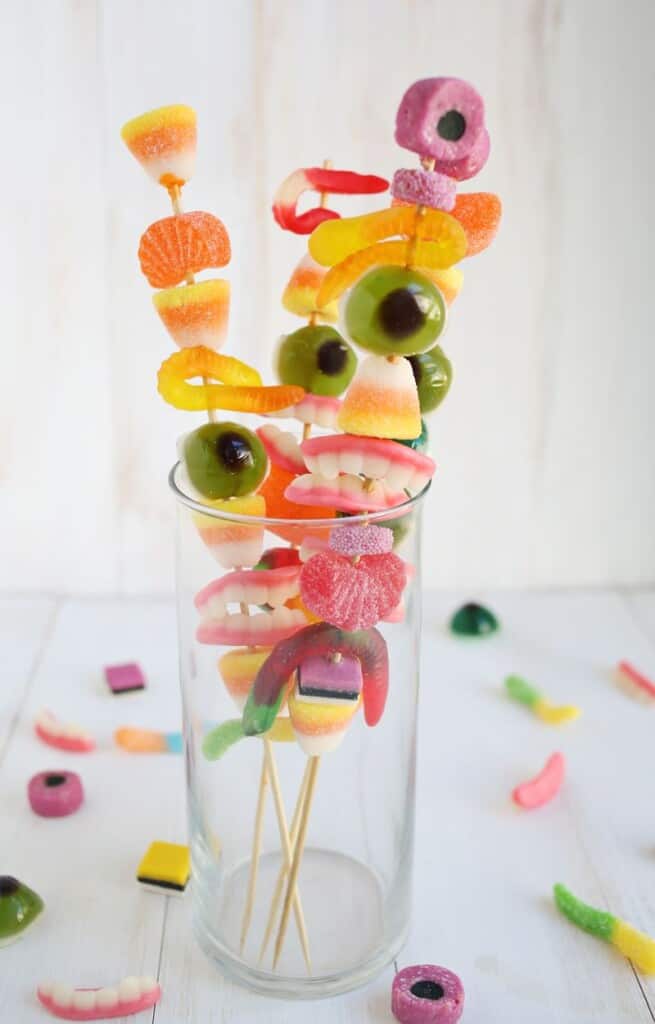
Monster Cocktail Stirrers
Make these easy candy stirrers to add to any cocktail for Halloween fun.
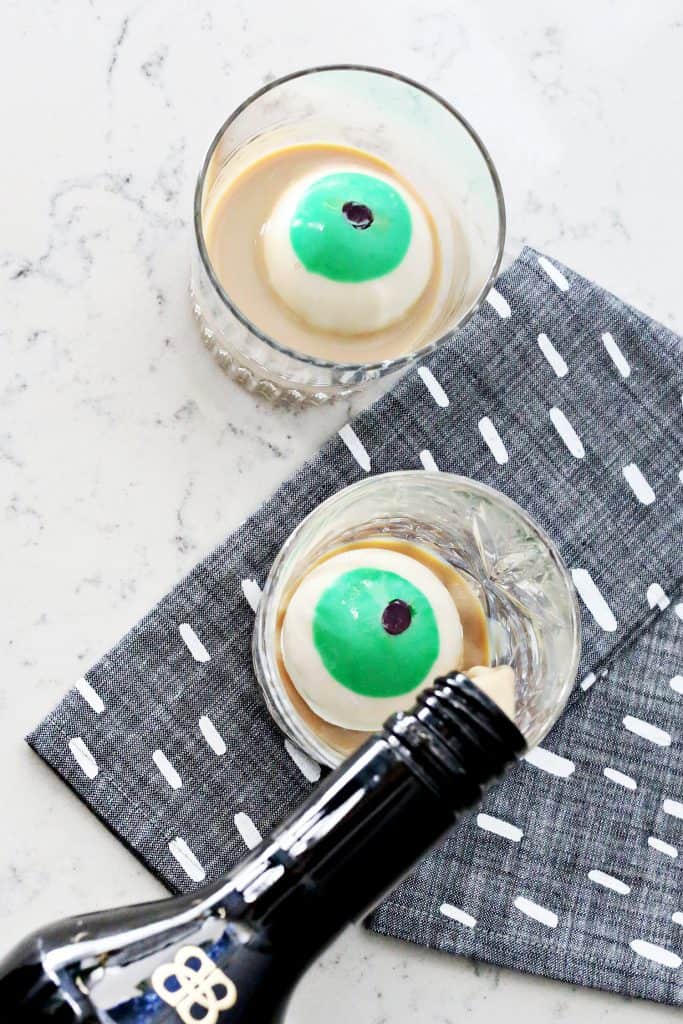
Evil Eye Halloween Cocktail
These evil eye ice cubes make your drink so festive and creepy.
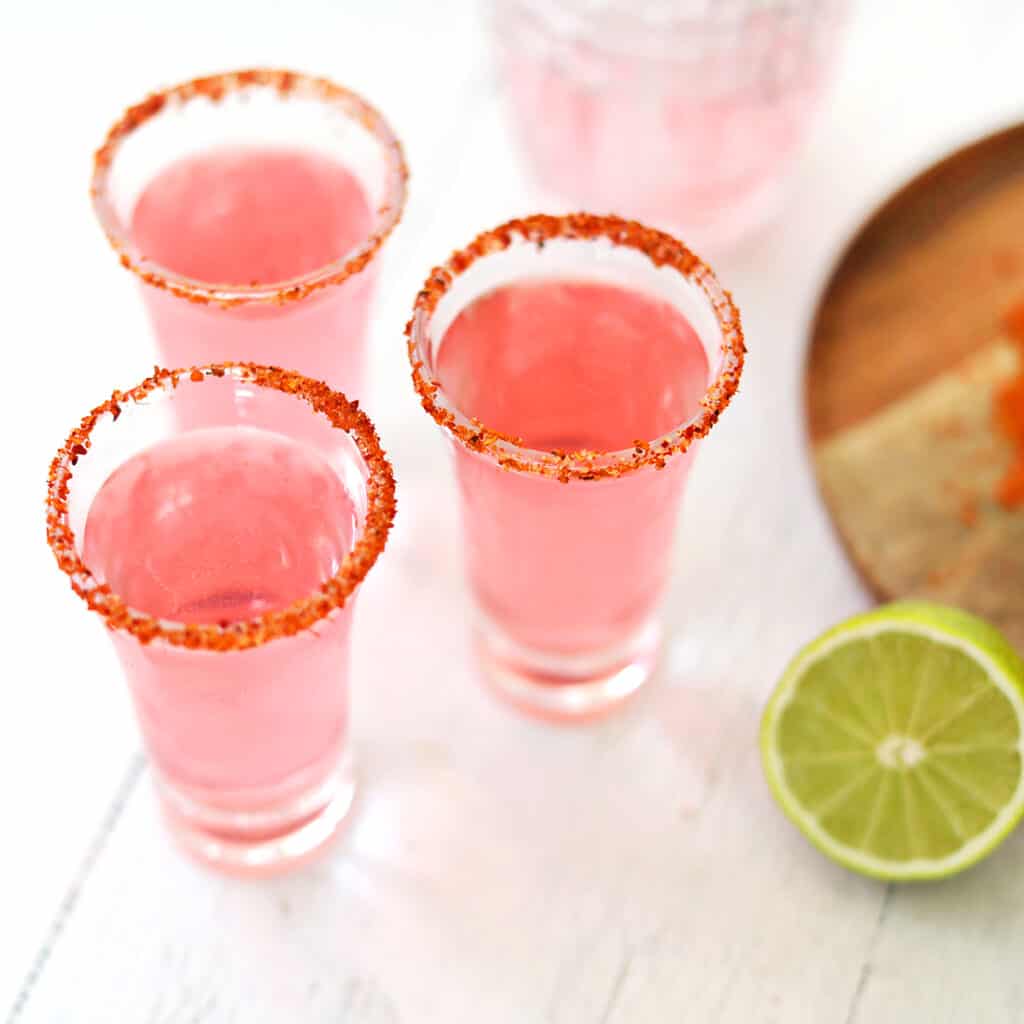
Mexican Candy Shot
Try this easy tequila shot for your next occasion.

Blood Orange Margarita
Learn to make a Blood Orange Margarita using blood orange juice, tequila, orange liqueur, fresh lime juice and agave.
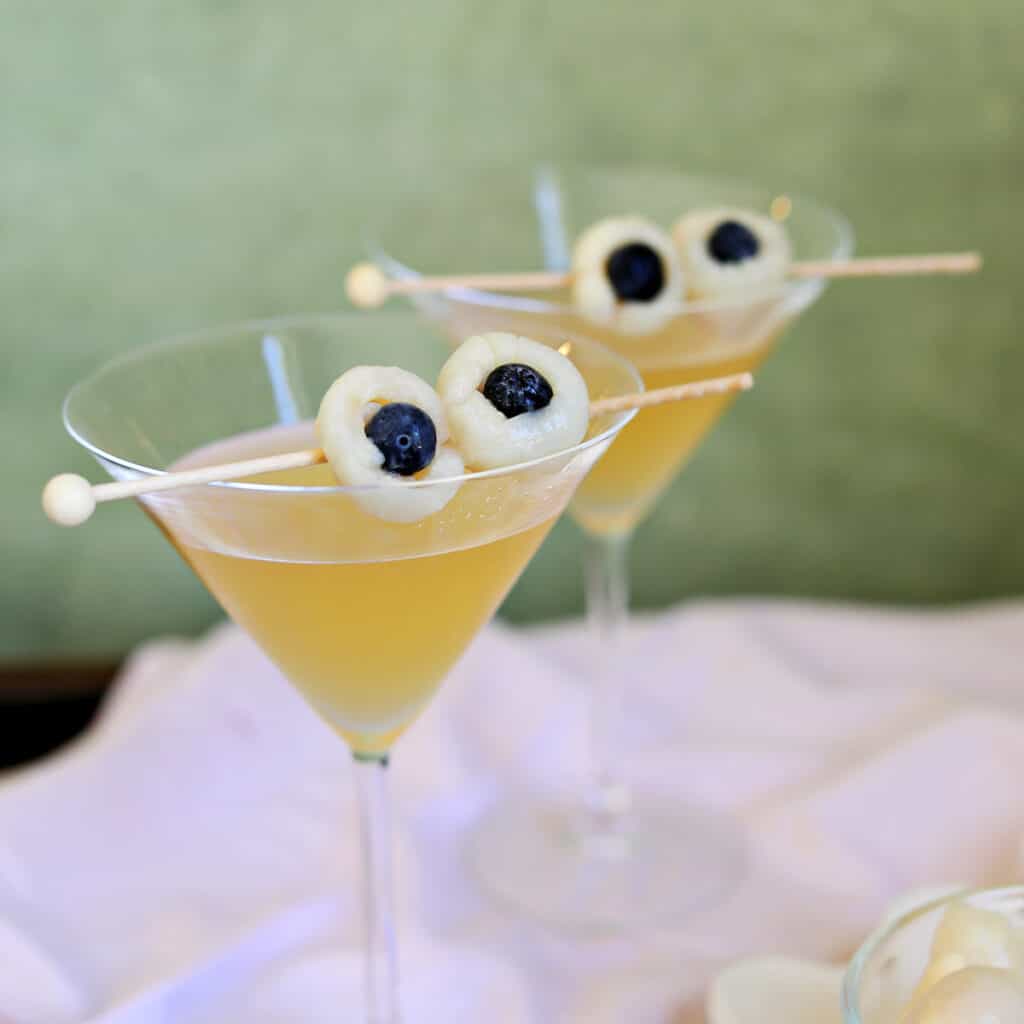
Halloween Eyeball Martini
Learn to make a Halloween lychee martini.
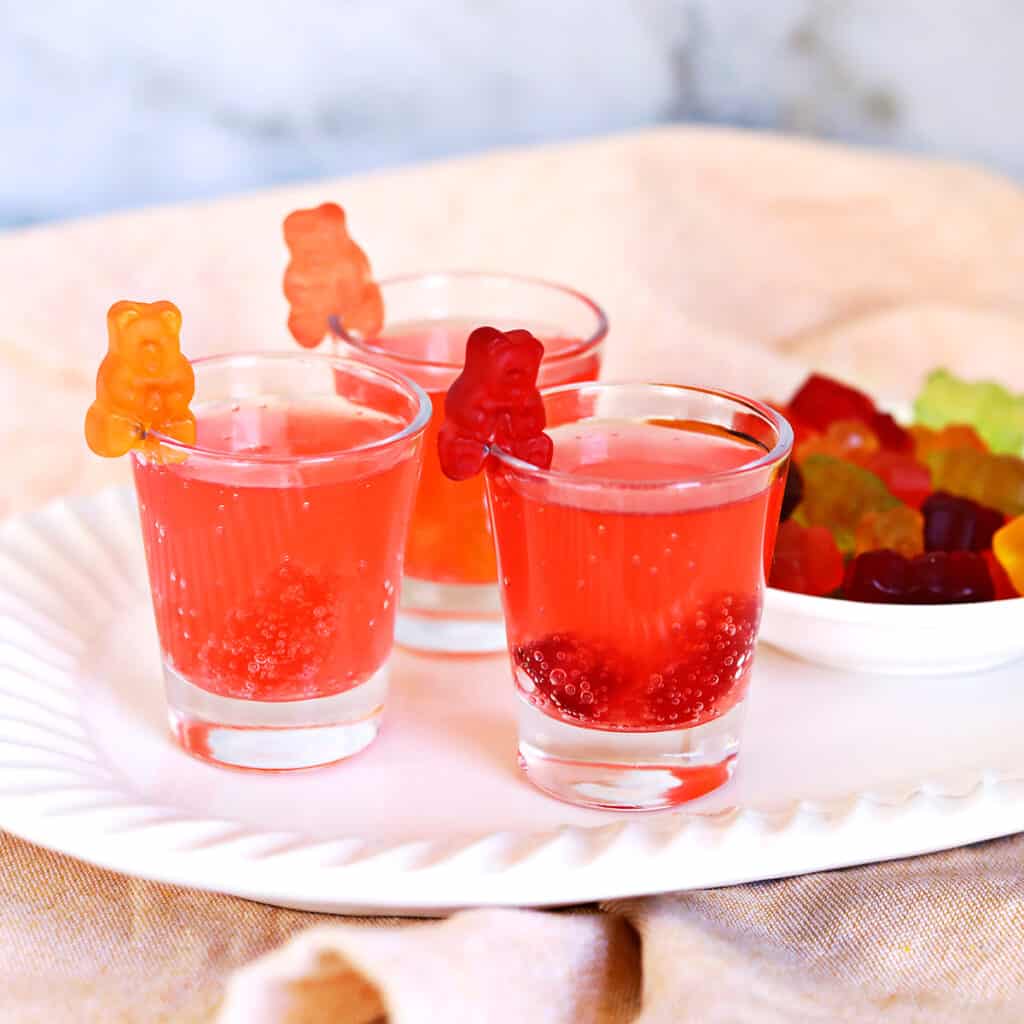
Gummy Bear Shot
Learn to make a gummy bear shot at home!
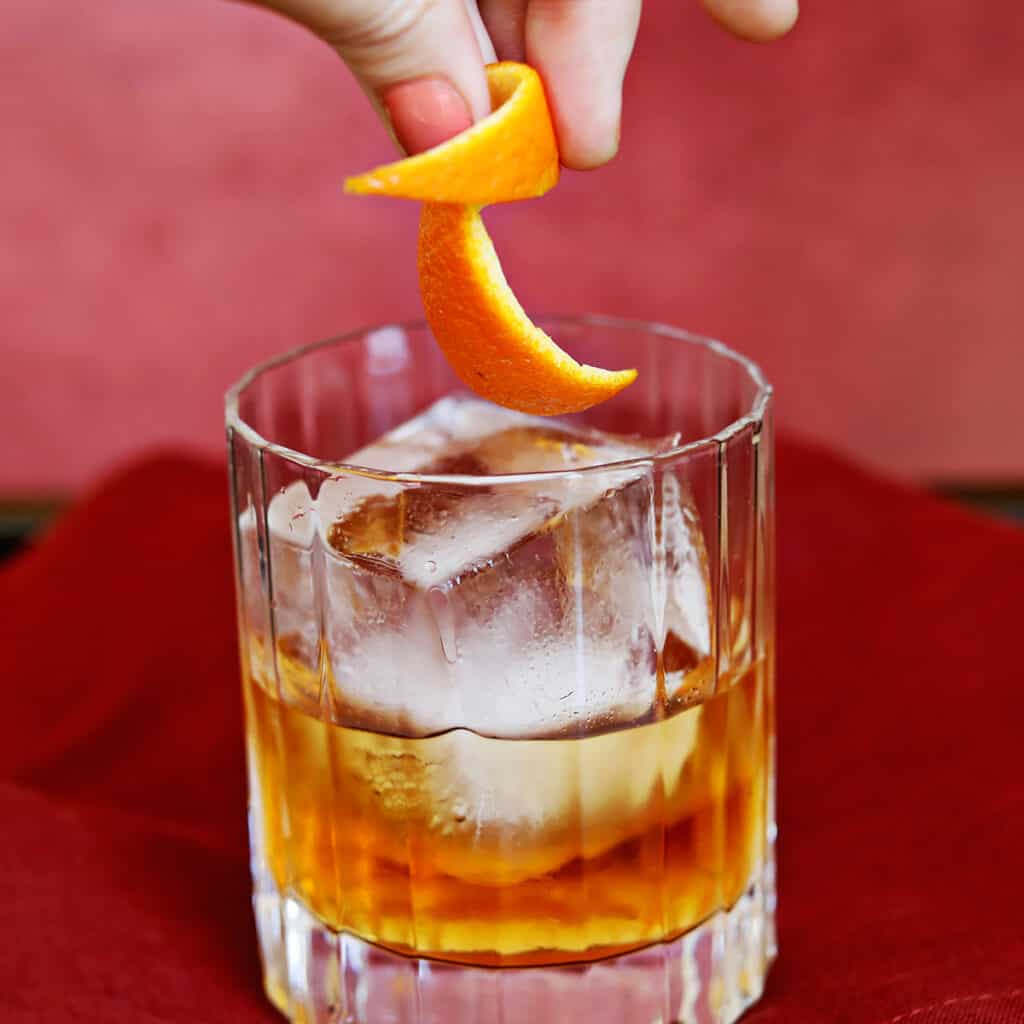
Old Fashioned Cocktail
When autumn rolls around, I love a bourbon cocktail. The classic old fashioned is the ultimate fall drink.
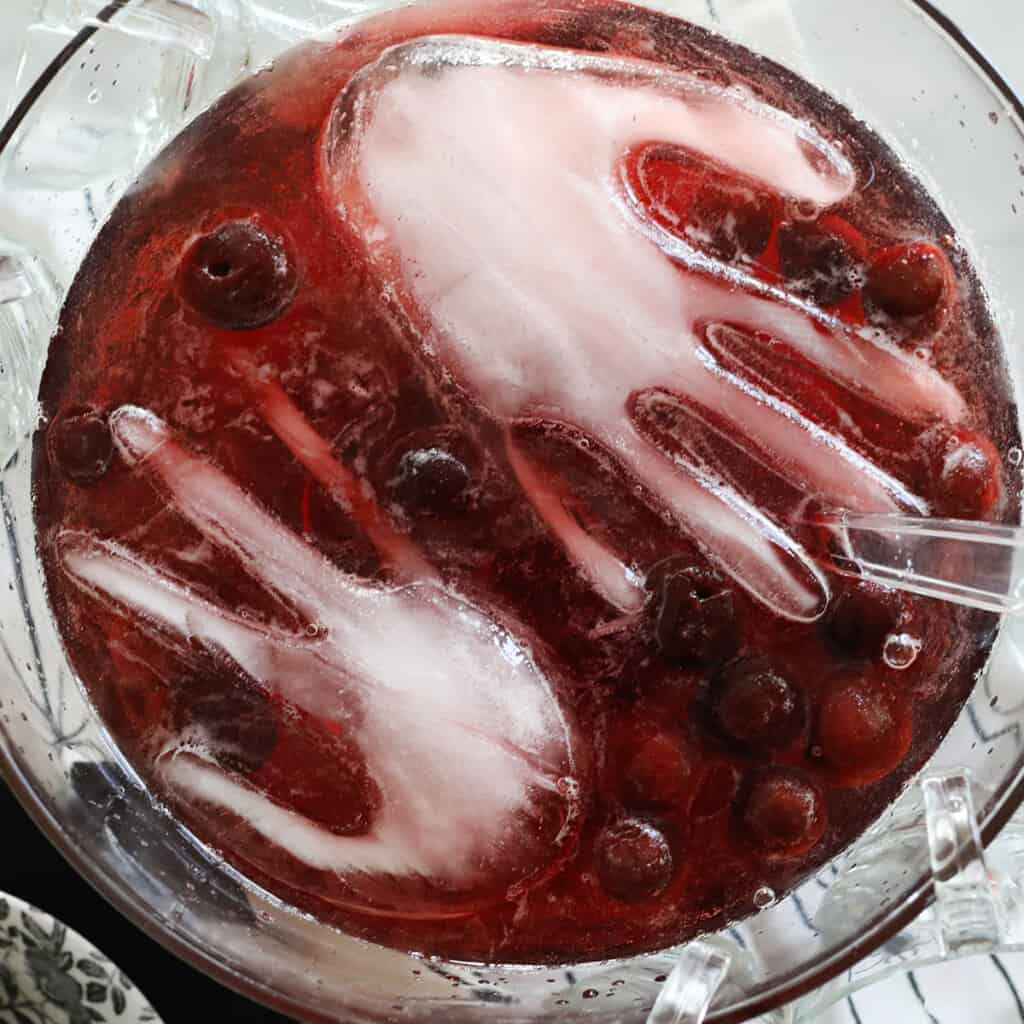
Halloween Punch Bowl
Use latex gloves to create these scary ice cubes for your punch bowl.
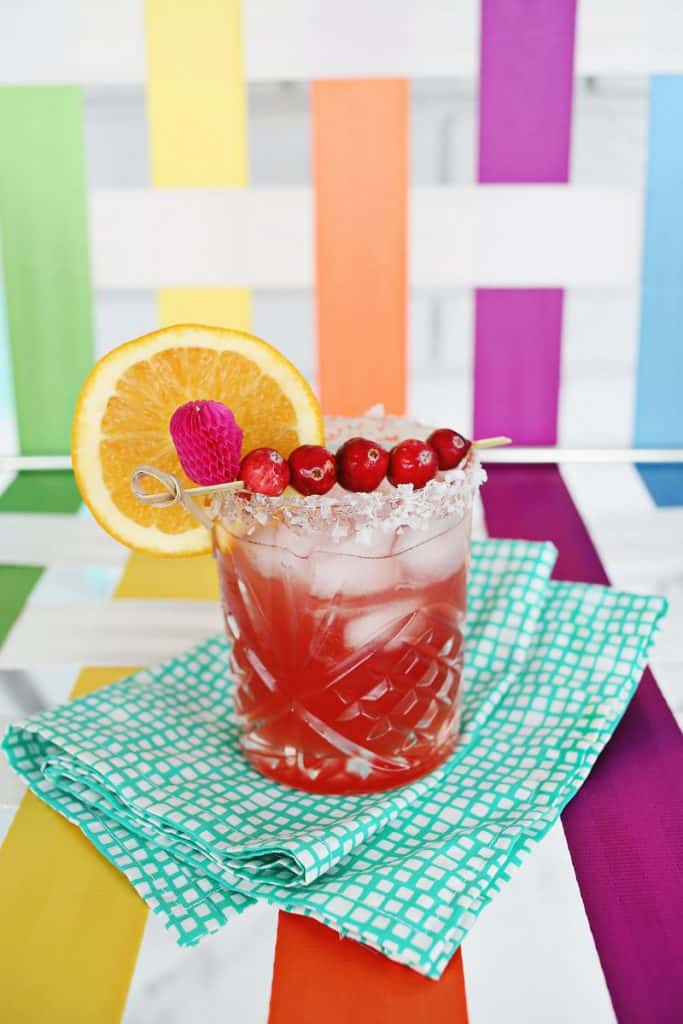
Easy Orange Cranberry Margarita
Our favorite margarita recipe for fall!
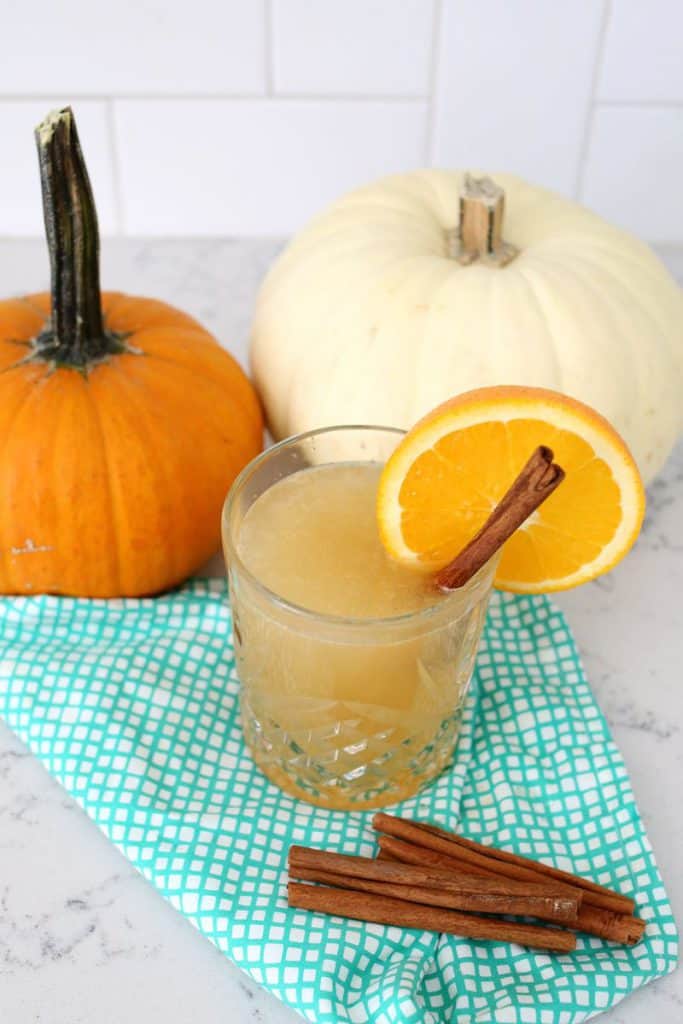
My Favorite Fall Cocktail!
An easy-to-make, crisp apple cider cocktail recipe.
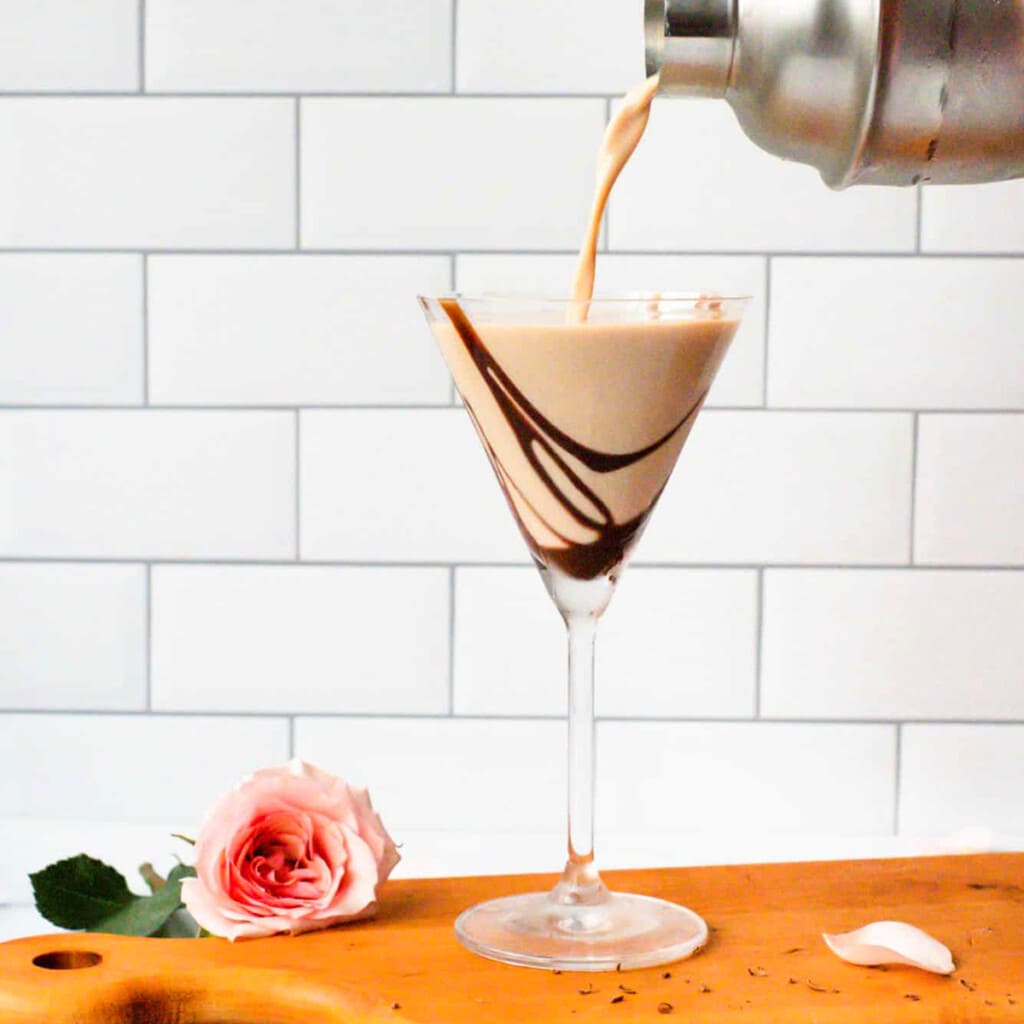
Chocolate Martini Recipe
Learn to make a classic chocolate martini.
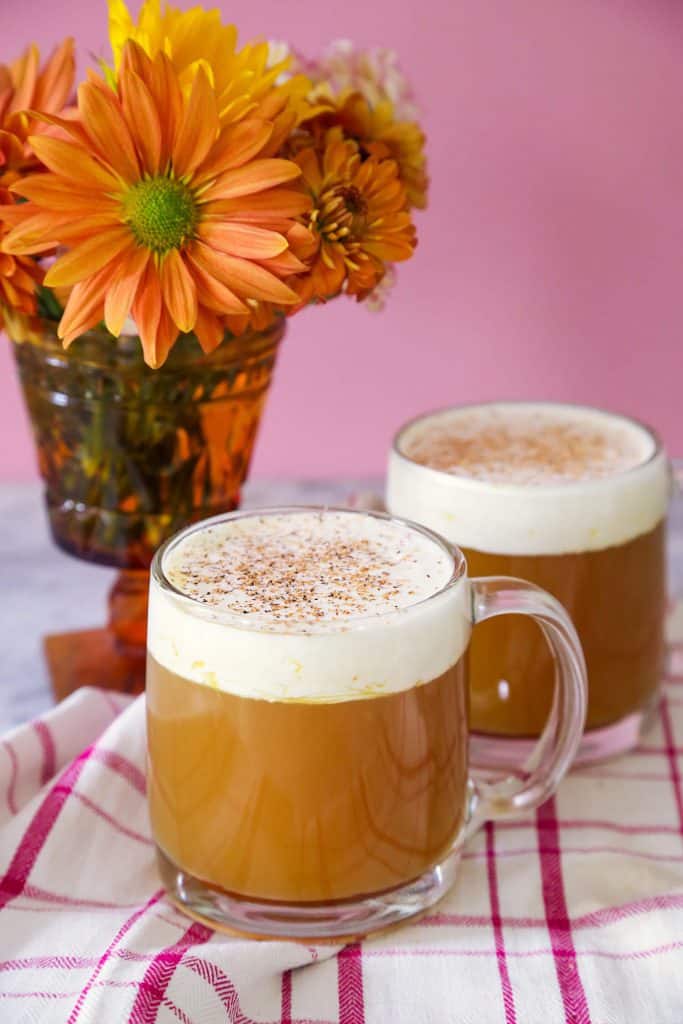
Boozy Apple Cider A La Mode
The aroma of apple and spice is so delightful and mulling cider is one of my favorite scents this time of year. Try this delicious recipe.

Incredible Hulk Cocktail
Learn to make the Incredible Hulk cocktail recipe with just three ingredients: Hpnotiq, cognac and orange bitters.

Sazerac
Learn to make a classic New Orleans Sazerac cocktail at home.
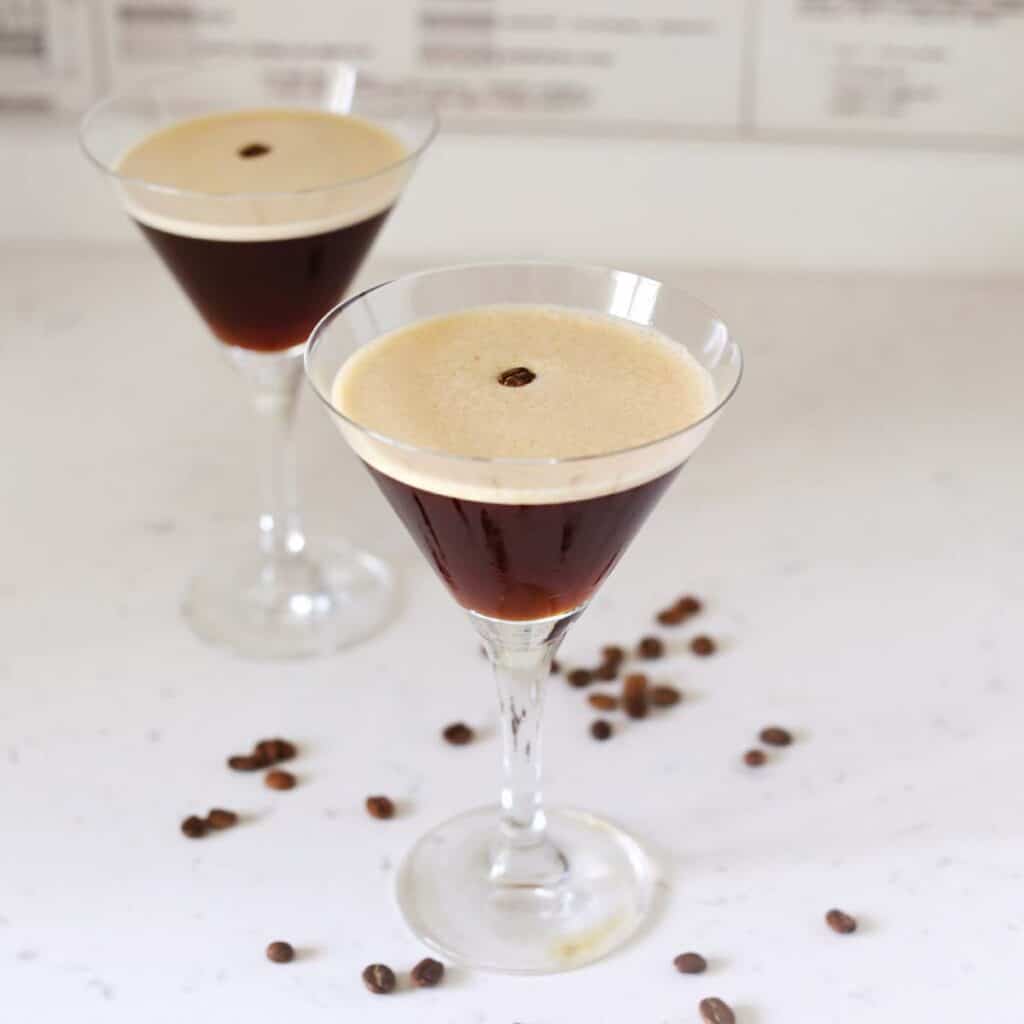
Espresso Martini
There is nothing better than an espresso martini.
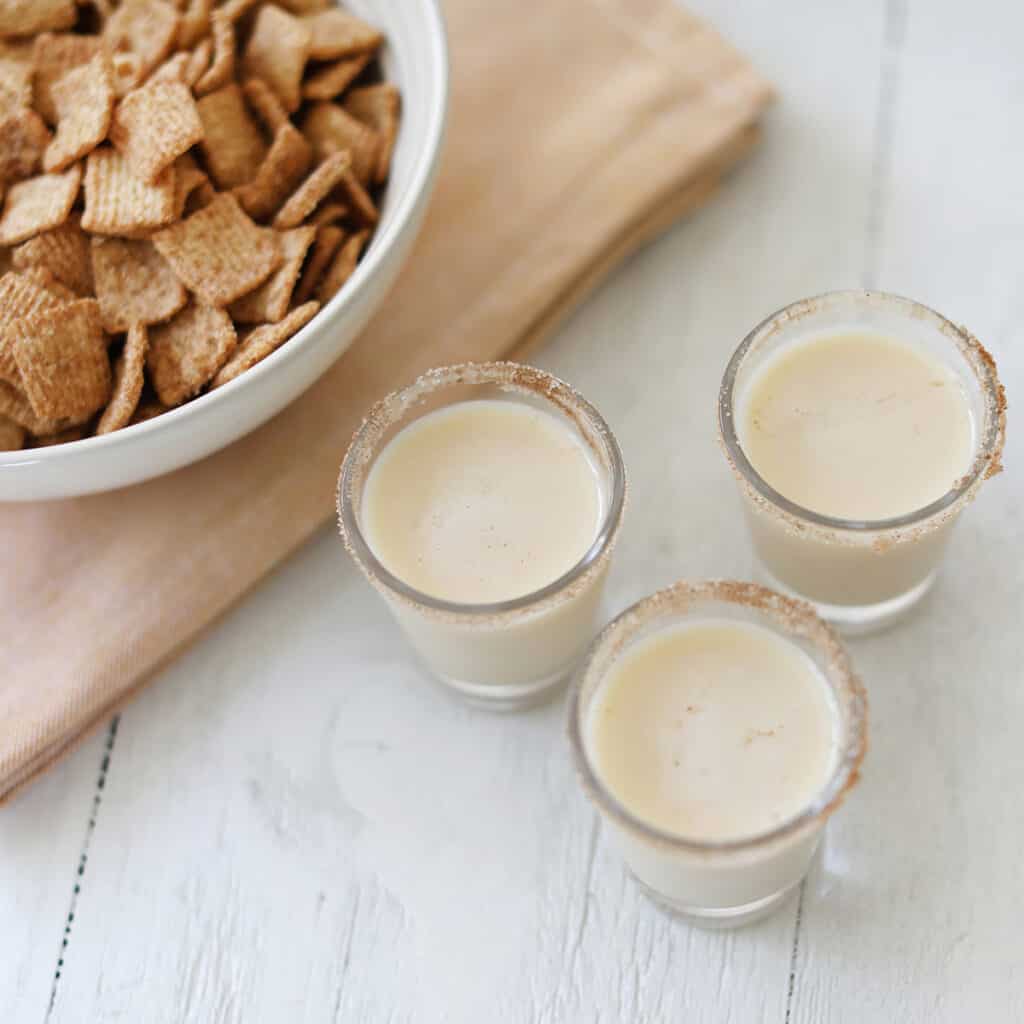
Cinnamon Toast Crunch Shot
If you have never tried this recipe, it tastes exactly like Cinnamon Toast Crunch cereal, but is in shot form. It’s perfect for fall!
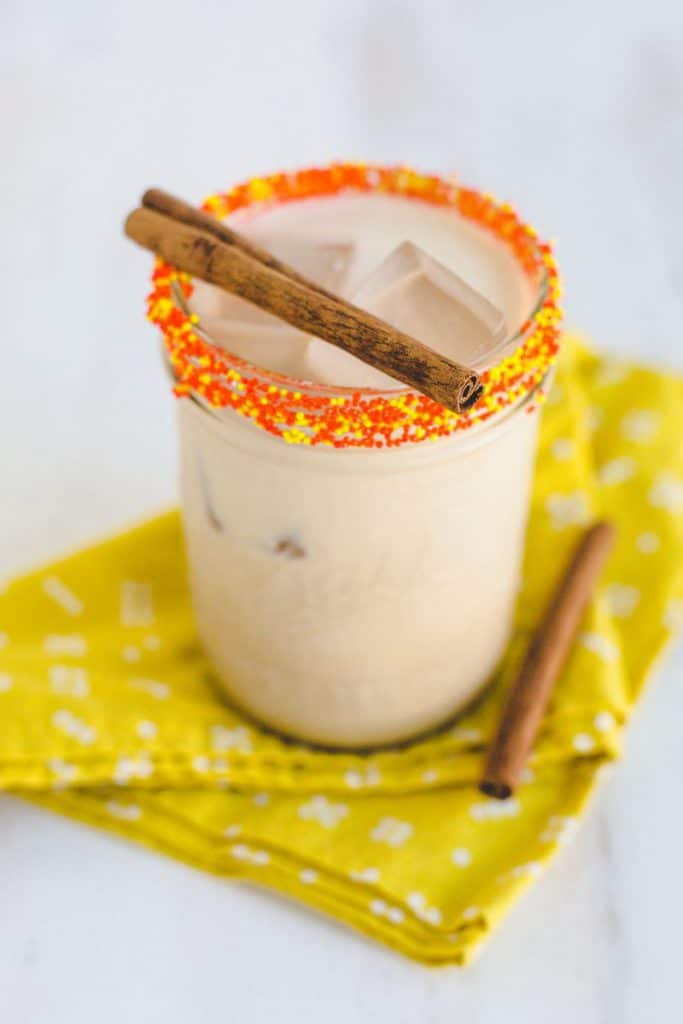
Pumpkin Spice White Russian
There is nothing we won’t add pumpkin spice to and this delicious cocktail is the best!
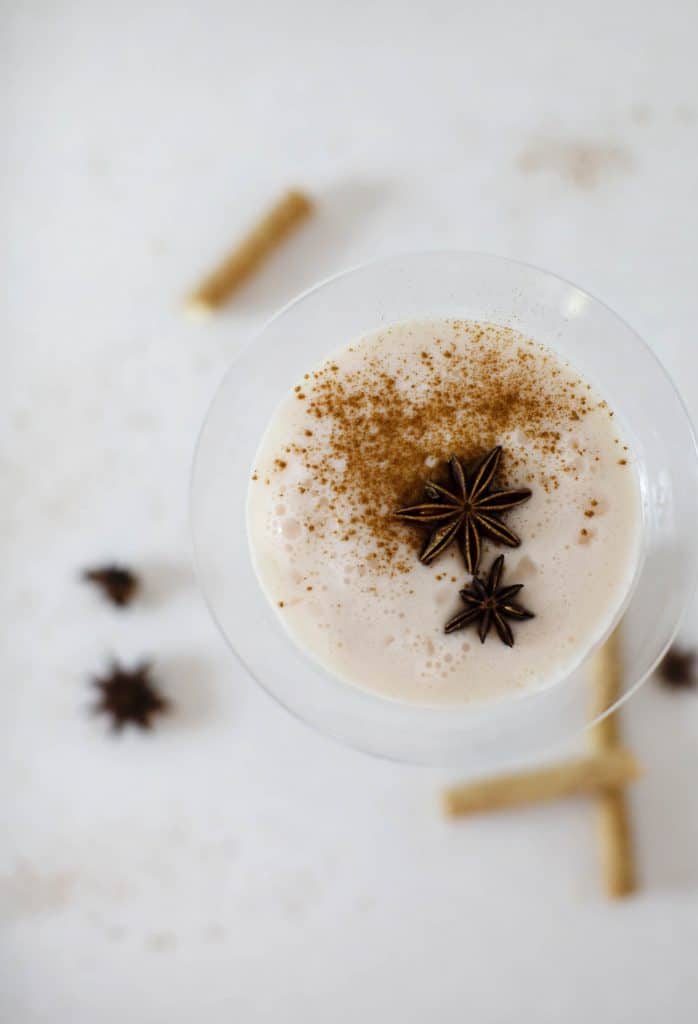
Snickerdoodle Martini
Learn to make a martini that tastes just like a snickerdoodle cookie.
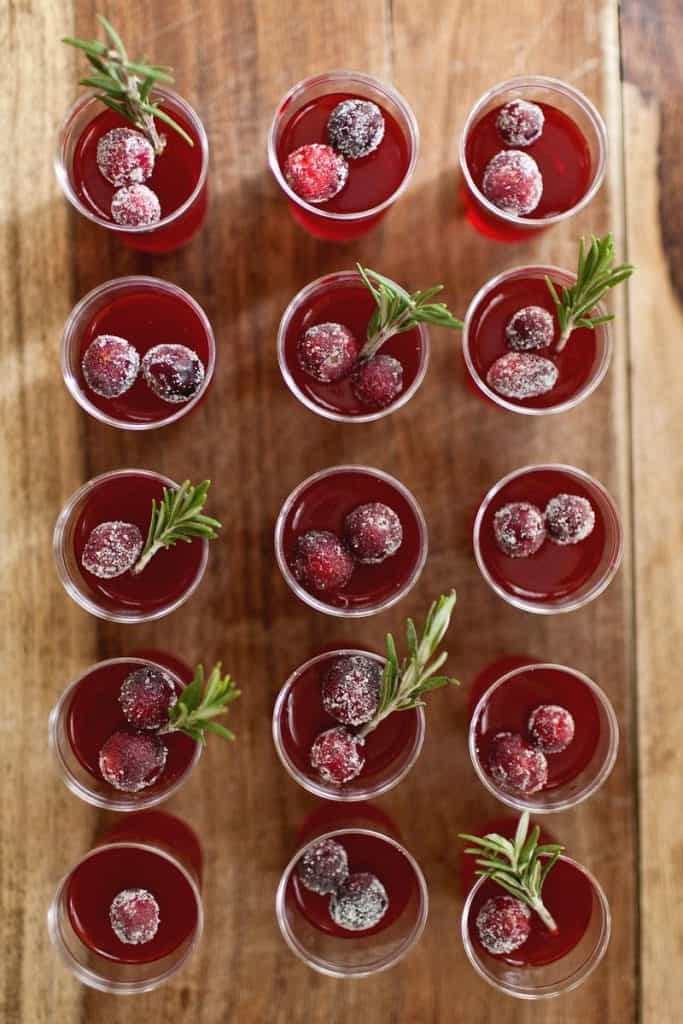
Cranberry Jello Shots
These festive jello shots are perfect for an autumn gathering.

Prickly Pear Margarita
Learn to make a Prickly Pear Margarita using tequila, prickly pear syrup, lime juice and orange liqueur. I love to serve mine with a salted rim and a lime slice as garnish.
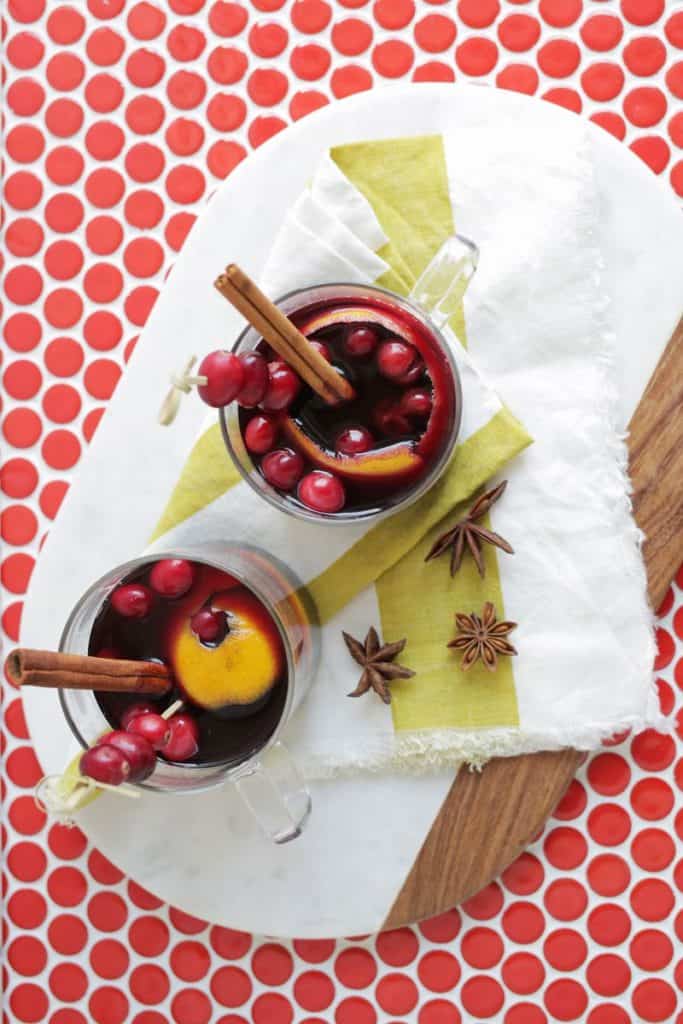
How to Make Mulled Wine
How to make the best mulled wine. It’s easier than you think.
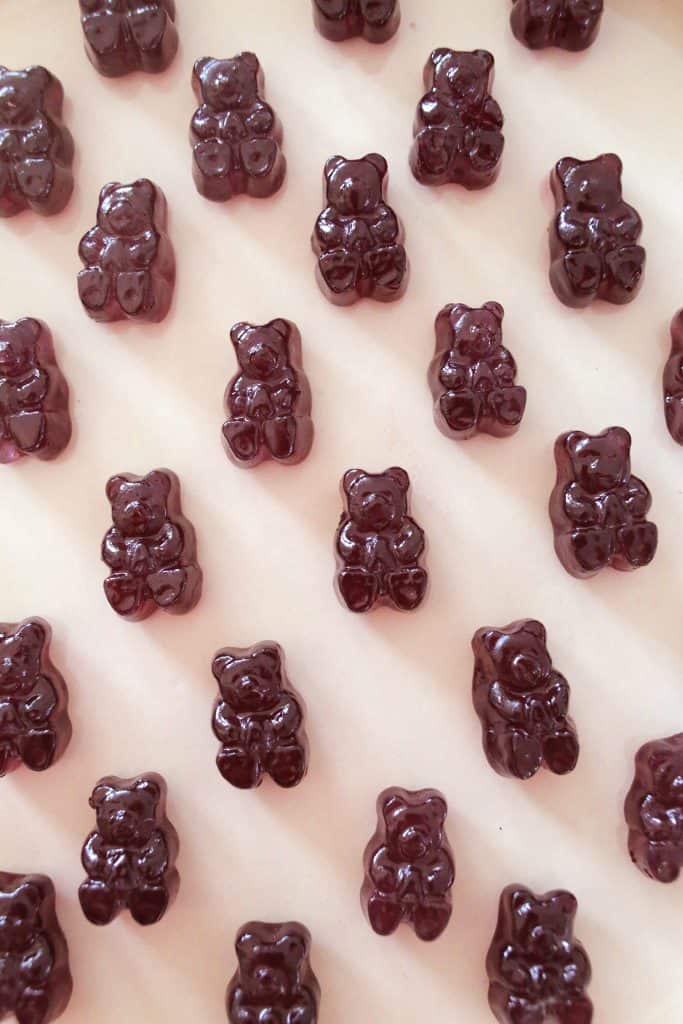
Red Wine Soaked Gummy Bears
What could be more perfect for Halloween than adding booze to your candy?
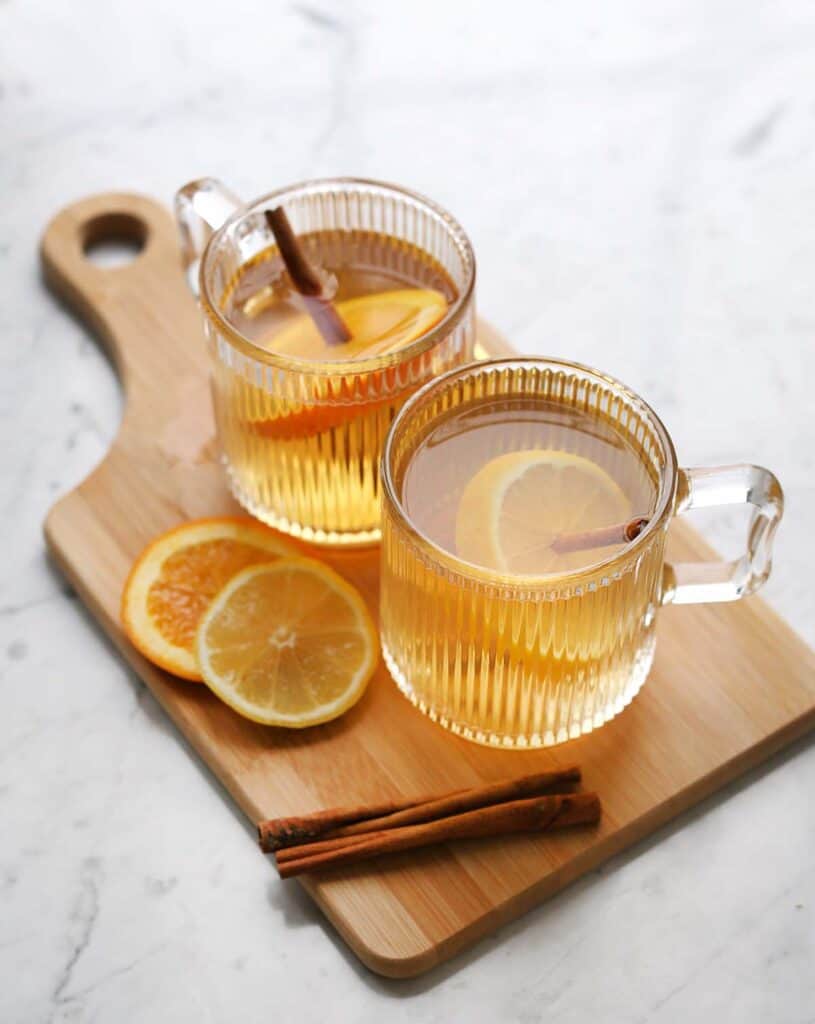
Classic Hot Toddy
A simple hot cocktail with only four ingredients. This is a fall staple.
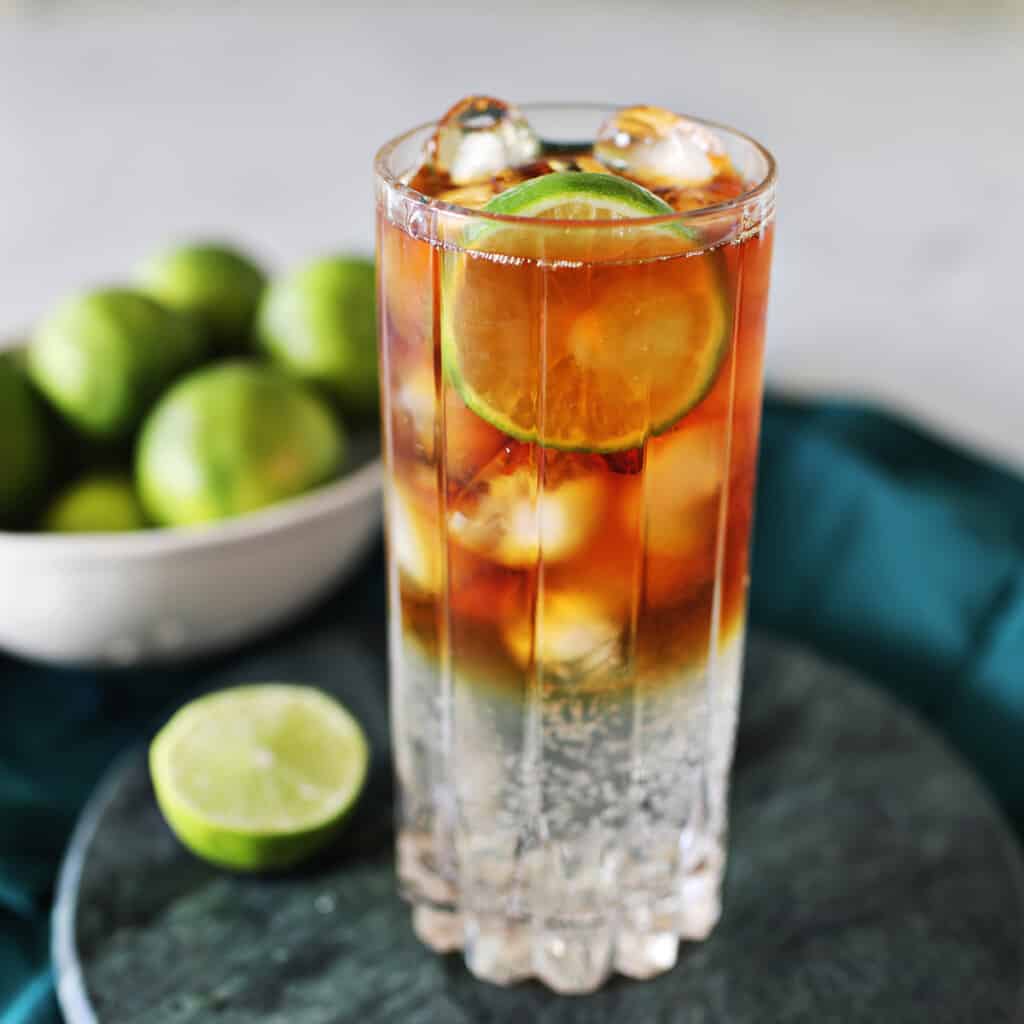
Dark and Stormy Cocktail
Learn to make the classic Dark and Stormy Cocktail.
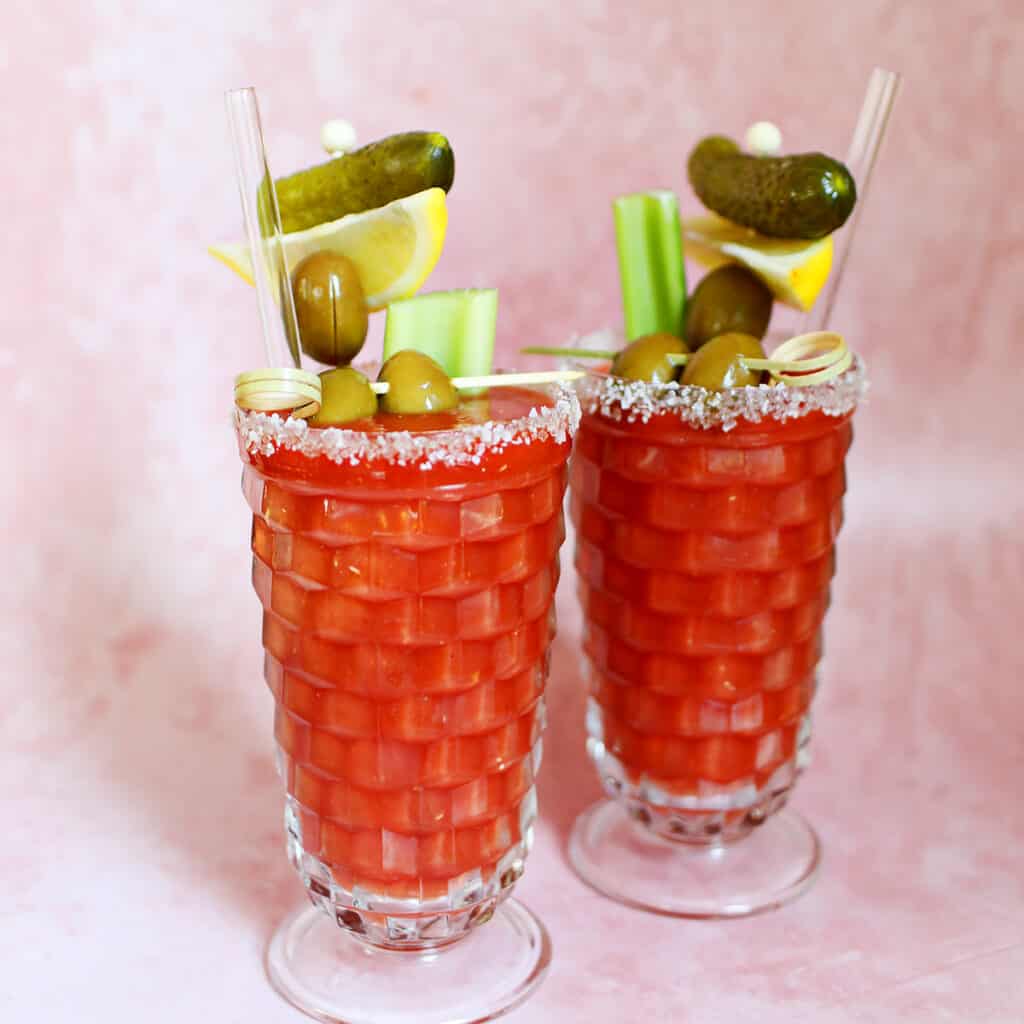
Classic Bloody Mary
Create a classic Bloody Mary cocktail at home. It’s all about the garnishes!
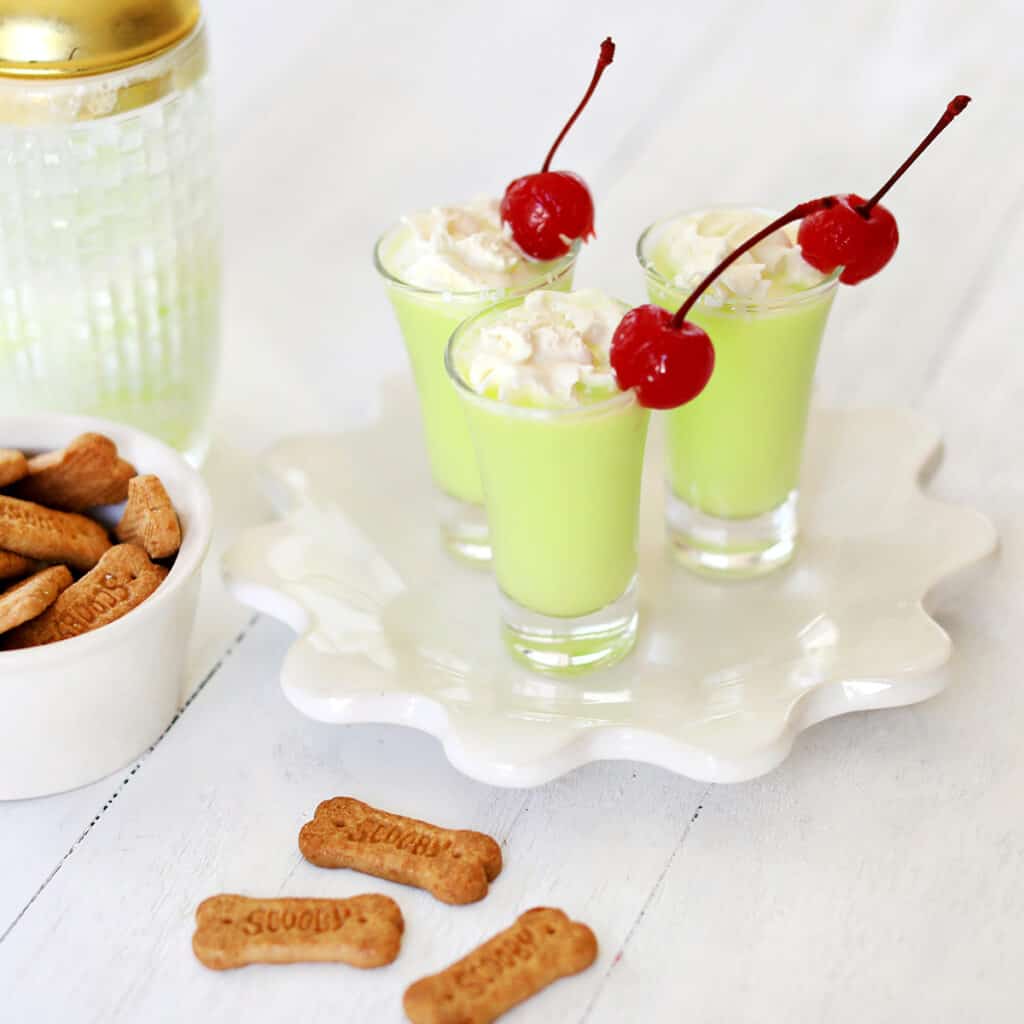
Scooby Snack Shot
This fun novelty shot is perfect for a Halloween party!
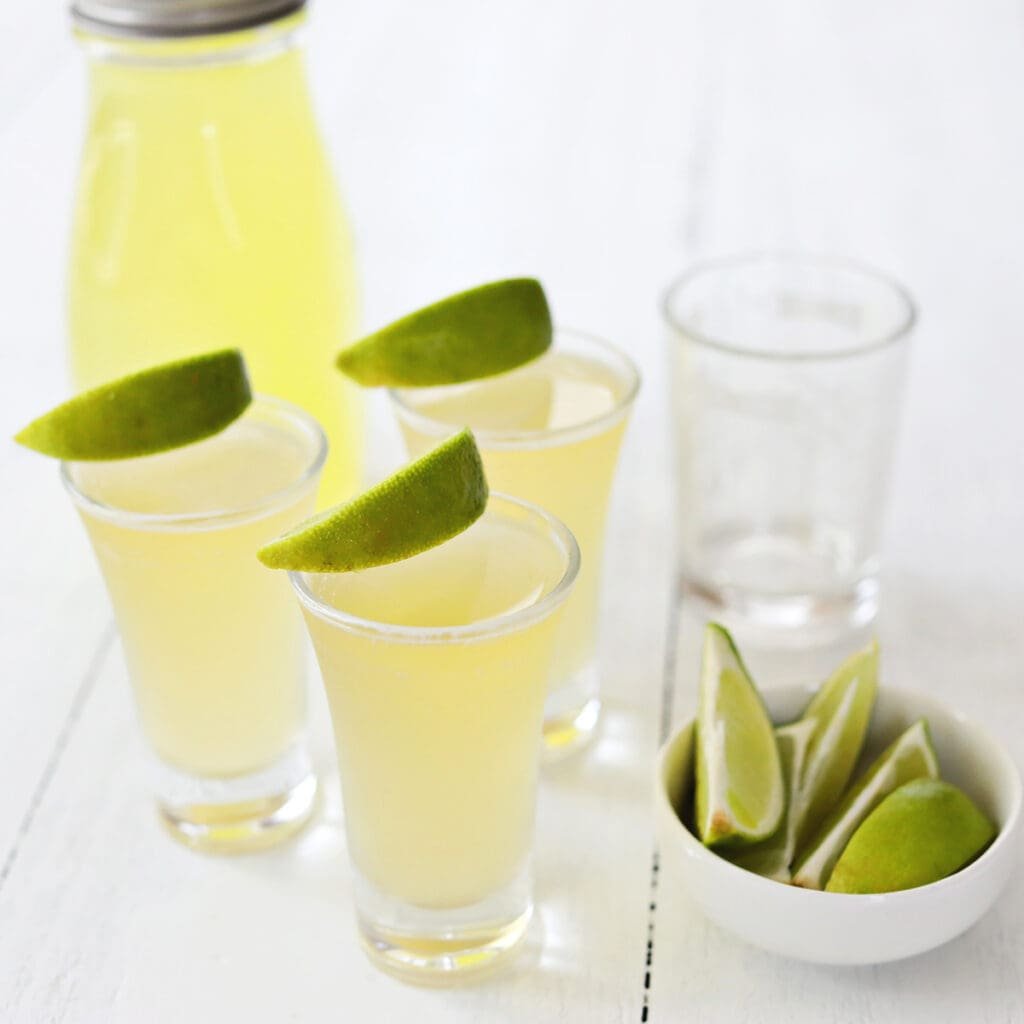
Green Tea Shot
One of the most delicious shot recipes I have tried. I highly recommend this one.

Bloody Caesar Drink
Learn to make a Bloody Caesar using vodka, Clamato juice, Worcestershire sauce, hot sauce and horseradish. Garnish with celery and more!

Pink Starburst Shot
Learn to make a Pink Starburst Shot using vanilla vodka, watermelon pucker and sweet and sour mix. A fun, pink party shot!
More Halloween Ideas
We’re got more Halloween ideas for you! Halloween Crafts for Adults, 15 Halloween DIYs, Halloween Drinks (without alcohol) and Halloween Food Ideas like Candy Apples and Caramel Apples. Plus, on Childhood Magic, we have Halloween Activities for Kids.
Thanks so much for reading!
]]> Halloween Jello Shots
Four easy ideas to make fun Halloween jello shots for your Halloween party!
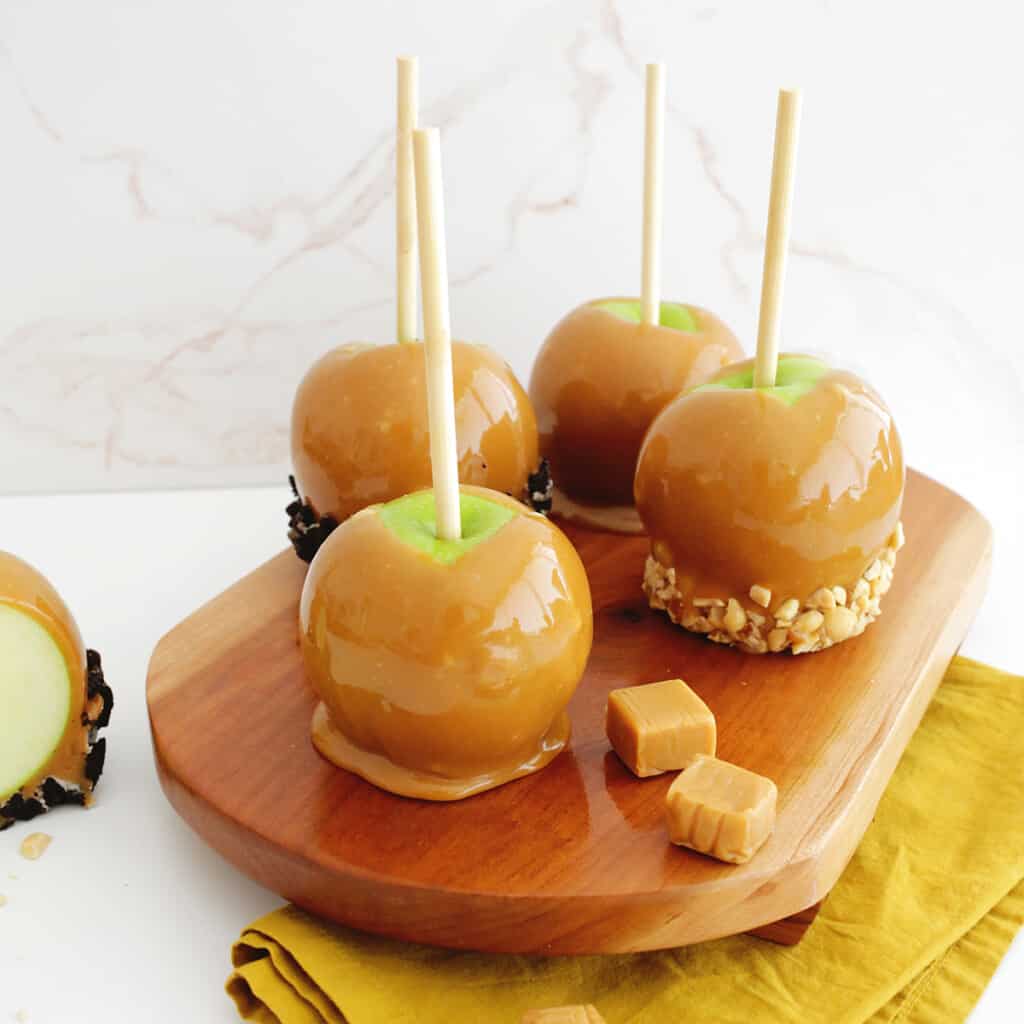
Caramel Apples
Make delicious caramel apples at home and add gourmet toppings.
Candy Corn Jello Shots!
How to make three layered jello shots look like the colors of candy corn.
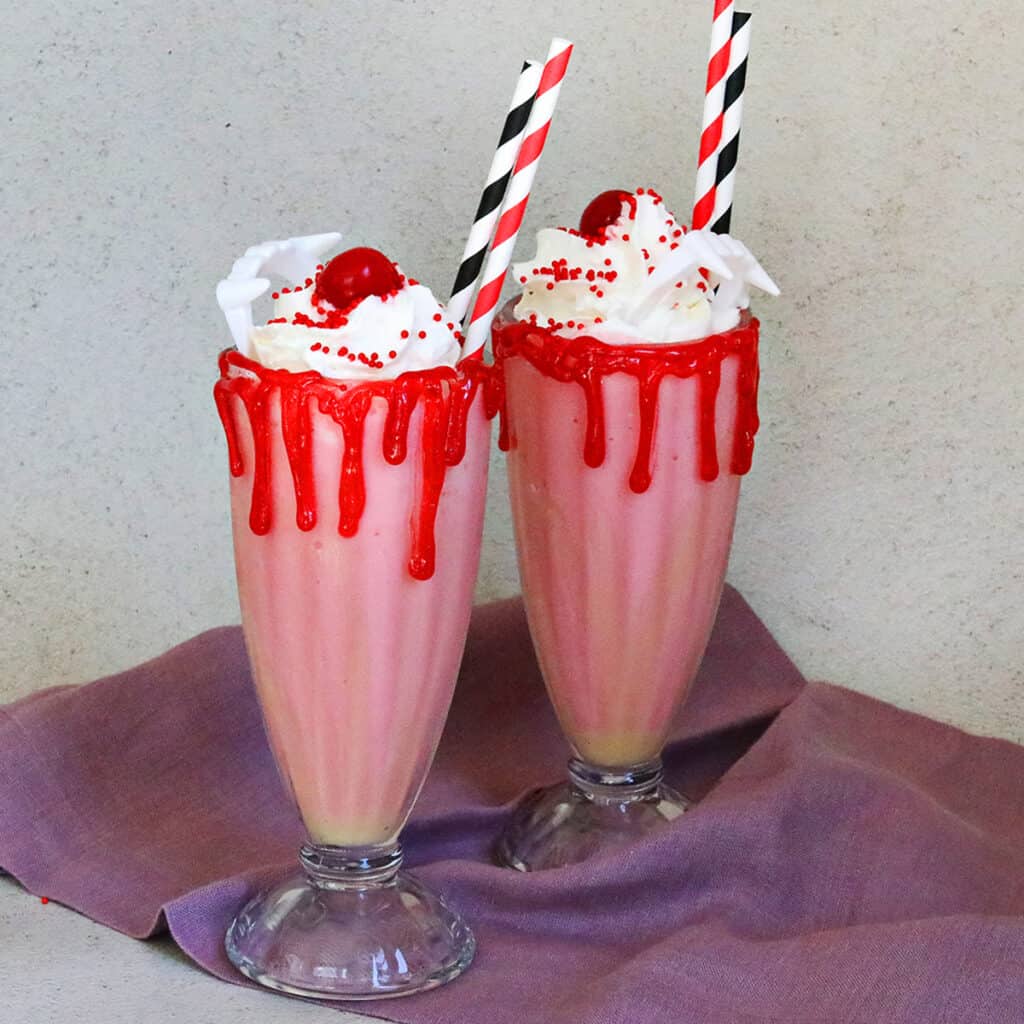
Vampire Milkshake
How to make these cute and festive milkshakes for all you vampire-loving friends.
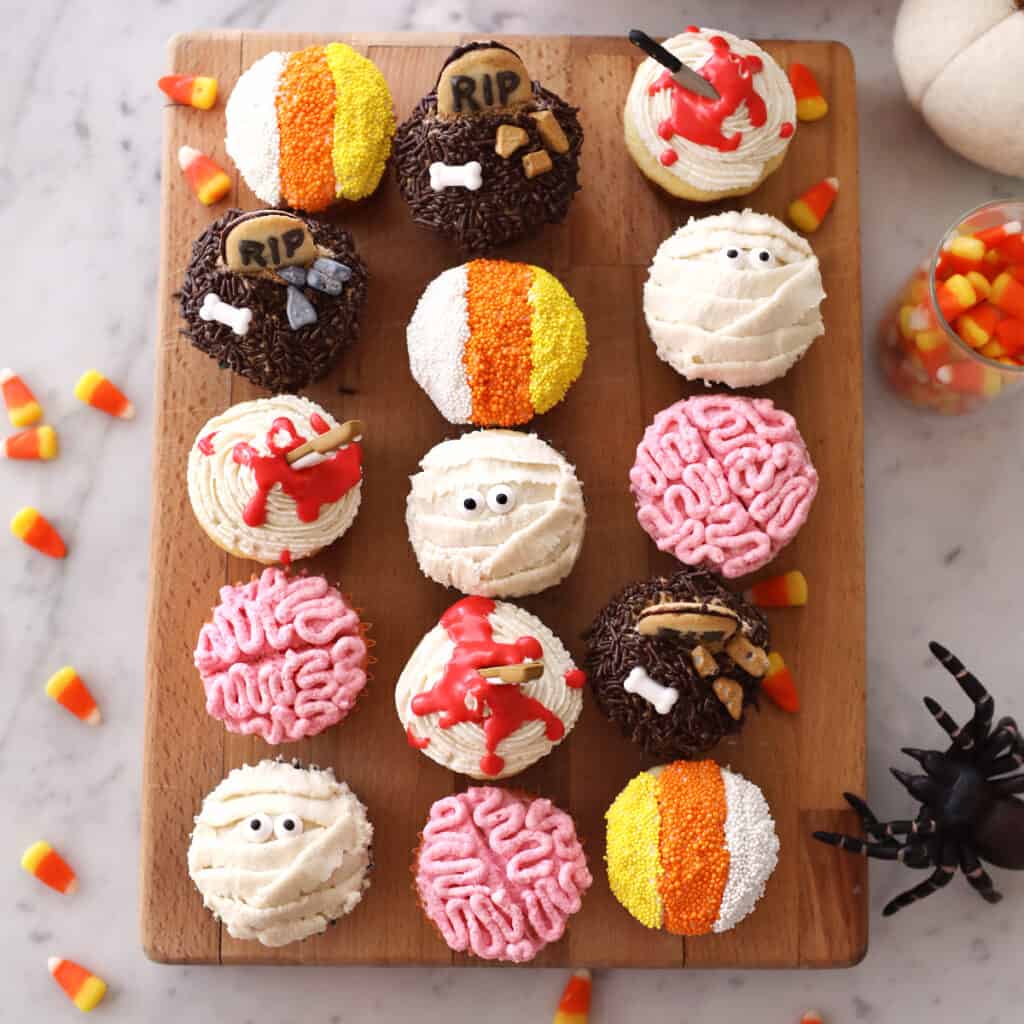
Halloween Cupcakes – Easy Ideas
If you are looking for some easy ideas to decorate cupcakes for Halloween, then look no further! We’ve got lots of different Halloween cupcake decorating ideas that anyone can pull off. You don’t have to be a professional baker to make these.
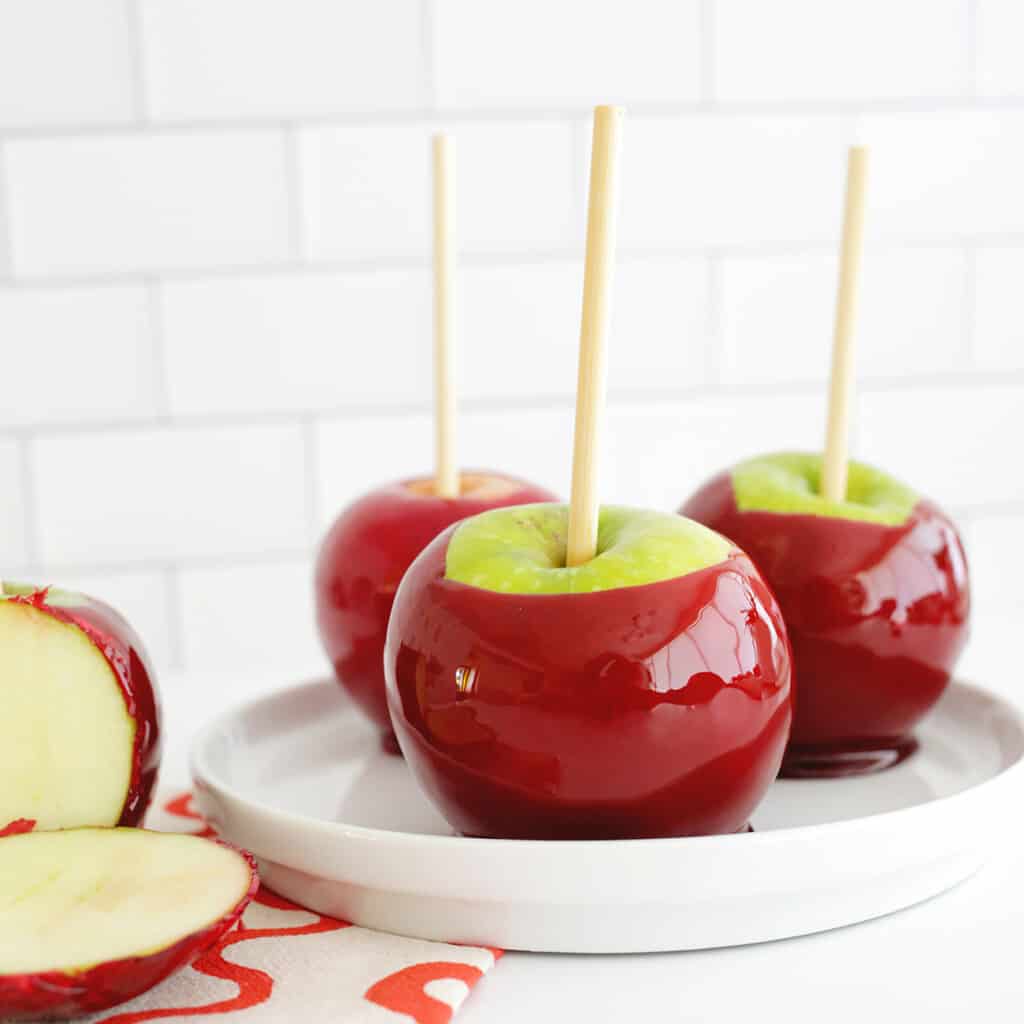
Candy Apples
Create homemade easy candy apples—perfect for fall and Halloween!
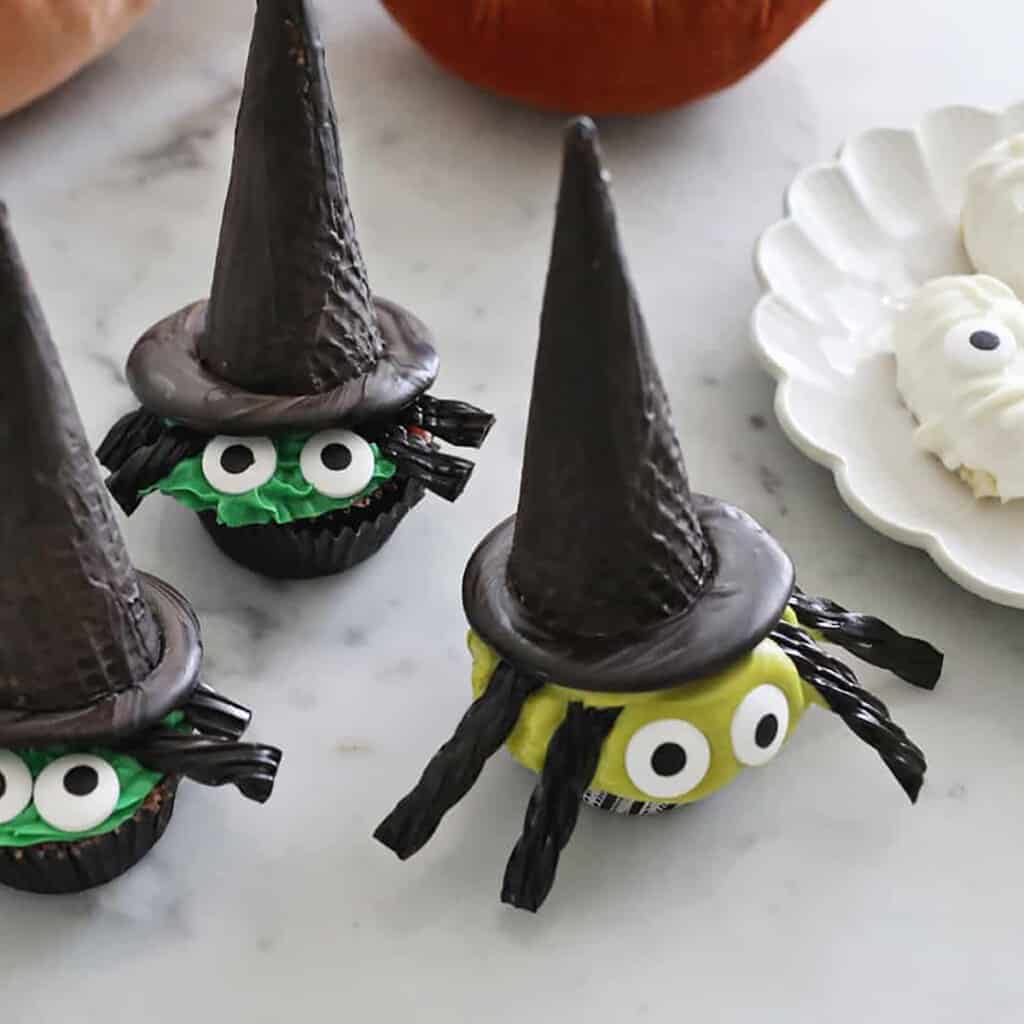
Witch Cupcakes for Halloween
Make the easiest witch hats to upgrade your cupcakes for Halloween!
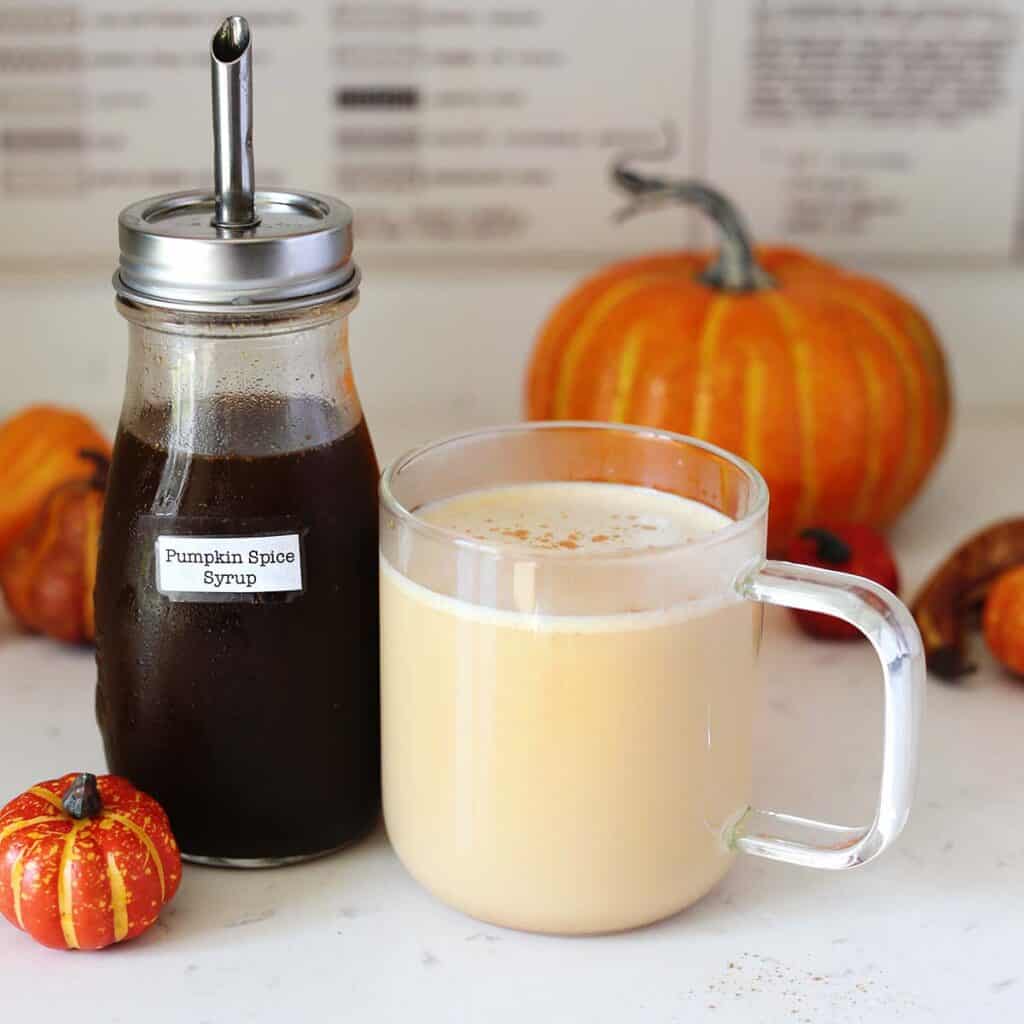
Pumpkin Spice Latte
Learn to make your favorite Starbucks drink at home!
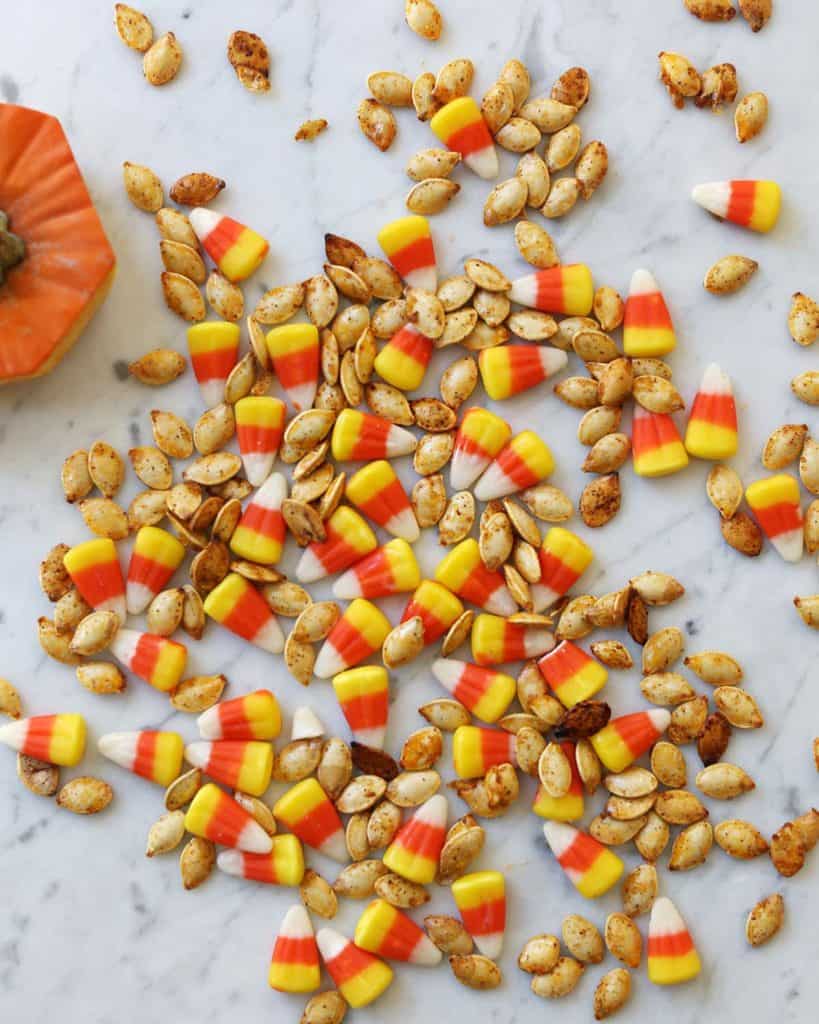
Roasted Pumpkin Seeds
How to make roasted pumpkin seeds after you’re done carving pumpkins.
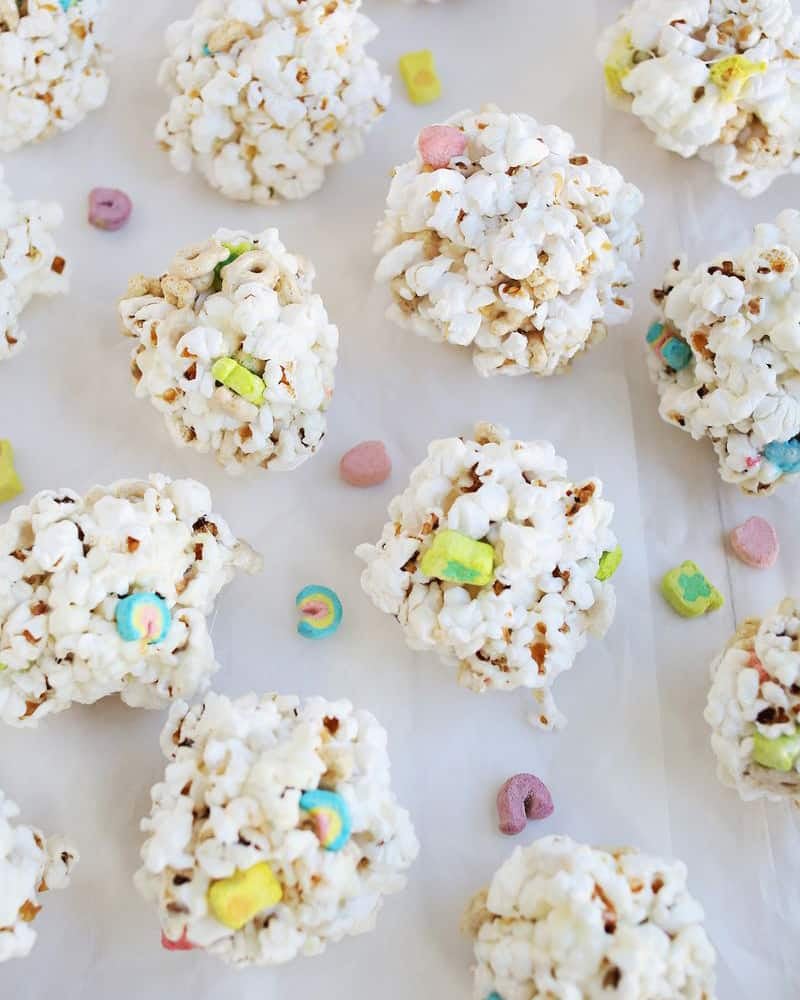
Easy Popcorn Balls
My foolproof method to make popcorn balls—add cereal, candy corn, or other candies to make these more festive. Or keep them classic!
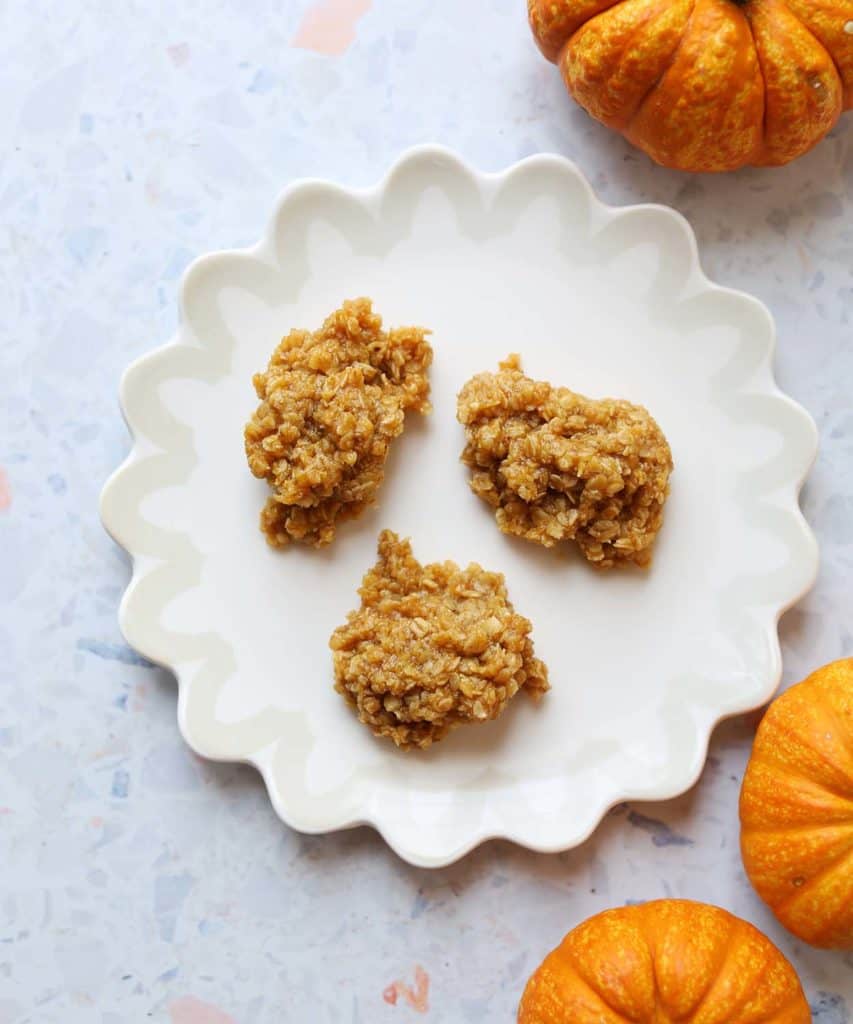
No-Bake Pumpkin Oatmeal Cookies
An easy-to-follow recipe that makes soft and chewy pumpkin cookies; no baking required.
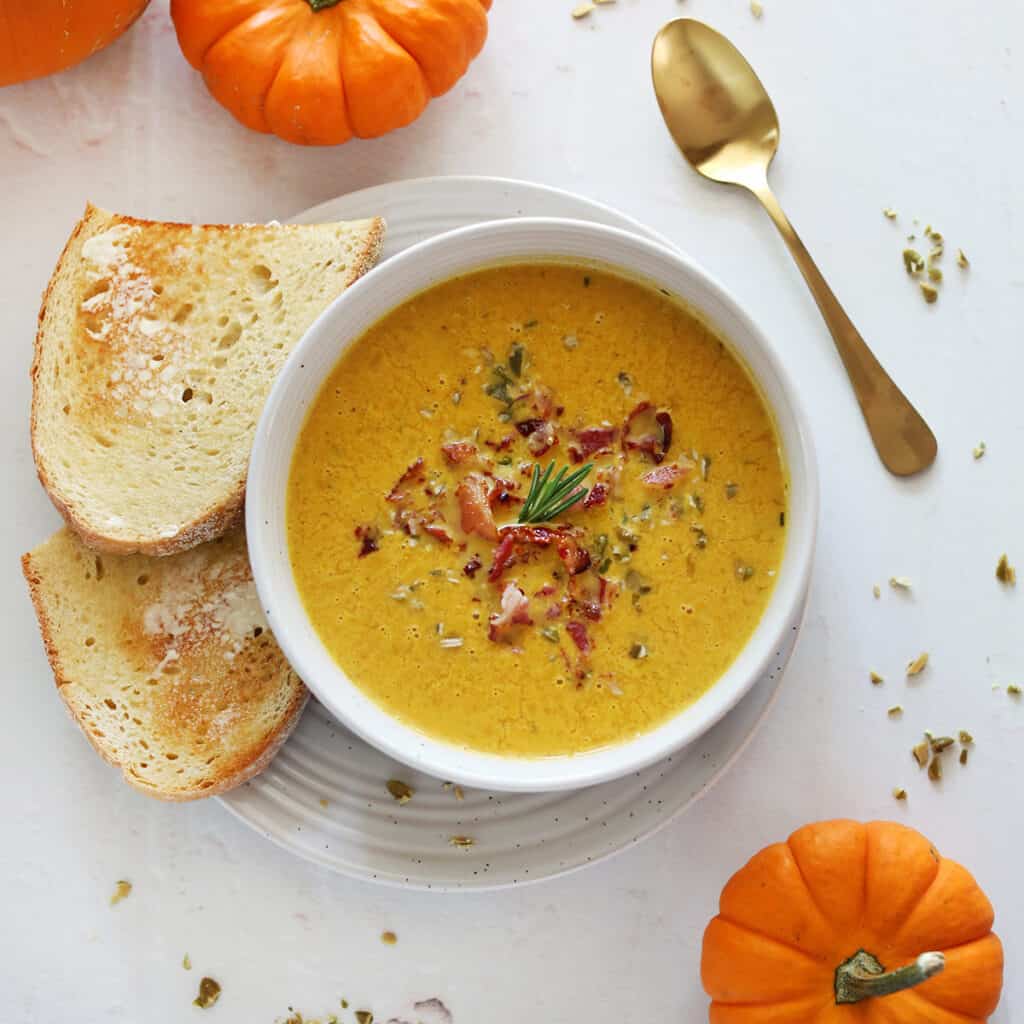
Pumpkin Soup
An easy and flavorful pumpkin soup with simple ingredients. Serve with grilled cheese or warm, toasted bread for a cozy meal.
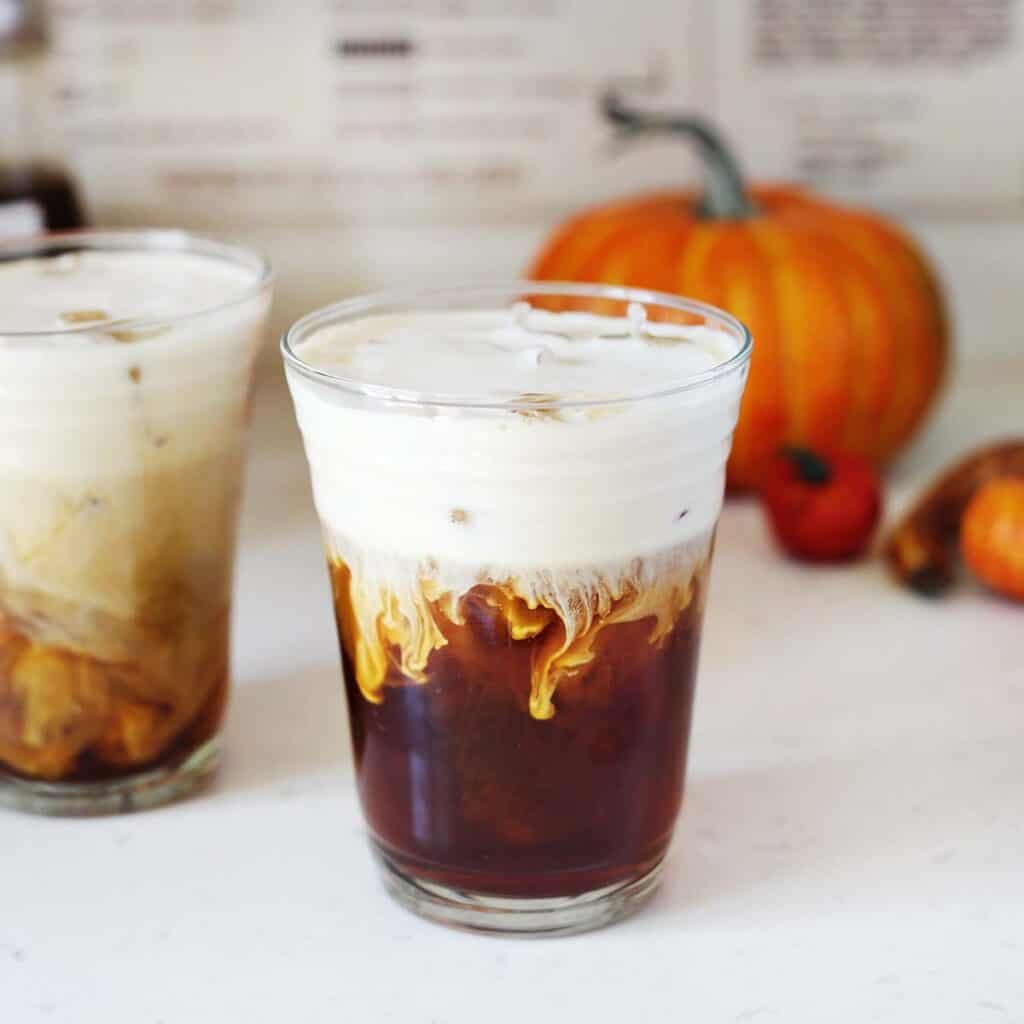
Pumpkin Cream Cold Brew
How to make your favorite Starbucks fall drink at home!
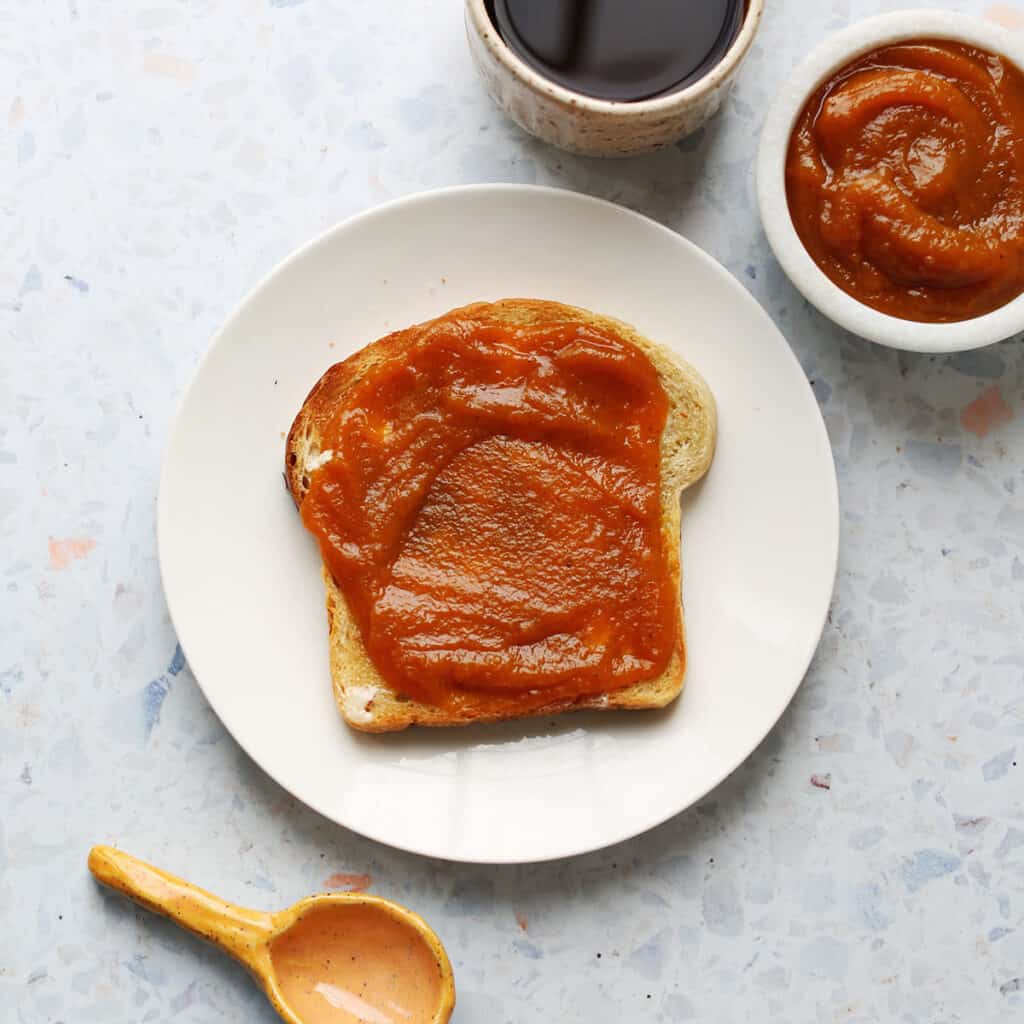
Overnight Pumpkin Butter
An easy recipe for making pumpkin butter from scratch in a crockpot overnight. Anyone can have success with this recipe!
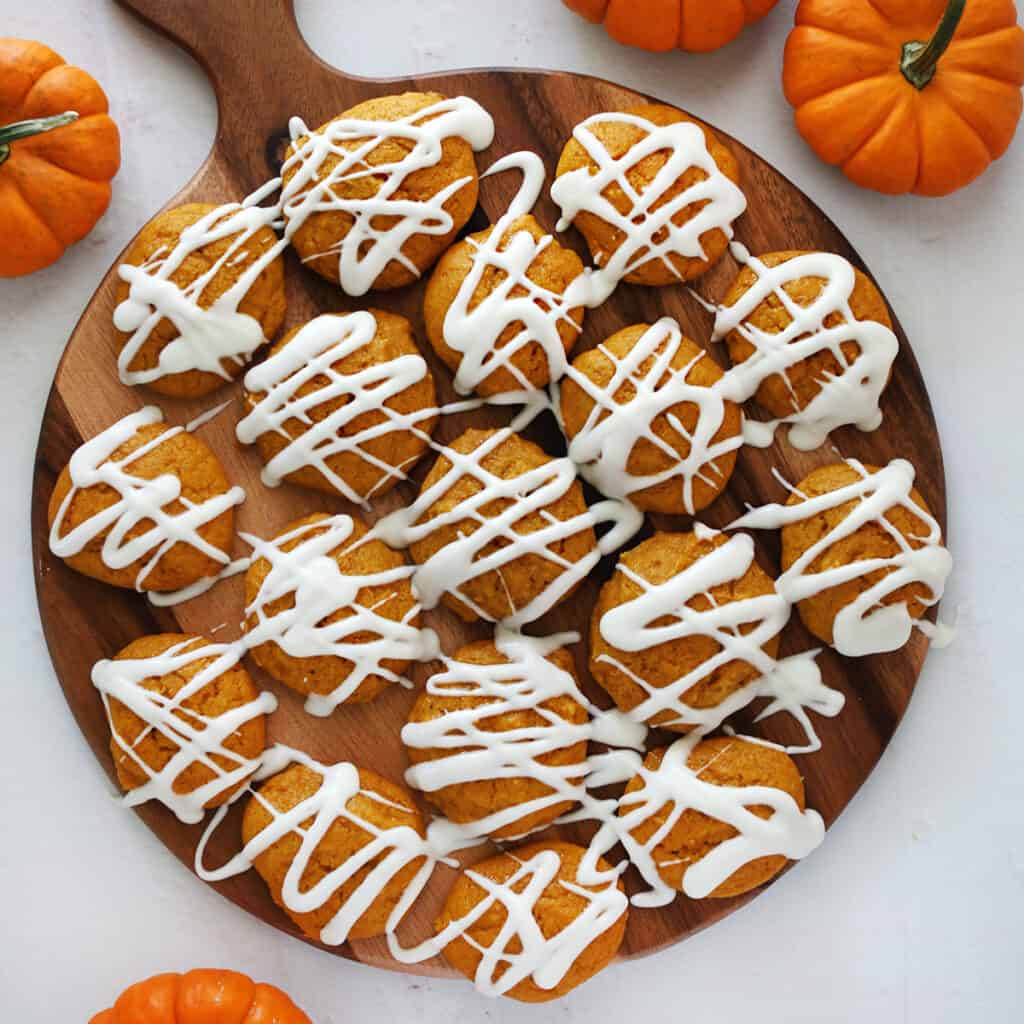
Easy Pumpkin Cookies
Soft and flavorful pumpkin cookies with a vanilla glaze. Easy to make and these will disappear immediately (because they are too good to resist)!
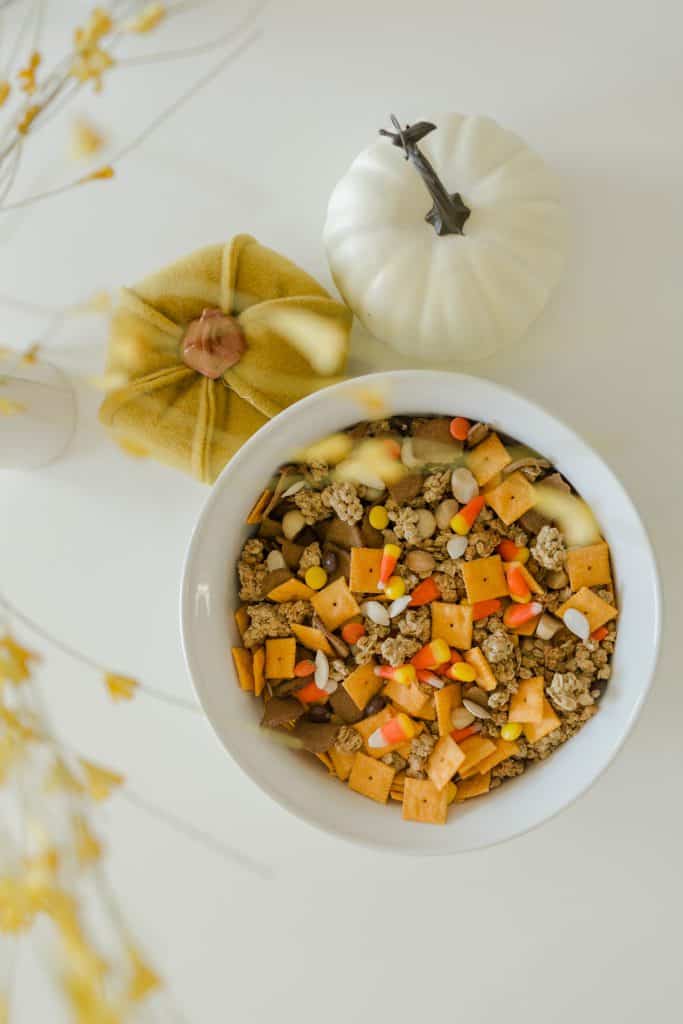
Make Your Own Autumn Trail Mix
Hi there! I have been making an autumn trail mix for probably 15 years—every single autumn it’s a thing I love to do! Here’s my recipe.
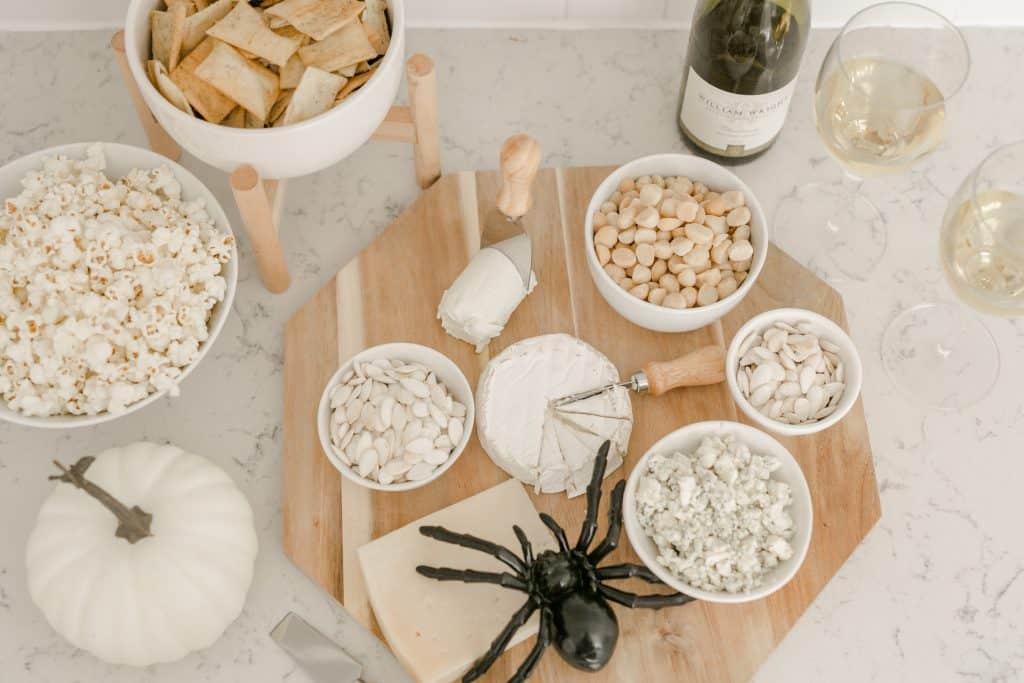
Spooky Spreads
Learn to make a Halloween cheese or charcuterie board for your next party!
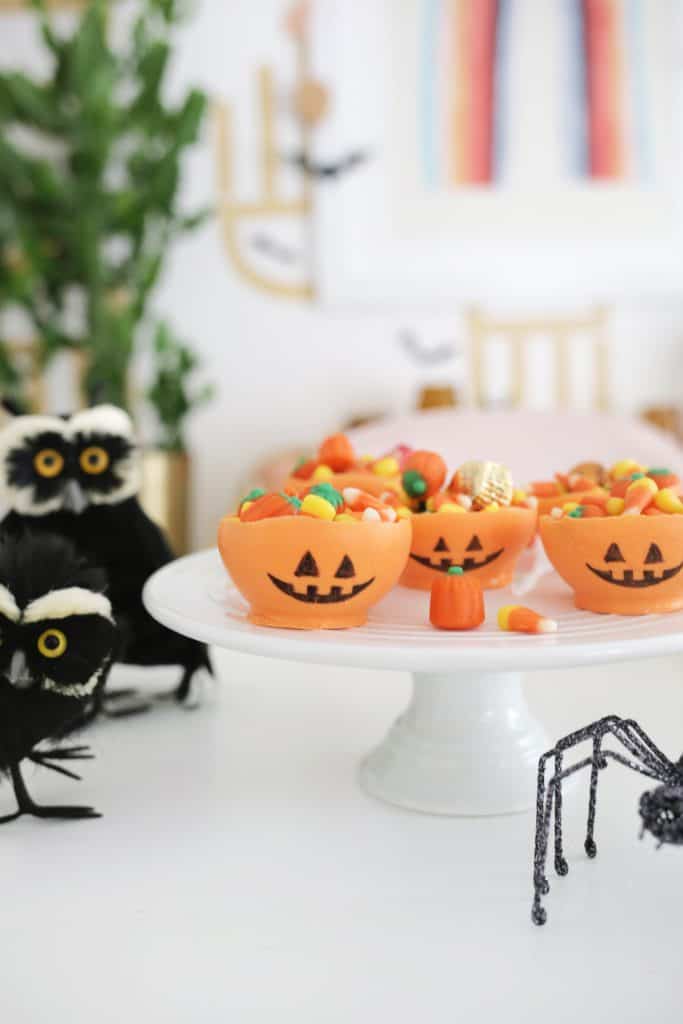
Edible Chocolate Pumpkin Candy Bowl DIY
While Halloween has all the fun of costumes and parties, let’s face it, it’s mostly an excuse to eat candy, right? Learn to make these edible candy bowls.
Evil Eye Halloween Cocktail
Love a spooky eyeball craft, decoration, or in this case an edible treat! Add these to any chilled drink.
Spooky Eyeball Jello Shots!
Maybe it’s the forever kid in me, but I just can’t resist a good Halloween food item. Learn to make these eyeball jello shots!
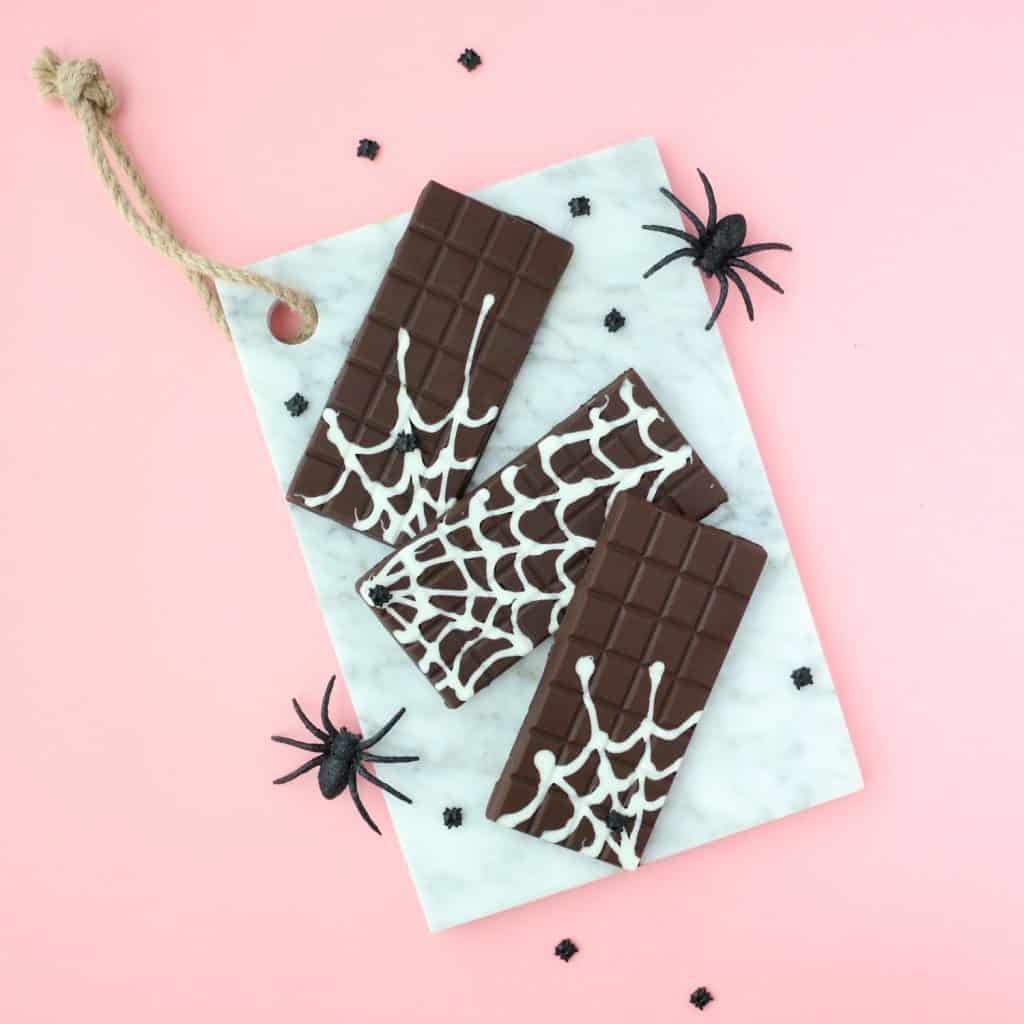
DIY Spider Web Chocolate Bars
I decided to make my own Halloween candy and I’ve found out that not only is it easier to do than I thought, it tastes way better than the store-bought kind.
Spider Bite Cocktail
This Halloween cocktail stencil DIY is super simple, very inexpensive, and once you know how make it you can add it to many different drinks.
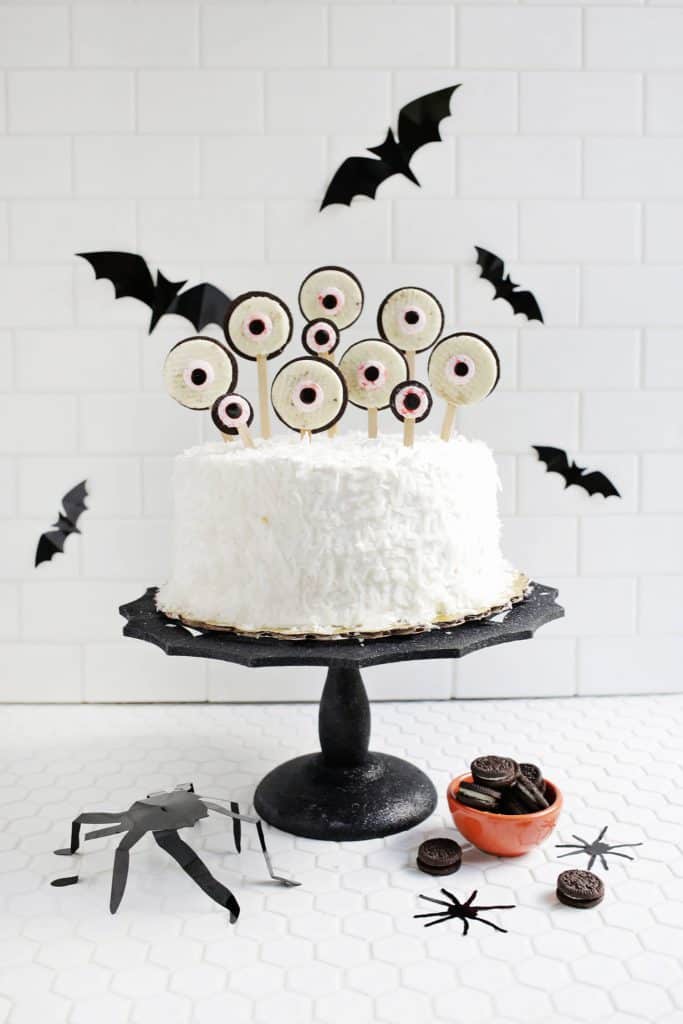
Spooky Eye Cake Toppers
One of my favorite things about Halloween is all the cute and creepy twists that people put on otherwise ordinary party foods.
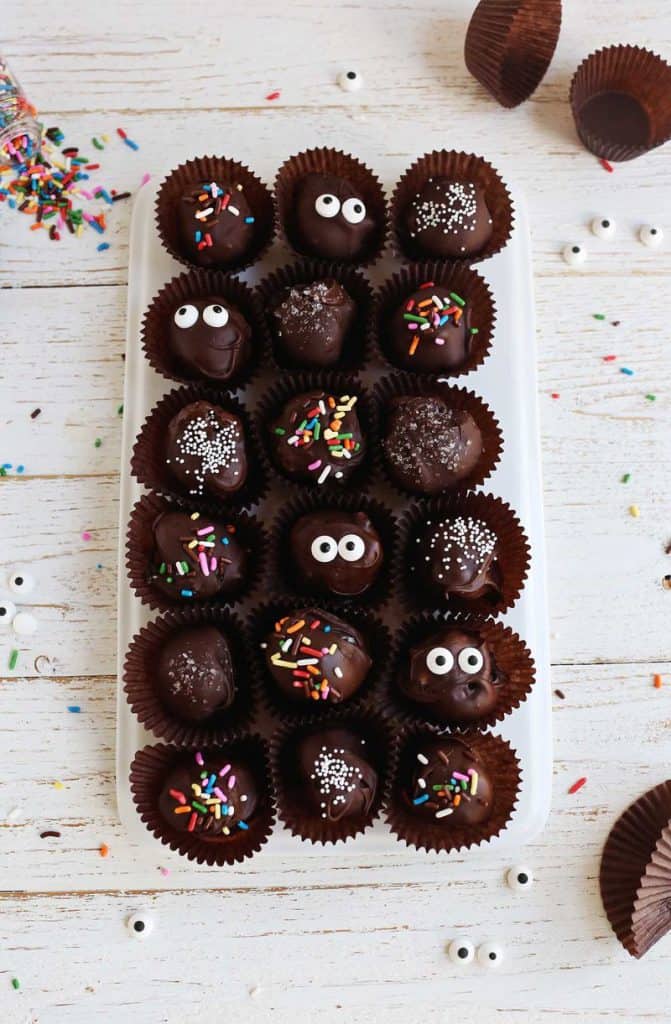
Halloween No-Bake Truffles
My favorite no-bake truffles recipe using Oreos.
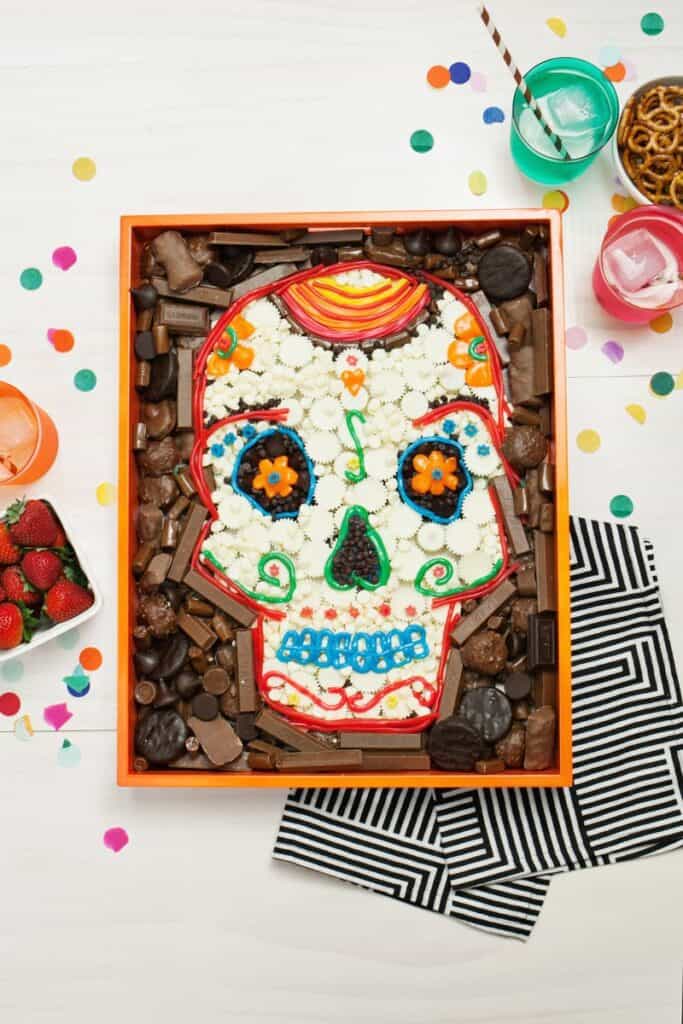
Day of the Dead Candy Party Tray
Halloween is right around the corner, can you smell the sugar in the air? Day of the Dead is also coming up. If you’re not familiar with this Mexican holiday, it’s also celebrated on Oct. 31 (through Nov. 2) and is a time of remembrance for family and friends who have passed away.
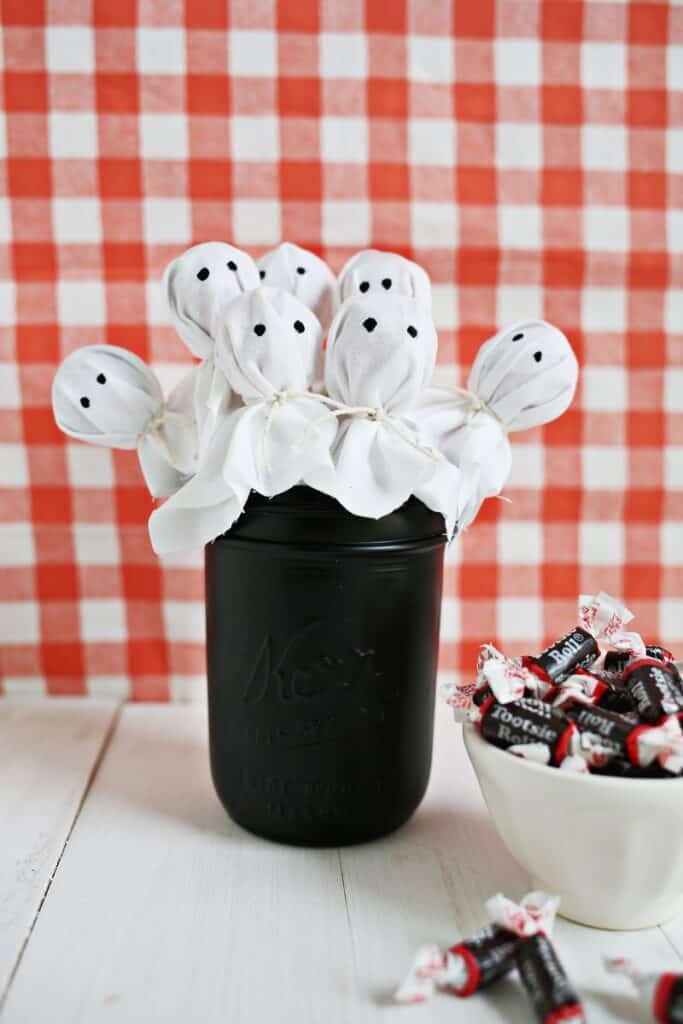
Ghost Lollipop Bouquet
This is a simple and quick idea for all the Halloween lovers in your life and is fun to make or to gift!
Halloween Punch Bowl
An easy to make and spooky punch cocktail for a party!
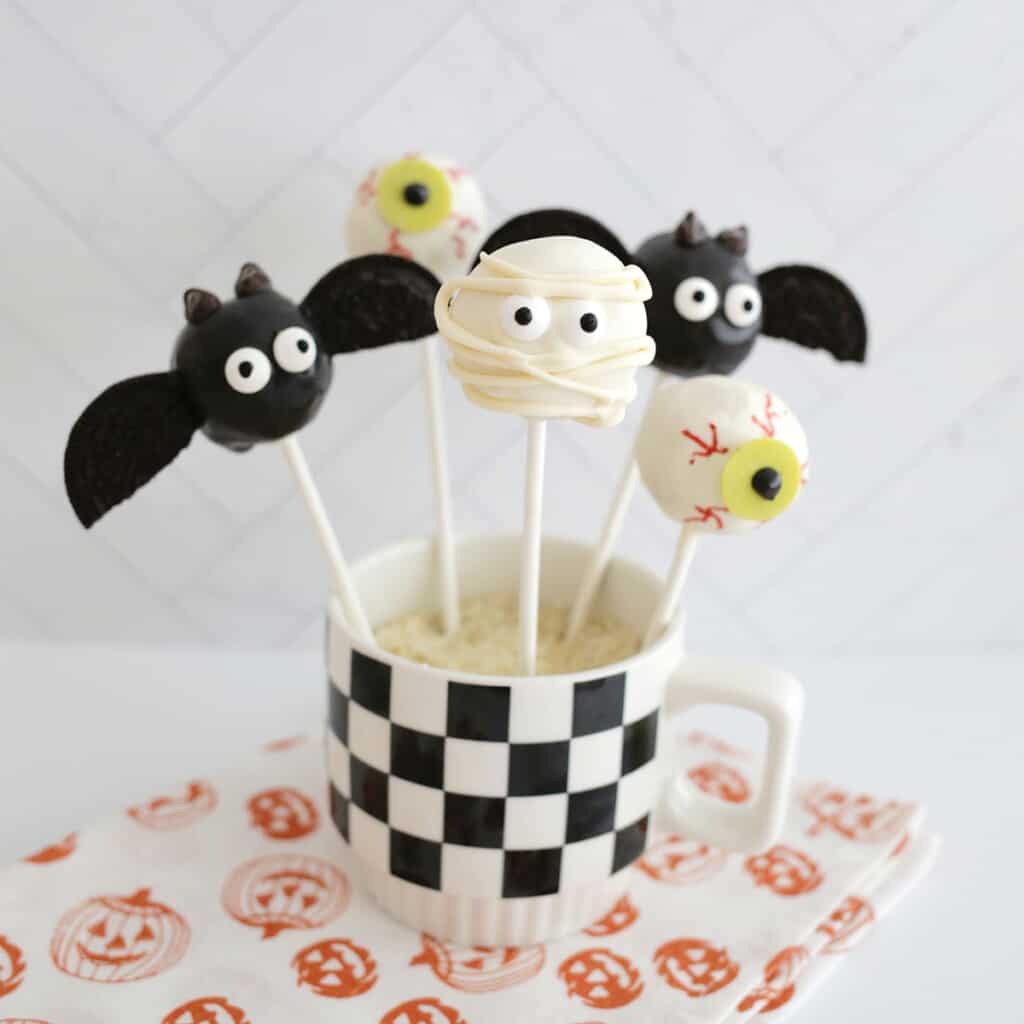
Halloween Cake Pops
Create fun Halloween cake pops that look like a bat, eyeball and mummy!
Candy apples may look like an impressive dessert (and hard to make), but it’s actually pretty easy (just like our Easy Caramel Apples!)! We’ll show you how …
And just as a side note, since the sugar is extremely hot and you can get burned if not careful, we don’t recommend doing this project with kids. Just let them eat the final result rather than help with this one.
Looking for more fall treats? Check out:
- Easy Pumpkin Cookies
- Homemade Caramel Sauce
- Baked Apple Donuts with Cinnamon Sugar
- Apple Cinnamon Hot Toddy
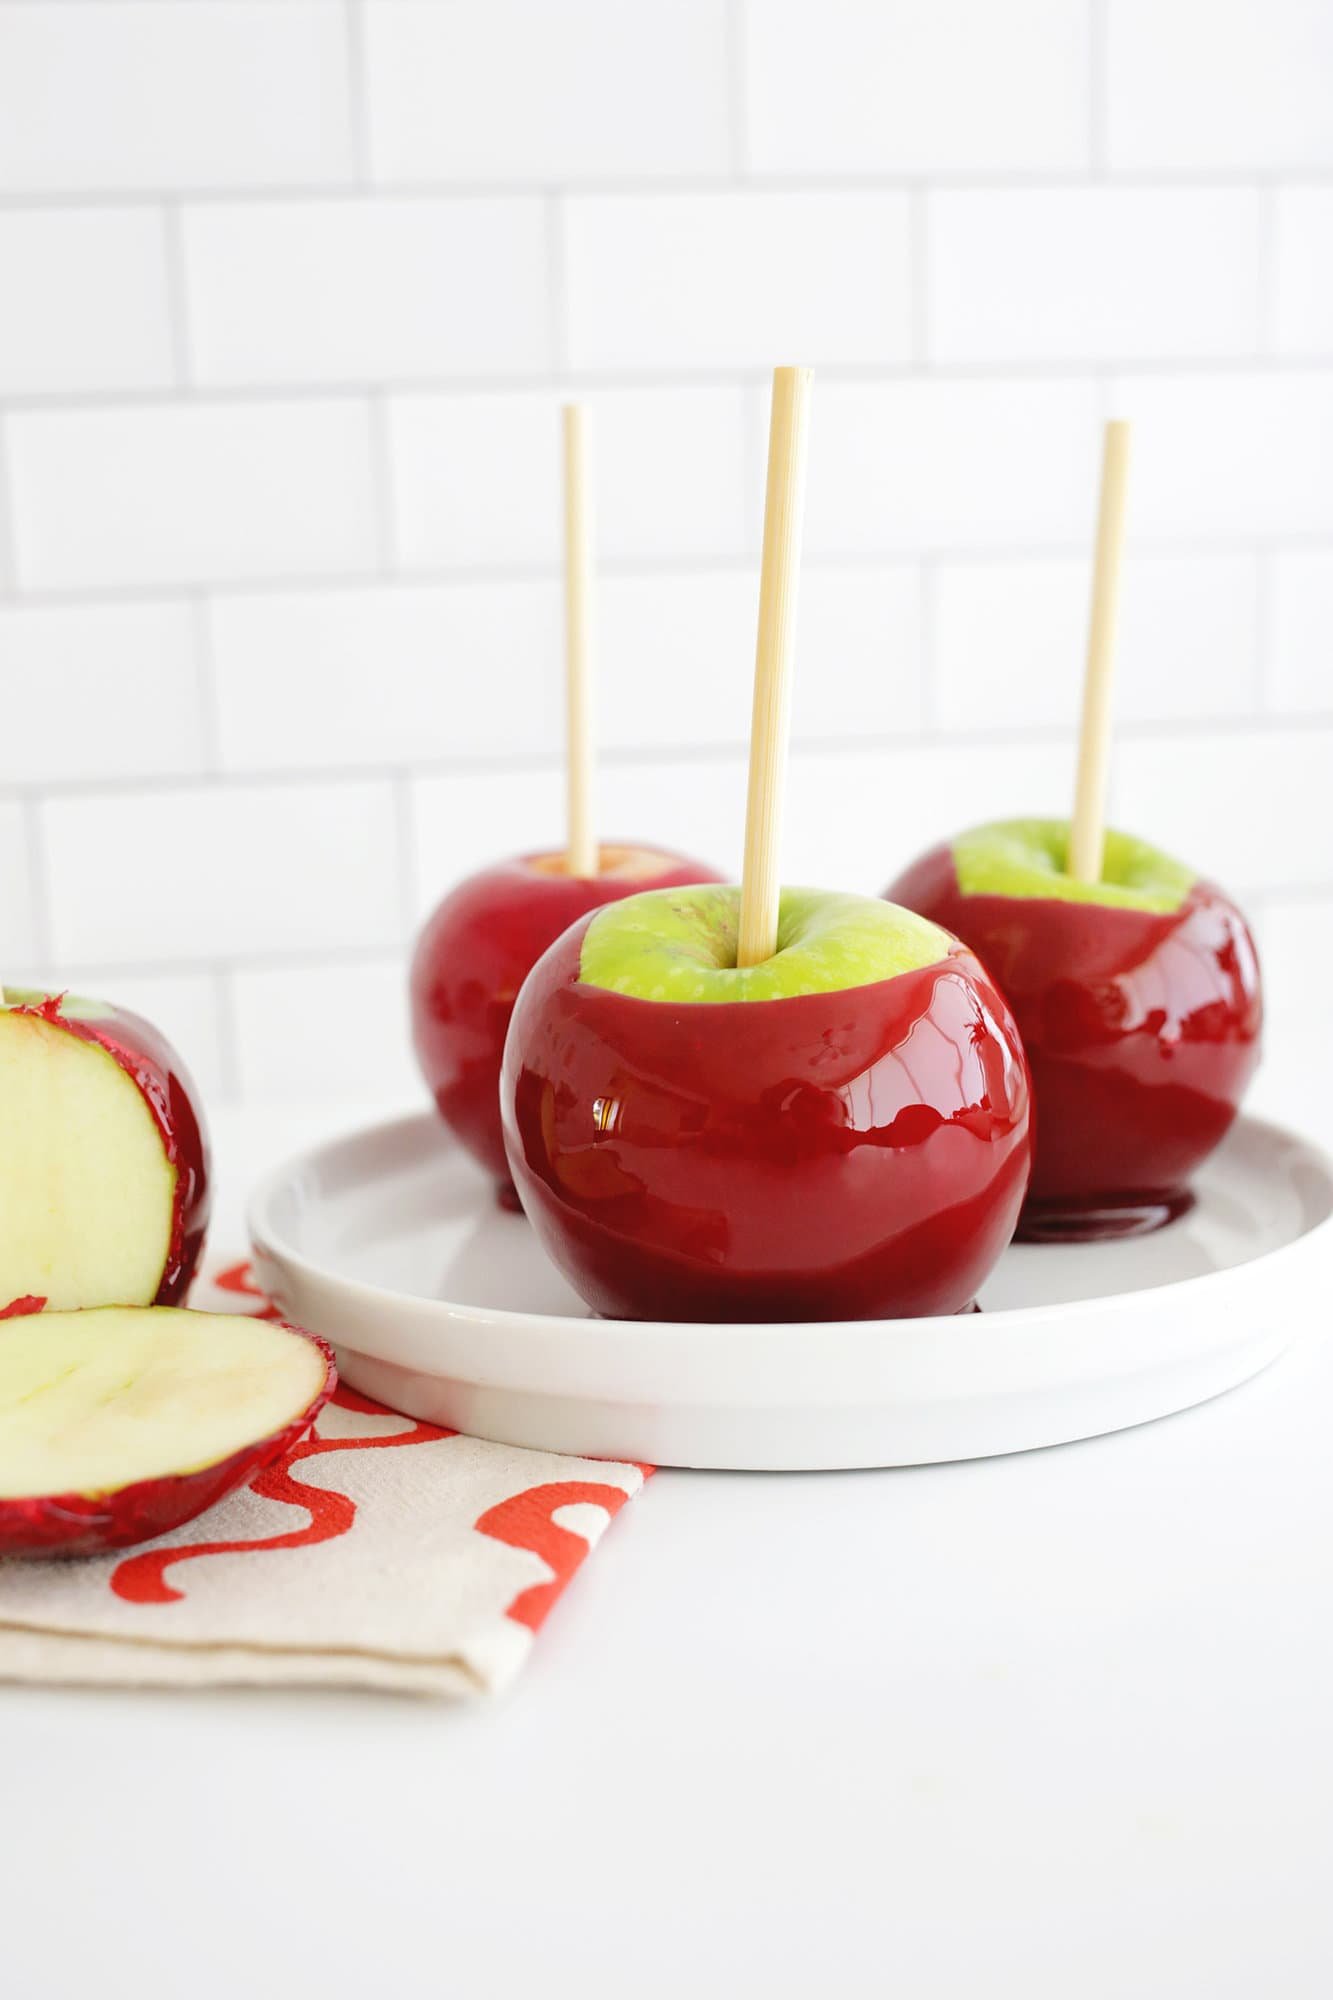
What are candy apples?
Candy apples are a whole apple on a stick dipped in hot melted sugars which hardens to form a thin candy shell. While usually red, they can also be dyed other colors and they first appeared in 1908 in New Jersey when candy maker William Kolb created them. Red Hots candies were a popular choice to use for the outer coating, so some prefer to make theirs a cinnamon flavor coating to mimic that nostalgic flavor.
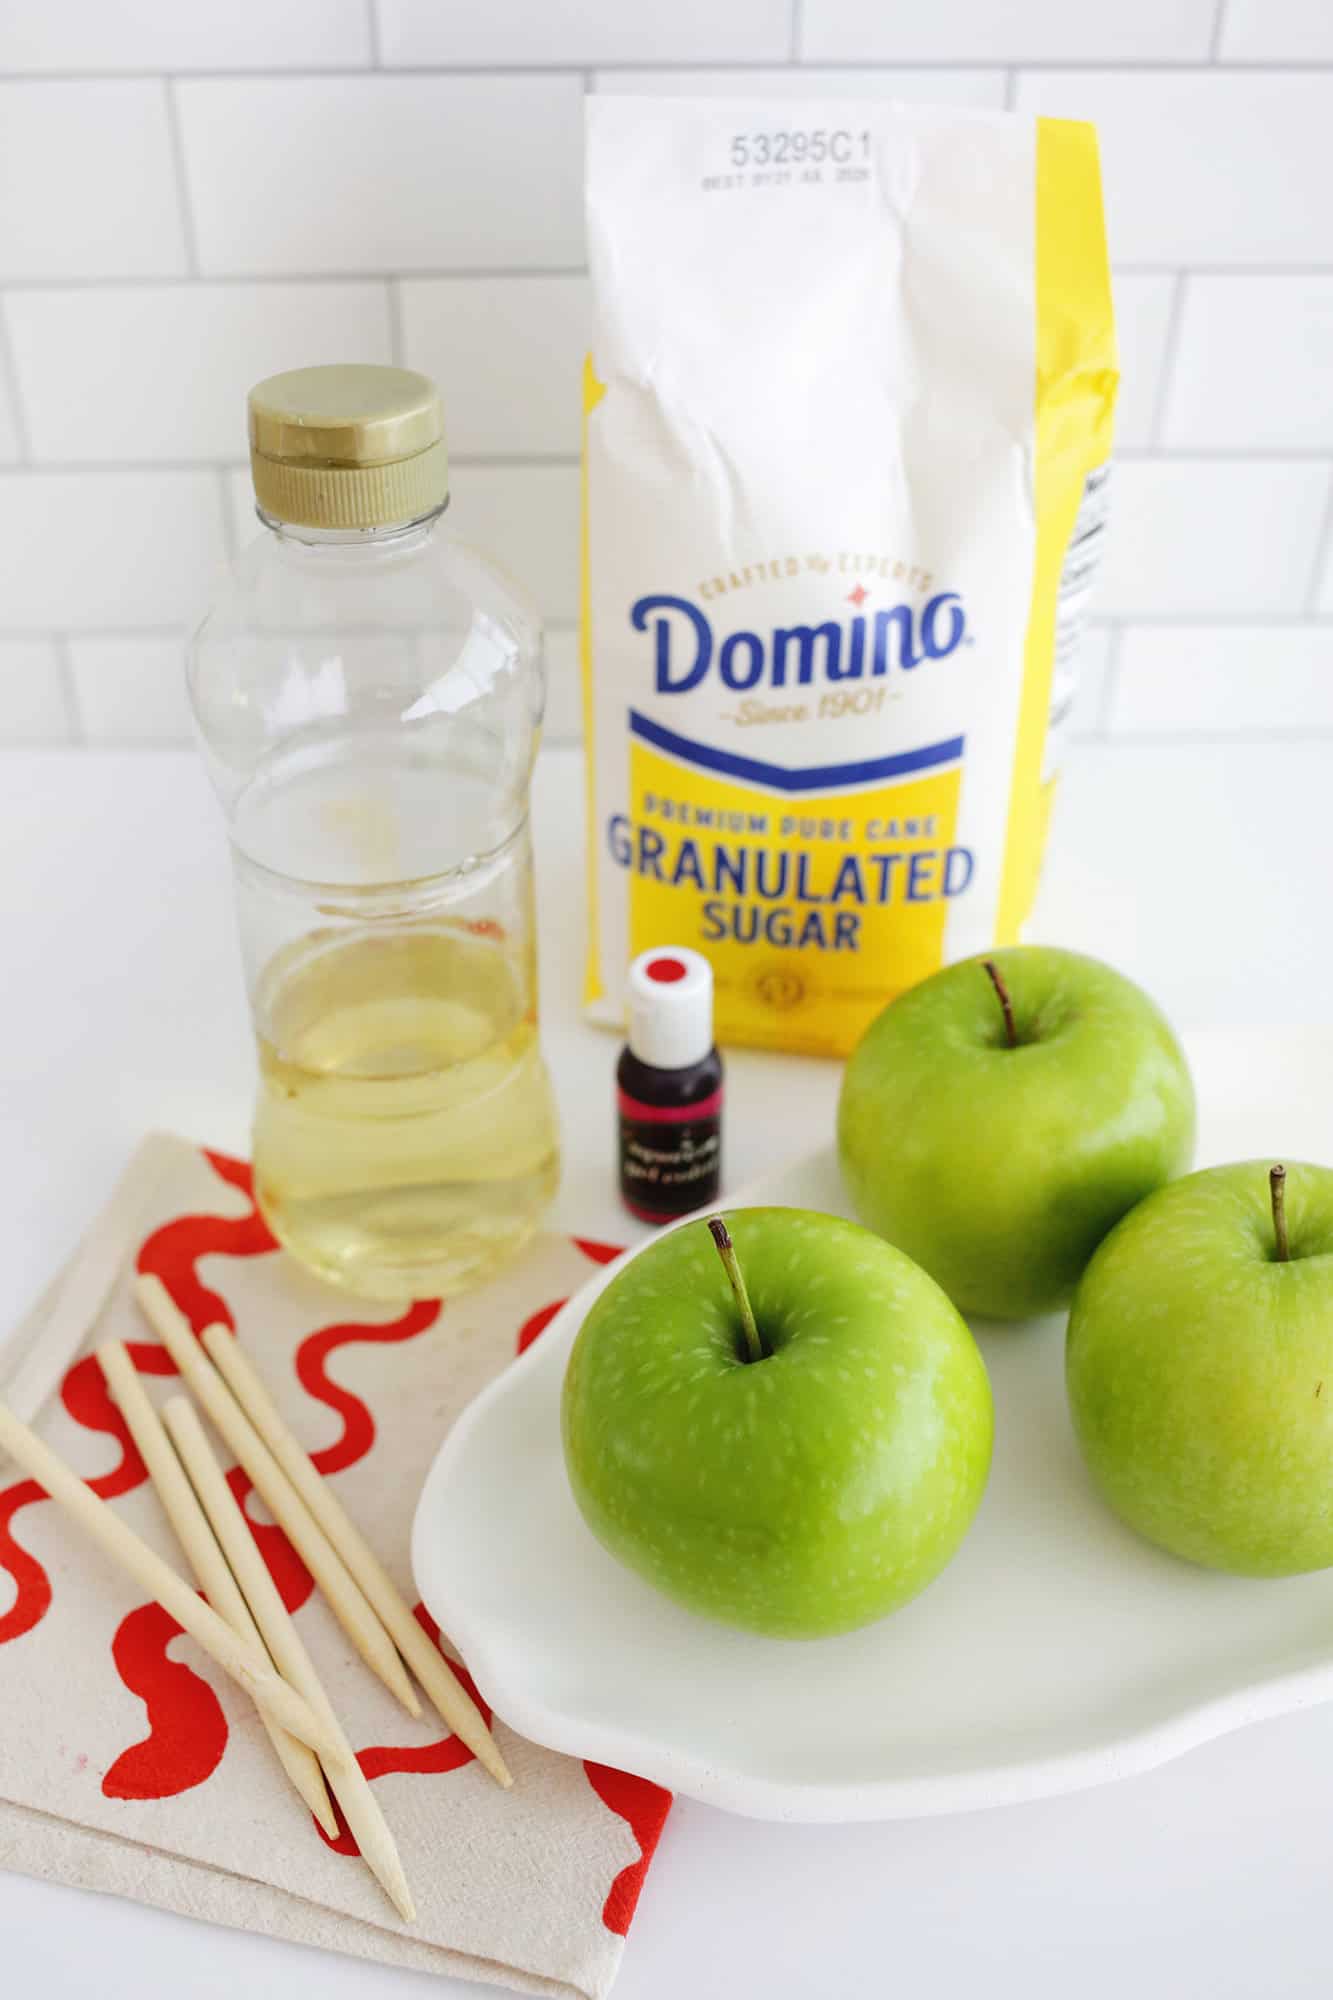
Ingredients for candy apples:
- Apples: Using smaller apples will get you more finished apples out of one batch of candy coating. Try and pick ones with a nice round shape for the best looking candy apples.
- White sugar: This candy apple recipe uses plain granulated white sugar to give the candy coating its sweetness.
- Light corn syrup: Corn syrup helps you get that smooth candy finish.
- Water: The water mostly boils off while the candy rises up to the proper hard crack stage temperature.
- Red food coloring: Gel food coloring is preferred if you have it since it’s more concentrated so the color is brighter for the best candy apples.
Frequently Asked Questions
What types of apples are best to use for candy apples?
While Granny Smith apples are probably one of the biggest favorites for candy apples due to their tart flavor, you can really use any variety that you like! Just be sure to pick a more firm variety like a Gala, Fuji, or Honeycrisp rather than a softer option like a Macintosh.
Supplies for candy apples:
- Apple skewers: You can also use popsicle sticks or even sticks from branches for your skewers, but we like these bamboo ones since they already have a point for easy insertion.
- Candy thermometer: Having a candy thermometer with a pot clip is super helpful. You can also use a multi purpose digital thermometer but you’ll have to stand there and hold it if you don’t have a clip.
Frequently Asked Questions
What is hard crack stage?
Hard crack stage is one of the highest temperatures used in candy making at 300°-310°. There is almost no water remaining in the mixture, so it hardens rather than staying softer like a taffy.
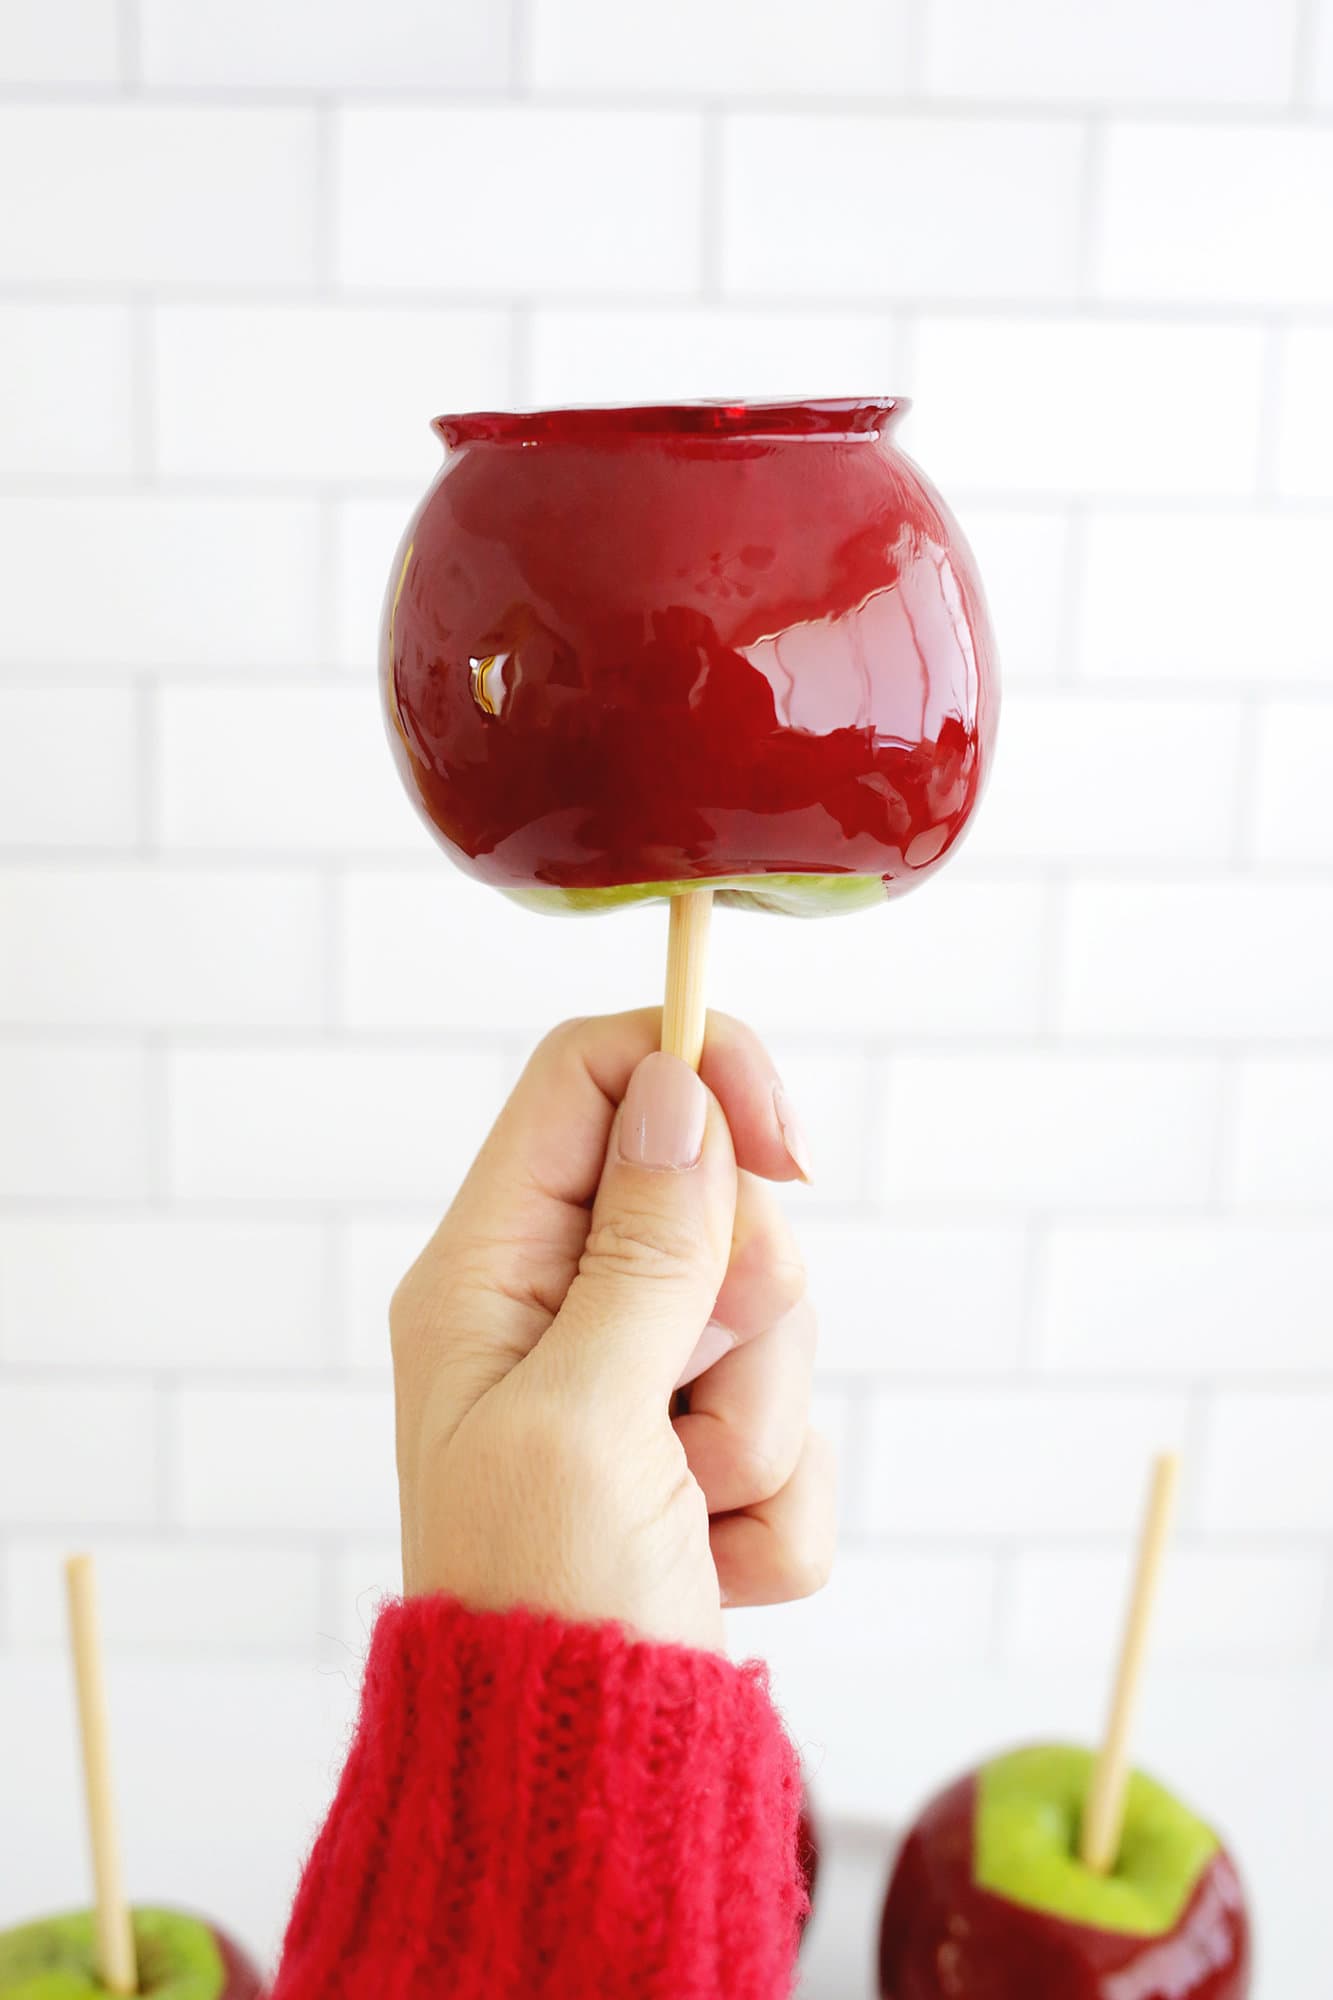
How to prepare your apples:
Wash and dry apples: You want to try and remove any wax coating that’s on the apples so your coating will stick and you can avoid getting annoying bubbles that pop out of the coating.
You can scrub them really well with a clean textured scrubber after rinsing them in hot water and rub them dry with a textured towel to try and remove as much wax as you can, or some people like to boil water and dip the apples in the water for about 5 seconds before rubbing dry (longer than 8-10 seconds can start to cook the apples, so don’t leave them in too long!).
Make sure the apples are fully dry before dipping as any amount of water will create bubbles in your coating.
Add skewers: Push or tap your wooden skewers or lollipop sticks halfway into the top of your dried apples and set aside.
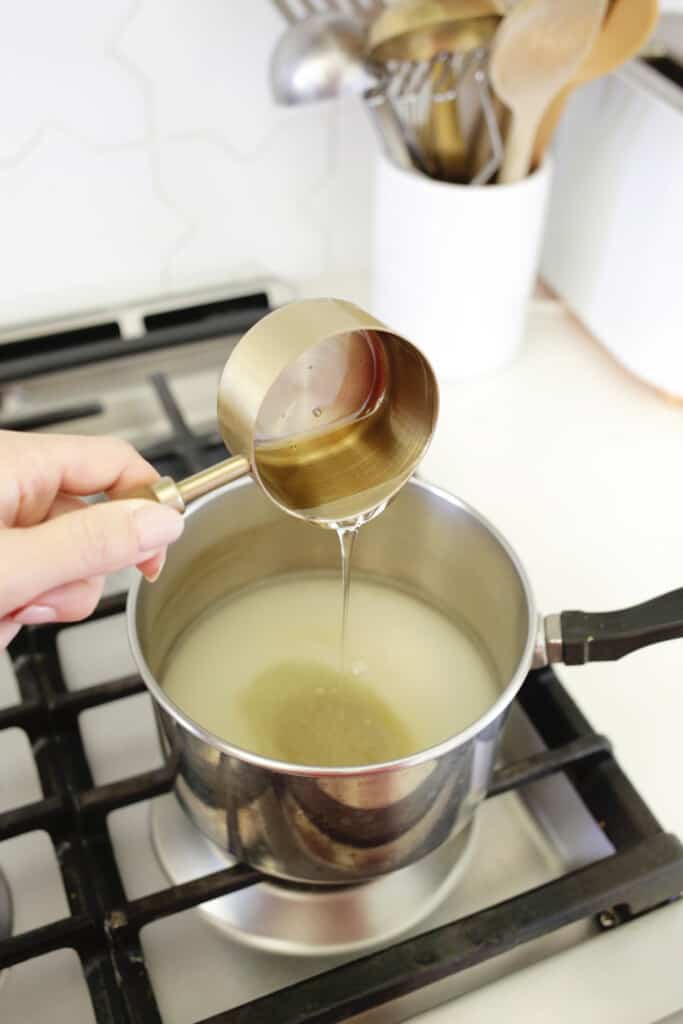
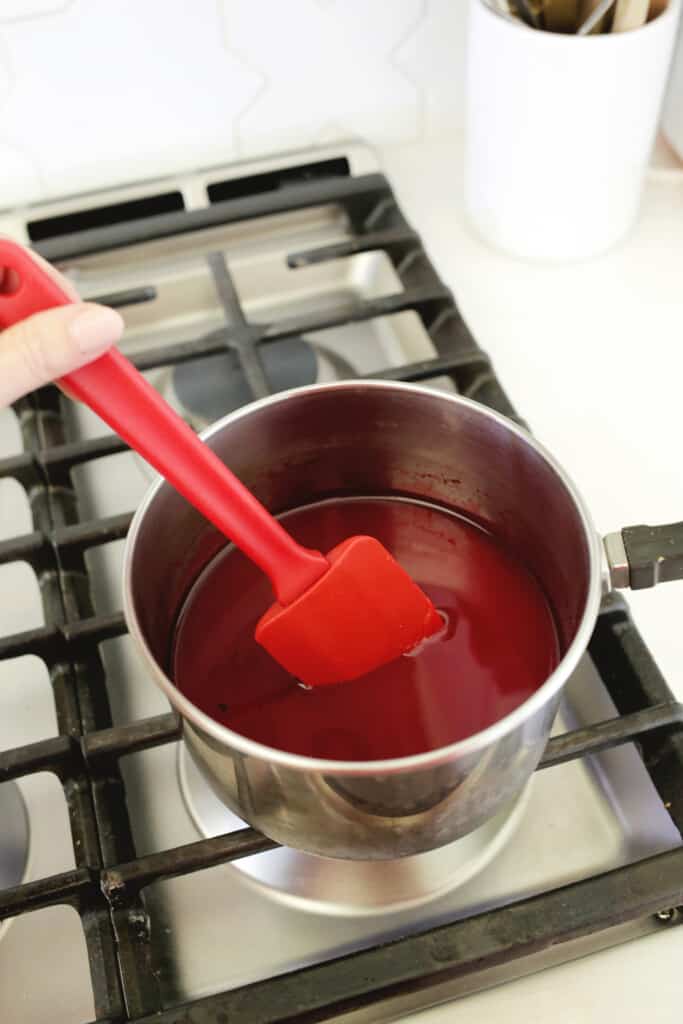
How to make candy apples:
Prepare your pan: Prepare a sheet pan or parchment paper sprayed with nonstick spray or butter so you’ll be able to remove the apples easily once cooled.
Cook your coating: Combine sugar, water, corn syrup, and food coloring in a saucepan over medium heat. Stir together with a wooden spoon or silicone spatula and bring the sugar mixture to a boil with a candy thermometer clipped to your pot (make sure it’s not touching the bottom of the pot or it won’t be an accurate read).
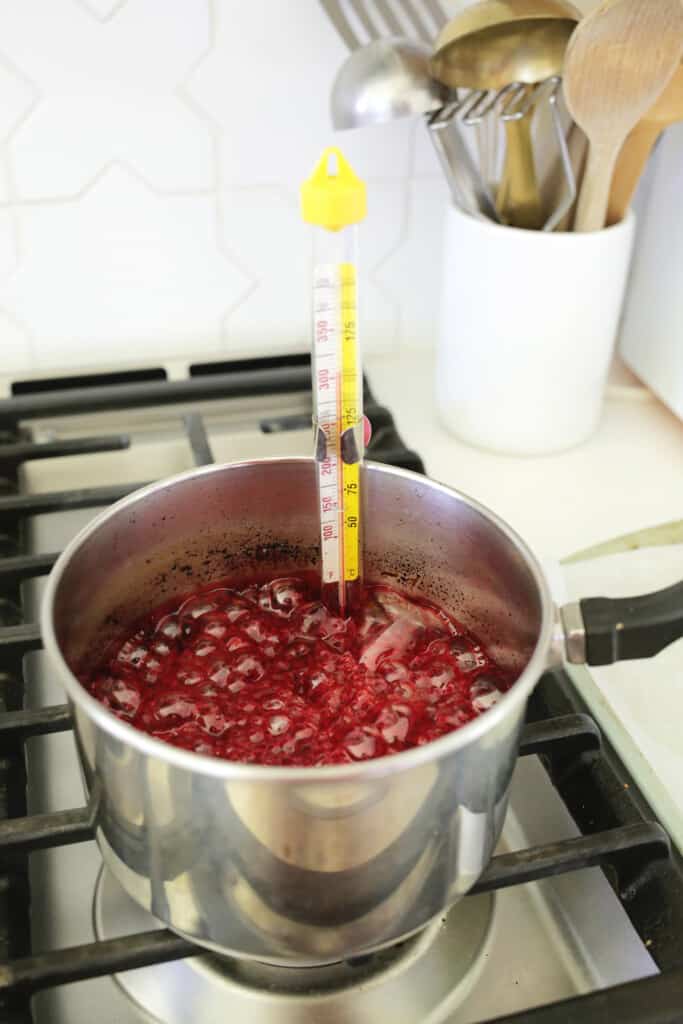
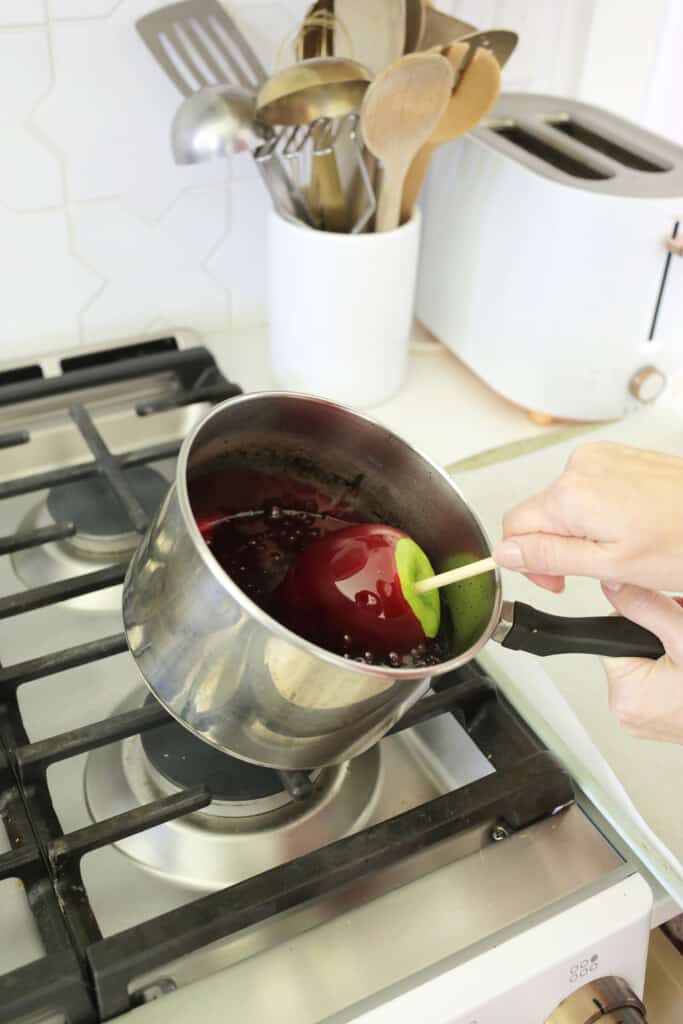
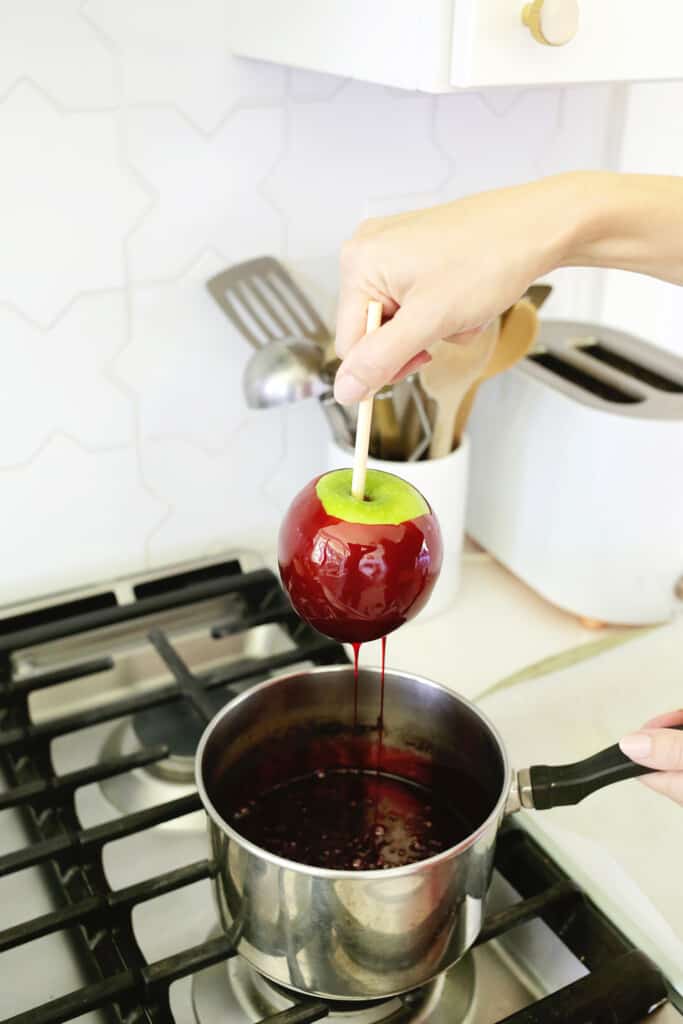
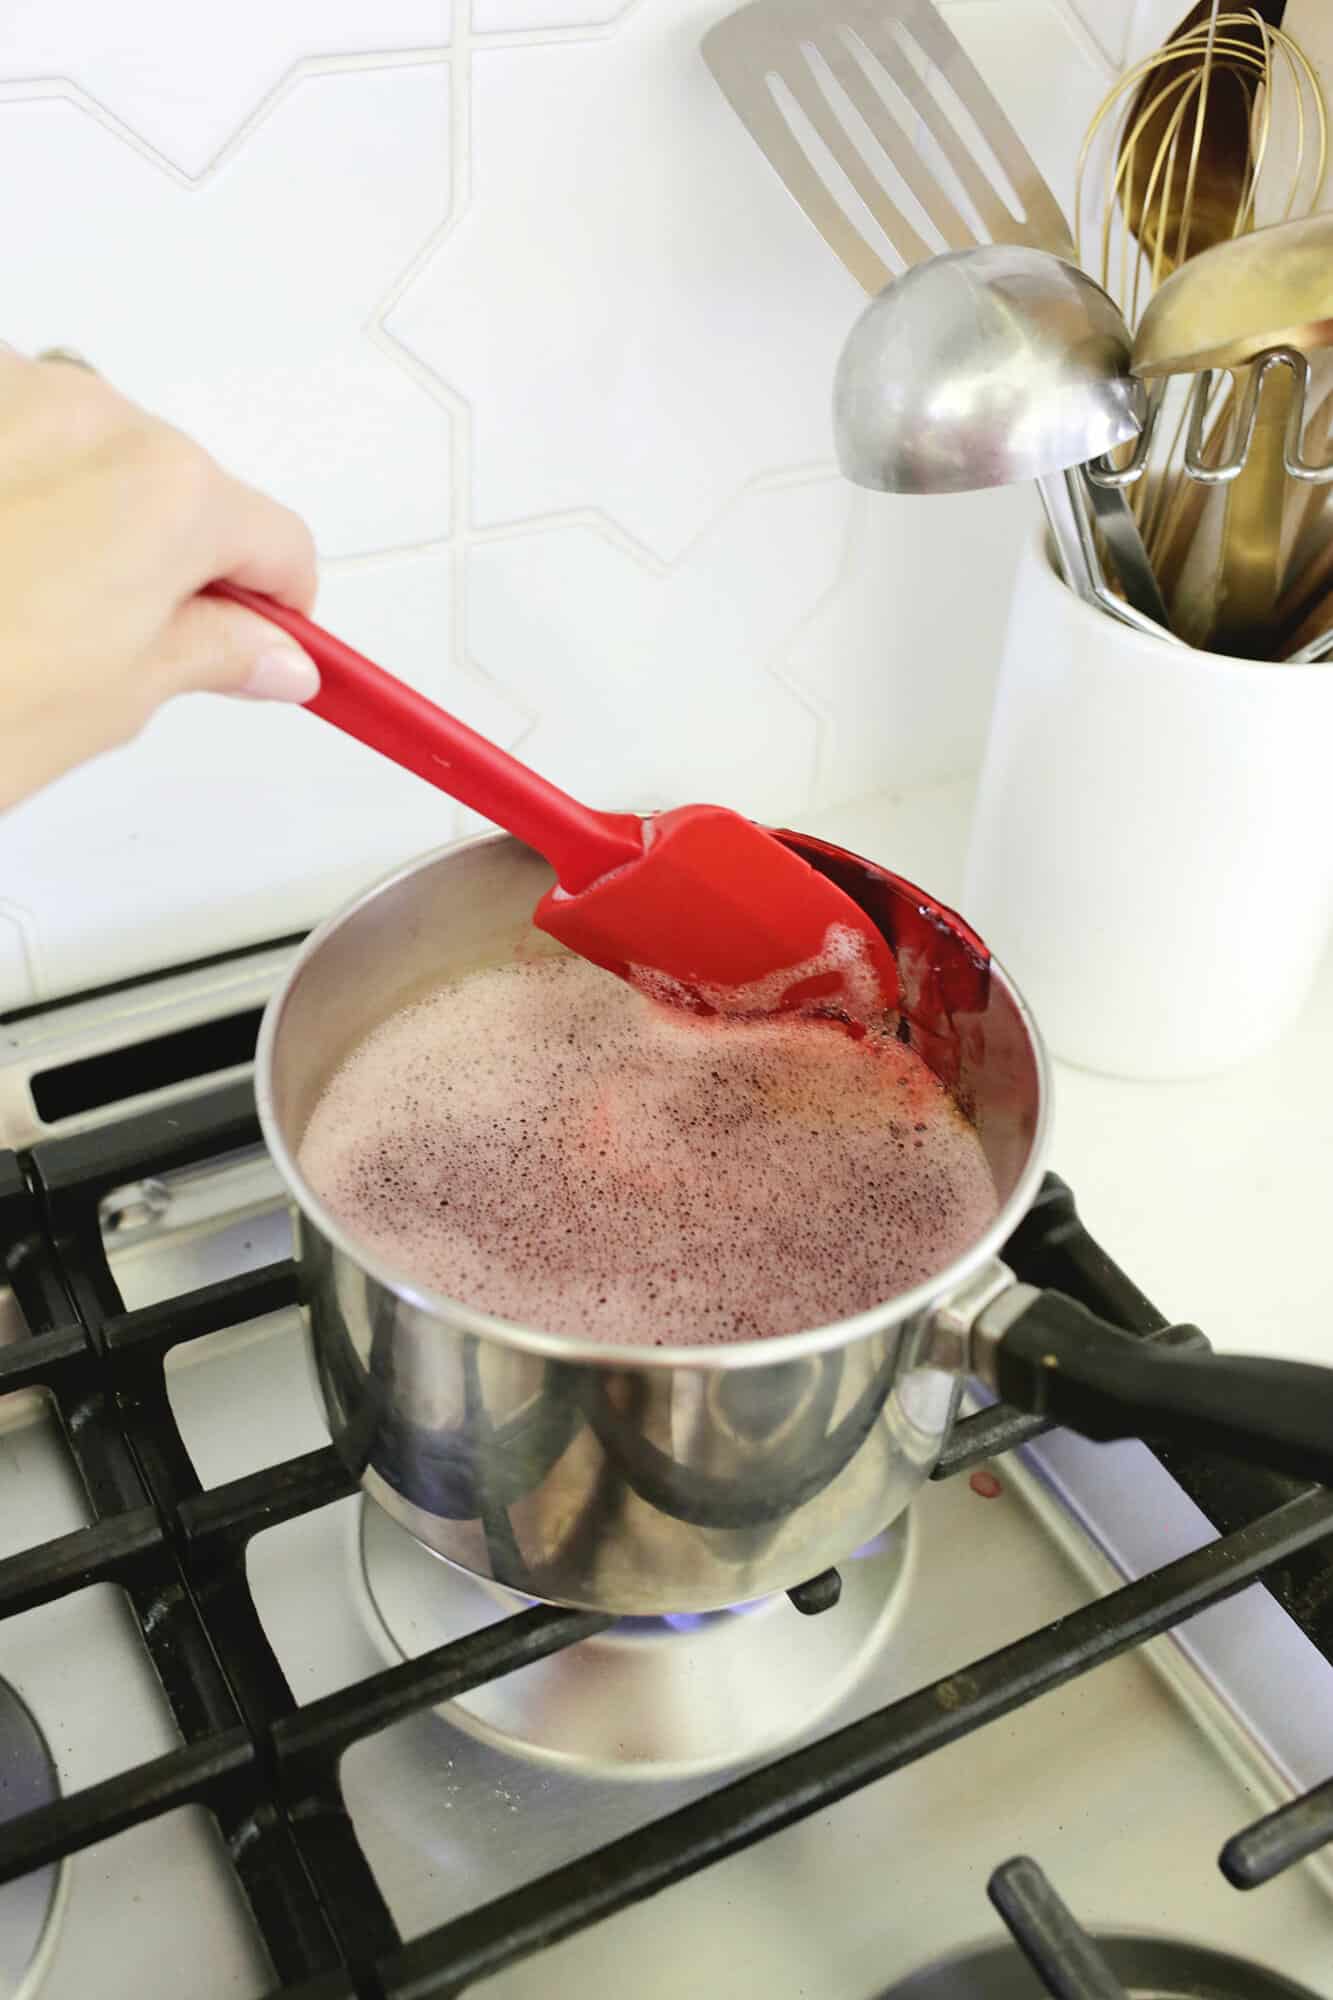
Bring coating up to 300°: Let the mixture boil for about 15-20 minutes on medium-high heat until it reaches between 300°-310°. Remove the coating from the heat and allow the bubbles to settle down for a minute until smooth.
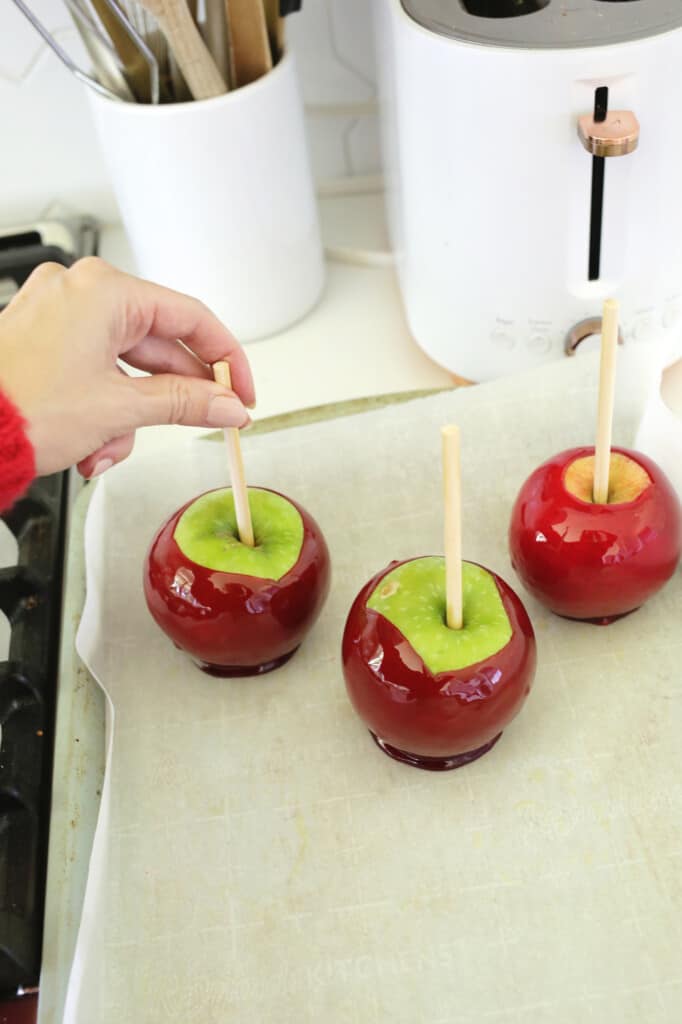
Dip your apples: Working quickly, tilt your pan to the side and dip an apple in the candy mixture, swirling the apple to get each side coated. Pull the apple out and let the excess drip off before placing on a prepared baking sheet, wax paper, silicone mat or parchment paper (just coat whichever one you use with cooking spray).
If the candy coating starts to harden before you are done dipping all your apples, put it back on medium heat until it thins out again.
NOTE: Remember, this sugar is very hot, so be sure to keep your skin away from the sugar to avoid burns. You can also have a bowl of ice water nearby just in case you make contact with the sugar so you can quickly dip your hand in that, or even use heatproof gloves made for cooking.
Let cool: Once all your apples are dipped, let the coating harden (it just takes a few minutes) and your apples are ready to eat! Remember, candy apples have a hard sticky coating, so eat with caution!
Frequently Asked Questions
What’s the best way to eat a candy apple?
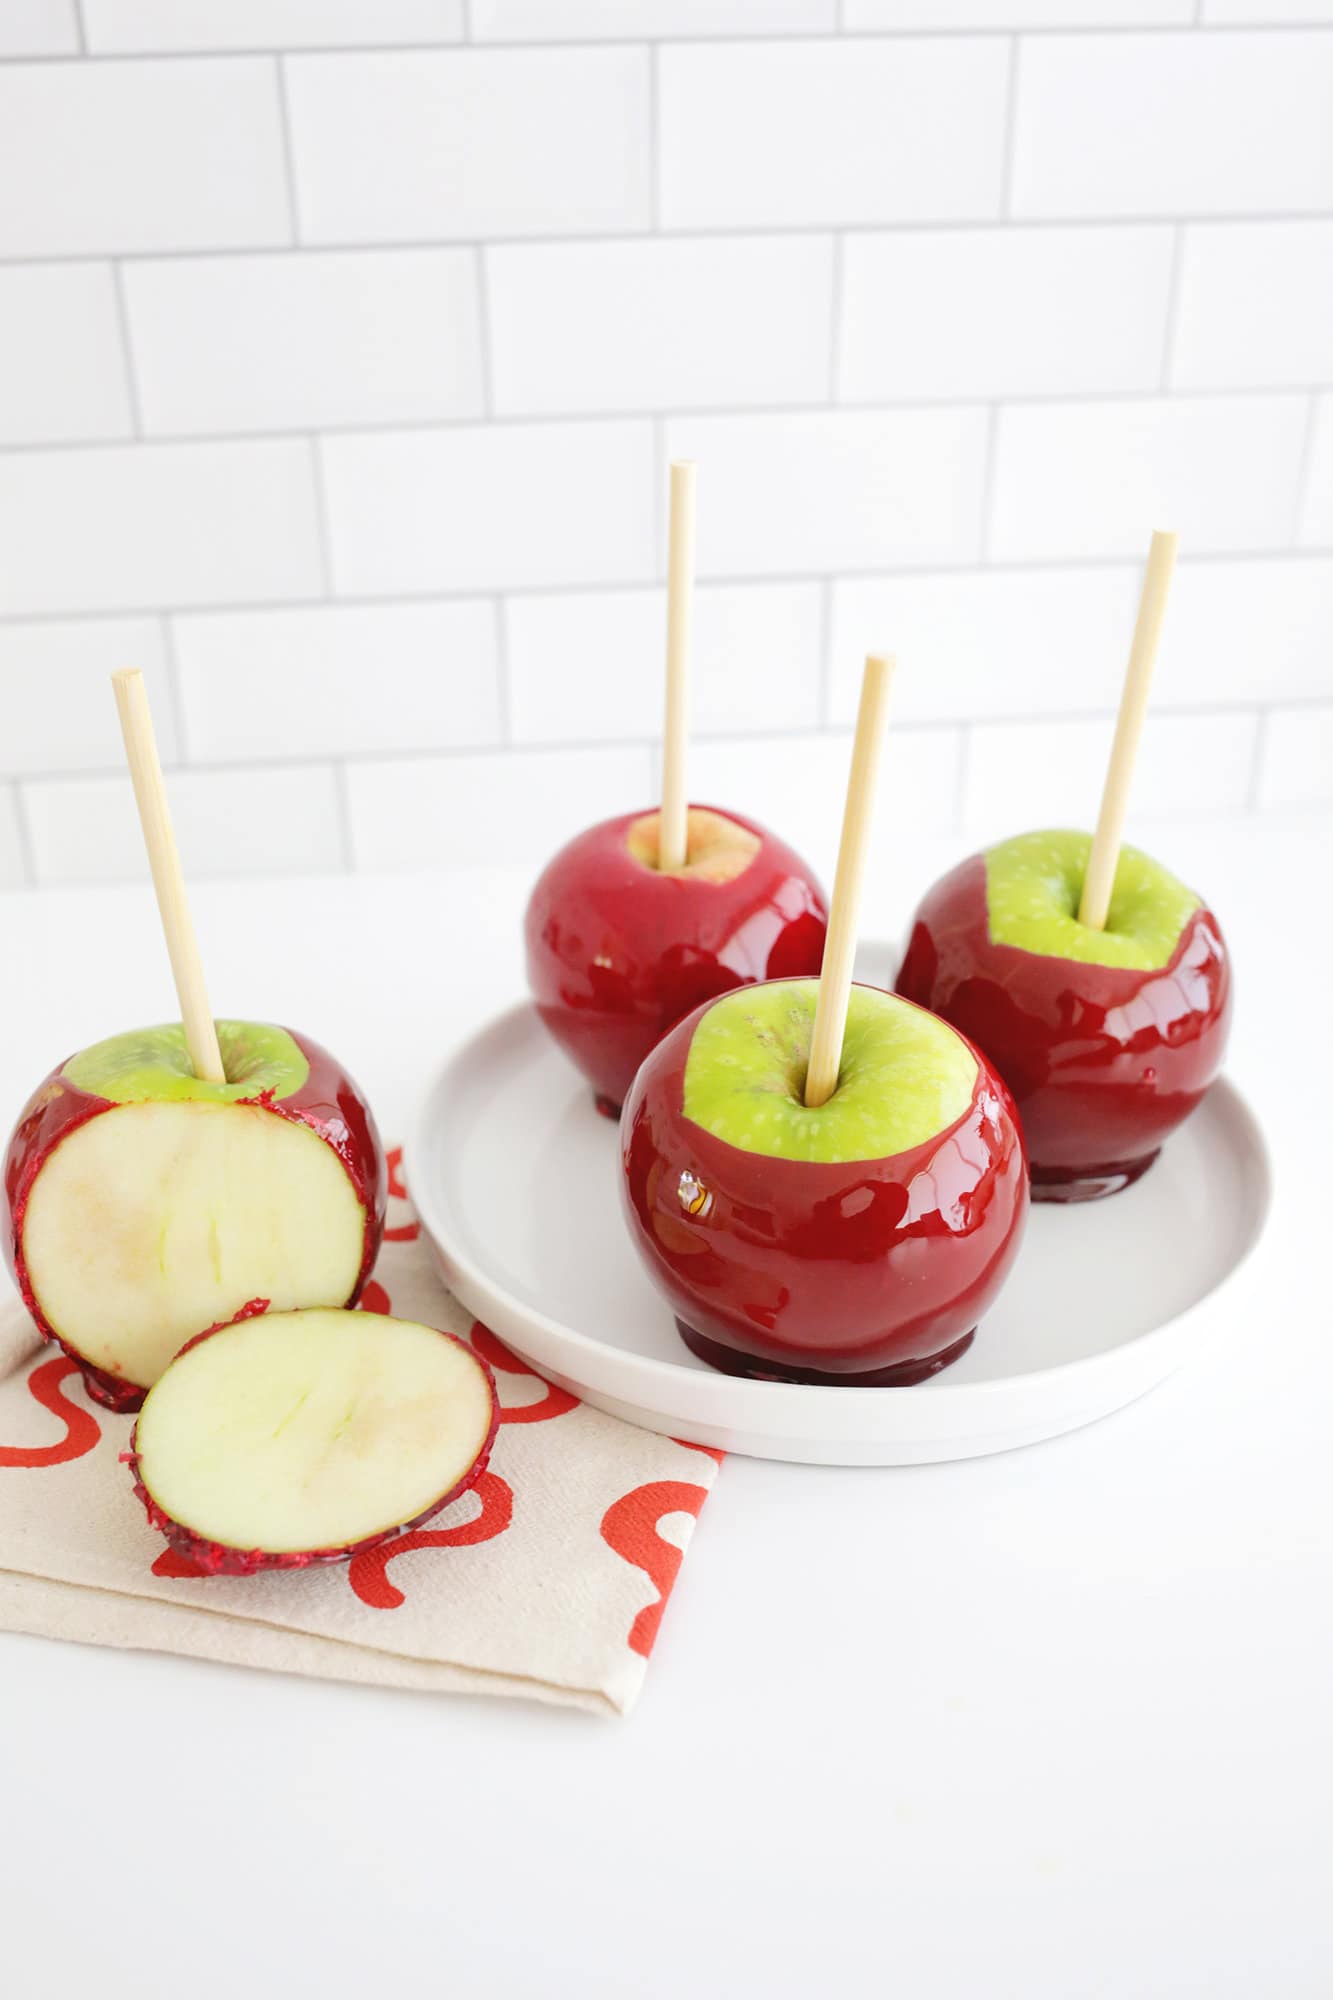
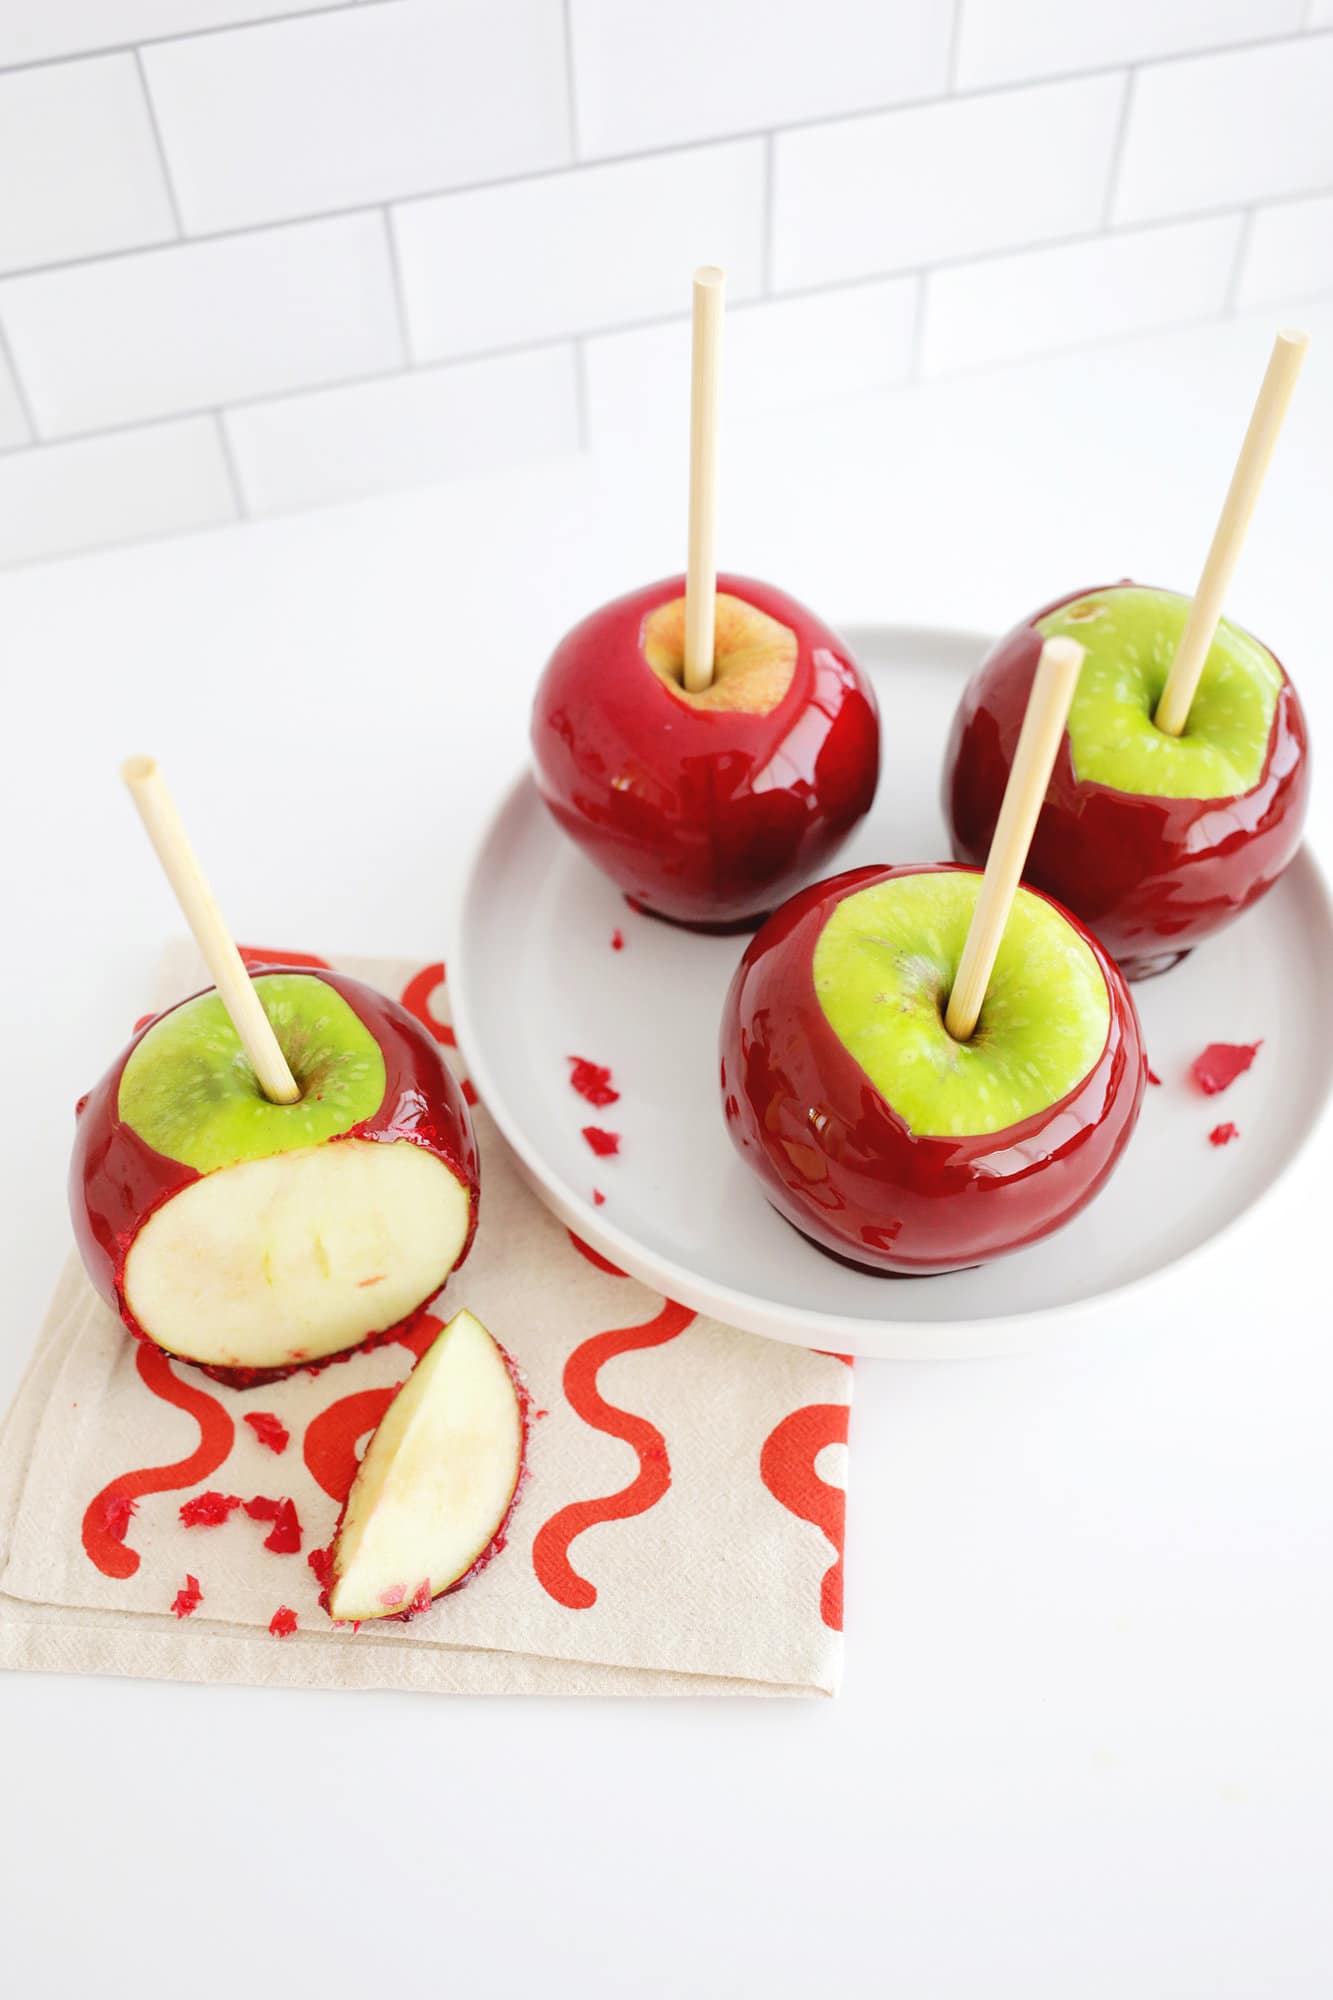
Biting right into a candy apple is almost impossible and just asking for dental bills. Kids can lick the hard outside coating like a giant lollipop, but it’s most practical to cut the candy apple into slices before eating.
Tips for Making Candy Apples
- Use organic apples if you can since some companies don’t use wax on their apples so you don’t have to try to remove it. Or use apples from a local orchard that doesn’t wax their apples.
- Make sure your sugar reaches the 300° mark or the coating won’t harden and it will be more of a taffy texture.
- Try and keep the candy shell thin when you dip; it doesn’t need to be super thick and will be harder to eat.
- If you want to add a topping to your apples, just roll them in chopped coconut, nuts or sprinkles before the candy coating sets.
- You can make your candy apples a color other than red if you want! Just remember the color of the apple comes through a bit and may muddle your final color depending on what shade you pick, but purple or black for Halloween is fun!
Frequently Asked Questions
How do I make Cinnamon Candy Apples?
You can easily add a teaspoon of cinnamon flavor to your candy mixture to create a fall flavor with a touch of cinnamon!
What the best way to clean your pot after making candy apples?
Now that your candy apples are made, you may be staring at your pot thinking “Now, how am I ever going to clean that?!” It’s actually pretty easy!
- Fill your pot with water.
- Boil the water on the stove, stirring every so often.
- Once the candy leftover is dissolved, pour the water out and the hardened sugar is gone!
If you have some sugar up on the sides of your pot above the boiling water line, just use a spatula to keep pulling up some of the hot water over that spot until it starts to dissolve.
You can also dip your thermometer into the water as it boils to remove any hardened candy for the tip of that as well.
Frequently Asked Questions
How do you avoid bubbles in your candy apples?
While sometimes bubbles are a bit of a mystery in candy apples, making sure you’ve removed as much wax as possible, checking that the apples are totally dry before dipping, and allowing the bubbles in the coating to settle before dipping will give you the best chance of a totally smooth mirror-like finish on your candy apples.
How do you store candy apples?
Candy apples can be stored in an airtight container for up to three days in the refrigerator, although they are usually best eaten in the first 24 hours. The outer hard shell will last longer than three days, but the hole that is poked into the apple is what starts to oxidize the apple after a few days and makes it mushy inside.
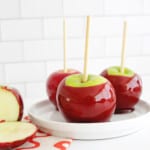
Easiest Candy Apples
Equipment
- wooden skewers
- saucepan
- candy thermometer
Ingredients
- 8-10 apples
- 2 cups white sugar
- ¾ cup water
- ½ cup corn syrup
- ½ teaspoon red gel food coloring
Instructions
- Prepare your pan: Prepare a sheet pan or parchment paper sprayed with nonstick spray or butter so you’ll be able to remove the apples easily once cooled.
- Cook your coating: Add the sugar, water, corn syrup, and food coloring to a saucepan over medium heat. Stir together and bring to a boil with a candy thermometer clipped to your pot (make sure it’s not touching the bottom of the pot or it won’t be an accurate read).
- Bring coating up to 300°: Let the mixture boil for about 15-20 minutes until it reaches between 300°-310°. Remove the coating from the heat and allow the bubbles to settle down for a minute until smooth.
- Dip your apples: Working quickly, tilt your pan to the side and dip an apple in the coating, swirling the apple to get each side coated. Pull the apple out and let the excess drip off before placing on a sheet pan or parchment paper.If the candy coating starts to harden before you are done dipping all your apples, put it back on medium heat until it thins out again.
- Let cool: Once all your apples are dipped, let the coating harden (it just takes a few minutes) and your apples are ready to eat! Remember, candy apples have a hard sticky coating, so eat with caution!
Notes
How to prepare your apples:
Wash and dry apples: You want to try and remove any wax that’s on the apples so your coating will stick and you can avoid getting annoying bubbles that pop out of the coating. You can scrub them really well with a clean textured scrubber after rinsing them in hot water and rub them dry with a textured towel to try and remove as much wax as you can, or, some people like to boil water and the dip the apples in the water for about 5 seconds before rubbing dry (longer than 8-10 seconds can start to cook the apples so don’t leave them in too long!). Make sure the apples are fully dry before dipping as any amount of water will create bubbles in your coating. Add skewers: Push or tap your skewers halfway into the top of your dried apples and set aside.Tips for Making
- Use organic apples if you can since some companies don’t use wax on their apples so you don’t have to try to remove it. Or use apples from a local orchard that doesn’t wax their apples.
- Make sure your sugar reaches the 300° mark or the coating won’t harden and it will be more of a taffy texture.
- Try and keep the candy shell thin when you dip; it doesn’t need to be super thick and will be harder to eat.
- You can make your candy apples a color other than red if you want! Just remember the color of the apple comes through a bit and may muddle your final color depending on what shade you pick, but purple or black for Halloween is fun!
Nutrition
Related: 25+ Halloween Cocktails, Halloween Food Ideas, Halloween Jello Shots.
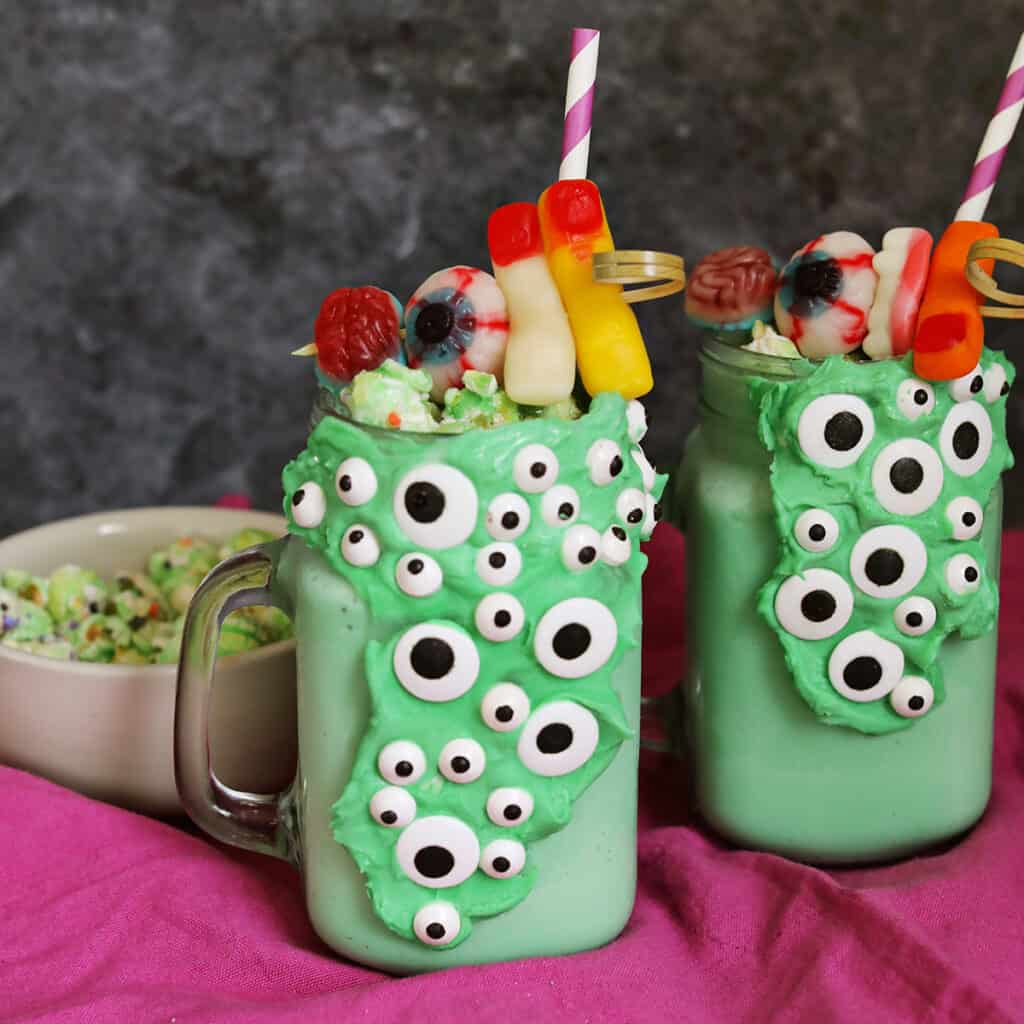
Goosebumps Monster Milkshake
Learn to make a green slime-inspired milkshake for kids.
Halloween Punch Bowl
An easy and spooky punch cocktail for a party.

Pumpkin Juice
Learn to make Pumpkin Juice from Harry Potter at home.
Vampire Milkshake
Embrace your inner Twihard with this creepy vampire milkshake recipe. My kids loved it!
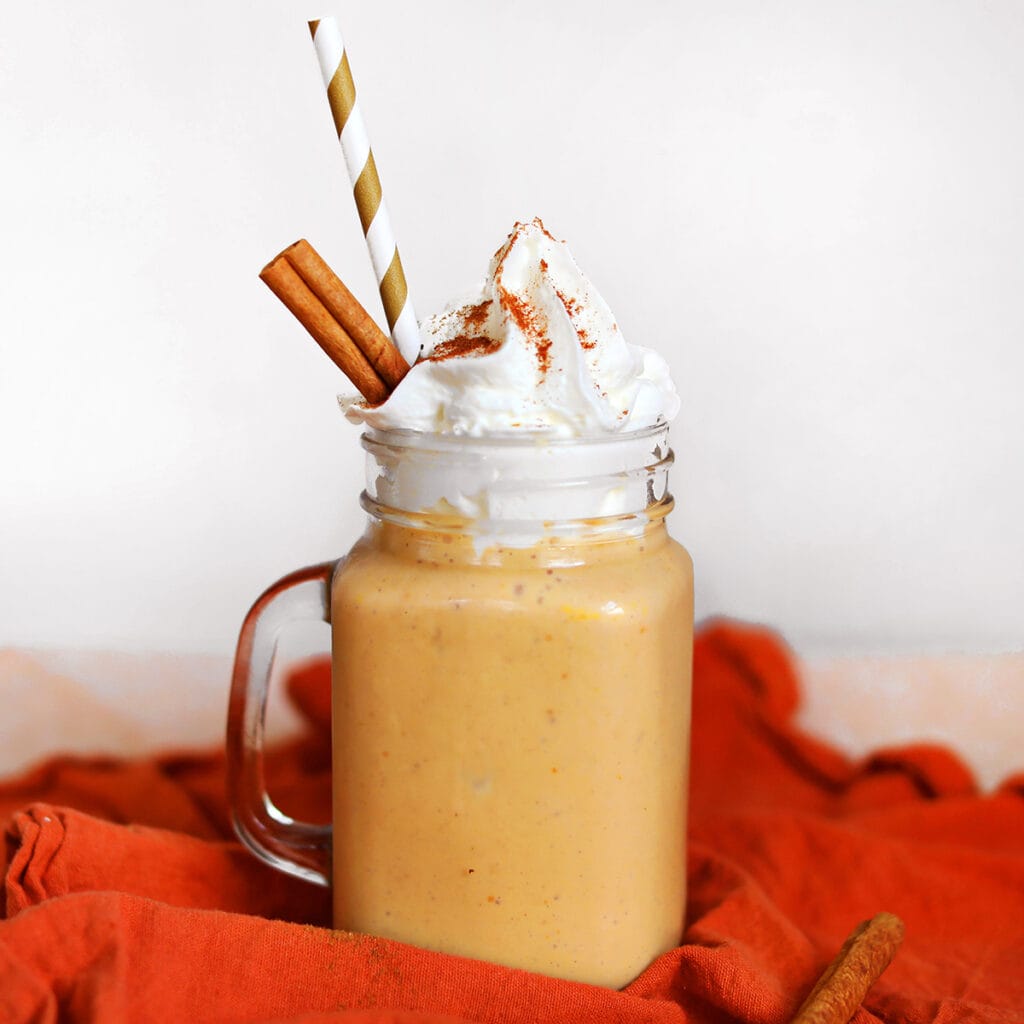
Pumpkin Smoothie
A healthy pumpkin smoothie for the PSL season. My kids love this recipe!
Monster Cocktail Stirrers
Add this Halloween candy garnish to any drink to make it more festive!
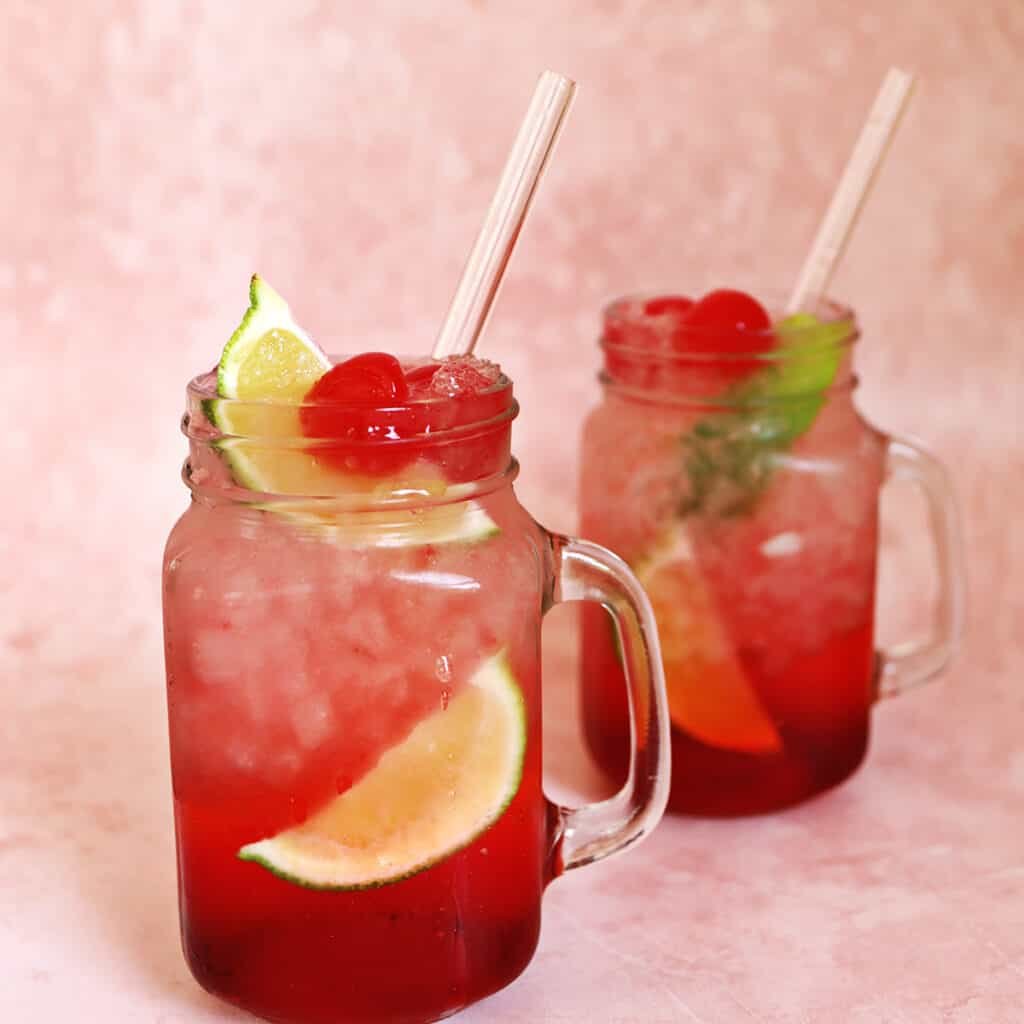
Cherry Limeade Recipe
This cherry limeade recipe tastes exactly like Sonic and is so easy to make!
Pumpkin Cream Cold Brew
Learn to make your favorite Starbucks fall drink without leaving your home.
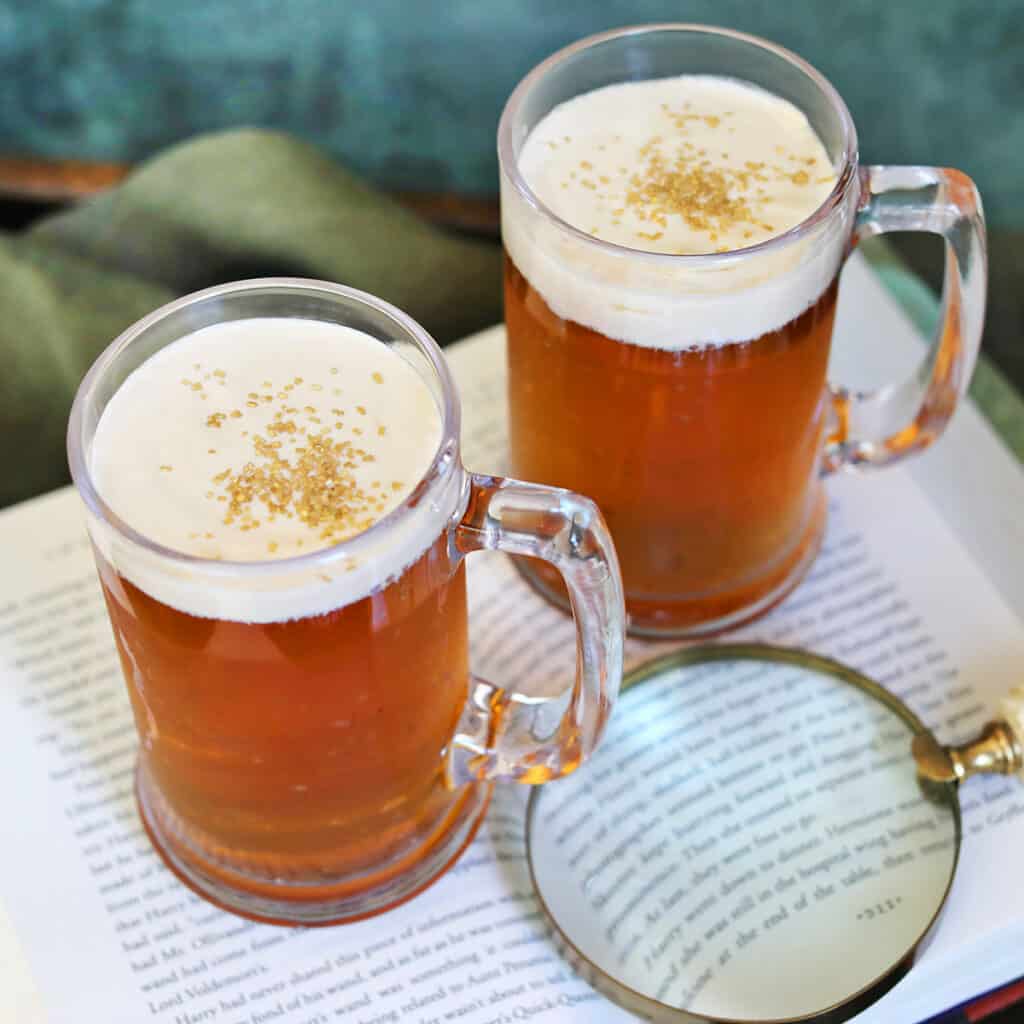
Butterbeer Recipe
Learn to make Harry Potter Butterbeer.
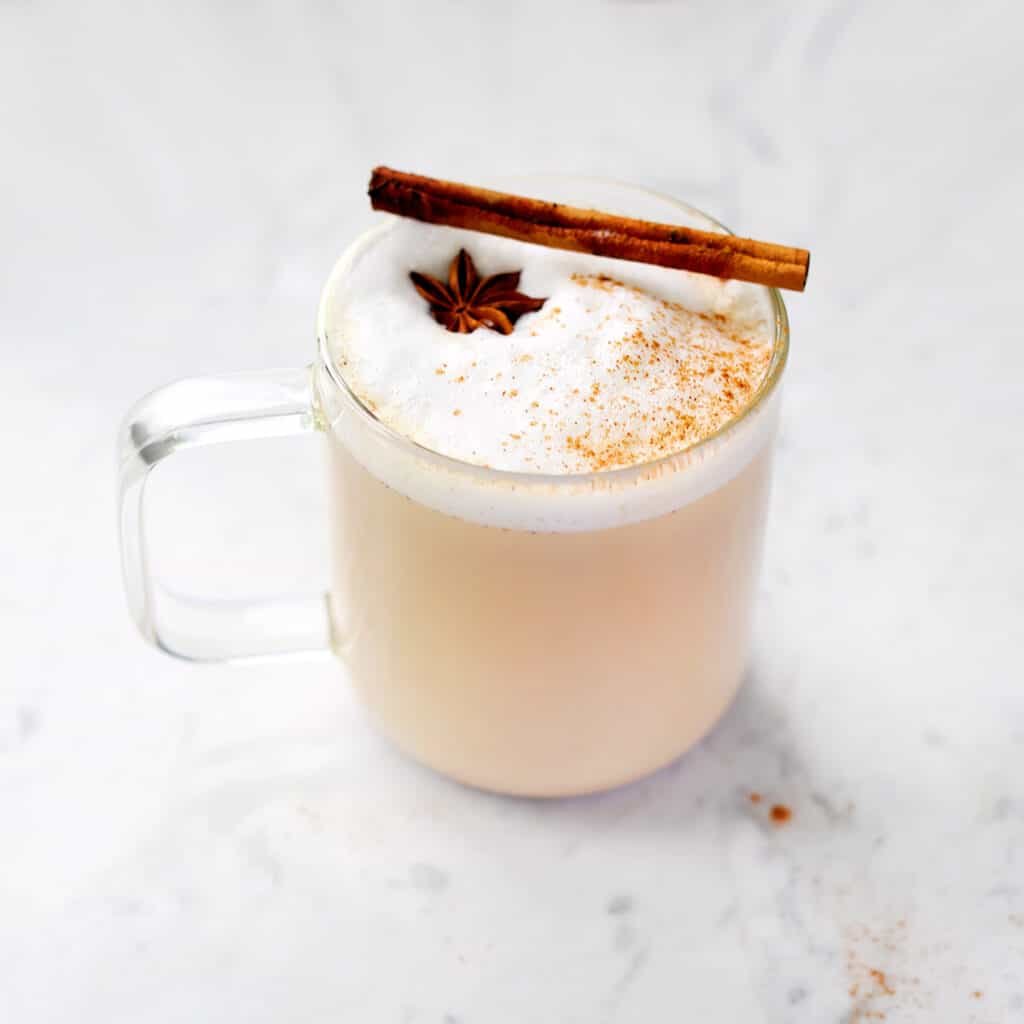
Chai Latte
Learn to make a proper chai latte—the perfect fall drink.
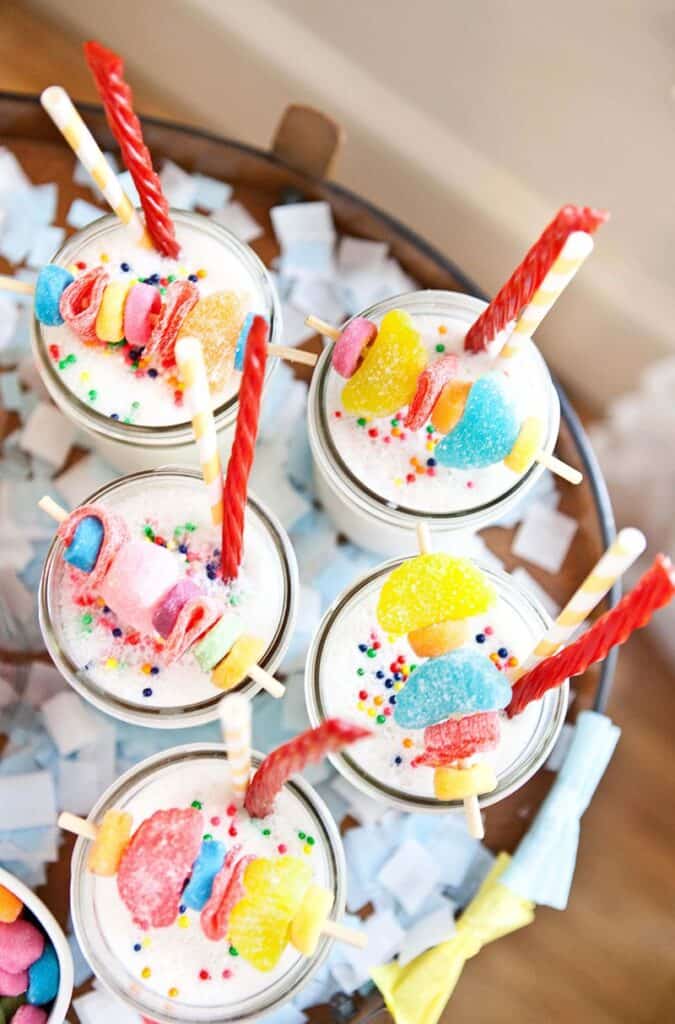
Candy Vanilla Milkshakes
Candy vanilla milkshakes are perfect for using your extra Halloween candy.

Taro Milk Tea
A vibrant purple drink made with tea, taro root powder, milk and usually boba pearls.
Pumpkin Spice Latte
Learn to make a classic Pumpkin Spice Latte at home.
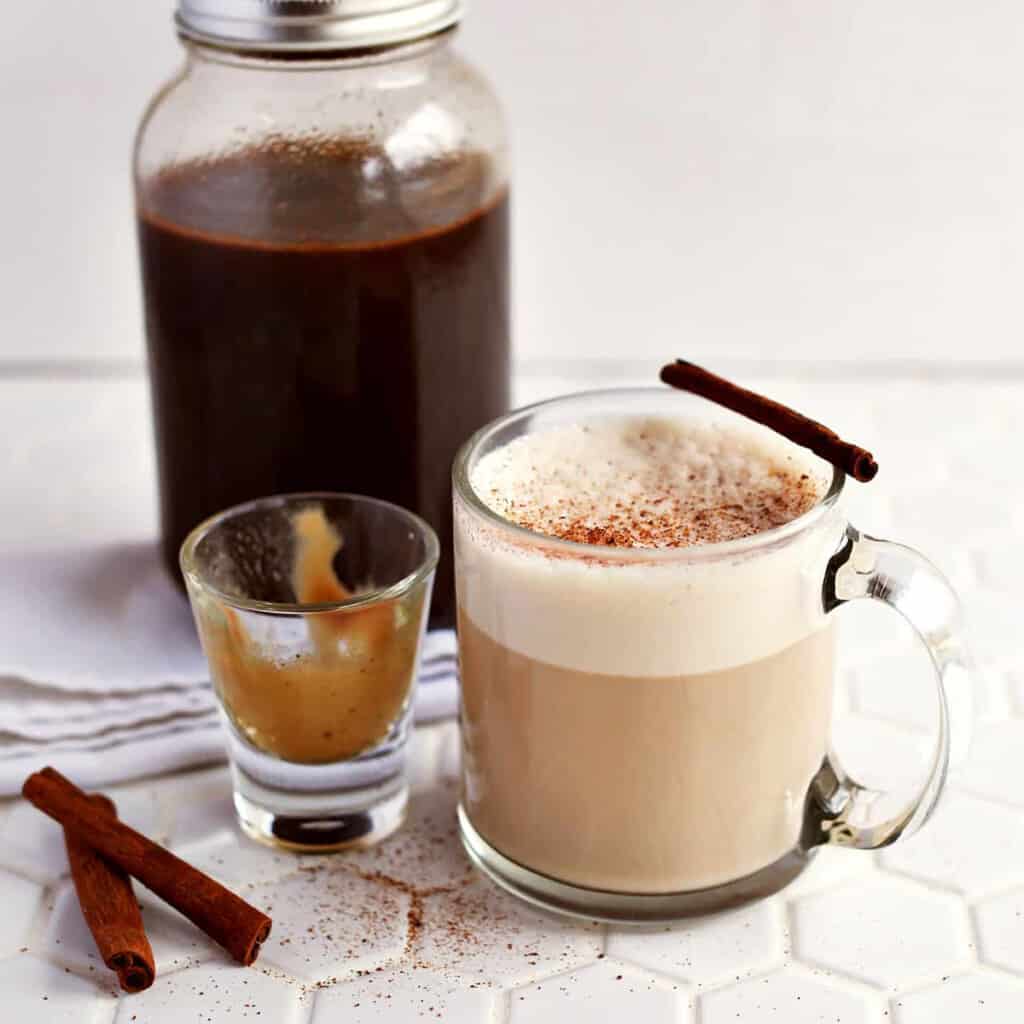
Pumpkin Spice Syrup Recipe
The best at-home PSL syrup recipe.

Strawberry Lemonade
This delicious strawberry lemonade is sweet and refreshing and easy to make at home!
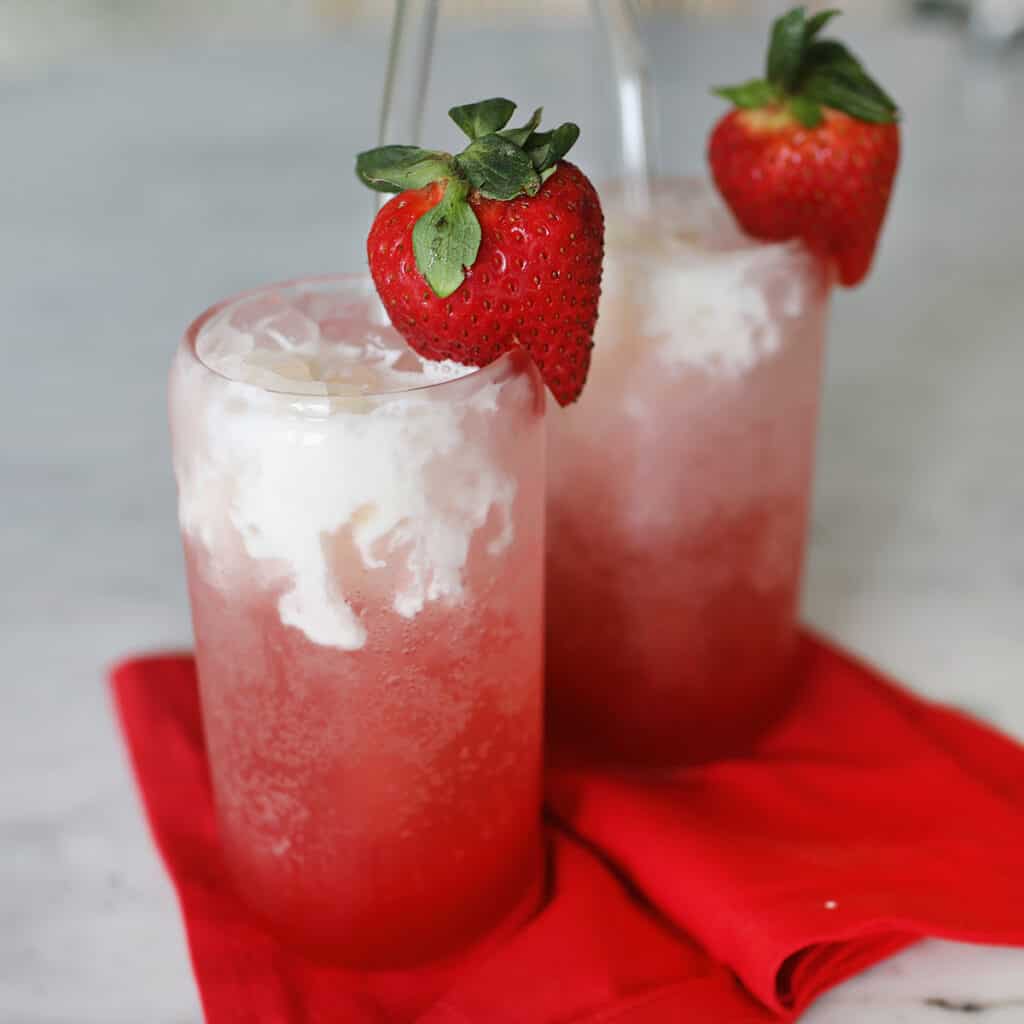
Italian Soda
Make an Italian Soda in any flavor, with or without cream.
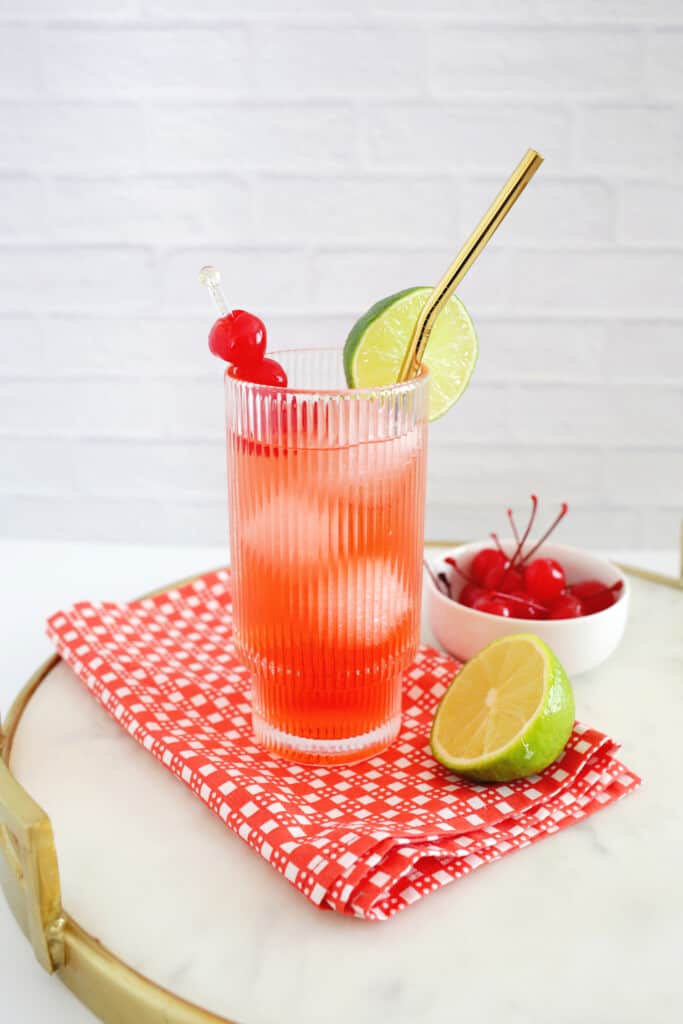
Classic Shirley Temple Drink
Make the classic Shirley Temple drink with just a few ingredients!
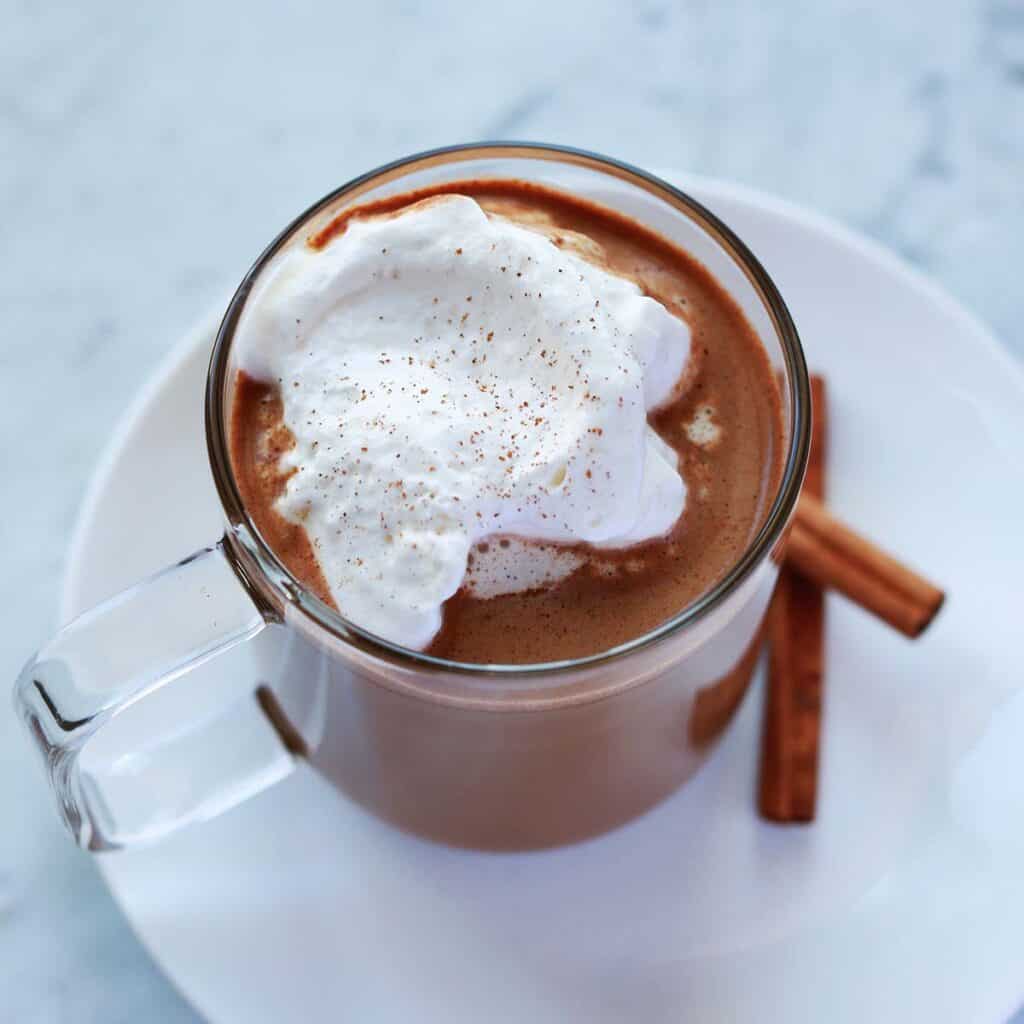
Mexican Coffee
Learn to make a tasty, cozy Mexican coffee at home.

Honeydew Boba
A fruity bubble tea drink made with honeydew, matcha, milk and boba pearls.
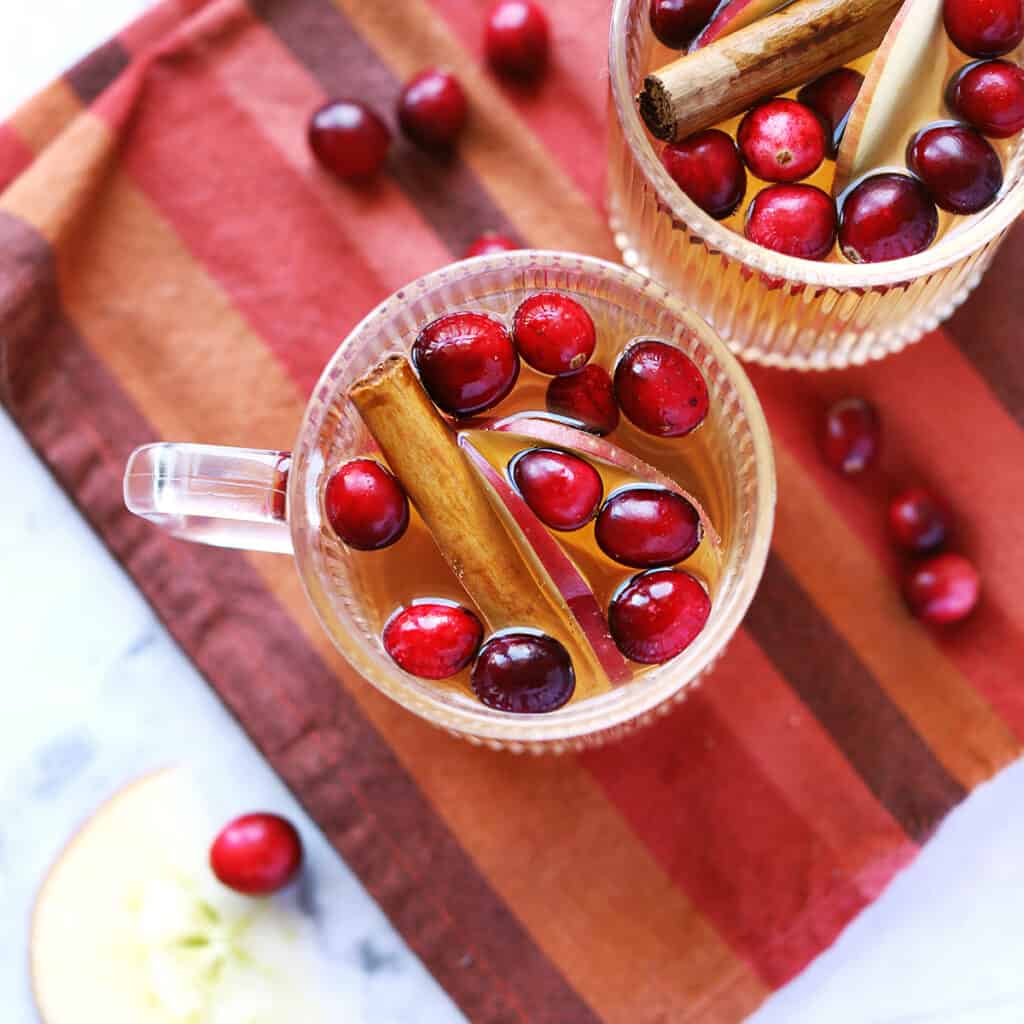
Spiced Apple Cider Recipe
A spiced apple cider recipe that can be made with or without alcohol.
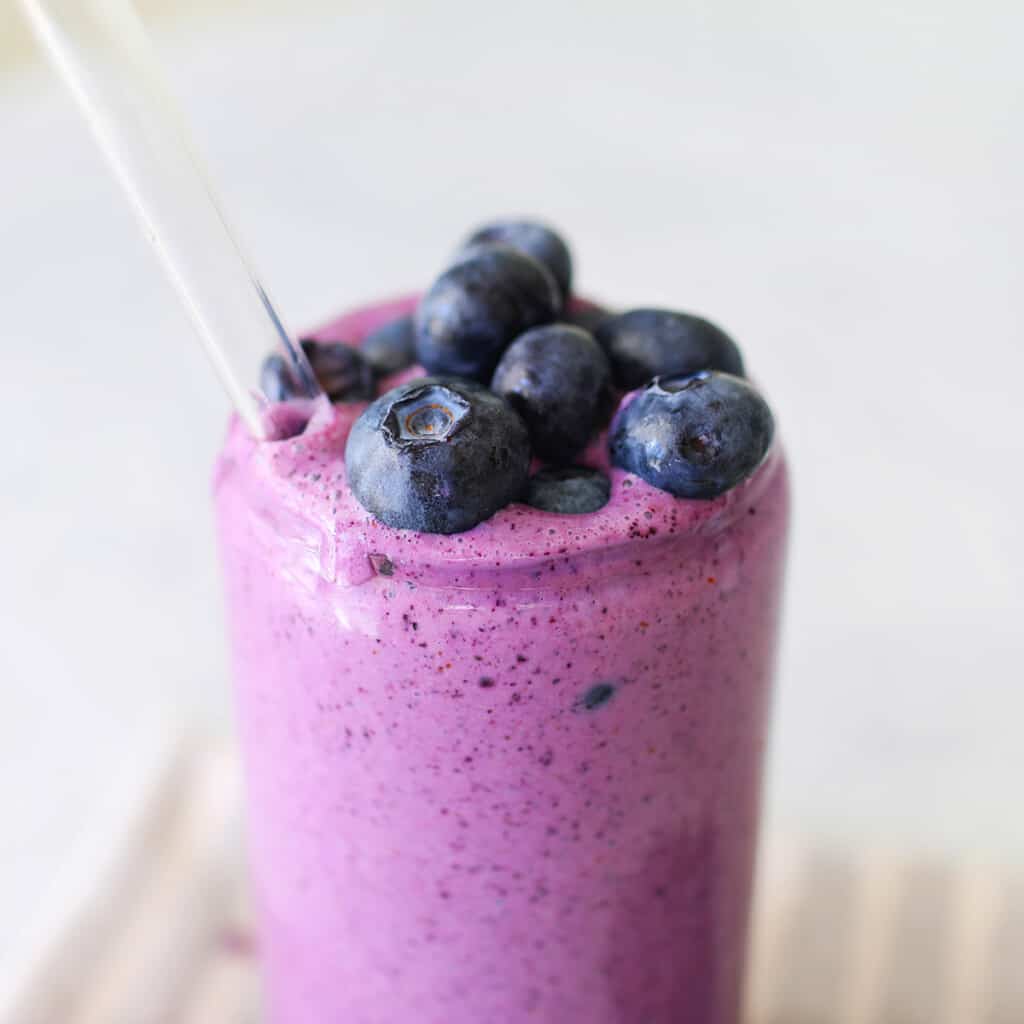
Blueberry Smoothie
Recipe for a healthy and delicious blueberry smoothie.
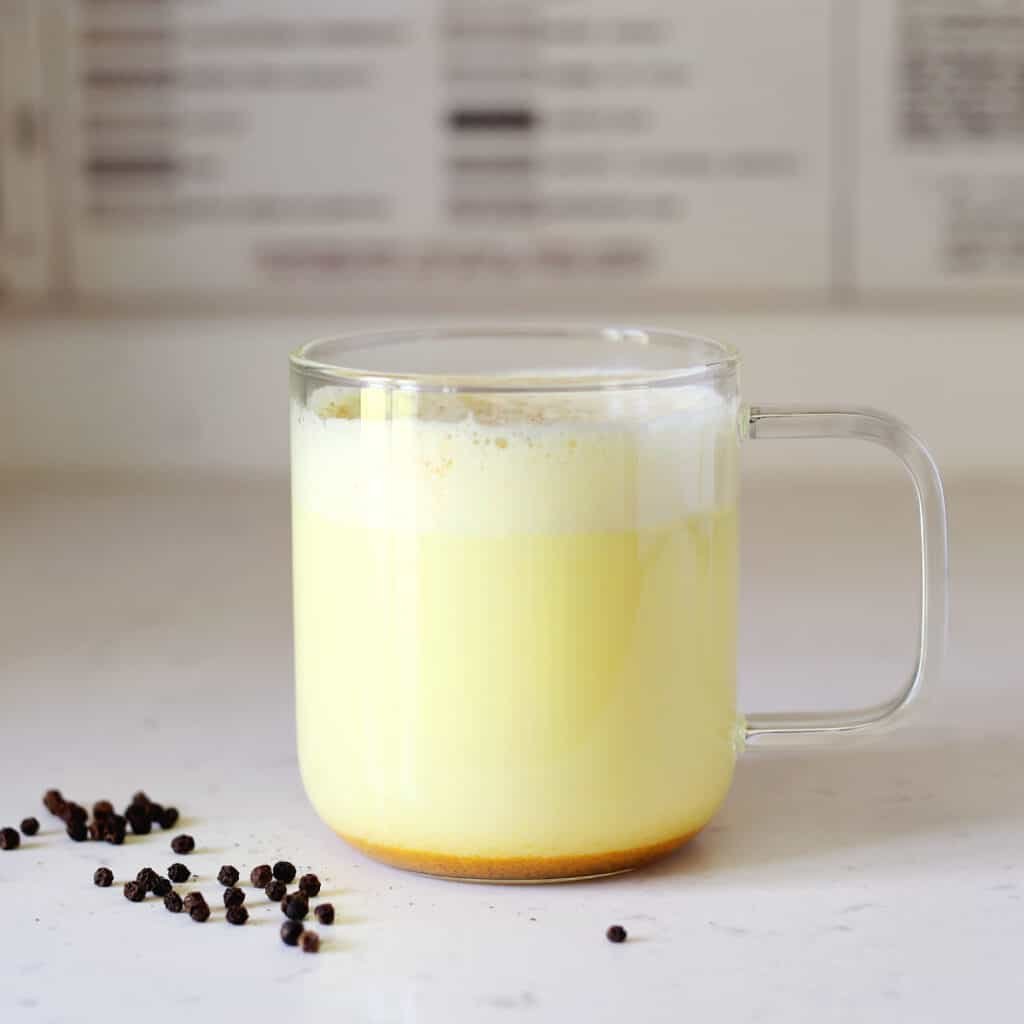
Turmeric Latte
A bold and spicy, warm beverage.
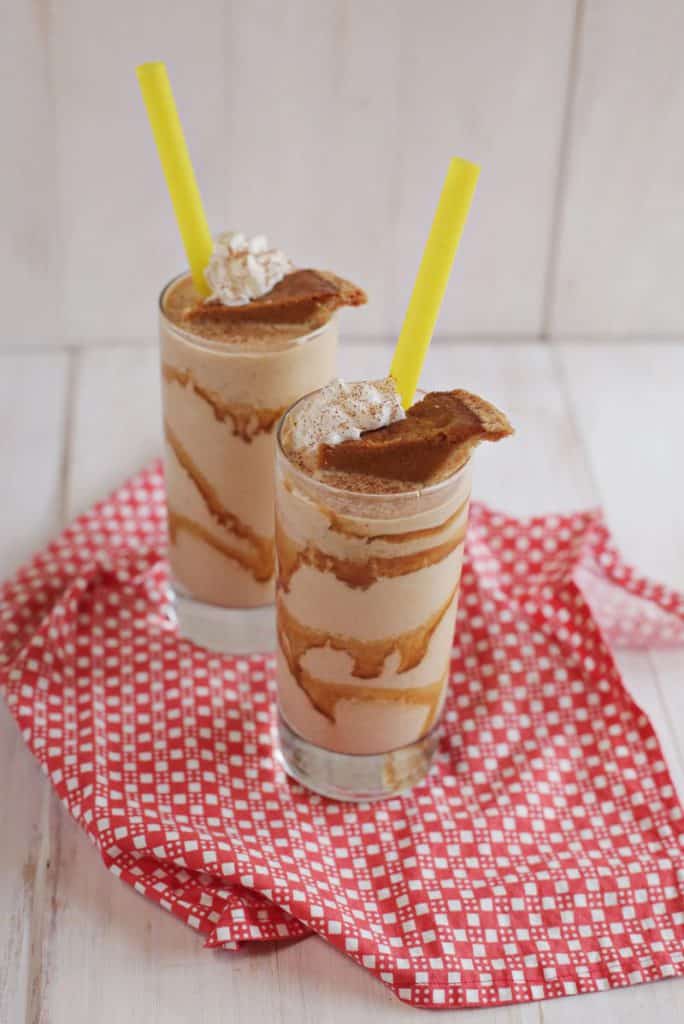
Leftover Pumpkin Pie Frappe
Make a pumpkin pie frappe for a festive fall treat.
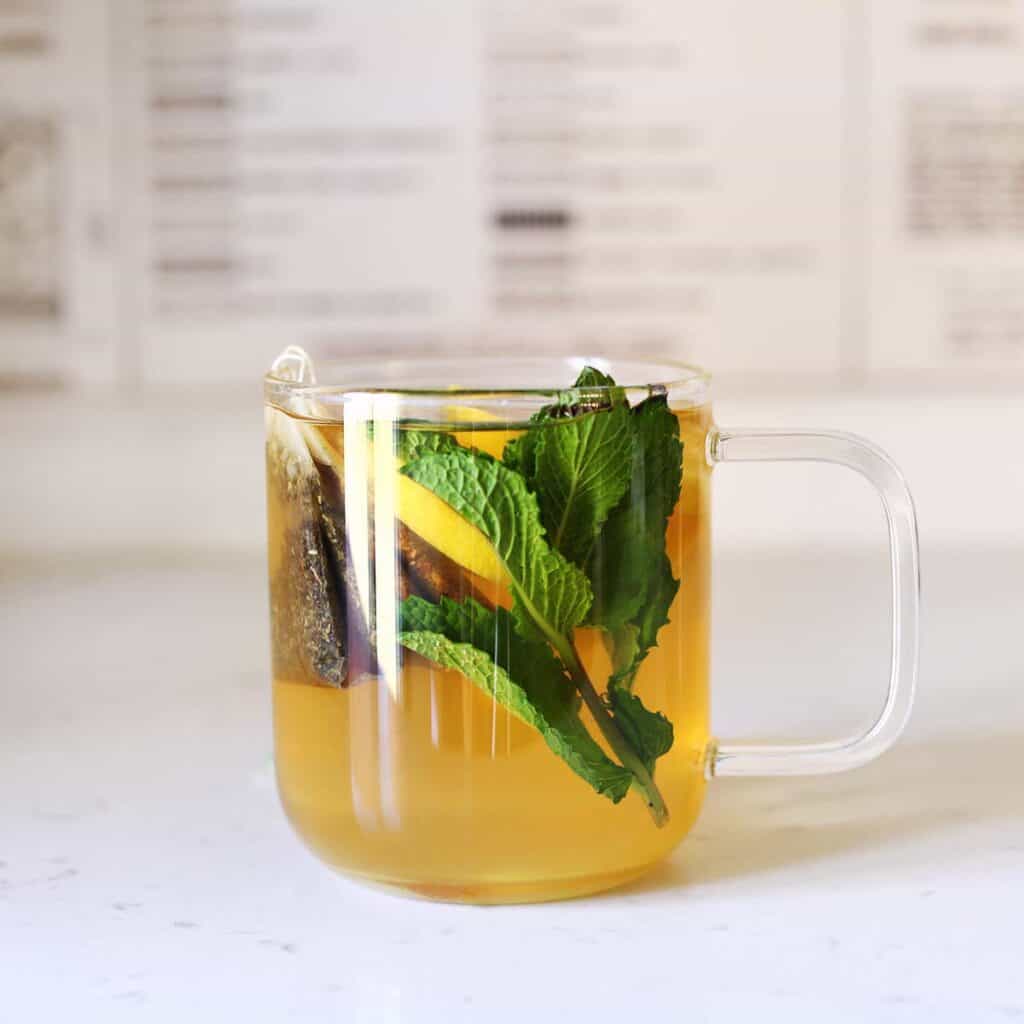
Starbucks Medicine Ball
An herbal tea mixture that can soothe a sore throat.
More Halloween Ideas
We’re got more Halloween ideas for you! Halloween Crafts for Adults, 15 Halloween DIYs, 25+ Halloween Cocktails and Halloween Food Ideas. Plus, on Childhood Magic, we have Halloween activities for kids.
]]>You could also make these Oreo Cake Pops for a no-bake option! And whether it’s food, desserts, costumes, or decoration ideas you need, we’ve got tons of ideas to make this Halloween special!
Looking for more Halloween treats? Check out:
- Halloween Punch Bowl
- Halloween Jello Shots
- Halloween Cupcakes – Easy Ideas
- Halloween No-Bake Truffles
- Witch Cupcakes for Halloween
- Vampire Milkshake
- Candy Apples and Caramel Apples
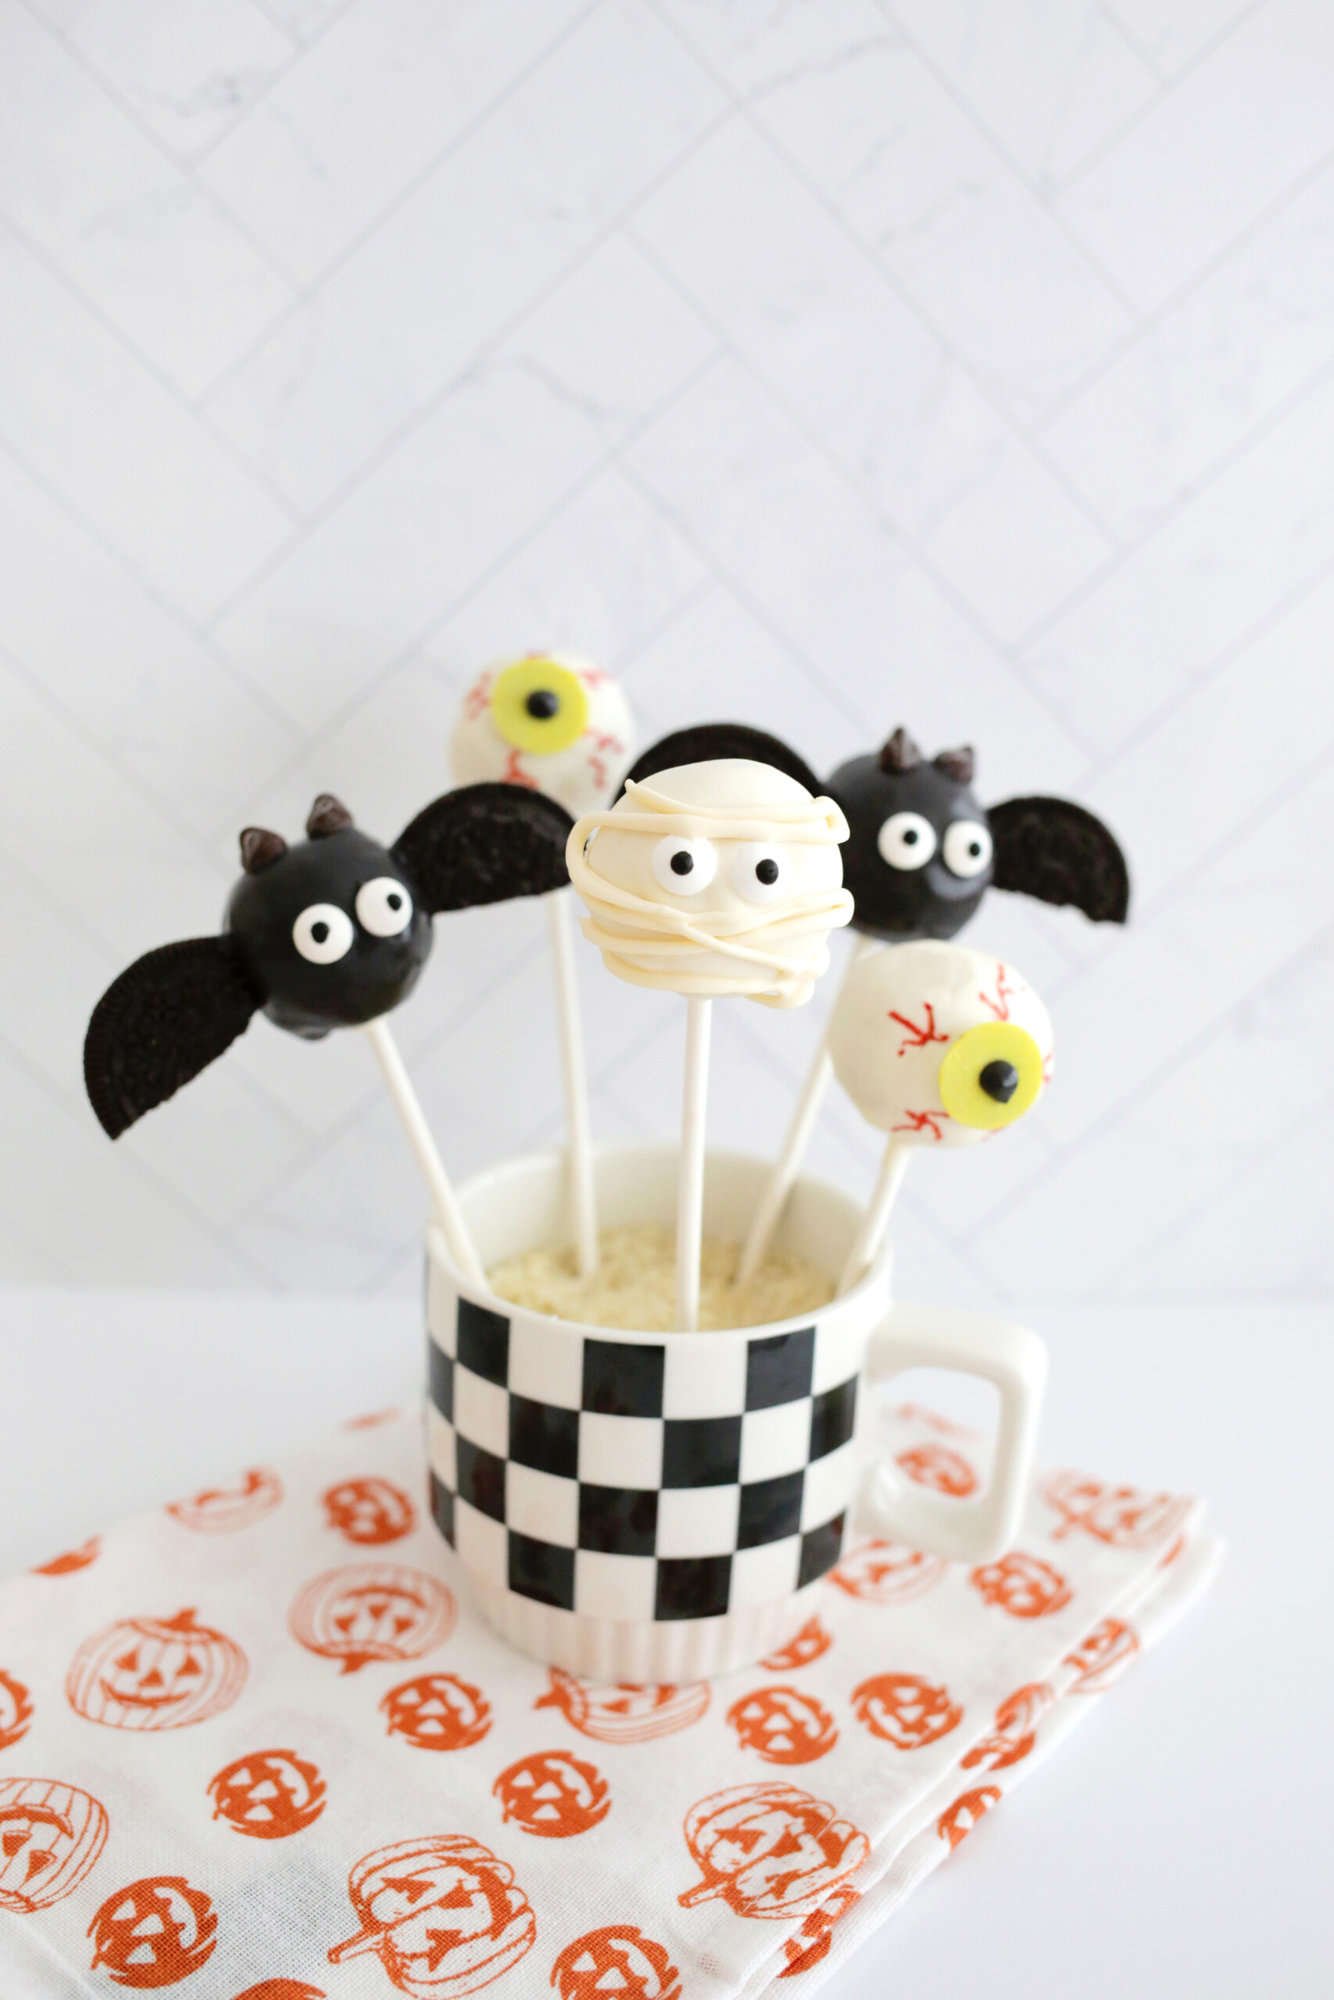
Want an easy no-bake “cake pop” idea? Try using large marshmallows on a stick and get to the decorating right away!
Tips for Making Cake Pops:
- Add your icing to your cake crumble in small quantities so you just get the point of having enough for it to stick together.
- Use a small cookie scoop to scoop cake mixture so you get even portions for each cake pop.
- Make sure your cake balls are well chilled before coating.
- Have your decorations nearby and prepped to go so you can attach them while the chocolate is still melted.
- You can use a tall glass to pour your melted chocolate in so you have a little dunk tank to fully submerge your cake pop into.
- Want colored cake pops? Add a little gel food coloring when you smush together your cake and icing for a fun color surprise!
- Use orange candy melts to create a pumpkin cake pop, pipe on a face with black icing and place a chocolate chip upside down on top for the stem.
- Try using a pumpkin spice cake mix with cream cheese frosting for extra fall flavor!
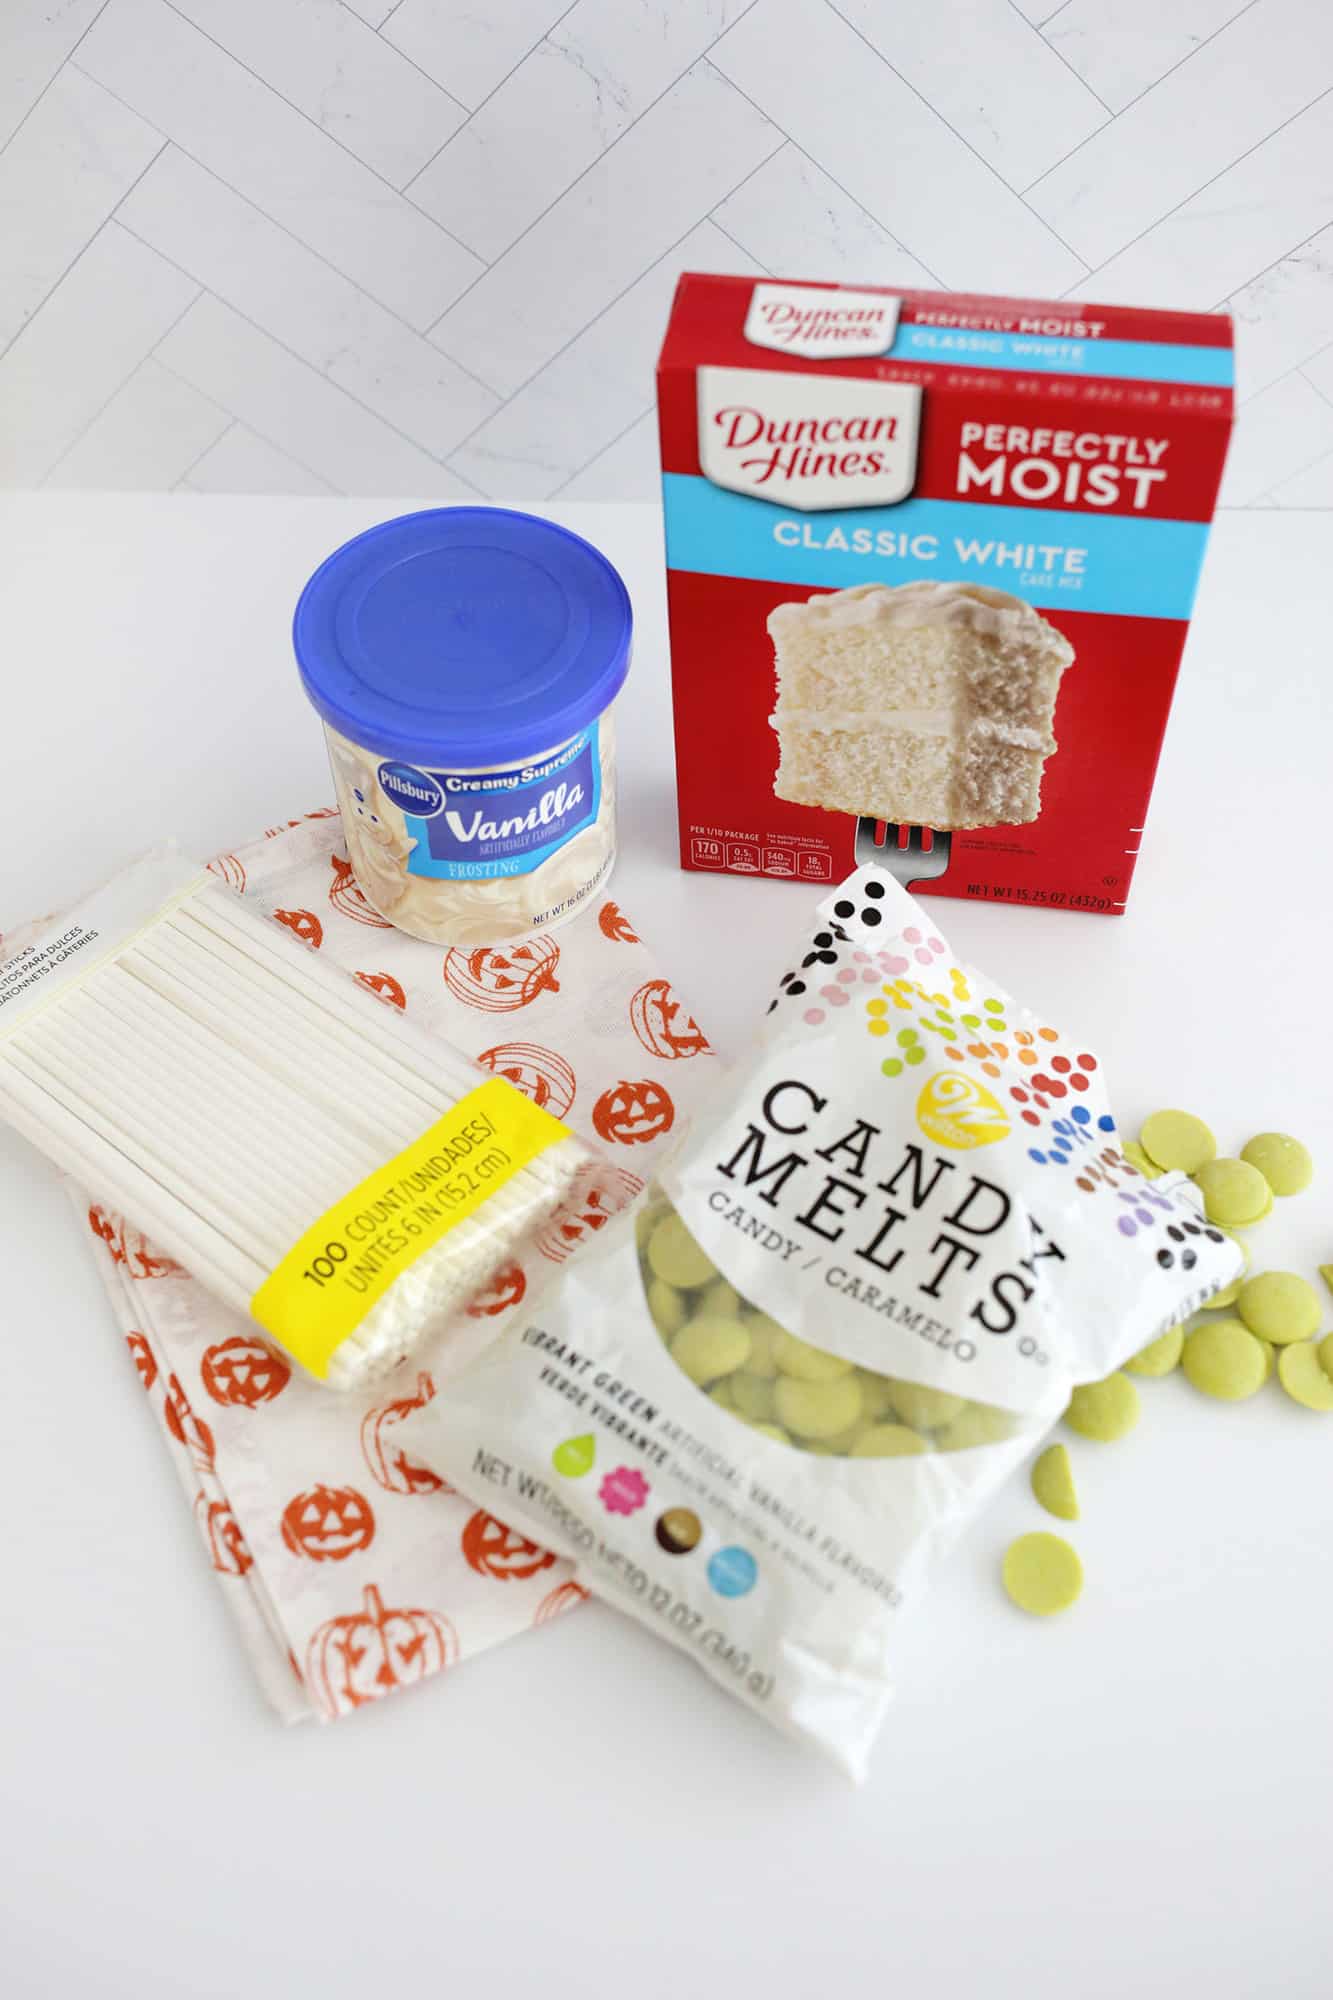
What You Need to Make Cake Pops:
Cake mix: For this cake pop recipe, you can use any flavor of boxed cake mix: chocolate, vanilla, red velvet, yellow, etc. Be sure to check your cake mix to ensure you have whatever other cake ingredients the mix recommends for baking (eggs, oil, etc.).
Can of frosting: You will also need one container of store-bought frosting. I like to use anything with a simple texture like vanilla, chocolate, or strawberry.
Cake pop sticks: While it’s most common to use sticks like this, you can also use lollipop sticks, forks, or edible items like pretzel rods!
Candy melts: These melting wafers are the easiest way to get that chocolate coating as they melt easily and come in lots of color options.
Microwave or Double Boiler: You can melt candy melts in the microwave, but you can also use a double boiler to do it on the stove top or a chocolate melter like this one.
Edible decorations: For these Halloween cake pops you’ll want candy eyeballs for the mummy and bat, Oreo-type cookies for the bat wings, chocolate chips for the bat ears, green candy melts or a large candy eye for the eyeball and an edible marker to draw on the red veins. Feel free to decorate with sprinkles or other edible candies!
Frequently Asked Questions
Can you use chocolate chips instead of candy melts for cake pops?
While candy melts work best for cake pops, you can also use chocolate chips instead. The mixture will be a little thicker and slightly harder to work with (but still OK). And the shell around the cake pops will be thicker once the chocolate sets.
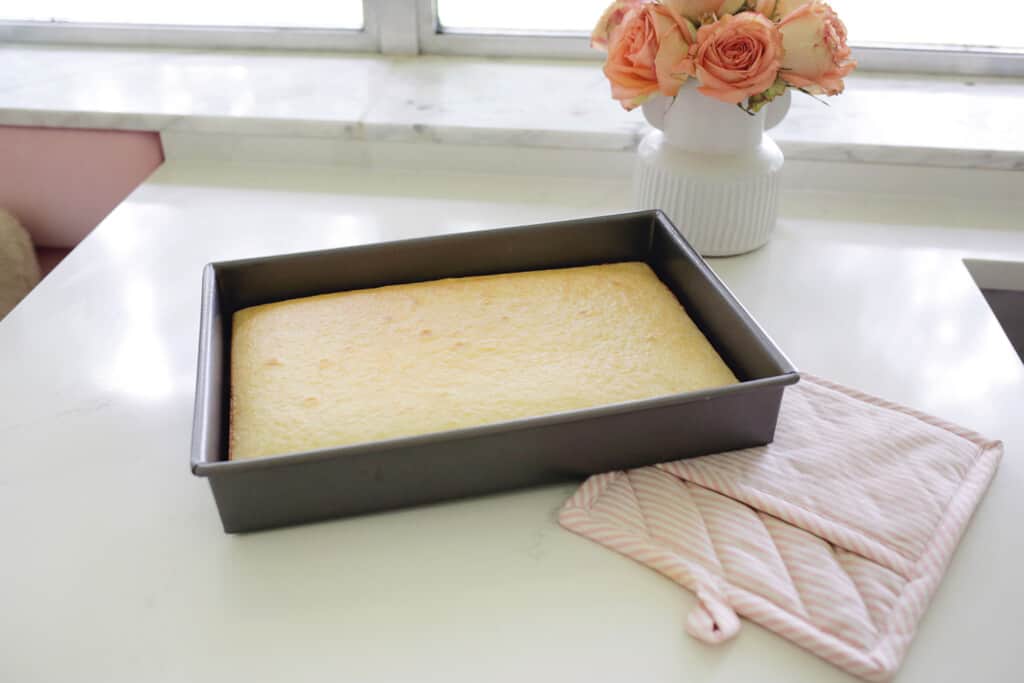
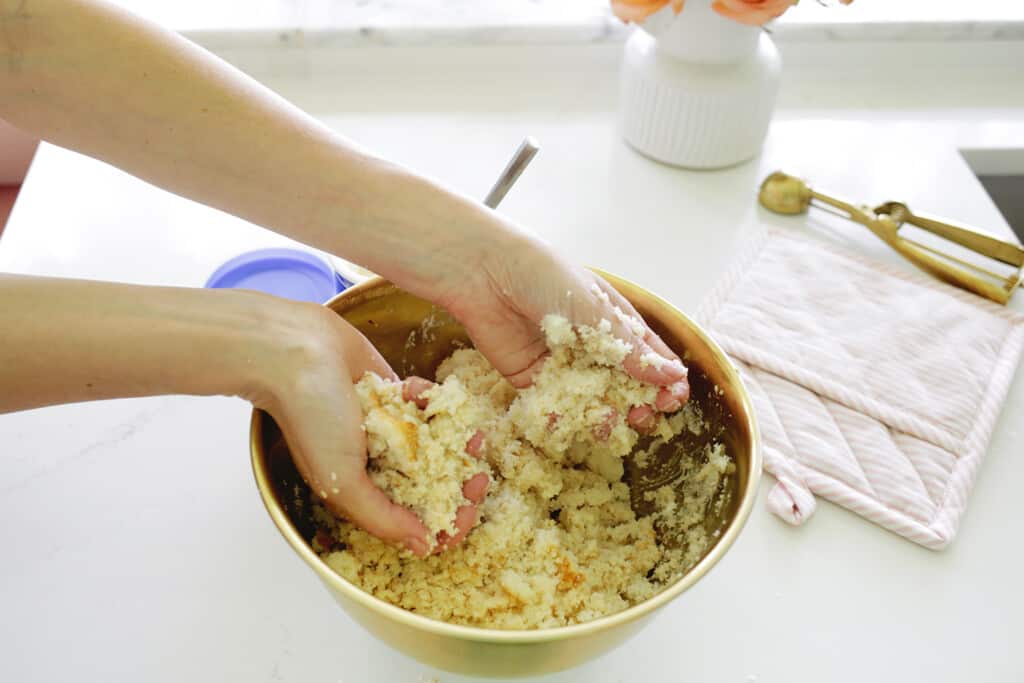
How to Make Halloween Cake Pops:
1. Bake the cake: Bake your cake according to the package instructions and allow to fully cool in the pan.
2. Add the frosting and mix: Spoon the baked cake into a large mixing bowl and break it up with your hands so it resembles large crumbs. Add 2/3 of the container of frosting. Using the full container makes the cake pops a bit too soft and harder to work with once we dip them in chocolate. But, this is how you get cake pops to stick together—with frosting. Use clean hands to mix together the frosting and cake. The cake pop batter is going to be pretty soft, but moldable.
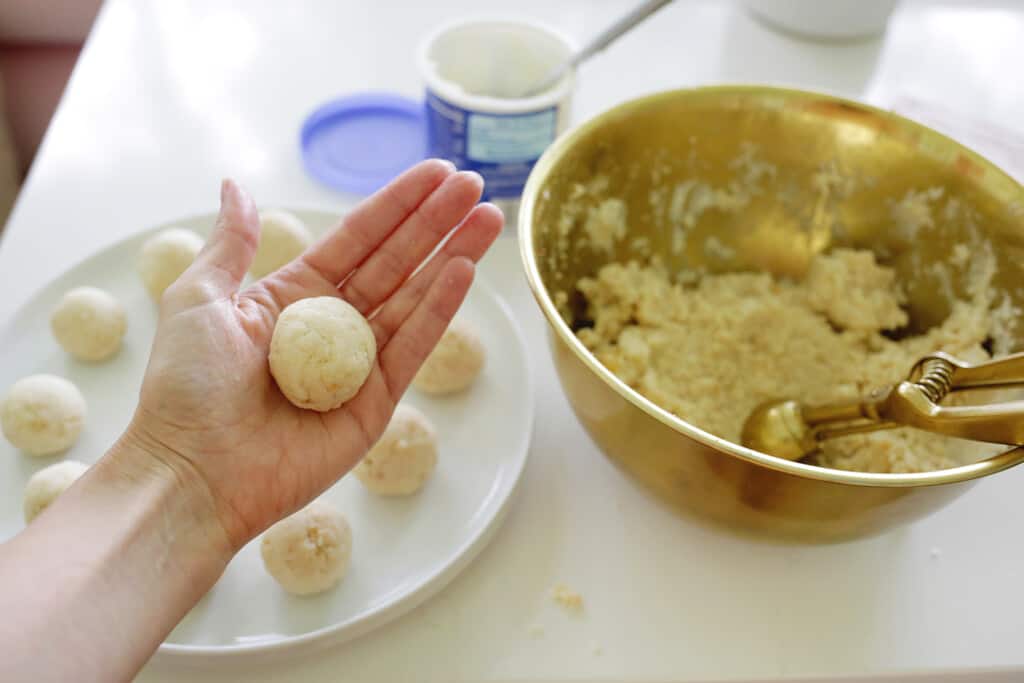
3. Roll cake balls: Form your cake pop batter into small balls (about 3-4 tablespoons each). You don’t want them to be too big, just so they easily fit in the palm of your hand.
Once you have formed all your pops (a standard size cake will make around 35-40 cake pops), put them in the refrigerator for 1-2 hours or the freezer for 30 minutes.
4. Melt your candy melts: Melt candy melts in the microwave in 30-second increments on half power. You could also use a double boiler to do it on the stove top or a chocolate melter like this one. If you need to thin your candy melts, you can stir in a teaspoon of canola or vegetable oil once melted and can reheat the chocolate for 15 seconds at a time to remelt if it starts to set up at any point.
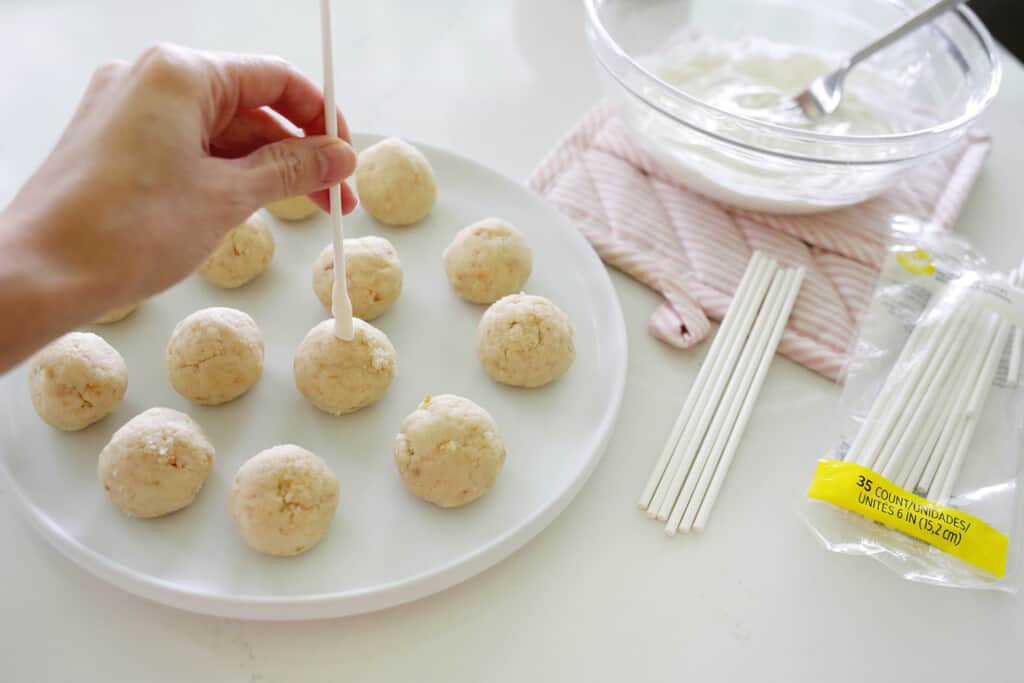
5. Attach the cake pop stick: First, put your stick into the melted chocolate and push the stick 2/3 through a cold cake pop. The melted chocolate will act like a glue to keep the cake pop attached to the stick.
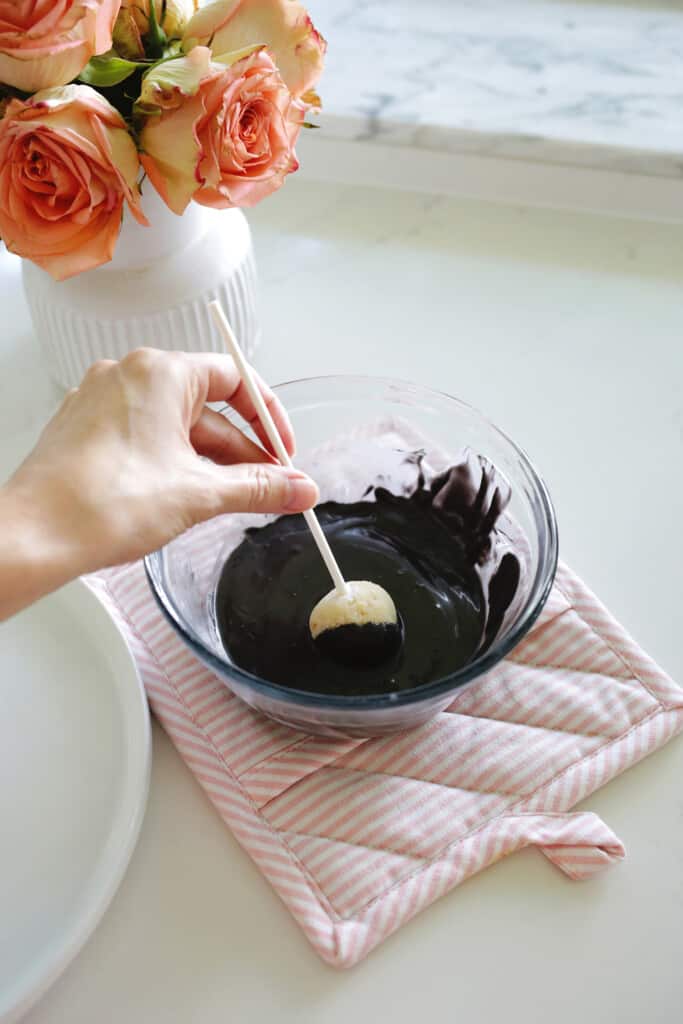
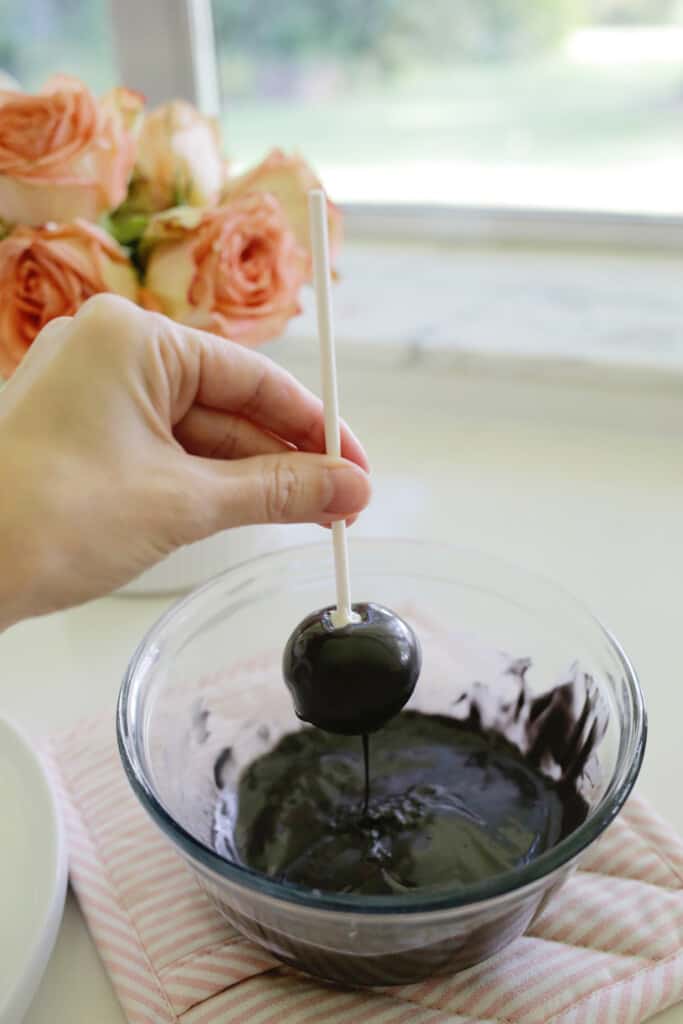
6. Dip the cake pop: Dip the attached cake pop into the melted chocolate and allow any excess chocolate to drip off the pop. Gently tap the cake pop stick on the side of your bowl to also shake off extra chocolate. Then, add any extra decorations and store the cake pop upright in a cake pop holder or styrofoam block while it sets (unless you don’t mind a flat bottomed cake pop then you can let them lay on wax or parchment paper).
You can keep them upright in a number of ways like sticking them into a container that is filled with granulated white sugar or rice or you can stick them into a block of styrofoam.
How to make a mummy Halloween cake pop:
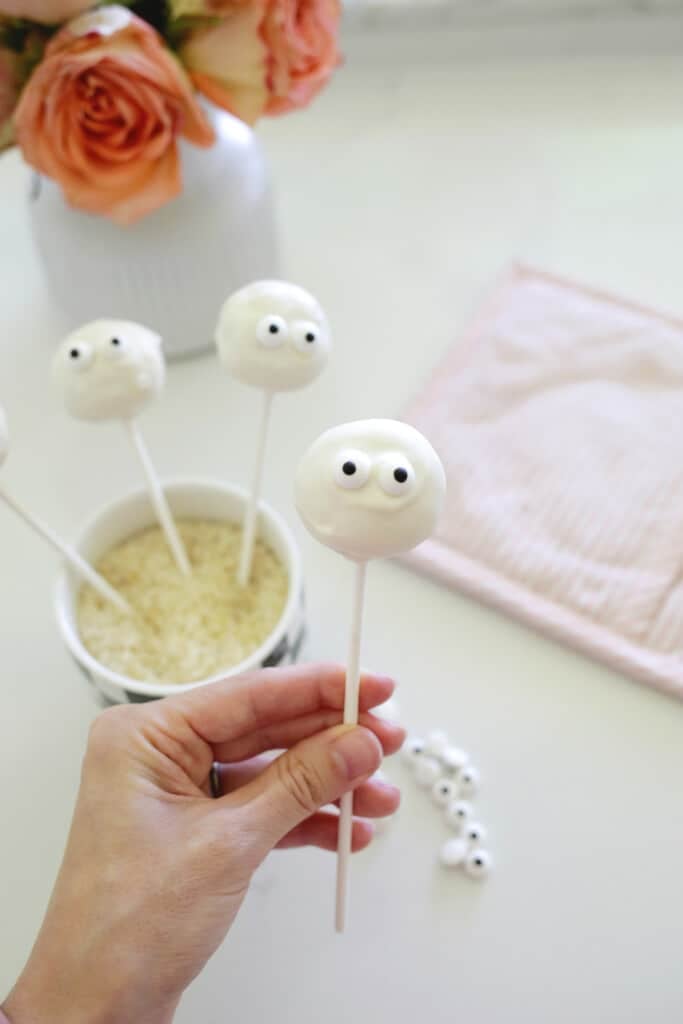
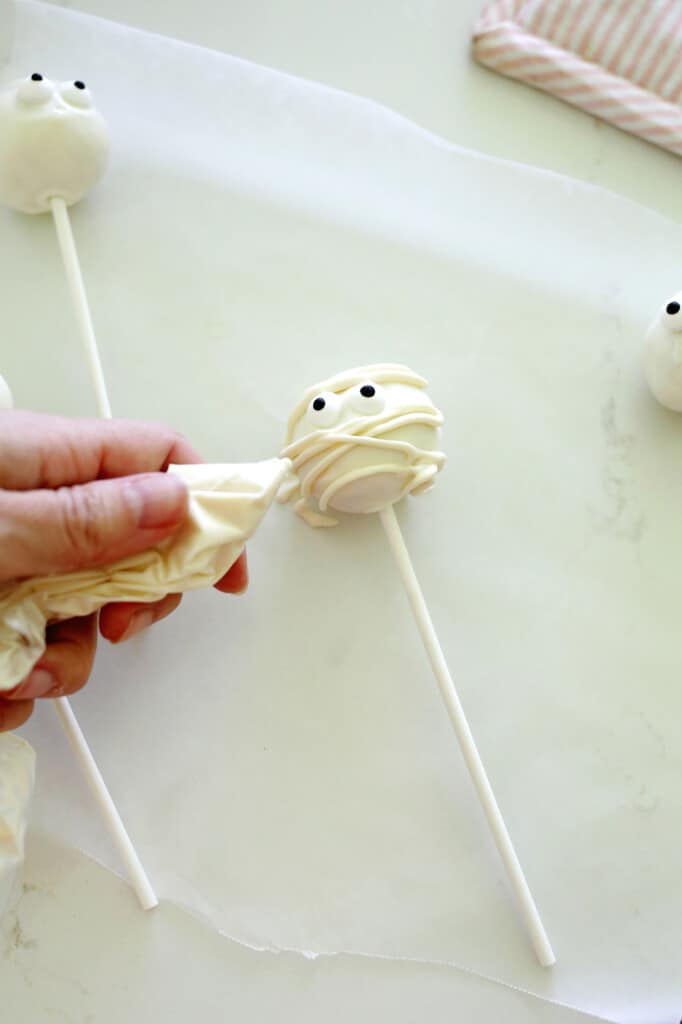
- Follow directions above to make a general cake pop and dip the cake pop into white candy melts.
- Add two candy eyes and let the chocolate set.
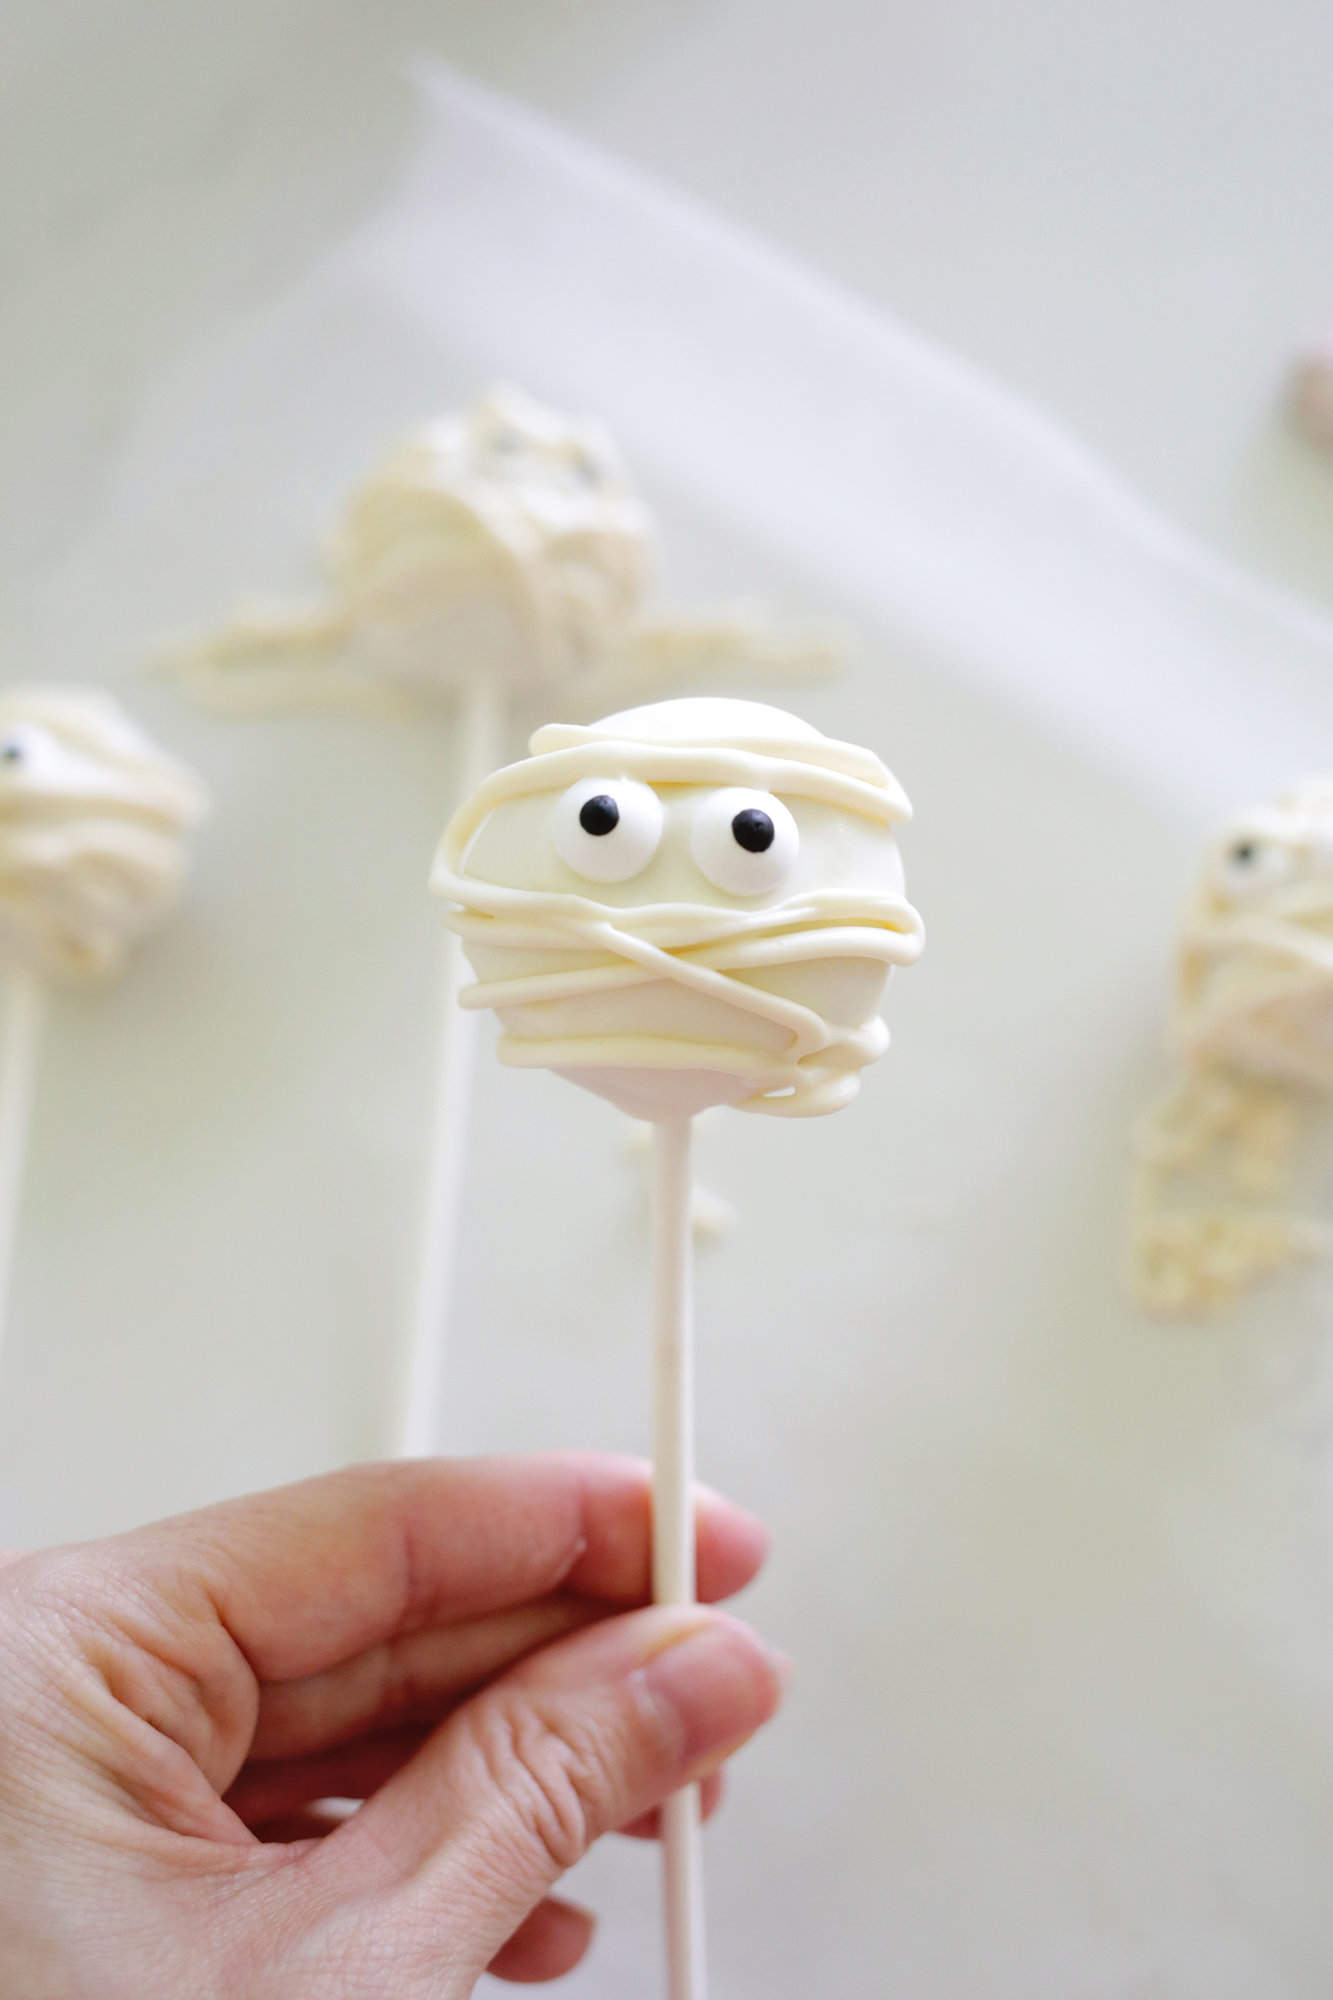
- Using more melted white chocolate, either use a piping bag (or a ziplock baggie with a bit of the corner tip cut off) or a spoon to drizzle lines of chocolate over the mummy face to make the wrapping effect (set cake pop on wax paper to catch excess icing).
- Allow the drizzled chocolate to set and your mummies are ready!
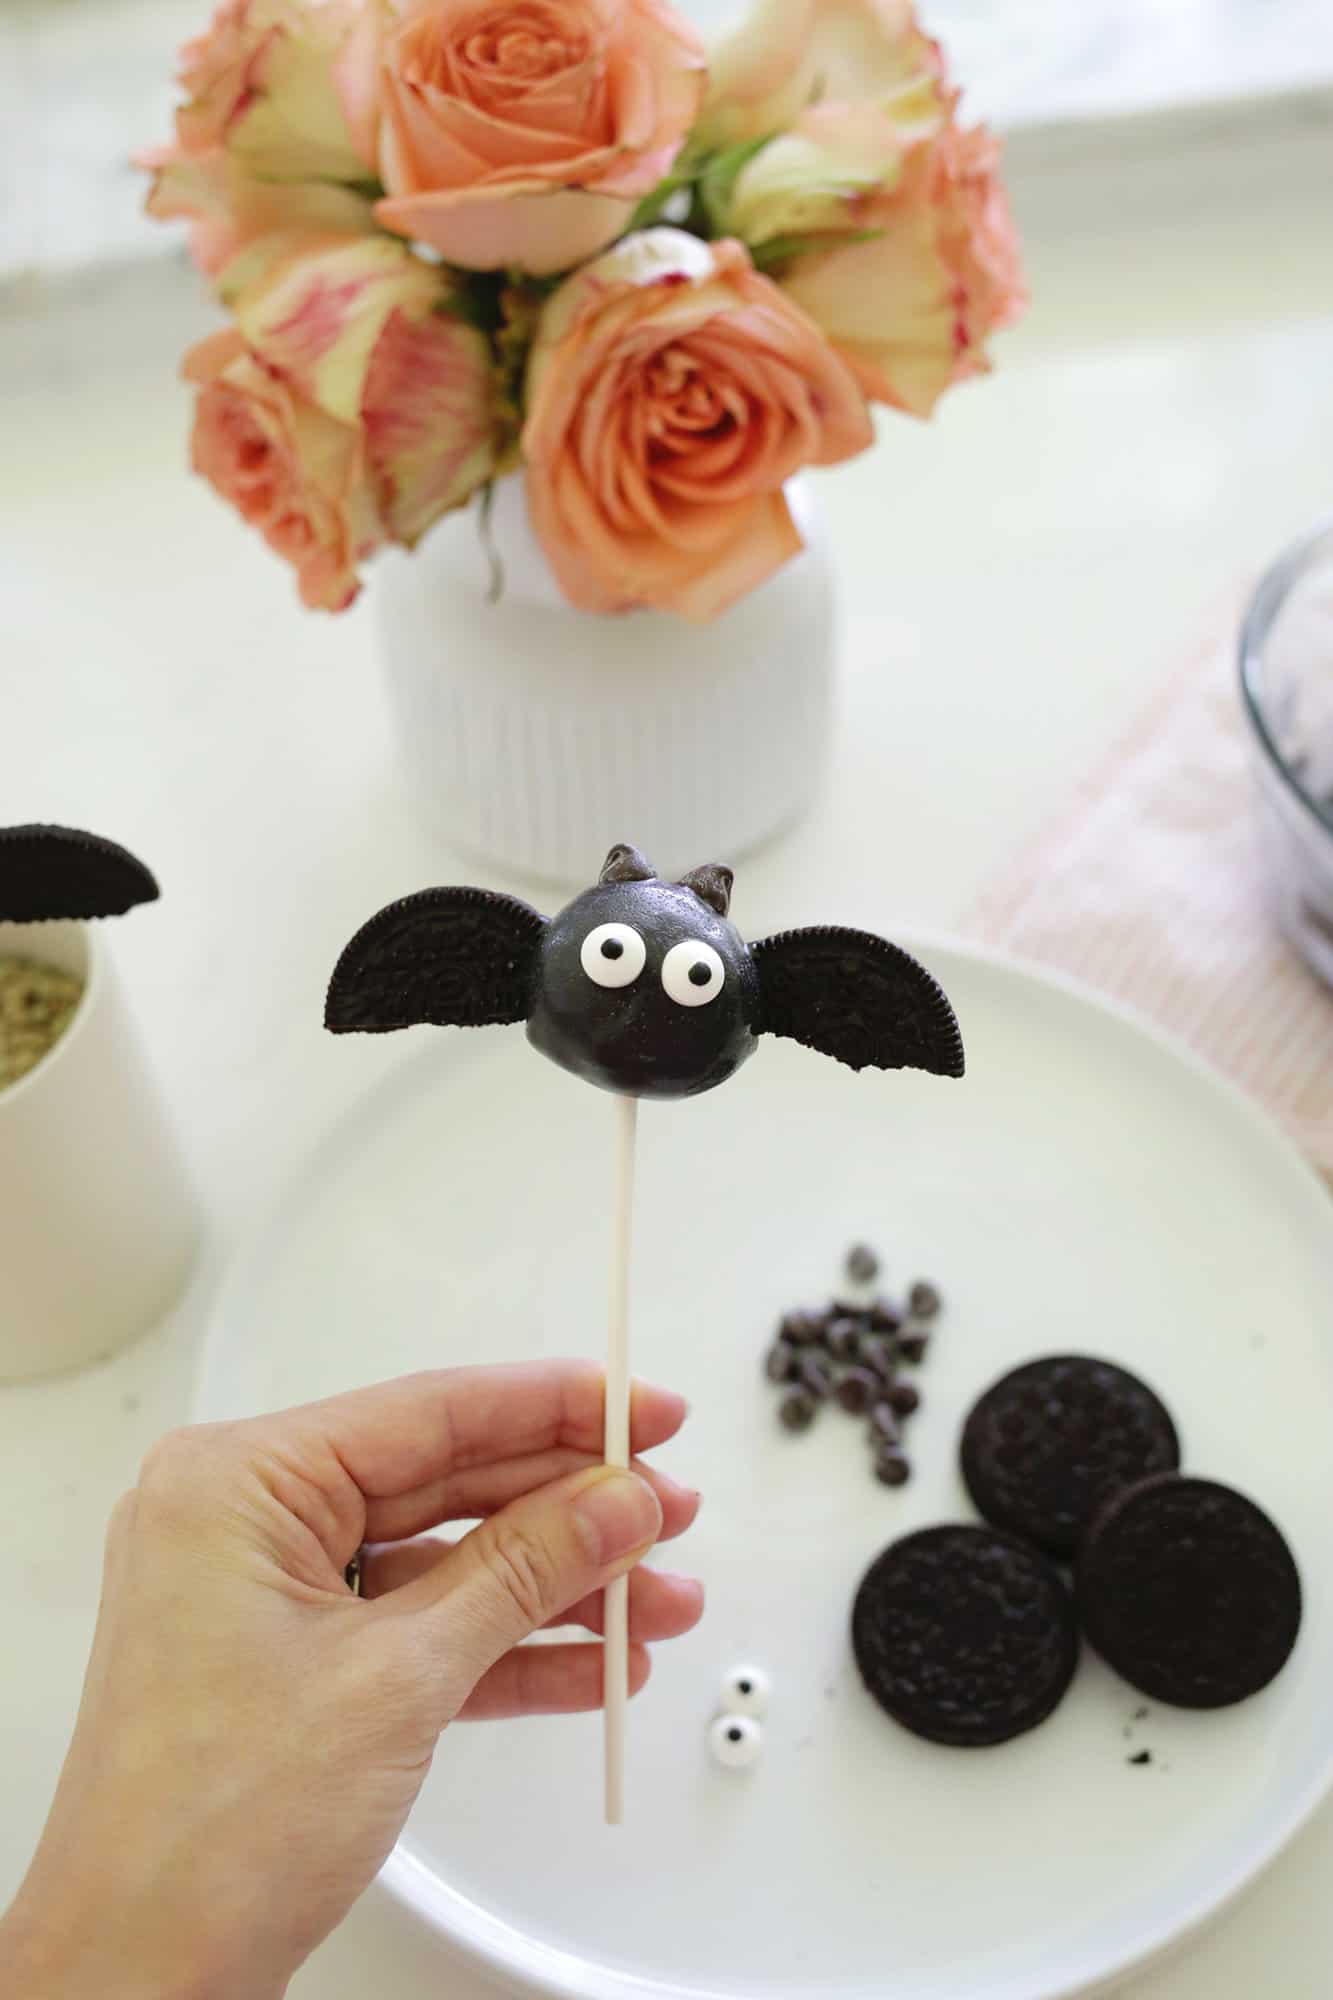
How to make a bat Halloween cake pop:
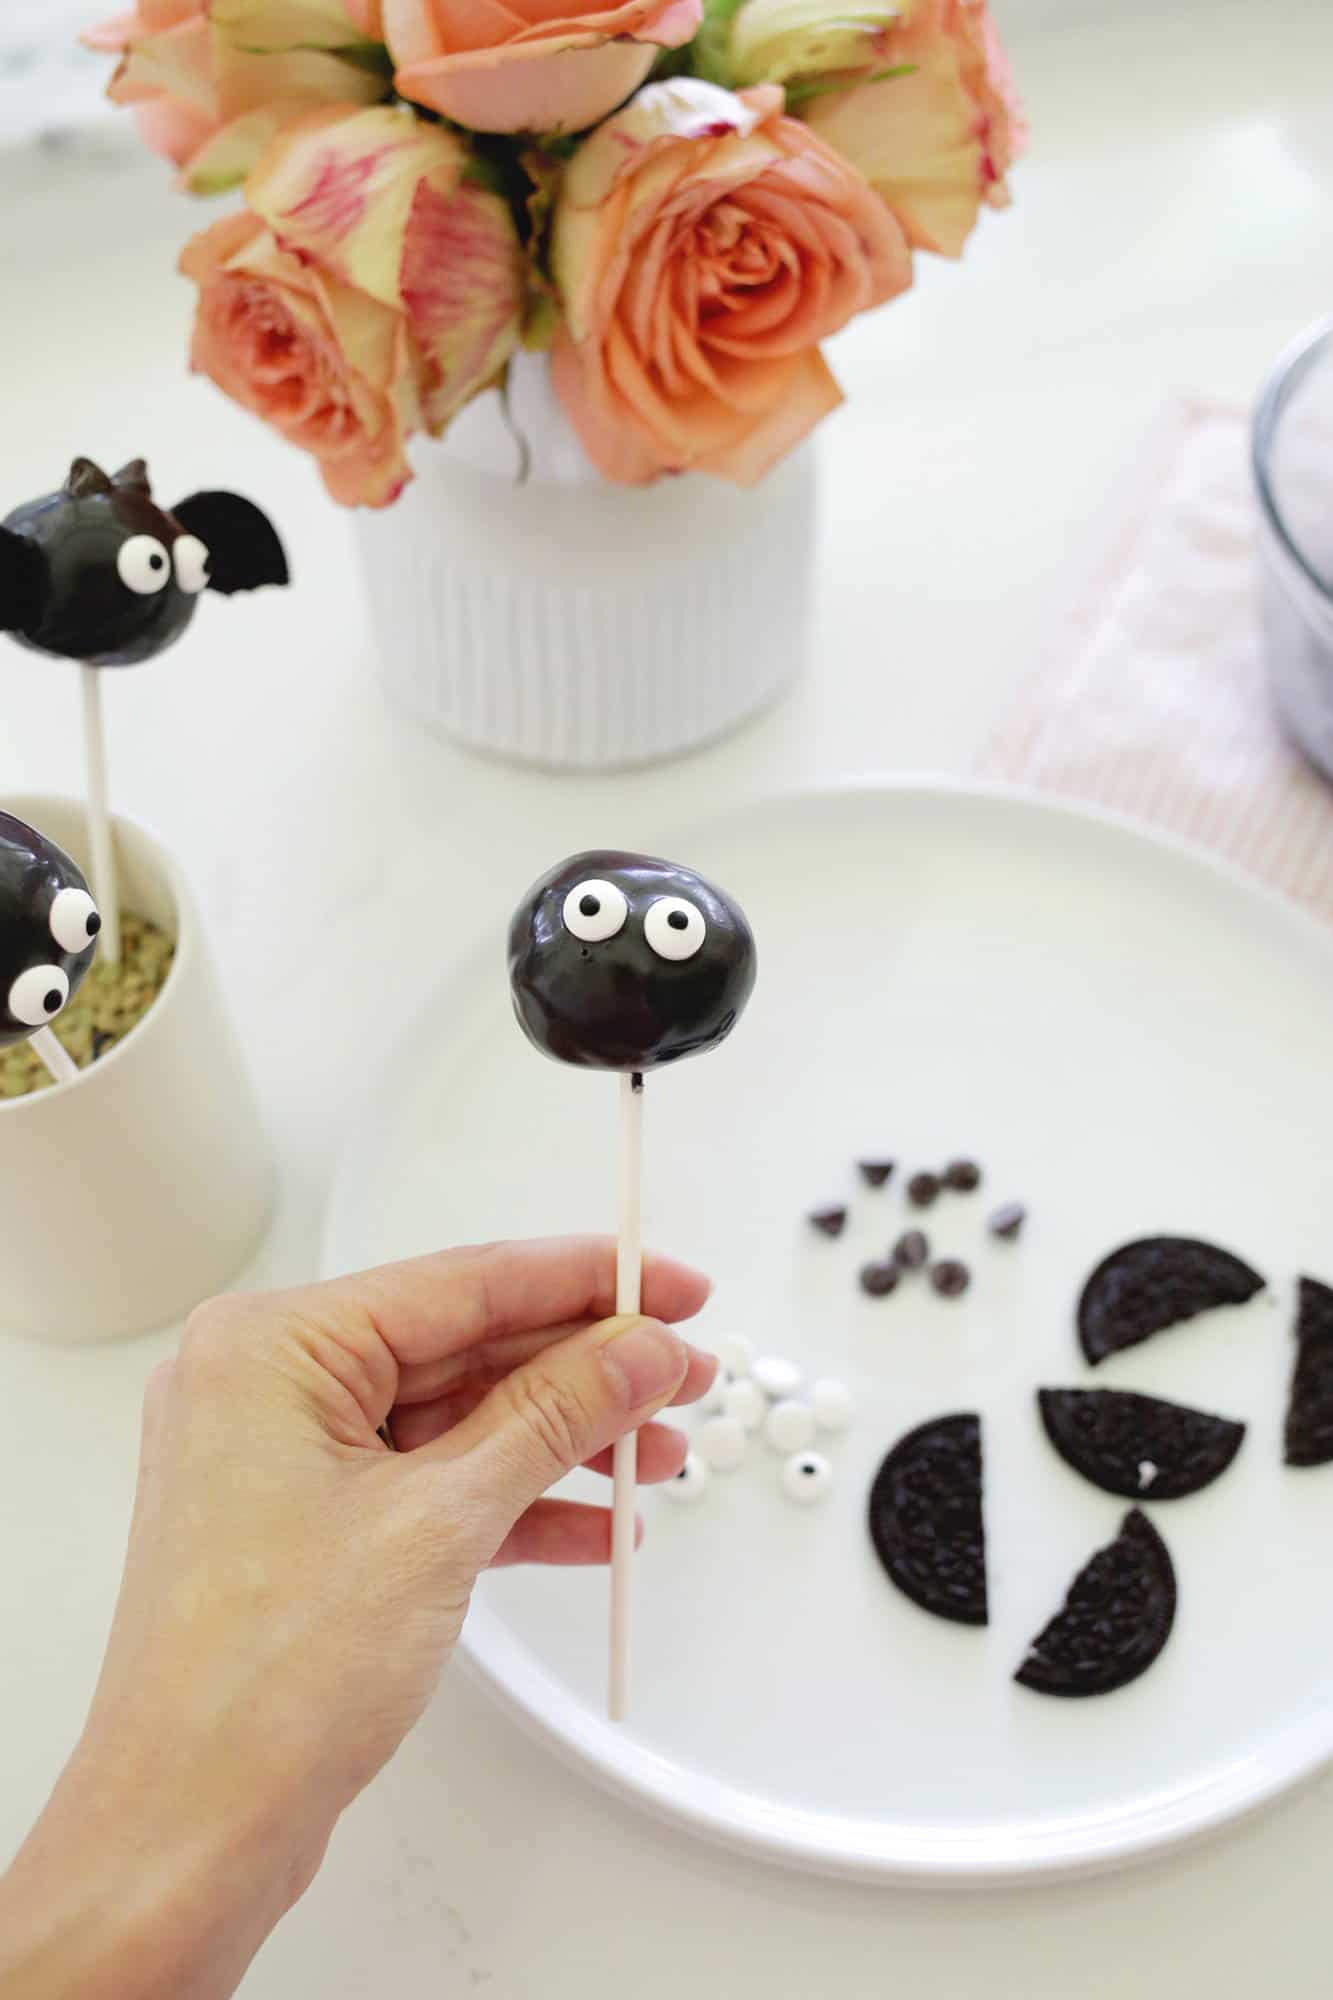
- Follow directions above to make a general cake pop and dip the cake pop into black or brown chocolate.
- Add two candy eyes, half an Oreo or chocolate cookie into each side for the wings, two chocolate chips on top for ears, and let the chocolate set.
TIP: When adding the bat wings, have your cake pop standing up in a stand or jar of rice/sugar to hold it upright and insert the wings on both sides at the same time. Just go in far enough to stick but not so far that you split your cake pop in half.
- Once the chocolate is set, your bats are ready to eat!
How to make an eyeball Halloween cake pop:
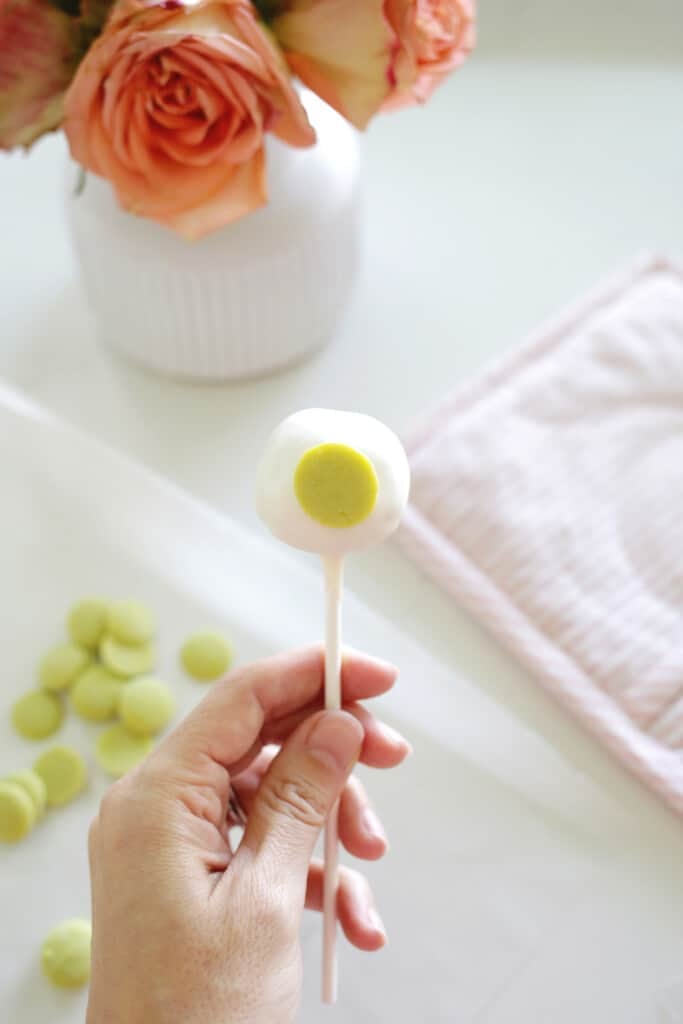
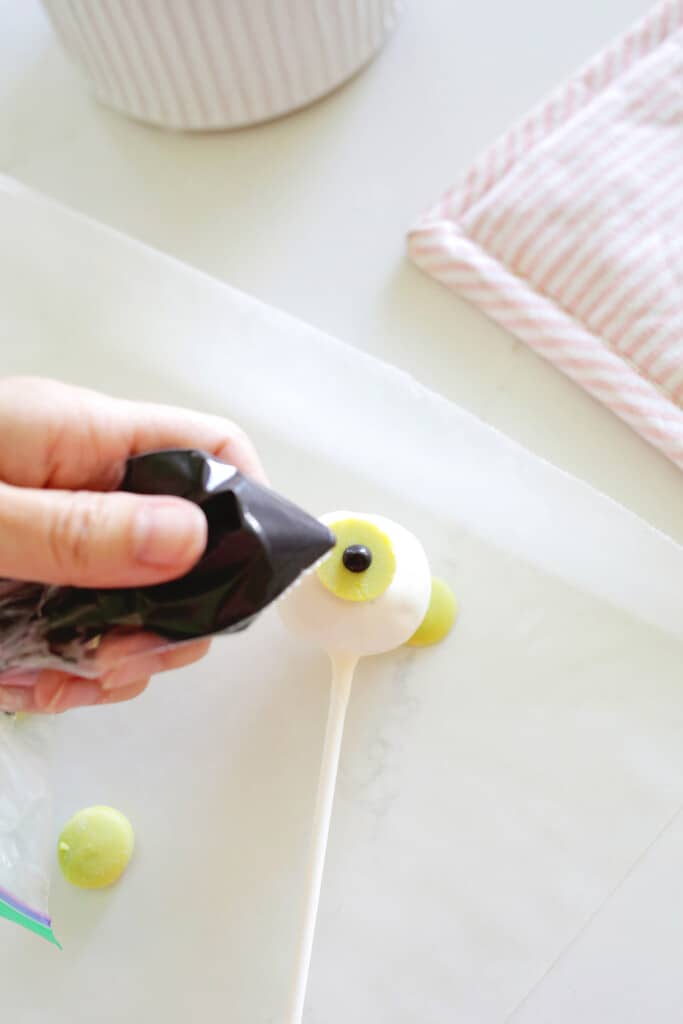
- Follow directions above to make a general cake pop and dip the cake pop into white chocolate.
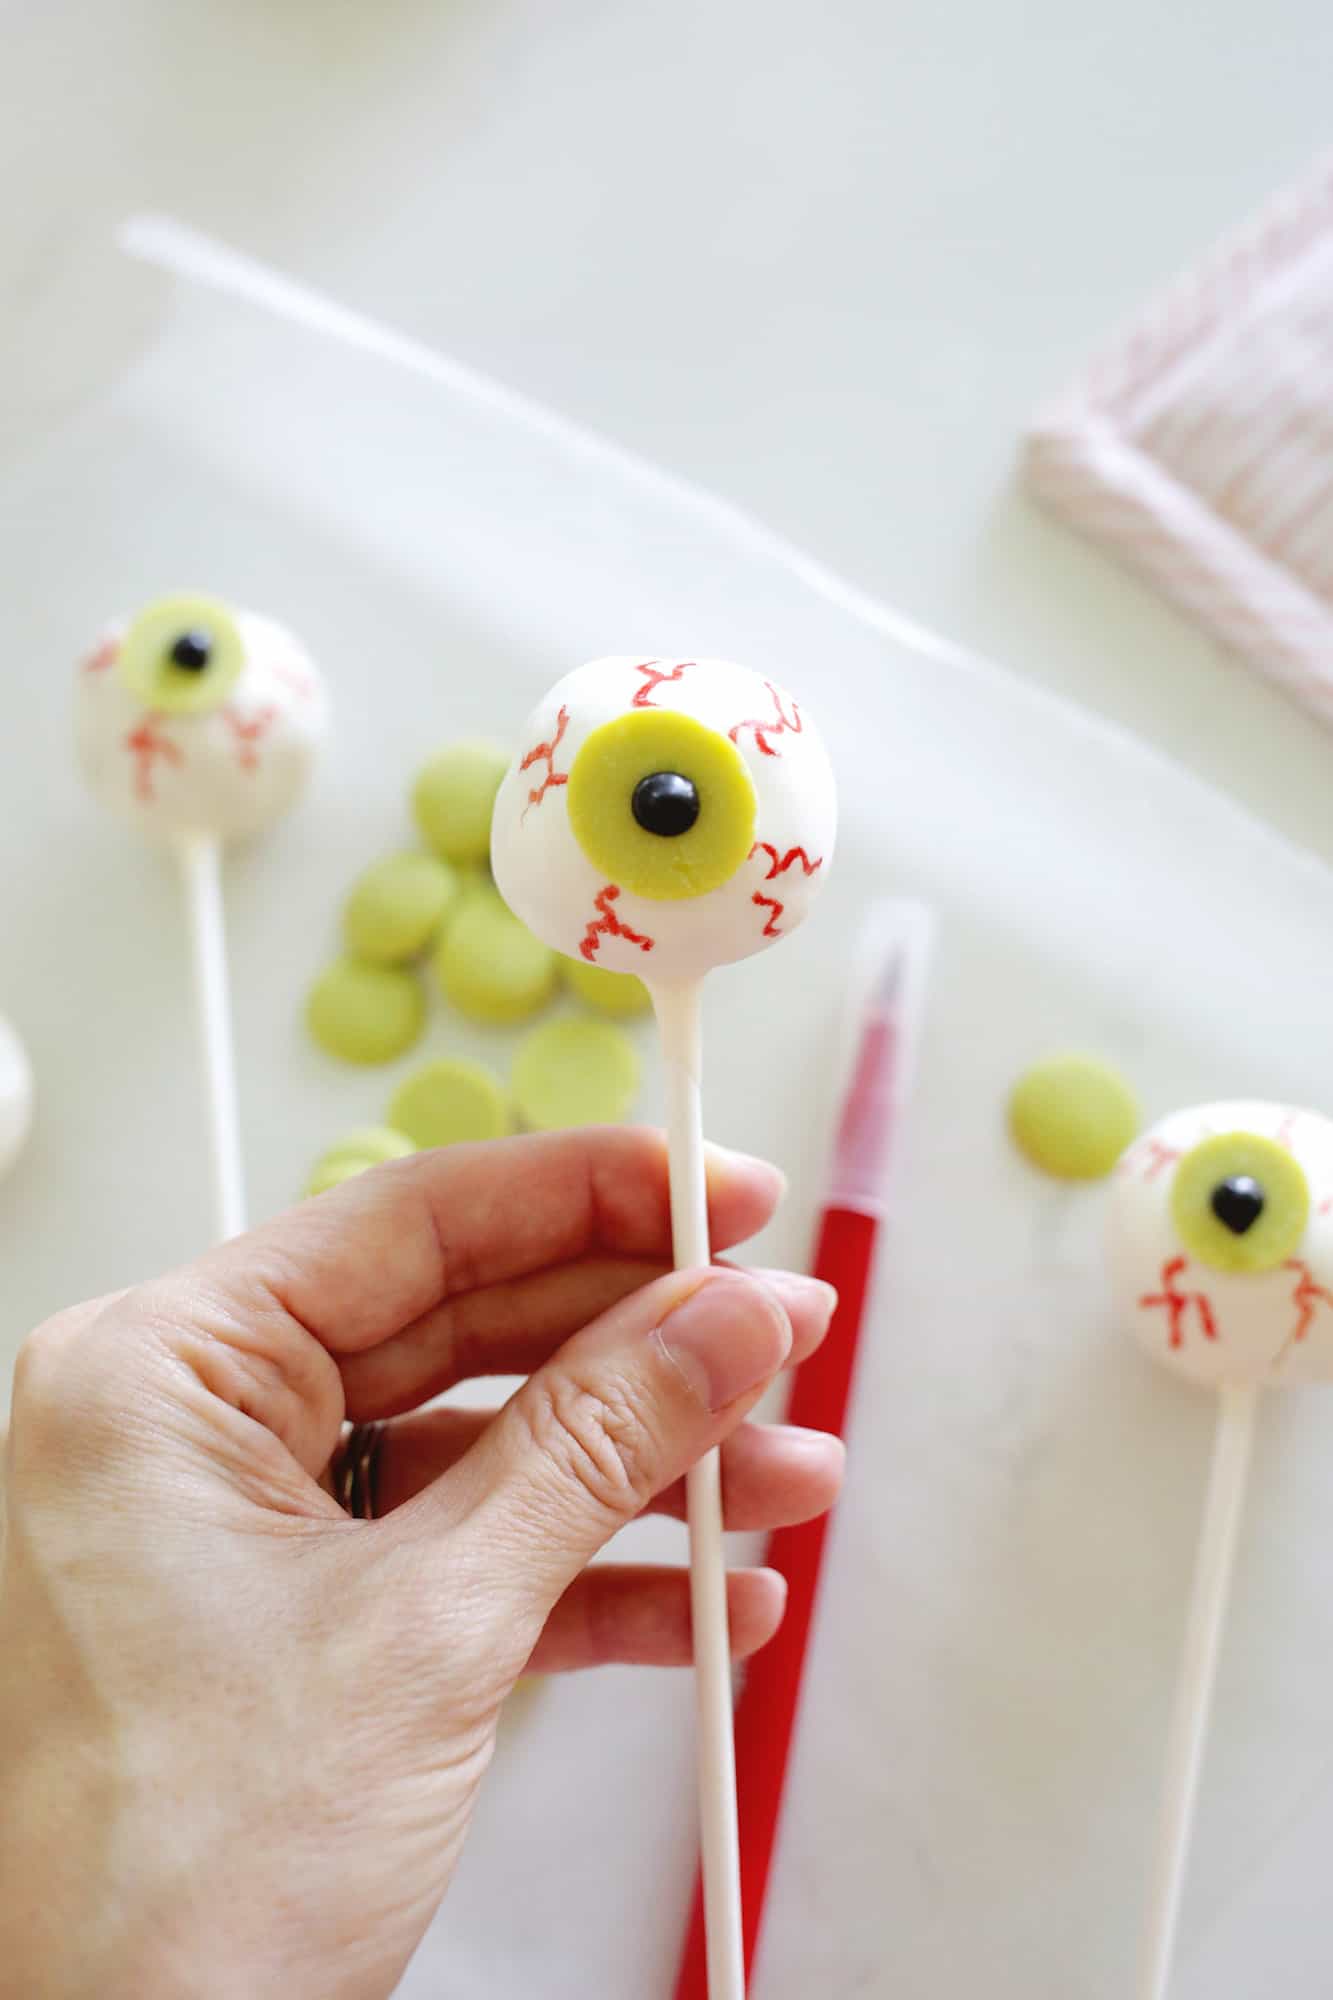
- Add a green candy melts or a large candy eye to the eyeball and let the chocolate set. If you do the candy melt, you can add some melted black chocolate to a ziplock bag, cut the corner, and add a drop of black for the pupil or you can draw it on with a black food marker.
- Allow the cake pop to dry and then draw on red veins with a food marker and you’re ready to serve!
Looking for more cake pop tips? Check out our How To Make Cake Pops for more!
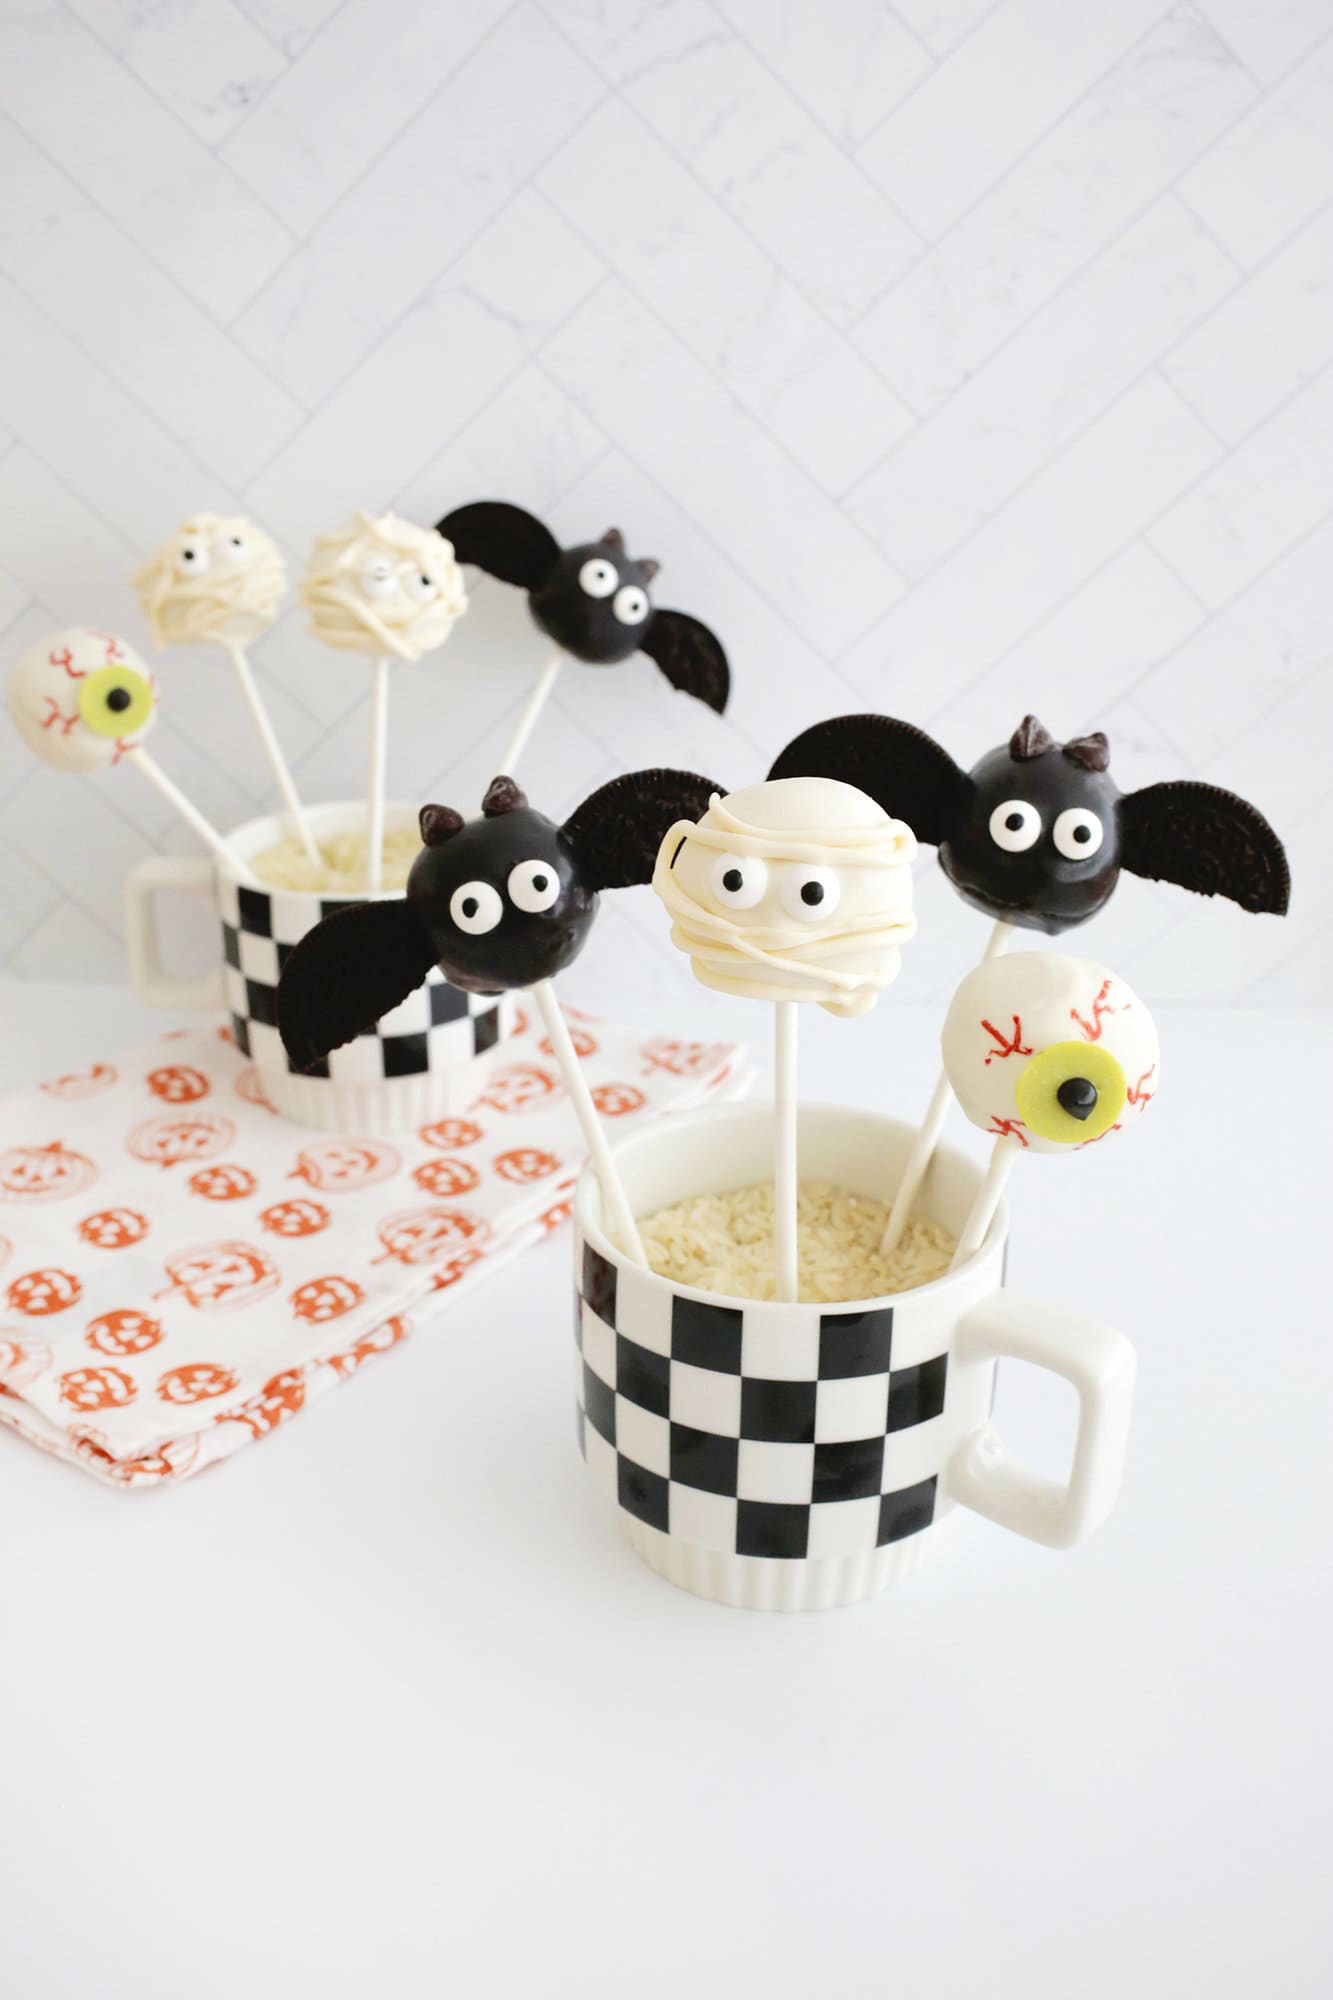
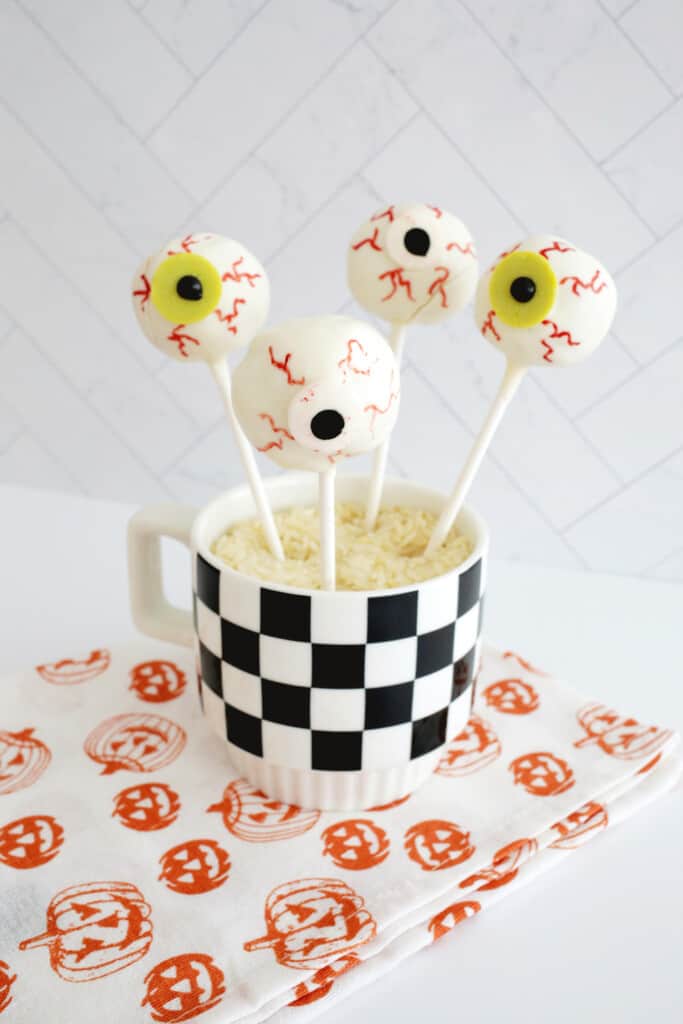
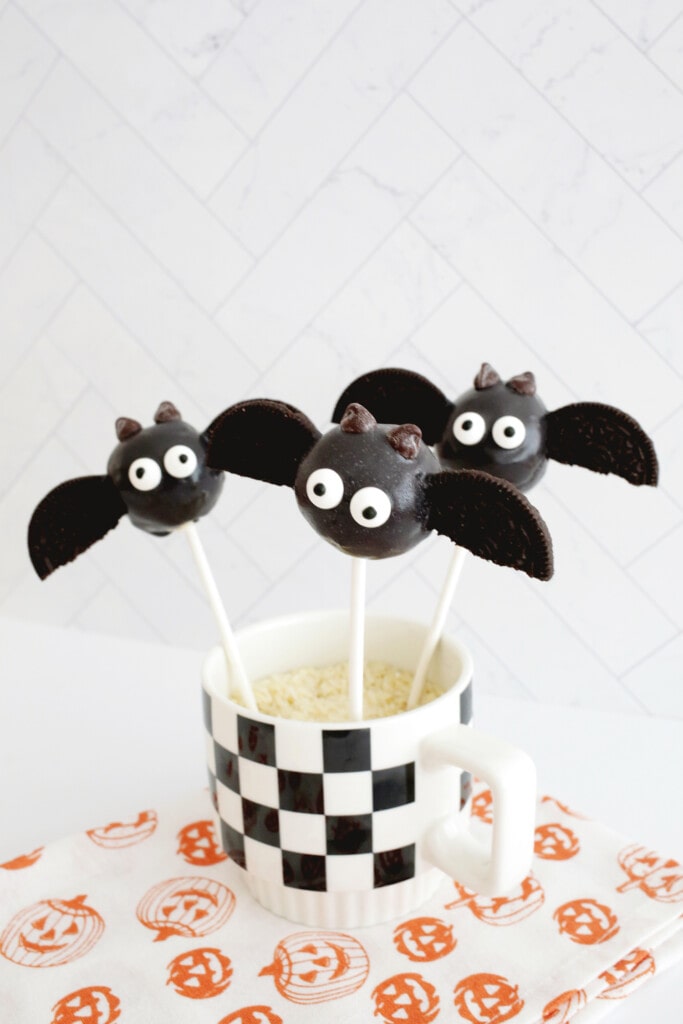
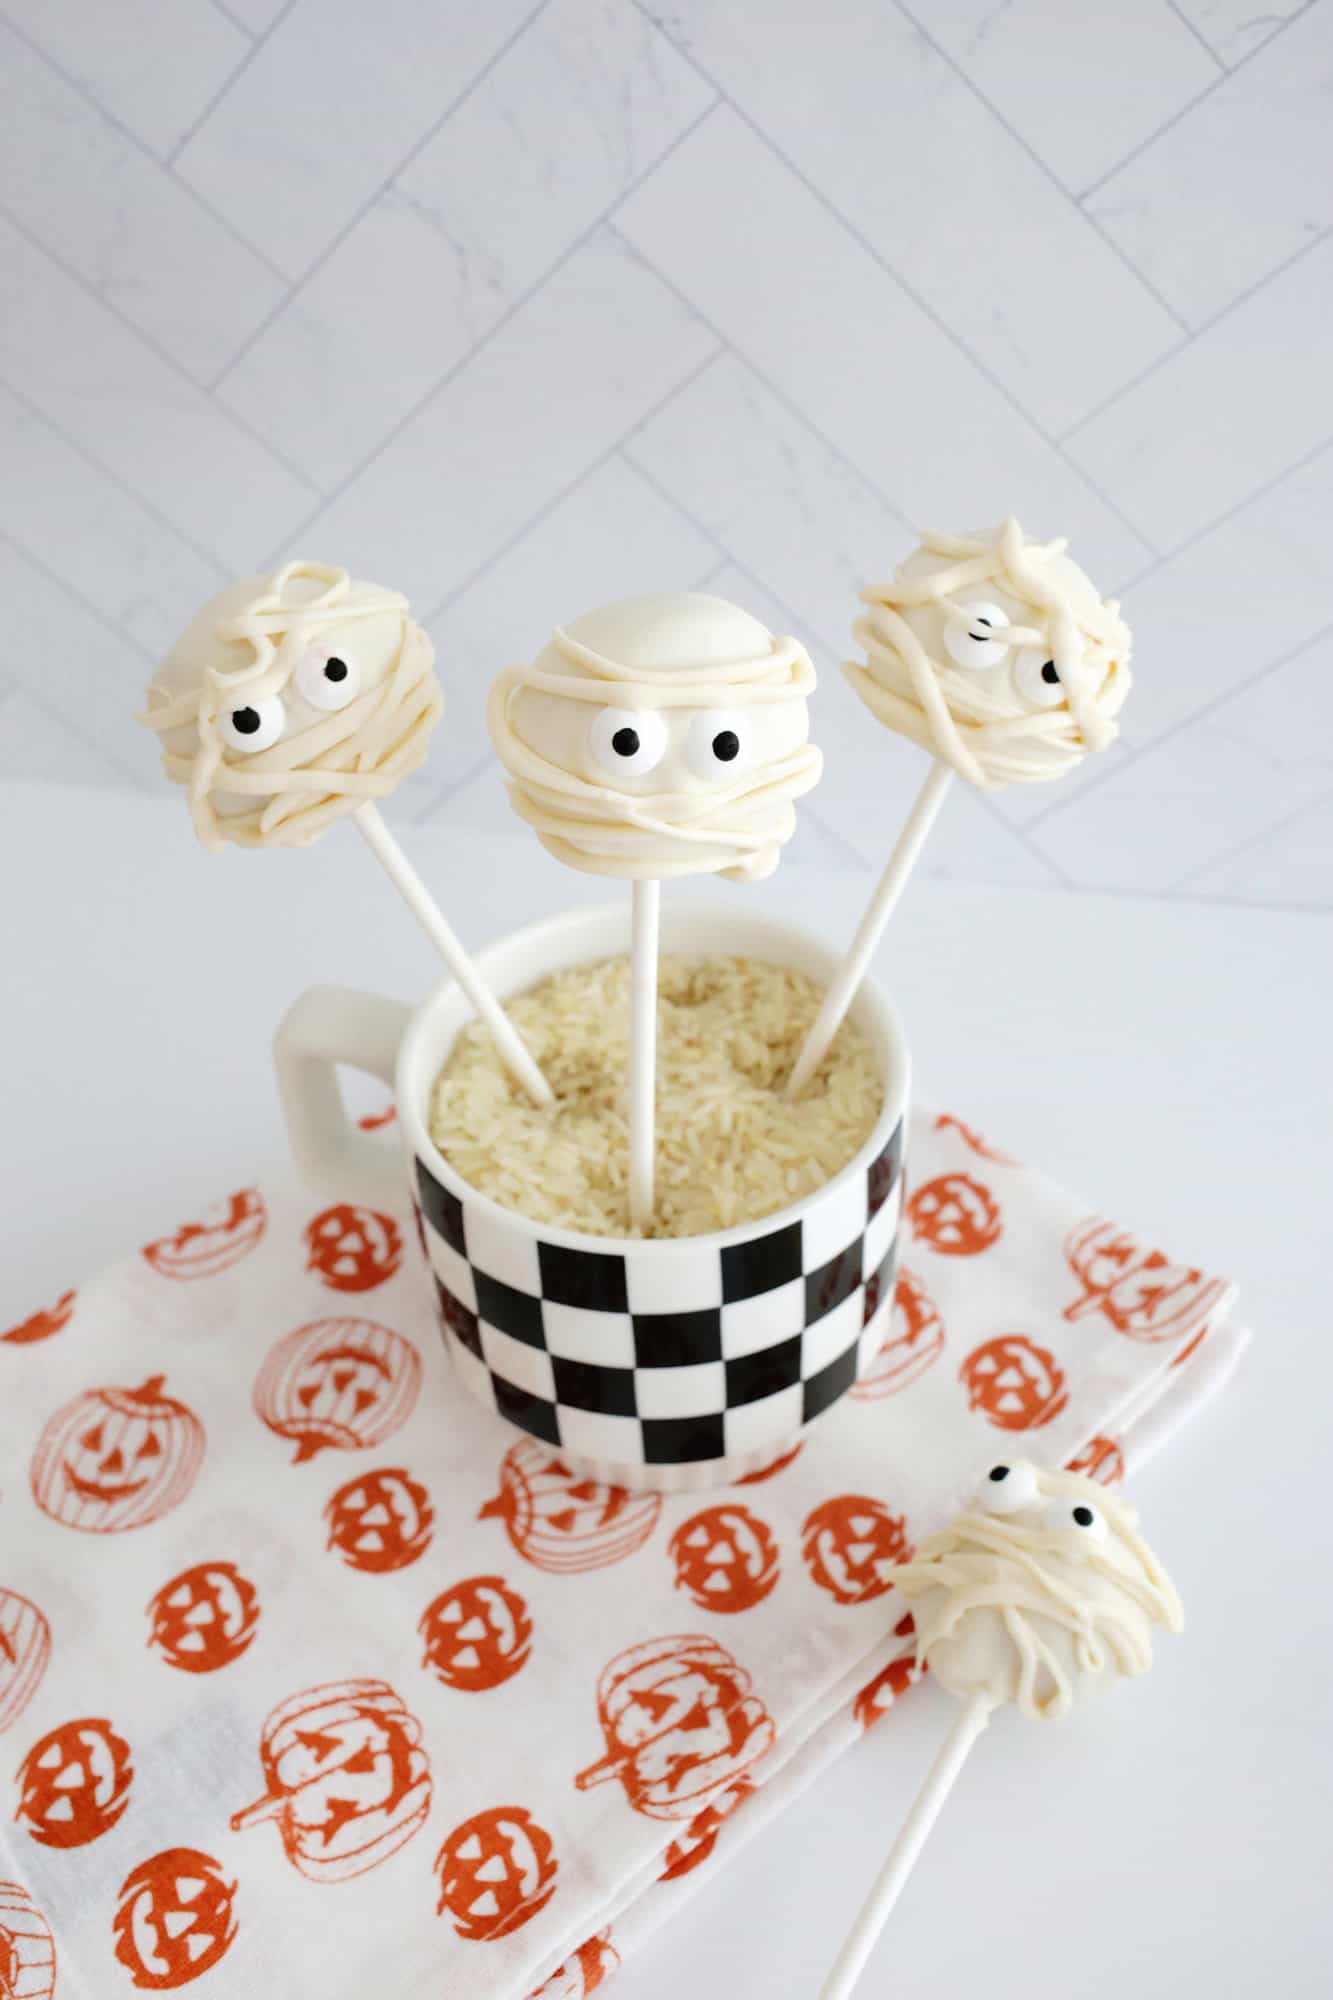
How cute are those?! We love a good Halloween treat that is a little spooky but mostly fun. You can also use a little food dye in vanilla cake to make the inside cake pop batter a fun Halloween color for an extra surprise when you bite inside. You could even add some of these to a “Boo bag” to boo your neighbors and friends or try our Birthday Cake Pops for your next party. Happy baking!
Frequently Asked Questions
Can I make no-bake cake pops with a premade cake?
Yes! You can use an angel food cake that’s already made from the store, just add the icing little by little until the cake sticks together to make your balls.
How do I store my cake pops?
If making these ahead of time, you can store your completed cake pops at room temperature for 1-2 weeks. You can store them for up to four weeks in the refrigerator, but the cold can create some condensation on your decorations and cause them to bleed or warp a bit.
Looking for other cake pop ideas? Check out:

Halloween Cake Pops
Equipment
- 1 small cookie scoop optional
- 35-40 cake pop sticks
- 1 microwave or double boiler
Ingredients
- 1 boxed Funfetti or vanilla cake mix and whatever other ingredients you need to make the cake (eggs, oil, etc.)
- 1/2-3/4 of a 16-ounce can of vanilla frosting (add little by little until you have right consistency)
- candy melts in white
- sprinkles
Instructions
- Bake the cake: Bake your cake according to the package instructions and allow to fully cool.
- Add the frosting and mix: Spoon the baked cake into a large mixing bowl. Add 1/2-2/3 of the container of frosting. Using the full container makes the cake pops a bit too soft and harder to work with once we dip them in chocolate. But, this is how you get cake pops to stick together—with frosting. Use clean hands to mix together the frosting and cake. The cake pop batter is going to be pretty soft, but moldable. Should feel like play dough consistency.
- Roll cake balls: Form your cake pop batter into small balls (about 3-4 tablespoons each). You don’t want them to be too big, just so they easily fit in the palm of your hand. Once you have formed all your pops (a standard size cake will make around 35-40 cake pops), put them in the refrigerator for 1-2 hours or the freezer for 30 minutes.
- Melt your candy melts: Melt candy melts in the microwave in 30-second increments on half power. You could also use a double boiler to do it on the stove top or a chocolate melter like this one. If you need to thin your candy melts, you can stir in a teaspoon of canola or vegetable oil once melted and you can reheat the chocolate for 15 seconds at a time to remelt if it starts to set up at any point.
- Attach the cake pop stick: First, put your stick into the melted chocolate and push the stick 2/3 through a cold cake pop.
- Dip the cake pop: Dip the attached cake pop into the melted chocolate and allow any excess chocolate to drip off the pop. Gently tap the cake pop stick on the side of your bowl to also shake off extra chocolate. Then, add any extra sprinkle decorations and store the cake pop upright while it sets (unless you don’t mind a flat bottomed cake pop).
Notes
Tips for Making Cake Pops:
-
- Add your icing to your cake crumble in small quantities so you just get the point of having enough for it to stick together. It should feel like play dough.
-
- Use a small cookie scoop to scoop cake mixture so you get even portions for each cake pop.
-
- Make sure your cake balls are well chilled before coating.
-
- Have your decorations nearby and prepped to go so you can attach them while the chocolate is still melted.
-
- You can use a tall glass to pour your melted chocolate in (or melt it in a microwaveable mug) so you have a little dunk tank to fully submerge your cake pop into.
Nutrition
While these are obviously an adult treat, you can also make these without the alcohol to serve at a kid-friendly party as well (try serving along with our Halloween Cake Pops or Candy Apples and Caramel Apples!).
Looking for more Halloween cocktail ideas? Check out:
- Spider Bite Cocktail
- Candy Corn Jello Shots!
- Evil Eye Halloween Cocktail
- Halloween Punch Bowl
- Vampire Milkshake
- 25+ Halloween Cocktails
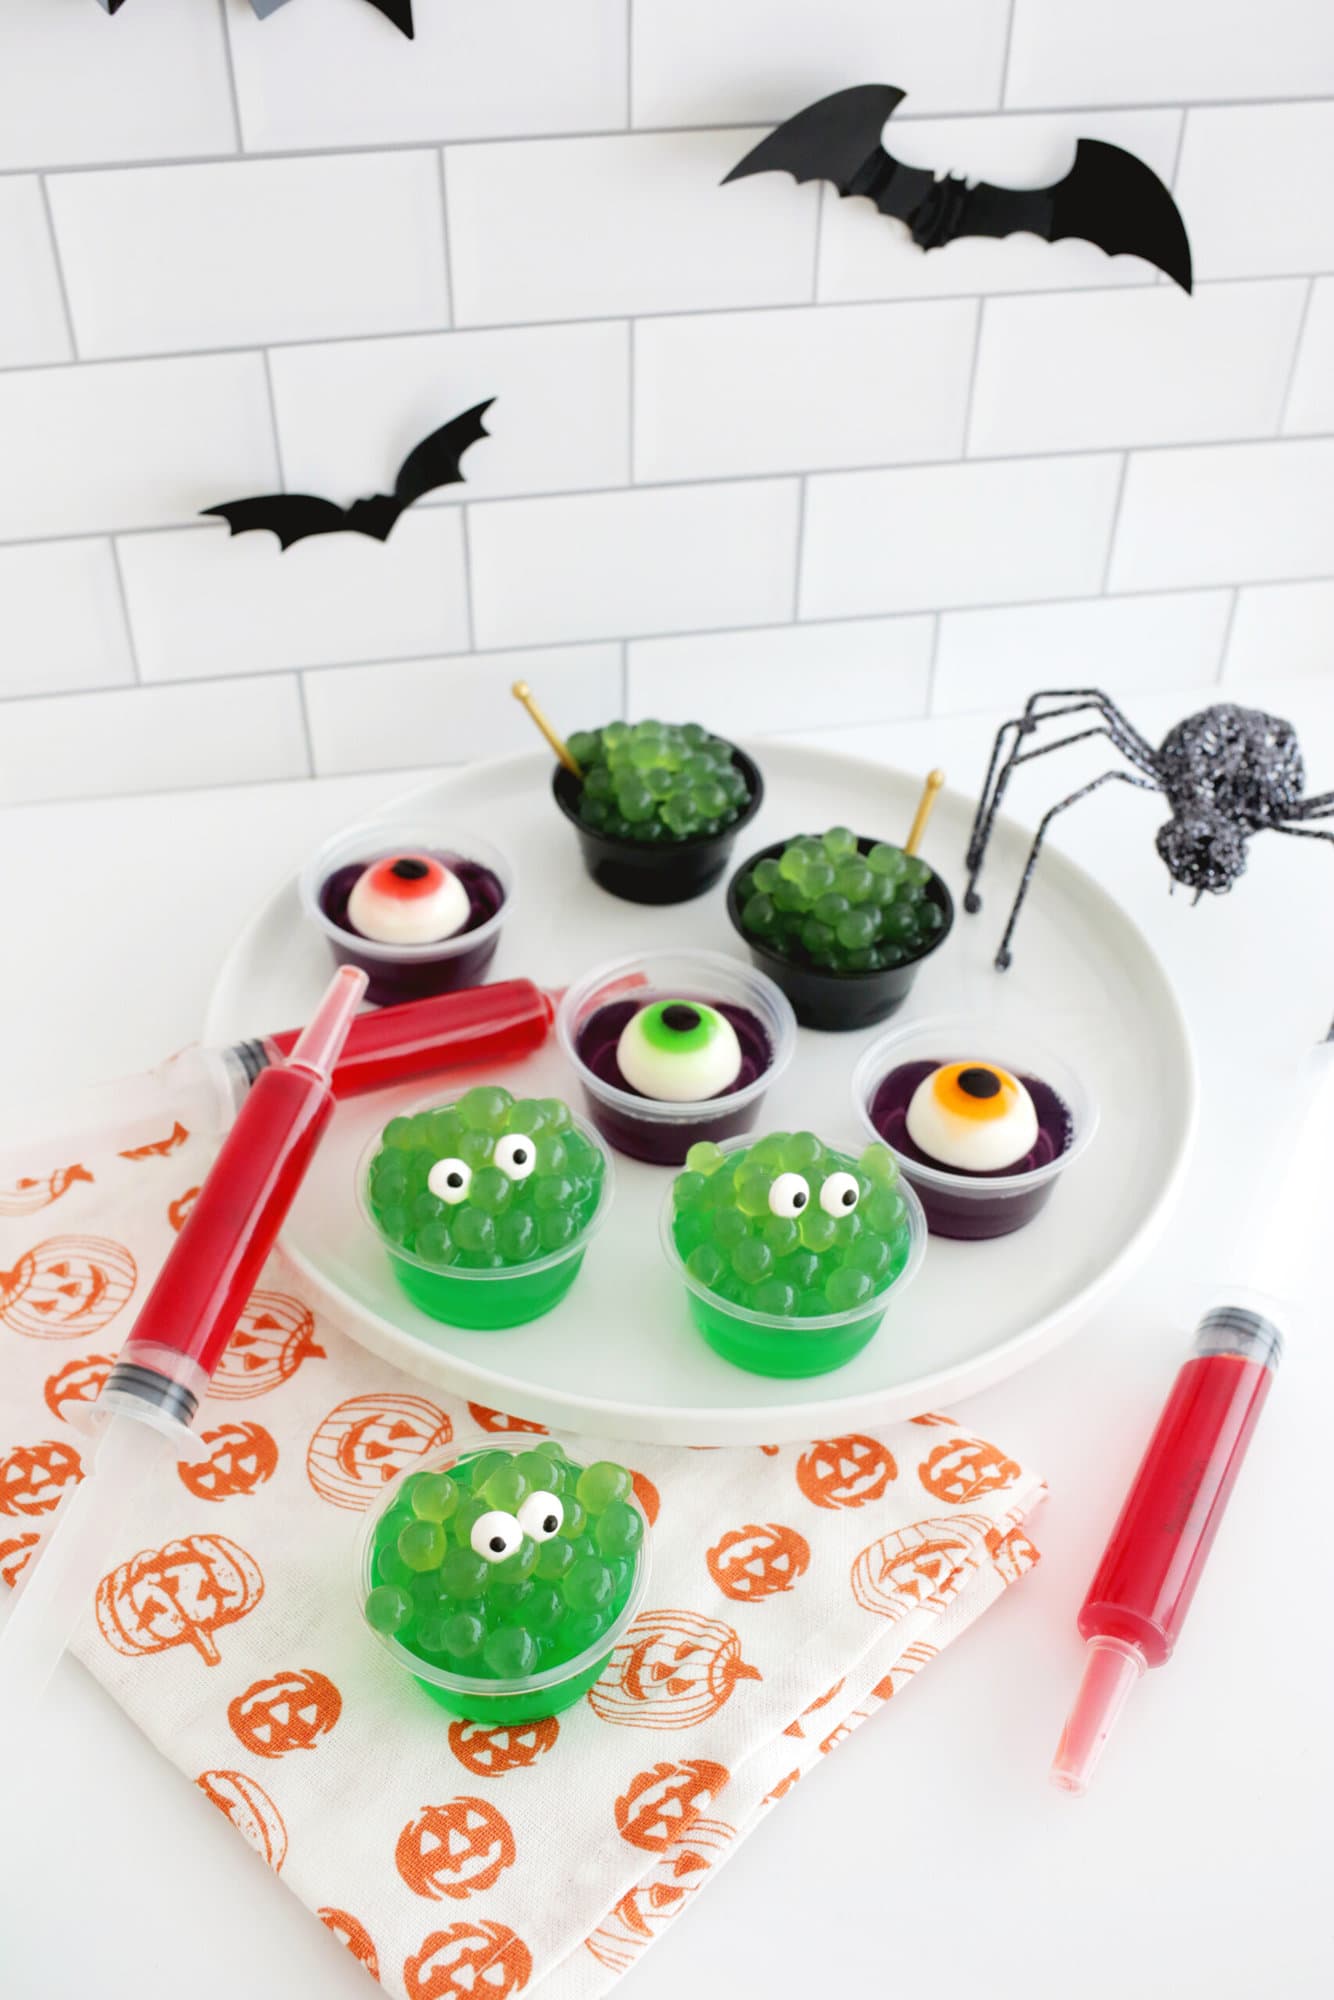
Ingredients for Halloween Jello Shots:
Alcohol: Vodka is the most commonly used alcohol for jello shots, but you can use lots of different spirits too. A lighter flavor like white rum will still allow the jello taste to be dominant, but you can also use stronger tasting options like gin, whiskey, or tequila if that’s your preference or goes best with your flavor profile.
Jello Box Mix: Using a boxed jello mix is the easiest way to get your jello shots made and in the fridge quickly to set, so pick your favorite flavor and get started! This recipe is for a 3-ounce box (which will make 10-12 shots), so just double the water and alcohol if you are making a 6-ounce box.
Water: Water and your alcohol will be the two liquids that you use for your jello shots.
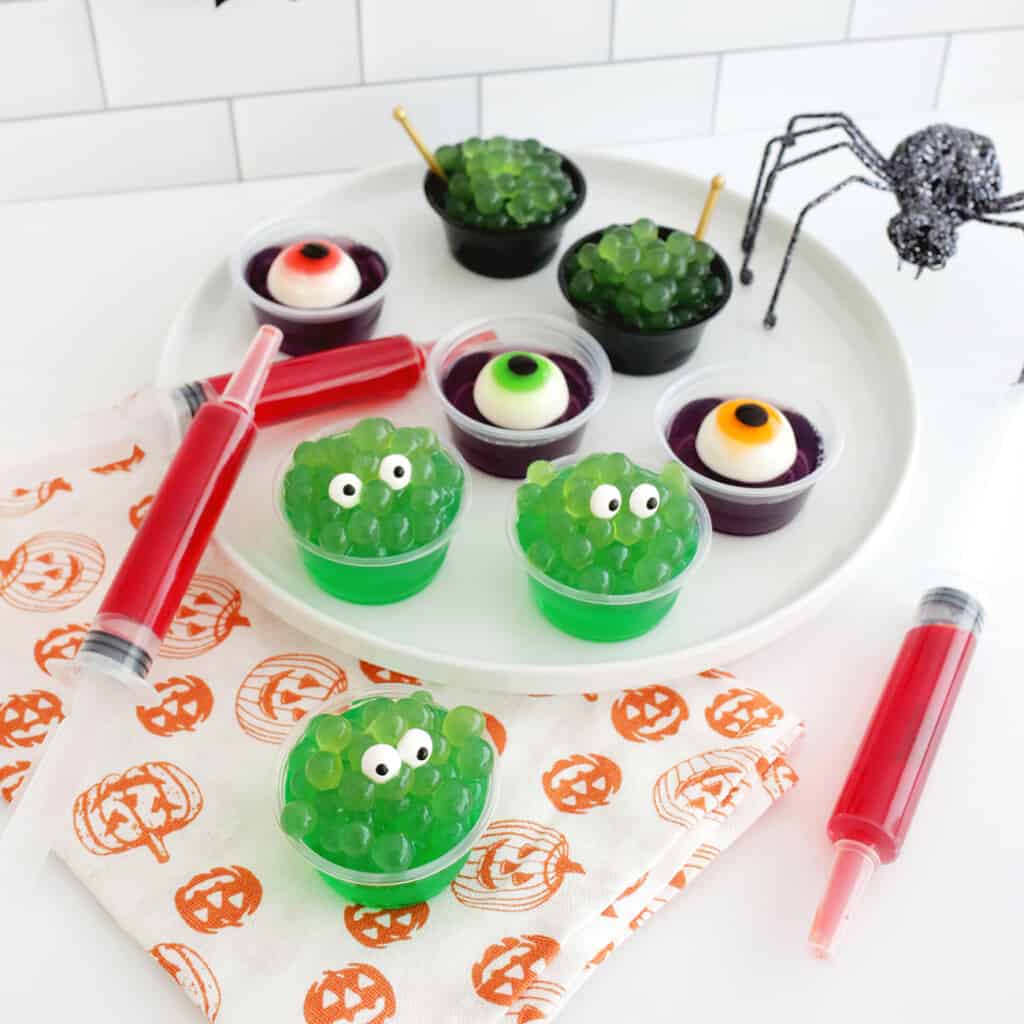
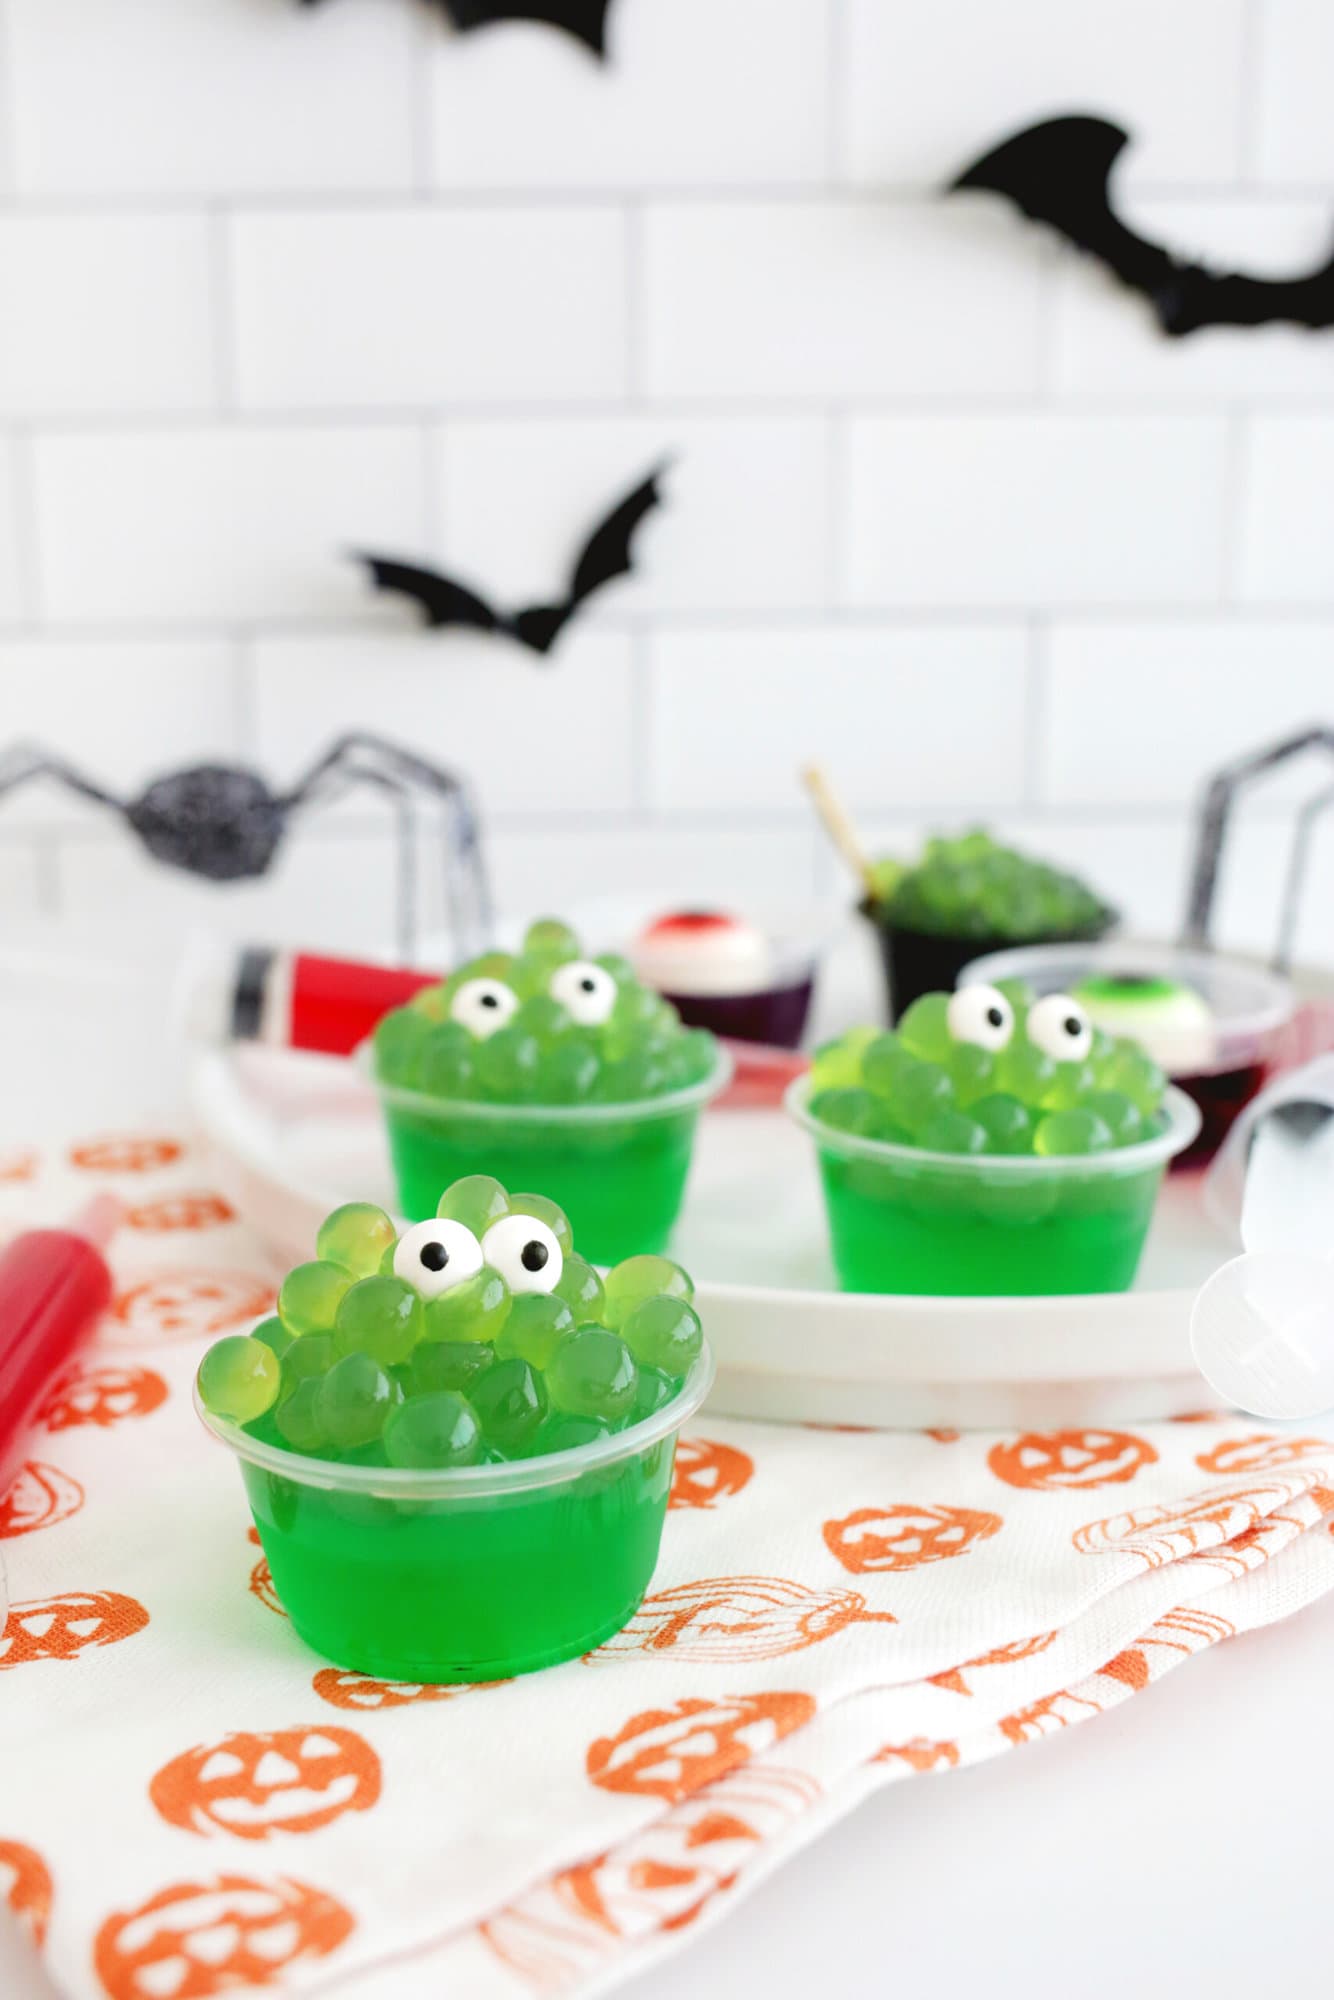
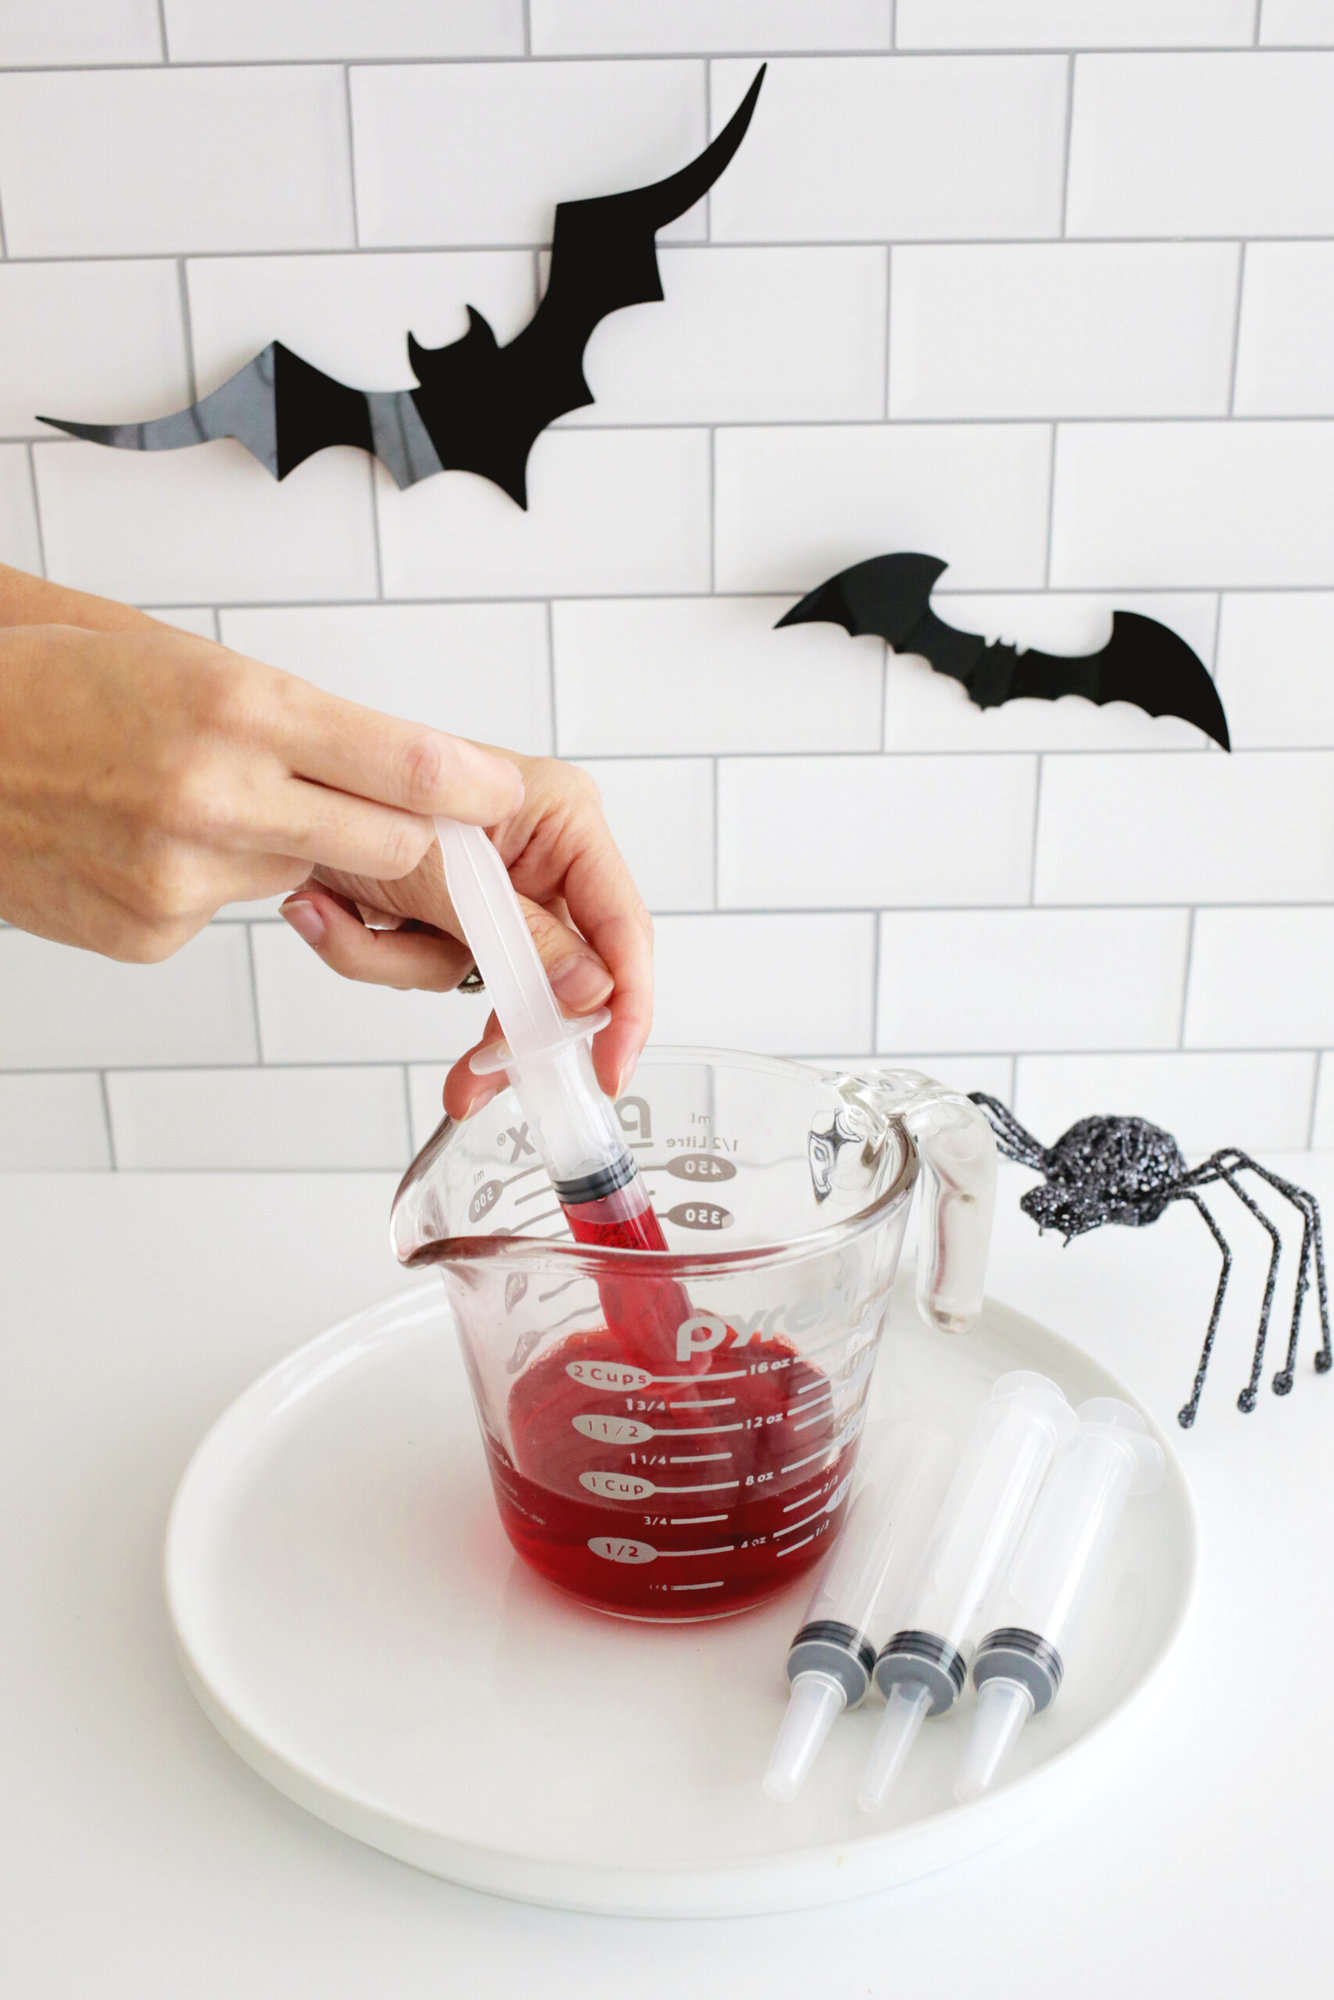
Decorations: Depending on which shot you make, you’ll want green boba pearls for the witch’s cauldron and monster, swizzle sticks for cauldron sticks, candy eyeballs for the monster, gummy eyeballs for the eyeball shots, and jello shot syringes for the blood syringe shots.
Check out this video and post for How to Make Vodka Jello Shots!
Tips and Tricks for Halloween Jello Shots:
- Try squeezable cups to get your jello shot out easier.
- Don’t add the boba pearls, candy eyes, or gummy eyes until right before you are ready to serve.
- Use a flavored vodka (like vanilla or chocolate) to add another layer of flavor to your shot.
- Layer your shots with different flavors and Halloween colors by pouring a small amount of one flavor in each cup, let that flavor set in the fridge, and add another flavor on top. Repeat with as many flavors as you would like!
How to Make Halloween Jello Shots:
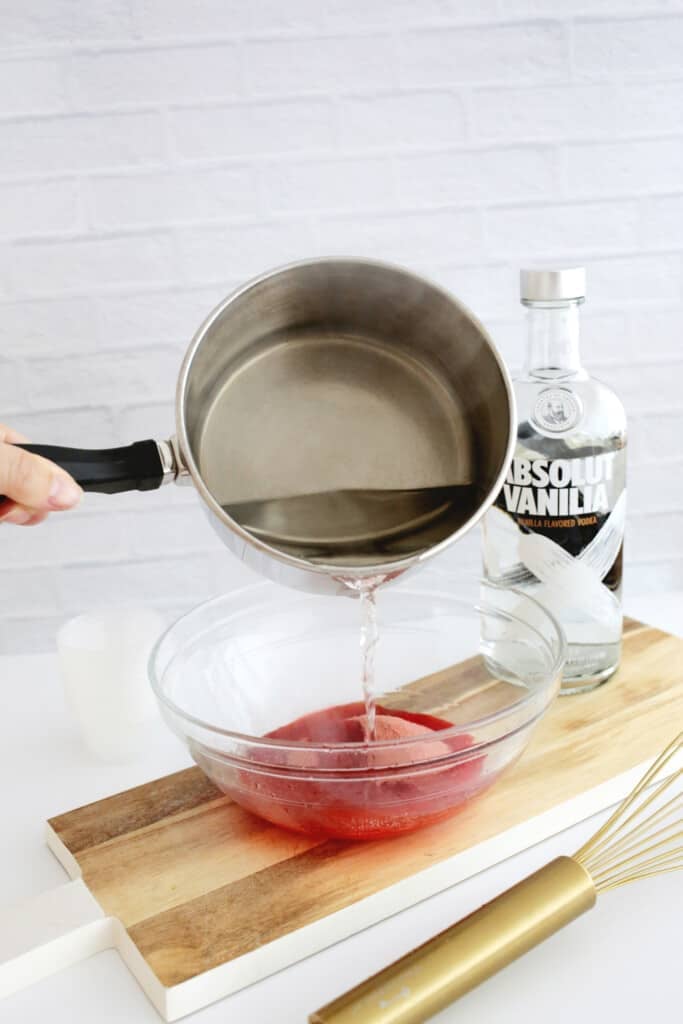
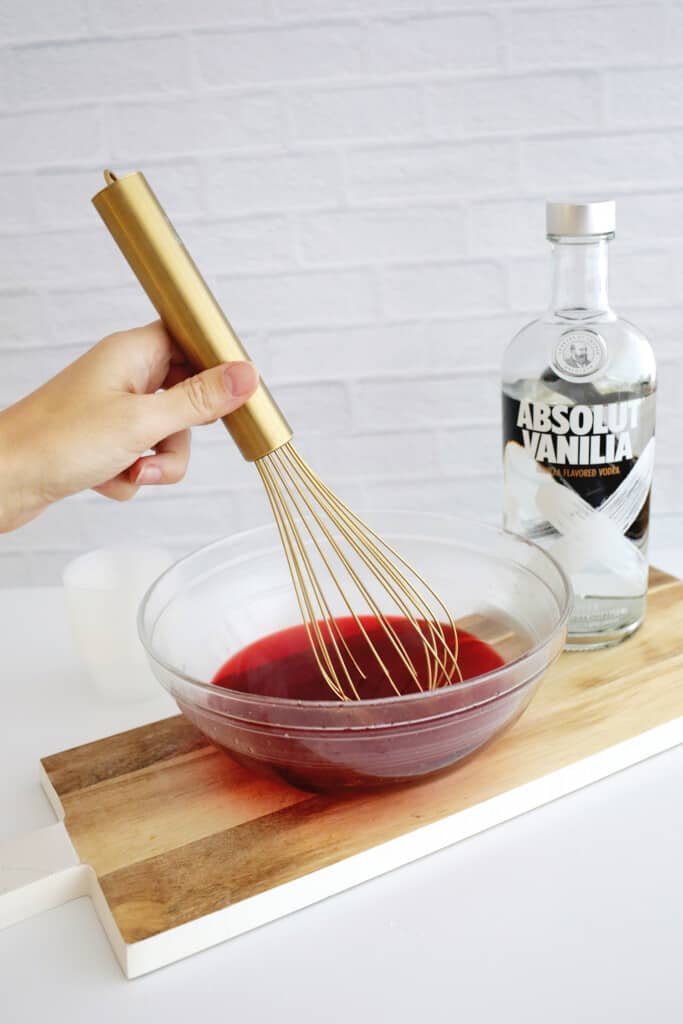
Boil your water: For the base of your shots, boil 1 cup of water and add it to a mixing bowl that contains your flavored gelatin powder. Whisk the powder and hot water until the powder is dissolved.
Add your liquid: Pour in your remaining cold water and alcohol and whisk until combined.
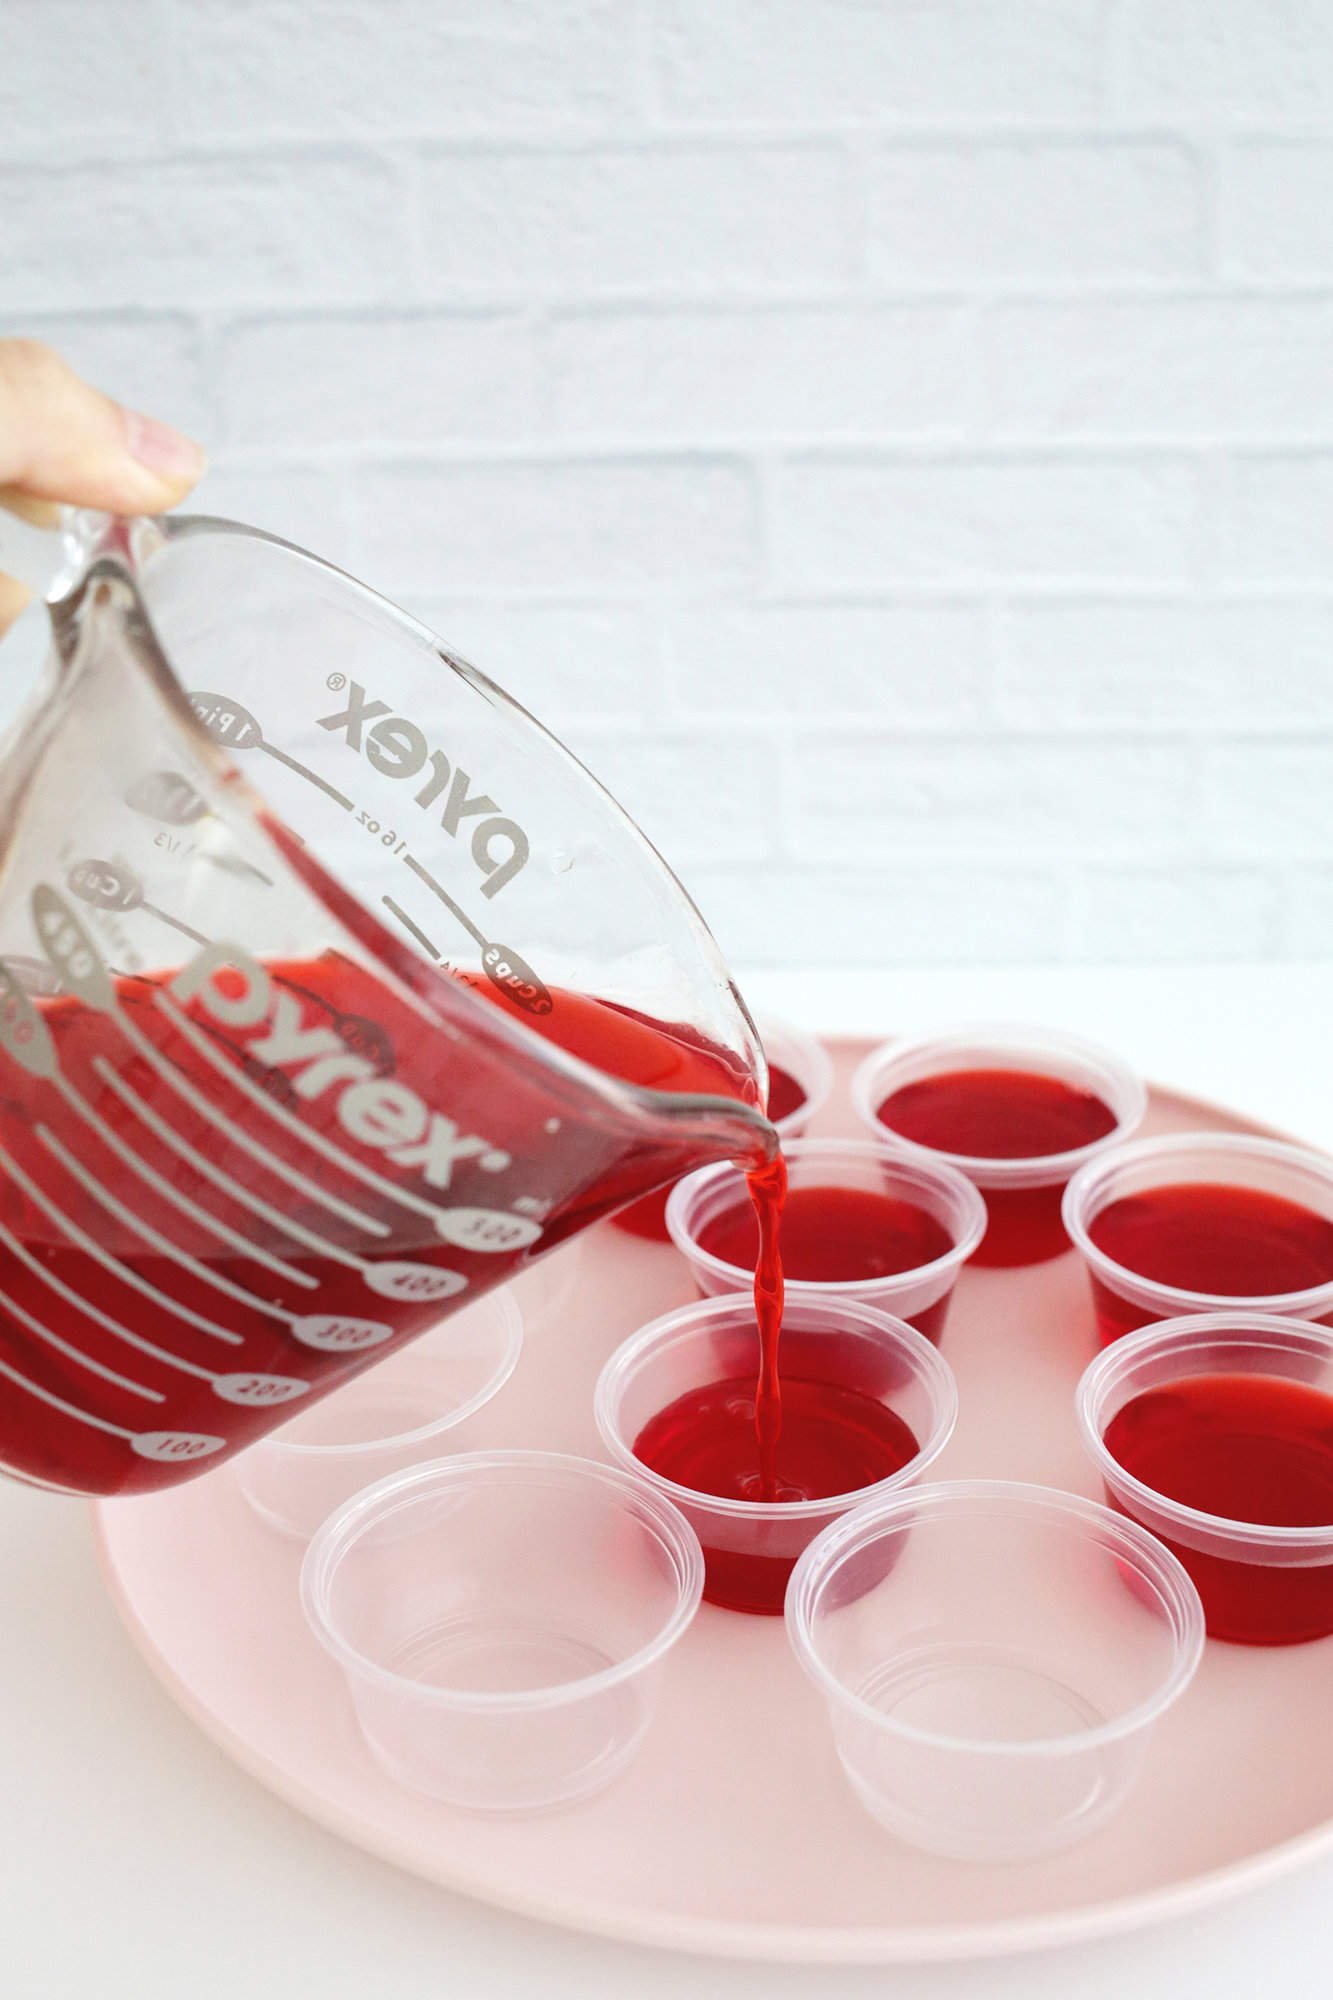
Pour into cups: Pour your mixture into your small cups 3/4 of the way full (it’s easiest to pour from a spouted measuring cup) and add lids. Make sure your liquid is completely cool before adding lids so you don’t get condensation forming on the inside of the lid.
Set your jello shots: Put your jello shots in the fridge for 2-4 hours until set. Once ready to eat, set them out for your guests and enjoy!
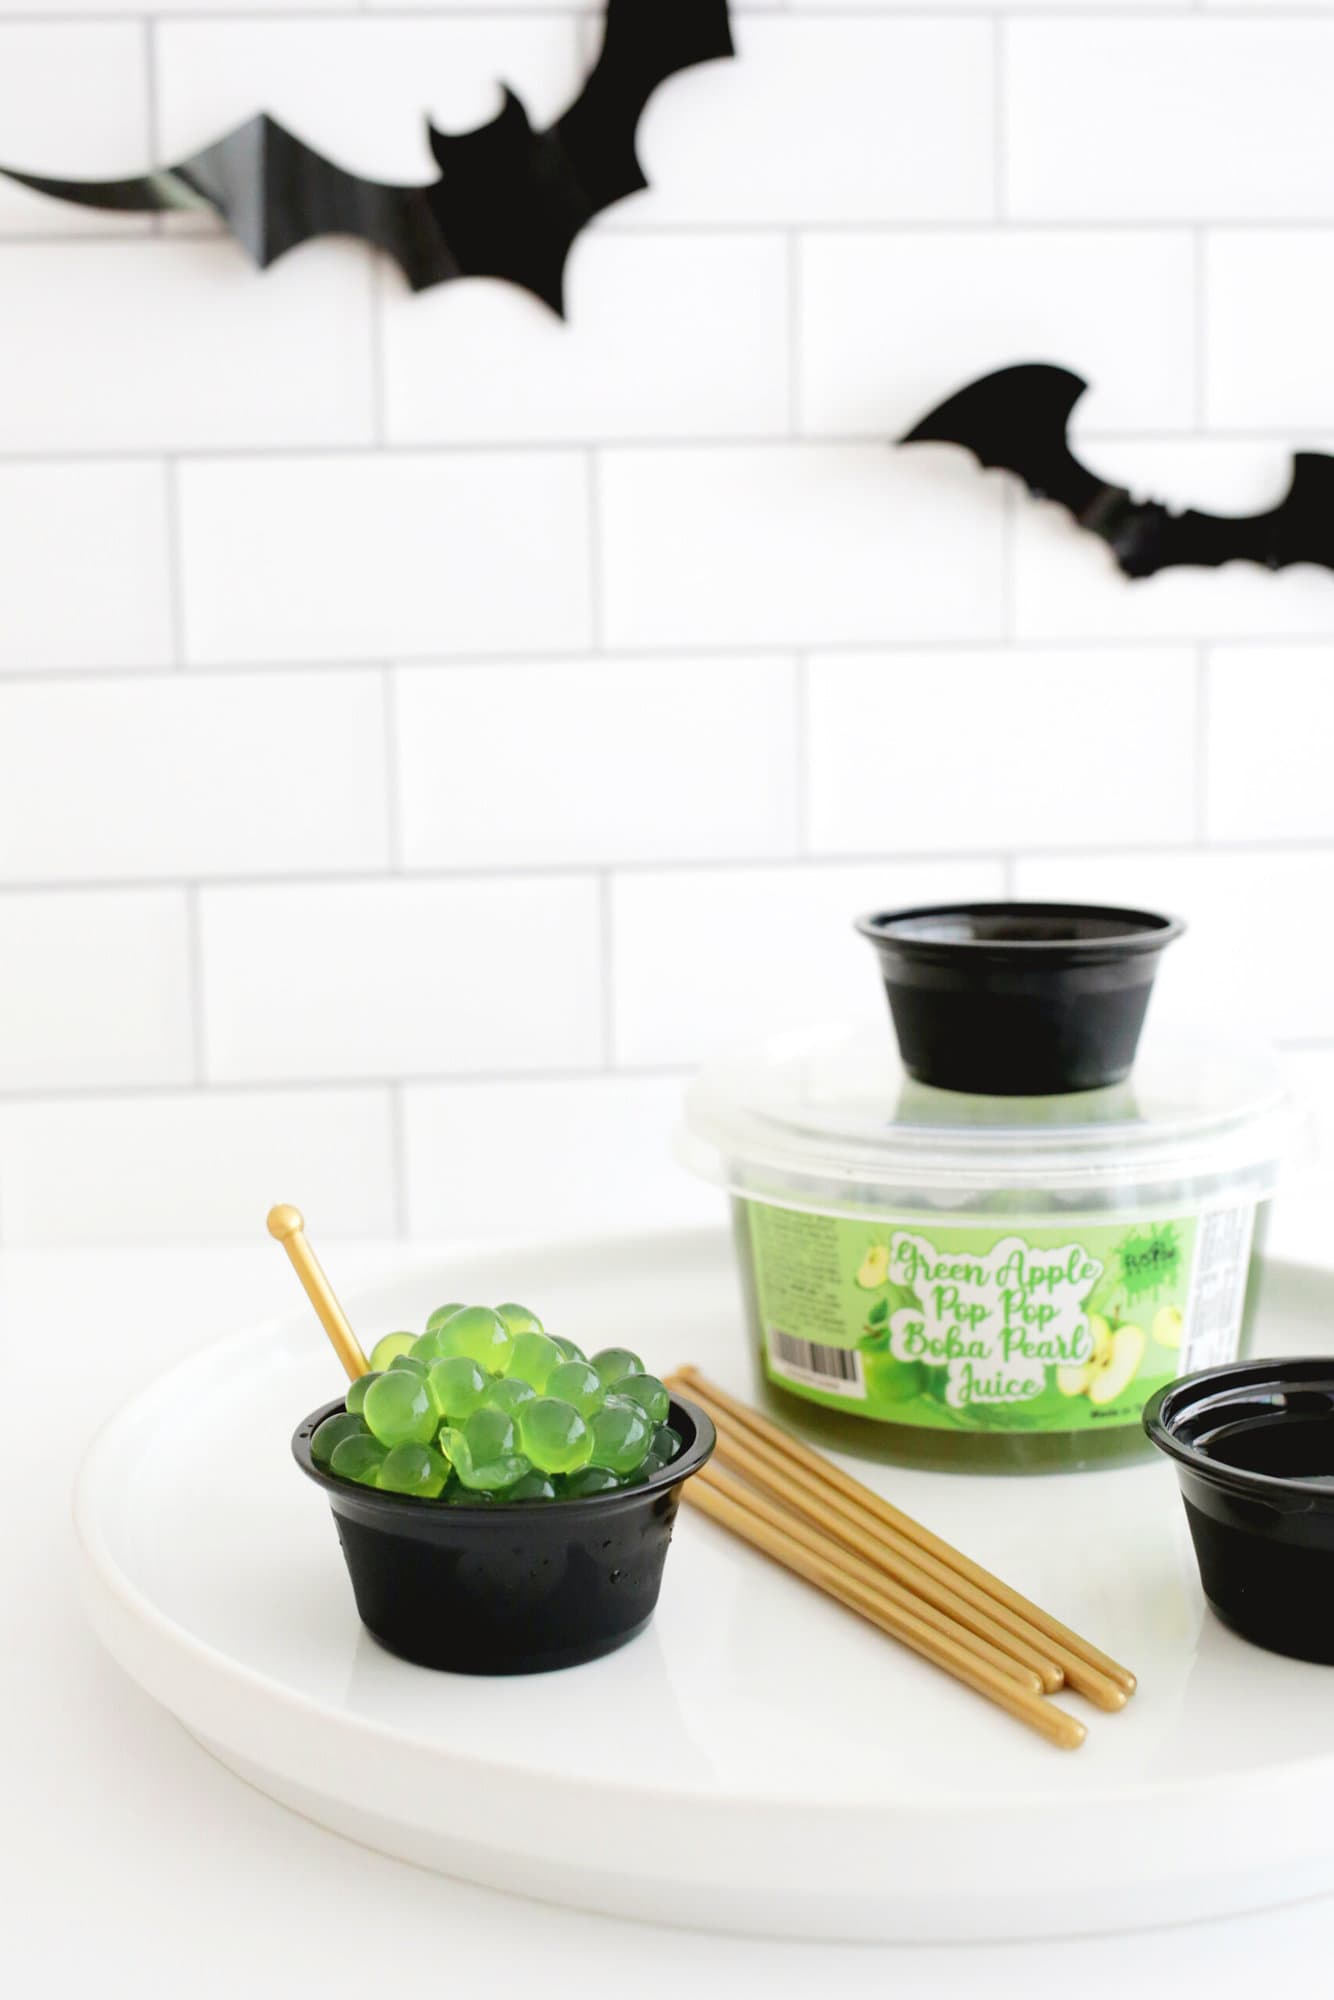
How to make Halloween witch’s cauldron jello shots:
- Make the base of your jello shot with the directions above, but use a black container if possible.
- Once the jello is set, add green boba pearls to the top of your container to make the cauldron bubbles and break a swizzle stick shorter to be the stirring wand.
- Serve your shots!
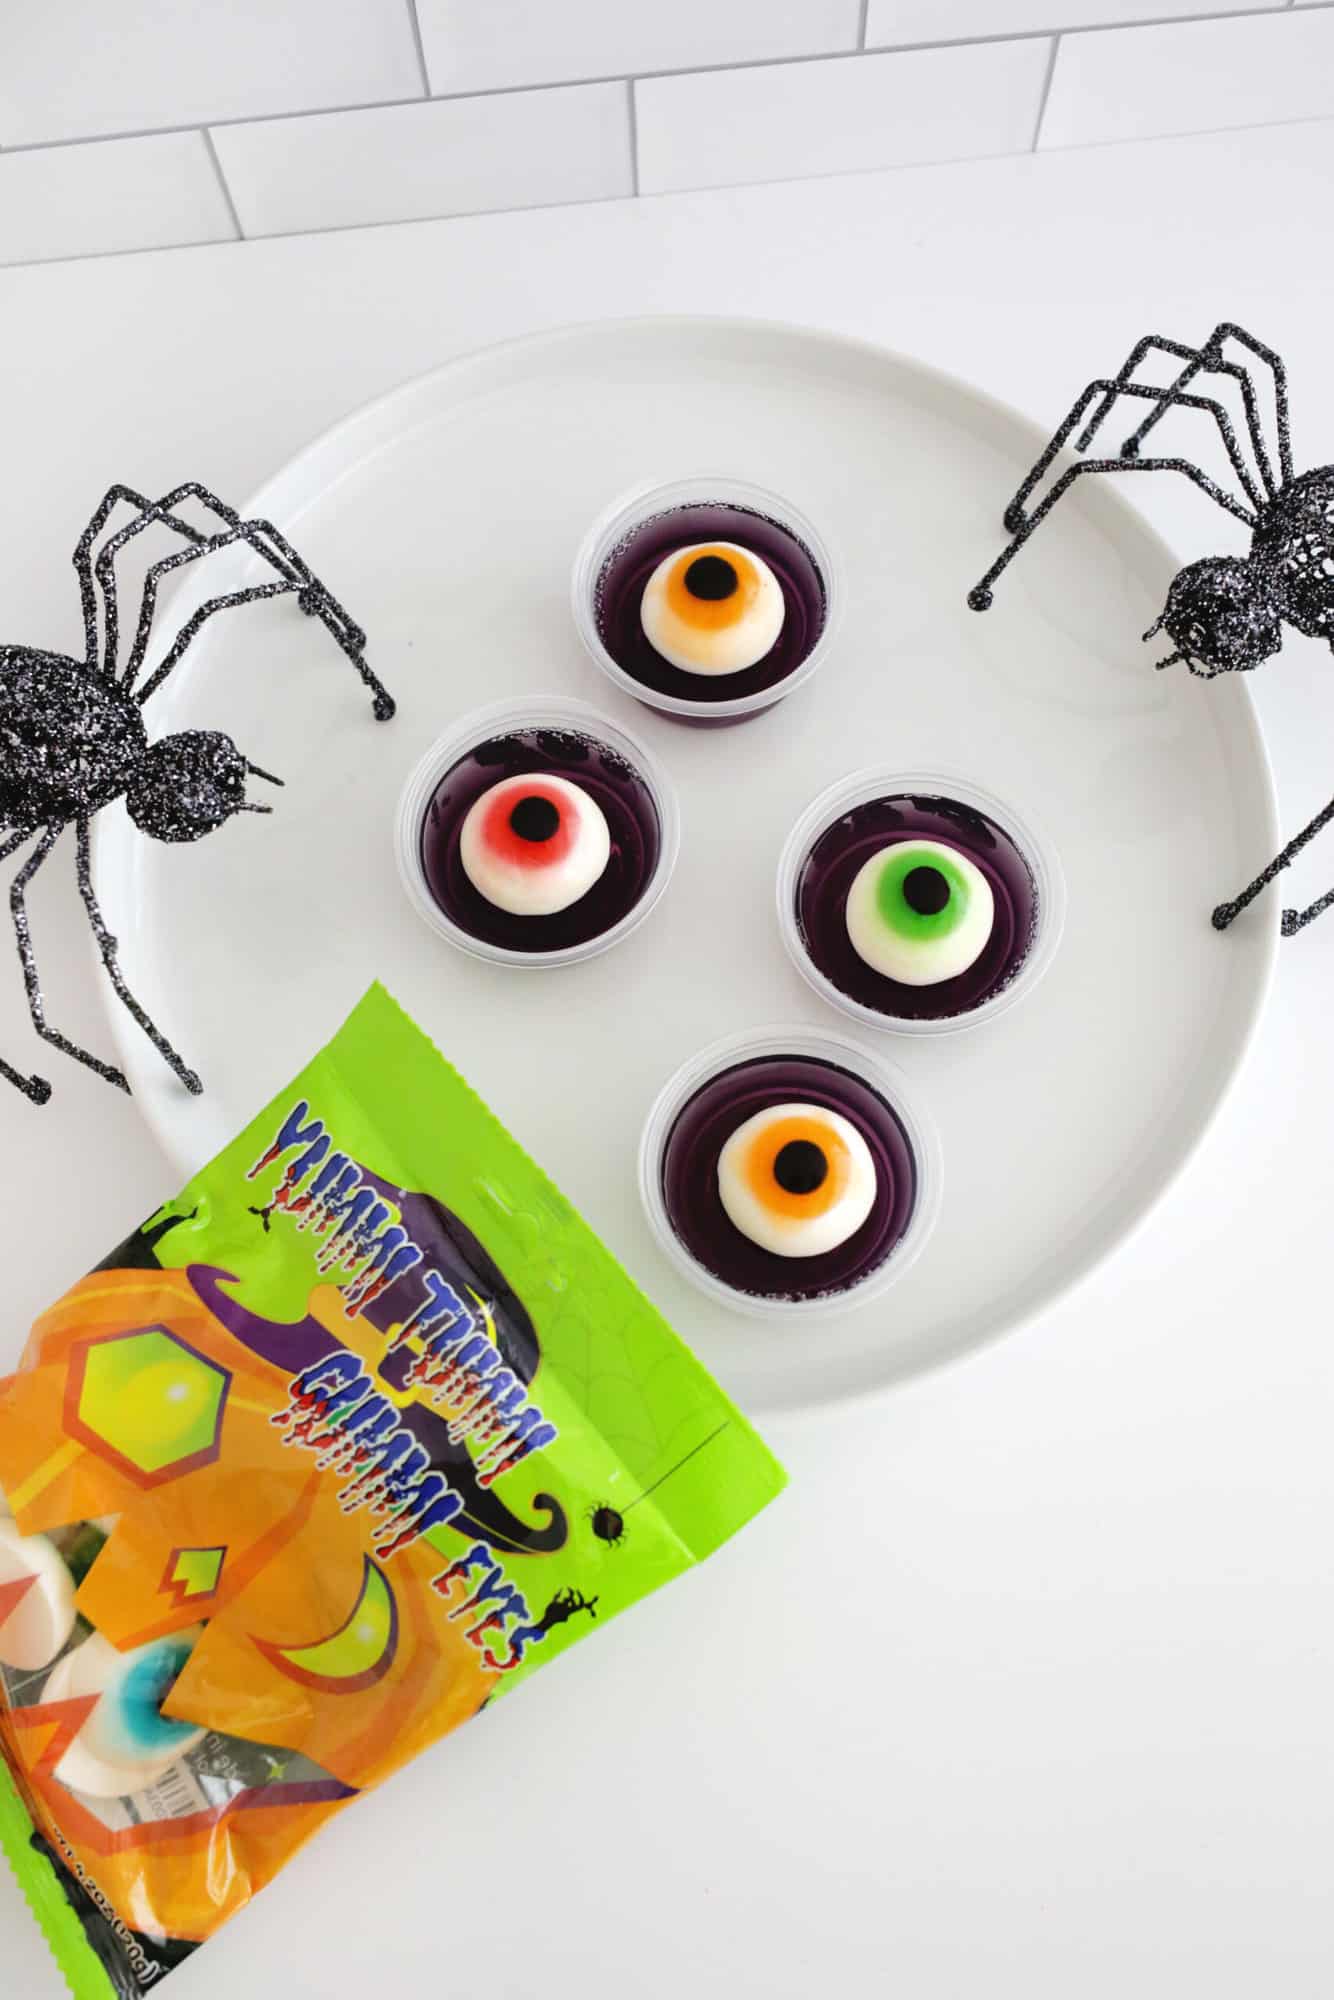
How to make Halloween eyeball jello shots:
- Make the base of your jello shot with the directions above.
- Once the jello is set, add a gummy eyeball on top of the shot and serve!
How to make Halloween syringe jello shots:
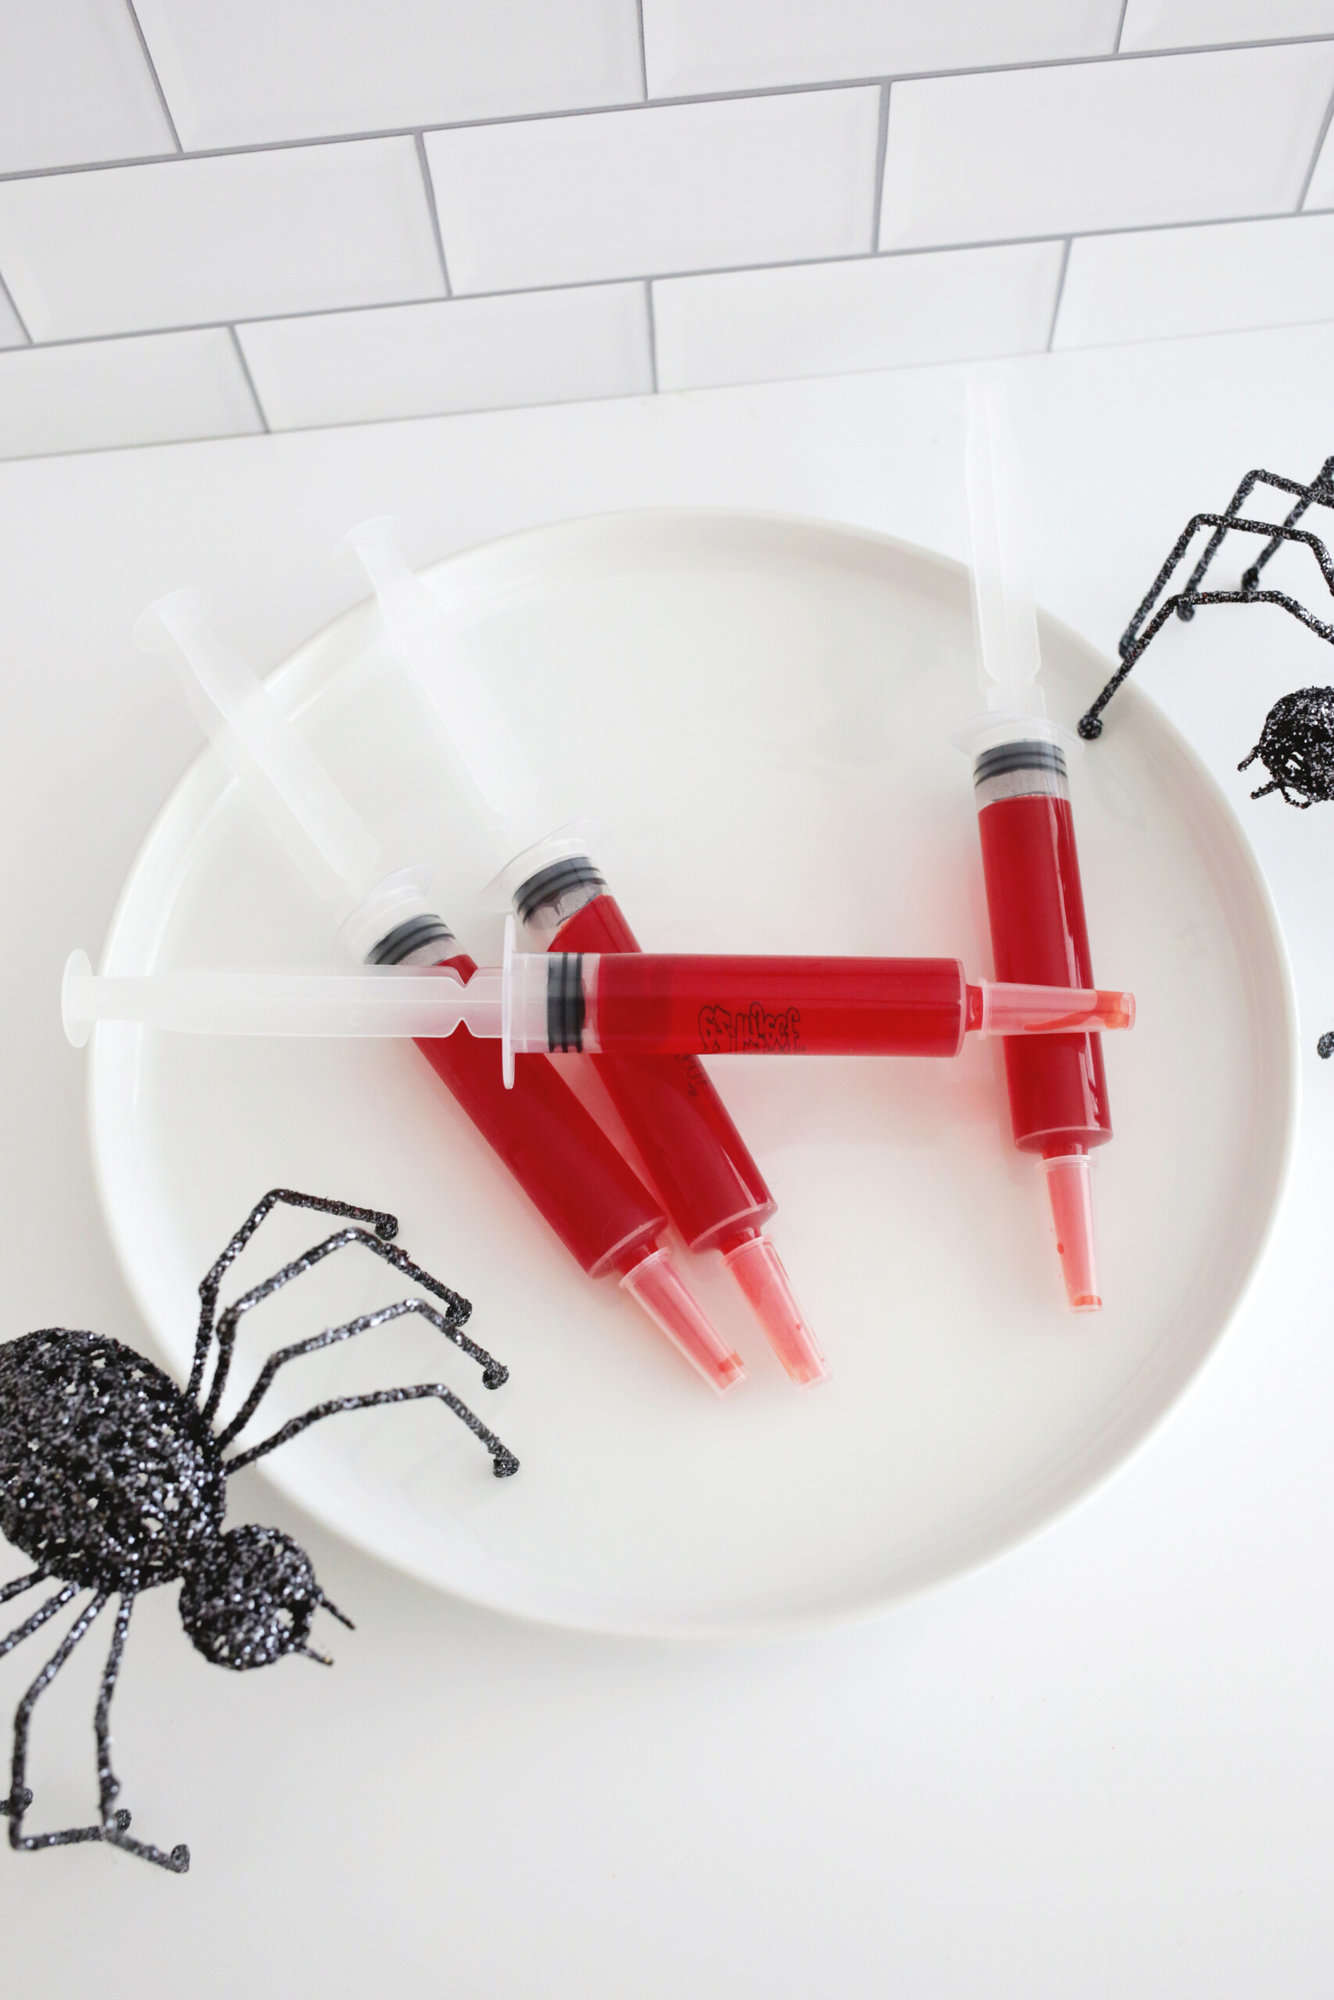
- Make the base of your red jello shot with the directions above (you can also make them green or other fun colors), but instead of pouring the mixture into cups to set, use your jello shot syringes to suck up the liquid into the syringe.
- Allow the jello to set in the fridge and serve!
How to make Halloween monster jello shots:
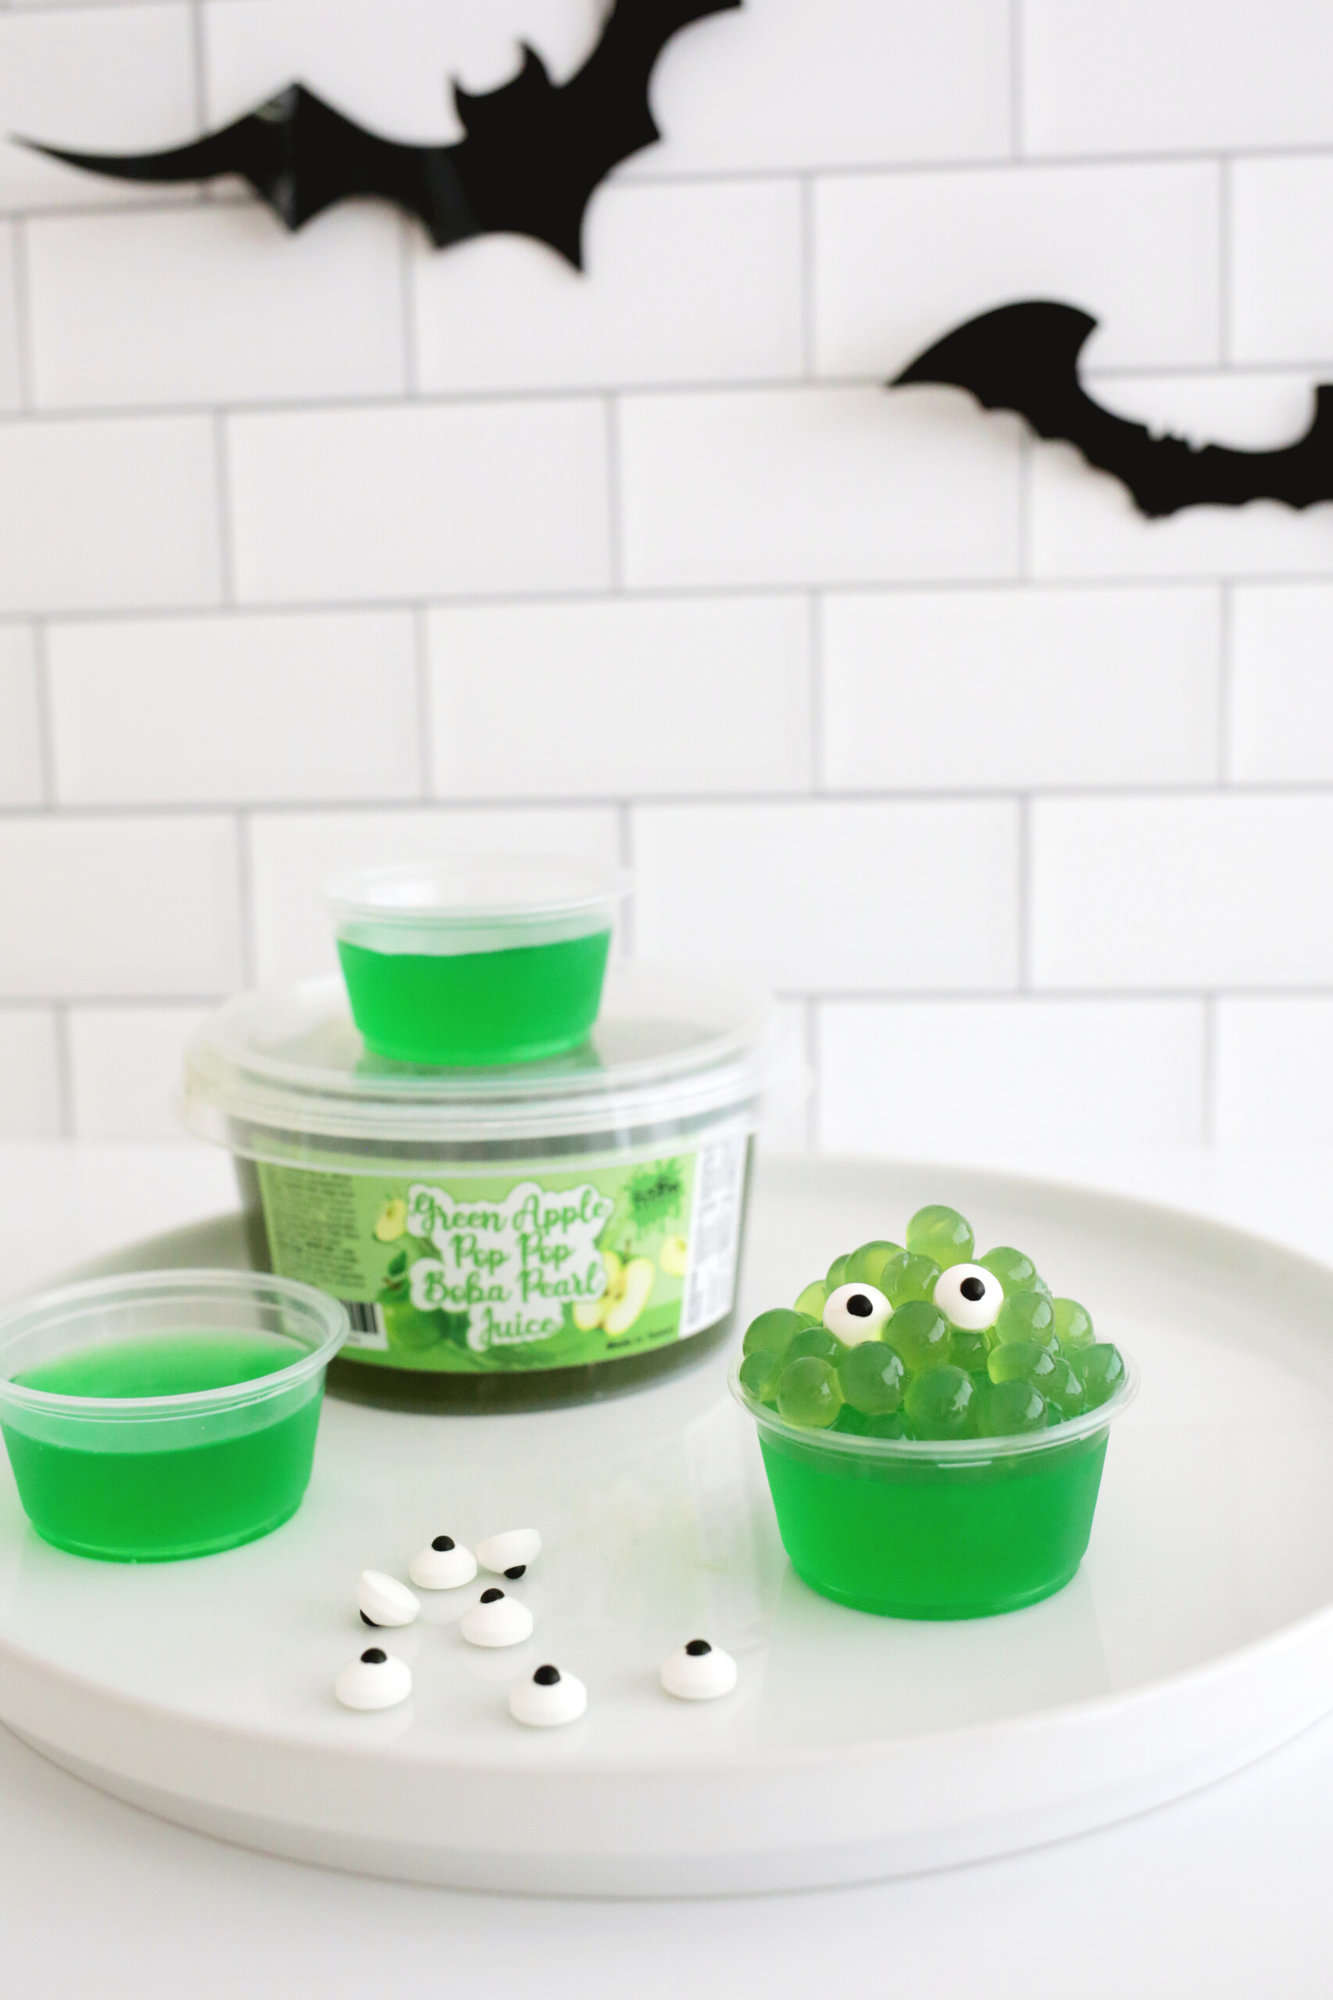
- Make the base of your green jello shot with the directions above.
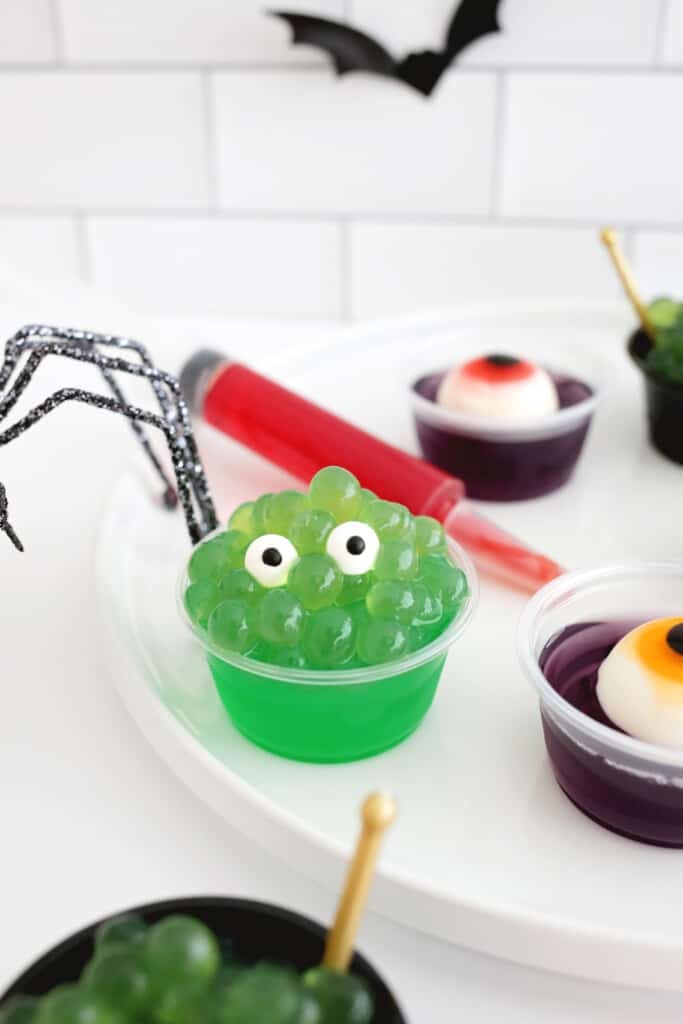
- Once the jello is set, add green boba pearls to the top of your container to make the monster body and add candy eyeballs on top to make a silly face.
- Serve your shots!
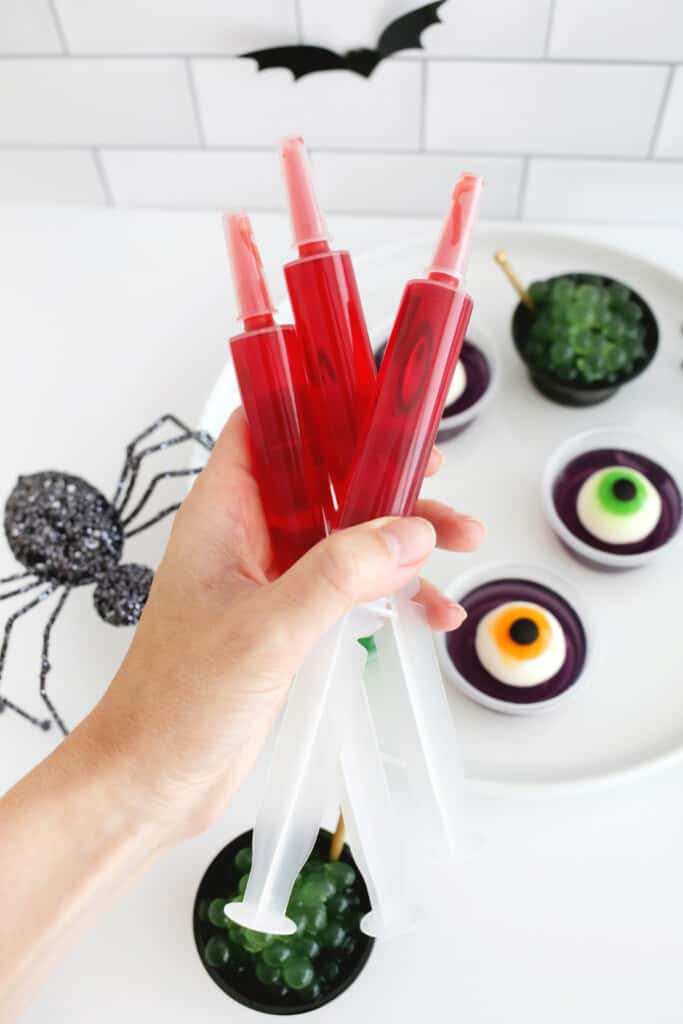
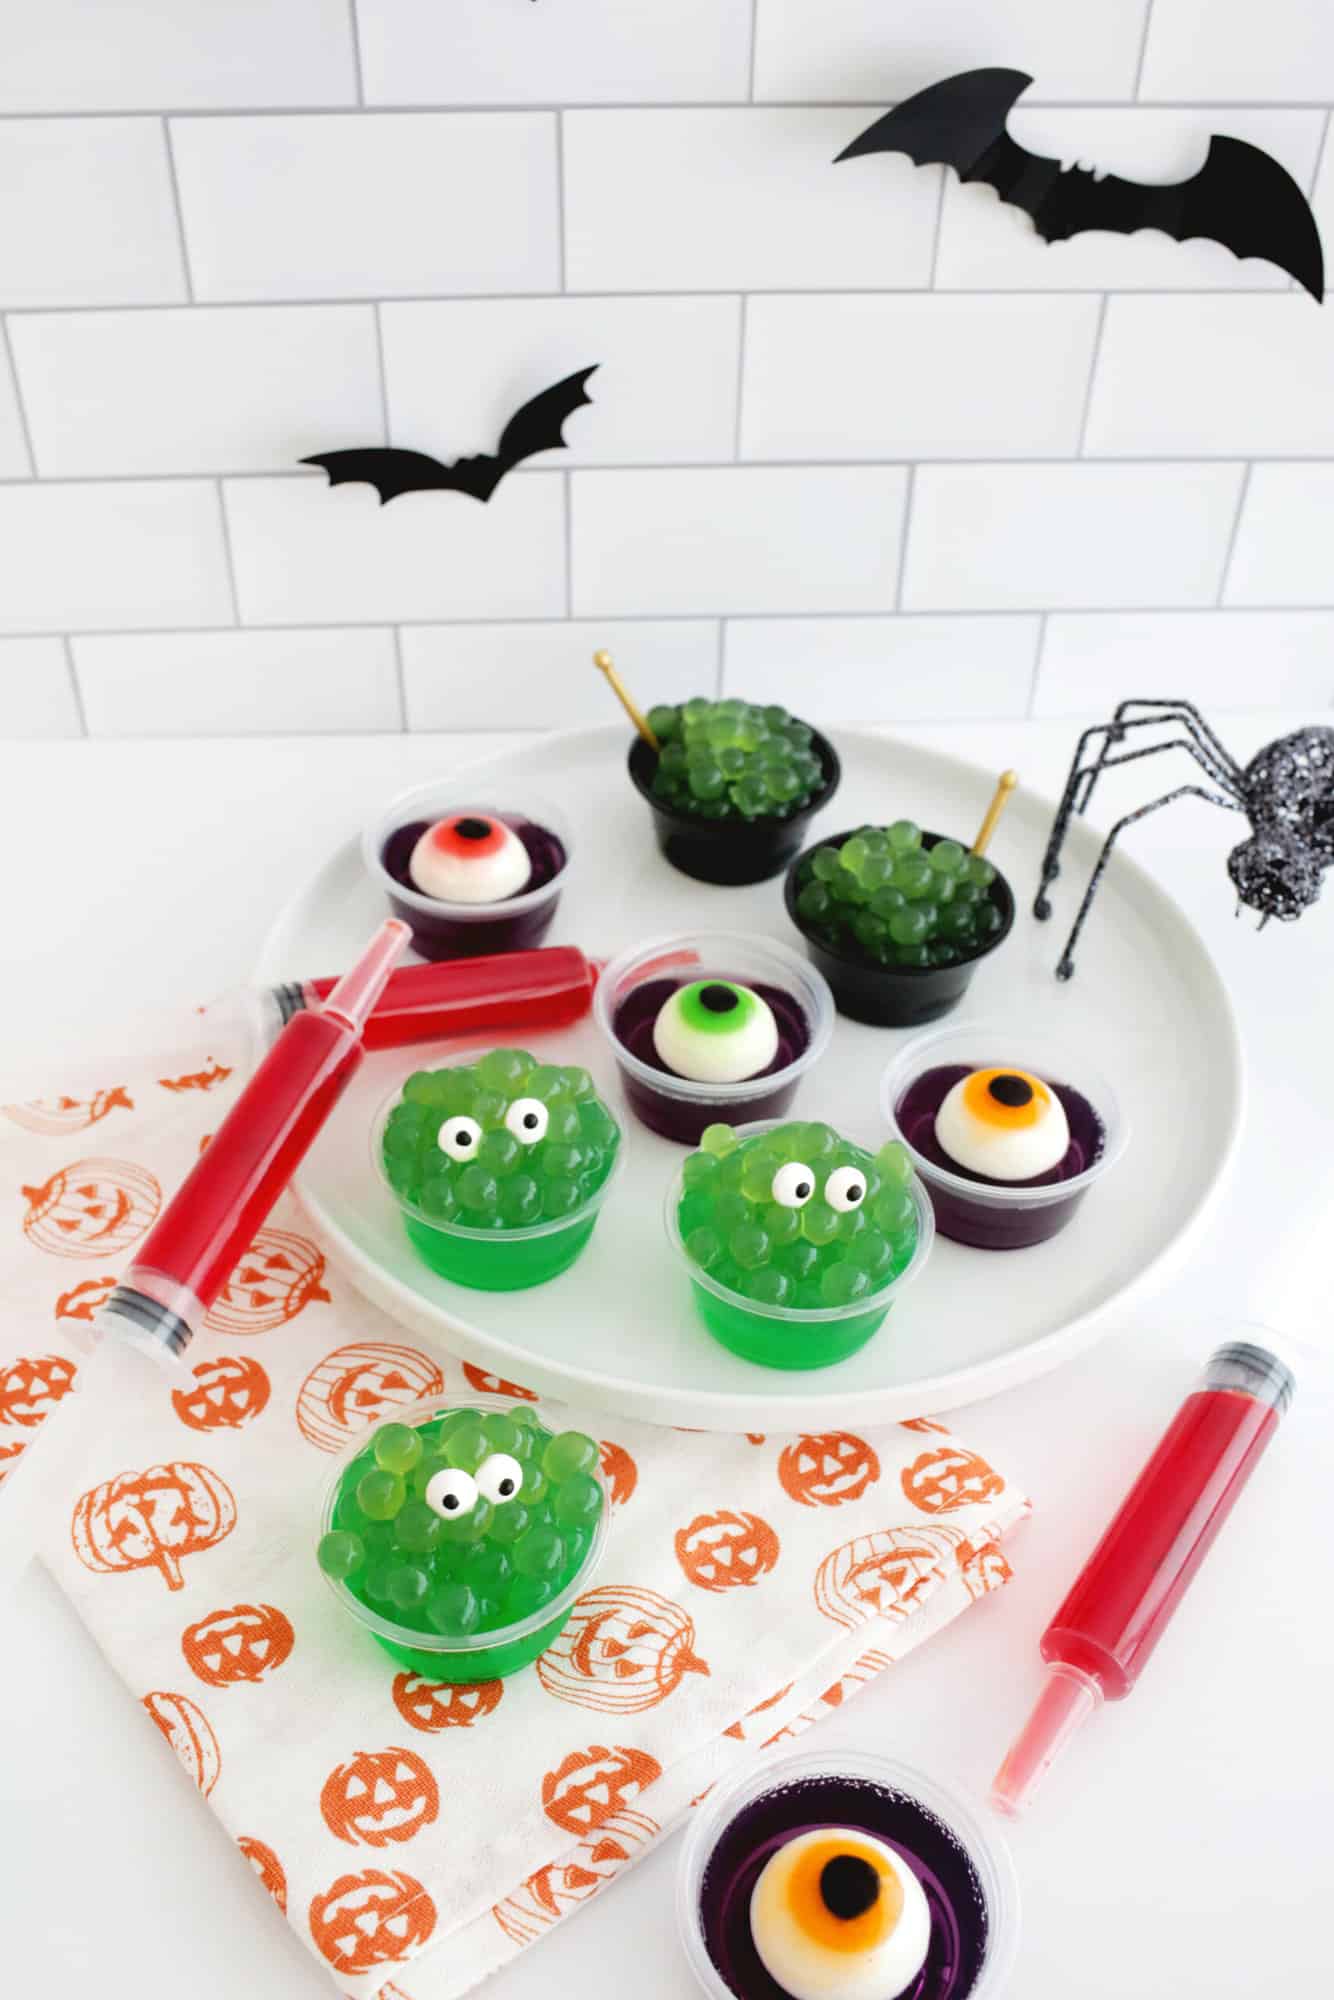
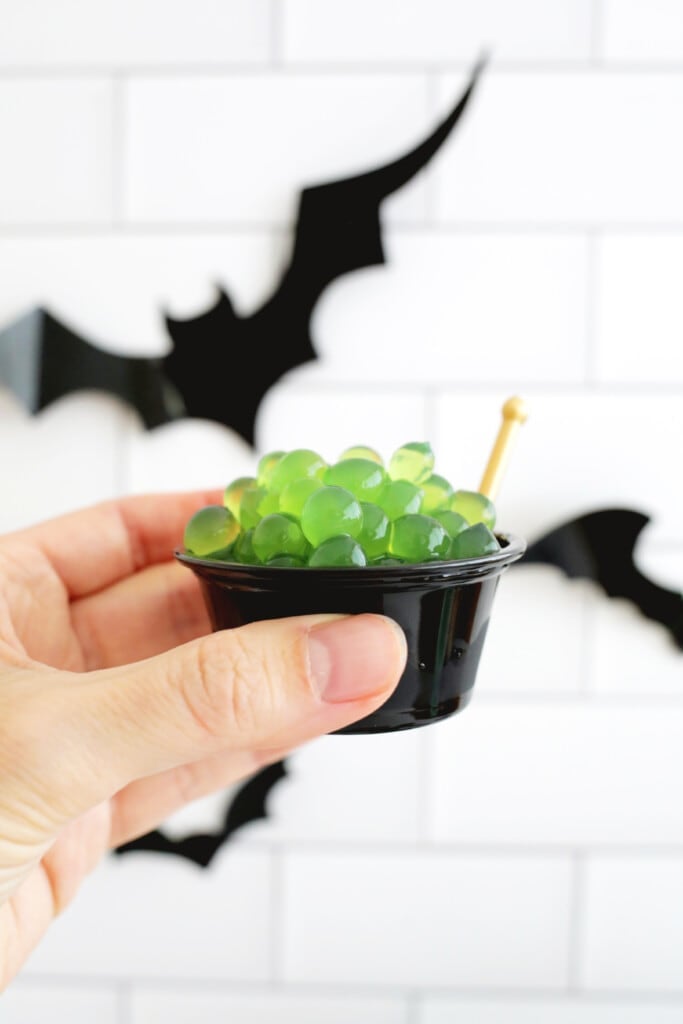
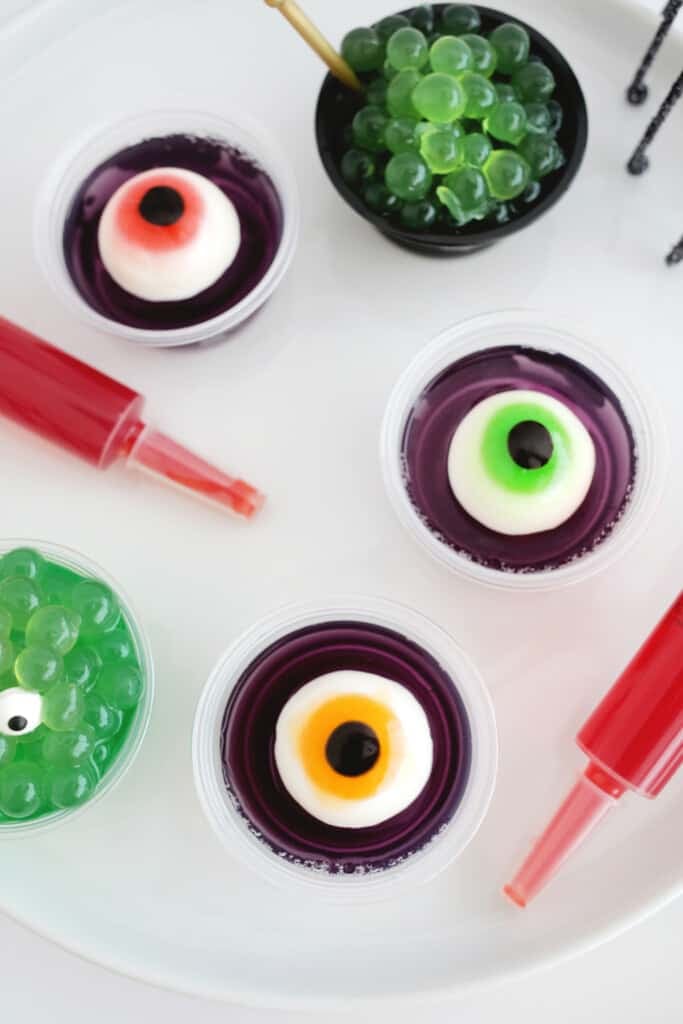
Hope these easy Jello shots make it onto your Halloween party table this year, or you could also make easy Pudding Shots instead!
Looking for more Halloween treats? Check out:
- Halloween Cupcakes
- Edible Chocolate Pumpkin Candy Bowl DIY
- Halloween No-Bake Truffles
- Make Your Own Autumn Trail Mix
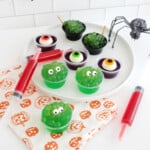
Easy Halloween Jello Shots
Equipment
- 1 mixing bowl
- 1 whisk or spoon
- 1 cup with spout for pouring (optional but helpful)
- 12 small cups or jello syringes
Ingredients
For Jello Shot Base
- 1 3-ounce box of jello
- 1 cup boiling water
- ½ cup vodka or alcohol of your choice
- ½ cup cold water
Additional Ingredients For Eyeball Jello Shot
- 12 gummy eyeballs
Additional Ingredients For Monster Jello Shot
- green boba pearls
- candy eyeballs
Additional Ingredients For Witch's Cauldron Jello Shot
- green boba pearls
Instructions
Jello Shot Base
- Boil your water: For the base of your shots, boil 1 cup of water and add it to a mixing bowl that contains your flavored gelatin powder. Whisk the powder and hot water until the powder is dissolved.
- Add your liquid: Pour in your remaining cold water and alcohol and whisk until combined.
- Pour into cups: Pour your mixture into your small cups 3/4 of the way full (it’s easiest to pour from a spouted measuring cup) and add lids. Make sure your liquid is completely cool before adding lids so you don’t get condensation forming on the inside of the lid.
- Set your jello shots: Put your jello shots in the fridge for 2-4 hours until set. Once ready to eat, set them out for your guests and enjoy!
How to make Halloween witch’s cauldron jello shots:
- Make the base of your jello shot with the directions above, but use a black container if possible. Once the jello is set, add green boba pearls to the top of your container to make the cauldron bubbles and break a swizzle stick shorter to be the stirring wand. Serve your shots!
How to make Halloween eyeball jello shots:
- Make the base of your jello shot with the directions above. Once the jello is set, add a gummy eyeball on top of the shot and serve!
How to make Halloween syringe jello shots:
- Make the base of your red jello shot with the directions above (you can also make them green or other fun colors), but instead of pouring the mixture into cups to set, use your jello shot syringes to suck up the liquid into the syringe. Allow the jello to set in the fridge and serve!
How to make Halloween monster jello shots:
- Make the base of your green jello shot with the directions above. Once the jello is set, add green boba pearls to the top of your container to make the monster body and add candy eyeballs on top to make a silly face. Serve your shots!
Notes
Tips and Tricks for Halloween Jello Shots:
- Try squeezable cups to get your jello shot out easier.
- Don’t add the boba pearls, candy eyes, or gummy eyes until right before you are ready to serve.
- Use a flavored vodka (like vanilla or chocolate) to add another layer of flavor to your shot.
- Layer your shots with different flavors and Halloween colors by pouring a small amount of one flavor in each cup, let that flavor set in the fridge, and add another flavor on top. Repeat with as many flavors as you would like!
Nutrition
More recipes for kids: Shirley Temple, Roy Rogers Drink, Orange Julius, Wendy’s Frosty, Pink Lemonade.
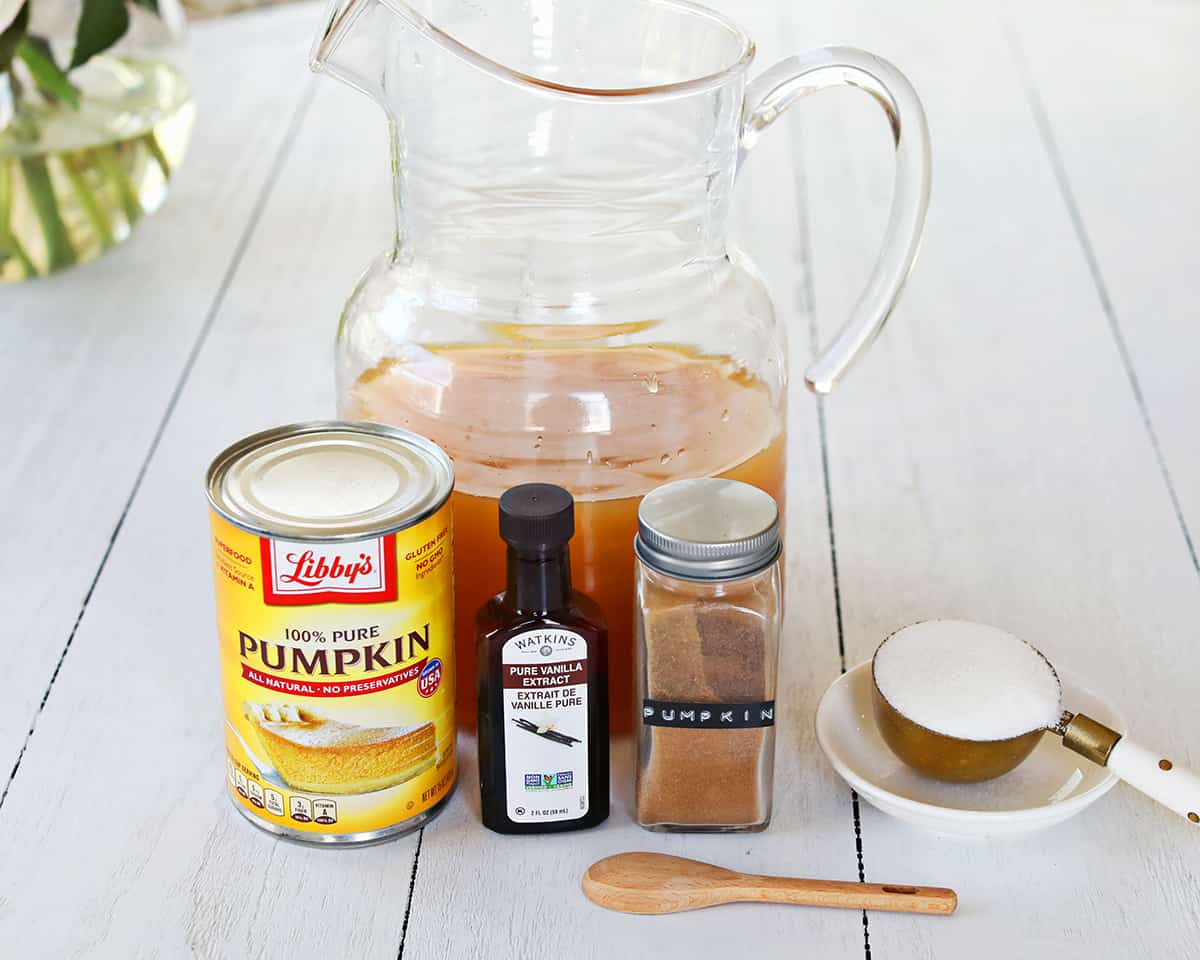
Ingredients in Harry Potter Pumpkin Juice Recipe
- Apple Cider – Anything you can find in the juice aisle at your local grocery store will work. You can even use apple juice if you can’t locate apple cider.
- Pumpkin Puree – Yes, the same thing you use to make pumpkin pie filling. You may even have a can hiding in your pantry already.
- Sugar – To add a hint of sweetness.
- Vanilla Extract – For some added depth and flavor.
- Pumpkin Pie Spice – A blend of spices that includes cinnamon, nutmeg, cloves and ginger.
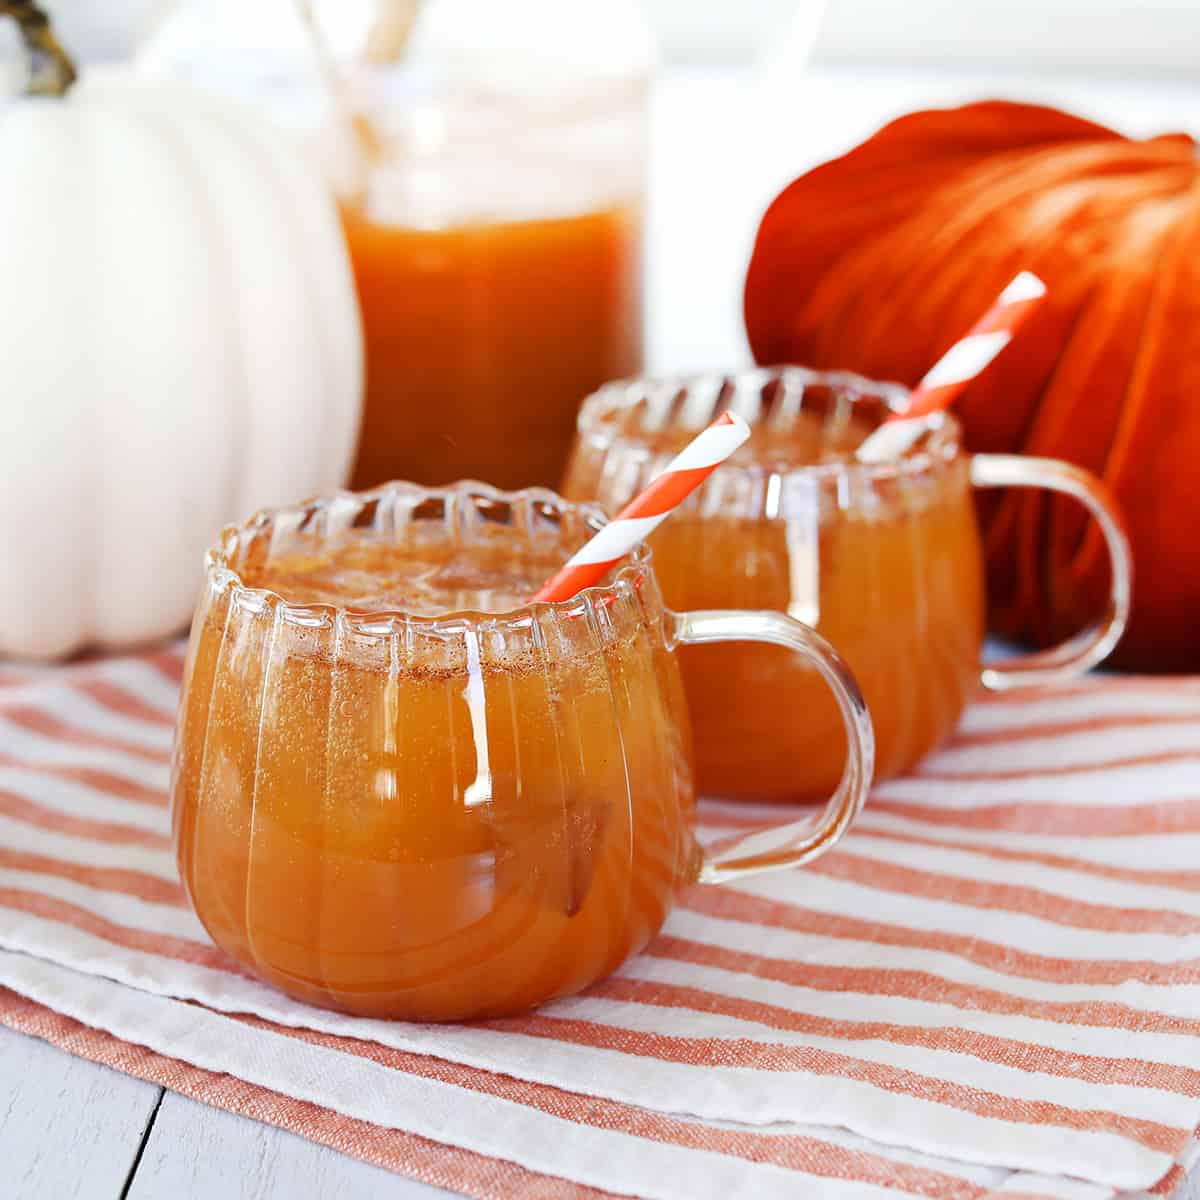
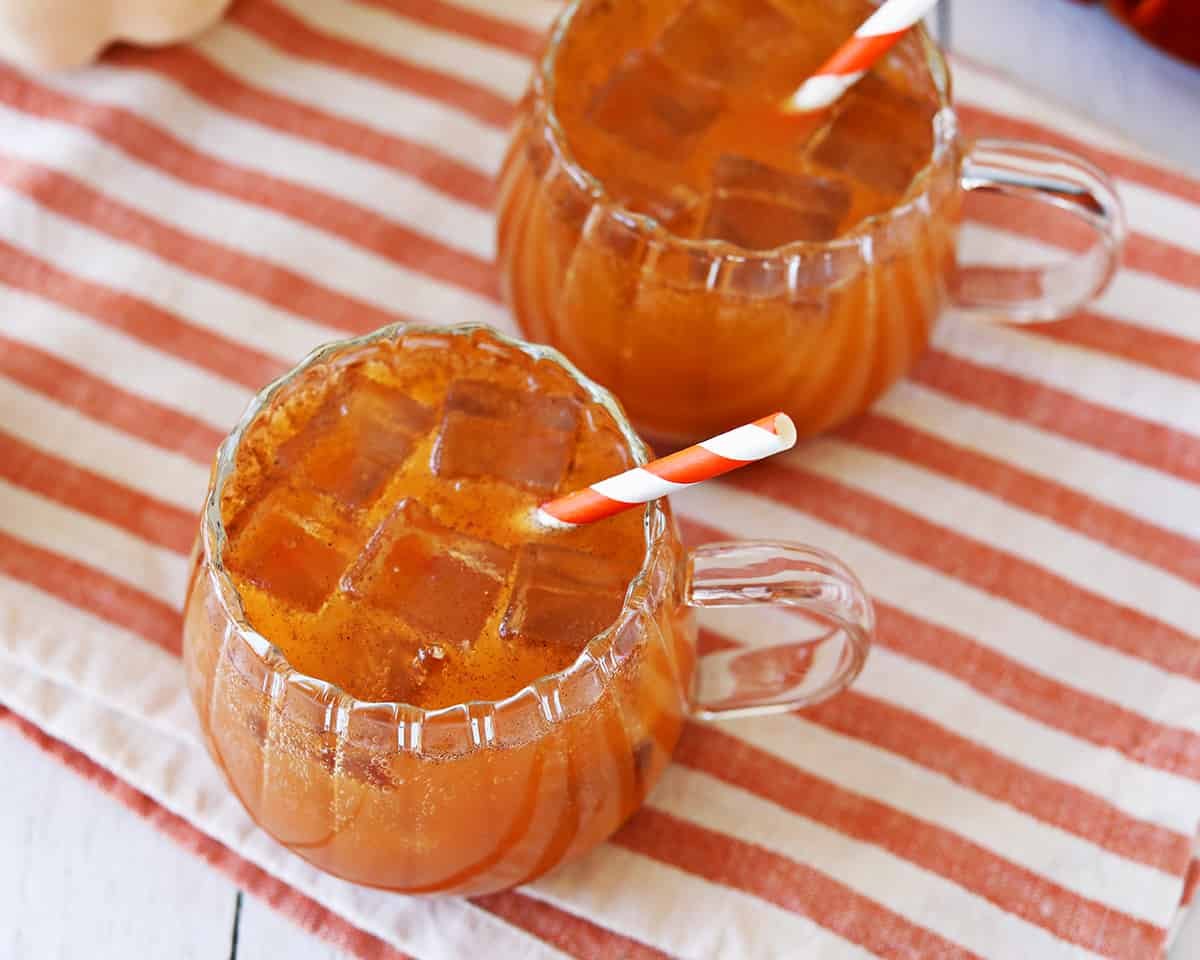
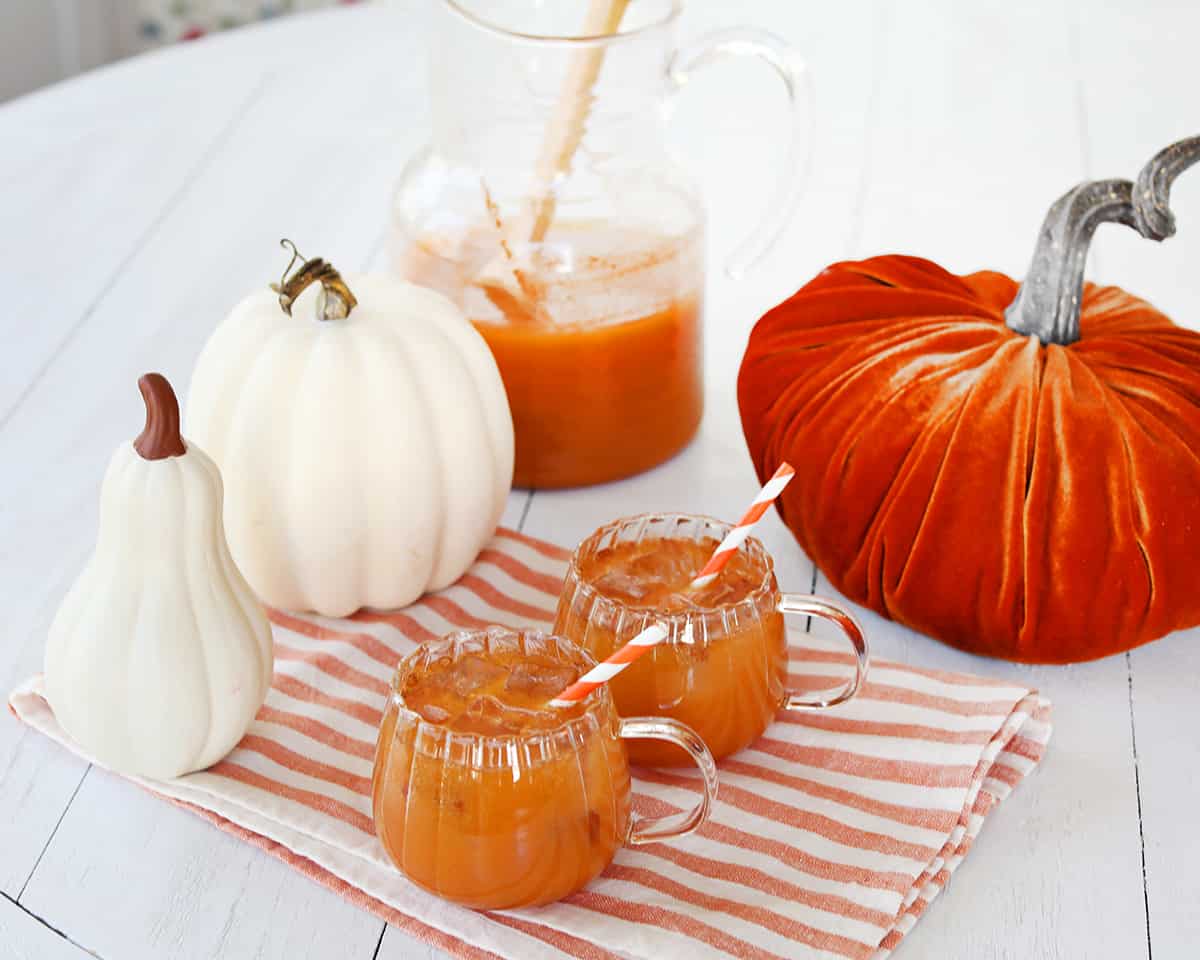
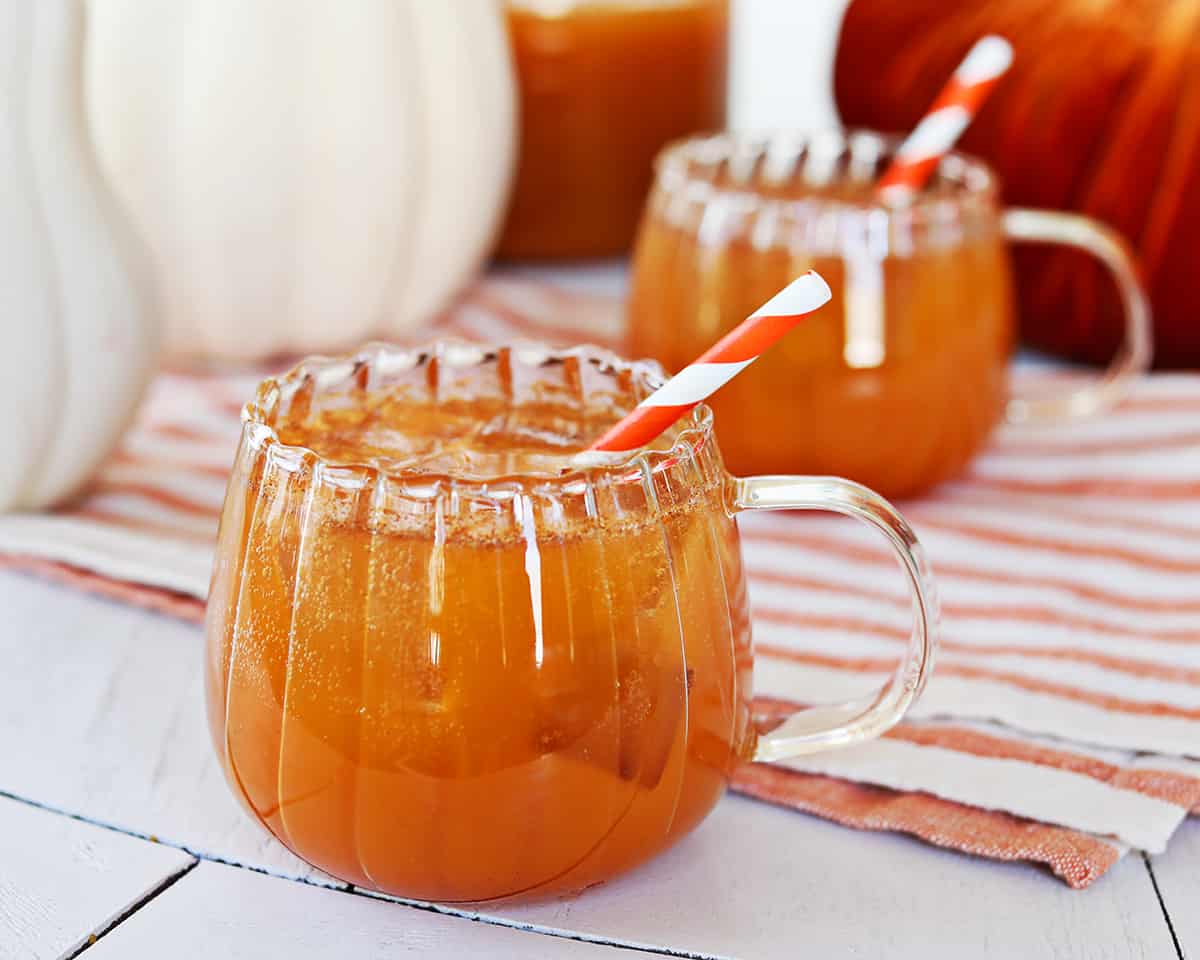
This is a pitcher recipe. I also used these glasses that resemble pumpkins and some orange striped paper straws.
Instructions
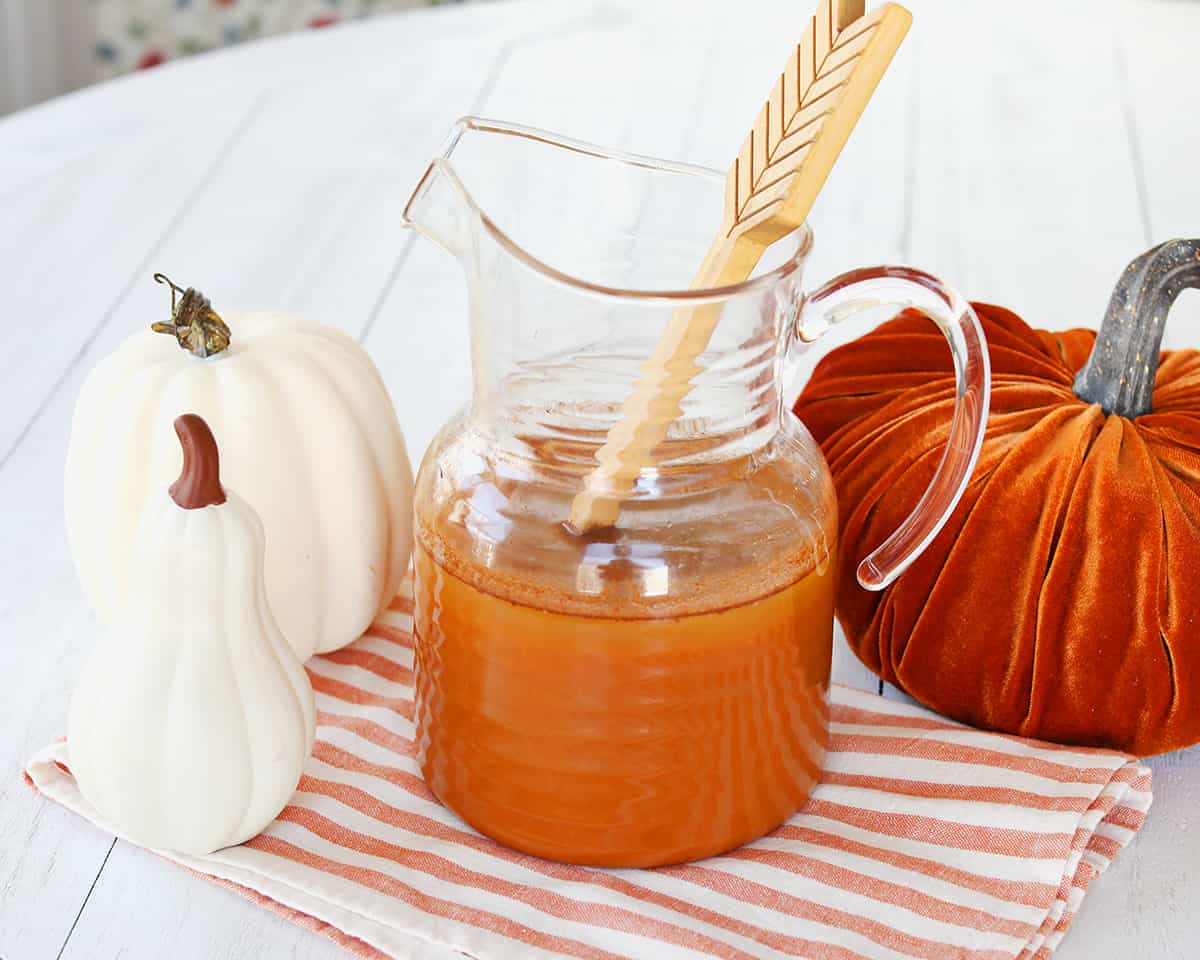
In a pitcher, combine apple cider, pumpkin puree, vanilla, pumpkin spice and sugar.
Stir with a whisk or wooden spoon until ingredients are fully combined.
Serve over ice or warmed on the stovetop.
What does Pumpkin Juice taste like?
This drink has a strong pumpkin flavor mixed with apple cider. If I tasted it without knowing what it was, I would probably have guessed it to be a pumpkin spiced apple cider.
Tips for Making
- If you’ve hosting a Harry Potter party, we recommend also serving Butterbeer, chocolate frogs, every flavor beans and pumpkin pasties. This recipe is perfect for birthdays, Halloween parties or the kids table at Thanksgiving!
- We love this recipe served on ice. If you want to try a warmed version, heat it on the stovetop to a simmer on medium heat (not to a boil) and enjoy it in a mug.
- If you don’t want to stir for several minutes, you can take a shortcut and use a blender to combine your ingredients.
- If you don’t have pumpkin pie spice on hand, you can substitute with half cinnamon and half allspice.
- Can you make this recipe ahead? Yes, this can be made ahead and stored in the fridge up to 48 hours before serving.
Harry Potter Books
If you’re interested in experiencing Harry Potter with your kids, we are loving these Harry Potter books which have pop ups as well as the illustrated version.
More fun recipes for kids
We’re off to catch the Hogwarts Express—see you next time!
Harry Potter Pumpkin Juice – NEEDS RECIPE CARD
Equipment
- 1 pitcher
Ingredients
- 8 cups apple cider
- 1 cup pumpkin puree
- ¼ cup sugar
- 1 teaspoon pumpkin spice
- 1 teaspoon vanilla
Instructions
- In a pitcher, combine apple cider, pumpkin puree, vanilla, pumpkin spice and sugar.
- Stir with a whisk or wooden spoon until ingredients are fully combined.
- Serve over ice or warmed on the stovetop.
Notes
- If you’ve hosting a Harry Potter party, we recommend also serving Butterbeer, chocolate frogs, every flavor beans and pumpkin pasties. This recipe is perfect for birthdays, Halloween parties or the kids table at Thanksgiving!
- We love this recipe served on ice. If you want to try a warmed version, heat it on the stovetop to a simmer on medium heat (not to a boil) and enjoy it in a mug.
- If you don’t want to stir for several minutes, you can take a shortcut and use a blender to combine your ingredients.
- If you don’t have pumpkin pie spice on hand, you can substitute with half cinnamon and half allspice.
- Can you make this recipe ahead? Yes, this can be made ahead and stored in the fridge up to 48 hours before serving.
Nutrition
Fall nail art has such a pretty seasonal color palette and textures to choose from for the perfect eye-catching look. Screenshot your favorite look to take to your nail artist for inspiration, or try it out yourself and go the DIY route at home!
Looking for more nail ideas? Check out:
- Get The Perfect Manicure at Home
- 55+ Winter Nail Designs
- Beginner’s Guide to Gel Polish
- 45+ Halloween Nails
- 55+ Christmas Nail Designs
- 125+ Nail Design Ideas
- 50+ Spring Nail Designs
- 30+ Chrome Nail Designs
- 45+ Easter Nail Ideas

At home fall nails vs. salon nails:
While you can do so many fall nail ideas at home with gel manicure kits, it can be a little intimidating to some who are not as steady with their hands or just generally prefer the pampered experience at their local nail salon.
While gel polish manicures will generally last longer than traditional polish (usually 2-3 weeks for a gel manicure), there are traditional polish brands that boast several weeks of wear from their products and you don’t have the longer gel removal process at home if you choose to take off your own polish.
Some of the trickier techniques like chrome or magnetic polish also might be a little easier in the hands of a professional, but if you have a gel nail kit at home, they are looks that are fun to try and master.
Of course, doing a press-on nail is the easiest way to get your perfect fall style at home by yourself, so there’s no shame in finding your favorite look and grabbing your nail glue.
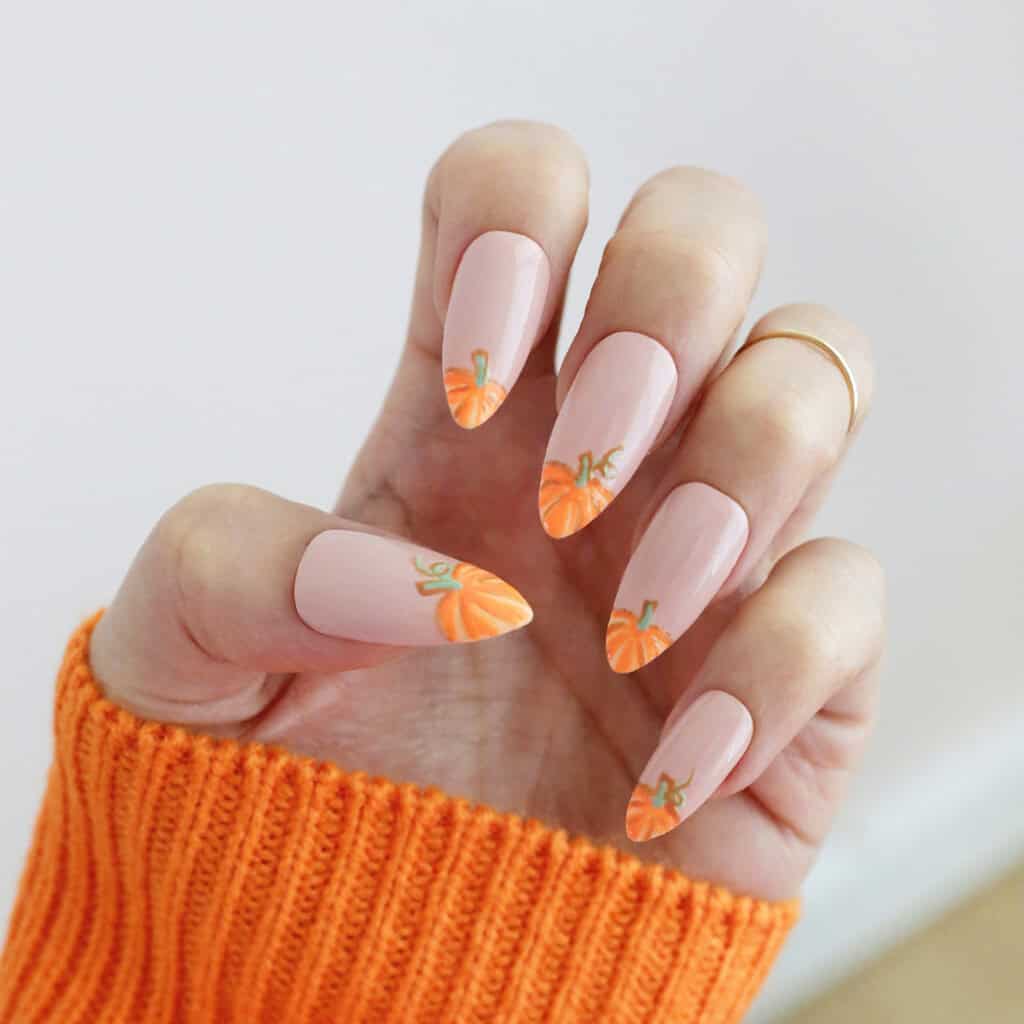
Pumpkin Patch
Pair these with a cozy sweater next time you visit the pumpkin patch (these are also super cute on short nails).

Checked Out
These fun checked accent nails in a sienna hue will look cute with any fall outfit.

Glitter Ghosts
More fun than scary, add some cute ghost accents to glitter nails and your nails will be Instagram ready for fall.

Pumpkin Pink
A pink French mani with tiny pumpkin art gives you a mini pumpkin patch everywhere you go!

Fall Waves
When it comes to fall nail trends, magnetized polish is popular and this set is mesmerizing with their caramel colored wave pattern.

Mad For Plaid
Brown and pink plaid are a fun twist on the classic French manicure for the perfect Clueless back-to-school look.

Pumpkin Spice
This accent of alternating orange and white French tips is perfect for the fall season.

Pumpkin Swirl
Instead of solid orange nails, this look of marbled orange and white are the perfect level of pattern for fall.

Fall Favorites
This September, bring all the colors of fall into this mani with pumpkin and plaid accent nails.

Orange You Glad?
This mani with alternating swoops of shades of orange is a fun side twist on a classic French manicure.

Silver Tips
Add some silver chrome to your French manicure with these shiny tips.

White As A Sheet
We love fall manicures with a ghost or two and these cute flower ghosts bring some floral fun to the fall season.
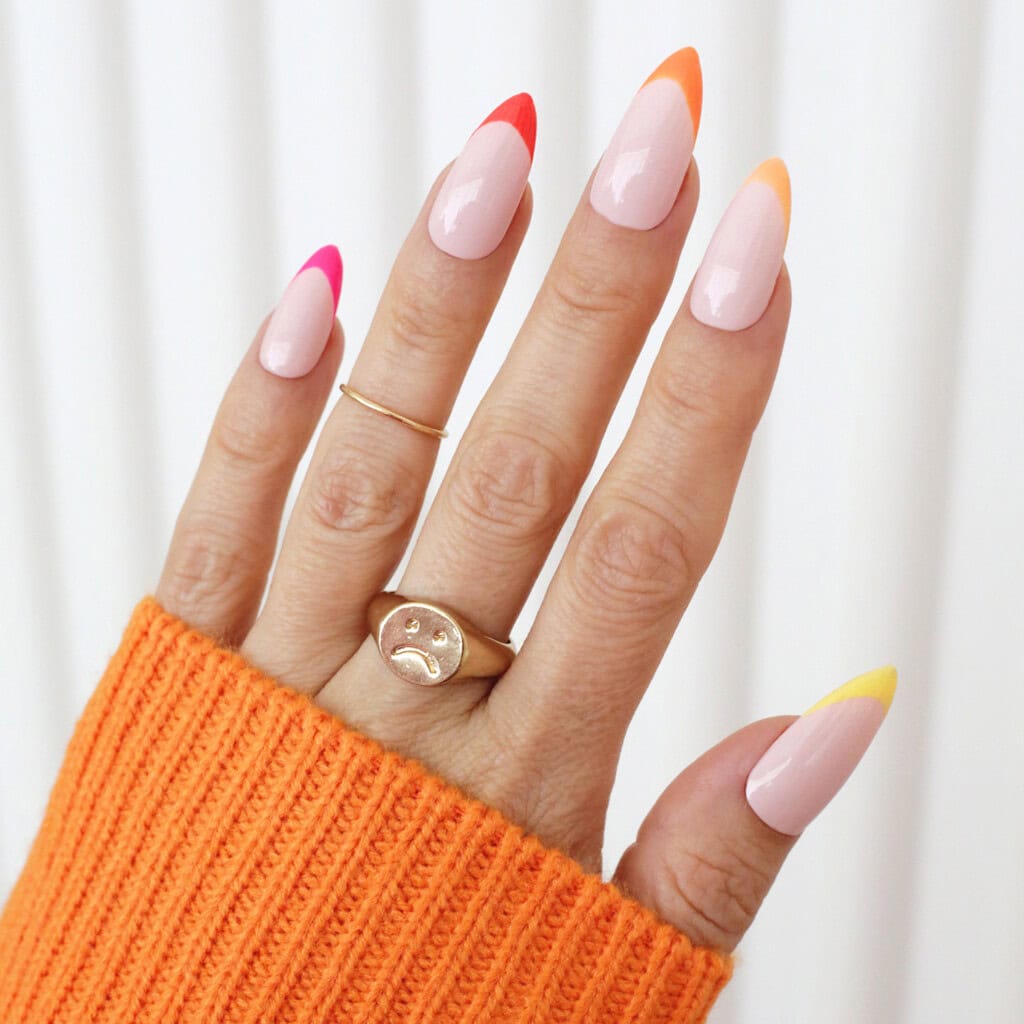
Warm Tips
These gradient French tips are a colorful classic in a warm palette perfect for the start of fall.

Taupe Ombre
These taupe ombre cat eye glitter nails are neutrals but come to life when the light hits them.

Plaid Accents
If a whole hand of plaid is too much pattern for you, try an accent nail in orange and reds to match the falling leaves.

Boo Who?
Like Casper, maybe just one little friendly ghost is all you need on your mani and you can sport a simple orange French tip for the rest.

Pumpkin Tips
Add a little bit of fall color to your nails with this cute orange French manicure design.

Golden Fall
These gold chrome tips on a rich brown nail are the perfect upscale look for fall.

I Want My Mummy
This cute mummy design is all Halloween without feeling creepy crawly.

Halloween Checkers
Black and white checkers next to cute Halloween symbols make this a scary cute manicure design.
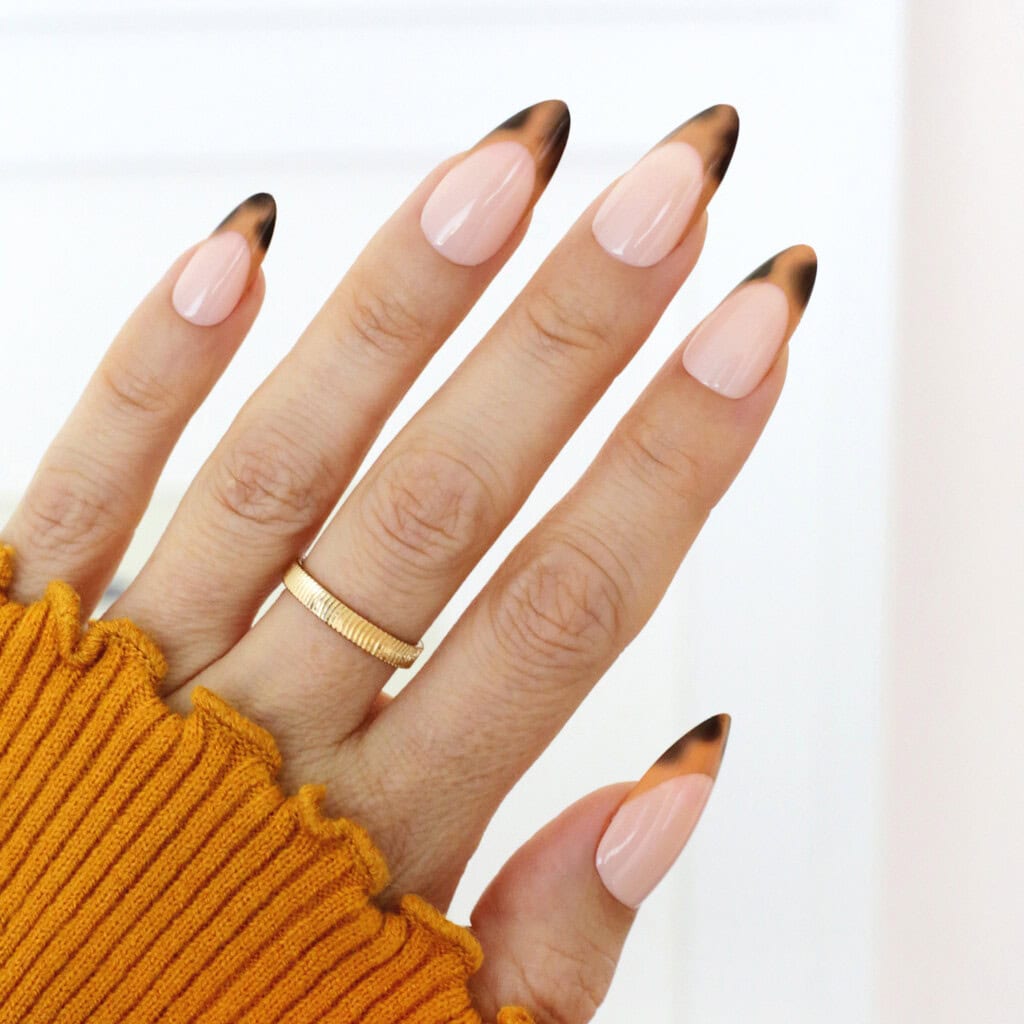
Touch of Leopard
If you want a little bit of animal print without overdoing it, these French tip leopard print nails are perfect year round.

Spooky Lavender
Who said ghost nails are just black and white? Try shades of purple for your next ghost manicure.

Boo to You
These 3D ghosts will stand out on black nails with black glitter tips.

Icy Webs
White webs look delicate against a shimmery white background for a tone on tone effect.

Candy Corn Tips
These orange, yellow, and white tips will remind you of candy corn and look good enough to eat!

Love You to the Moon
Add some chrome gold moons and starry night accents to a natural nail for a subtle celestial look.
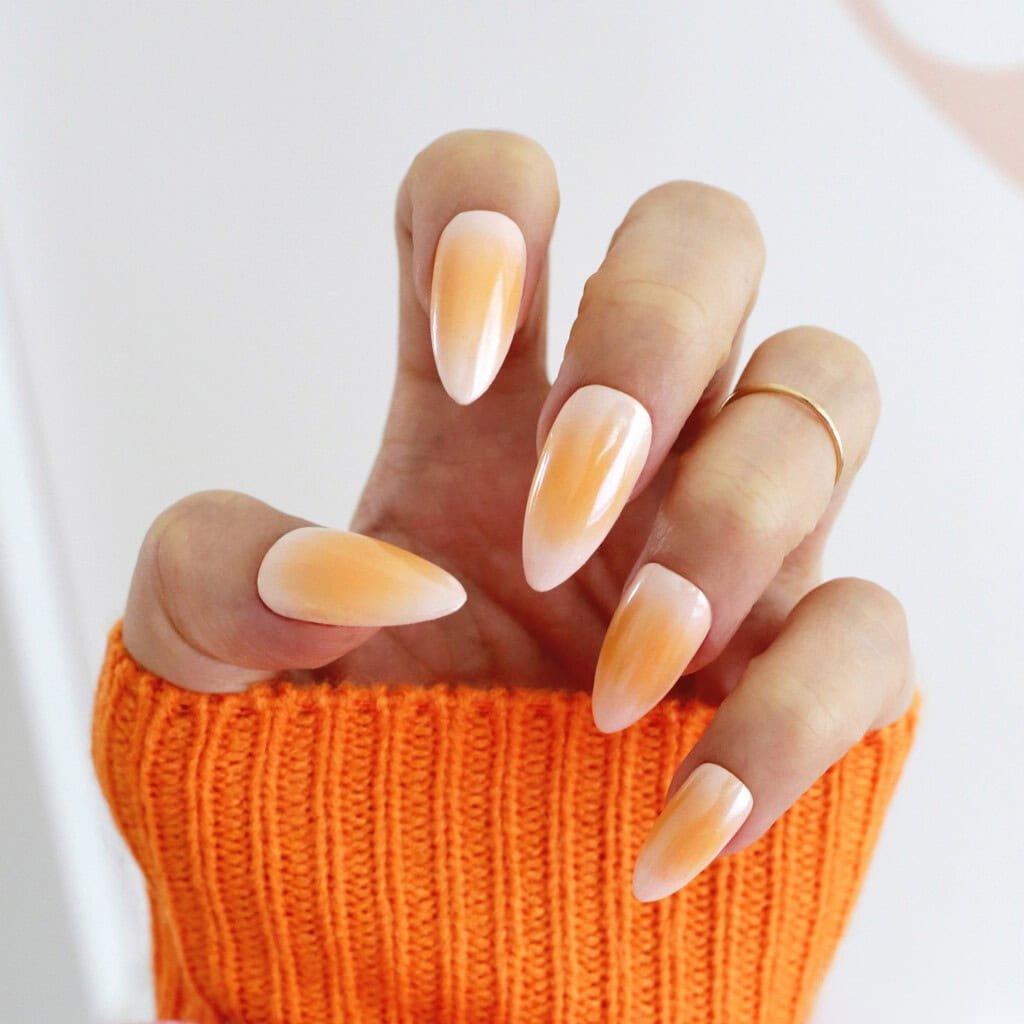
Pumpkin Glow
Fall is the perfect time for these pumpkin chrome aura nails—they are just the right pop of color with their burnt orange centers.
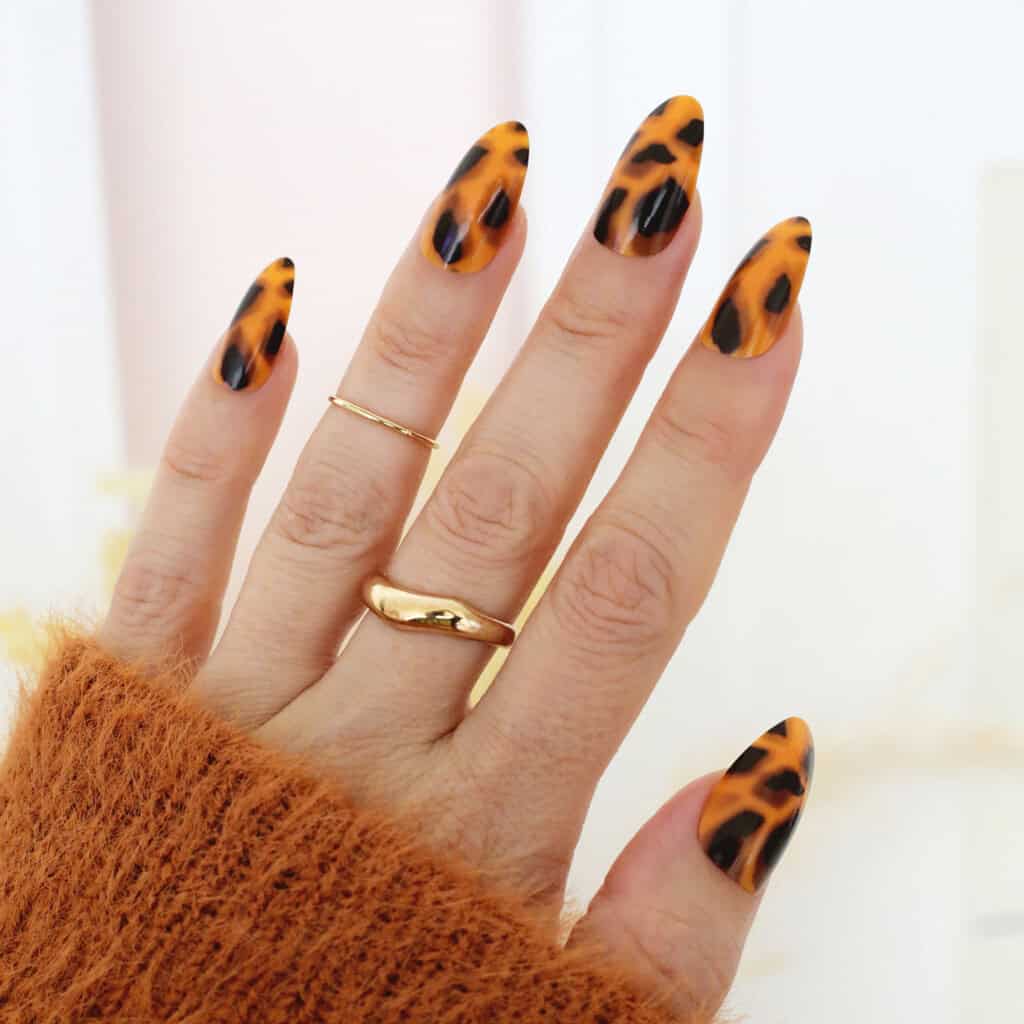
Trendy Turtle
Add some fun animal print to your wardrobe with this tortoiseshell design.

Back in Black
We love matte finishes paired with a glossy top coat in areas, so these matte black nails with shiny black French tips are chic for the fall and Halloween season.

Webs of Gold
Delicate gold webs are pretty against a nude background for a fun Halloween twist.

Spider Woman
They may have eight legs but these spiders look fabulous crawling over nude matte nails.

No Bones About It
These fun skeleton fingers are just right for a cool Halloween look.

Merlot Dreams
Autumn nails don’t have to be orange or brown—this wine-colored sparkle manicure proves that deep burgundy can take you all the way through Thanksgiving and into the holidays.

I Ain’t Afraid Of No Ghost
These bold nails feature black sparkle backgrounds for scary ghosts to haunt.
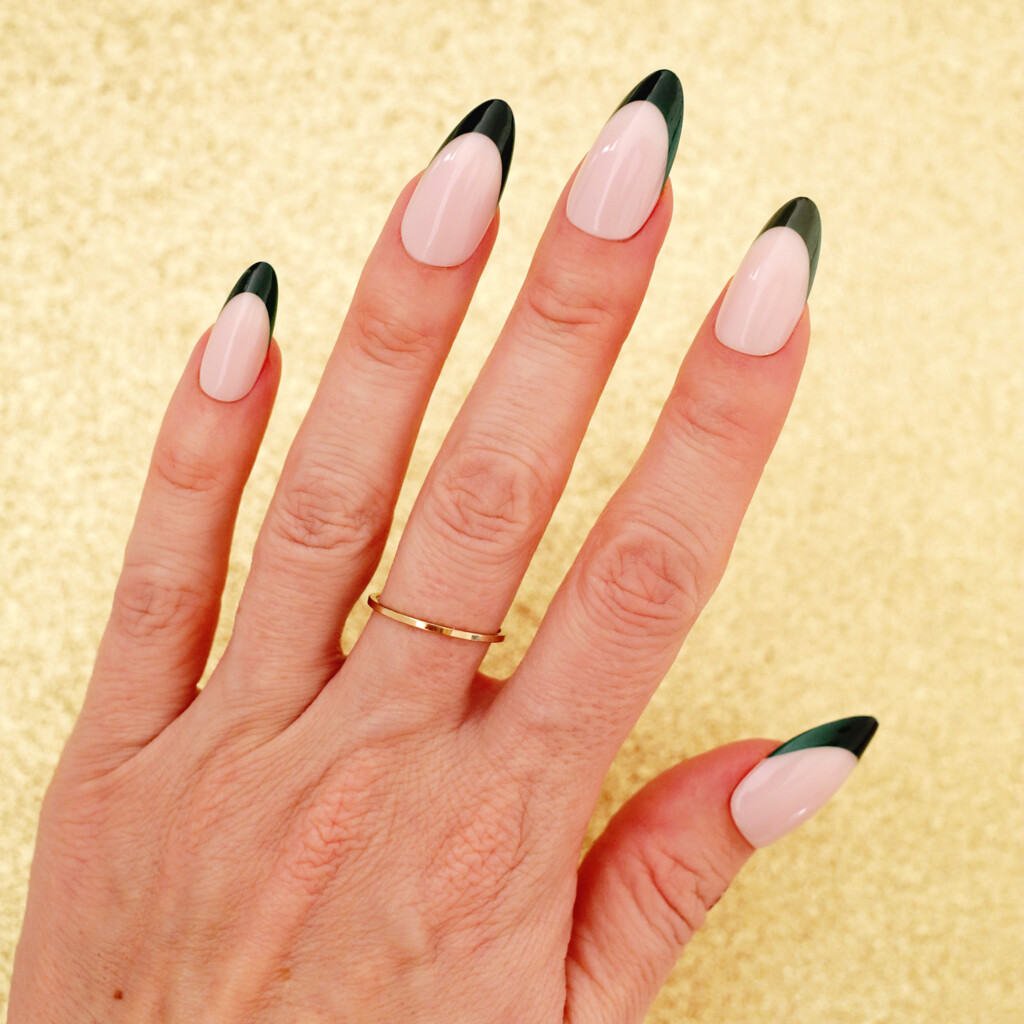
Evergreen Tips
For green nails, feature a deep green tip on a beige nail for a colorful take on a classic French design.

Dark Rainbow
This black sparkle manicure with rainbow cat eye glitter brings a little color to a dark mani.

Halloween Aura
These purple and black aura nails are just right for the Halloween season.

Scary Symbols
Gold and chrome purple are a pretty combo along with French tip accents and scary symbols.

In The Mood
These navy nails with marbling and gold star details bring a moody vibe to your fall wardrobe.

Orange Ombre
These orange ombre nails with layer of black sparkle webs are the perfect look for your fall Halloween season.

Mystical Magic
These fun symbol nails are just the right amount of pattern for the perfect Halloween look.

Lovely in Lace
To add some black to your manicure without looking overly dark, try a black lace look this Halloween.

Wine and Dine
This cat eye is perfect to add a bit of blood red to your wardrobe.

Fall in Love
Add all the fall foliage to your manicure with this cute leaf design with sparkle French tips.

Sparkle Black French
Adding some sparkle under a black French tip manicure brings some fun into a classic look.

Half Harvest Moon
Try a negative space half moon pattern in a pretty vermillion tone.

Caramel Vibes
These fun nails feature caramel checkers, waves, and stars with a cute pumpkin accent.

Shades of Fall
These fun nails use mustard yellow and oranges with little flower accents.

Smoke Show
These trendy smoke nails will add a fun yet spooky vibe to any look.

Black Cat Eye
These black cat eye nails are stunning in the sun and bring a lighter look to a classic black manicure.

Falling Leaves
When it comes to fall nail ideas, we love these pretty copper sparkle leaf patterns across a coffin nail.

Cat’s Meow
Even if you are superstitious, you’ll want these cute black cat nails to cross your path this Halloween.

Aura You Ready For This?
These stunning green and purple aura nails bring all the hocus pocus vibes and add magic to your look.

Golden Tips
Go high style with this wavy gold tip design.
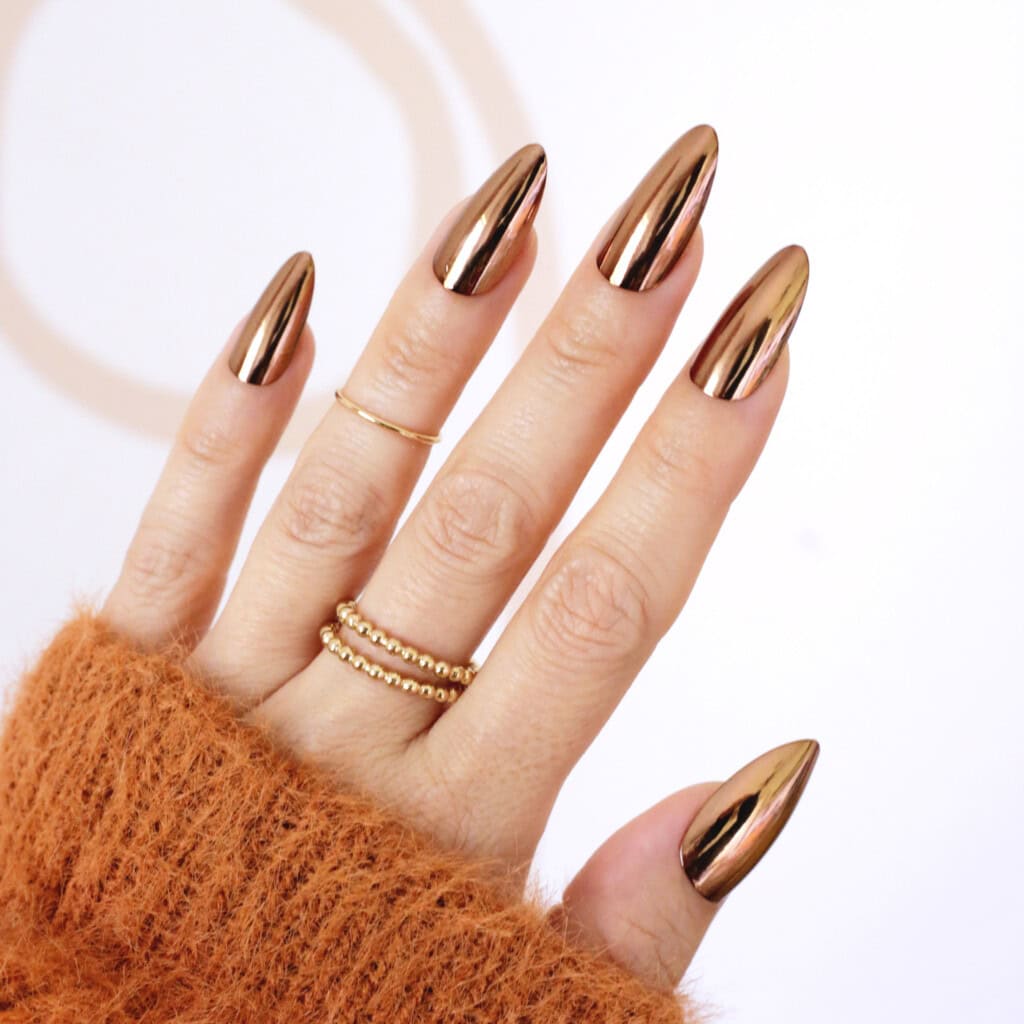
Chocolate Chrome
Bring on the mirrorball look with these chocolate chrome nails.
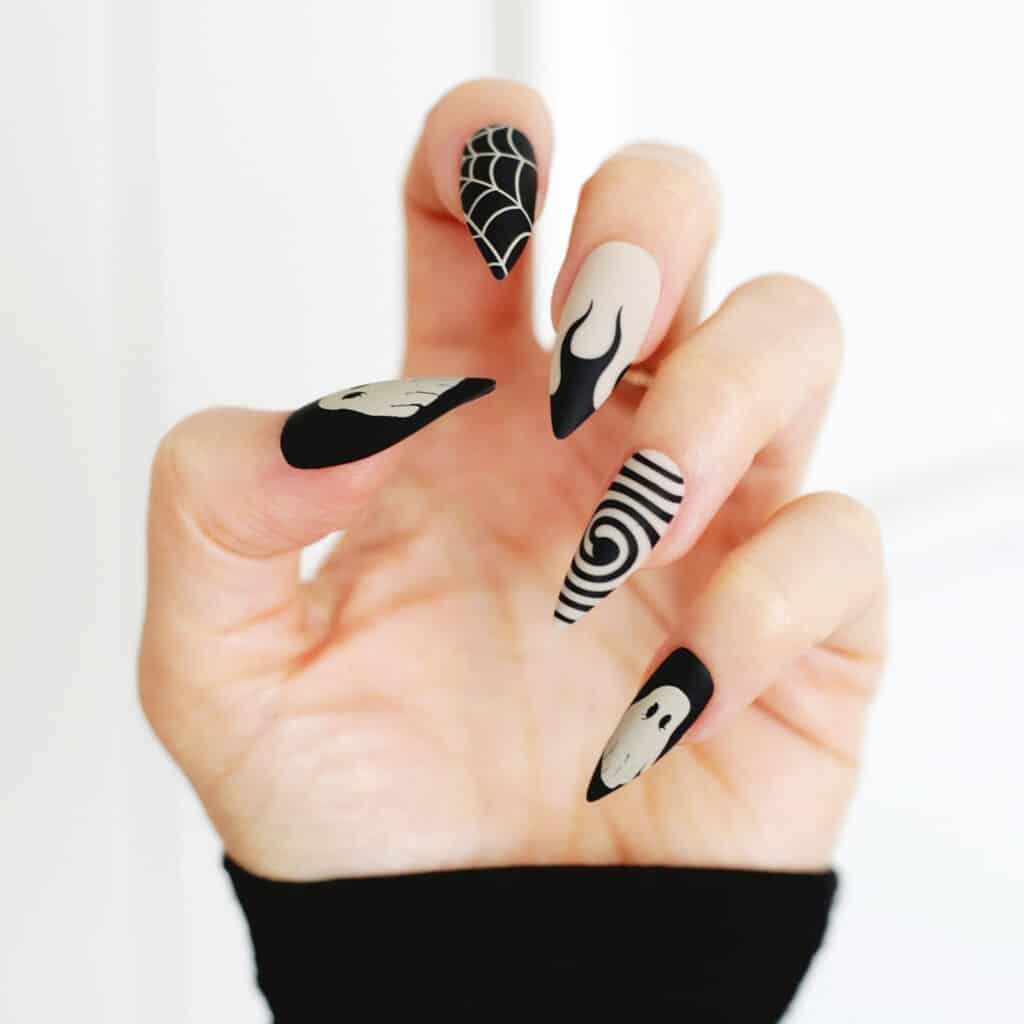
Halloween Town
Get into the spooky season with these taupe and black polish accent nails full of ghosts and spider webs for Halloween manicure fun (this would be fun on a coffin nail shape as well).
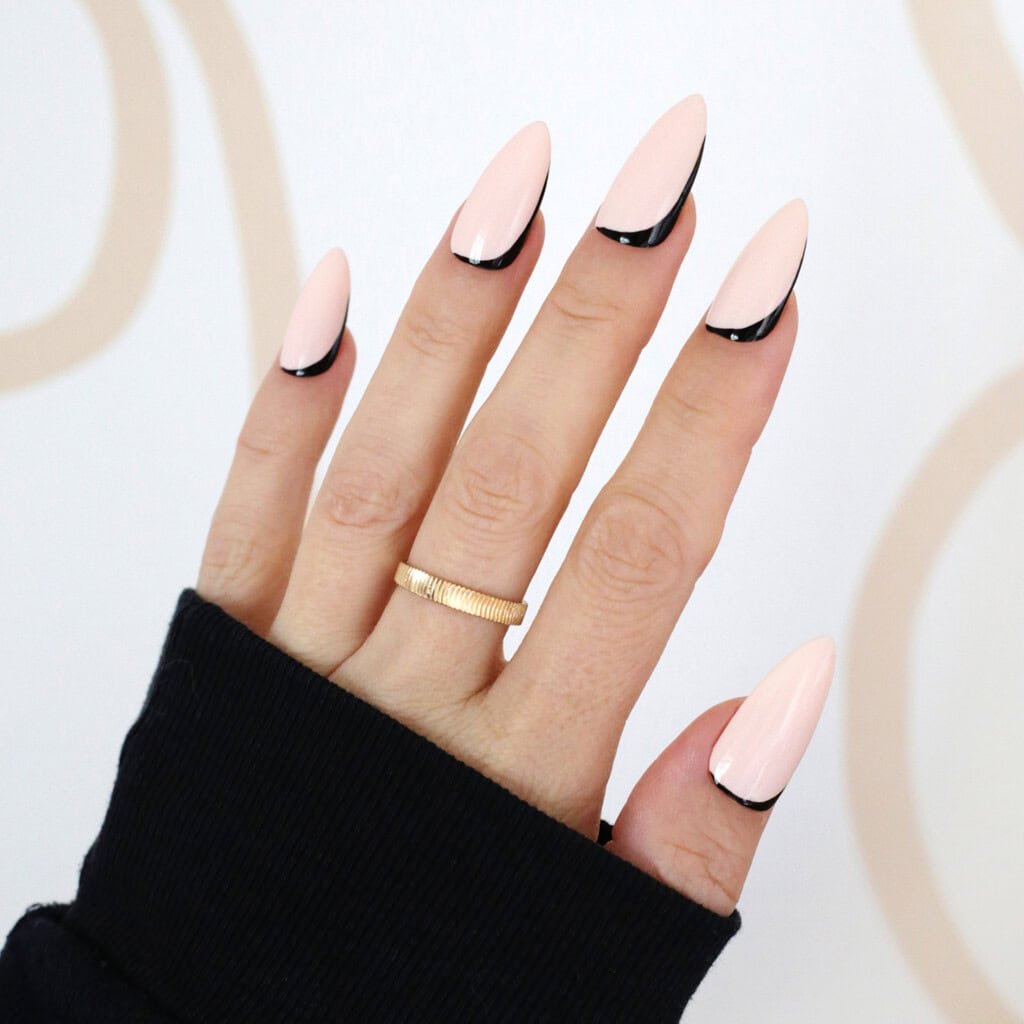
Hint of Black
Add a bit of drama to your nails with these sleek nails that have just the bottom side dipped in black polish.
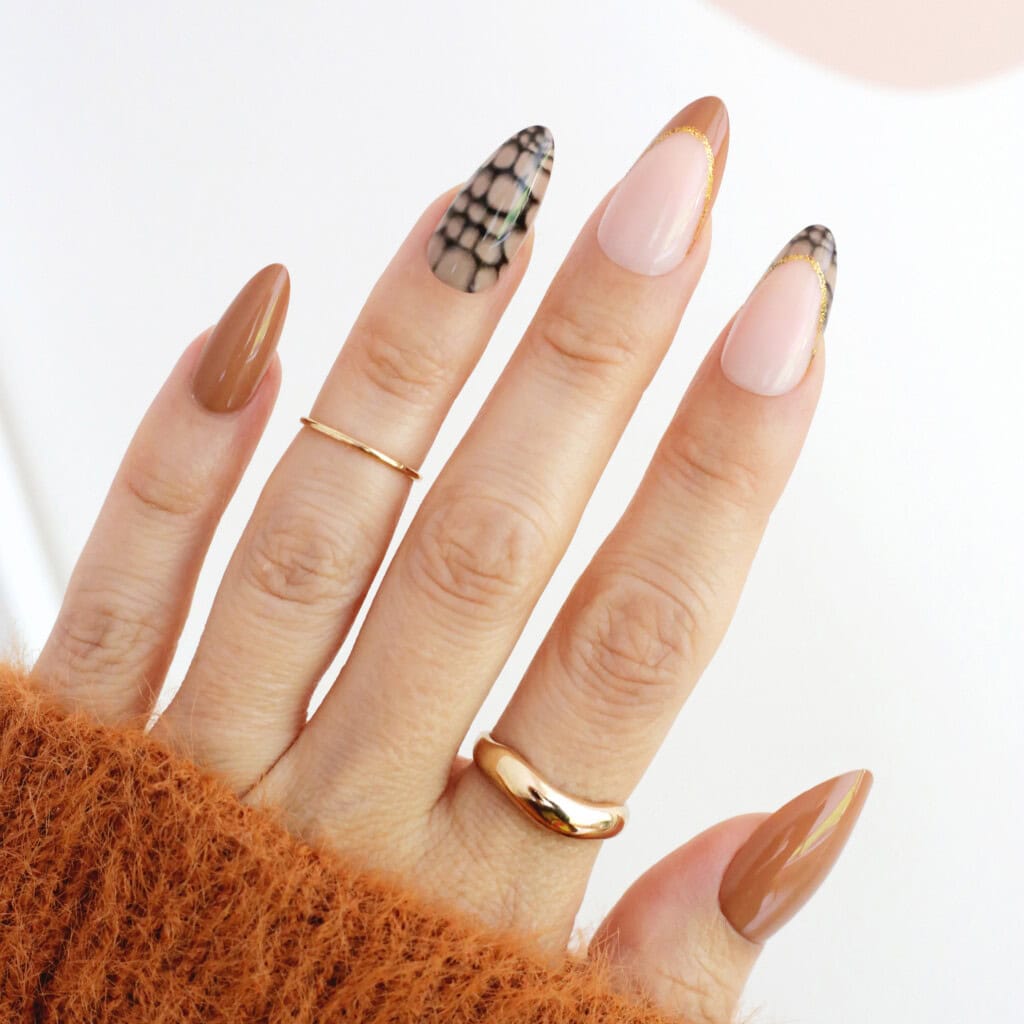
Snakeskin Accent
Perfect for fall, this brown and snakeskin accent mani hits in all the right places.
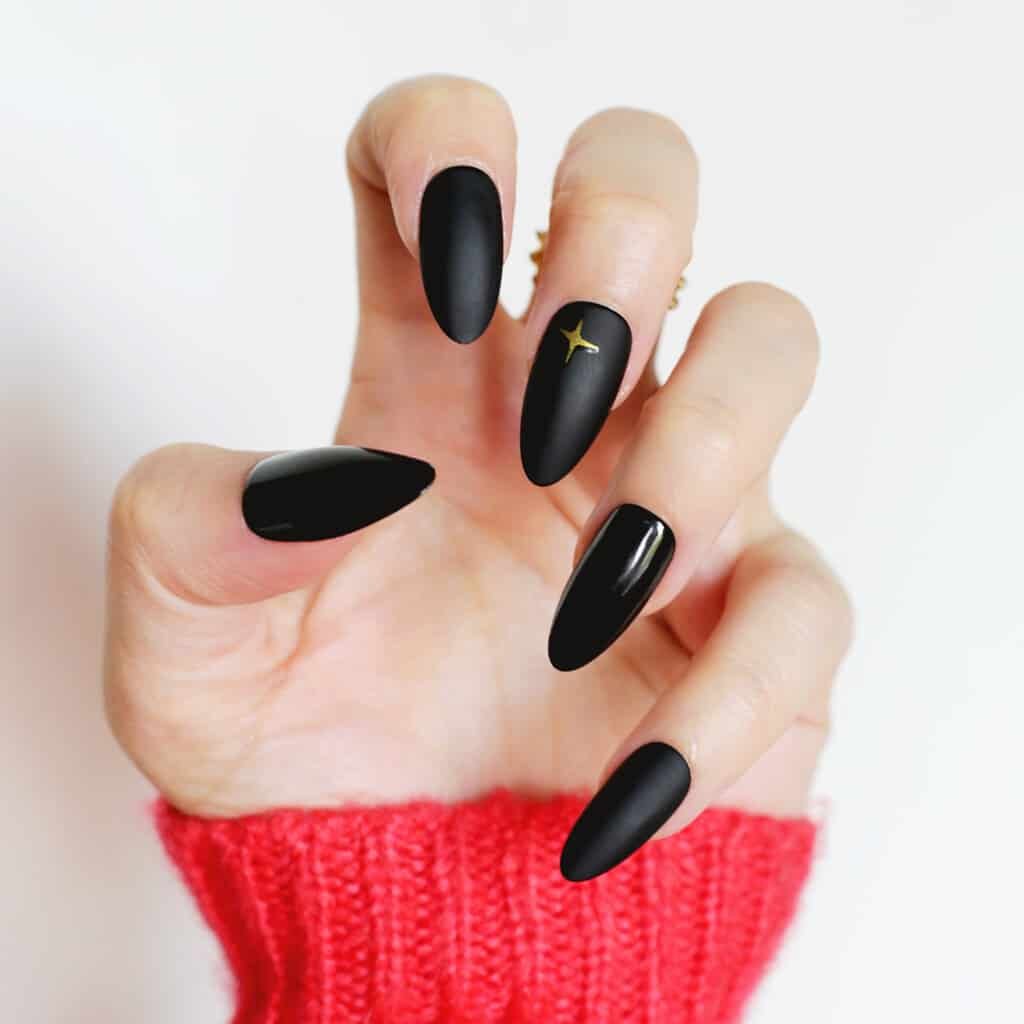
Black Night
This combo of matte and glossy black polish nails are perfectly chic for Halloween.
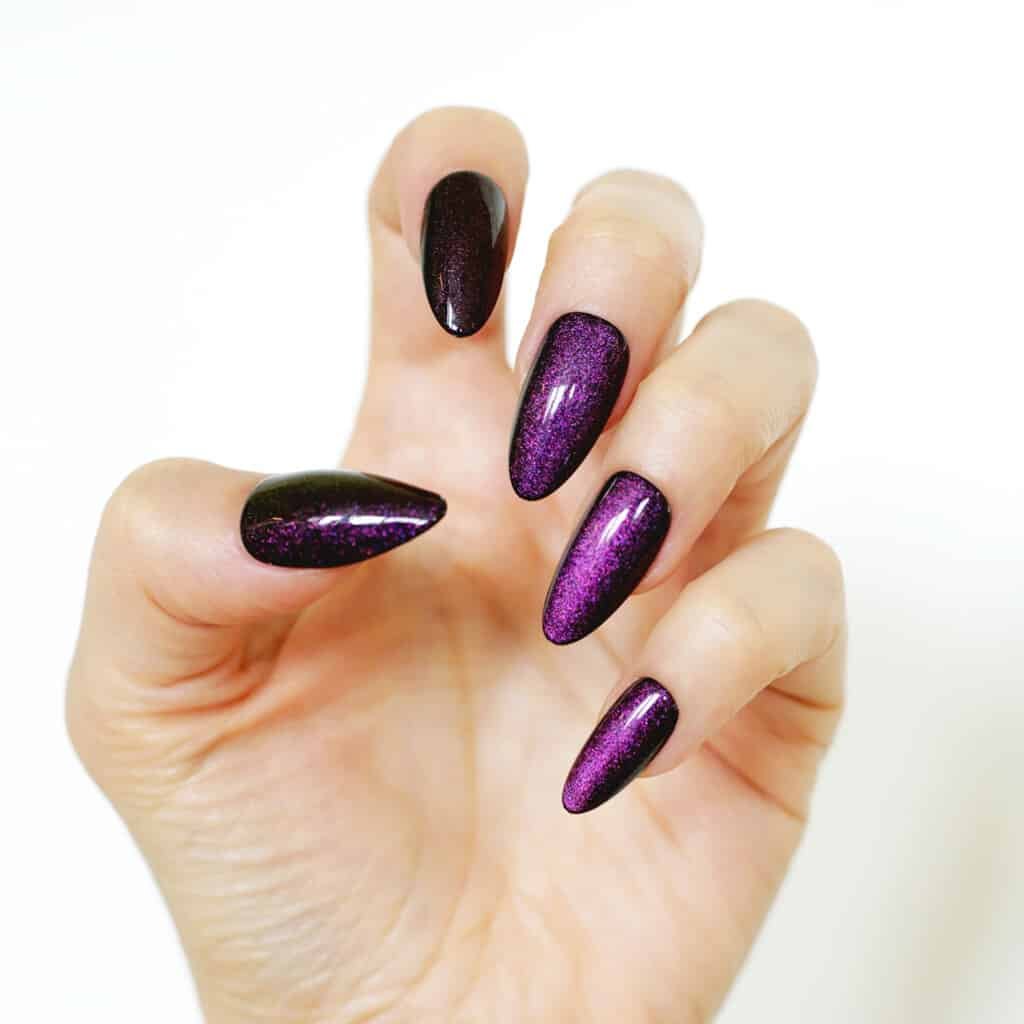
Purple Haze
Whether you just love purple or want that glam witchy look for Halloween, these glitter nails are just right.
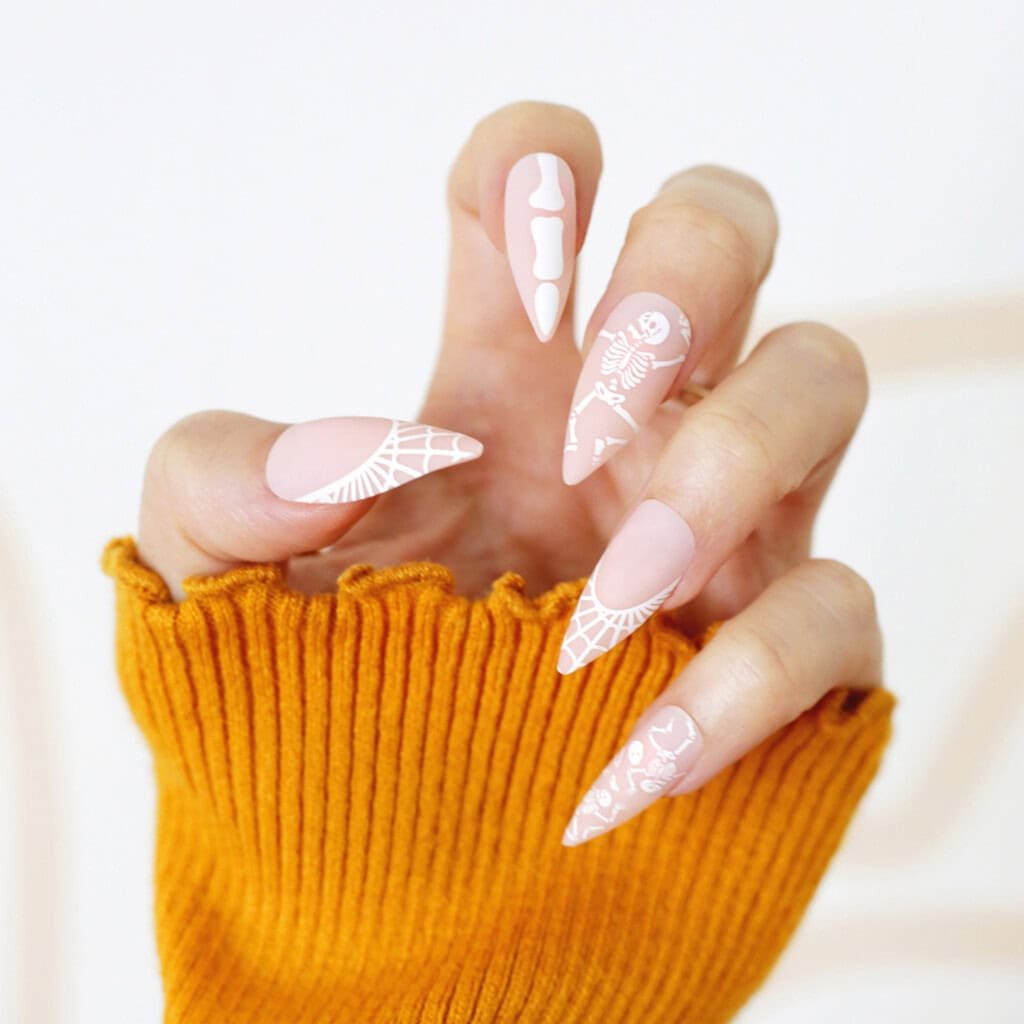
No Bones About It
Add a spooky vibe to your manicure with some skeleton and spider web details.
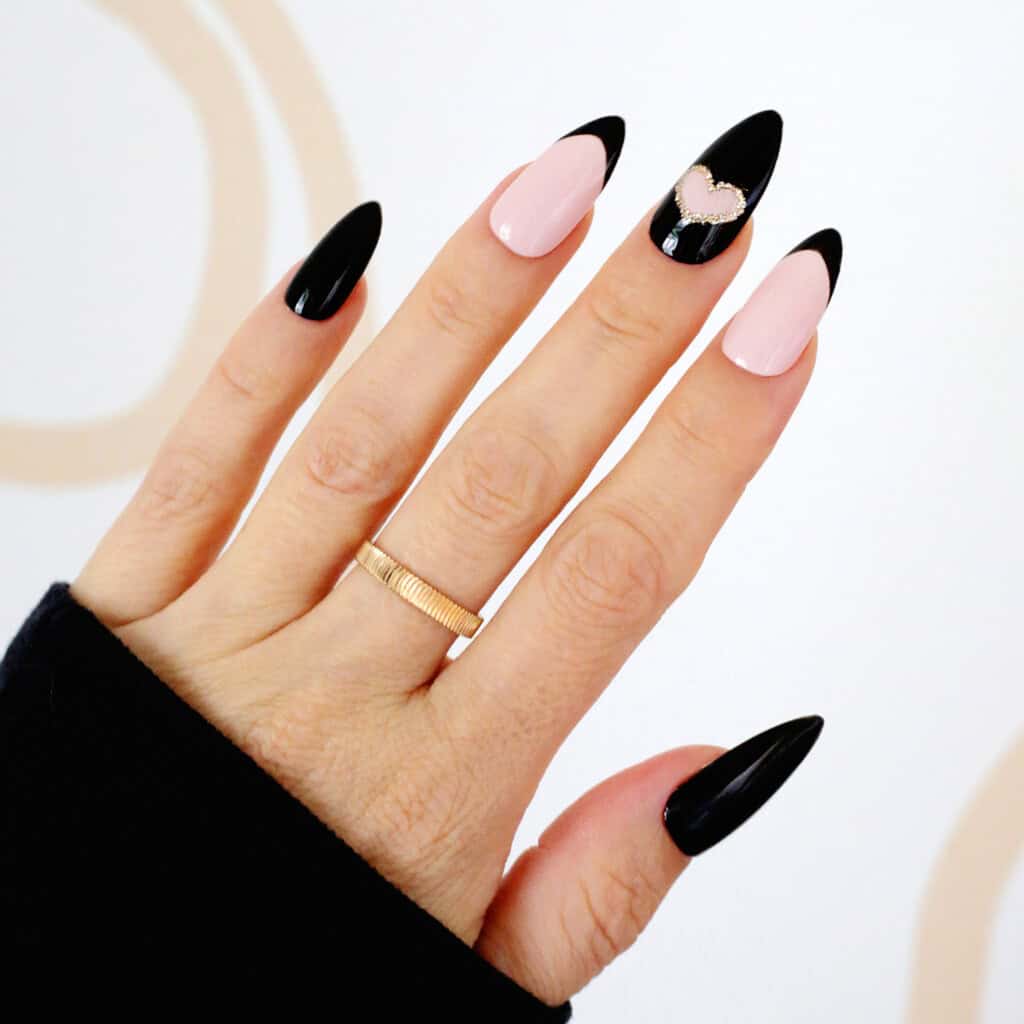
Peek A Boo
These nude and black polish accent nails with a heart cut out are cute for Halloween or any time of the year.
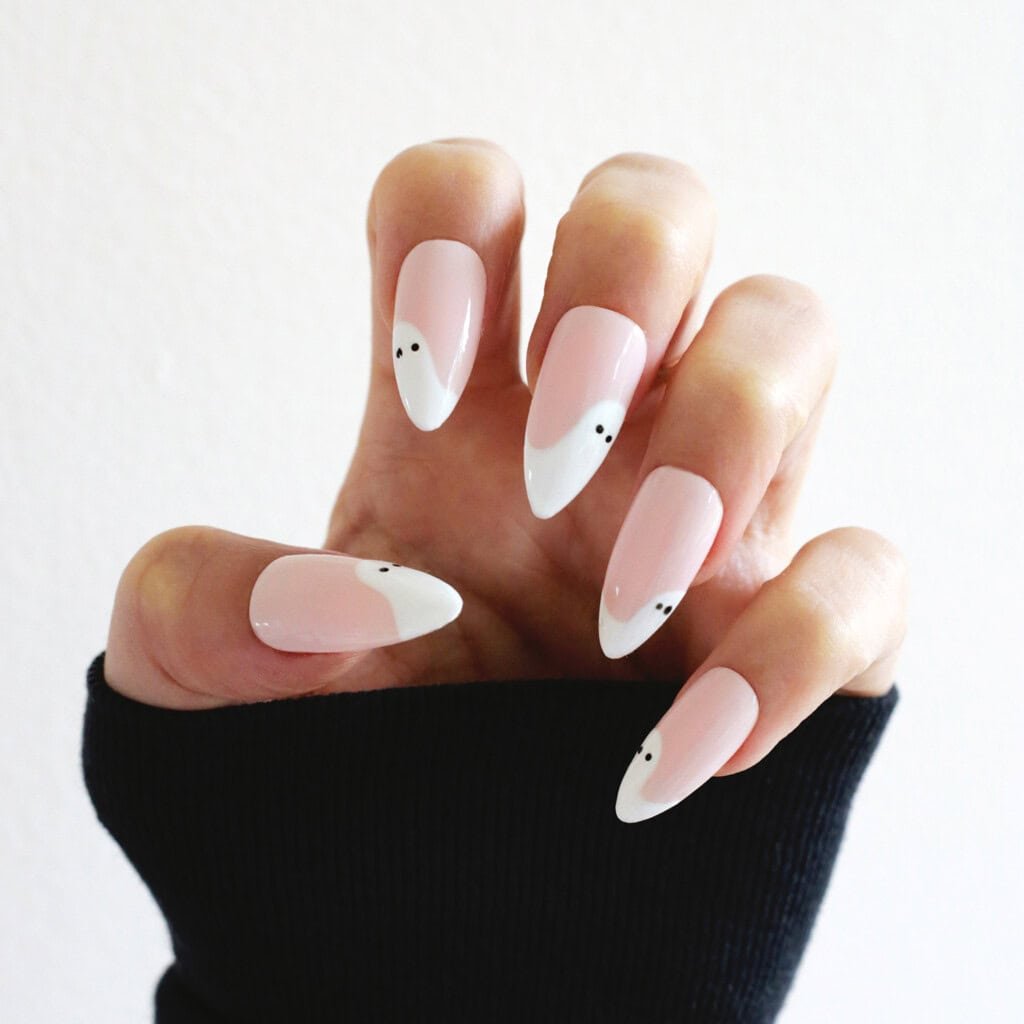
Hey Boo
Add these friendly ghosts to your mani with a brush and dotting tool for some cute Halloween fun.
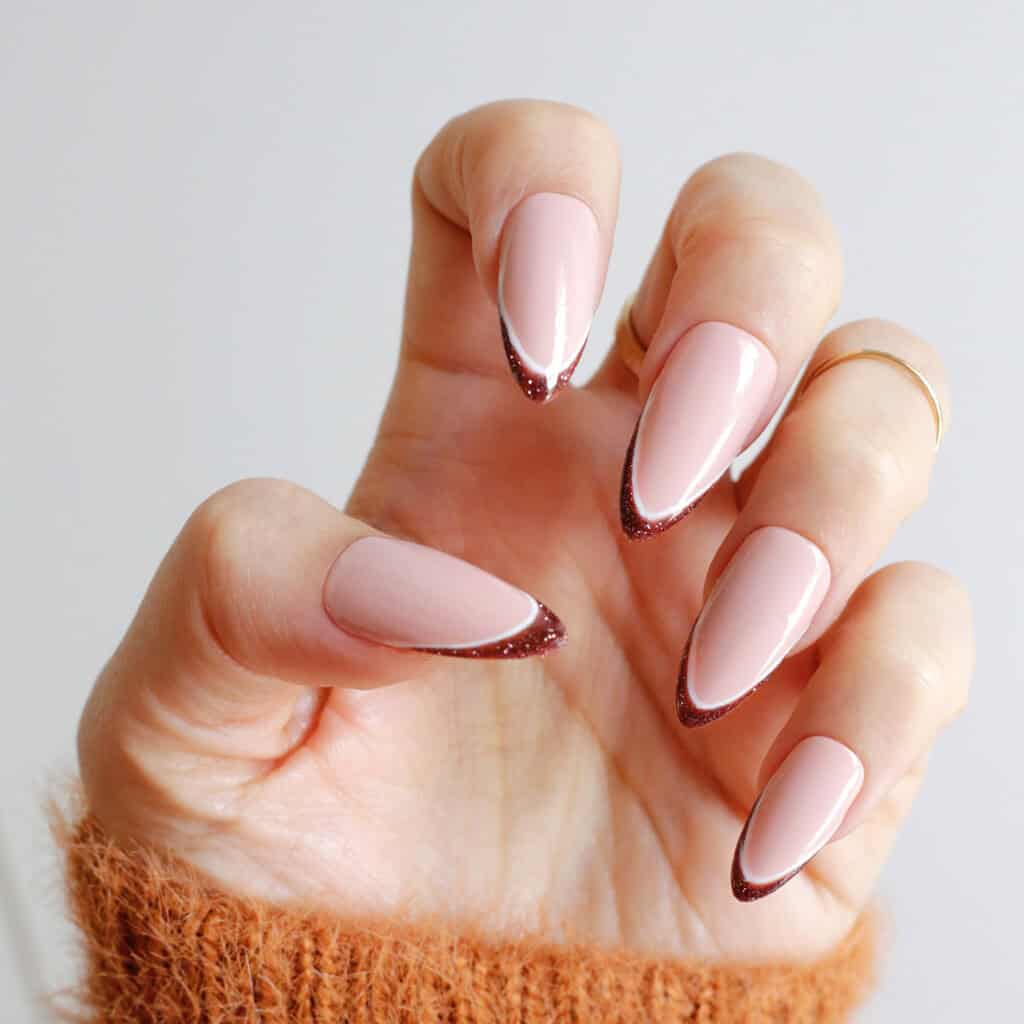
Chocolate Tips
These glitter chocolate brown French tips are perfect for the fall season.

Pumpkin Pride
Add your love of all things pumpkin to your manicure for the perfect fun fall look.
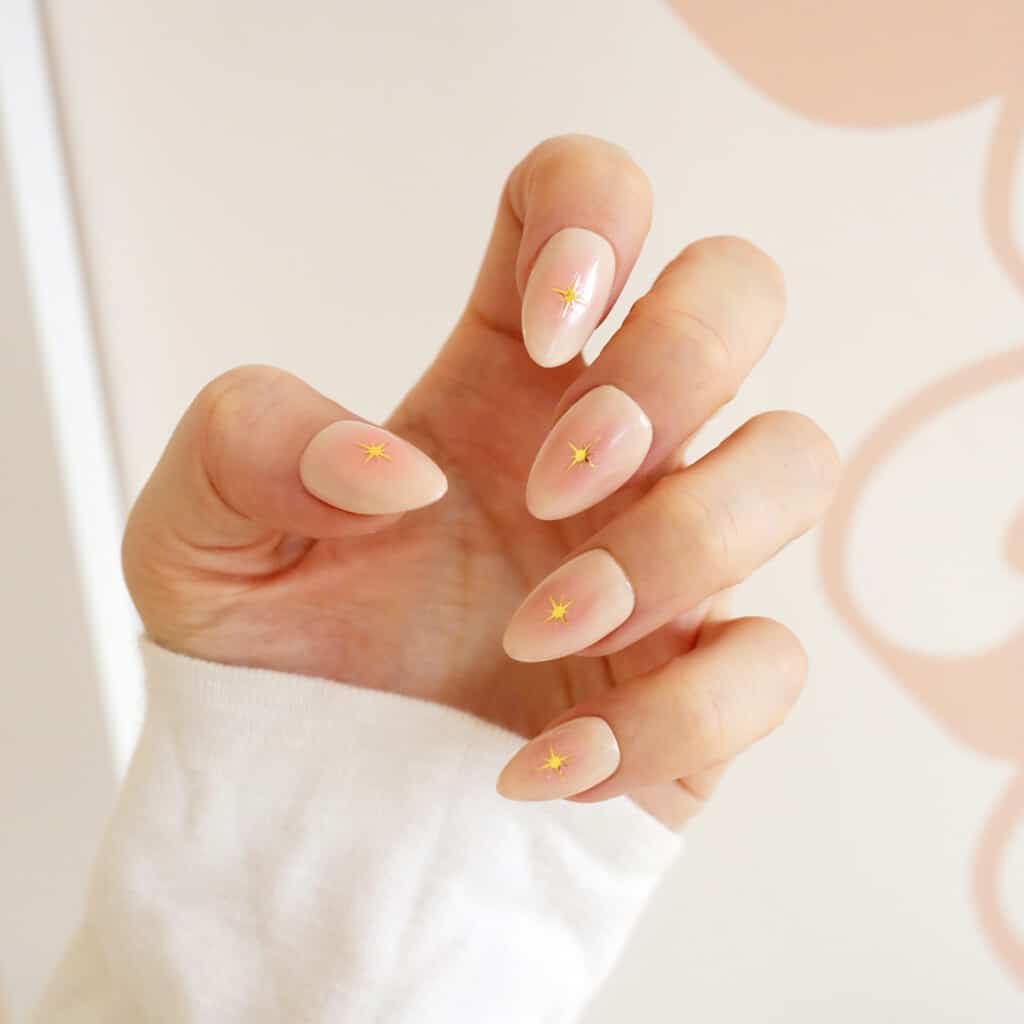
Star Kissed
Try these ombre blush centers accented with gold foil stars.
Looking for more nail ideas? Check out:
]]>Looking for more nail ideas? Check out:
- Get The Perfect Manicure at Home
- 65+ Fall Nail Designs
- 55+ Christmas Nail Designs
- 55+ Winter Nail Designs
- Beginner’s Guide to Gel Polish
- 30+ Chrome Nail Designs
- 125+ Nail Design Ideas
- 60+ Spring Nail Designs
- 45+ Easter Nail Ideas

At home Halloween nails vs. salon nails:
While you can do so many manicure looks at home now with gel manicure kits, it can be a little intimidating to some who are not as steady with their hands or just generally prefer the pampered experience at their local nail salon.
While gel polish manicures will generally last longer than traditional polish (usually 2-3 weeks for a gel manicure), there are traditional polish brands that boast several weeks of wear from their products and you don’t have the longer gel removal process at home if you choose to take off your own polish.
Some of the trickier techniques like chrome or magnetic polish also might be a little easier in the hands of a professional, but if you have a gel nail kit at home, they are looks that are fun to try and master.
Of course, doing a press-on nail is the easiest way to get your perfect Halloween style at home by yourself, so there’s no shame in finding your favorite look and grabbing your nail glue.
Glitter Ghosts
Halloween nail art doesn’t have to be creepy! These cute ghosts are more fun than scary added as an accent to glitter nails.
Smoke Show
The trend of smoke nails will add a fun yet spooky vibe to any look.
No Bones About It
These fun skeleton fingers are just right to show off on your Instagram for a cool Halloween look.
Love You to the Moon
Add some chrome gold moons and starry night accents to a natural nail for a subtle celestial look.
Sparkle Black French
Adding some sparkle under a black French tip manicure for all treat and no trick when it comes to your manicure.
Candy Corn Tips
These orange, yellow, and white tips will give you candy corn inspiration and look good enough to eat!
No Bones About It
Make your nails a canvas and add some spooky vibes with skeletons, skulls, and spider web details.
Mystical Magic
These fun symbol nails on black nail polish are just the right amount of pattern for the perfect Halloween look.
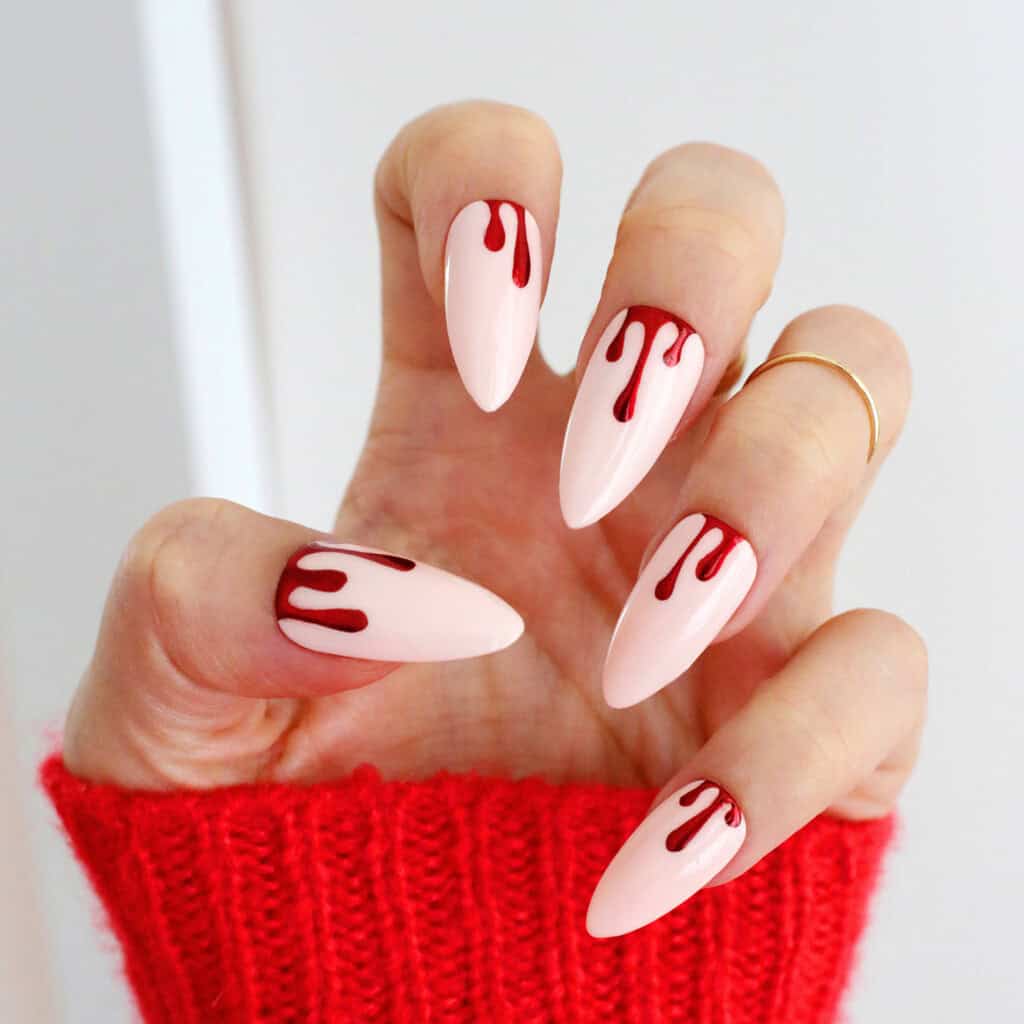
Chrome Blood
Add some blood drips to your nails (extra points for chrome red blood) to really sell your scary Halloween costume.
Boo to You
These 3D ghosts will stand out on black nails with black glitter tips.
Halloween Checkers
Black and white checkers next to cute jack-o-lanterns make this a scary cute manicure design.
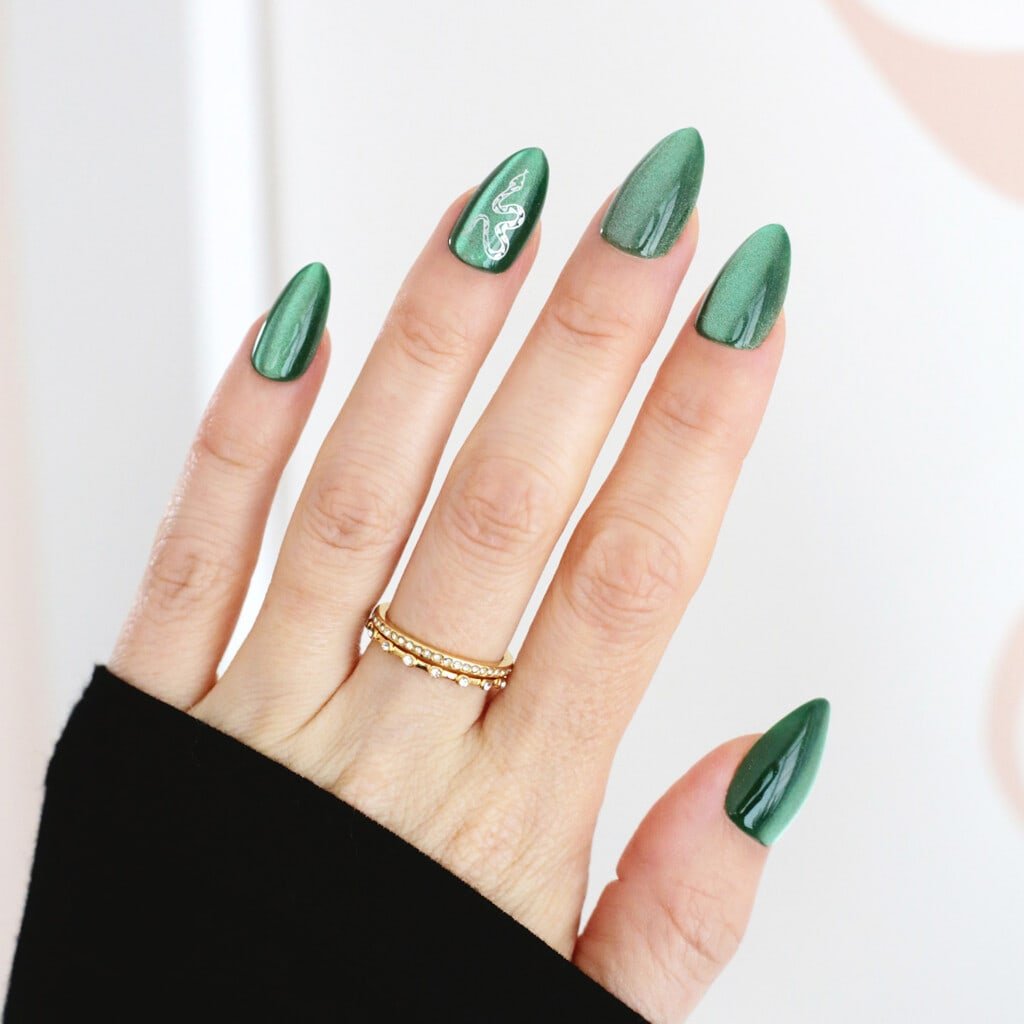
Slytherin Style
If you can talk to snakes, show off your Slytherin allegiance with these velvet green nails with a silver snake accent.
White As A Sheet
These cute flower ghosts bring some floral fun to the fall season and you can DIY the look with some white nails and Halloween nail decals.
Spider Woman
They may give some of you nightmares, but these spiders look fabulous crawling over a nude matte nail.
Orange Ombre
These orange ombre nails with black sparkle webs are the perfect look for your fall Halloween season.
Cat’s Meow
Even if you are superstitious, we like the creativity of adding cute black cats to your nails this Halloween.
Halloween Aura
These purple and black aura nails are just right for the Halloween season and give a more abstract look.
Dark Rainbow
This black sparkle manicure with rainbow cat eye glitter brings a little color to a dark mani.
Halloween Town
Get into the spooky season with these taupe and black polish accent nails full of ghosts and spider webs for Halloween manicure fun (this would be fun on a coffin nail shape as well).
Pumpkin Patch
These nails are the perfect pumpkin patch accessories for your fall outings.
Webs of Gold
Delicate gold webs are pretty against a nude background for a fun Halloween twist.
Back in Black
Matte black nails with shiny black tips are a chic twist on a classic French tip for the fall and Halloween season—perfect companion for a vampire costume!
I Ain’t Afraid Of No Ghost
These bold nails bring the Halloween spirit to your fingertips as they feature black sparkle backgrounds for scary ghosts to haunt.
Spooky Lavender
Who said ghost nails are just black and white? Try shades of purple for your next ghost manicure.
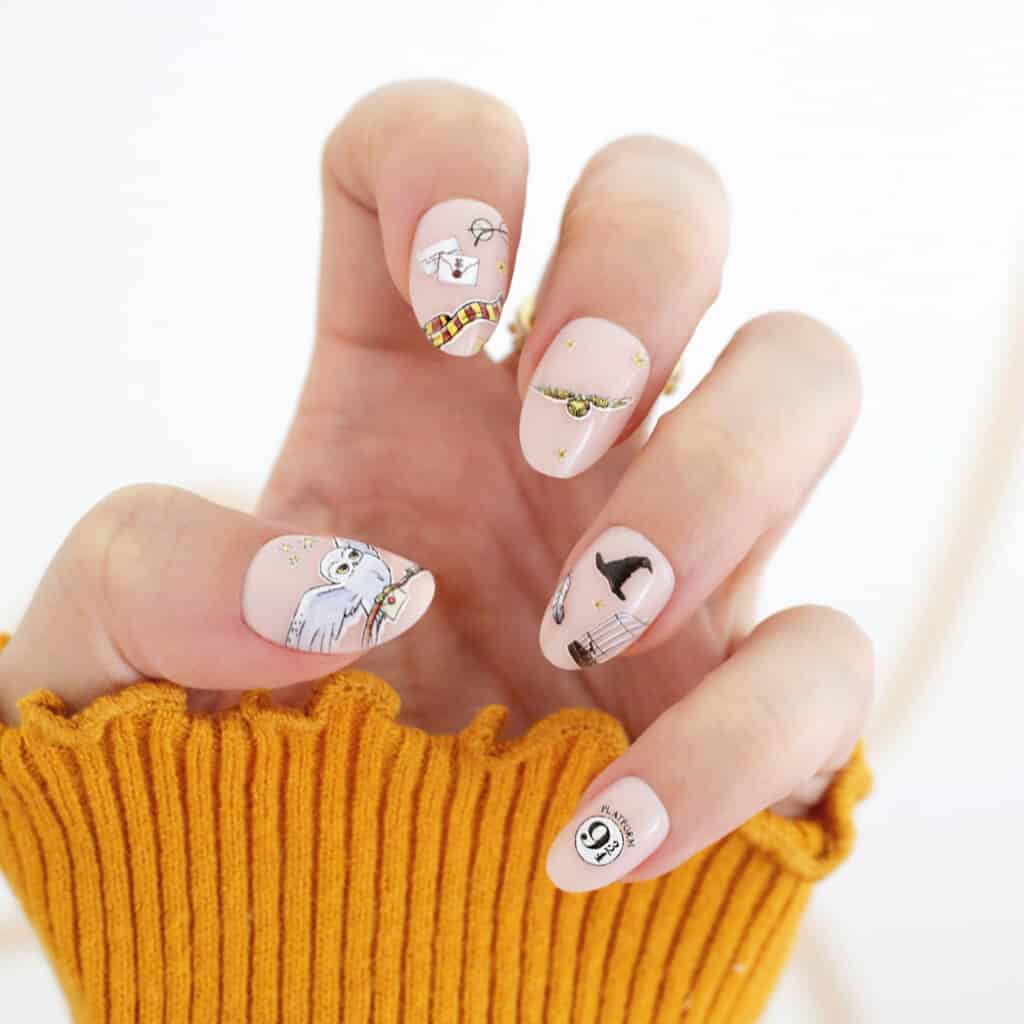
Harry Potter
Show your HP fandom off with these short Harry Potter nails fit for any witch or wizard.

Ghostbusters
This mani gets its neon green color inspo from the best of Halloween slime.
Peek A Boo
These nude and black polish accent nails with a negative space heart are cute for Halloween or any time of the year.
Lovely in Lace
To add some black to your manicure without looking overly dark, try a black lace look this Halloween.
Wine and Dine
This cat eye is perfect to add a bit of blood red to your wardrobe.
In The Mood
This October, try navy nails with marbling and gold star details bring a moody vibe to your fall wardrobe.
Black Cat Eye
These black cat eye nails are stunning in the sun and bring a lighter look to a classic black manicure.
I Want My Mummy
This cute mummy design is all Halloween without feeling creepy crawly.
Boo Who?
Like Casper, maybe just one little friendly ghost is all you need on your mani and you can sport a simple orange French tip for the rest.
Pumpkin Swirl
This look of marbled orange and white are the perfect level of pattern for fall.
Pumpkin Pink
Pink French tip nails with tiny pumpkin art gives you a mini pumpkin patch everywhere you go!
Aura You Ready For This?
These stunning green and purple aura nails bring all the hocus pocus vibes and add magic to your look.
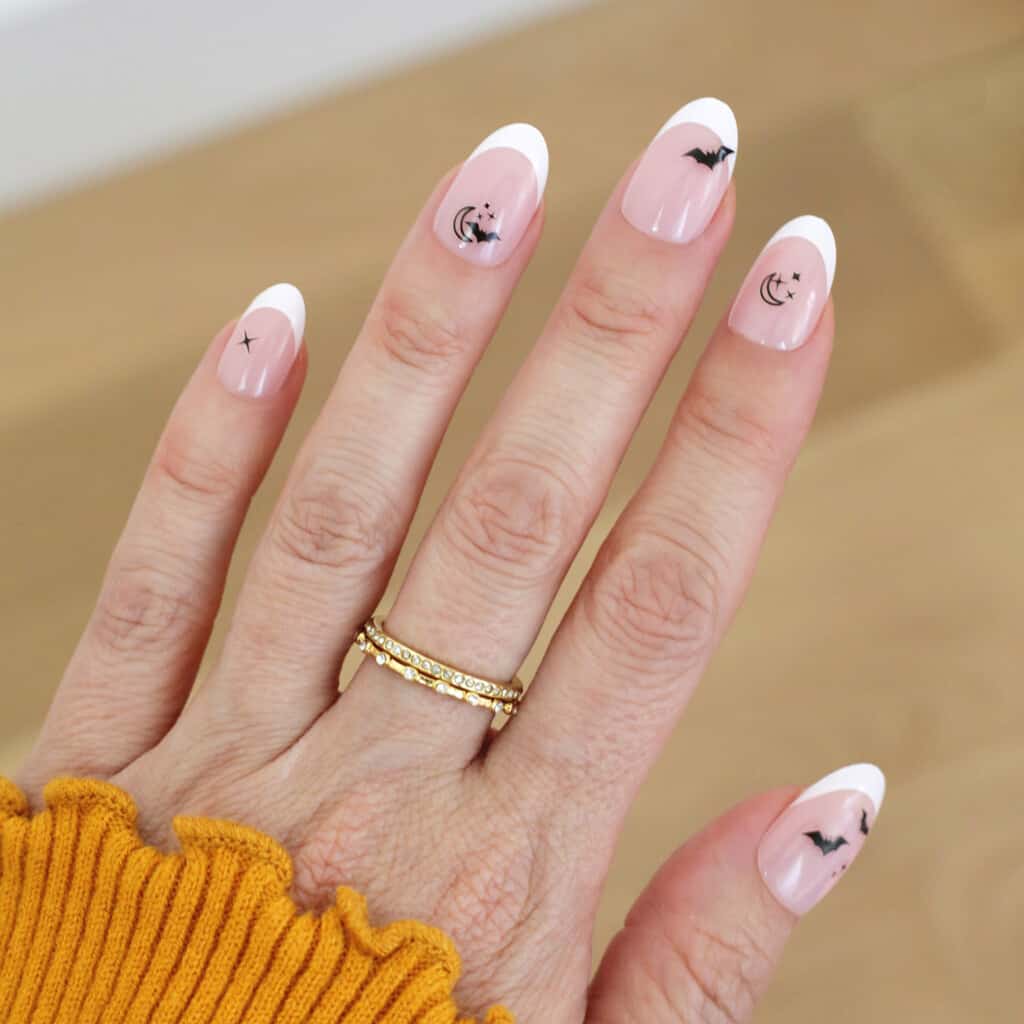
Spooky Symbols
For beginners, add some Halloween bat and moon decals to a French manicure and you have a simple yet cute Halloween vibe over a classic look.
Icy Webs
White webs look delicate against a shimmery white background for a tone on tone effect.
Shades of Fall
These fun nails use all the colors of fall leaves with little flower accents.
Chrome Symbols
Gold and chrome purple are a pretty combo along with French tip accents and scary symbols.
Pumpkin Pride
Add your love of all things pumpkin to your manicure for the perfect fun fall look.
Hint of Black
Add a bit of drama to your nails with these sleek nails that have just the bottom side dipped in black polish.
Black Night
This combo of matte and glossy black polish nails are perfectly chic for Halloween.
Purple Haze
Whether you just love purple or want that glam witchy look for Halloween, these glitter nails are just right.
Hey Boo
Add these friendly ghosts to your mani with a brush and dotting tool for some cute Halloween fun.