Once I did a little research, I found out that they are one and the same. If you know how to French braid, this Dutch braid tutorial is easy peasy.
Basically, you are just reversing the direction of the braid. If you aren’t quite as experienced in the French braid department, that’s OK!
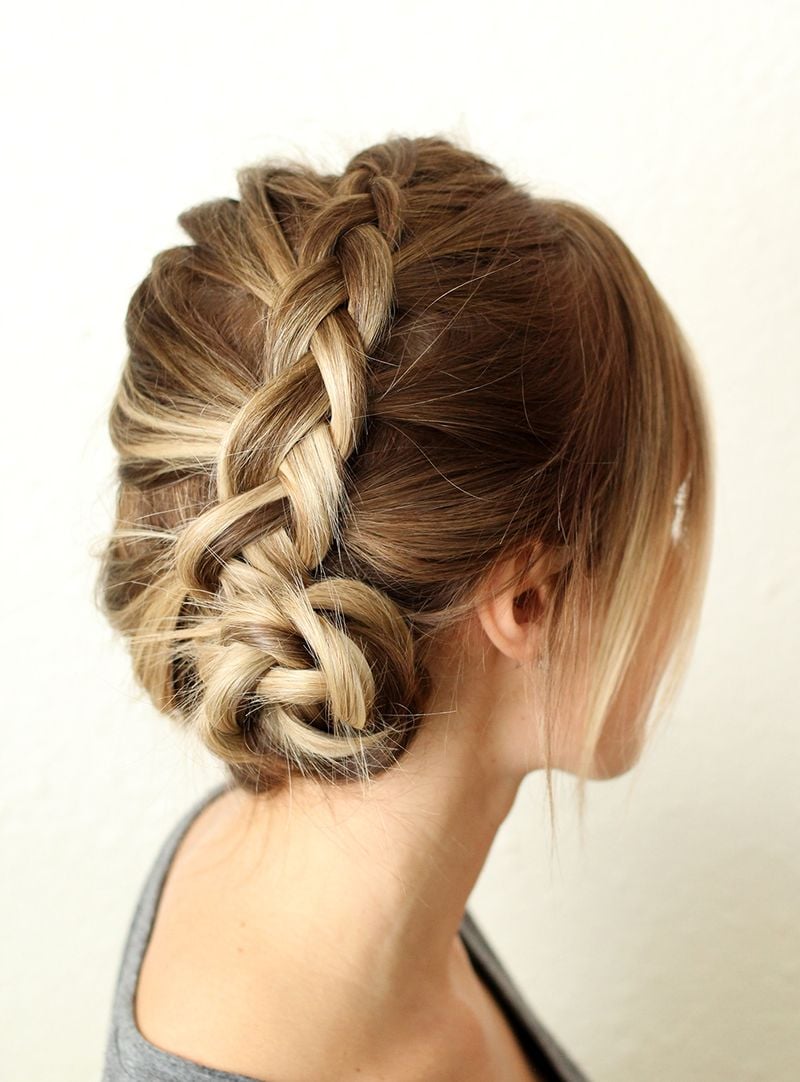
I’ve broken down the Dutch braid steps for you, so you’ll be braiding (like a pro) in no time.
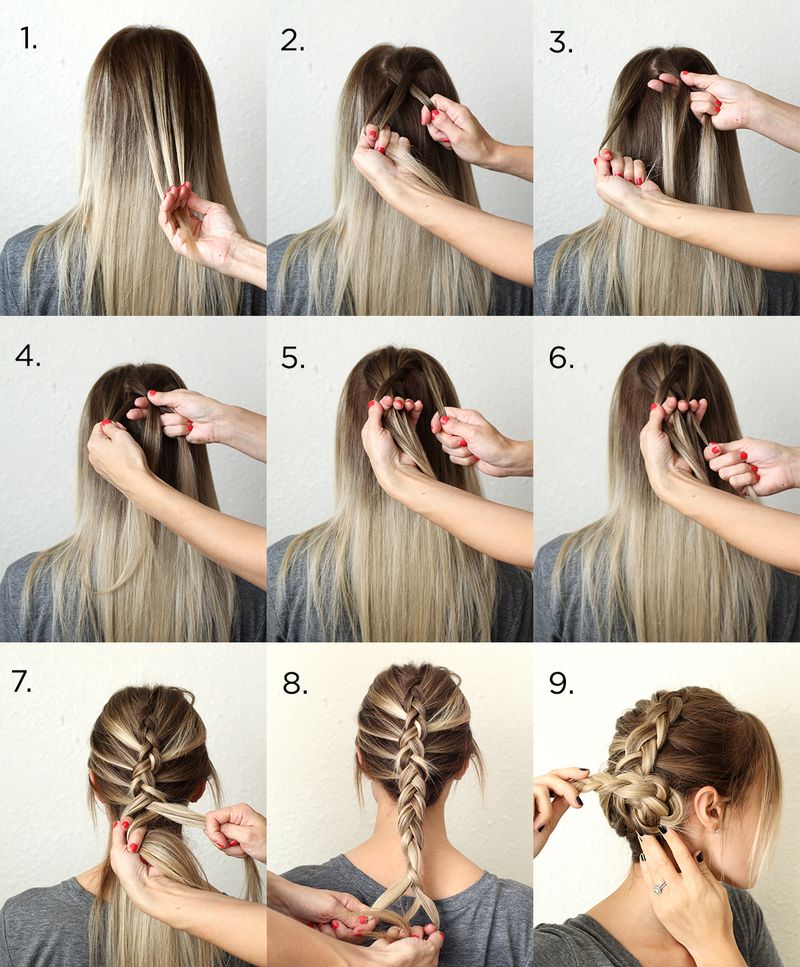
Step 1: Divide hair at the top of your head into three sections.
Step 2: You will begin braiding, but instead of crossing your strands OVER the middle piece, you will be crossing UNDER.
Step 3-4: After you have crossed under twice, take a section of hair from the side and add into one of your strands. You will cross this section of hair UNDER the middle strand.
Step 5-6: Repeat on the next side, making sure to be consistent and continue crossing under the middle strand every time.
Step 7: Continue braiding down.
Step 8: Once you reach the nape of your neck, keep braiding until you reach the bottom.
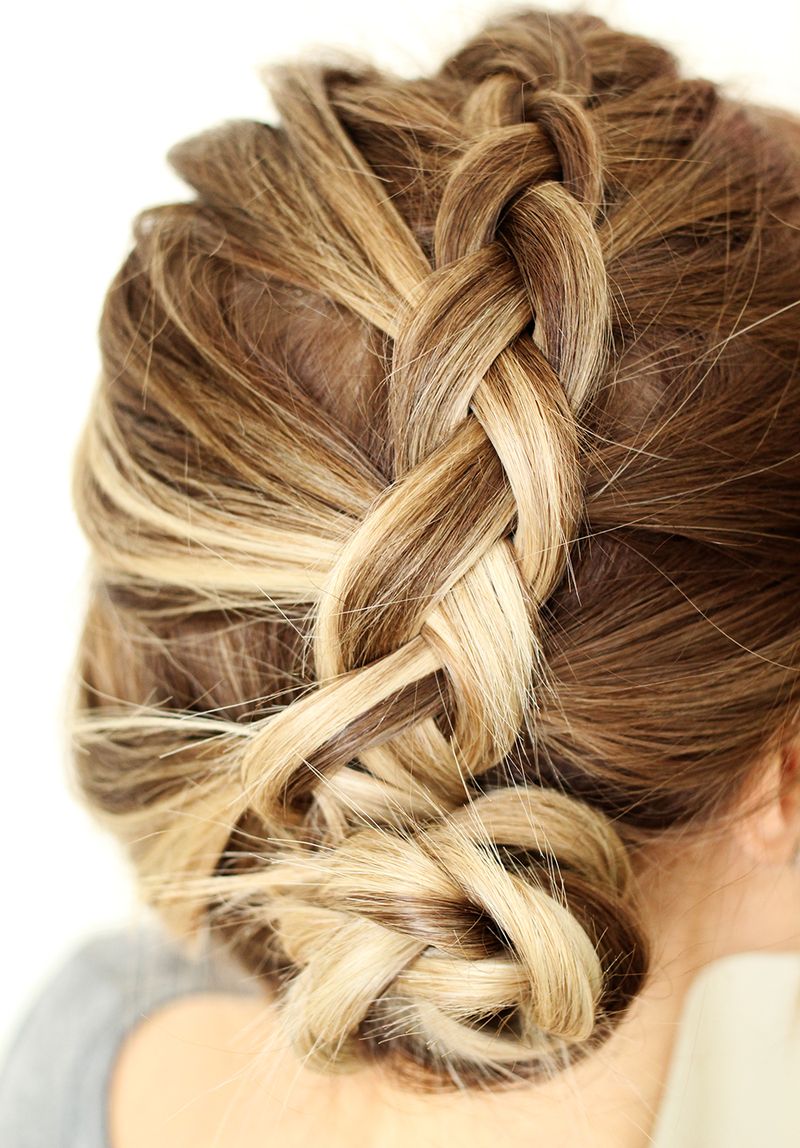
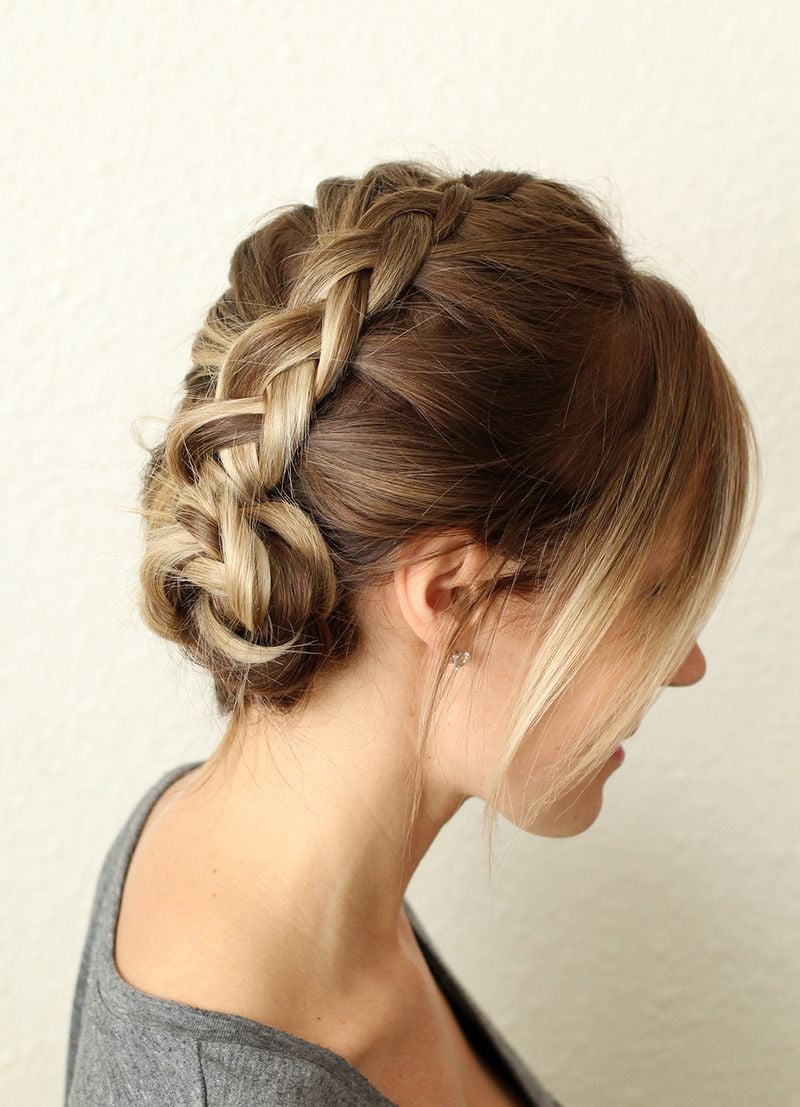
Step 9: (optional) Twist the bottom of the braid around itself into a bun and pin into place with bobby pins.
Looking for more braid ideas?
P
]]>But, this is truly the easiest way I know how to throw my medium/long (thin! postpartum regrowth) hair into a cute top knot style.
Related: 25+ Easy Hair Tutorials For Any Occasion
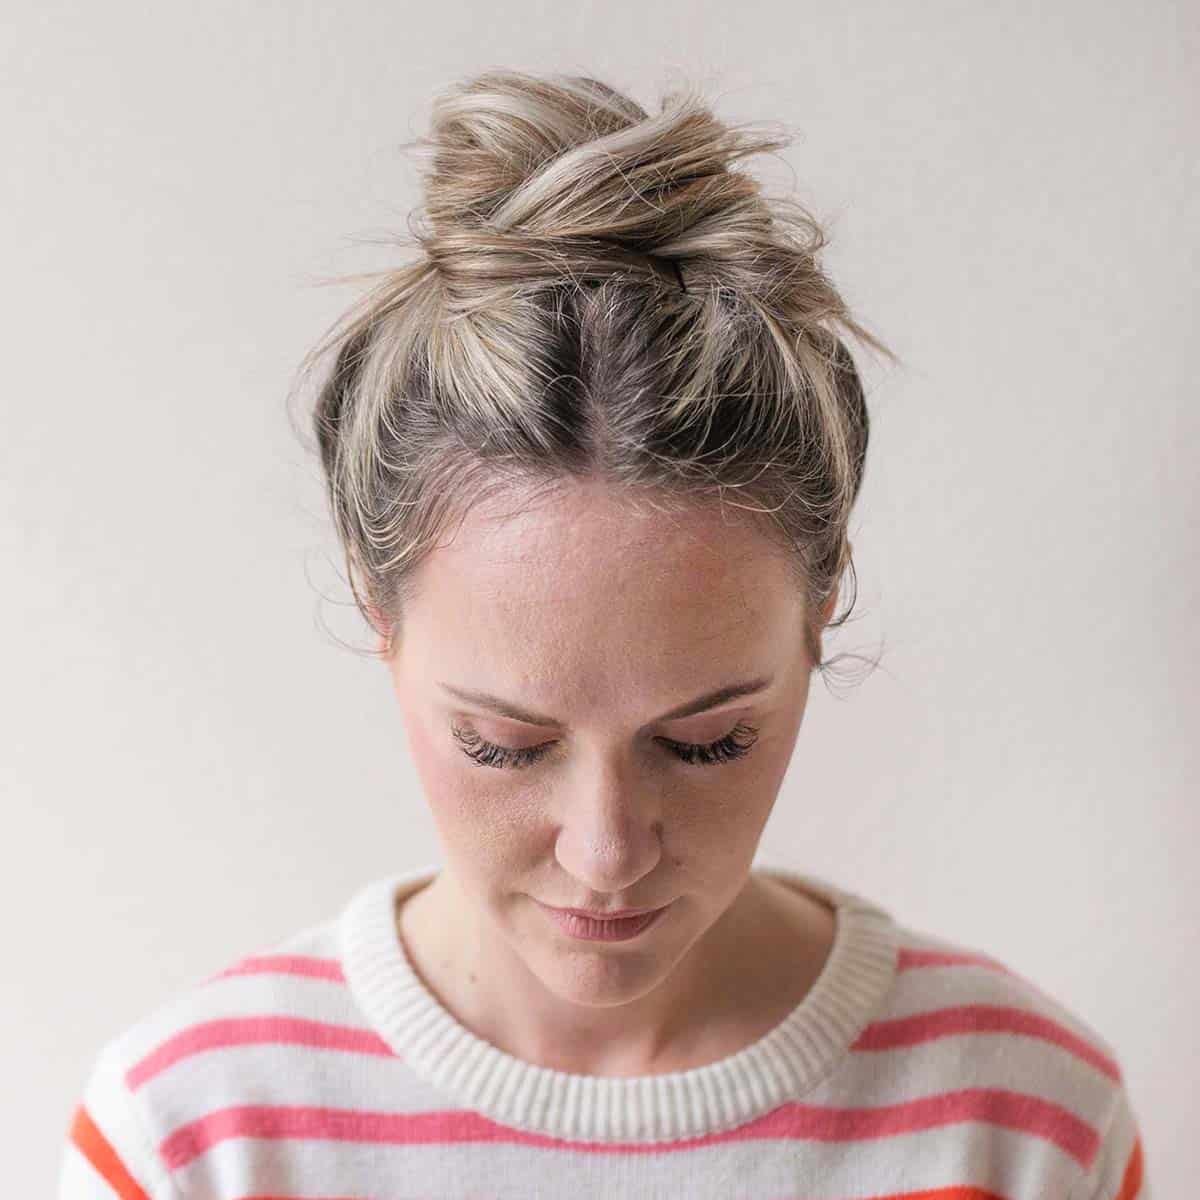
This is a great hairstyle for those warm summer months since it’s a stylish way to keep your hair up and off your neck and shoulders.
I love how top knots can be styled to look casual for a day out shopping or more polished for an office day.
Other easy hairstyles for warm weather:
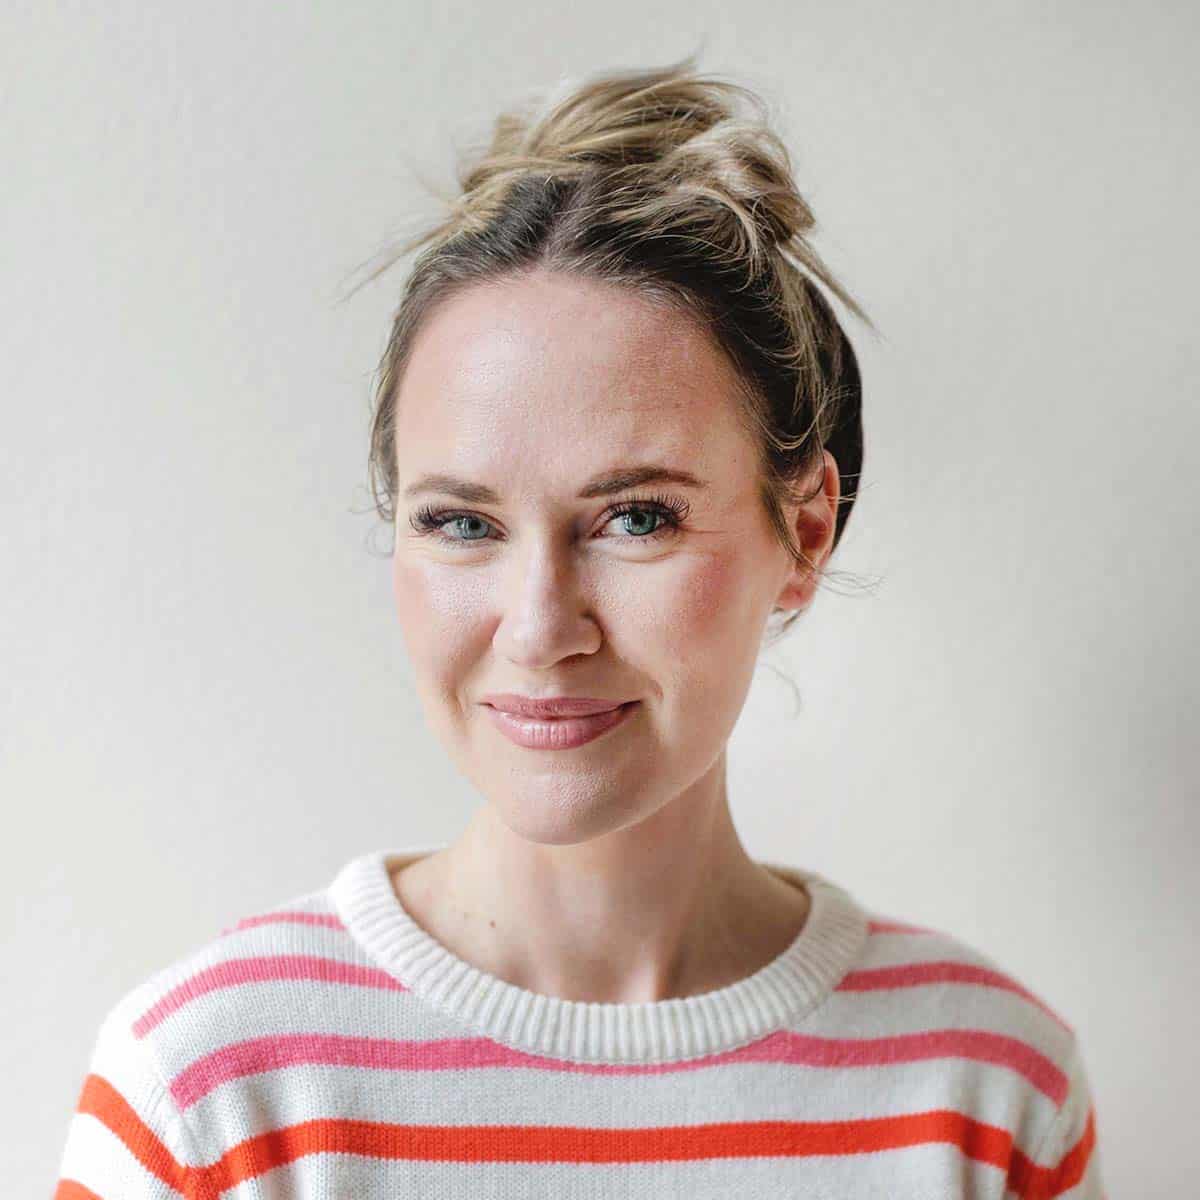
You could absolutely customize this top knot hairstyle with accessories like a headband or oversized scrunchie.
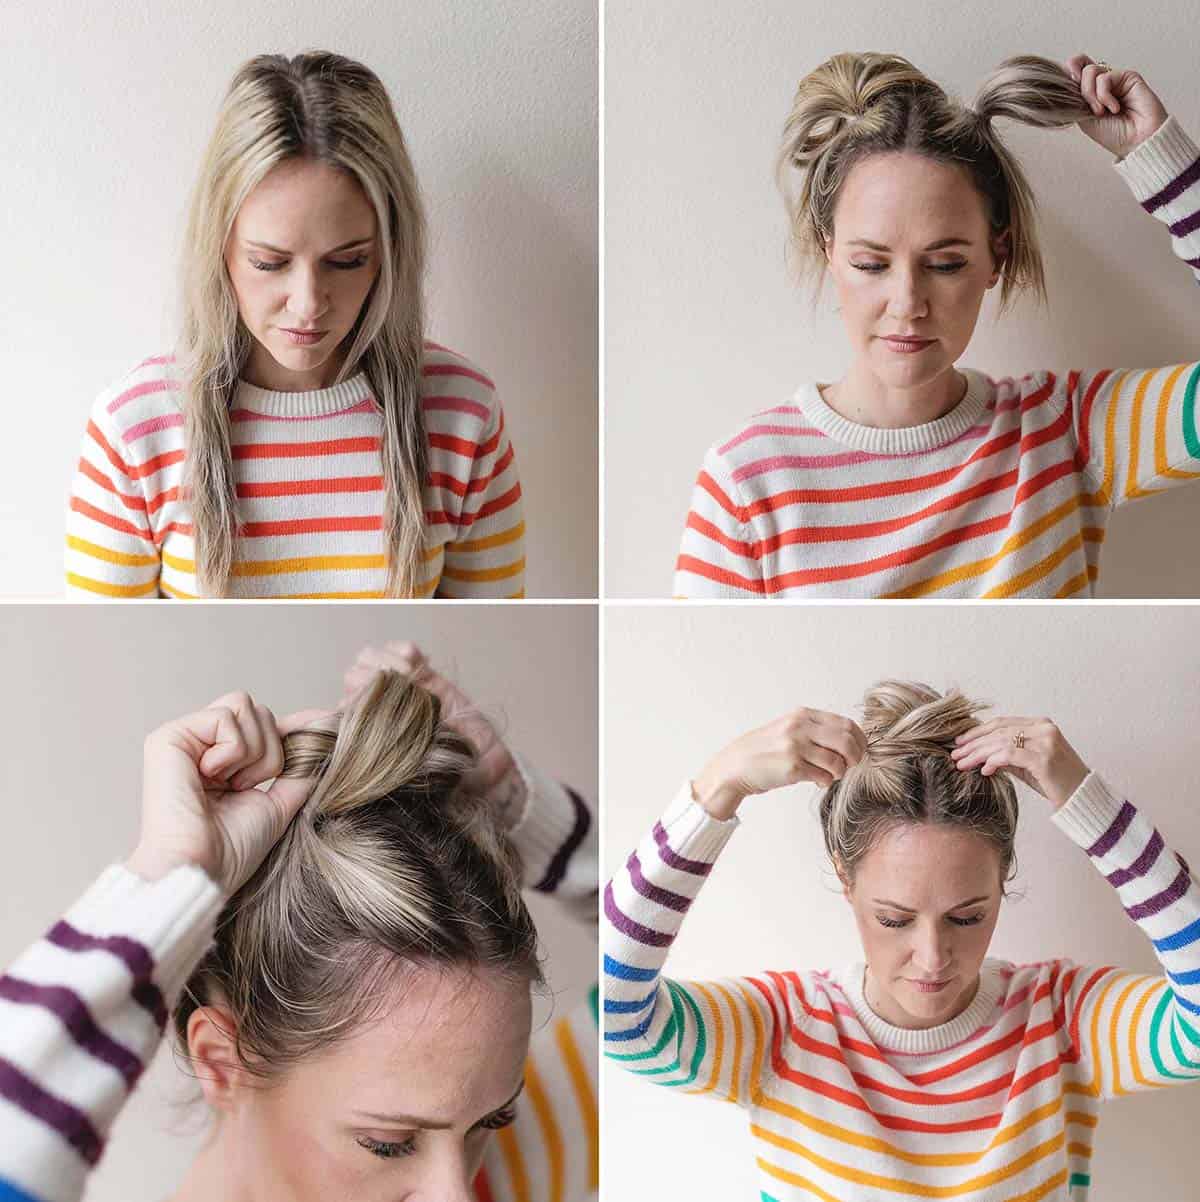
1. Part your hair in the center from the crown of your head to the base of your hair on your neck.
2. Form a messy half ponytail on each side. I use clear elastic rubber bands for a no-show look, but if your hair is thicker, you may need thicker bands.
3. Each half ponytail will have a loop in the center. Pull one of the half ponies through the other loop of the other one.
4. Use bobbie pins to pin in place.

You can change up the look of your top knot by leaving bangs or strands of hair out before you begin.
Or you can pull a few small strands out after for a more tousled look. If you prefer the tousled look, here’s how to do a half up topknot. xo. Emma

How to style a Top Knot
Ingredients
- 2 elastic rubber bands
- 2-5 bobbie pins
Instructions
- Part your hair in the center from the crown of your head to the base of your hair on your neck.
- Form a messy half ponytail on each side. I use clear elastic rubber bands for a no-show look, but if your hair is thicker, you may need thicker bands.
- Each half pony tail will have a loop in the center. Pull one of the half ponies through the loop of the other one.
- Use a bobbie pins to pin in place.
Notes
But, the summer is the one season I tend to wear my hair up more often because when it’s hot, it feels good. Am I right?
Related: 25+ Easy Hair Tutorials For Any Occasion
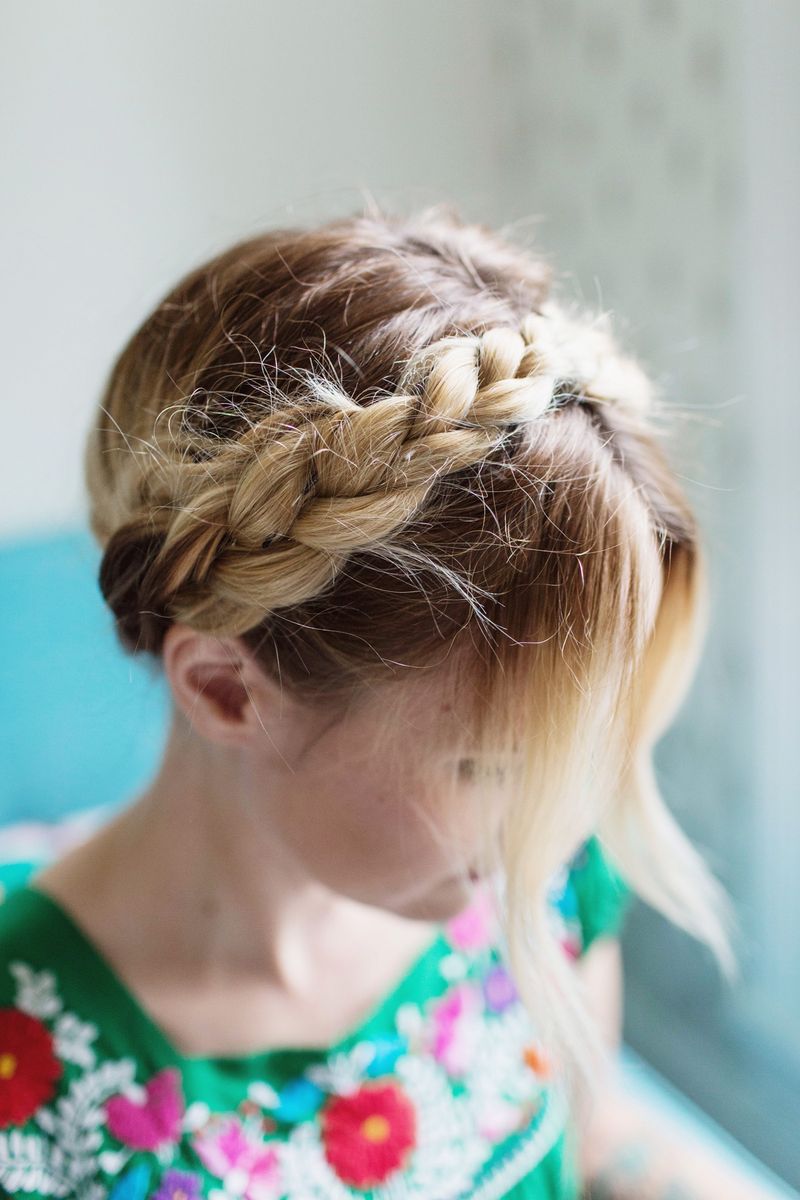
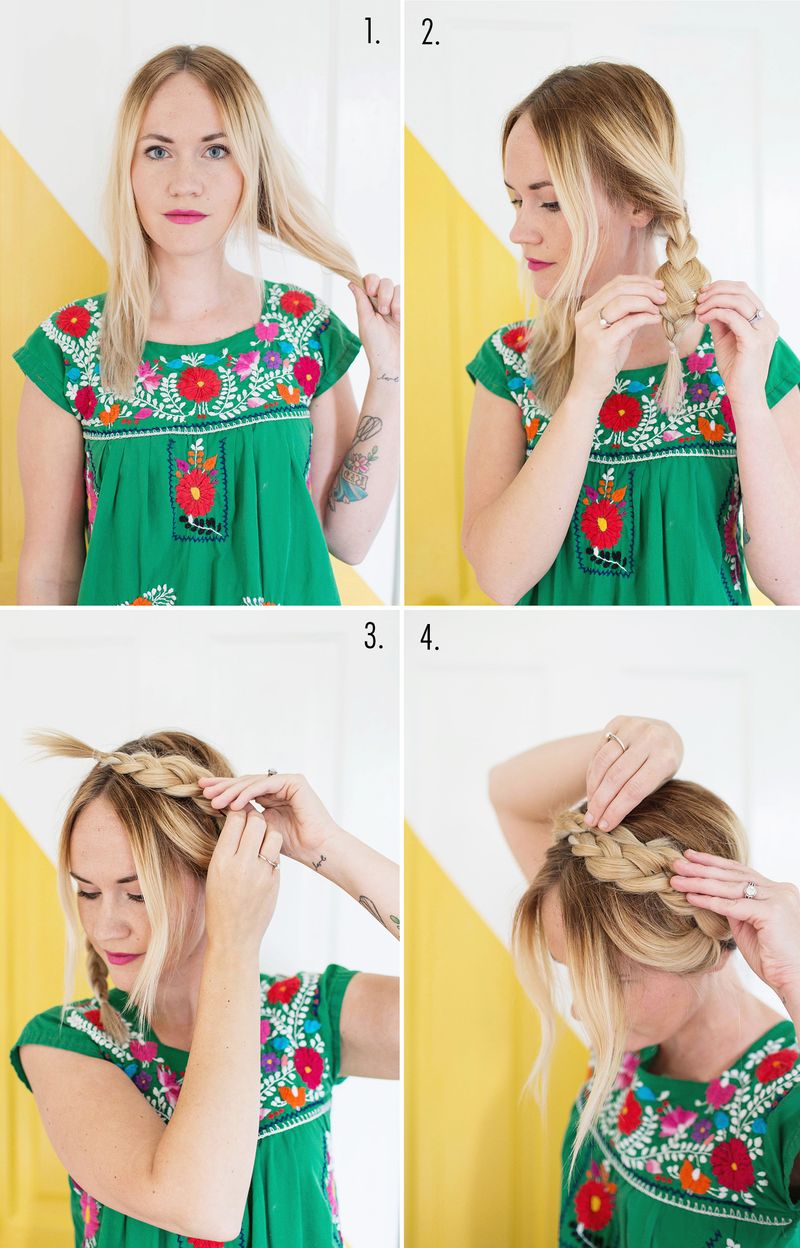
Step Two: I braid each side and fasten with a clear elastic band. I like to use clear bands because the ends are somewhat visible since I have longer hair (but not necessarily super long).
After braiding, I will gently pull at the braids to fluff them out a bit so they will appear a little fuller.
This actually works even better when my hair hasn’t been washed for a day or two, or I can use plumping powder to get a little texture (my hair is super fine).
Step Three: I pin the first braid with a couple bobby pins to the top center of my head. The end usually sticks up at this stage which is pretty funny looking.
Step Four: I pin the other side into place and tuck the ends under each braid. I usually give my head a shake to see if the braids feel secure, and if not, then I add another bobby pin or two.
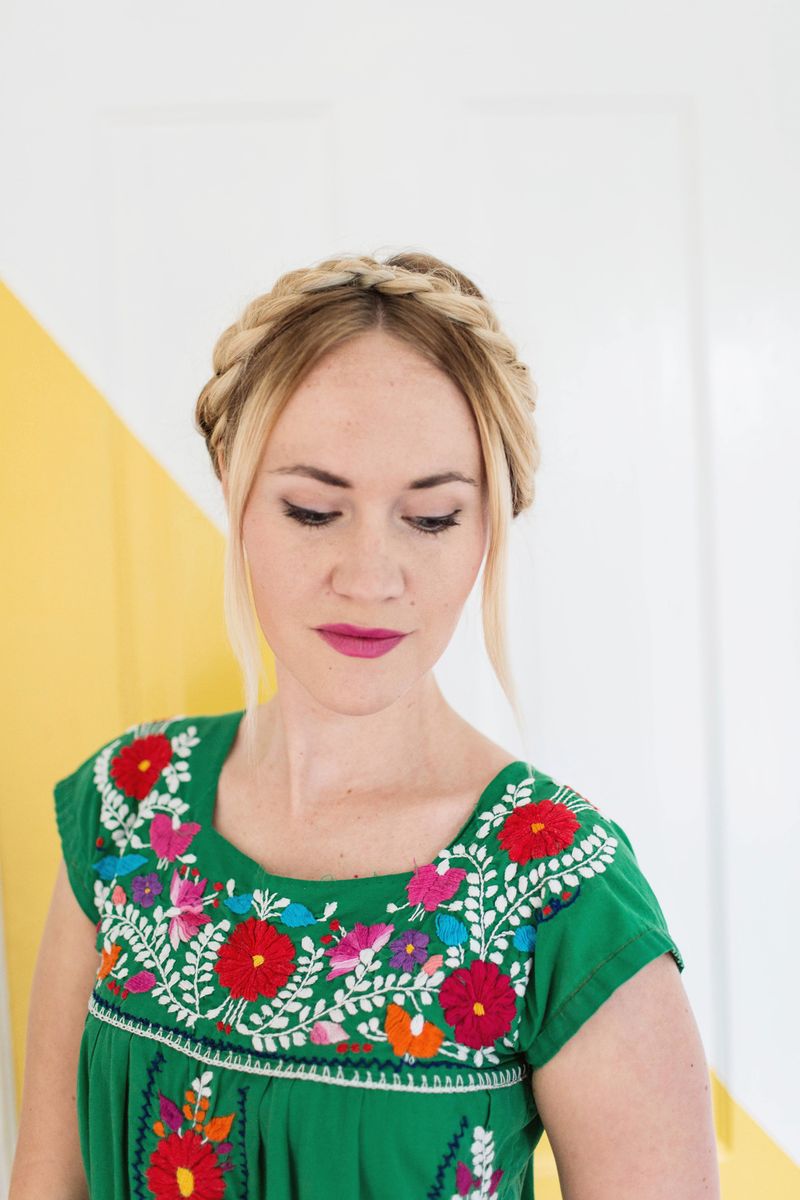
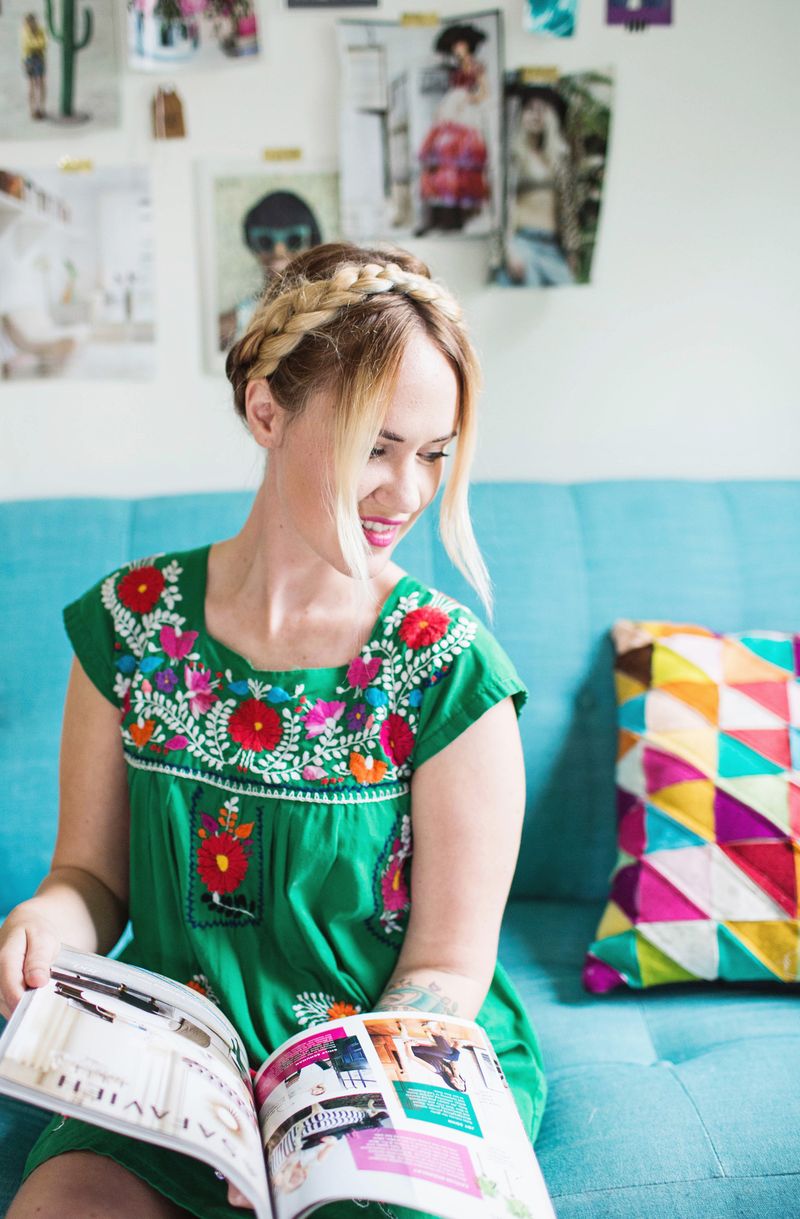
This easy maiden braids tutorial can work well no matter if you have bangs or not. Do you have a favorite summer hair style? xo. Emma
]]>Rosemary essential oil helps your hair grow faster and can even lead to thicker/fuller hair, so it was a great way for me to support my thinner hair (and help my awkward hair growth areas grow out faster).
Related: Pink Salt Hairspray Recipe
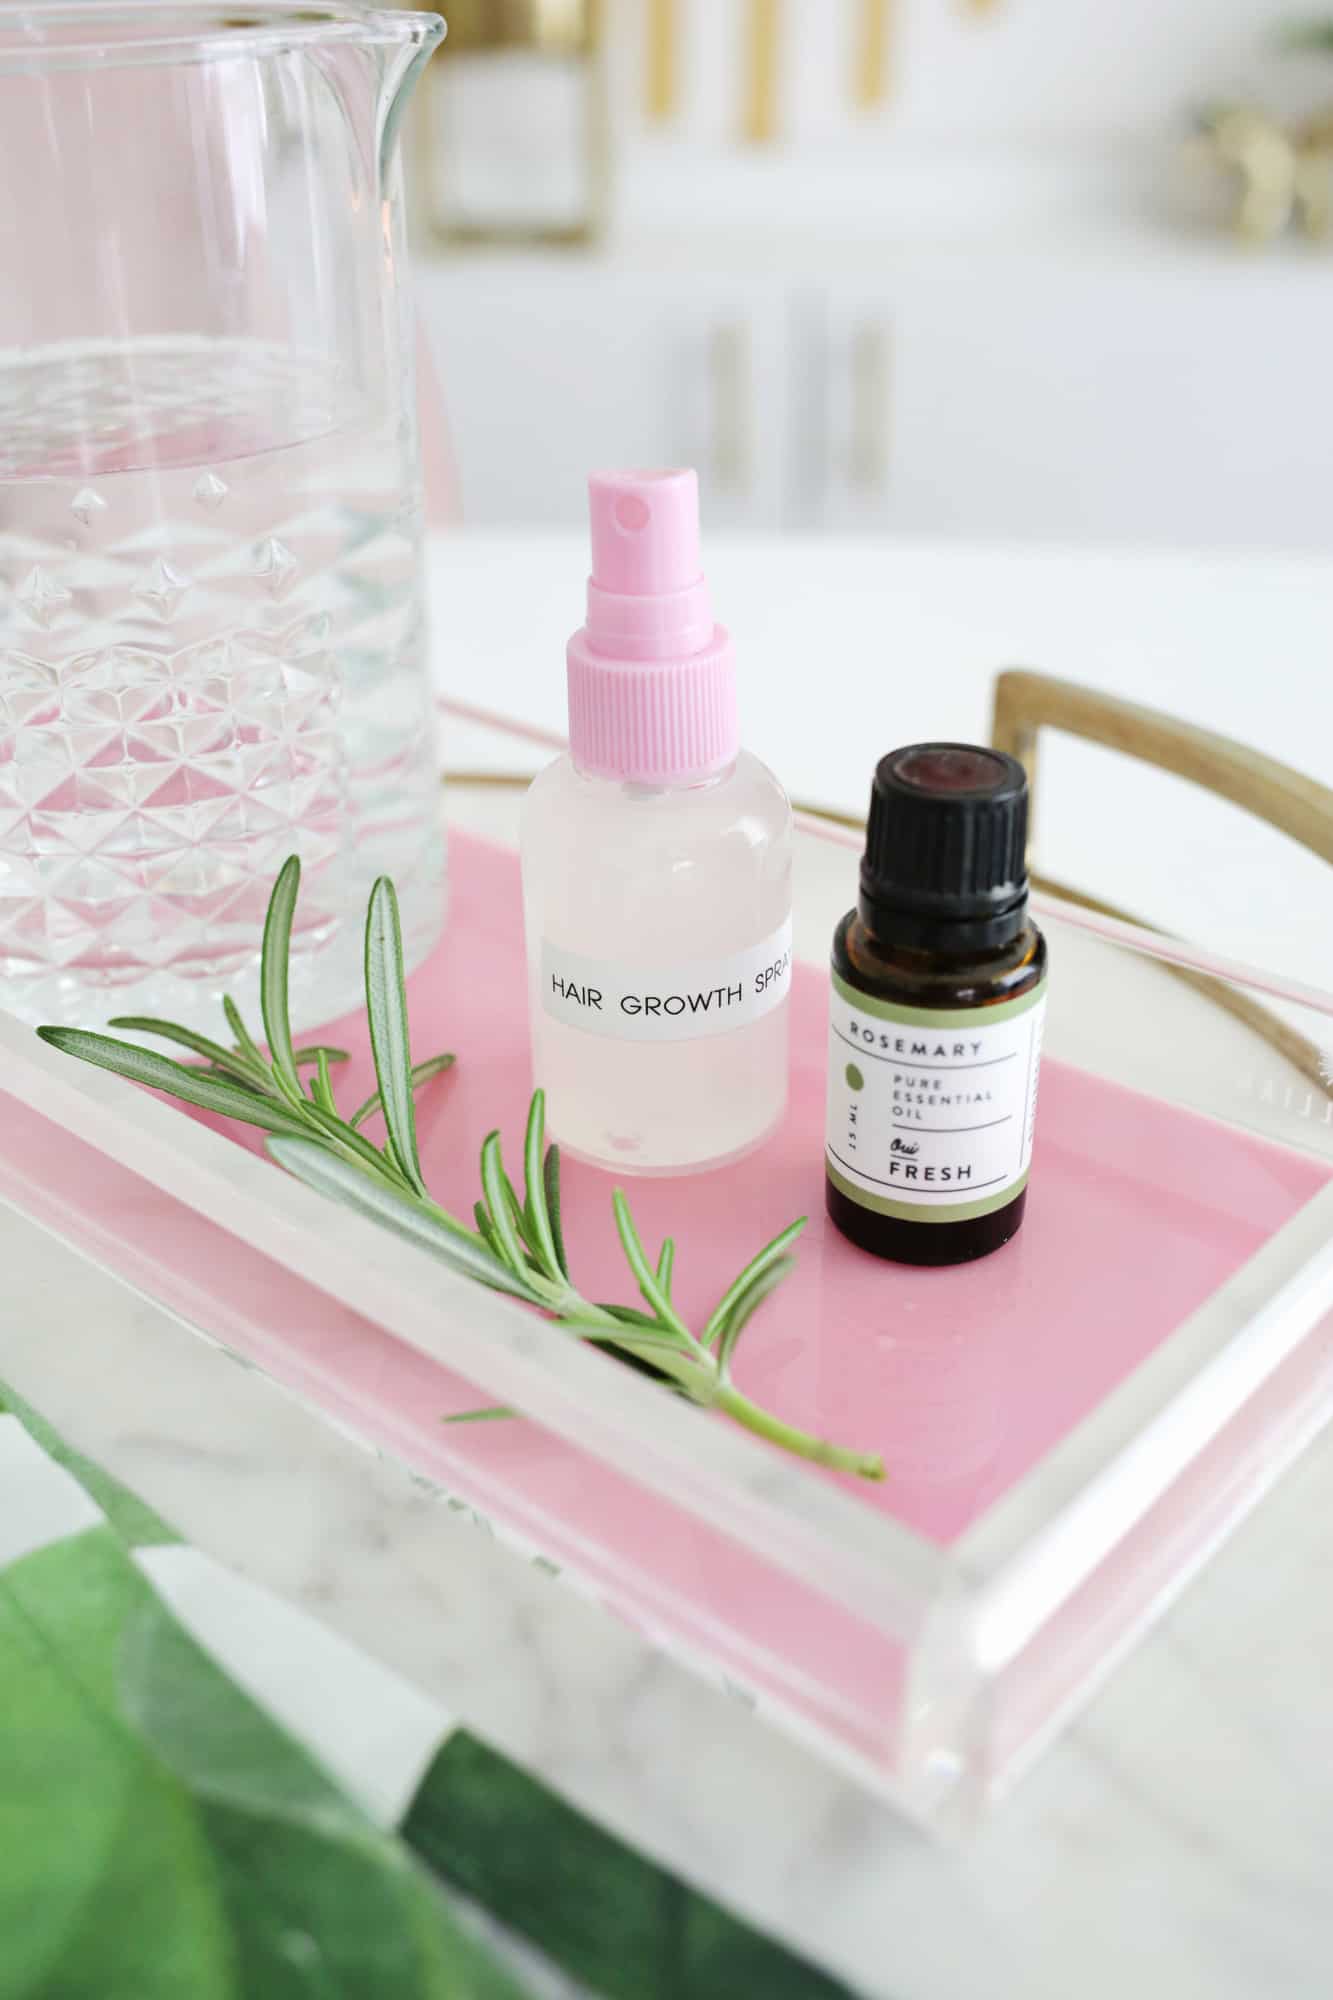 This study showed that rosemary essential oil worked just as well as a leading hair growth drug without some of the side effects that the drug produced in users. I think it’s such a cool finding to be able to go a more natural route (with even better results) than a drug.
Anyway, here’s the easy recipe for rosemary hair growth spray that I’ve been using in case you want to try it for yourself!
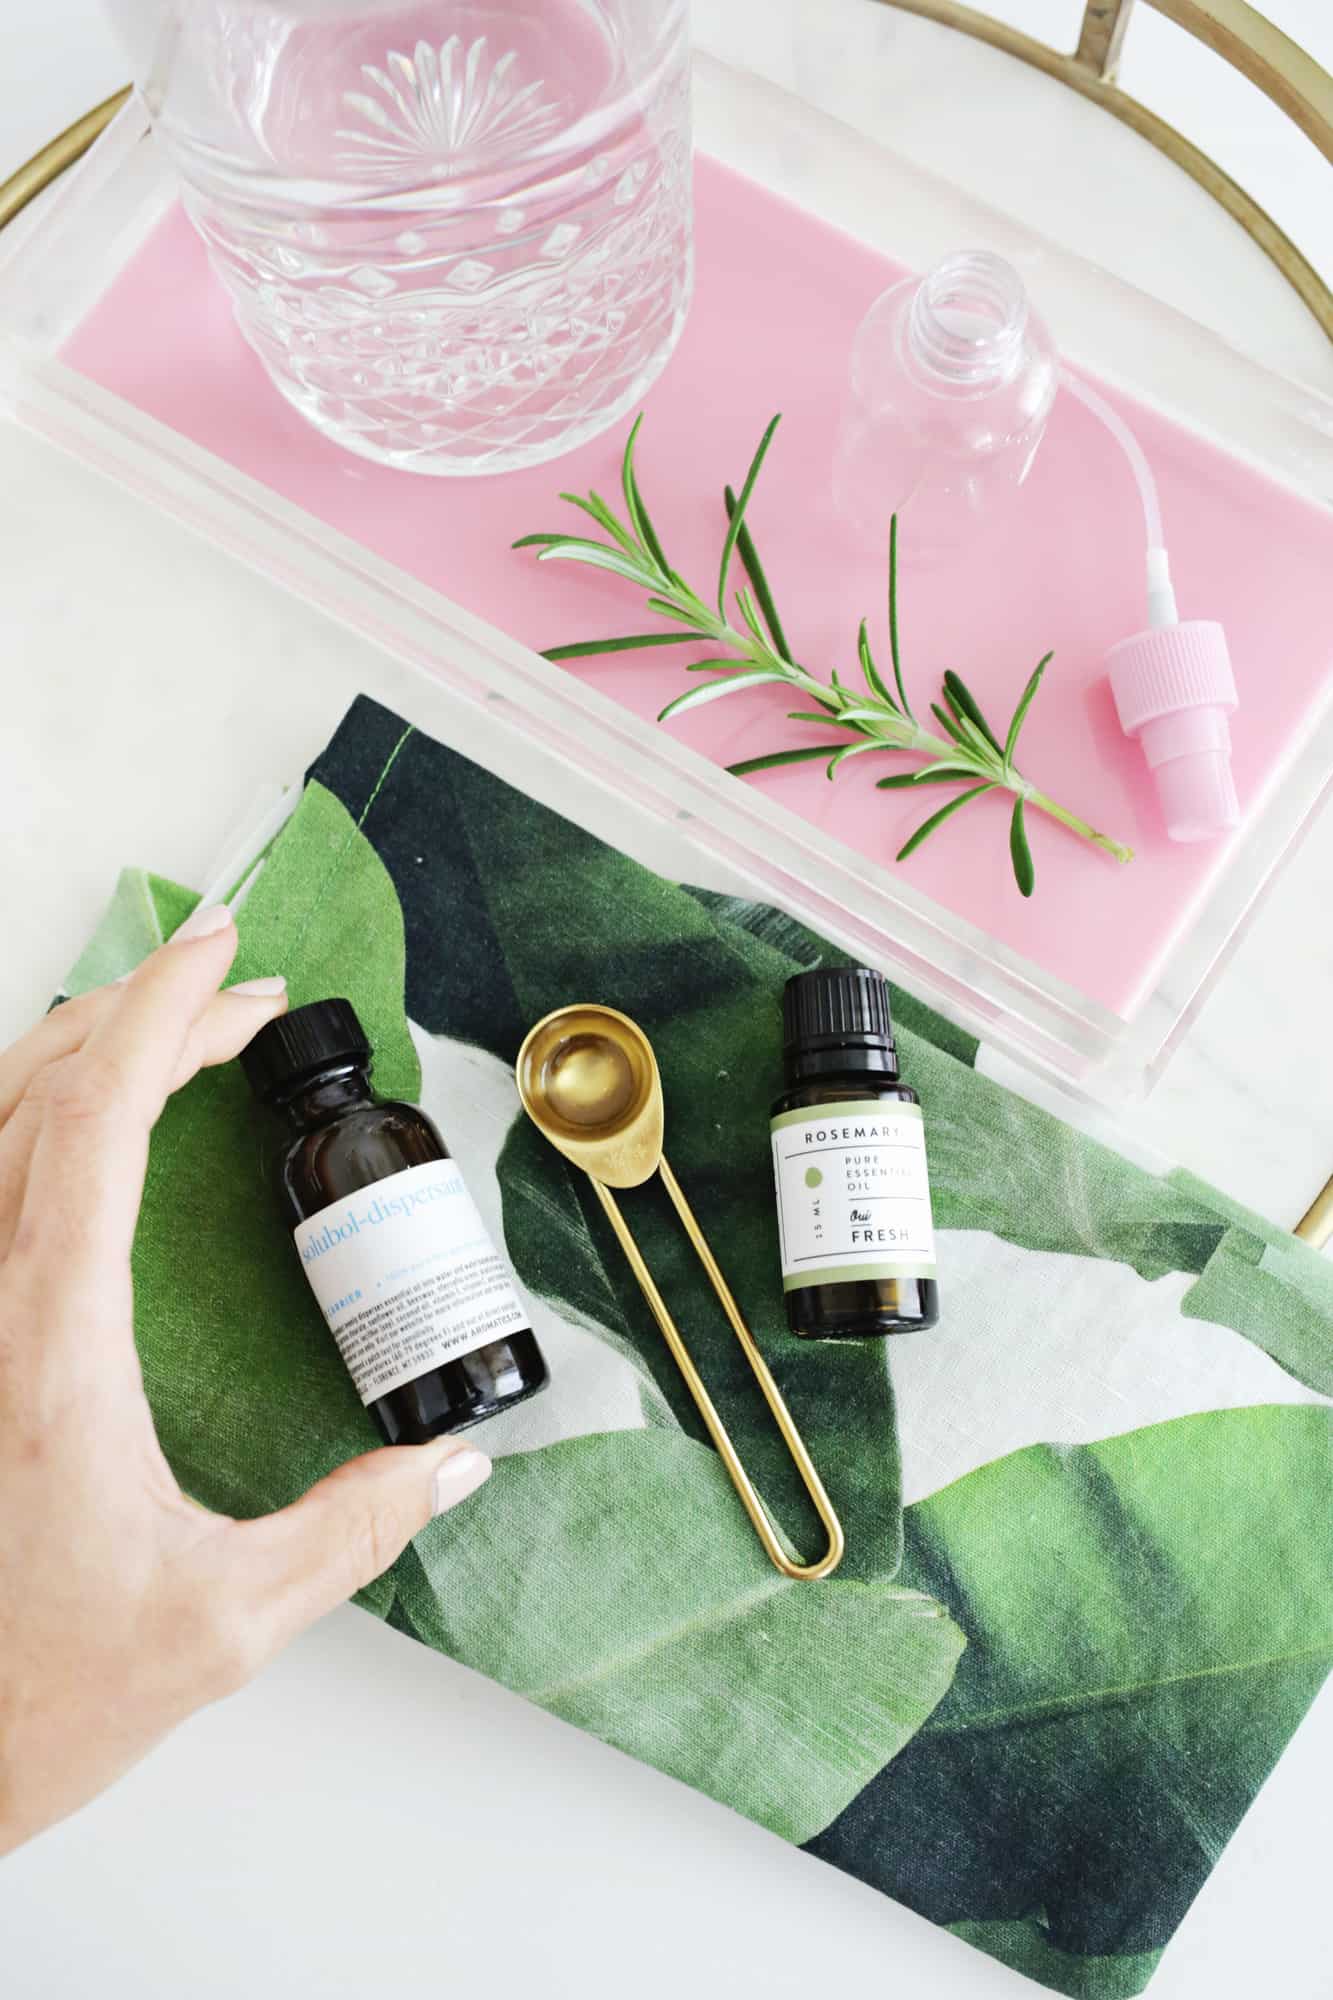
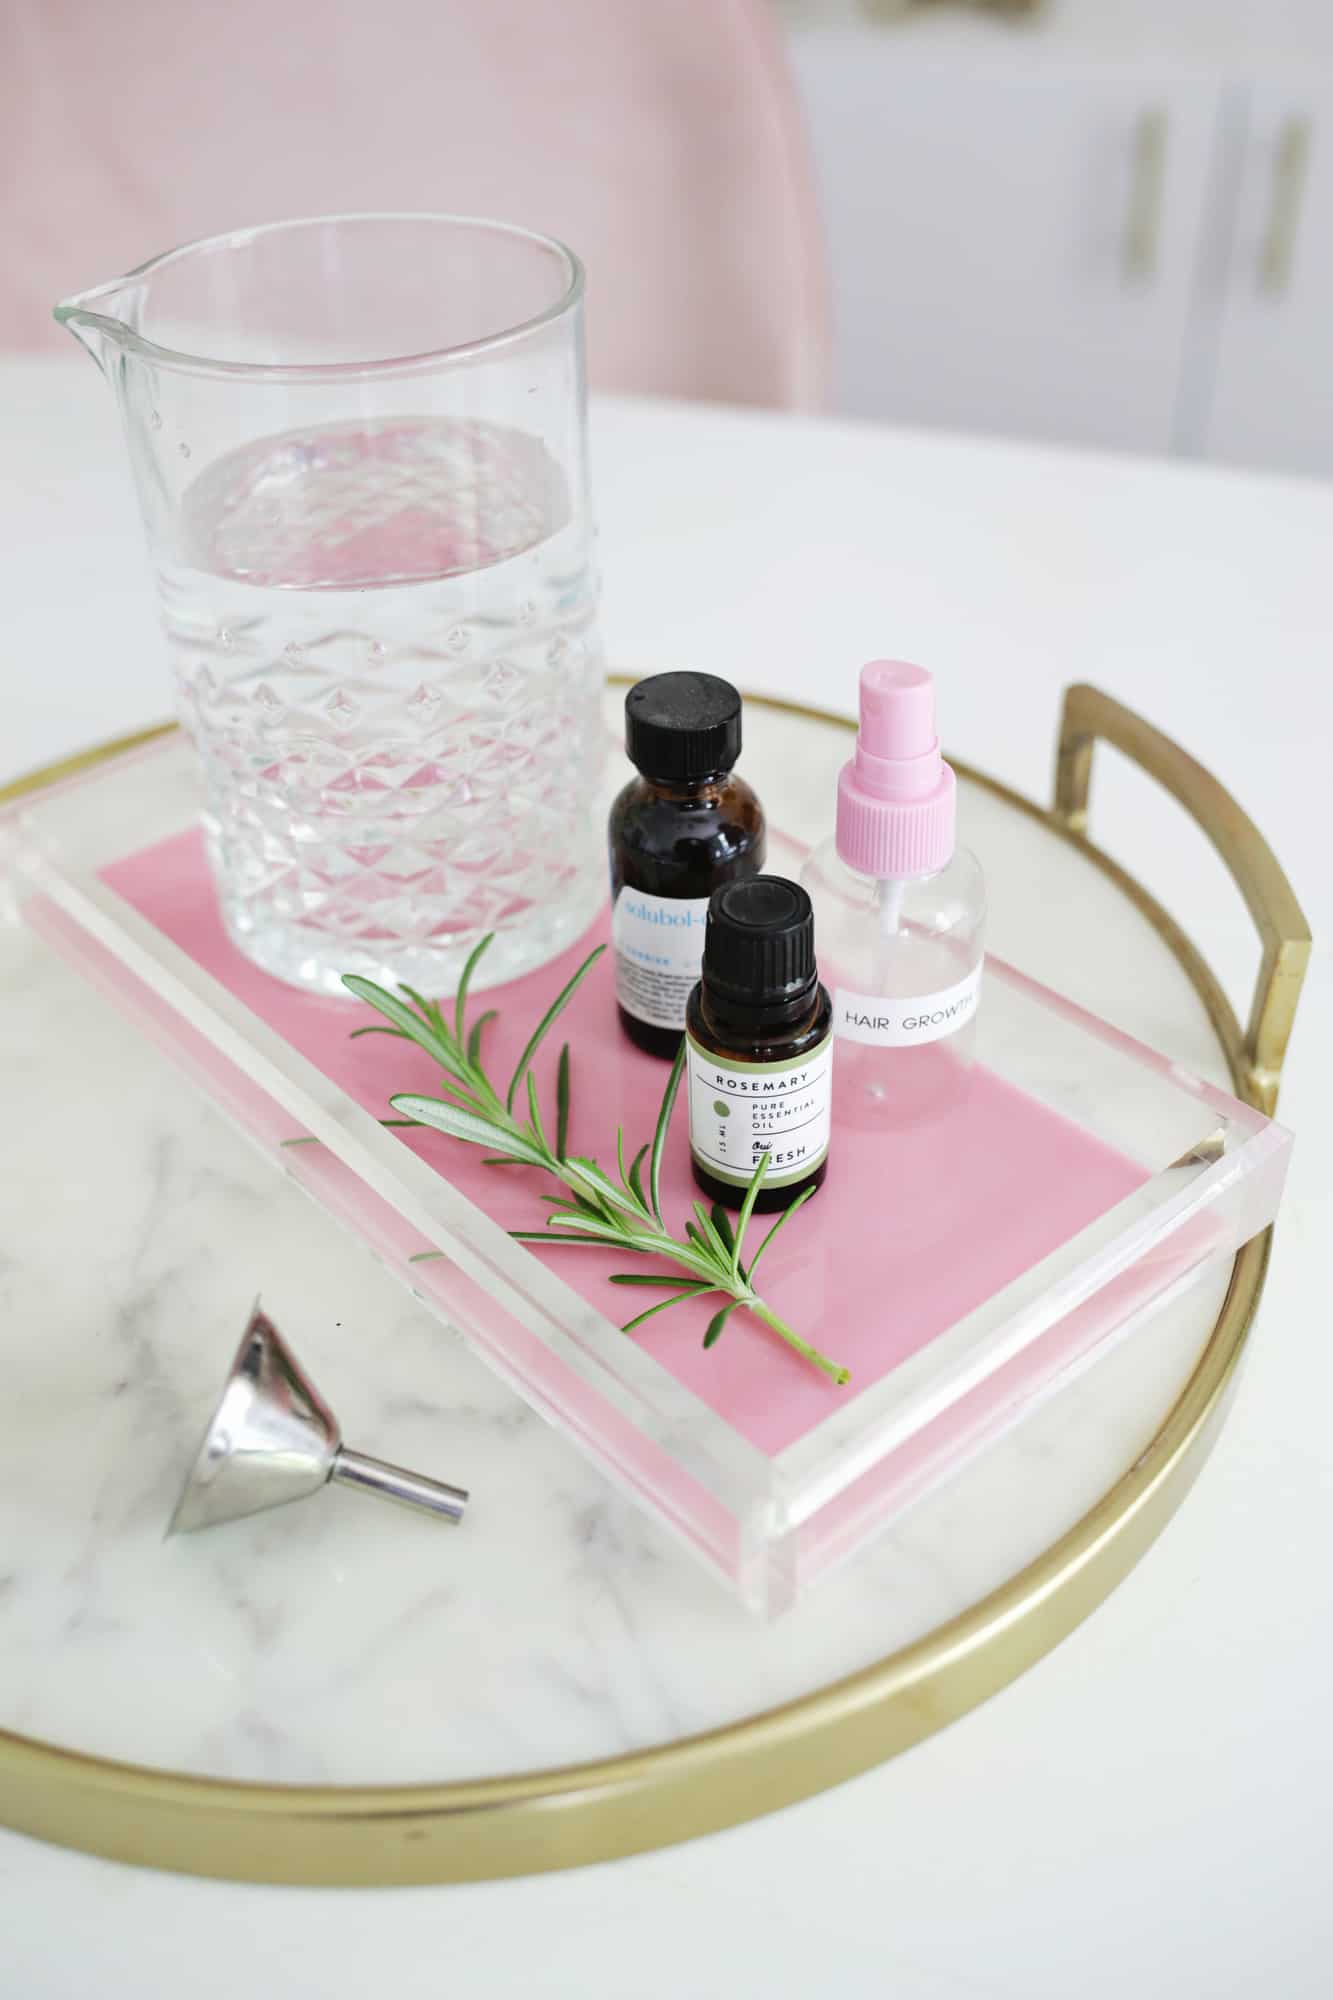 Supplies:
-10 drops rosemary essential oil
-1/2 teaspoon Solubol or a carrier oil
-4 ounces distilled water
–4 ounces spray bottle (amber bottles like this will keep the essential oil potent longer)
–mini funnel (optional but helpful)
Looking for more spa DIY’s?
- Make Your Own Relaxing Massage Oil
- Make Your Own Minty Cooling Body Mist
- Eucalyptus Cold + Flu Shower Melts
- Epsom Salt Bath Soak
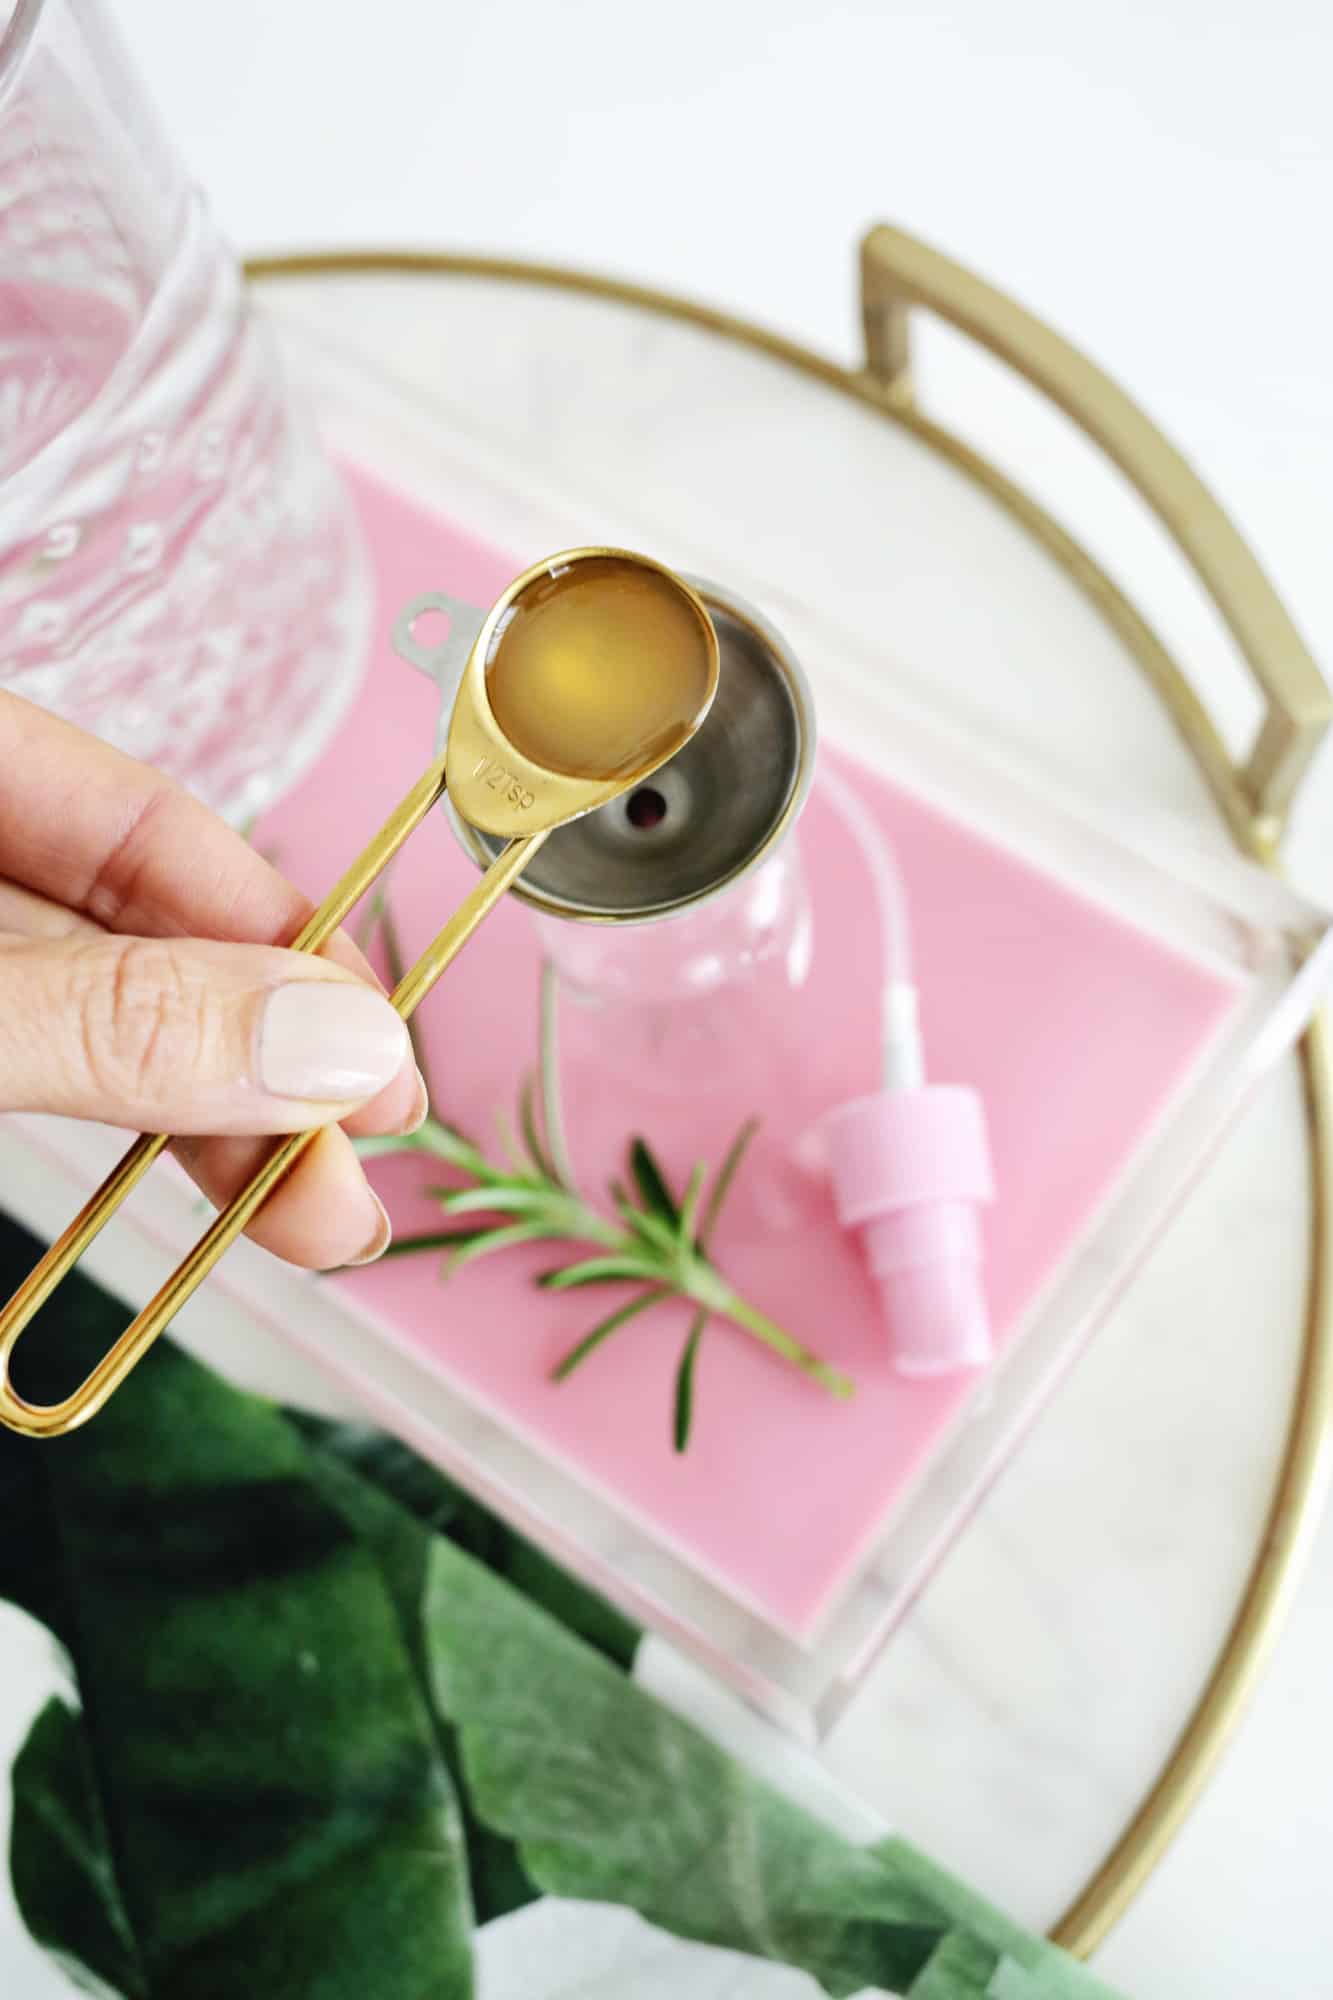 Add 10 drops of rosemary essential oil to a 1/2 teaspoon and fill the rest of the teaspoon with Solubol or a carrier oil.
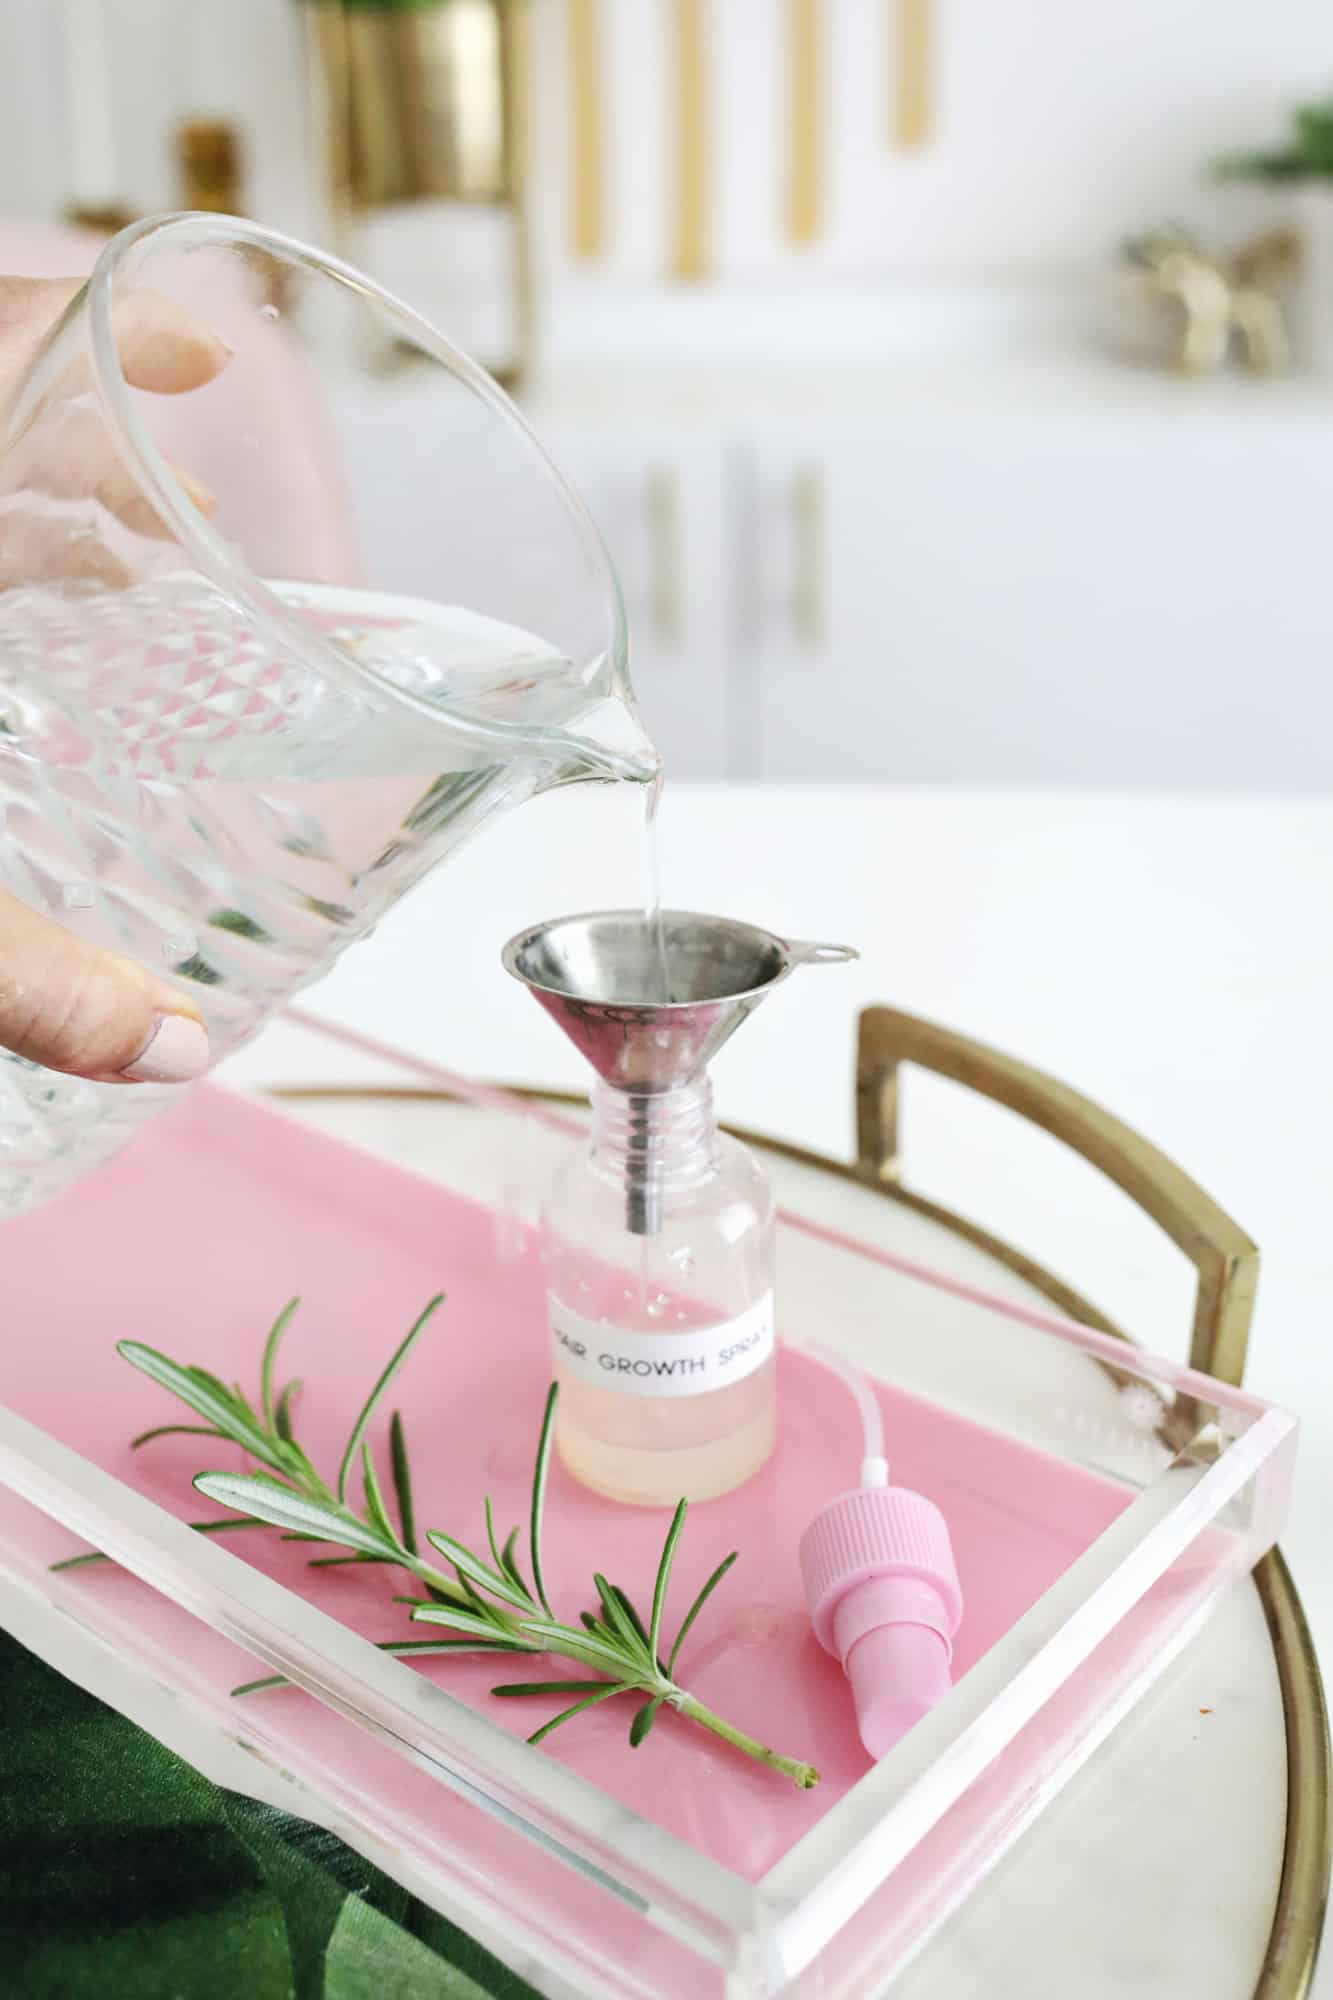 Pour your oils into your bottle and fill the rest of the bottle to the top with water.
Give your bottle a shake and spray directly into roots and then rub it in with your fingers a bit. It makes my hair look a little wonky when it dries (it kind of gives it that wet look even when dry), so I tend to do it before bed and then fix my hair again the next day.
Spray into hair once a day.
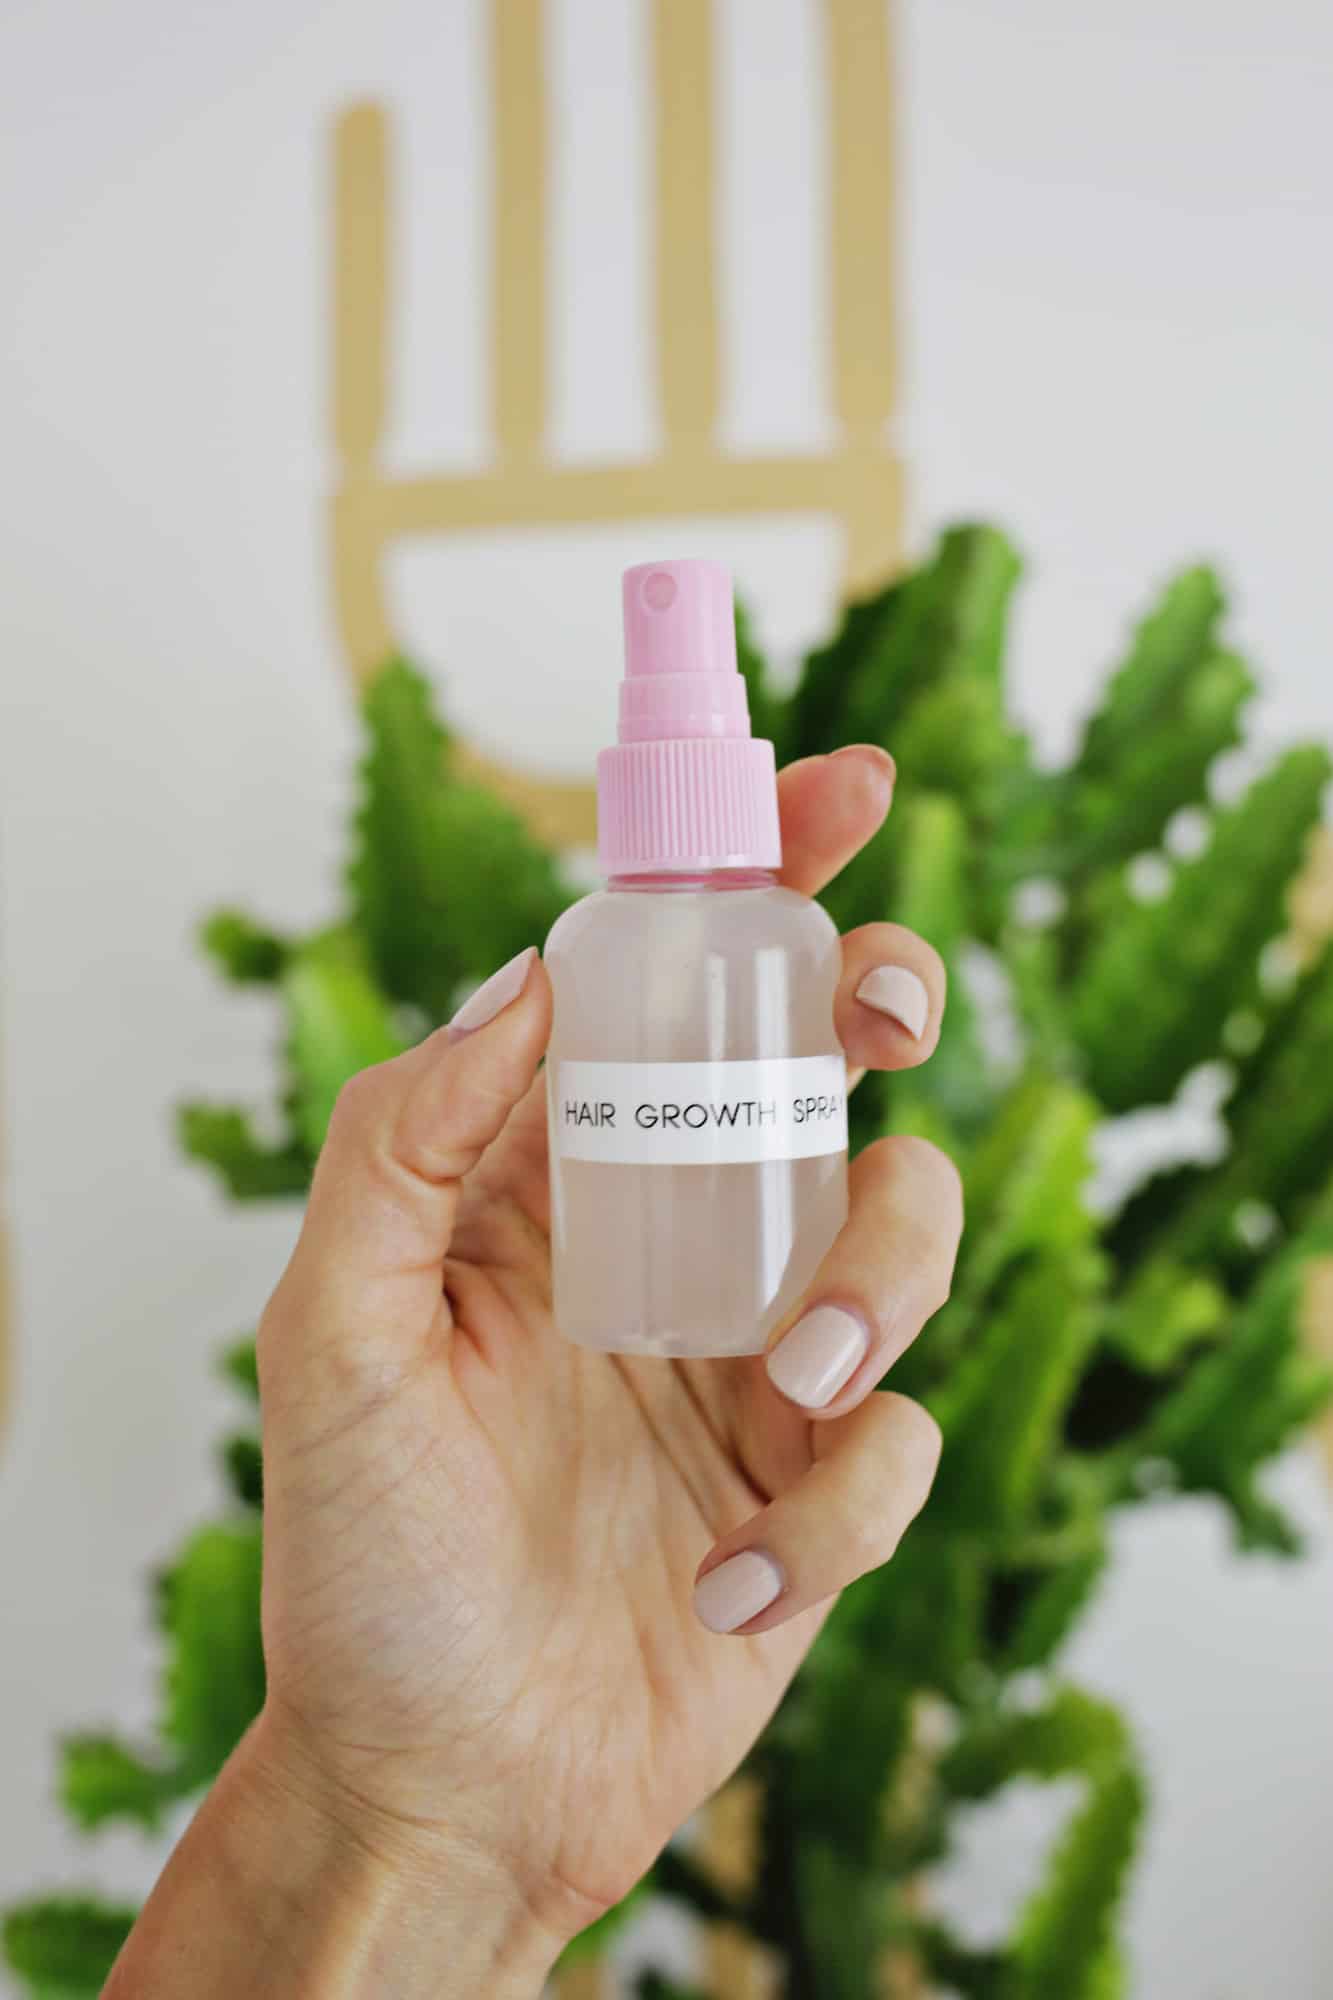
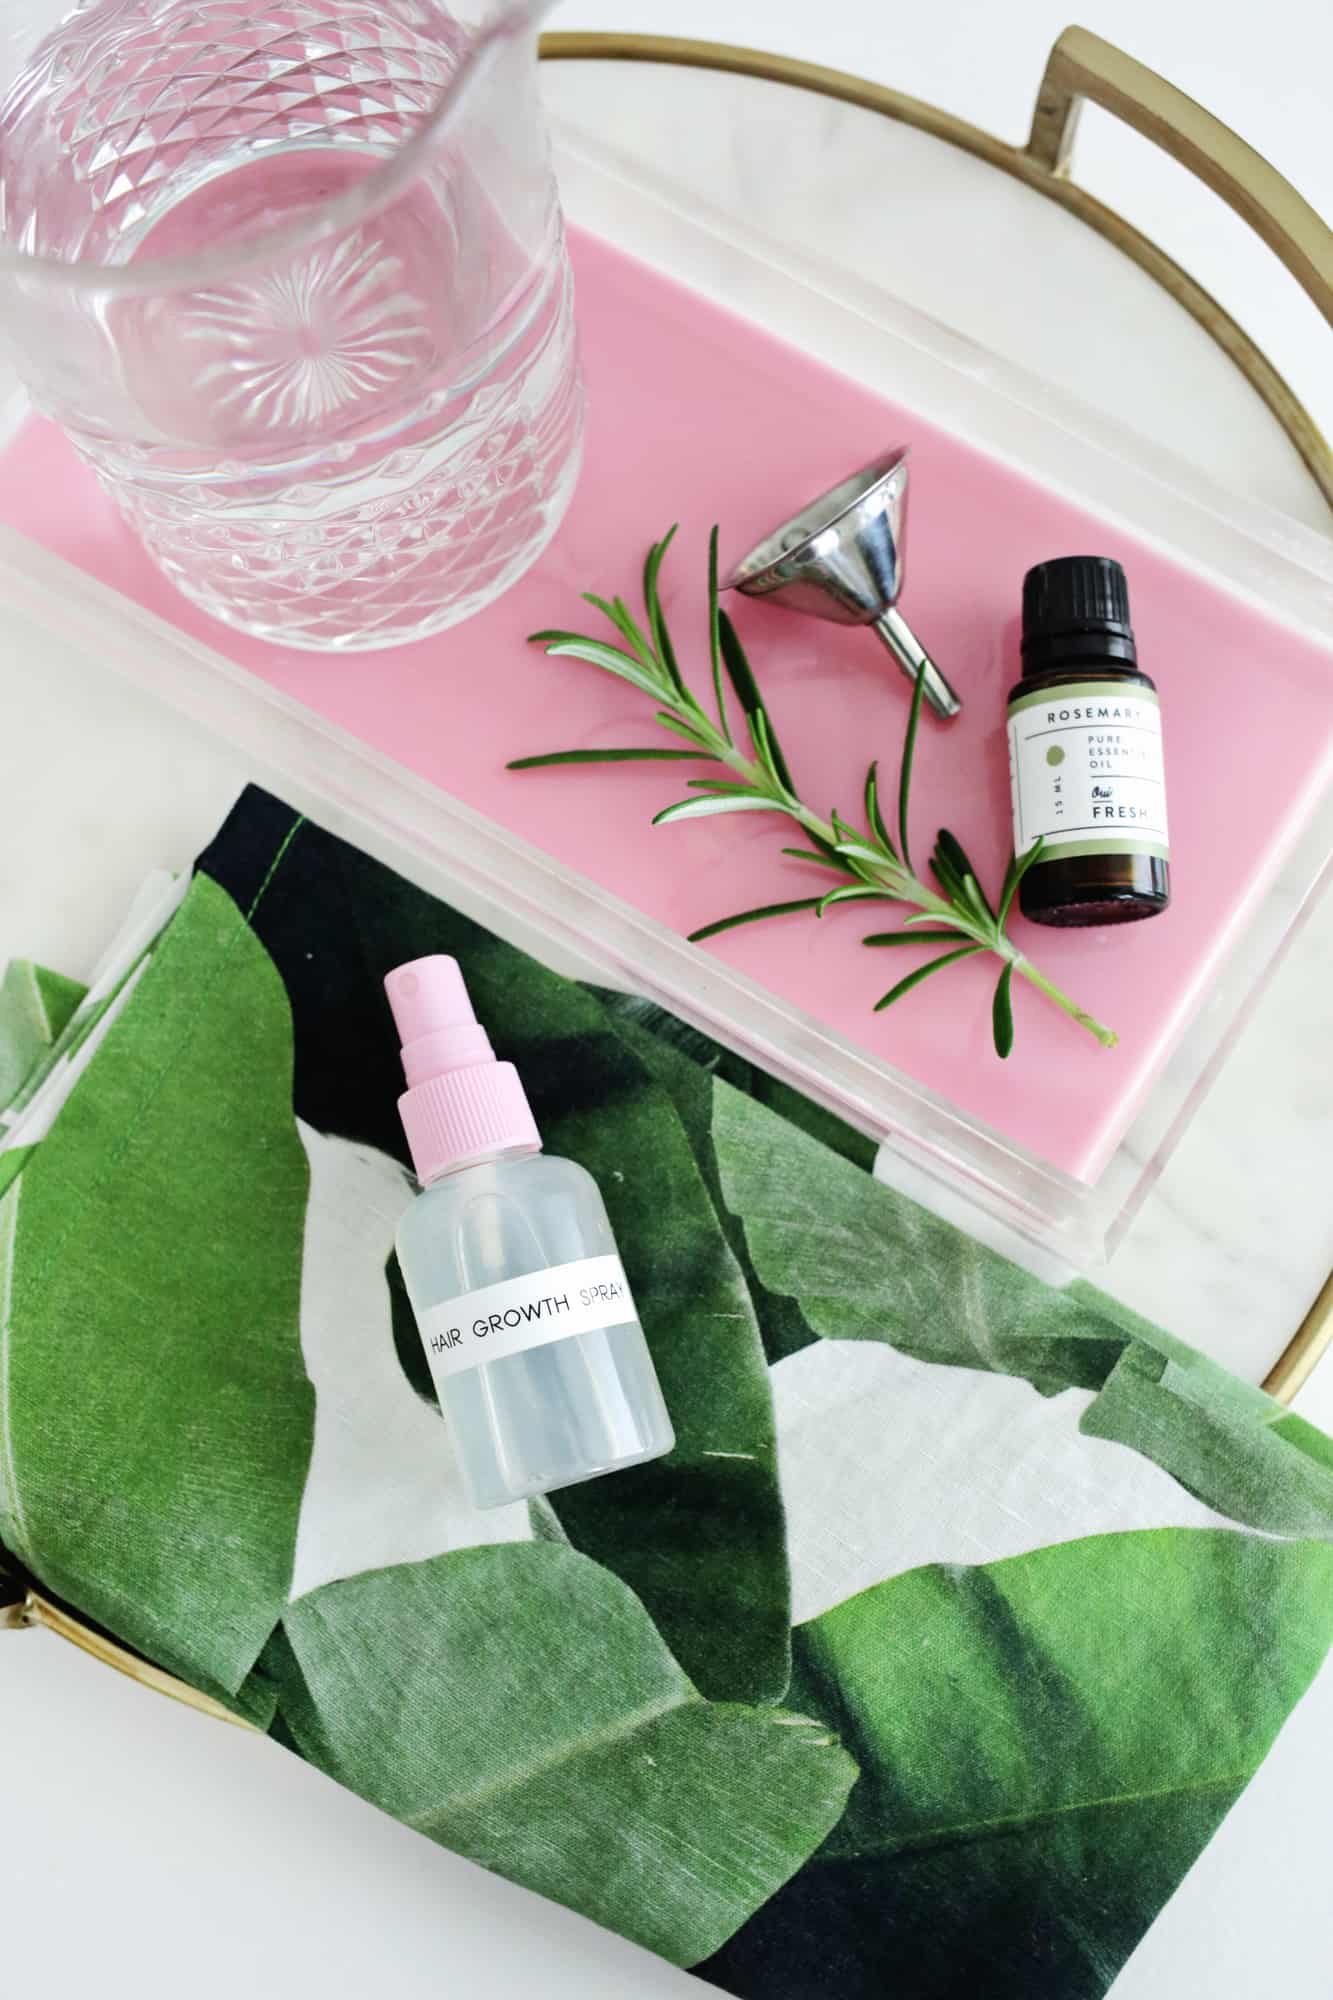 It’s true that it’s a little hard to tell for sure how much this works unless you only did it on half your head and compared it to the half you didn’t do it on.
But, I will say that I have always had trouble growing out my hair and I definitely noticed it growing way faster than usual.
How Long Does It Take to See Results?
This study says that the results were much more visible six months after starting treatments versus three months in, so I would stick with it a bit before giving up if you don’t see a difference right away.
And with any essential oil recipe, stop using it if you notice any adverse reactions.
Hope this simple recipe helps your hair look its best, too! xo. Laura
Rosemary Hair Growth Spray
Equipment
- 1 mini funnel optional
- 1 amber glass spray bottle
Ingredients
- 10 drops rosemary essential oil
- ½ teaspoon Solubol or carrier oil
- 4 ounces water distiled
Instructions
- Add 10 drops of rosemary essential oil to a 1/2 teaspoon and fill the rest of the teaspoon with Solubol or a carrier oil.
- Pour your oils into your bottle and fill the rest of the bottle to the top with water. Give your bottle a shake and spray directly into roots and then rub it in with your fingers a bit.
- Spray into hair once a day.
We don’t know about you, but a simple messy bun like this is always a go-to for us. We’re all about easy hair tutorials.
We’re also sharing several haircare tips and hair accessory DIYS (although we love all the accessories from here, too.)
Related: Check out our hair and makeup archives for more ideas!
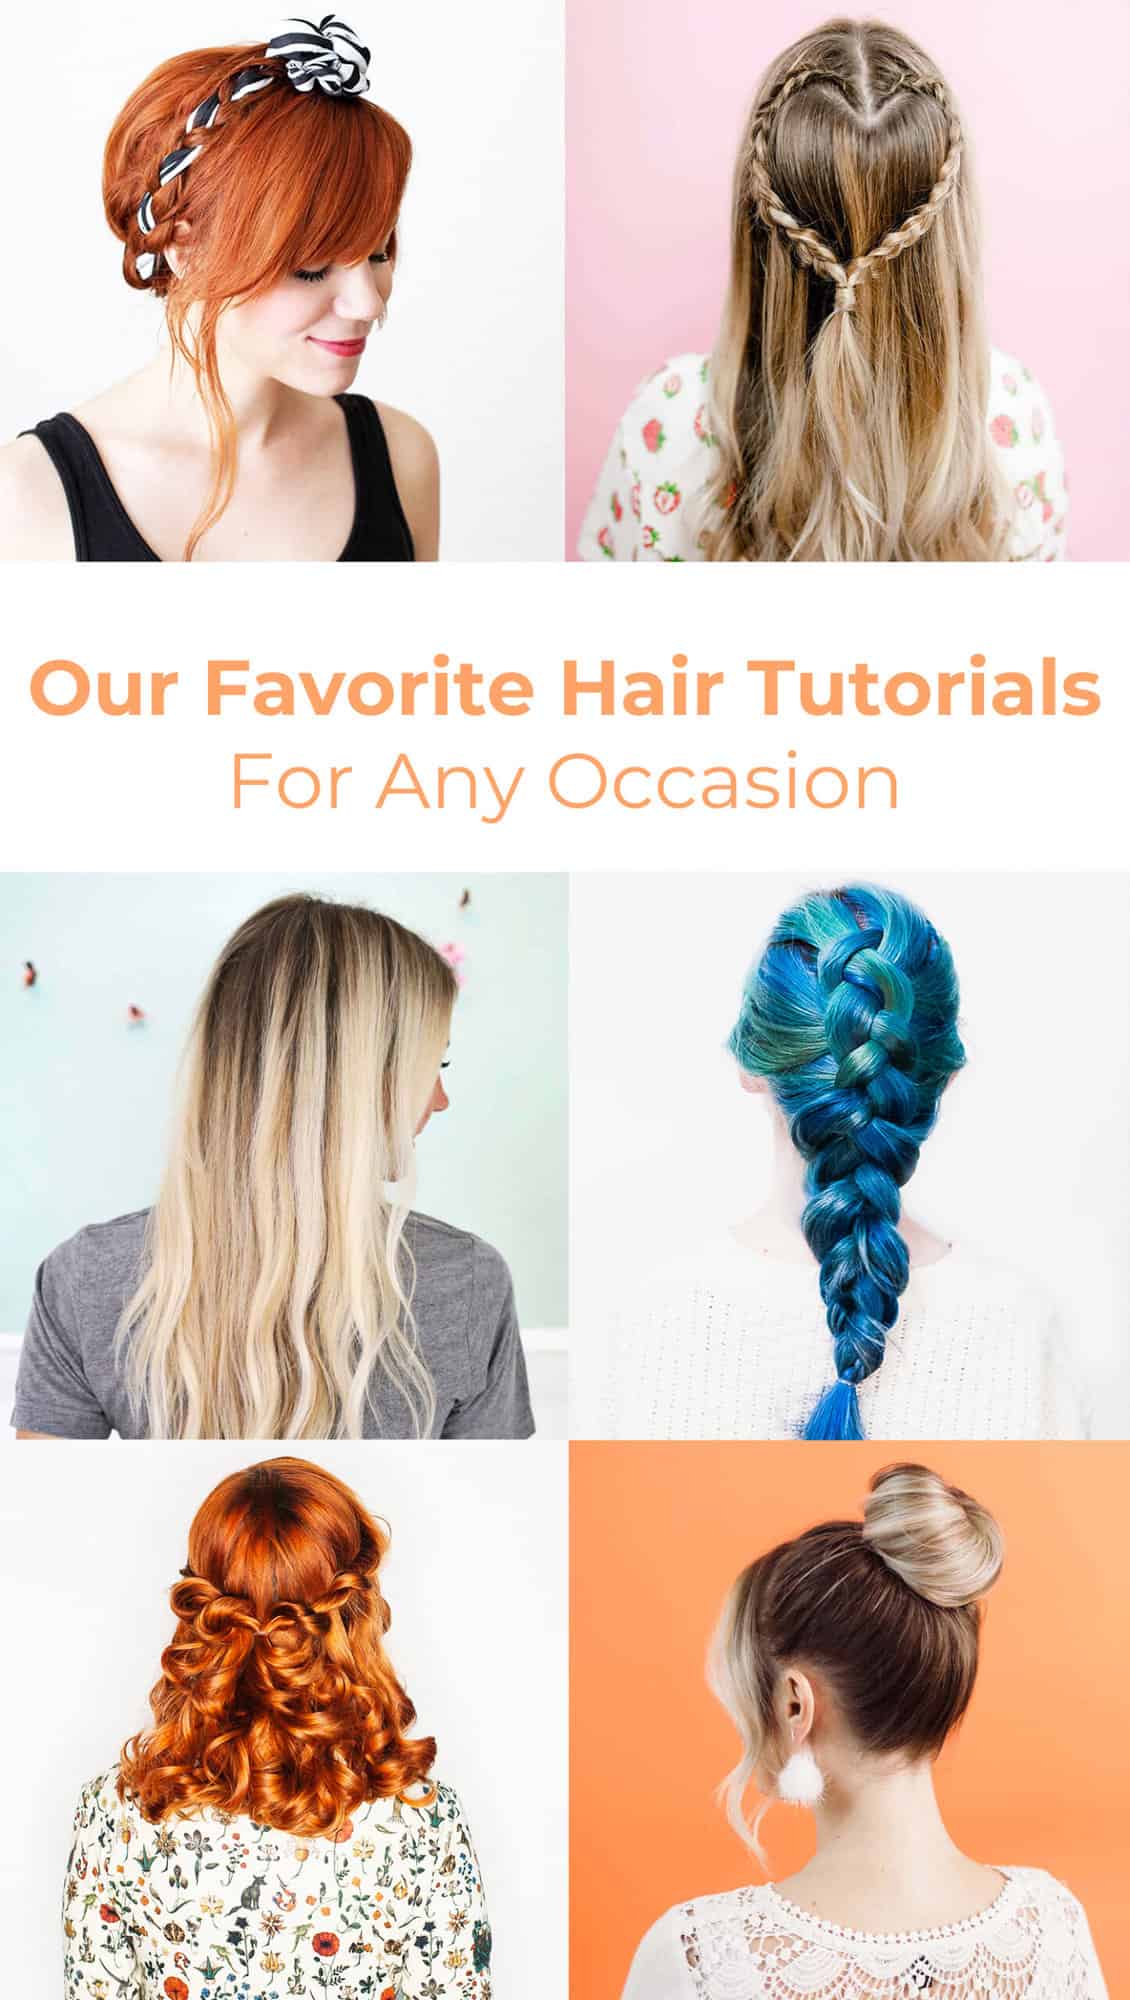
This easy hair tutorial guide includes styles like:
- Braids
- Updos
- Buns and topknots
- Tutorials for natural hair
- Wedding hairstyles
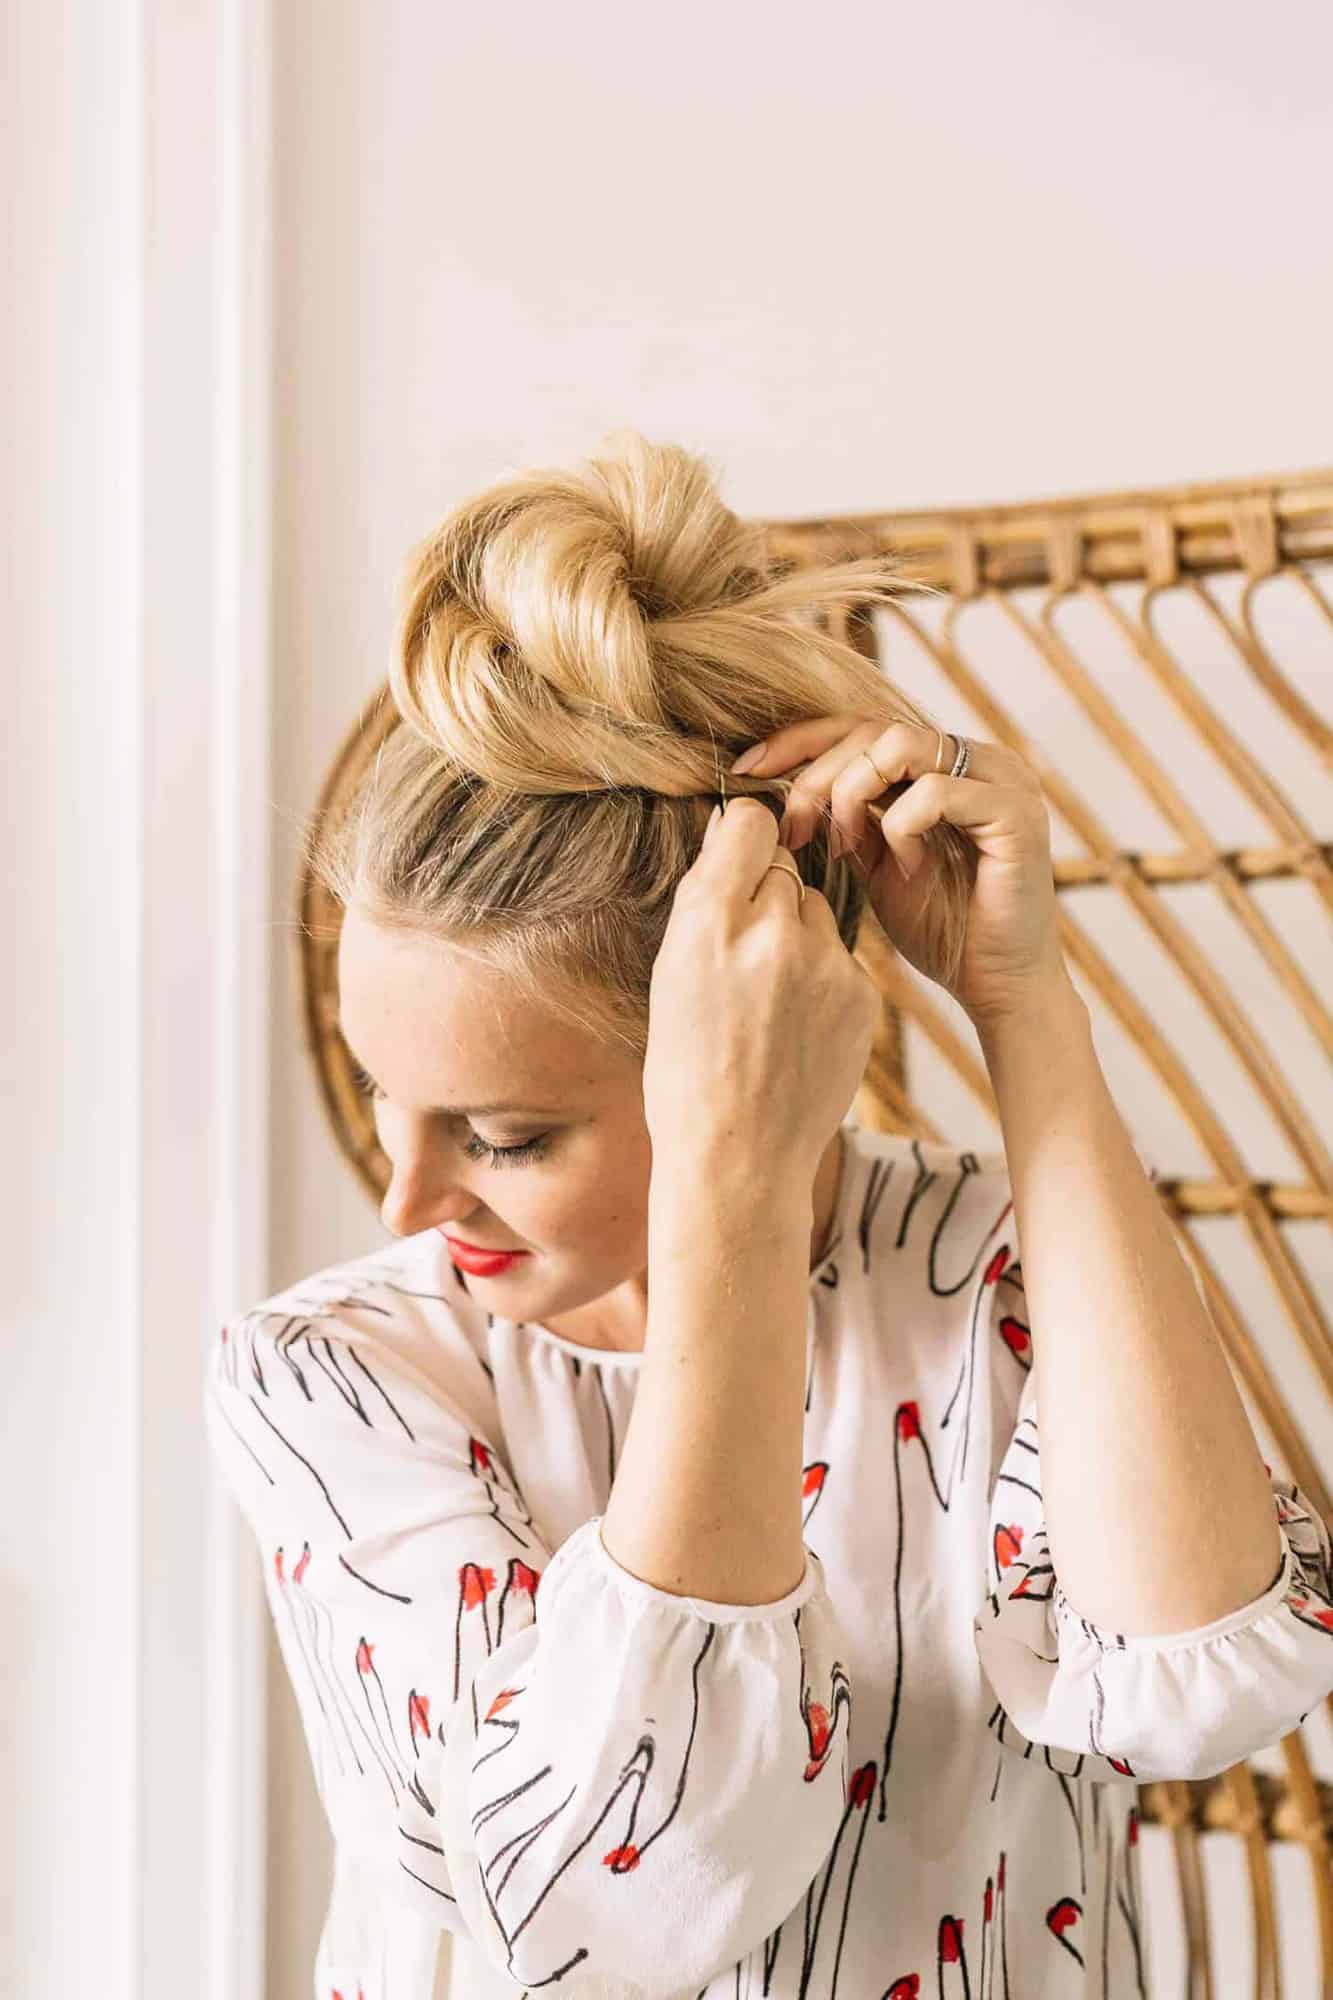
Speaking of the messy bun we mentioned, it’s first on our list!
Laura’s easy messy bun tutorial is perfect for anyone who’s looking for a bun with extra texture and volume. This teasing brush really helps with volume!
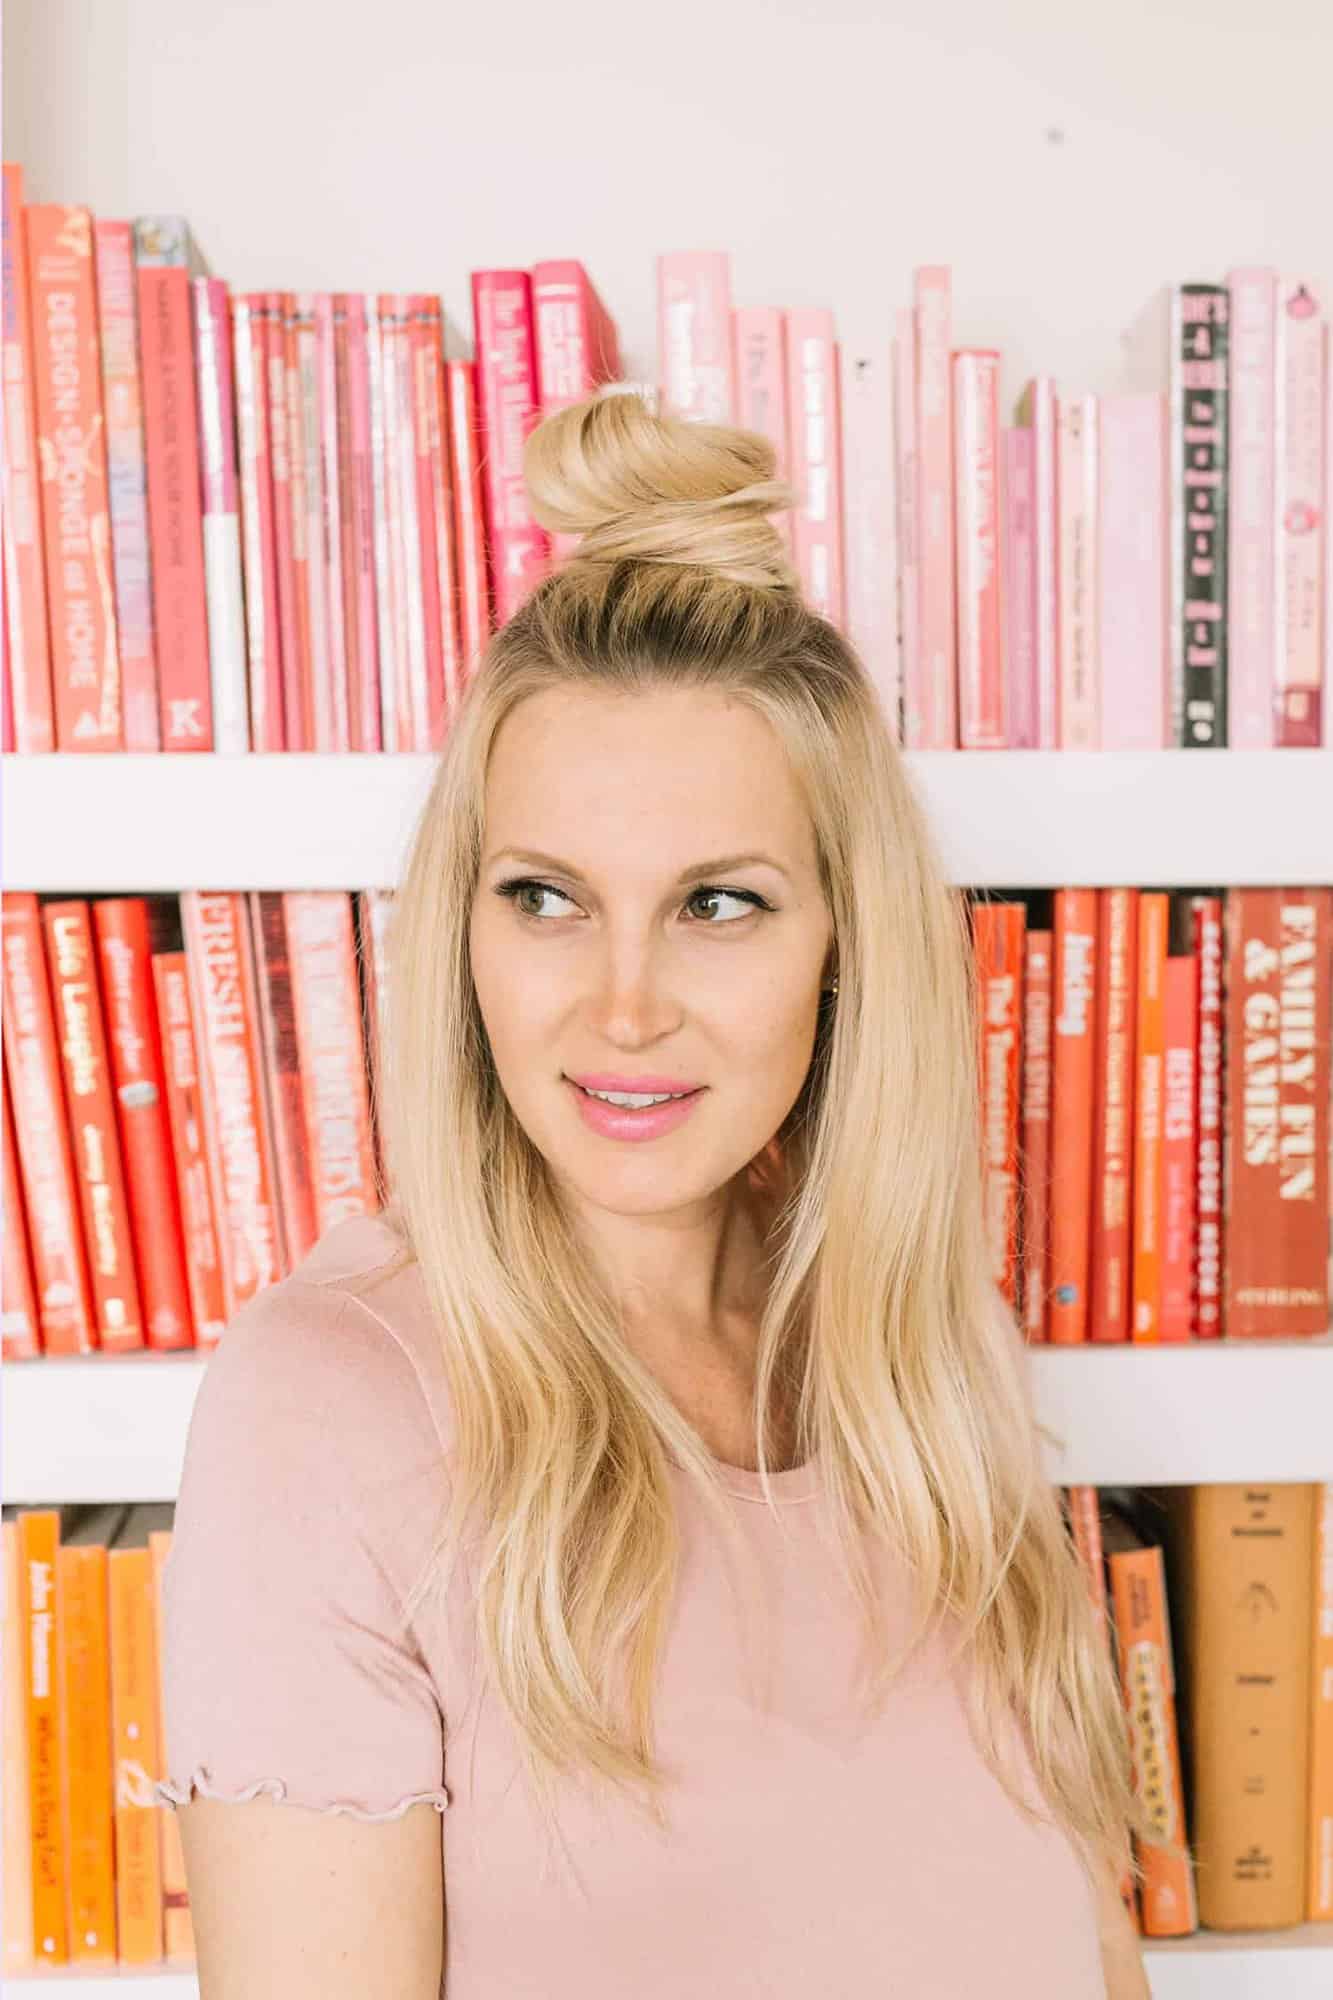
If you want to wear your hair “part up and part down” and still rock the messy bun, this tousled topknot is really cute too.
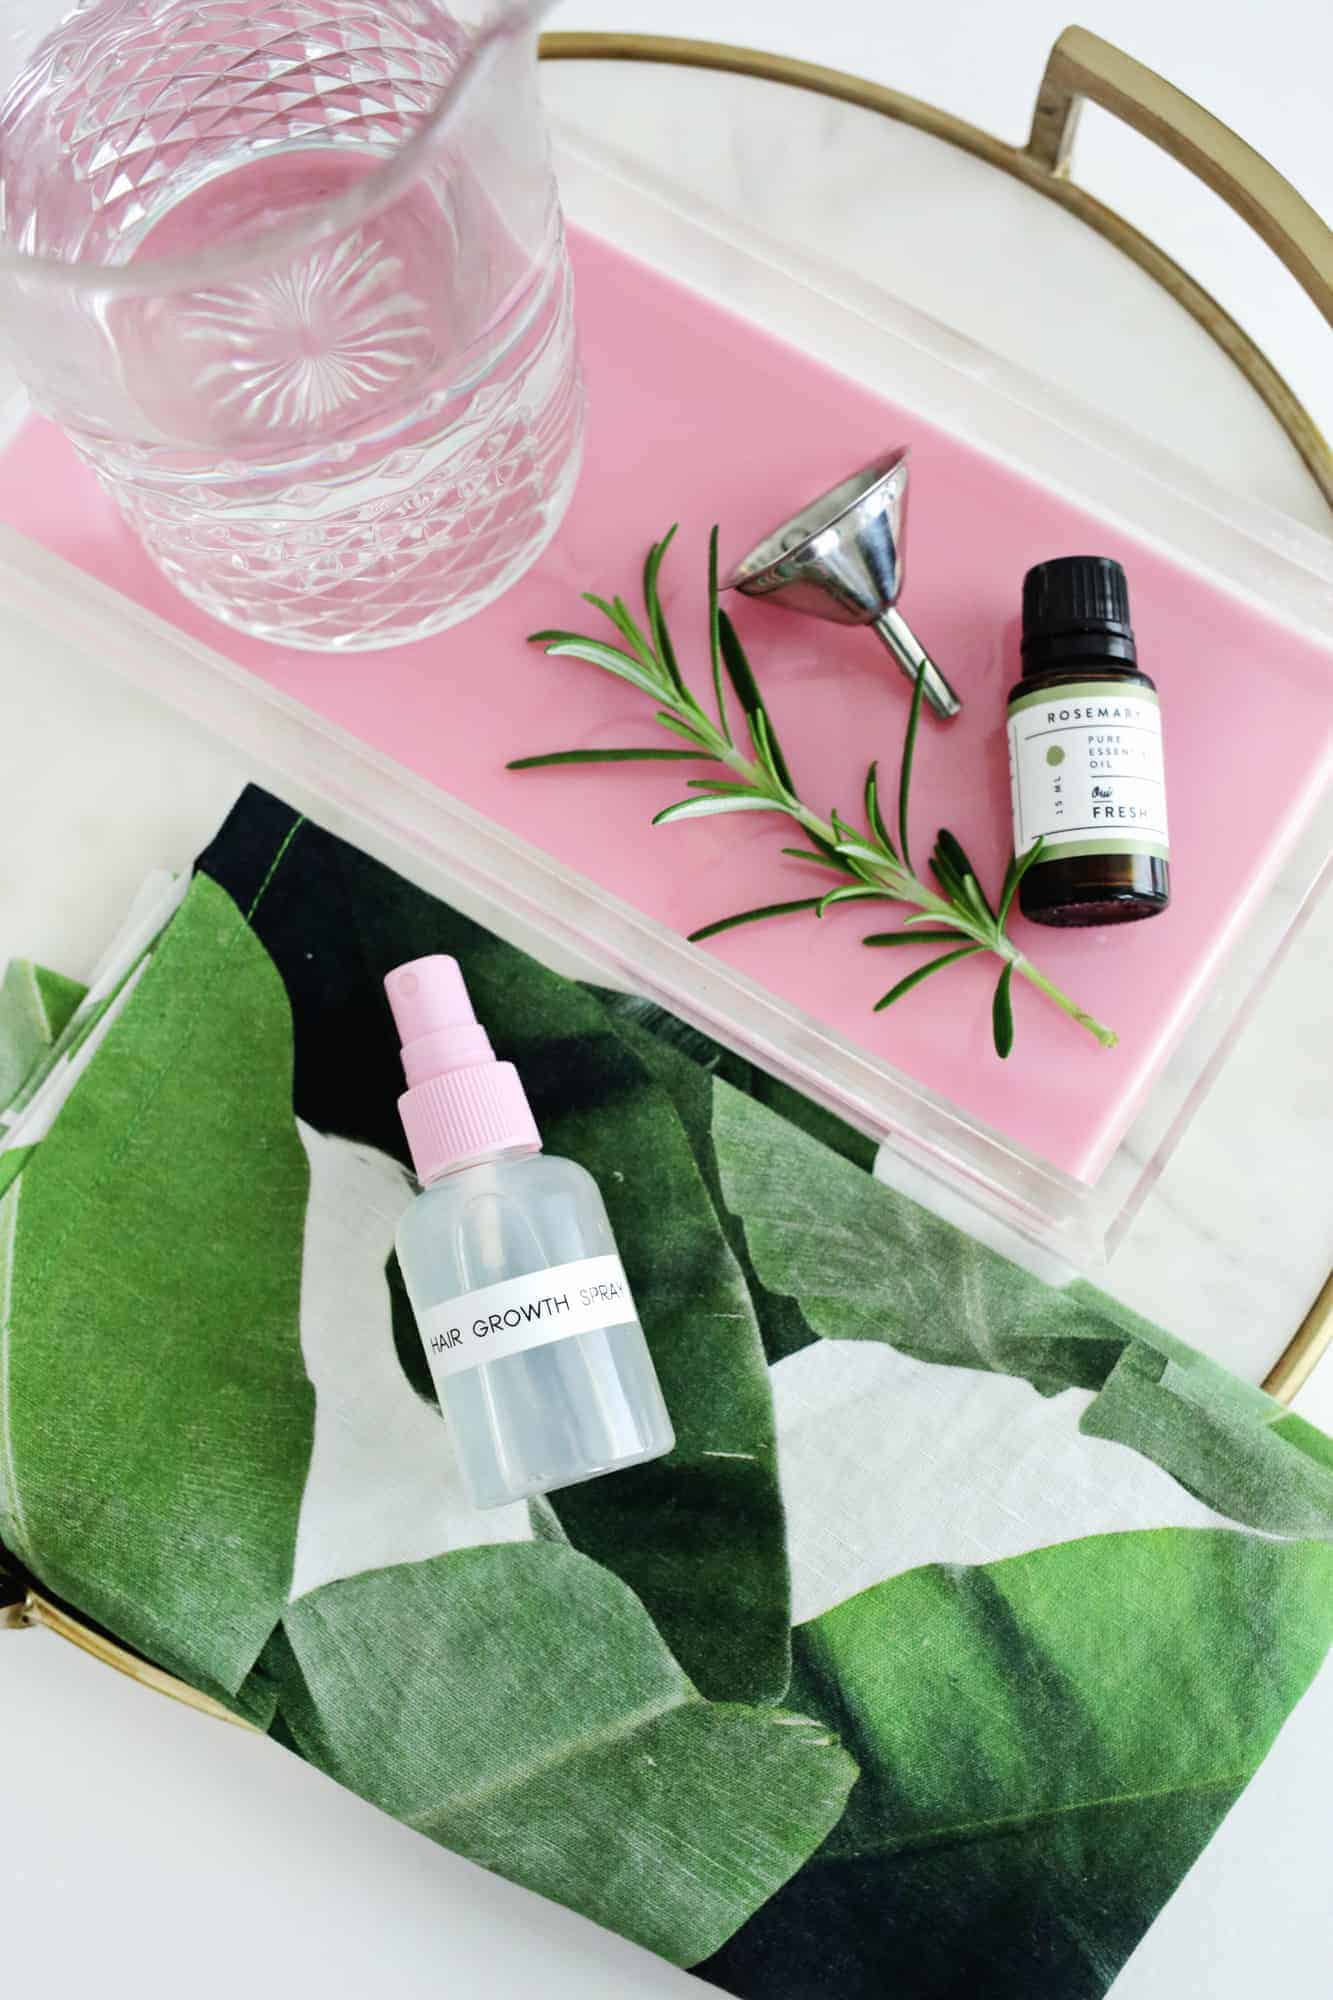
Did you know you can make your own hair growth spray using only three natural ingredients?
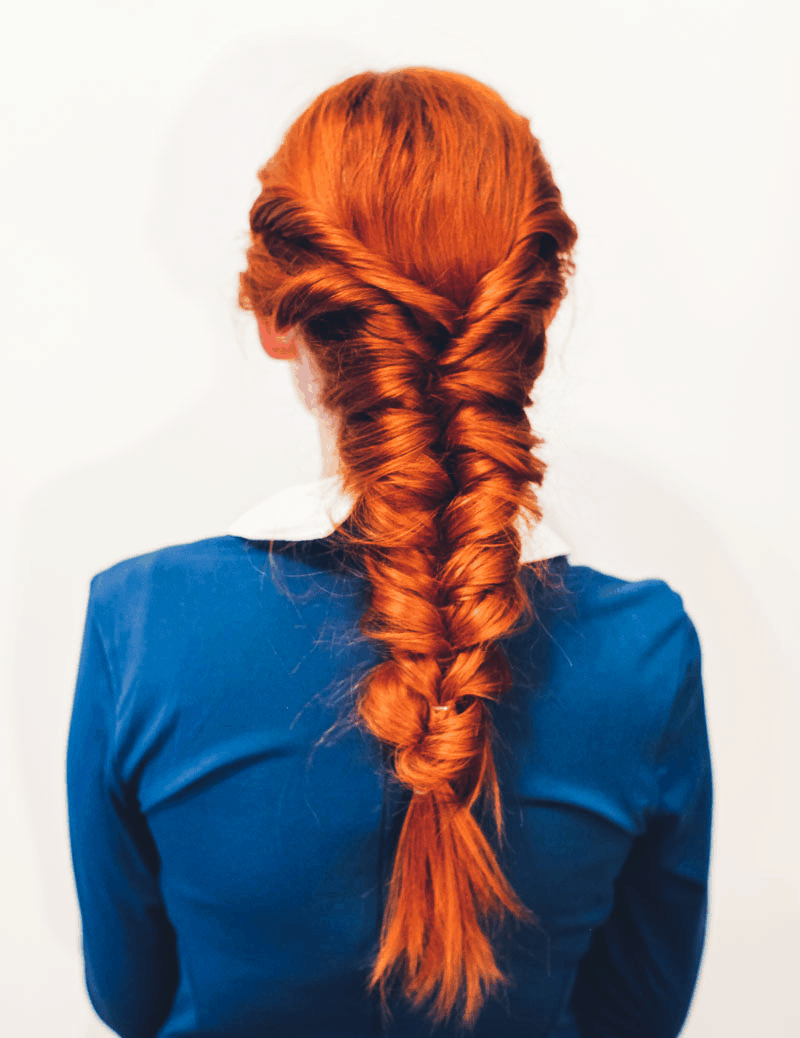
A fishtail braid without confusing instructions? We have a tutorial for that, and it’s this easy no-fuss faux fishtail braid.
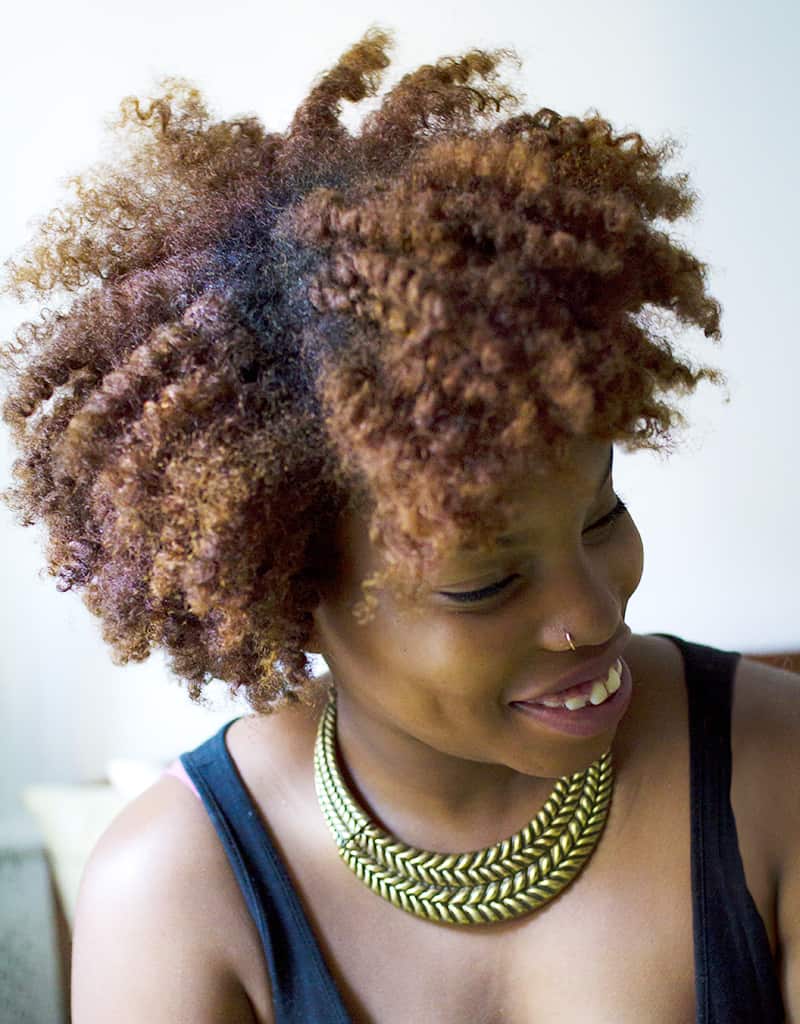
For natural hair, two-strand twists are one of LaTonya’s go-to hairstyles. She also shares how to get a bigger (and better) afro here.
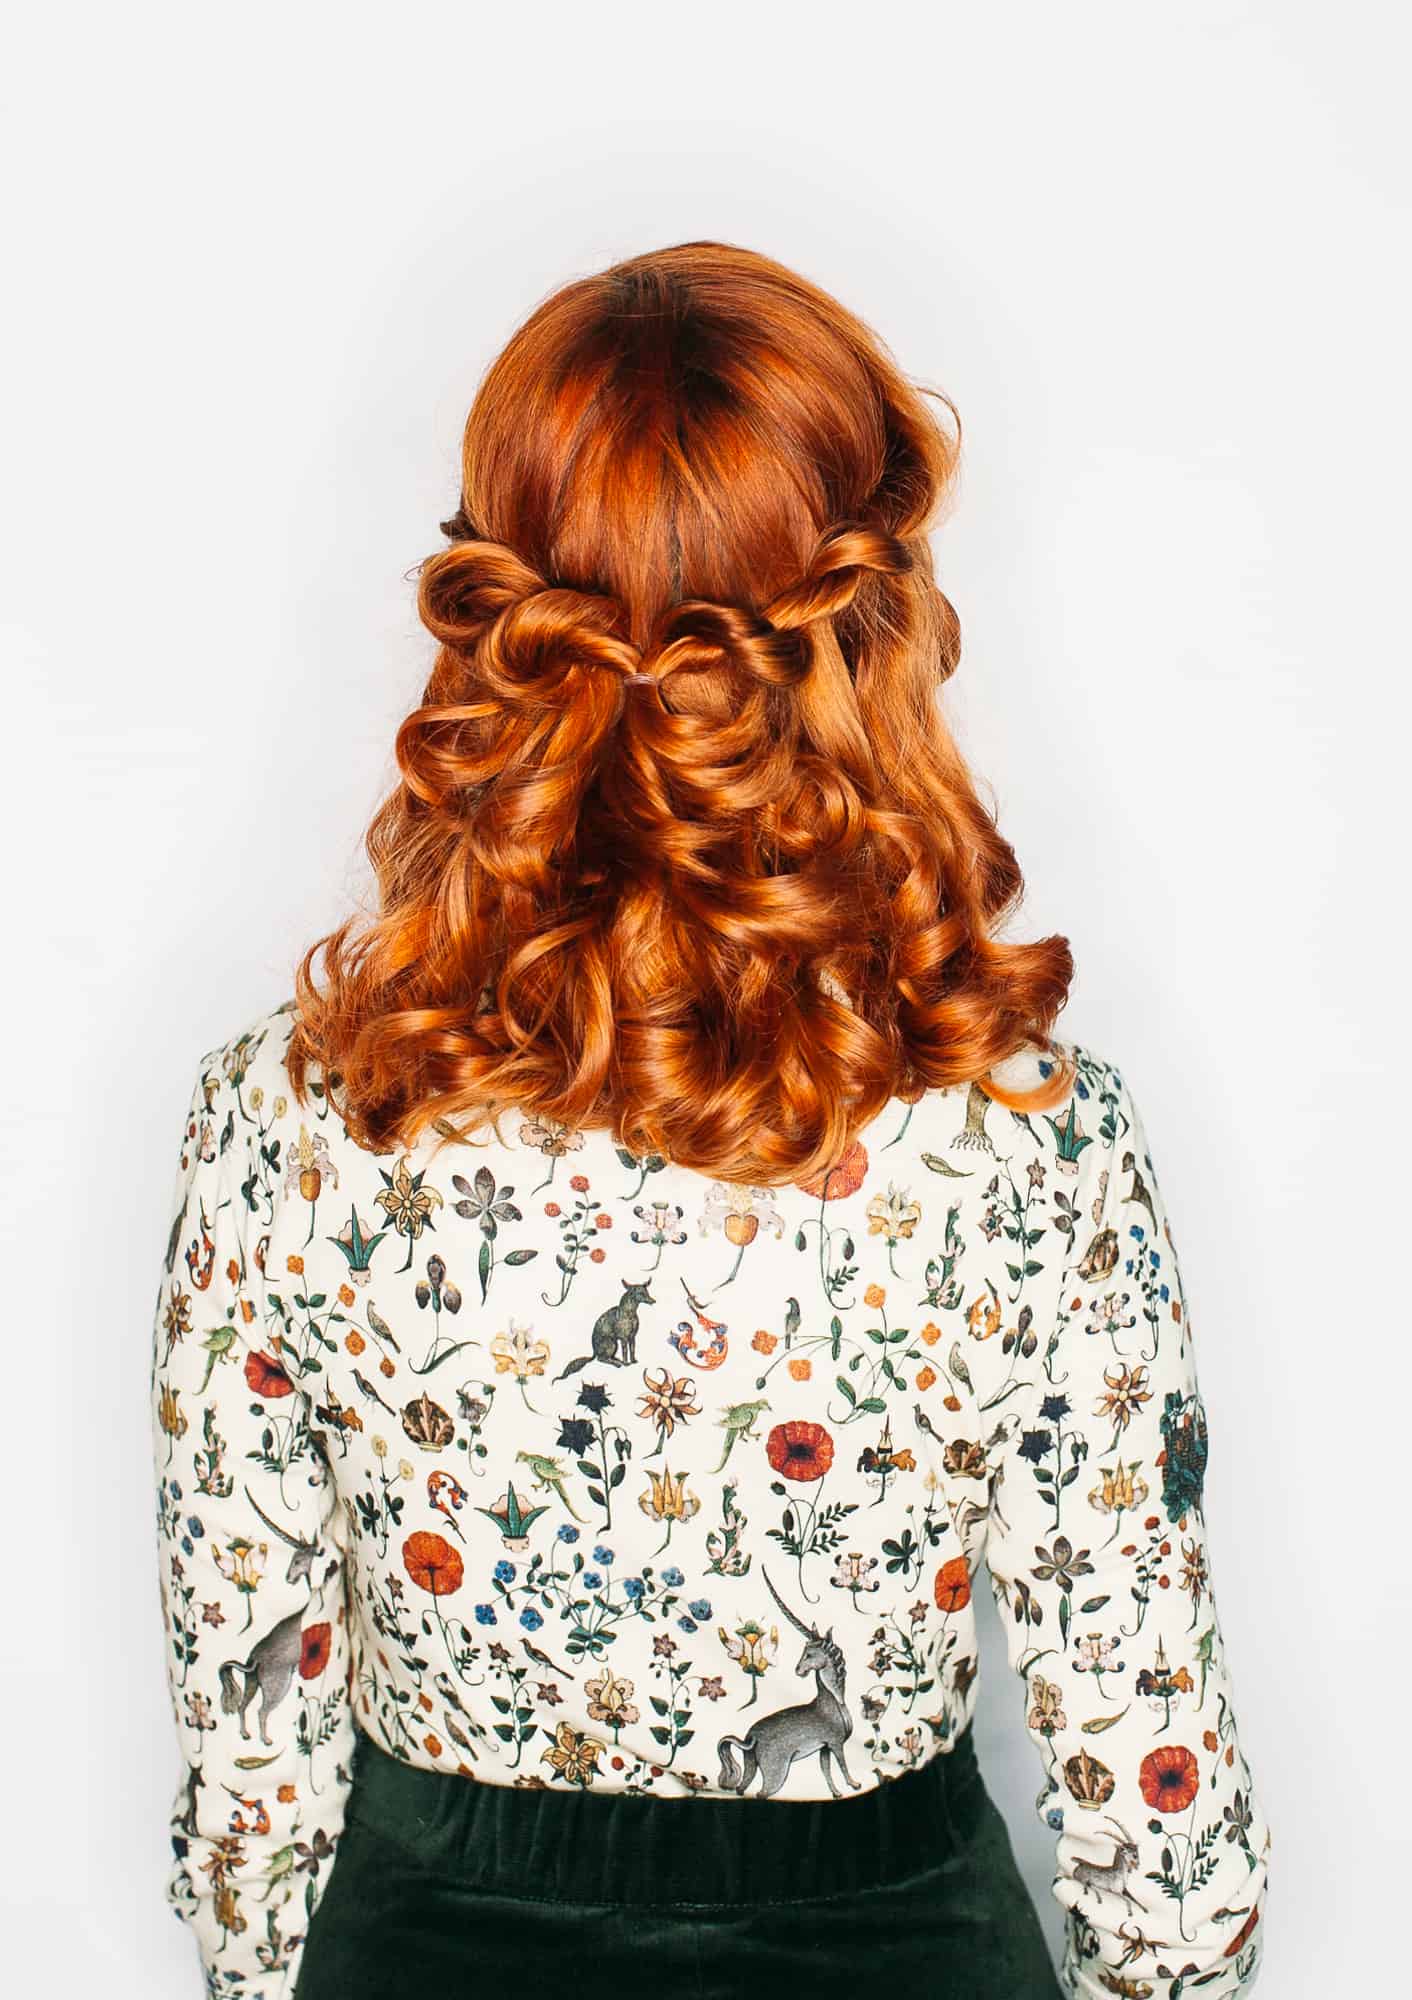
Rebecca’s half-up twist hairstyle is a cute way to pull the front strands of your hair back—especially when it’s hot outside.
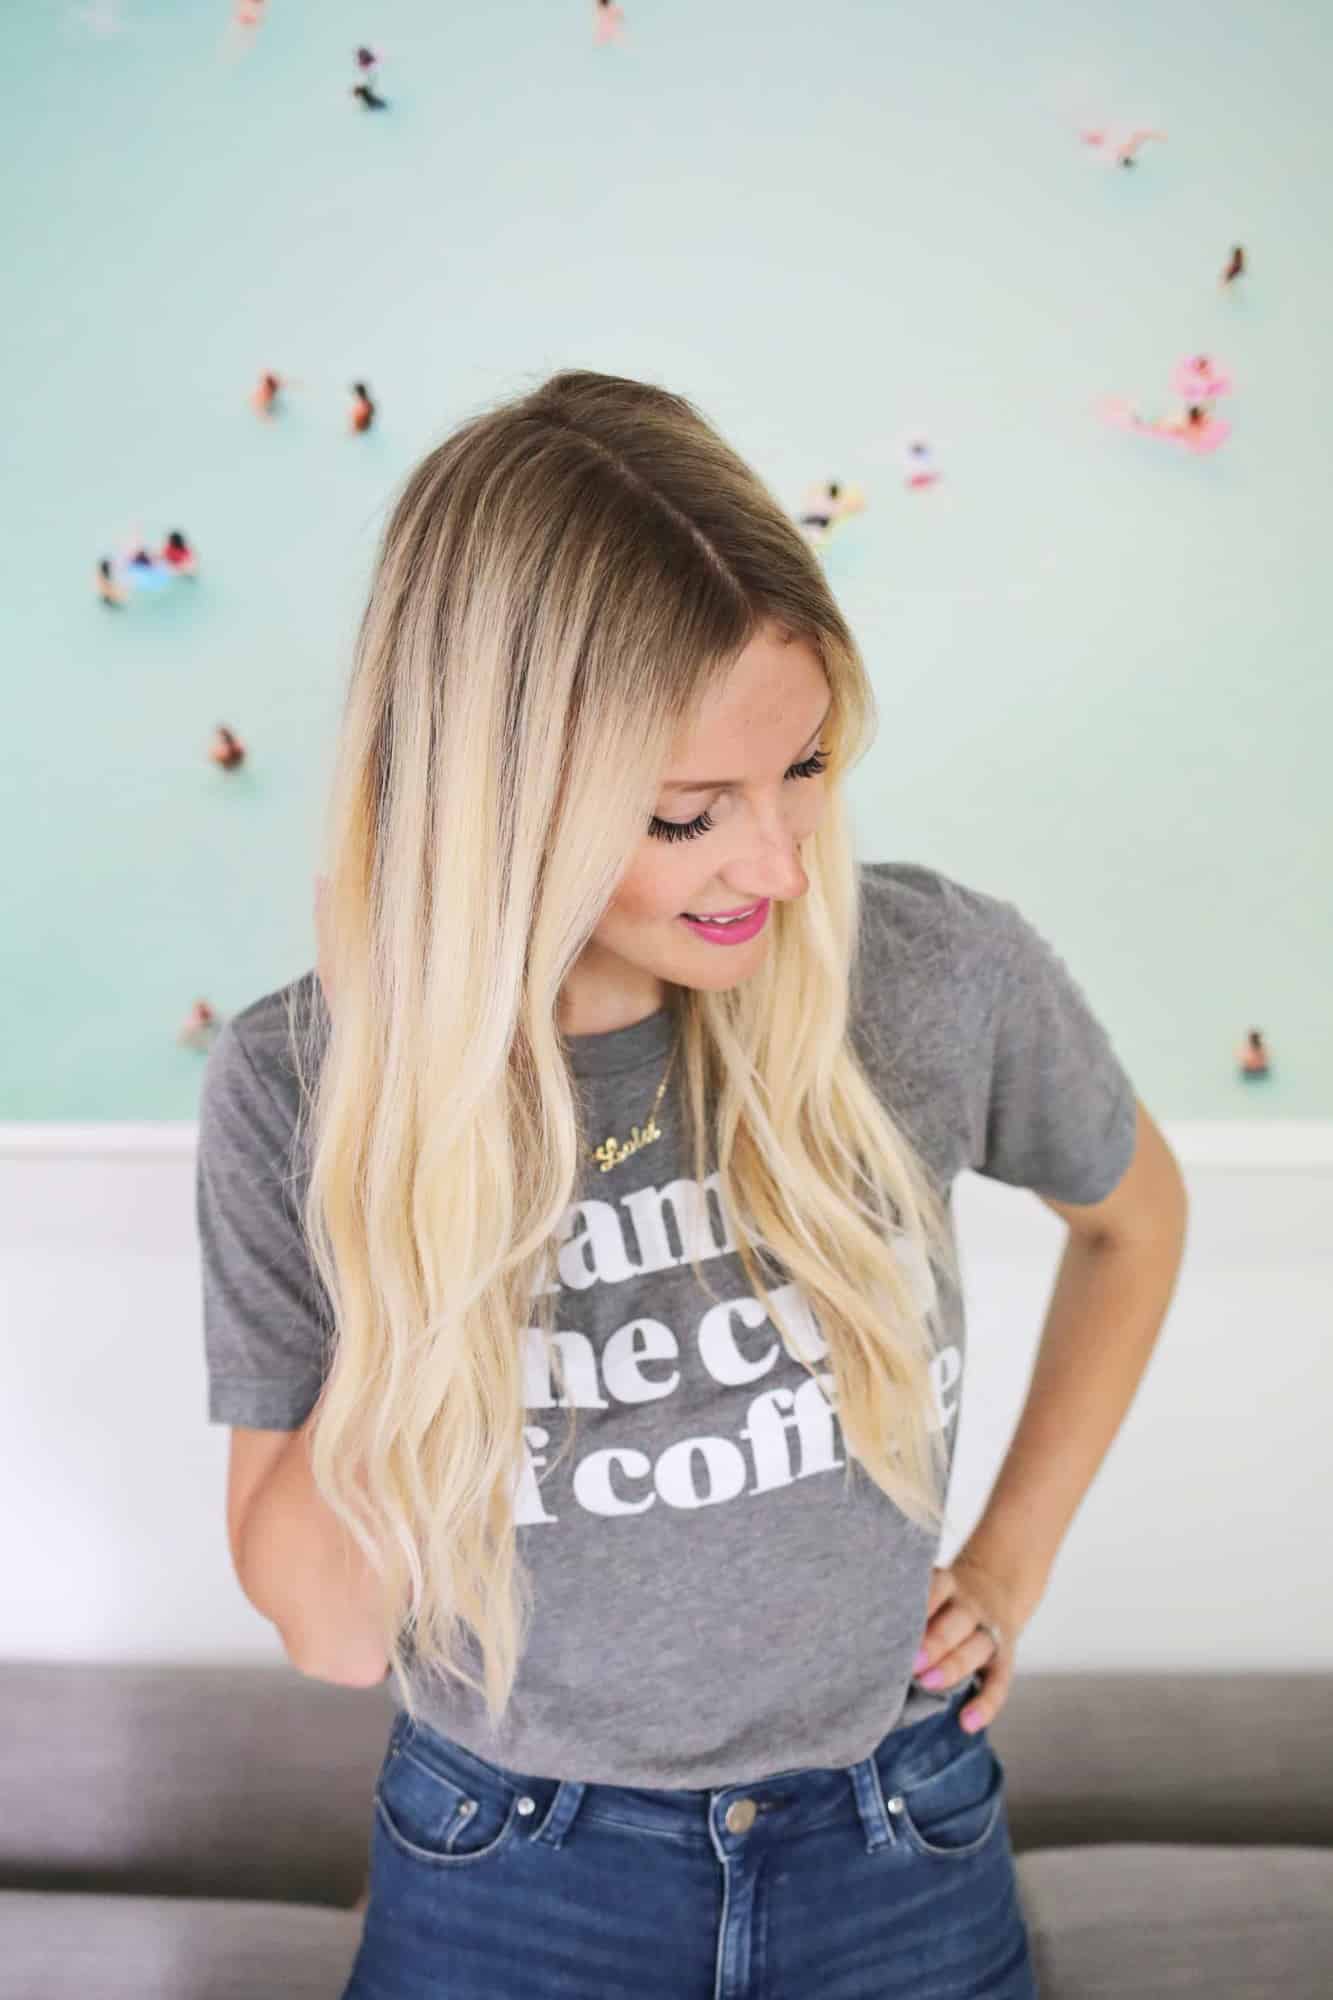
You can create loose waves (without using a curling iron) like Laura did here. Less heat equals less damage to your hair, which is always a plus!
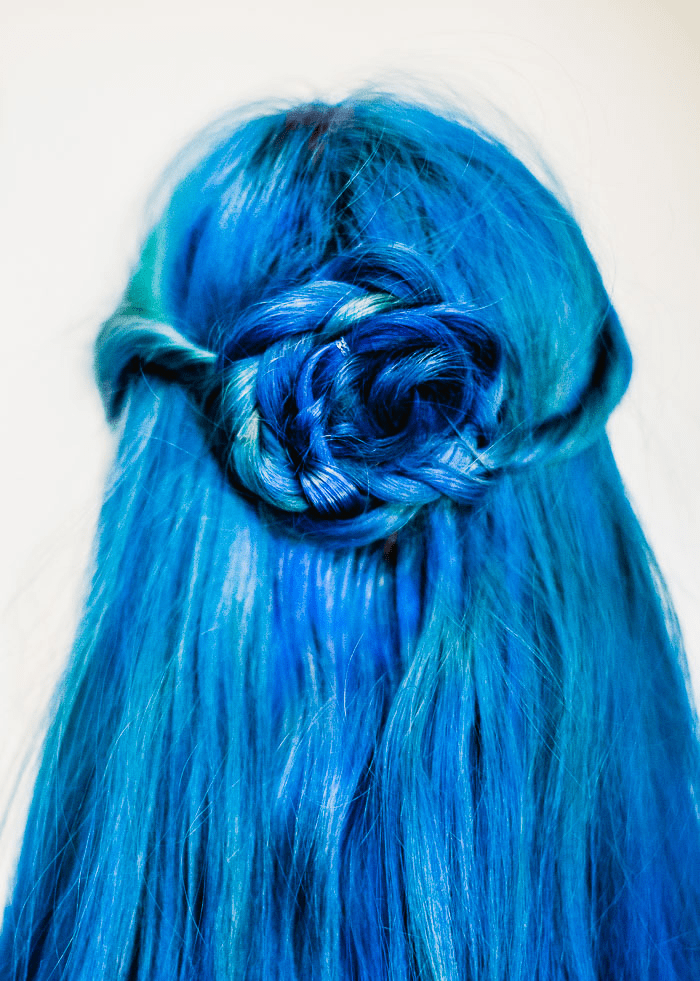
The easiest flower braid tutorial. It looks like it’s hard to do, but it’s not—we promise! We even have a tutorial for a triple flower braid if you’re feeling extra fancy.
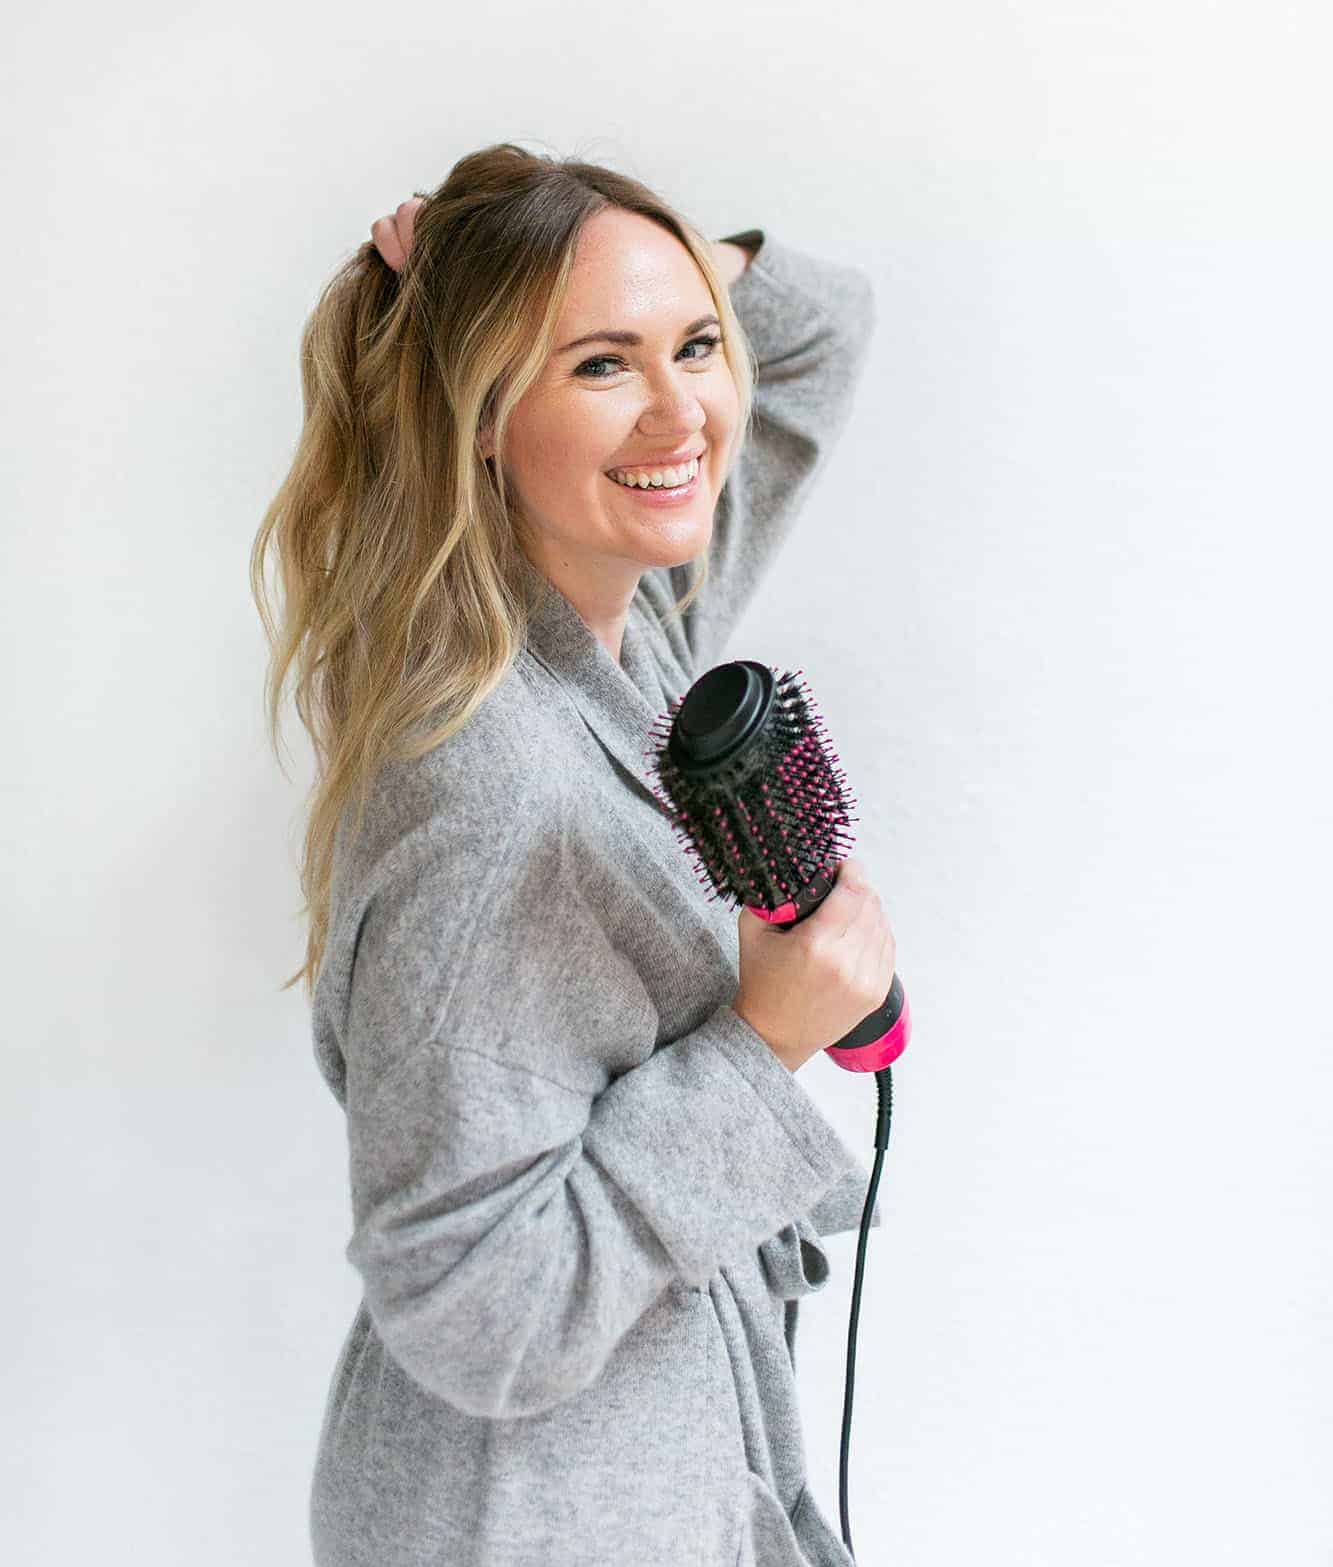
Emma swears by this hot air brush to cut back on drying time and help straighten her fine hair. You can see more of her favorite hair tools in this post.

This triple twist ponytail has an elegant look to it, but it’s still perfect for an everyday look.
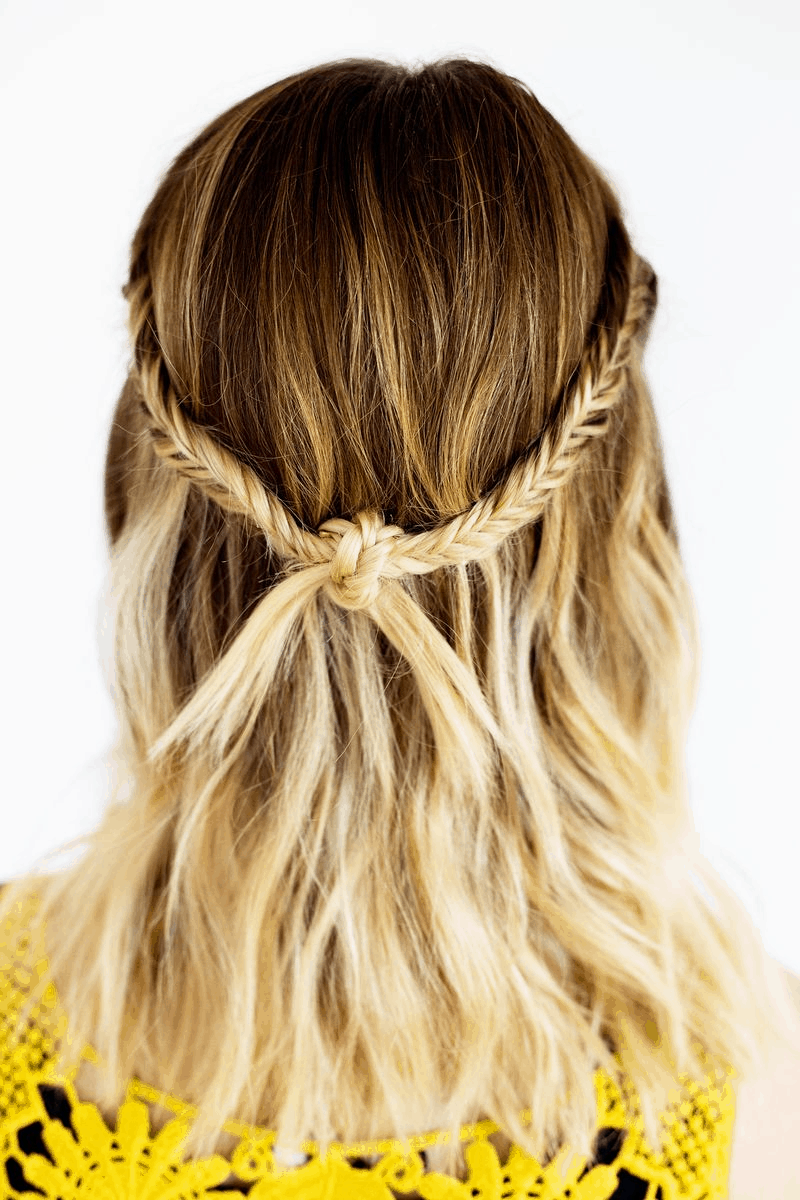
It’s hard not to include Emma’s fishtail knot braid in this roundup. It reminds us of a perfect summer day!
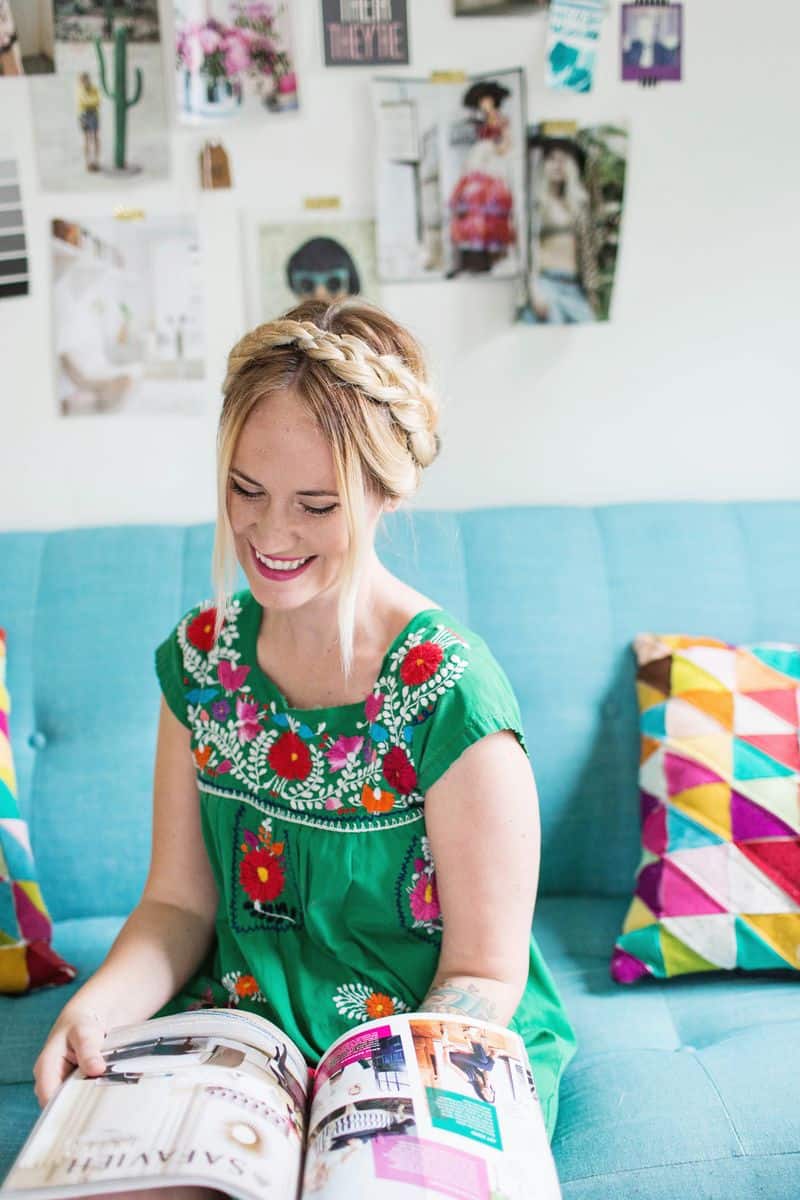
She also loves classic milkmaid braids during the warmer months.
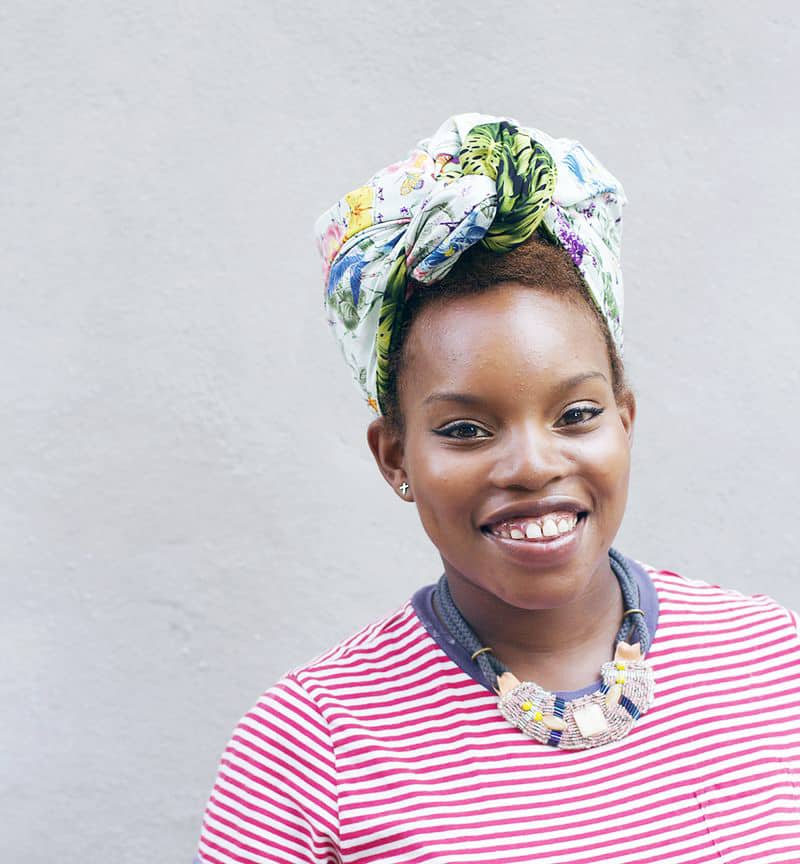
Let’s talk about hair accessories! You can easily make your own double-sided head wrap (for half the cost of something store-bought) with a cute fabric design.
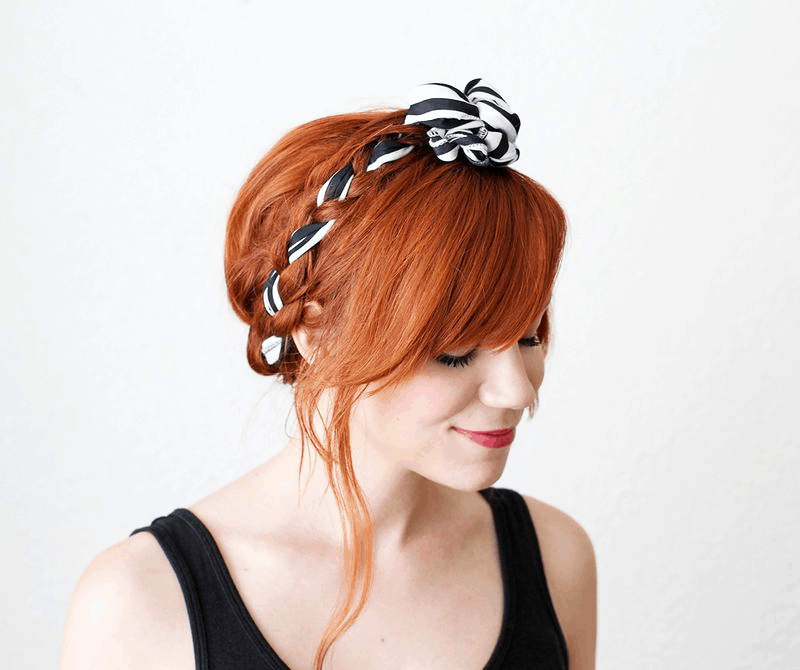
You could also braid fabric into your hair like Katie did with her maiden braids. So cute!
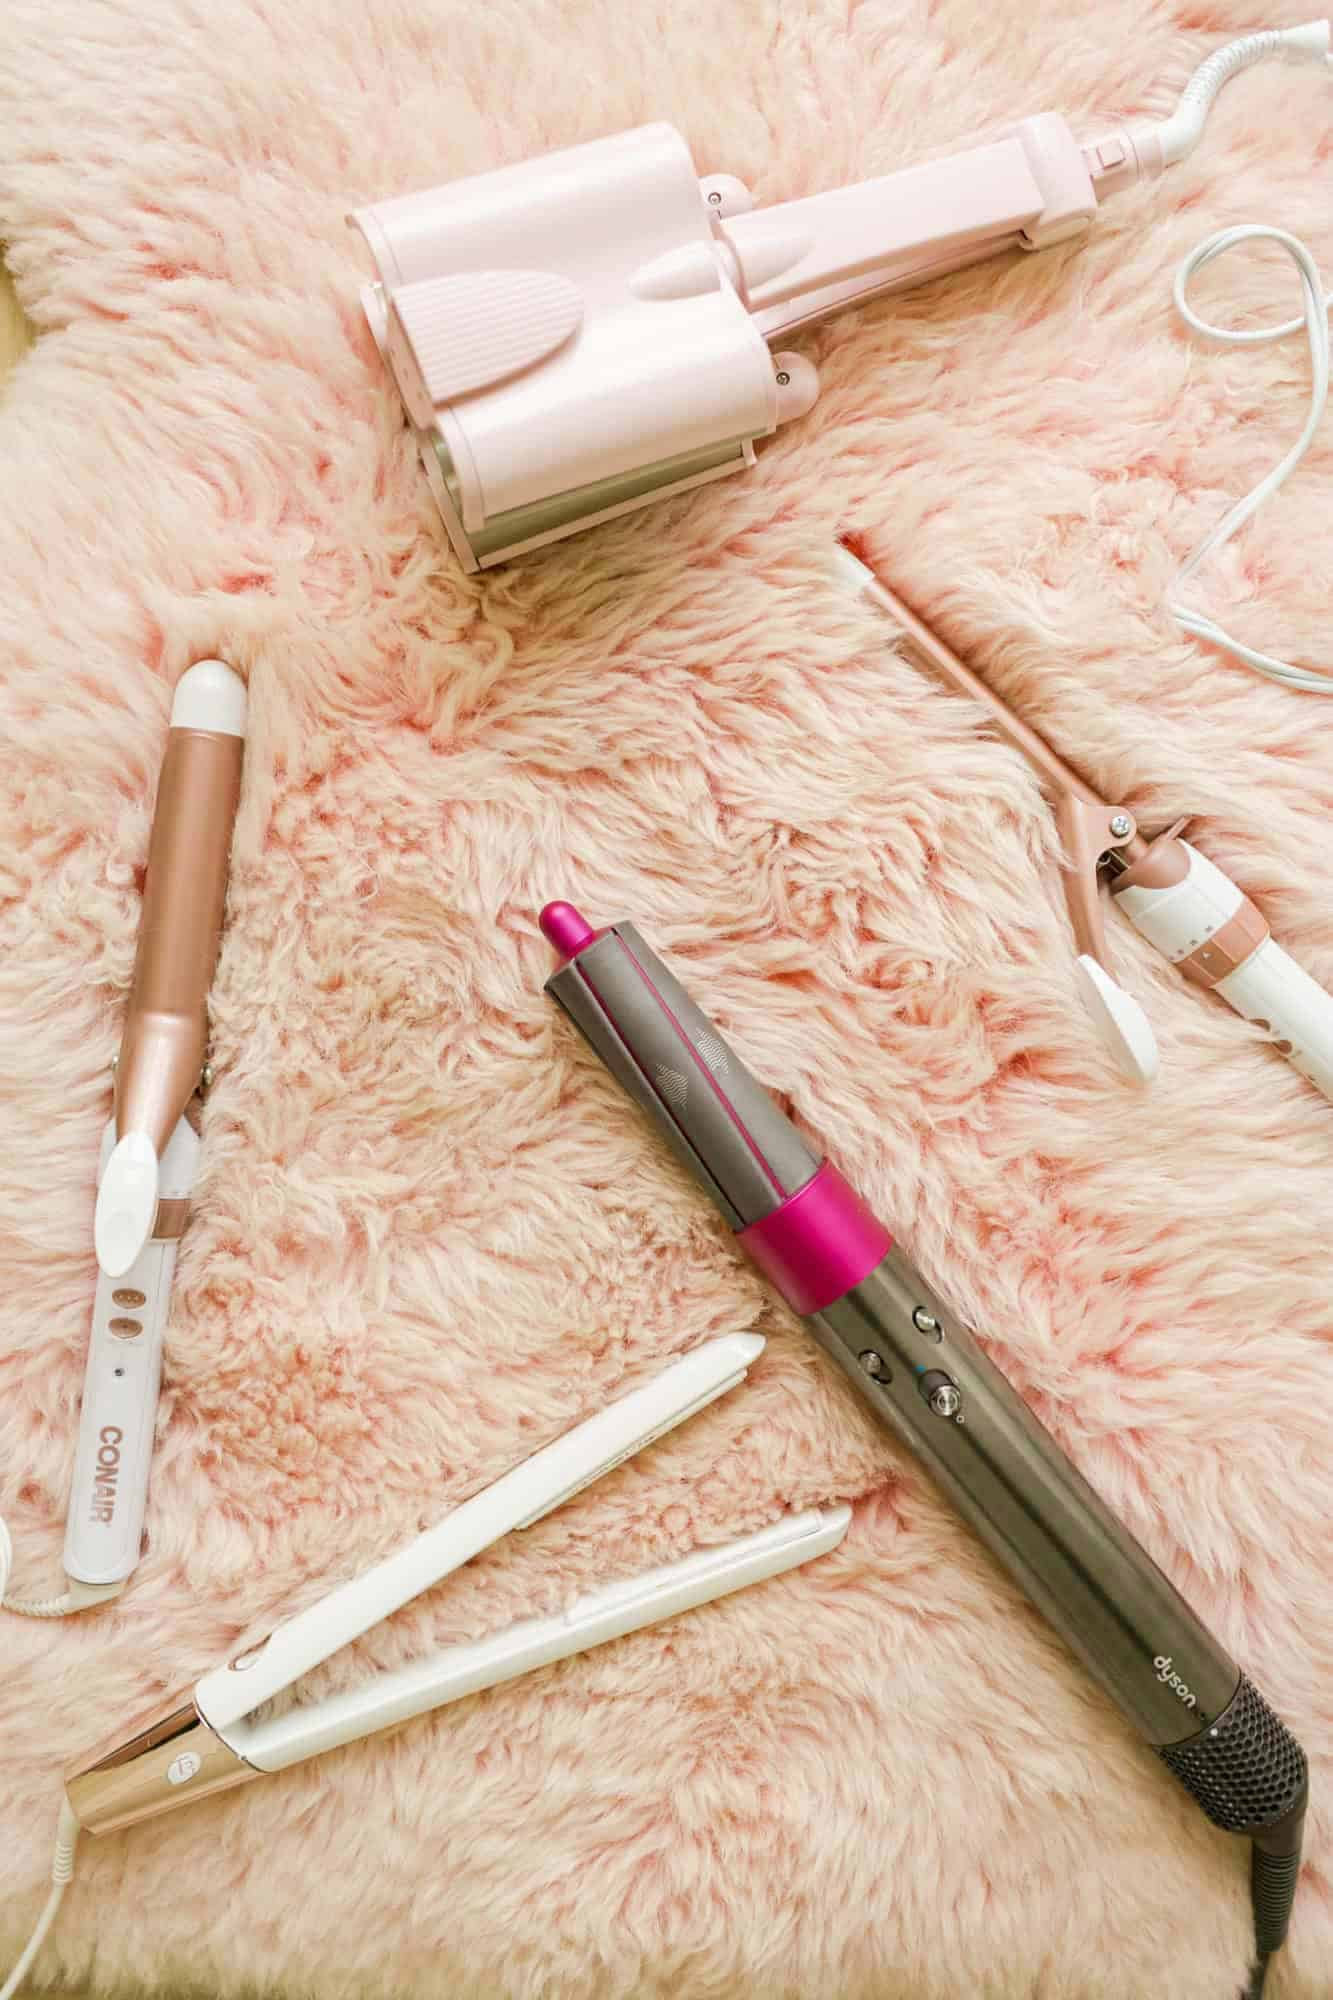
Looking for honest reviews? Elsie talks about her Dyson Airwrap, curling irons, and other hair tools in this post.
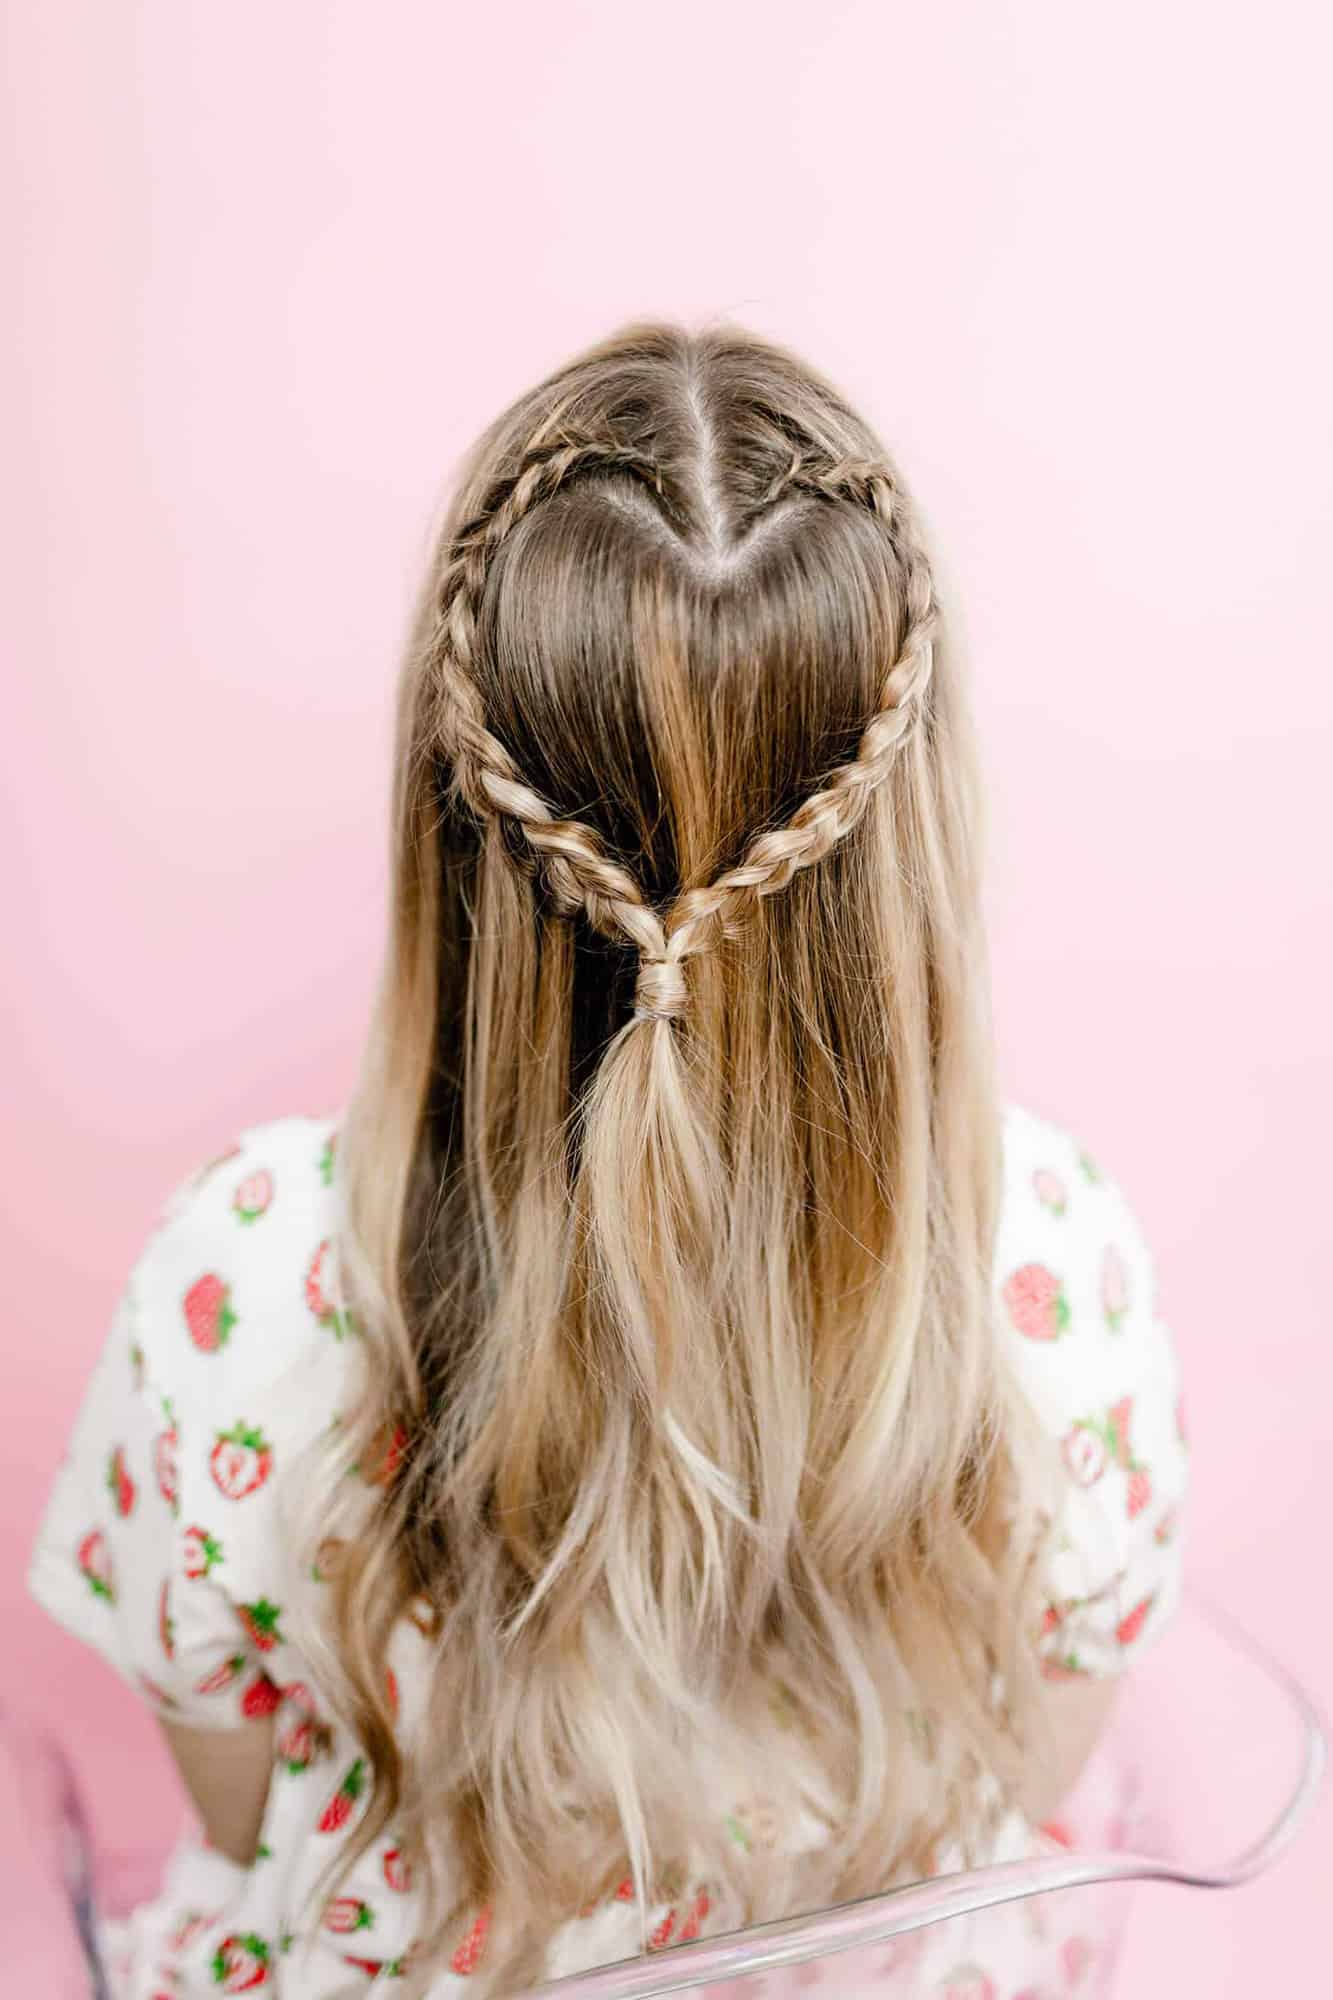
You could say this heart-shaped braid gives us “all the heart eyes.” It’s so unique and fun.
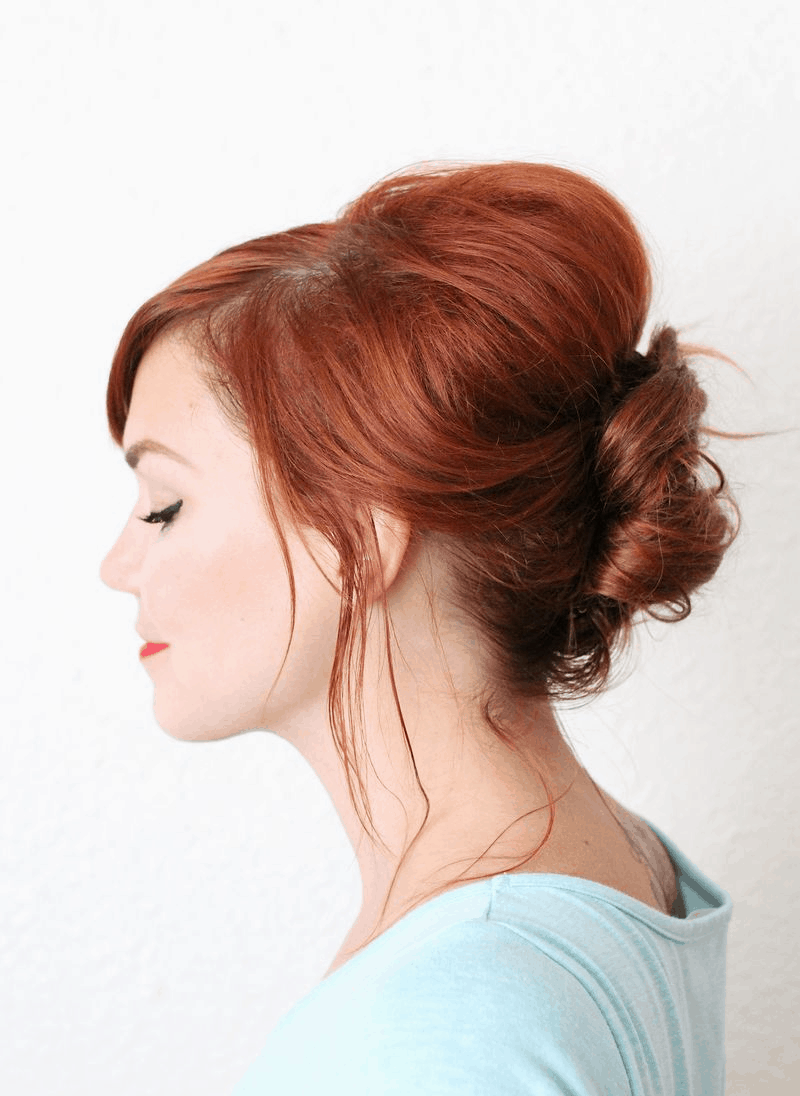
This everyday French twist is super easy to do, and works even better on unwashed hair.
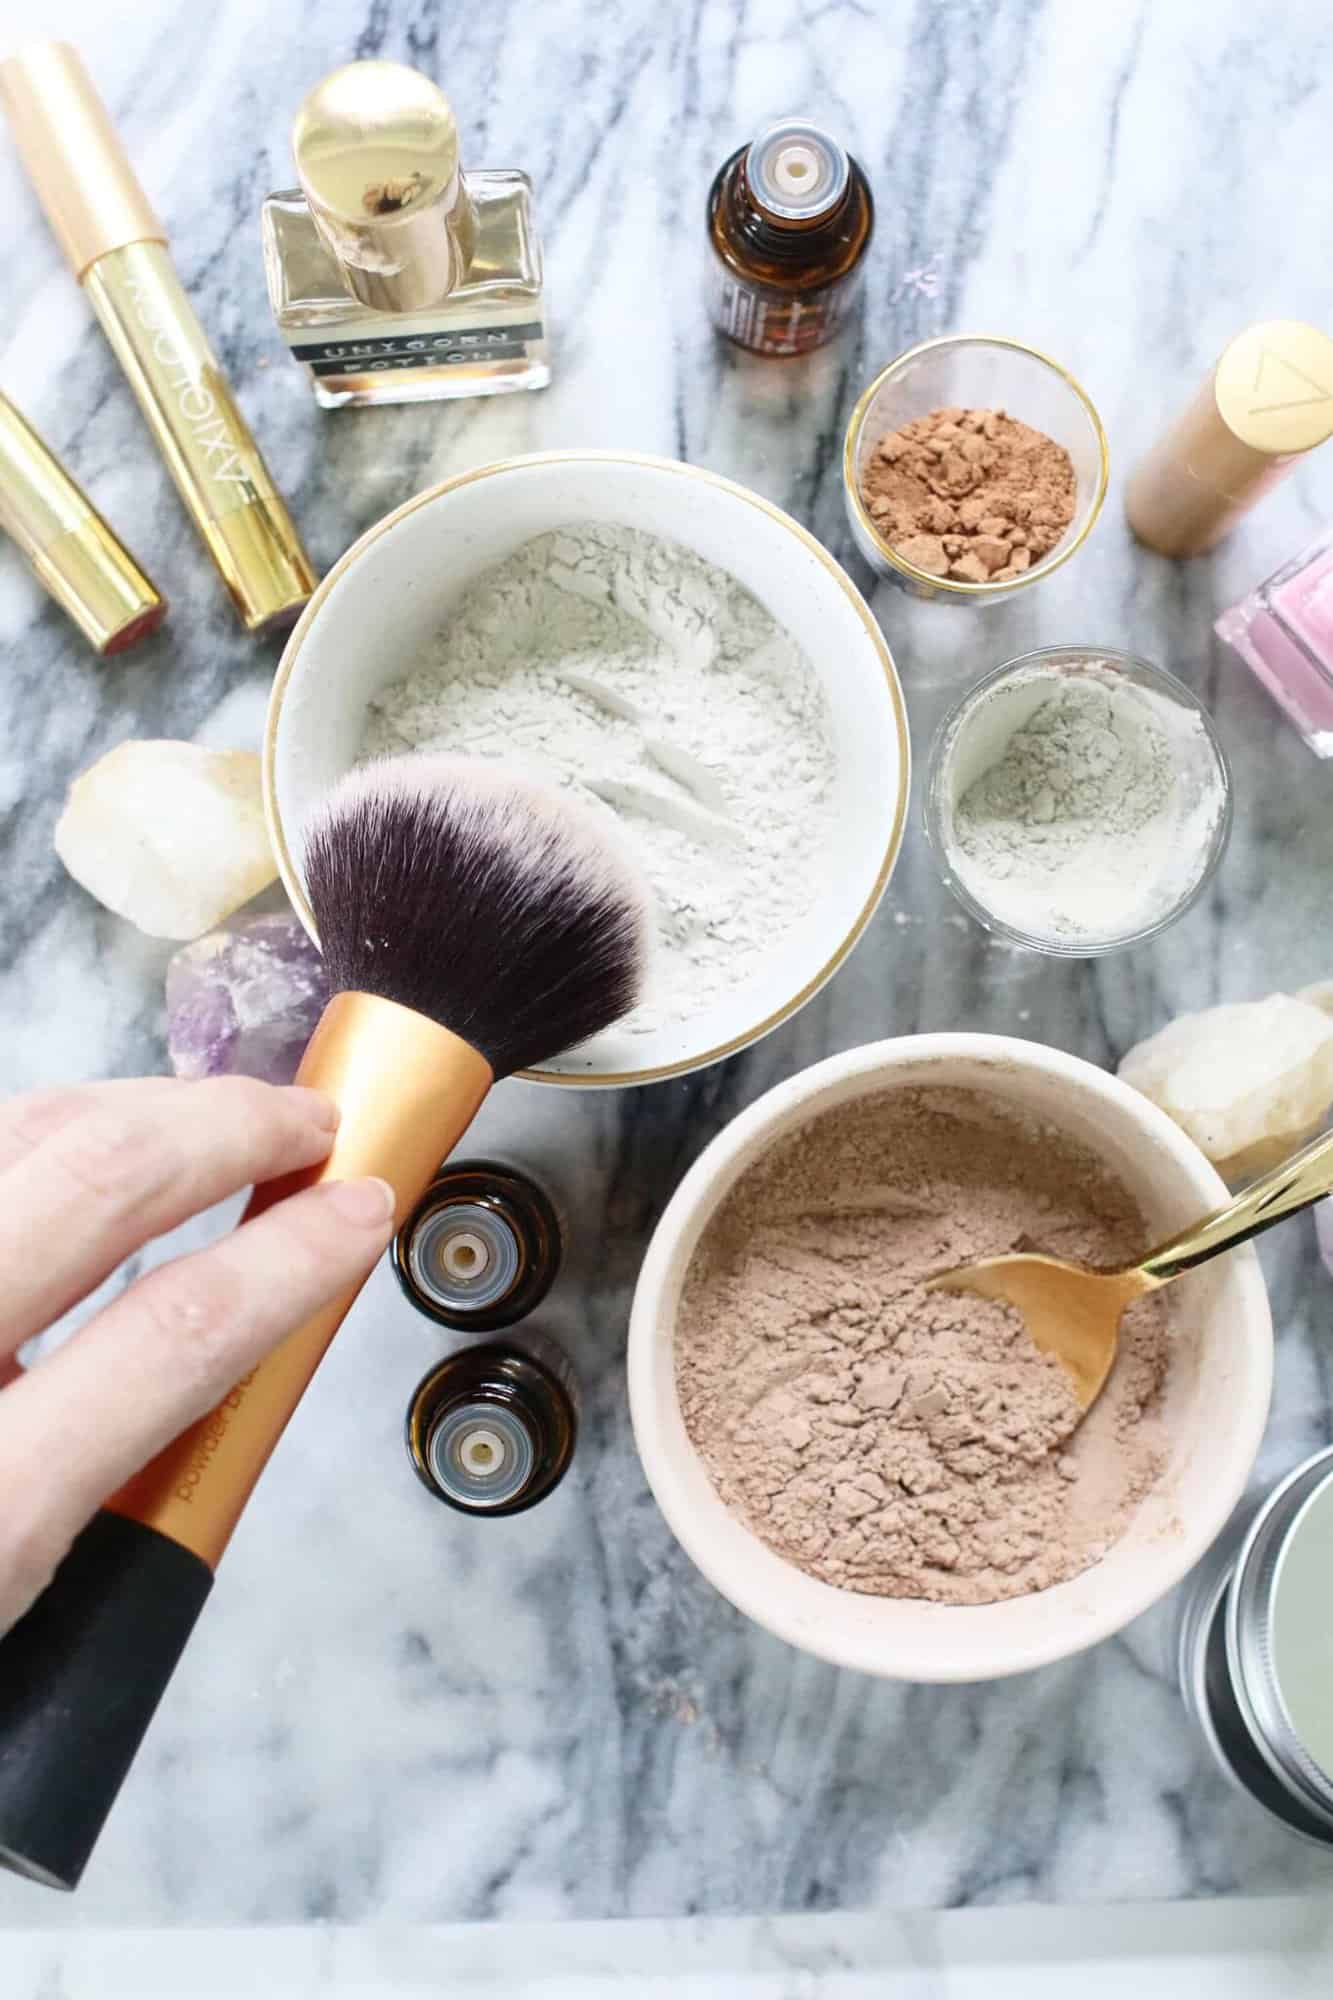
But, if you want to use a little dry shampoo, we get it. Here’s how to make your own dry shampoo.
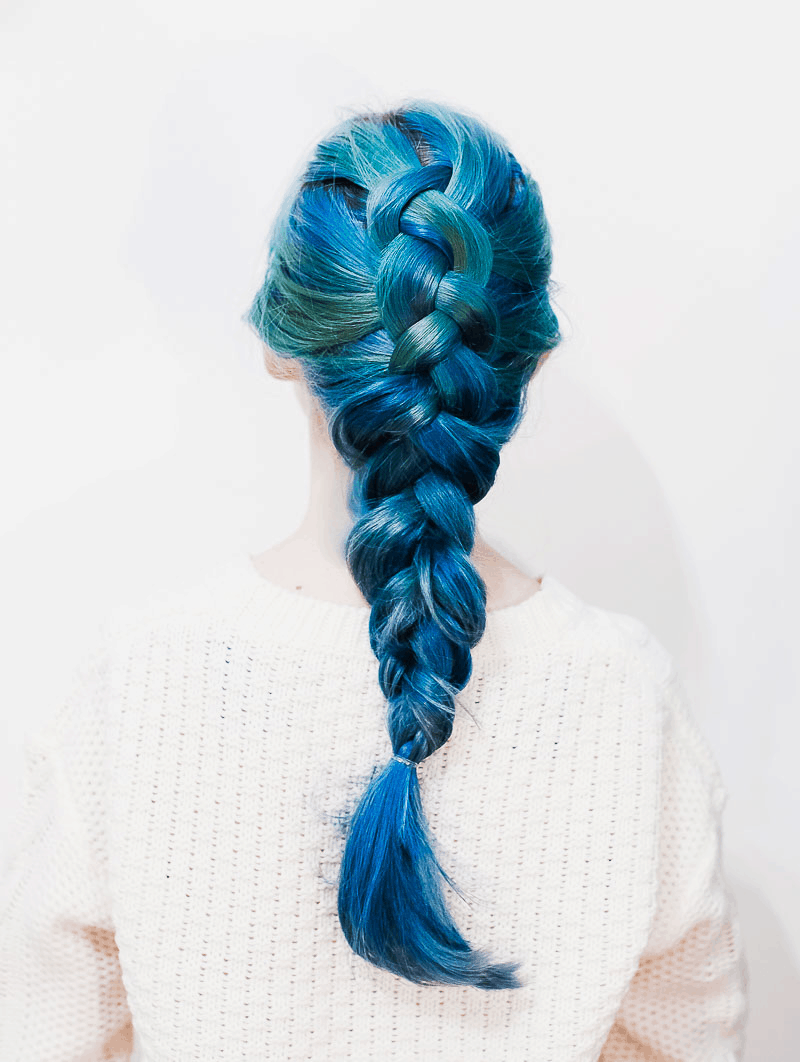
This Dutch braid is a step up from a regular braid, and it can make your hair look thicker. Perfect if you have fine hair!
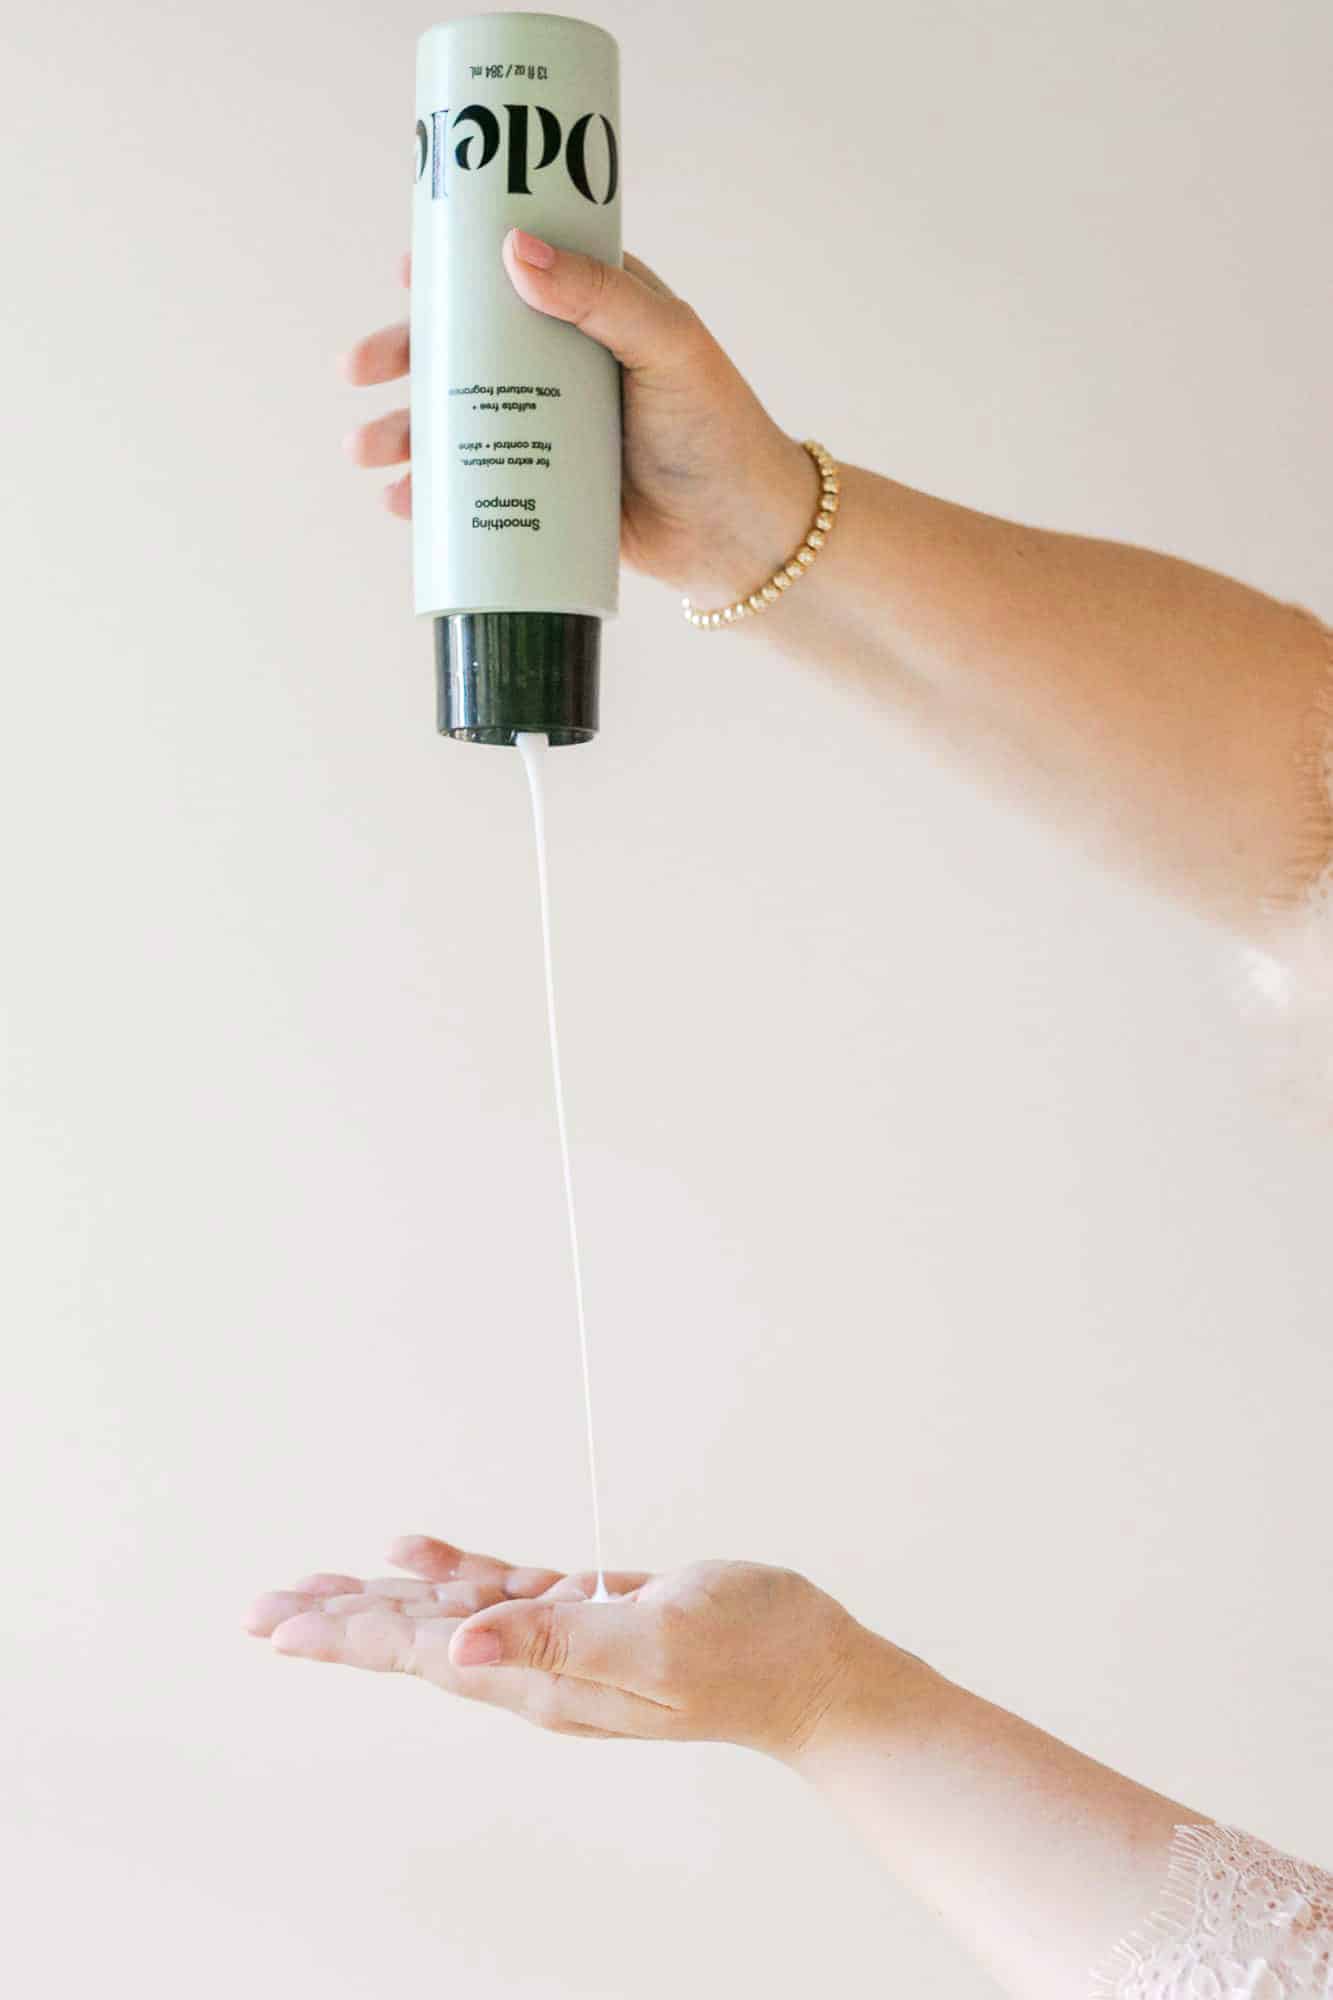
You know how amazing your hair looks after a shampoo at a salon? Here are a few tips to shampoo your hair like a pro.
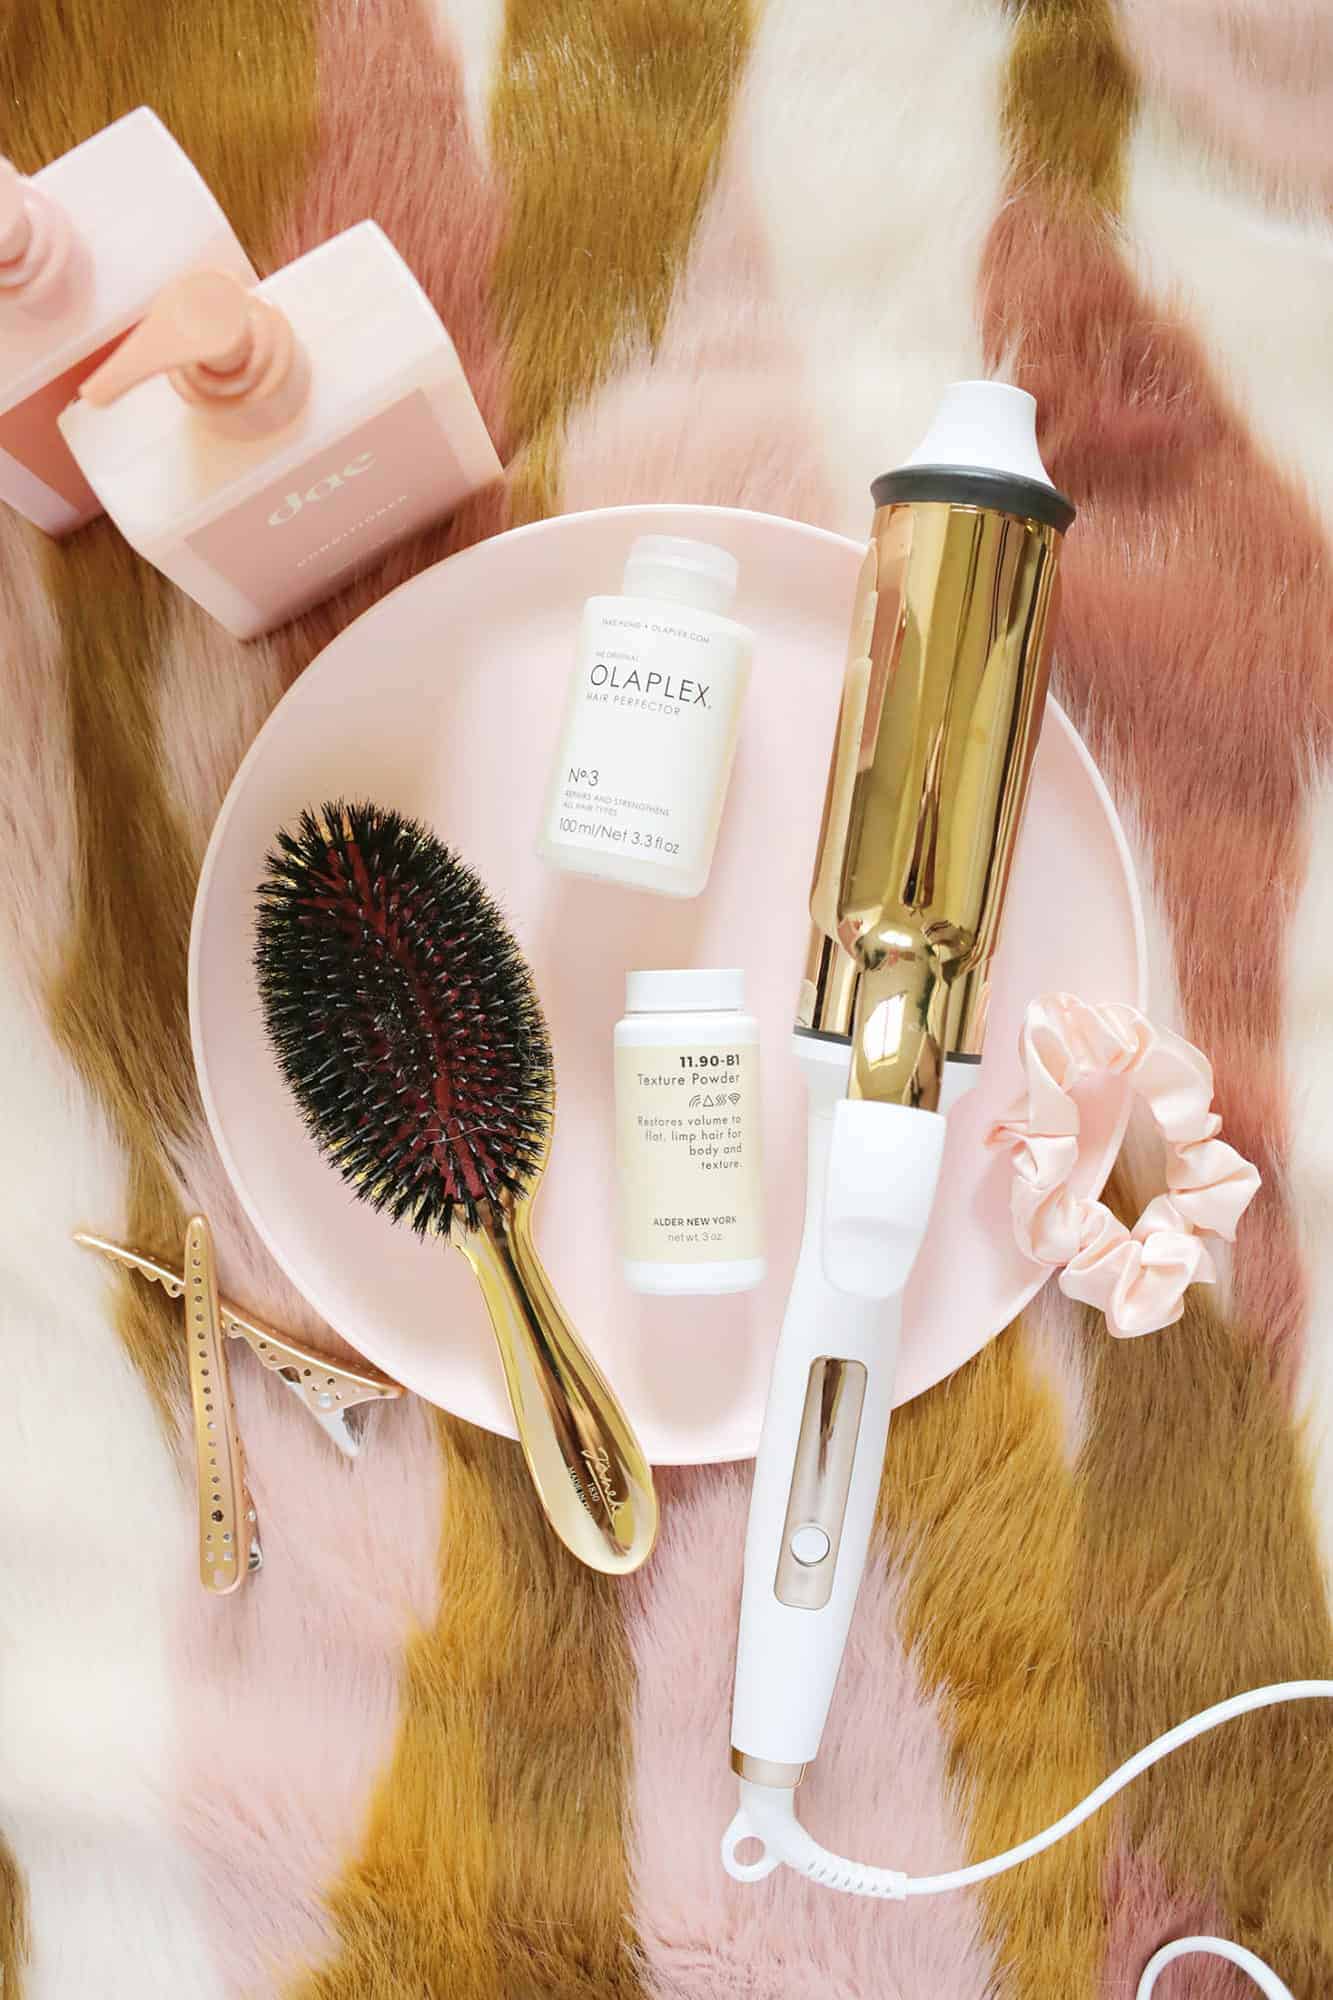
And, if you’ve been wanting to switch to a clean haircare brand, here are some of our favorite hair care products and tools within that category.
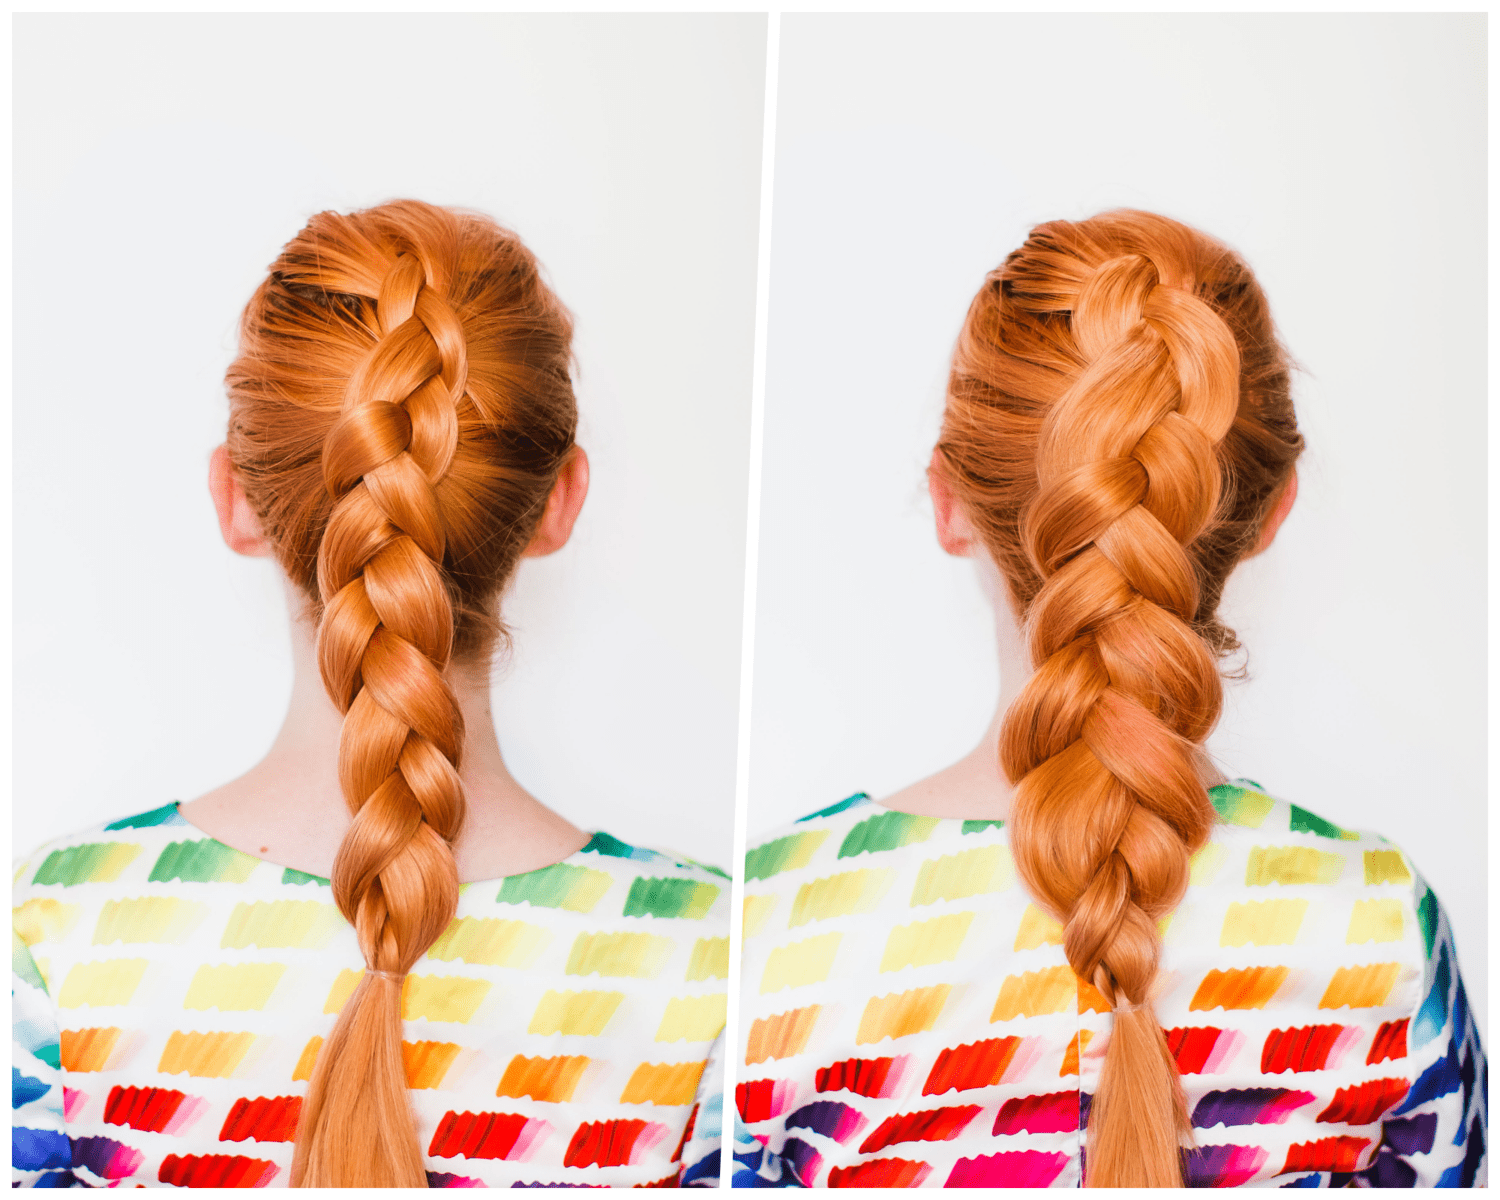
If your braids are looking thin, it’s easy to plump them up using plumping powder and this easy tutorial.
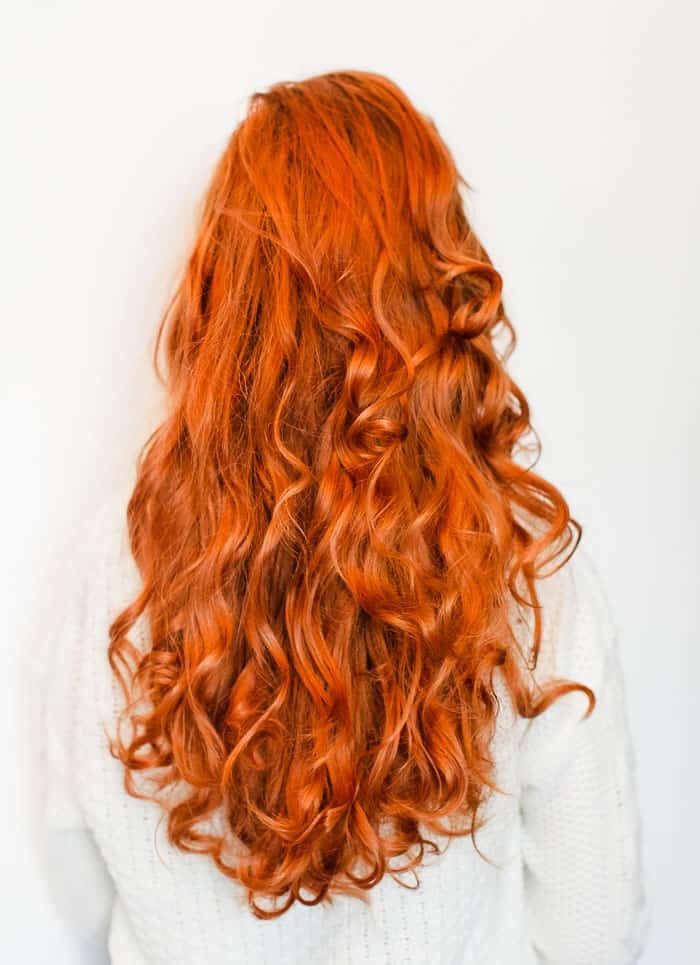
No-fuss curls are easier to achieve than you think. You can get incredible overnight no-heat curls with a a headband and bobby pins when your hair is wet.
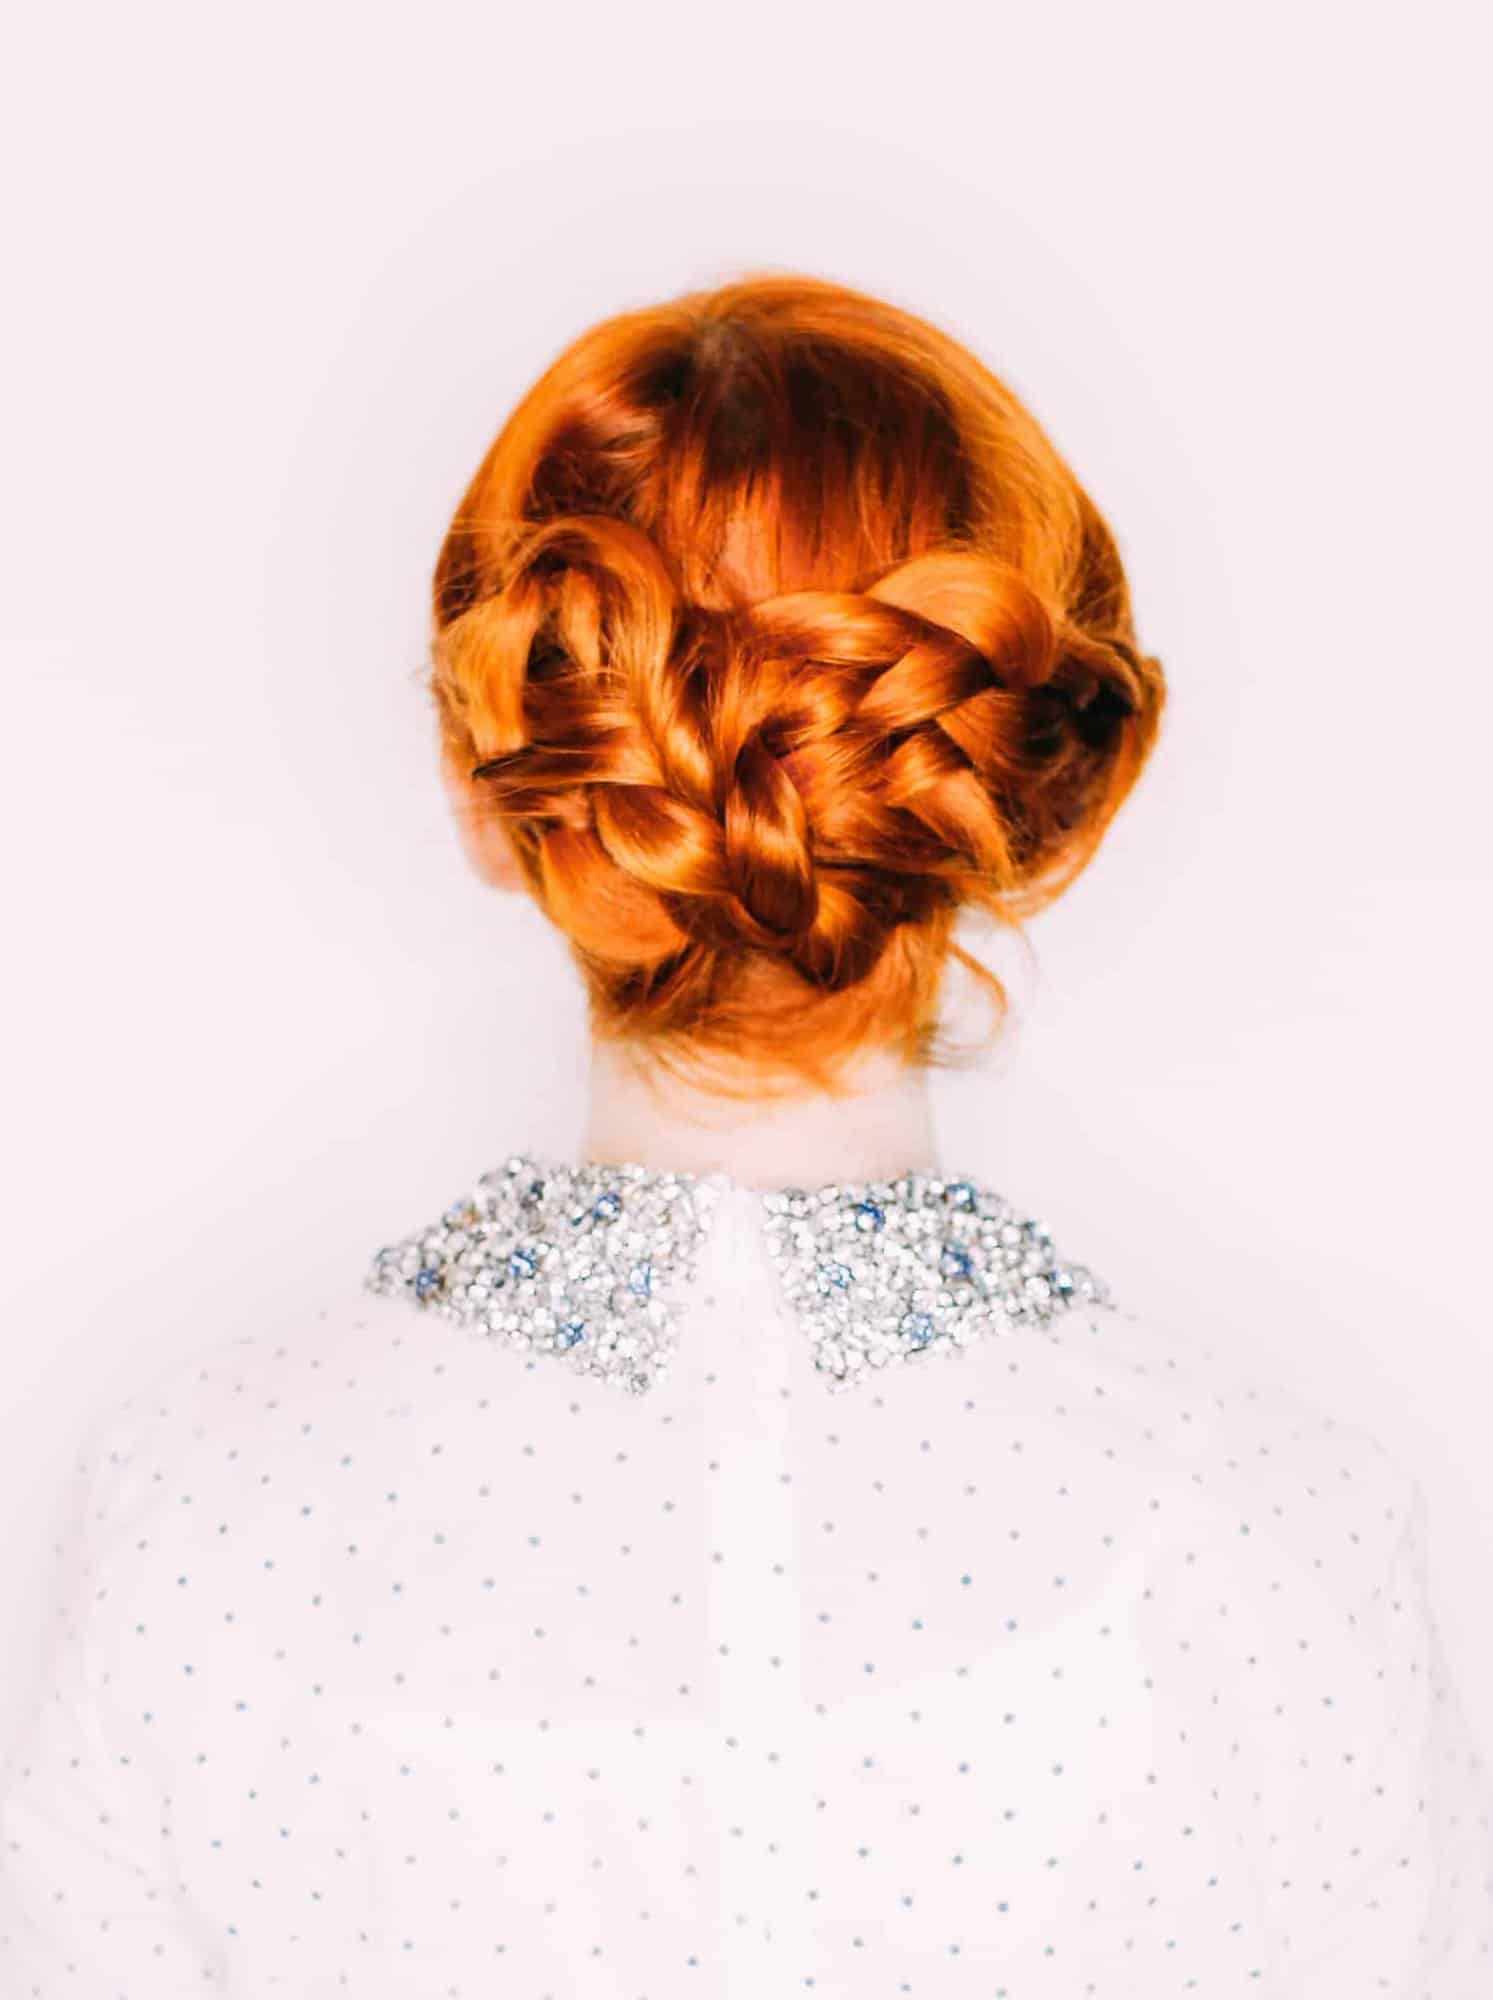
Here’s an easy updo idea (a triple braid!) for a wedding, New Years, or a special occasion.
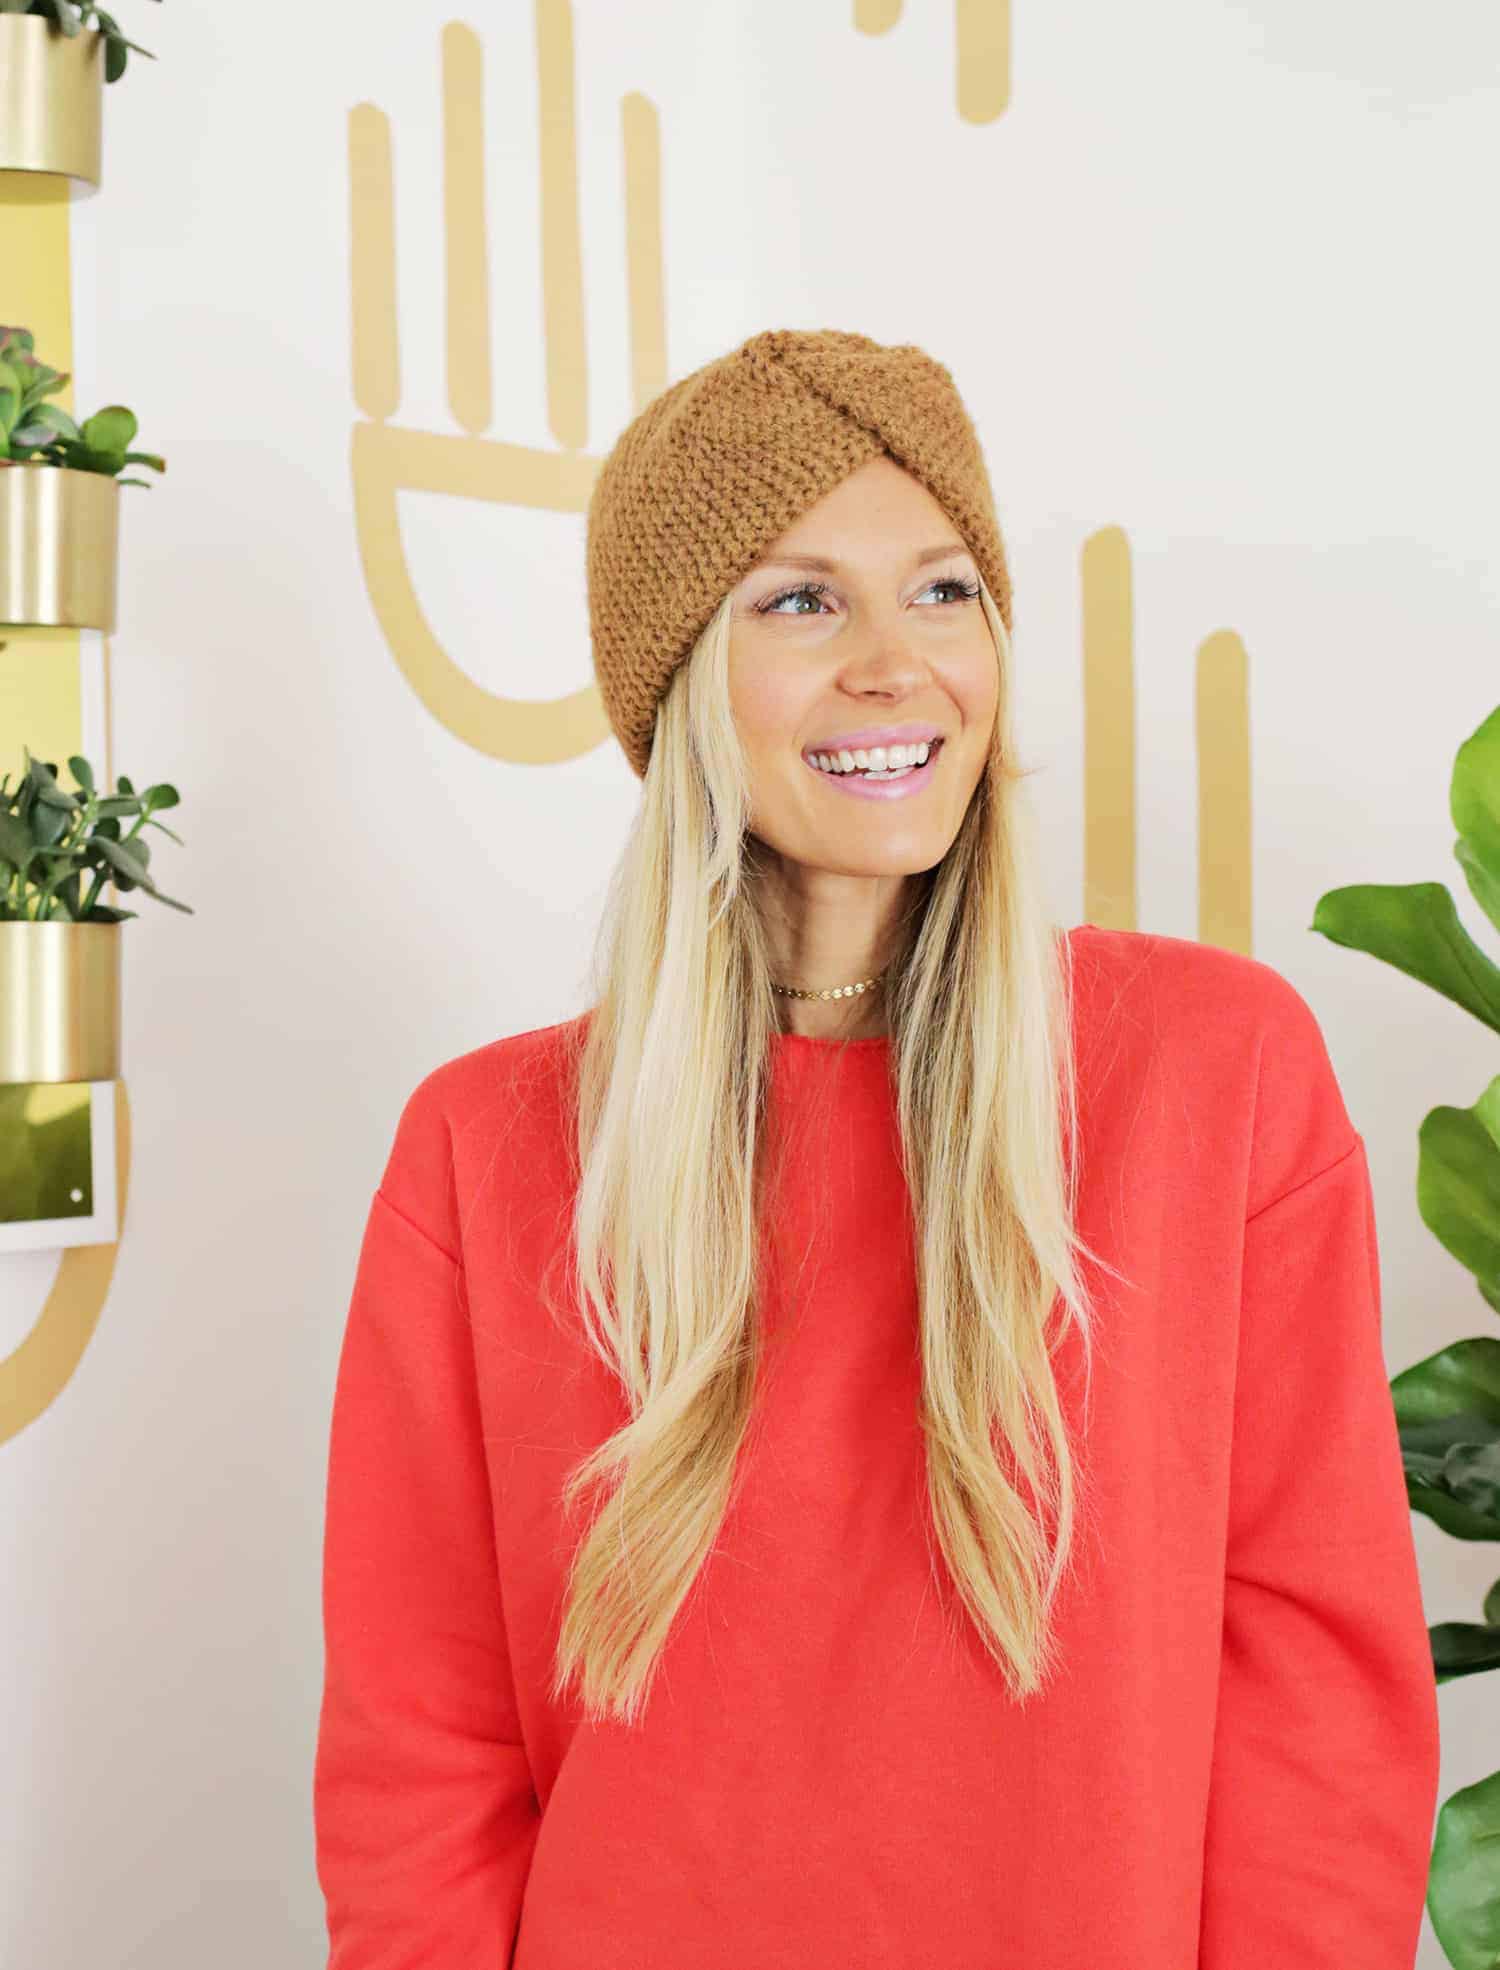
Have you experienced postpartum baby bangs? Laura shares her tips for dealing with them in this post.
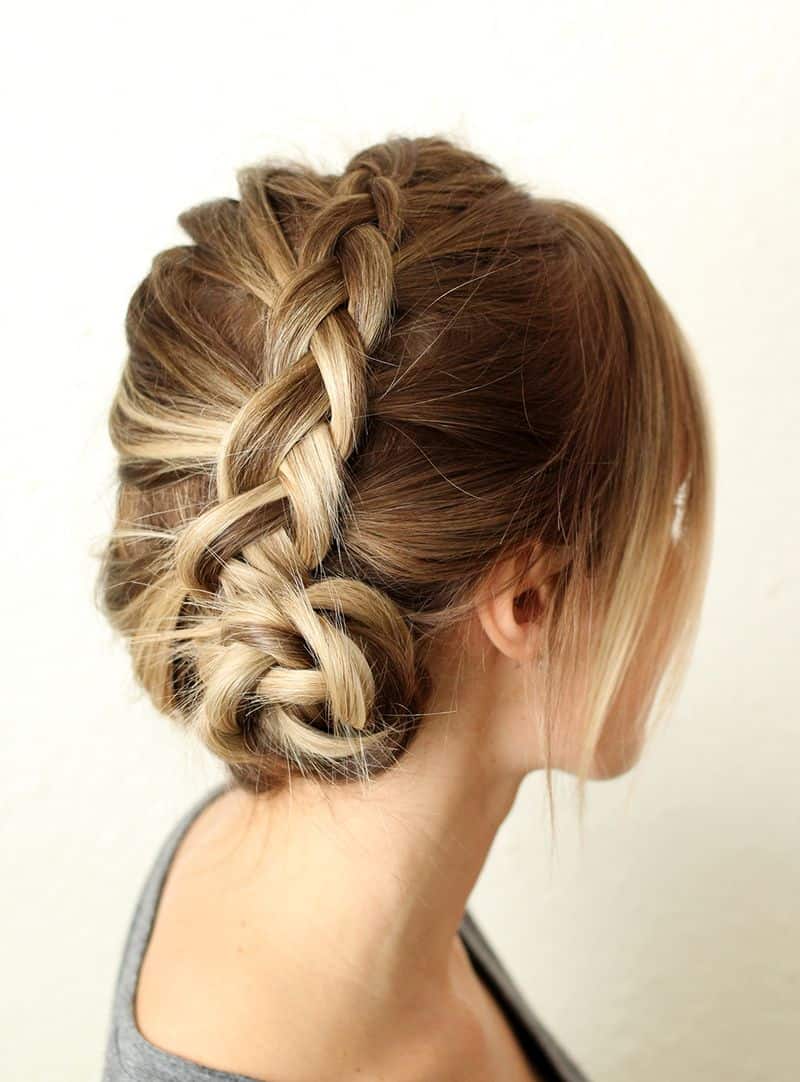
Here’s a cute way to style a simple Dutch braid— one of our most popular hair tutorials!
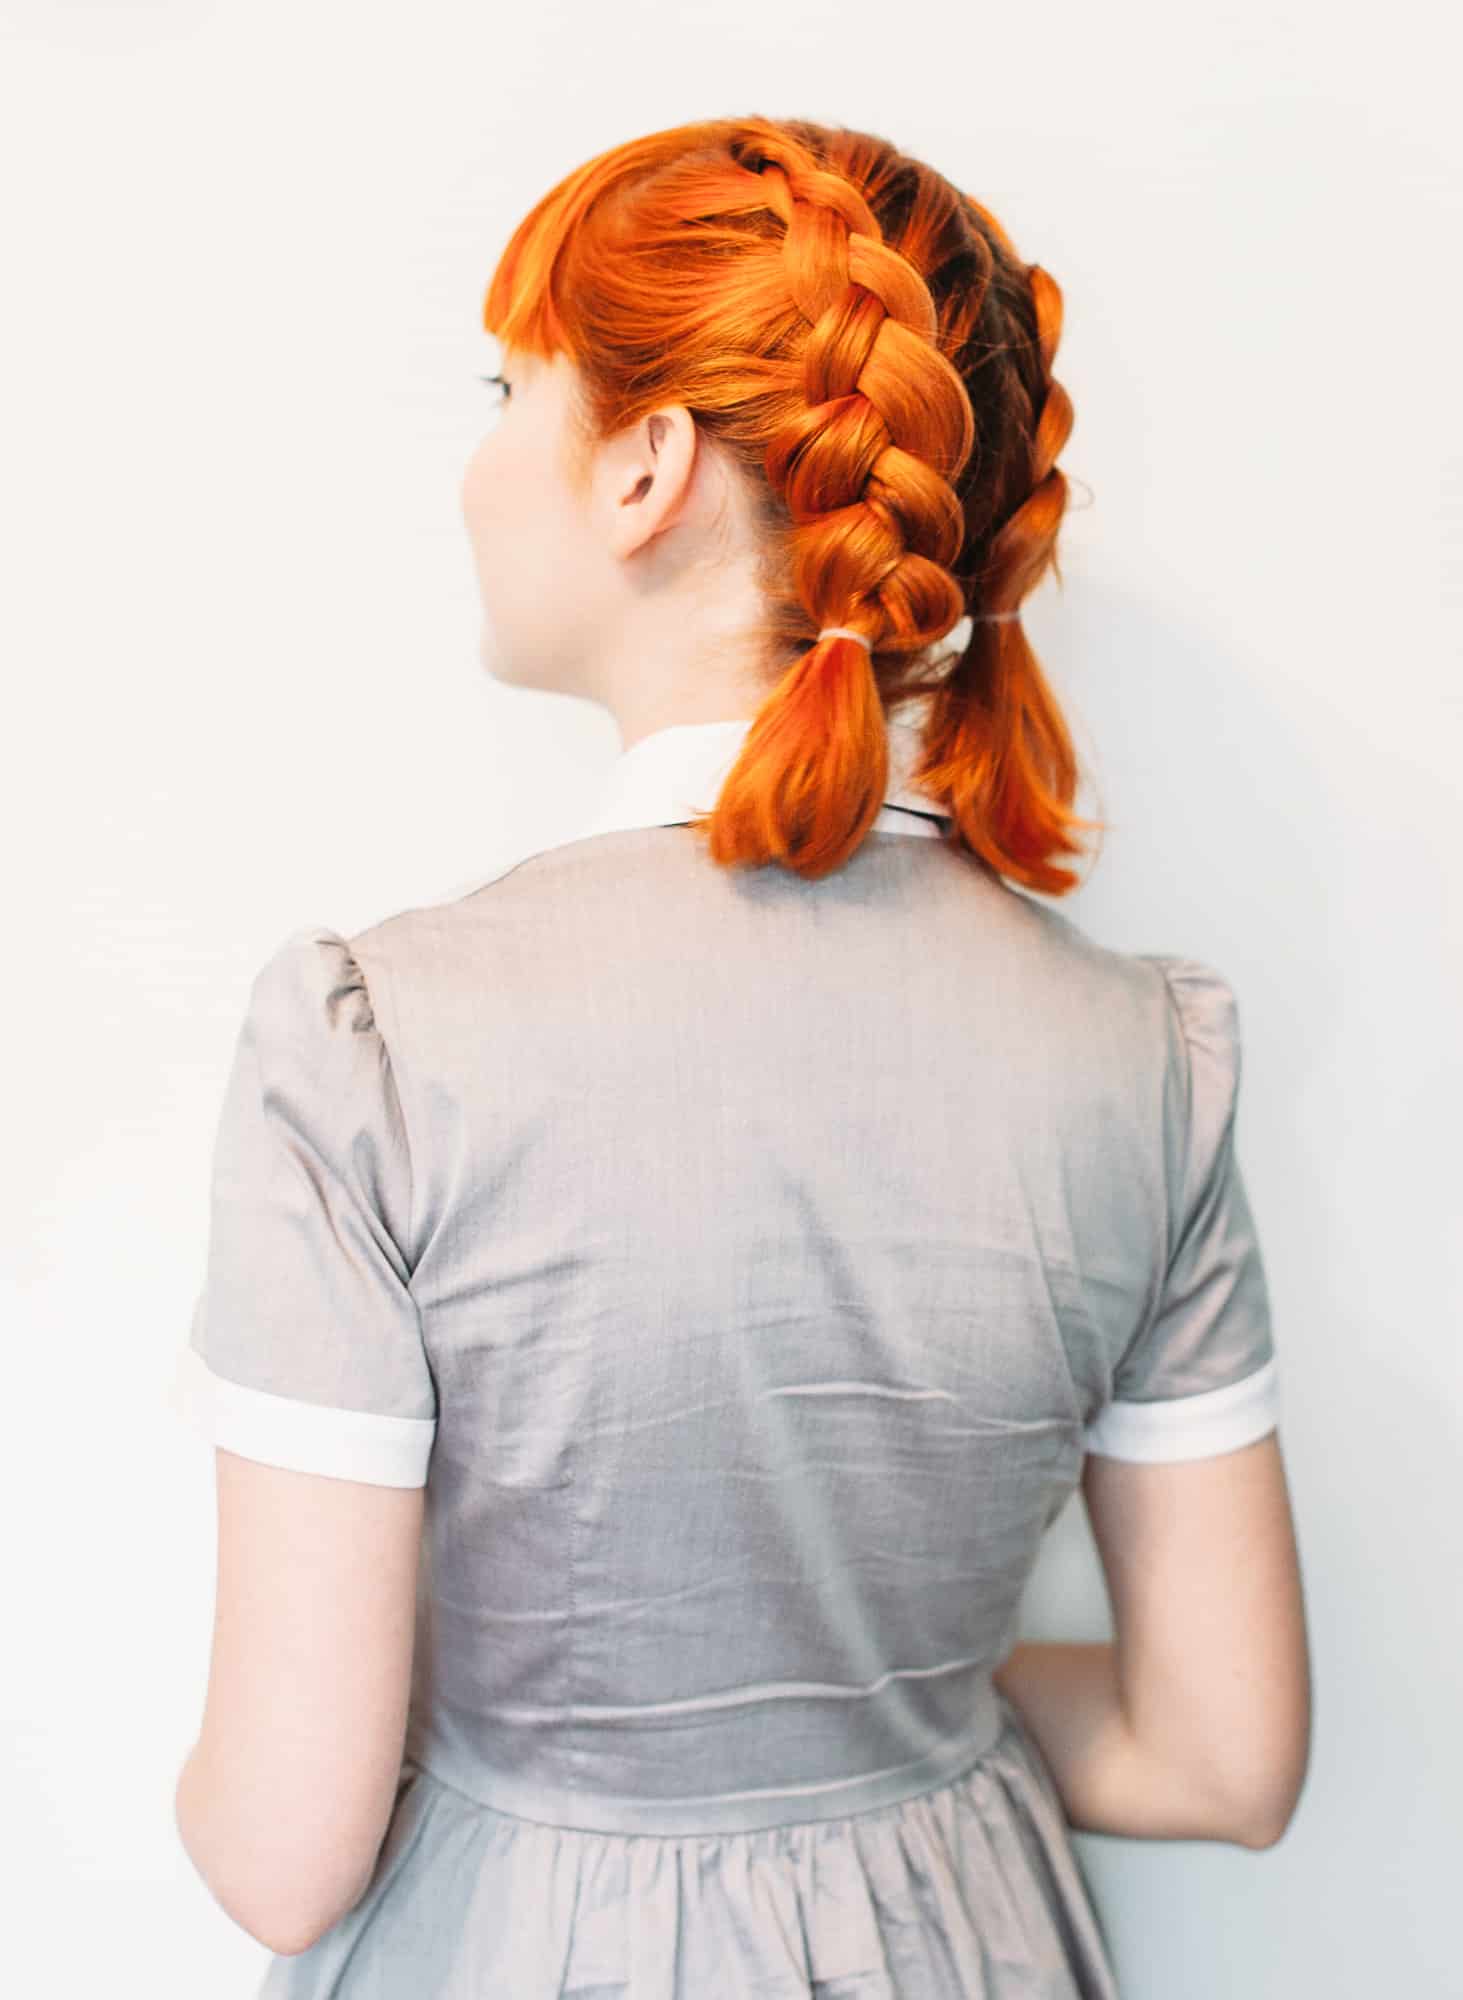
If you have shorter hair, here’s a pigtail version of a Dutch braid.
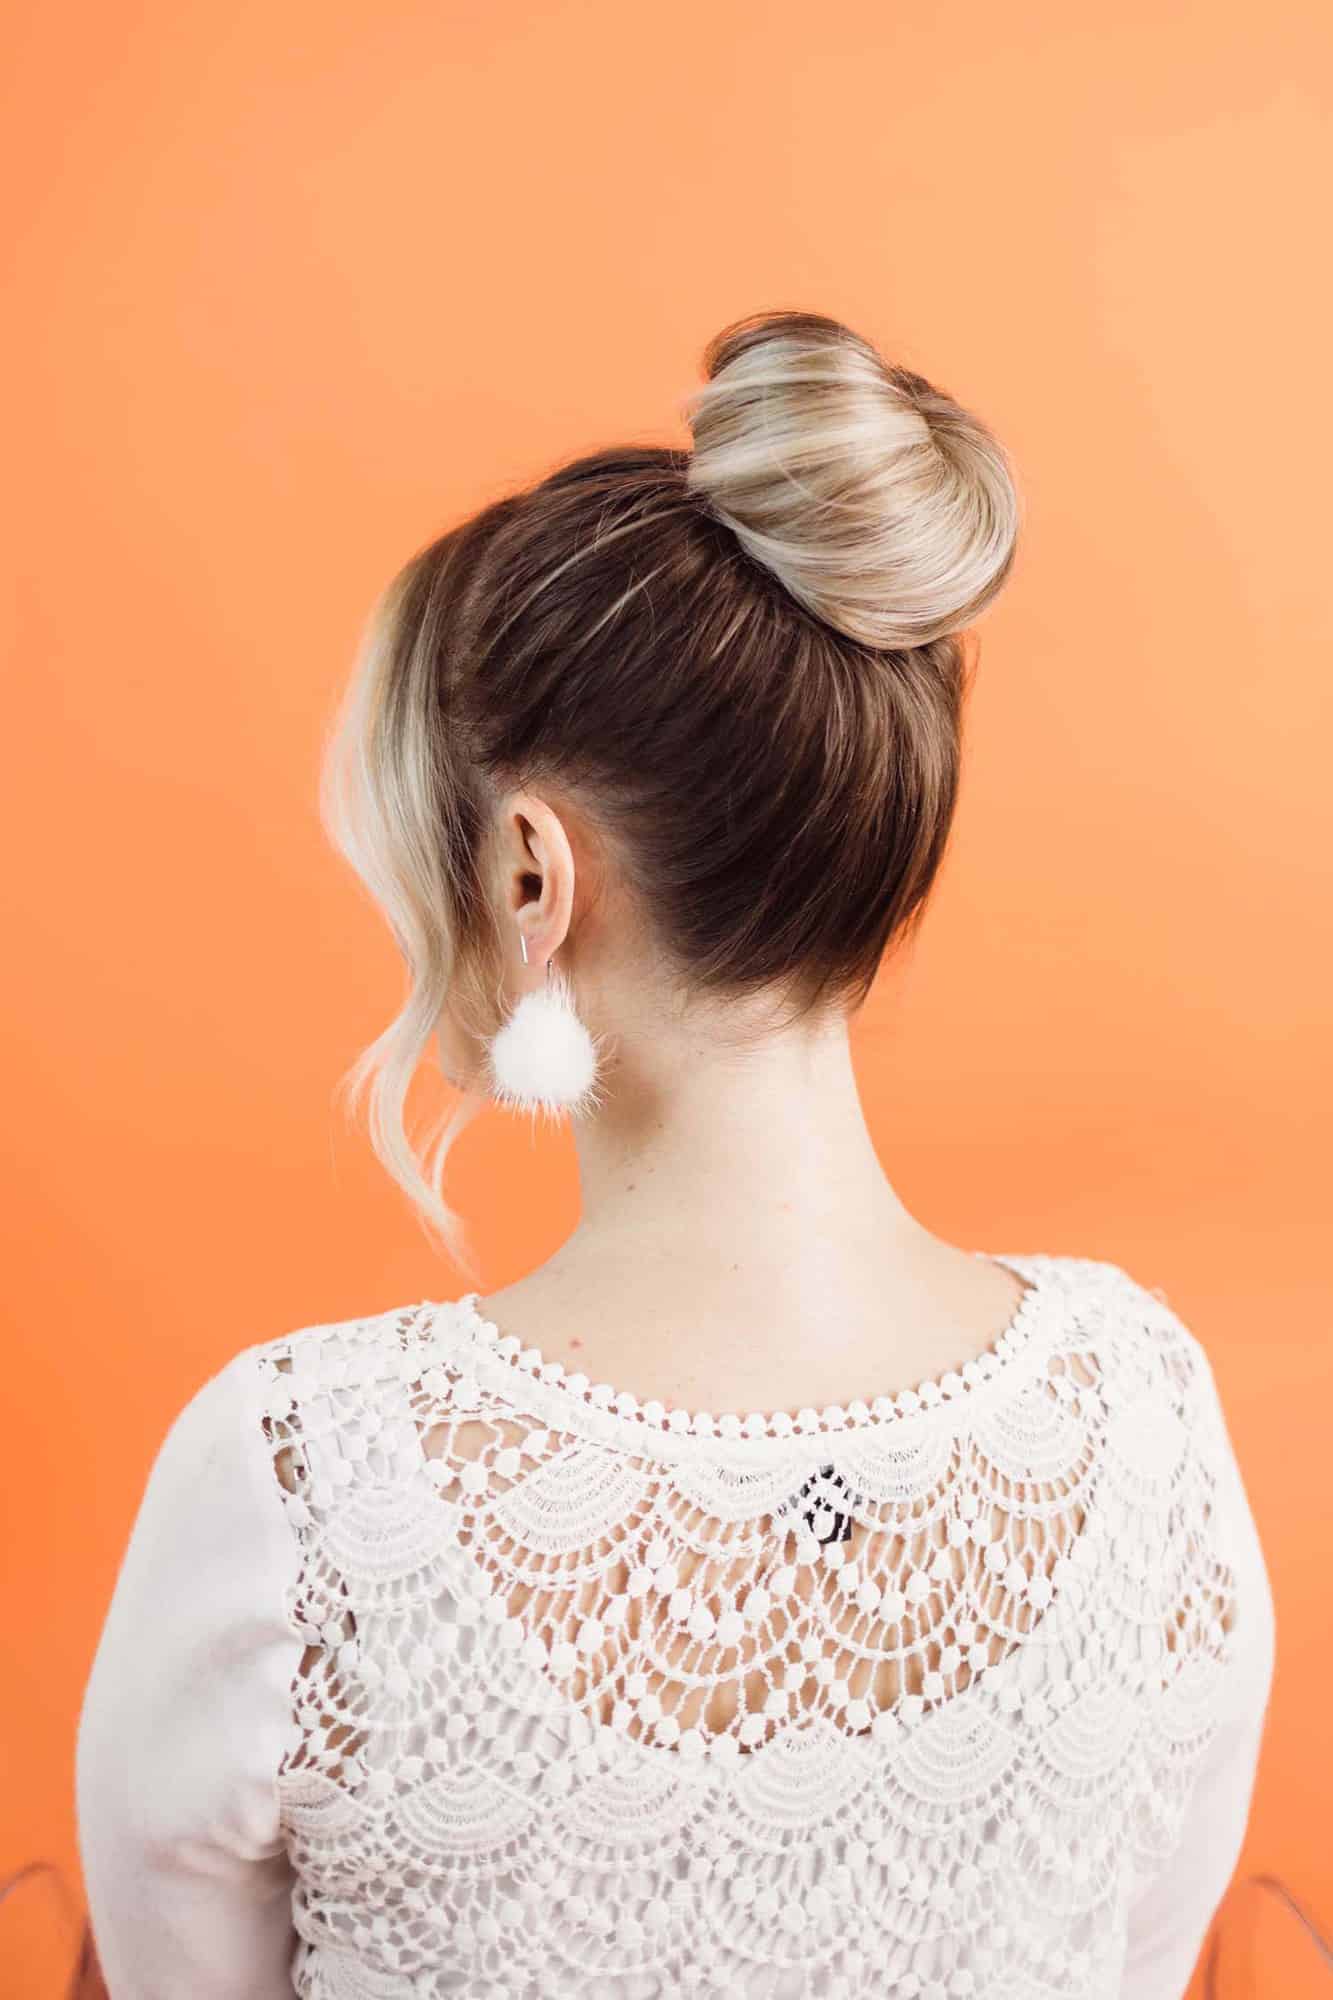
A sleek donut bun that works on any type of hair (especially if it’s thin or fine) is totally doable thanks to this bun maker kit.
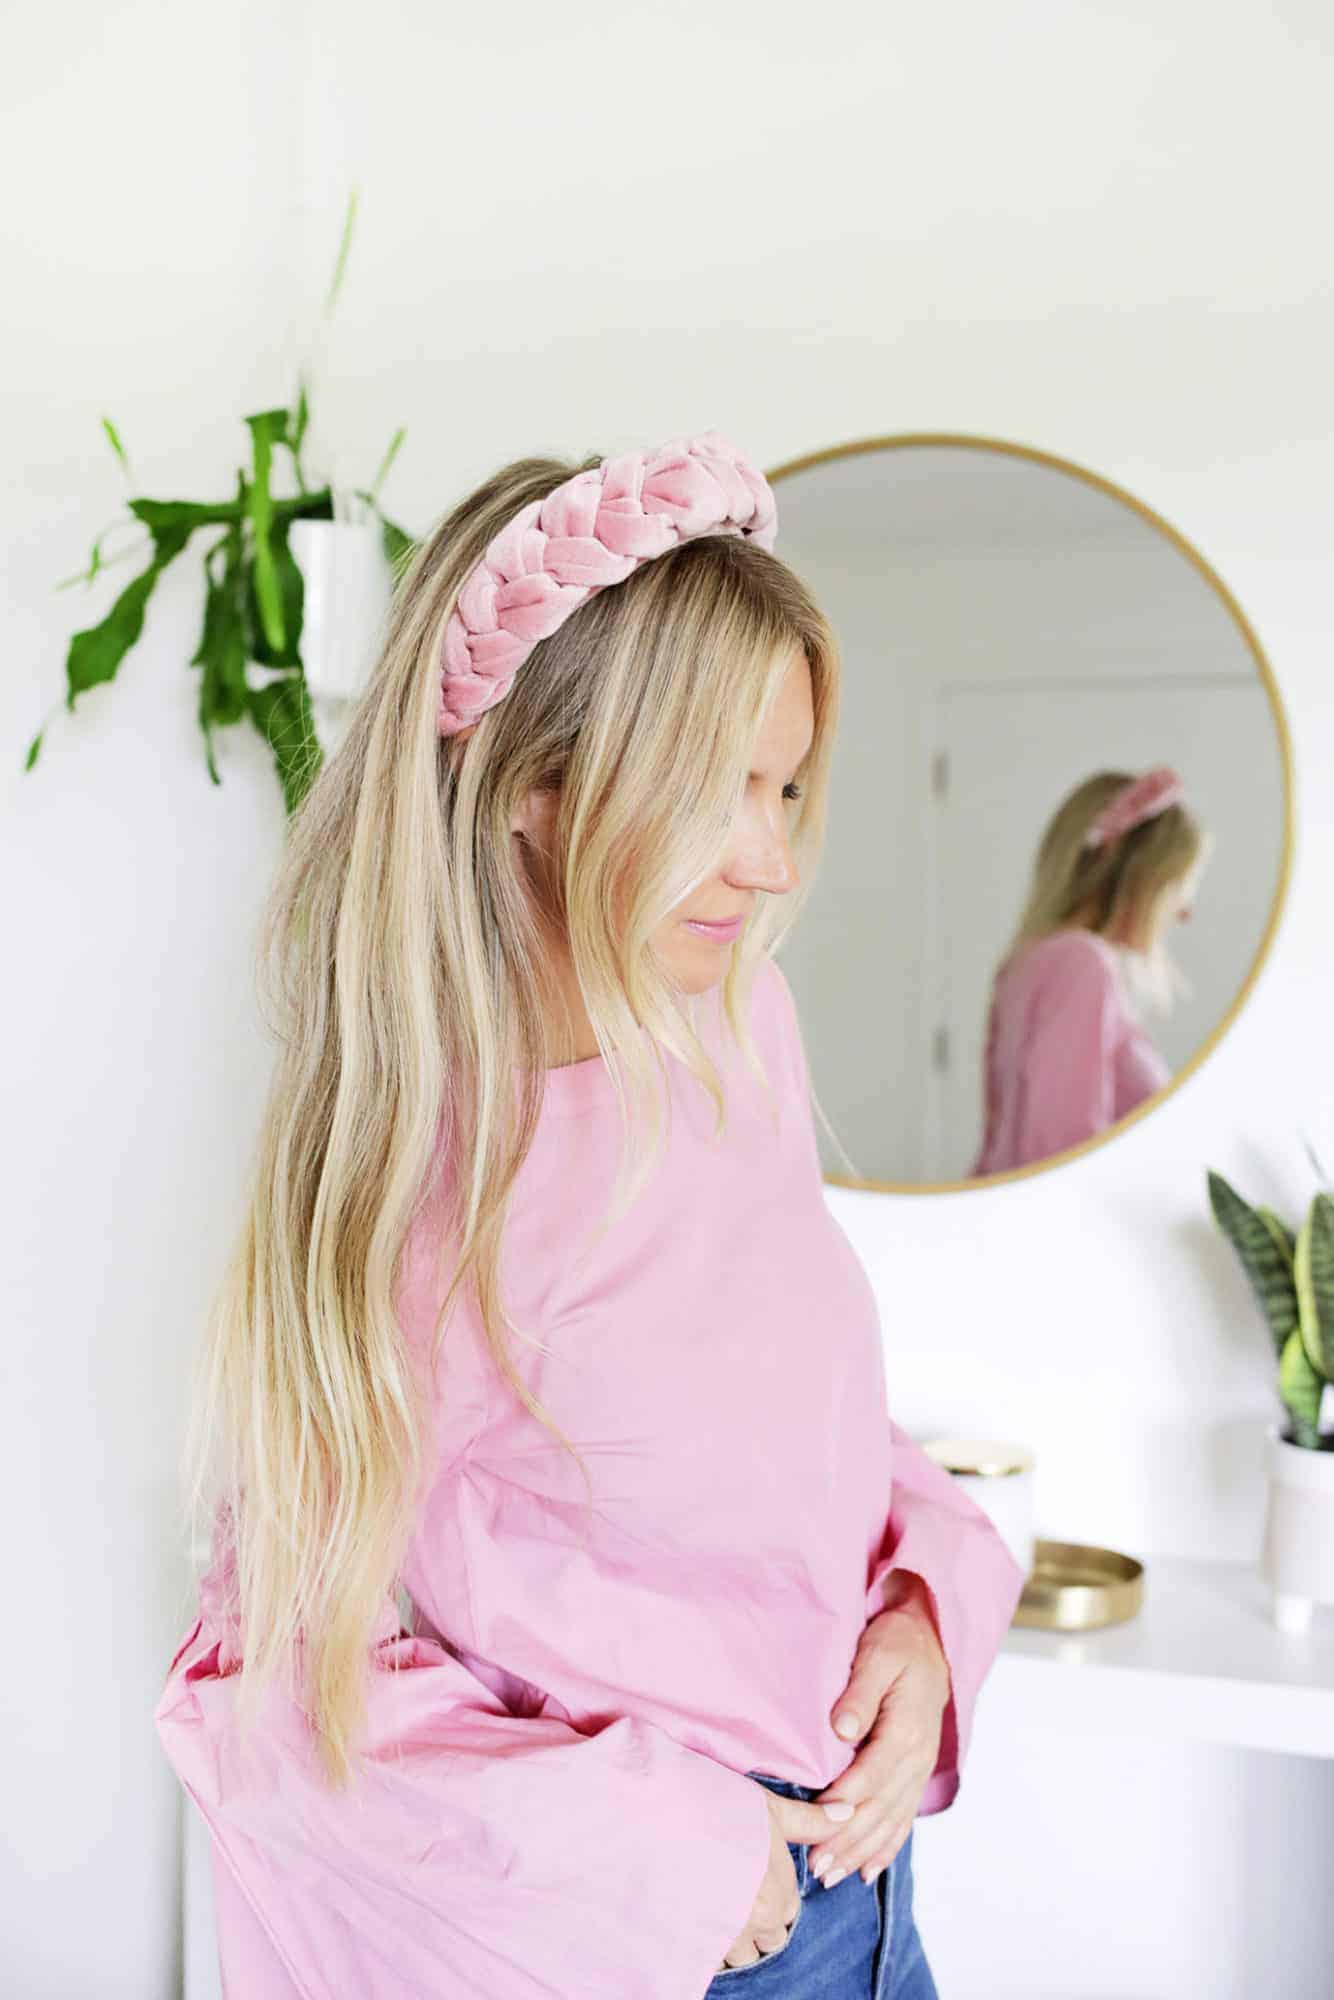
Looking for a simple way to add volume to your hair? Headbands can give your hair more volume (and they can make any outfit cuter. Here’s how Laura made her own no-sew braided headband and padded headband.
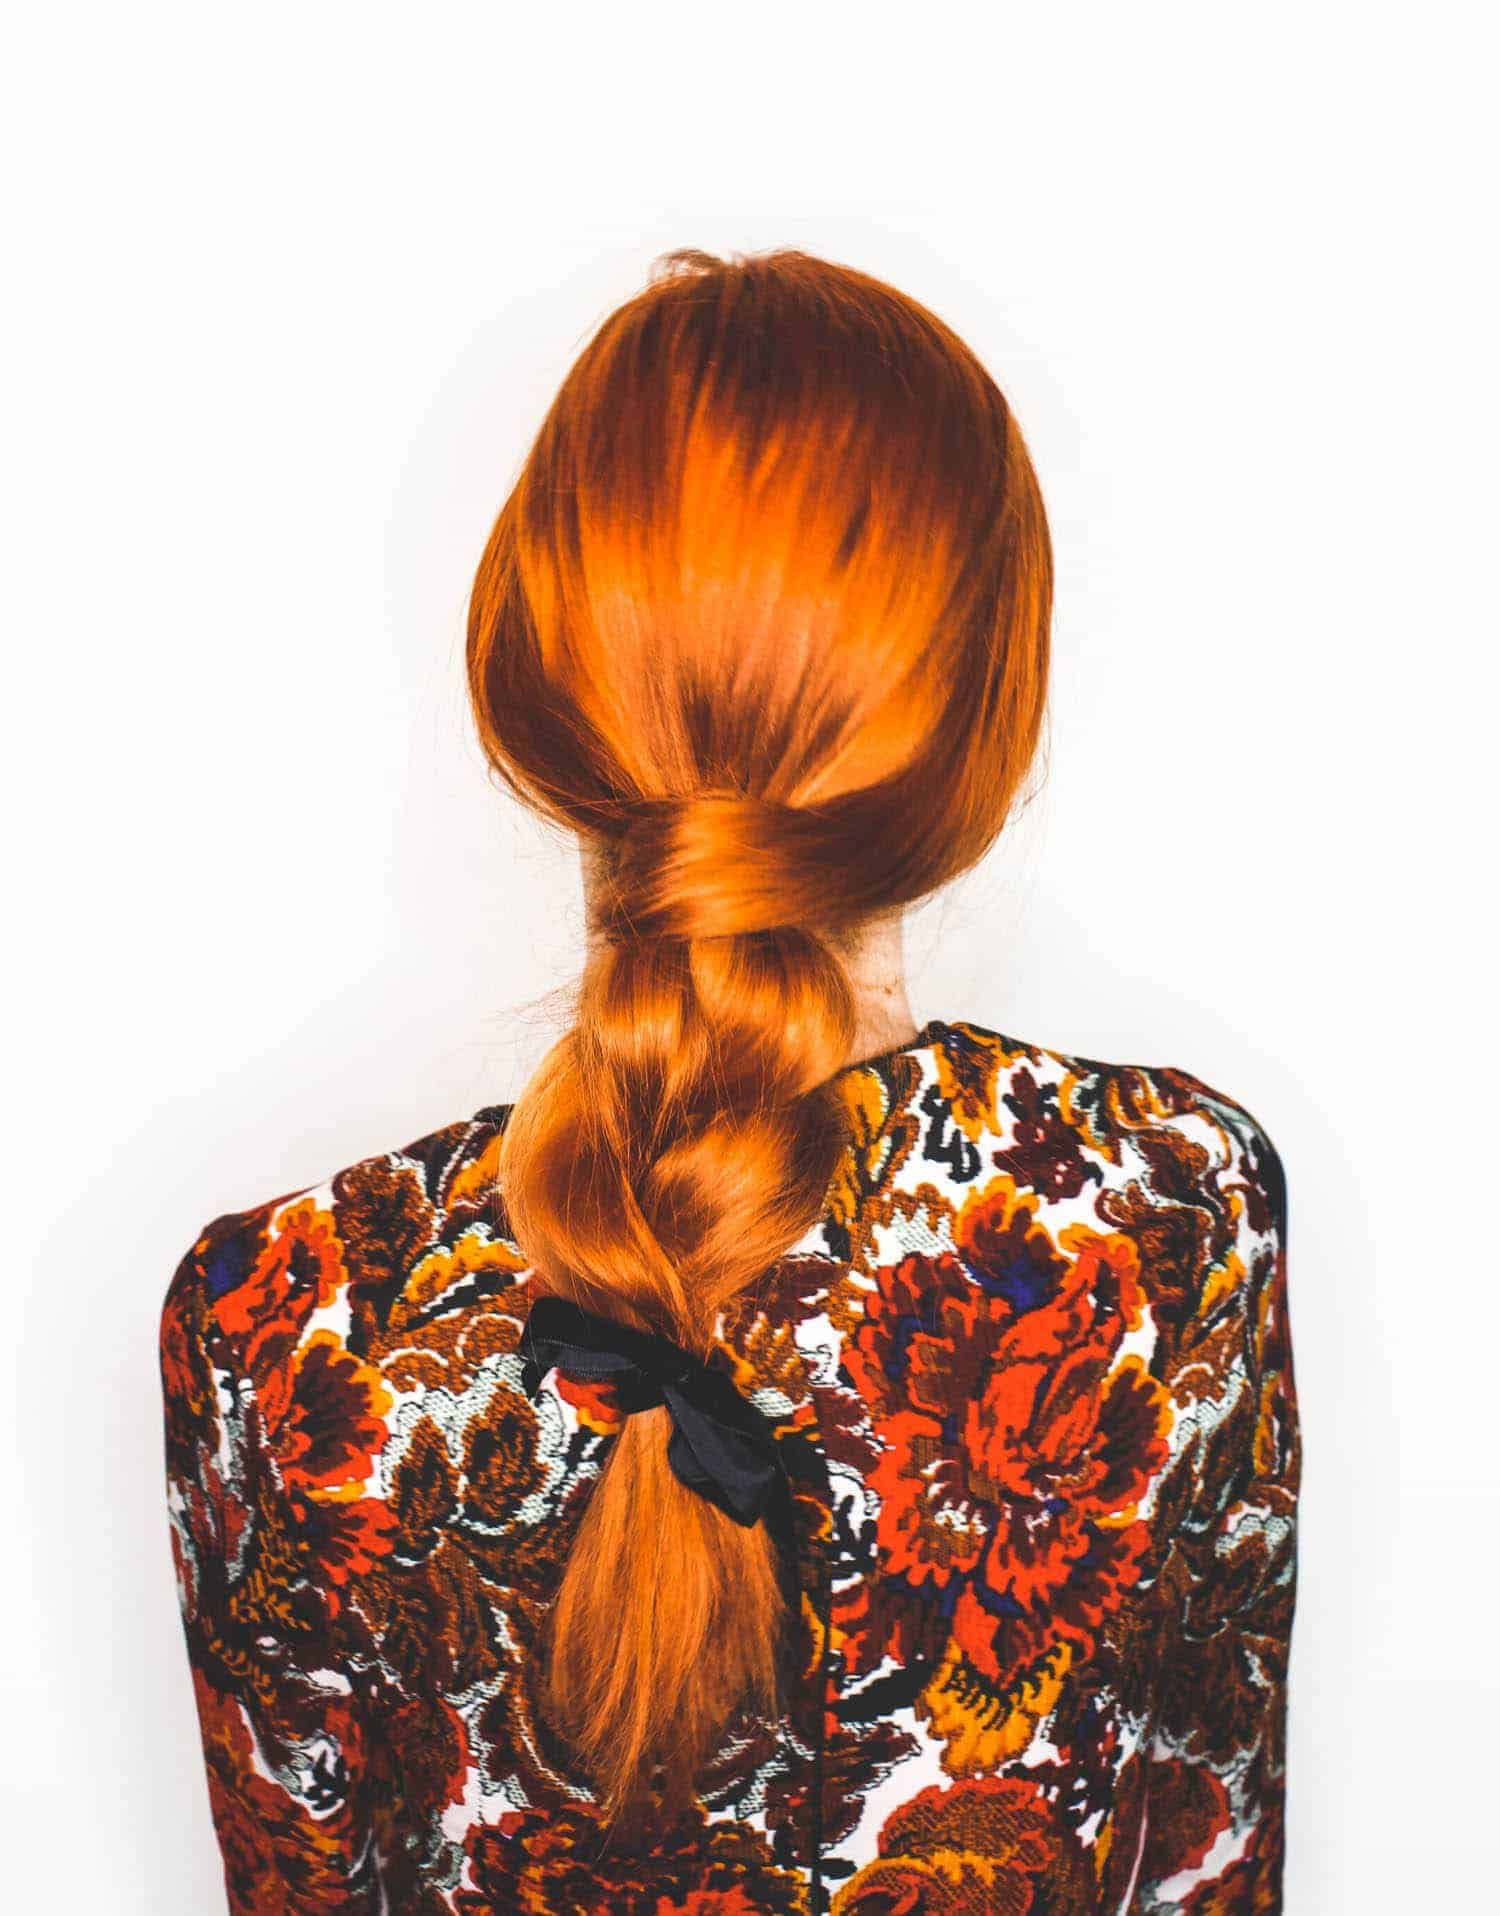
Here’s a simple, loose braid idea for longer hair.
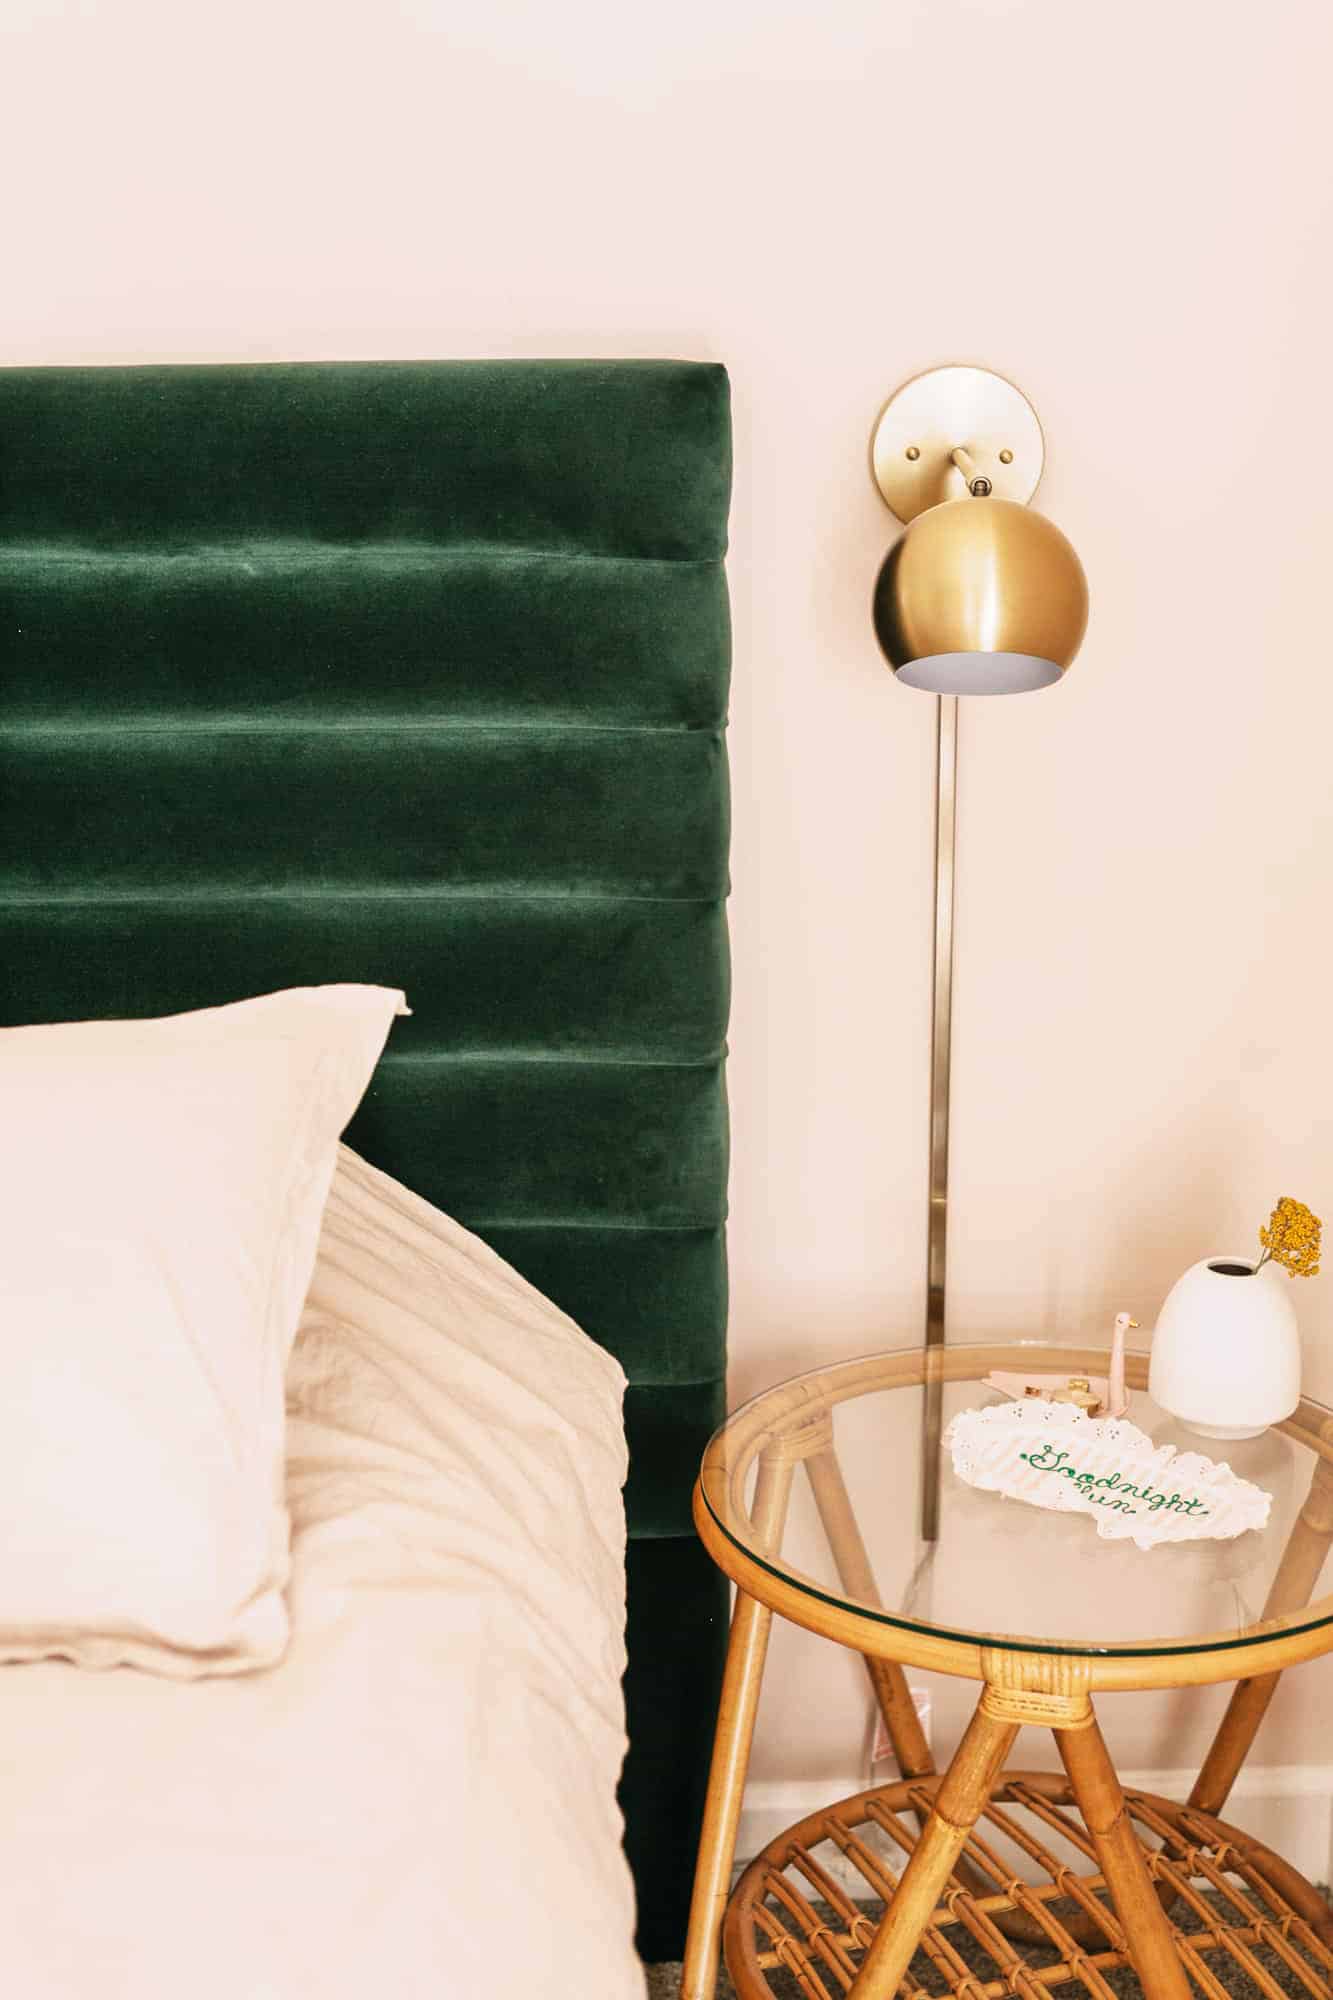
This $10 purchase can literally transform your hair and skin. Are you intrigued?
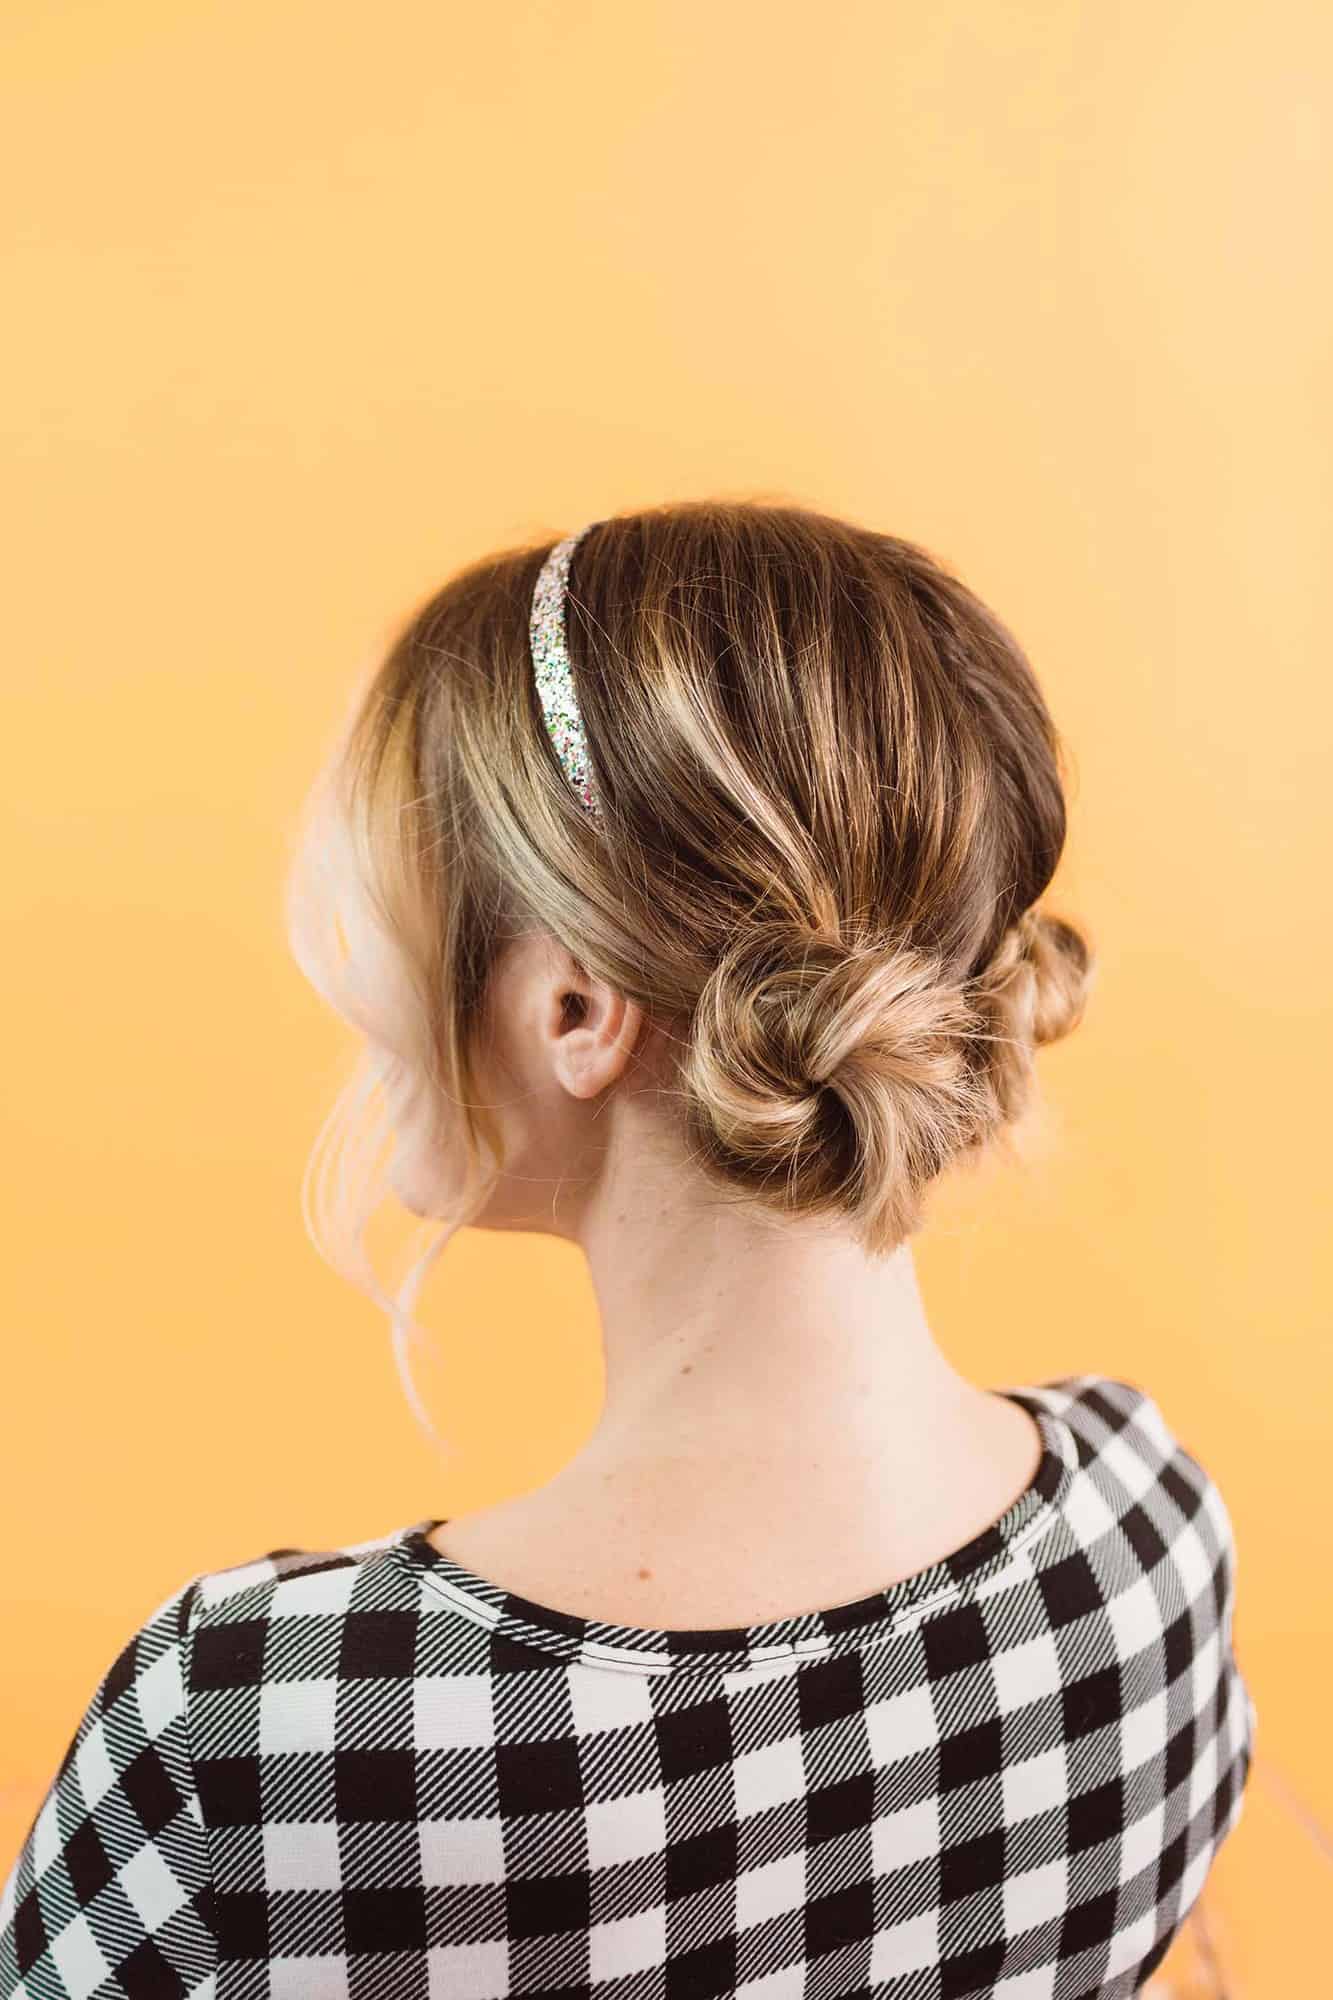
Here are two easy updo ideas for medium or long hair. Bonus points if you add a sparkly headband.
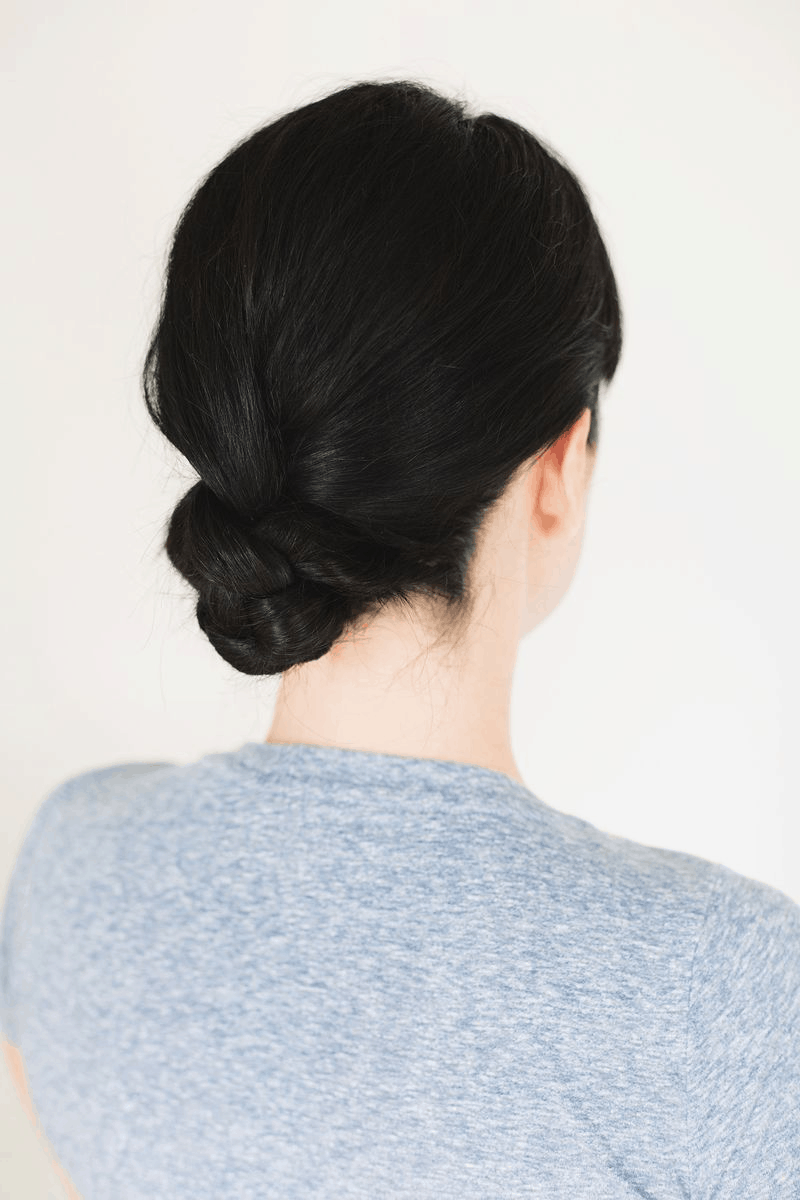
If you’re looking for a quick way to pull your hair back in the morning, this easy braided bun will get you out the door in five minutes.
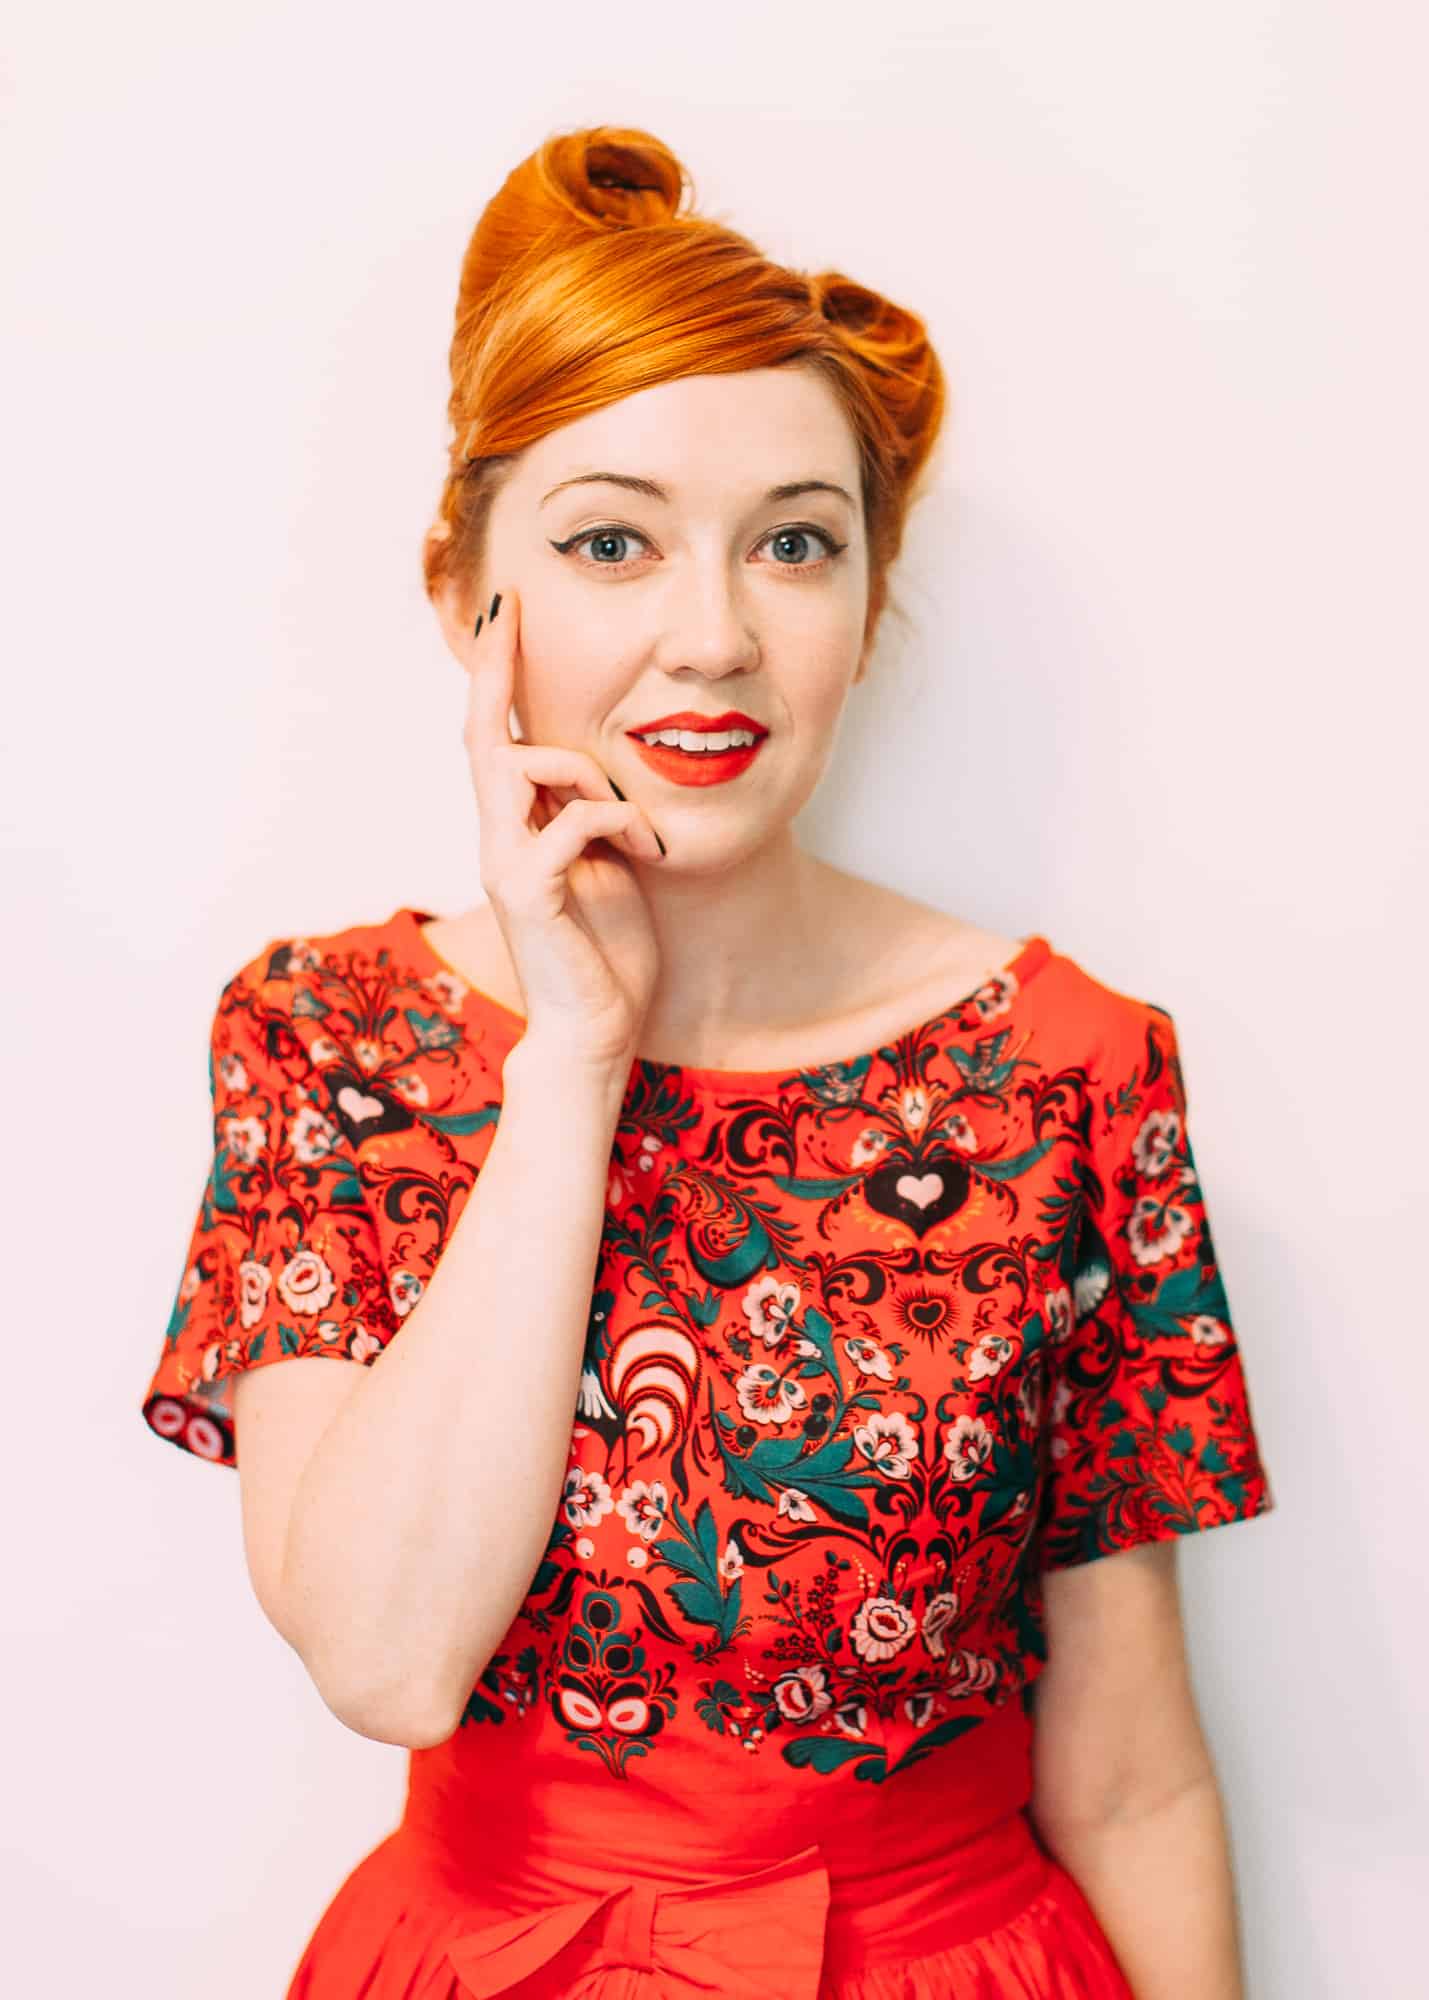
Easy victory rolls! We had to include this retro look to the list.
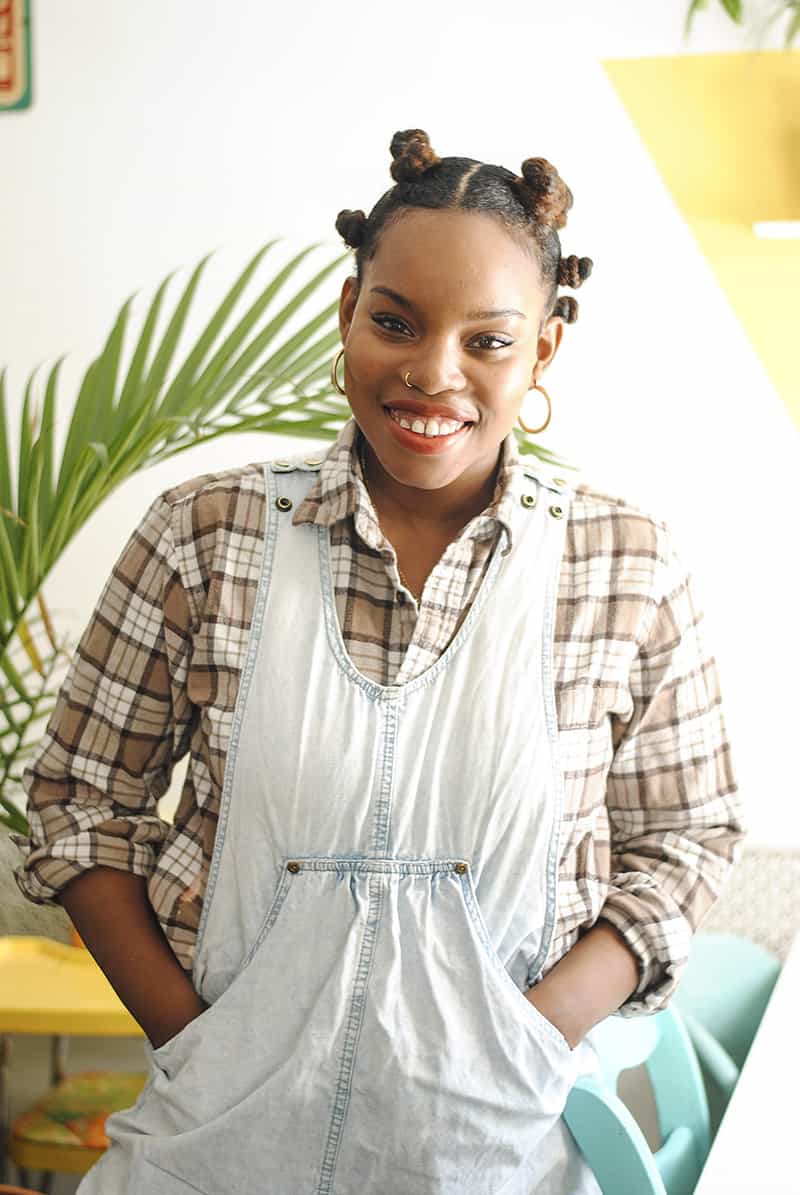
The only tutorial for bantu knots that you’ll ever need. It’s easy and for all hair types.

We couldn’t be more excited about the scrunchie trend. It’s about time it’s back! Here are 5 ways to wear a scrunchie.
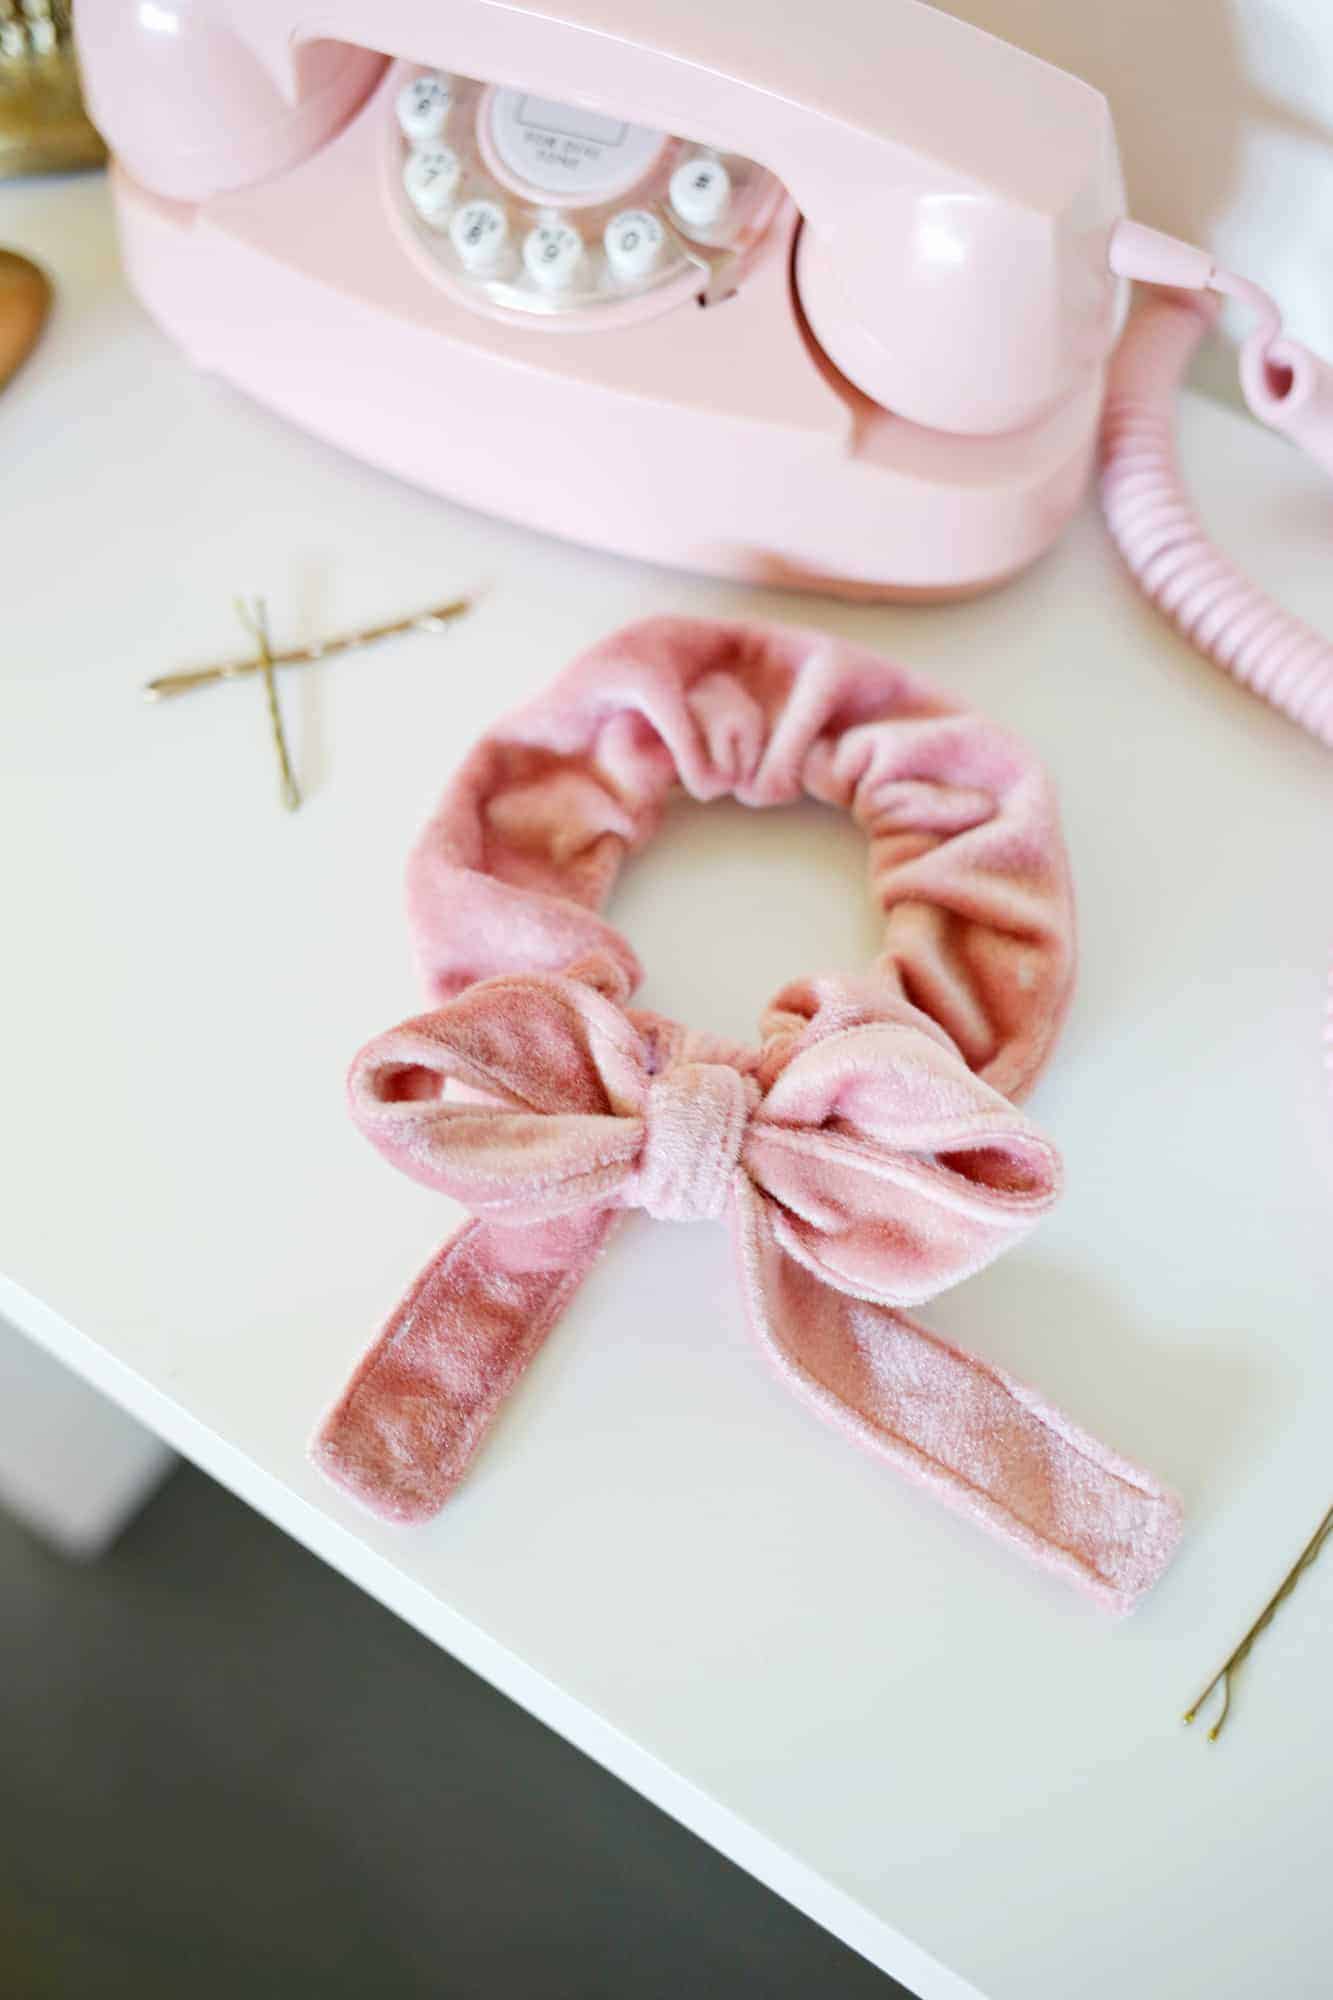
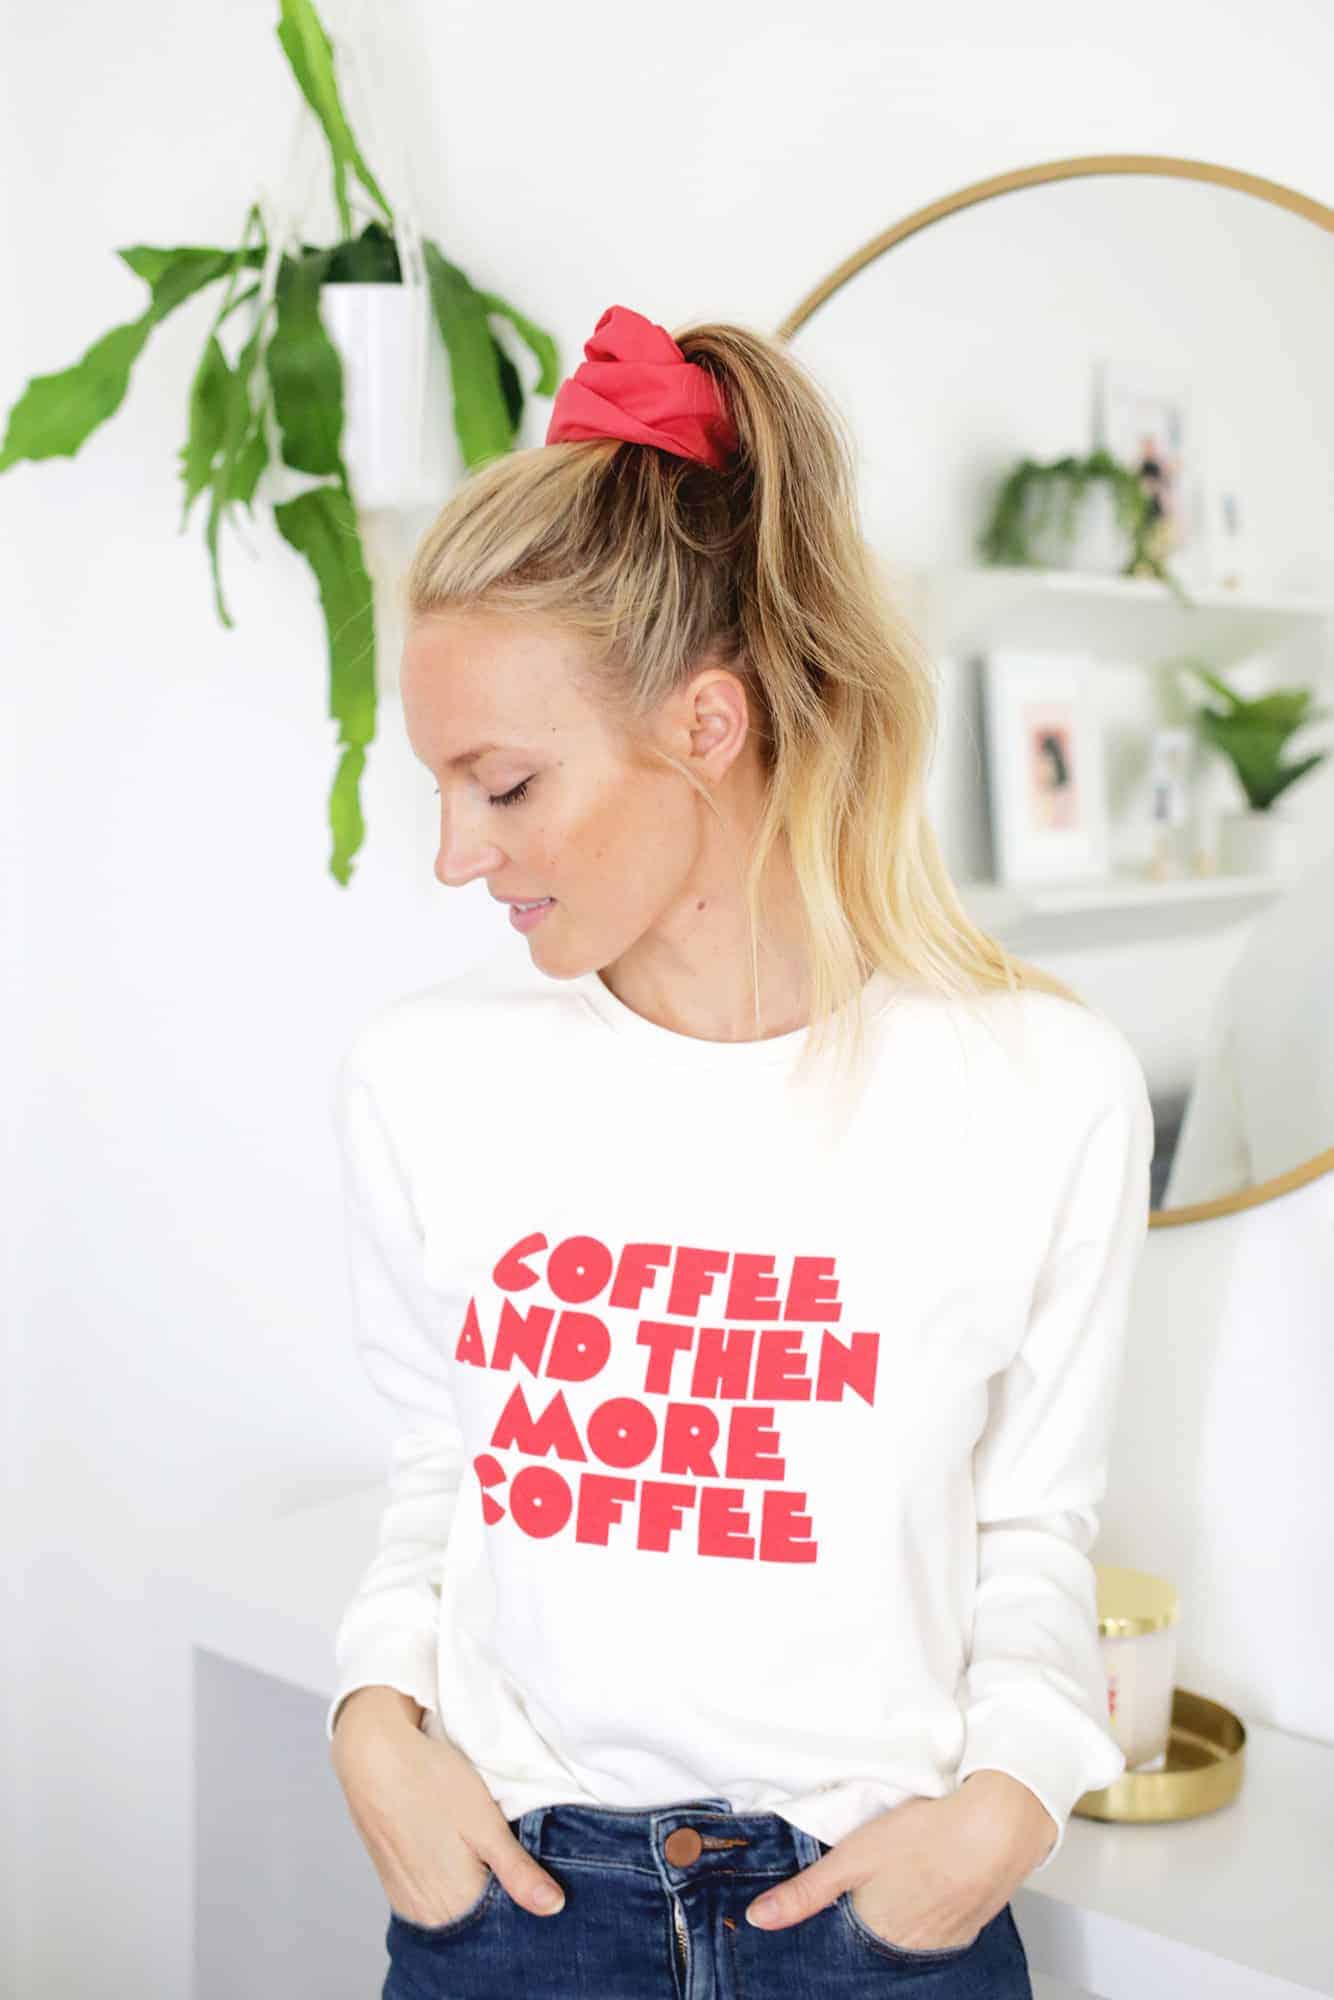
Speaking of scrunchies, you could even make your own velvet bow scrunchie or an oversized scrunchie.
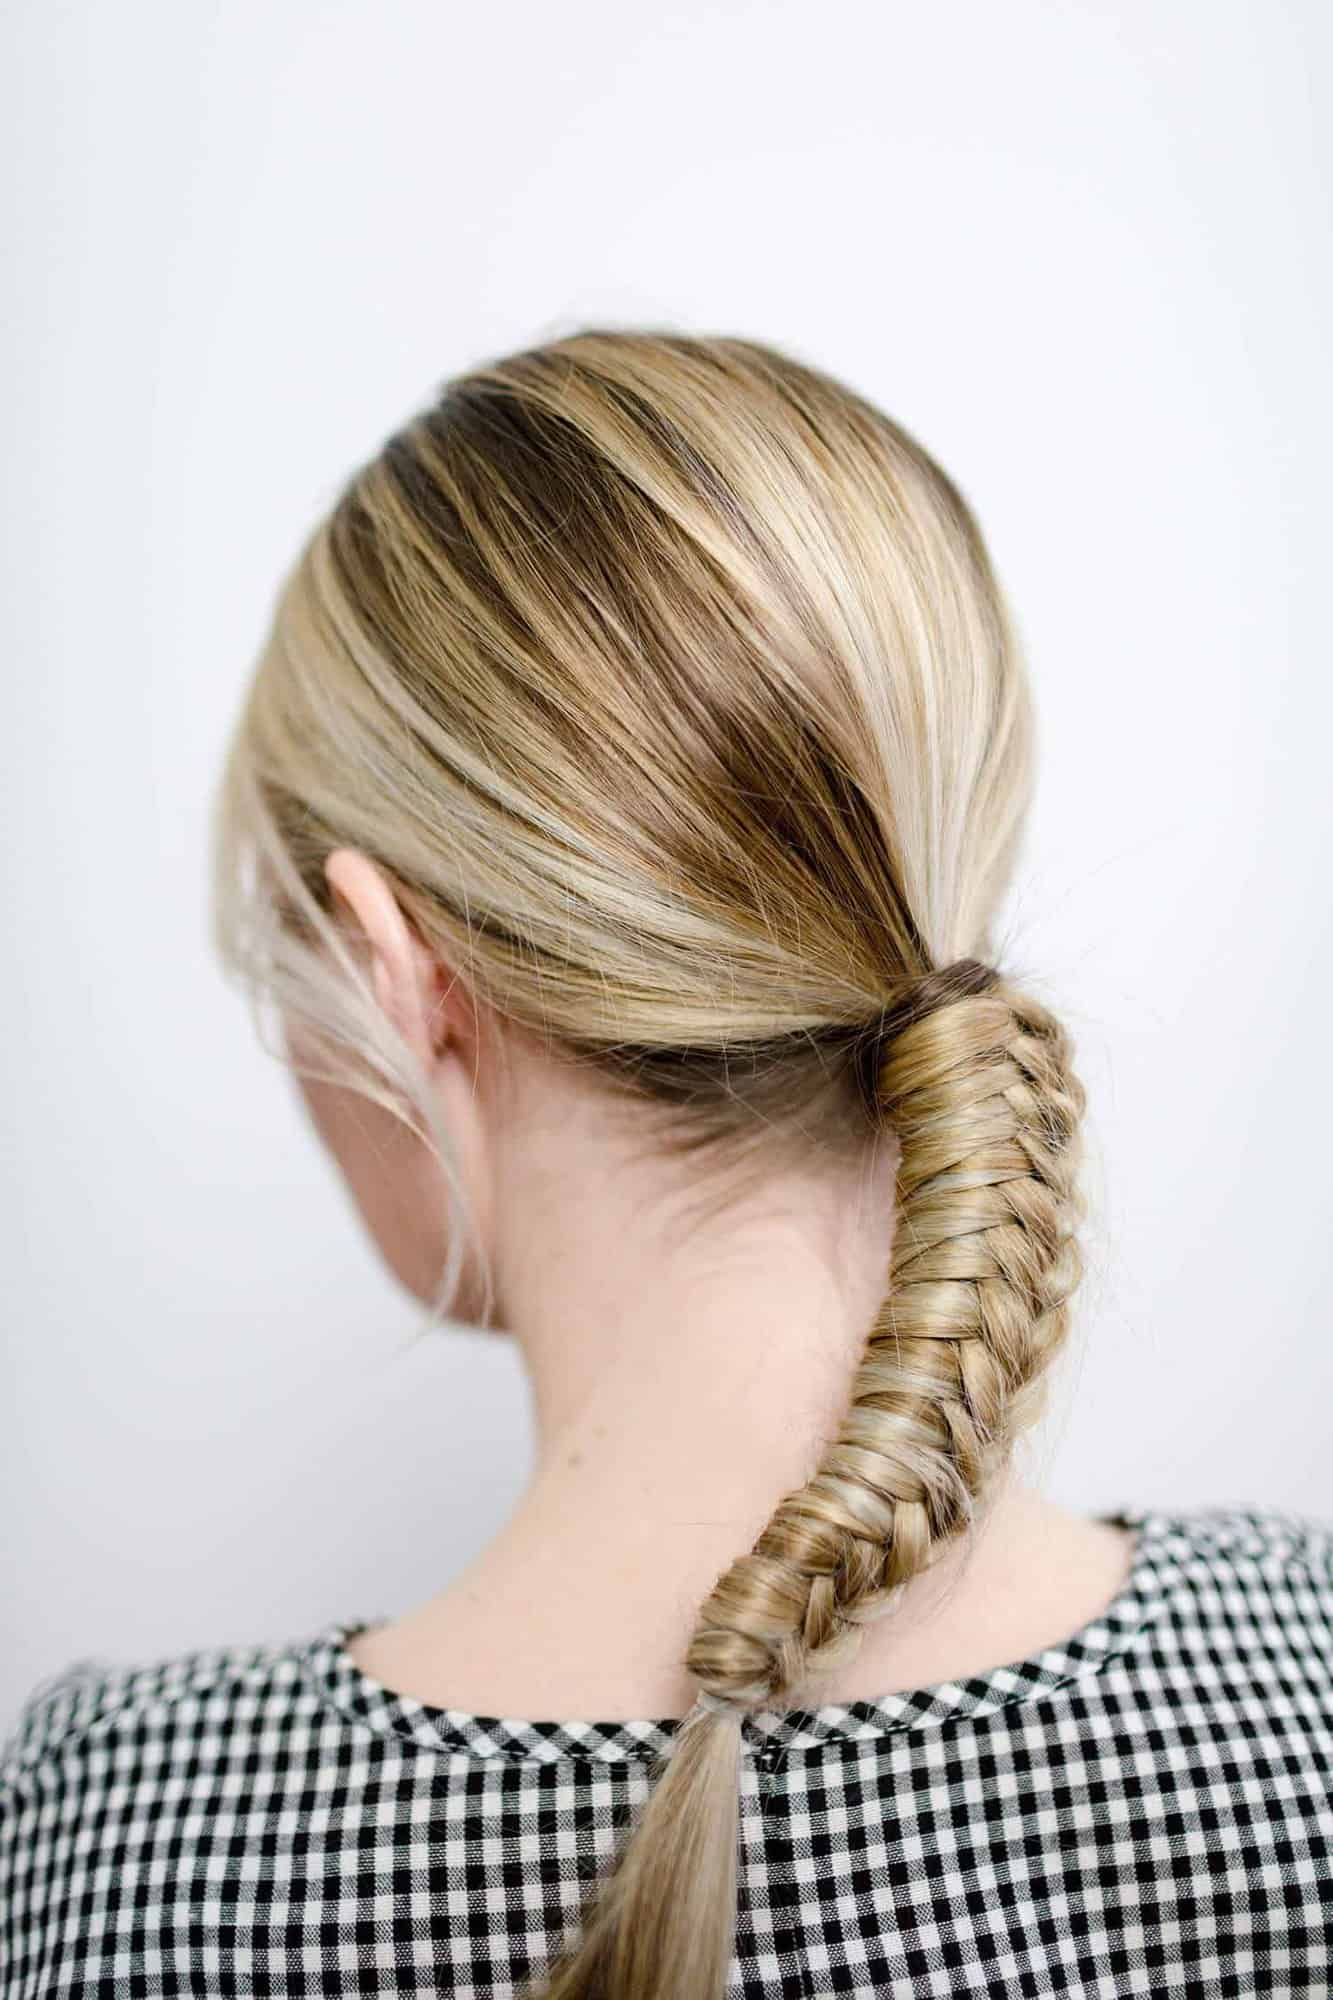
Do you know how to do a staircase braid? This is an easy tutorial … you’ve got this!
Looking for more hair accessory DIYs?
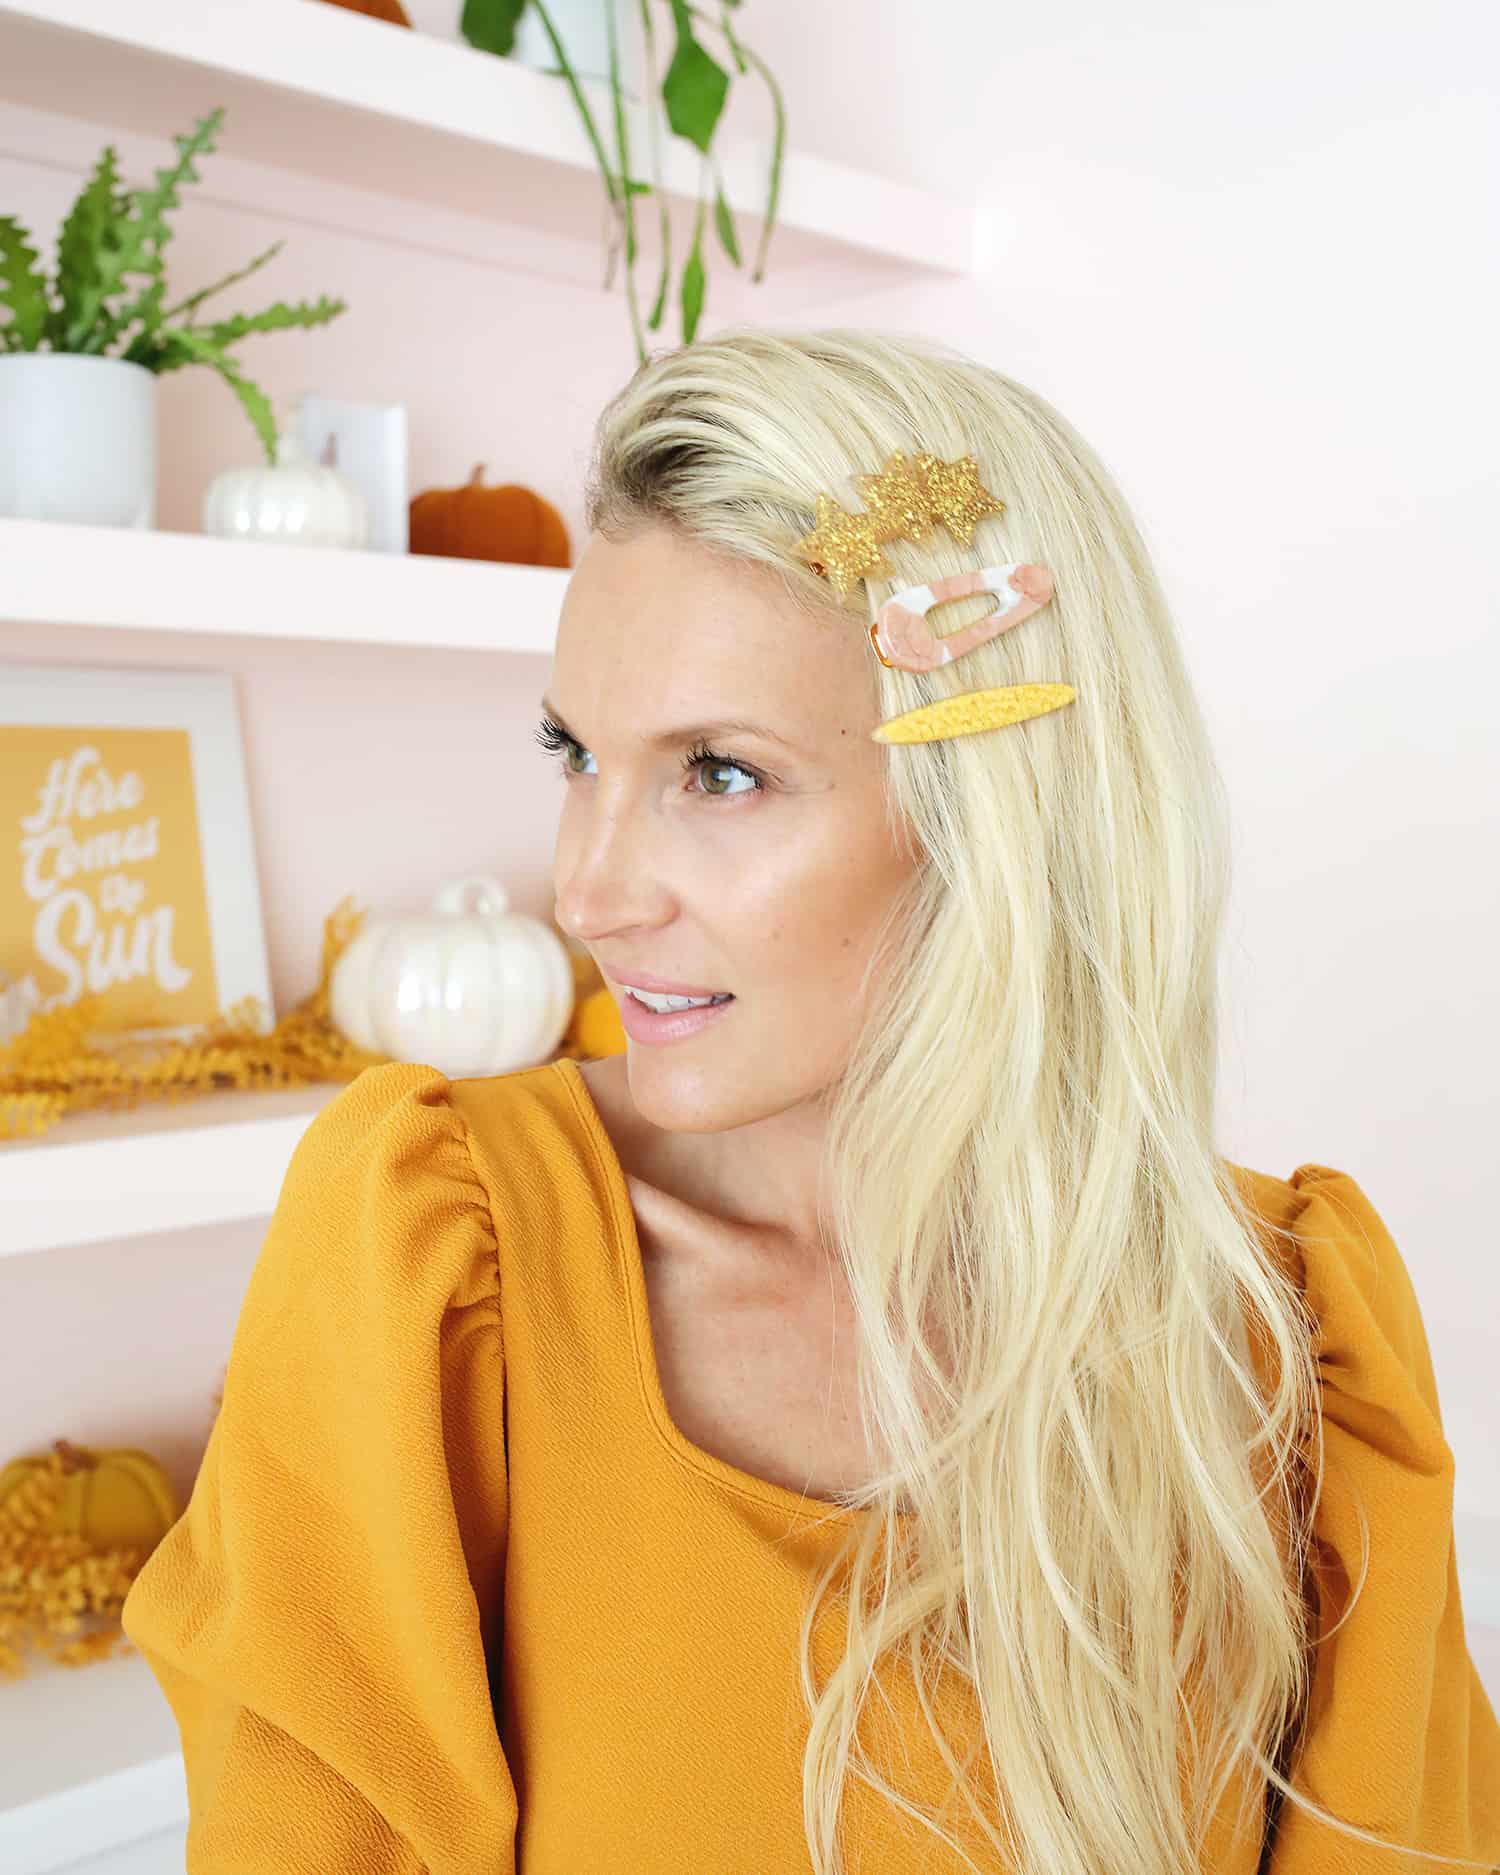
]]>Today, we are partnering with Sculpey to show you how you can make a bunch of different statement hair clips in one afternoon—all from the comfort of your own home! This is the first time I’ve use the liquid clay from Sculpey and it was so easy and so fun to use. I’ll show you how I made mine!
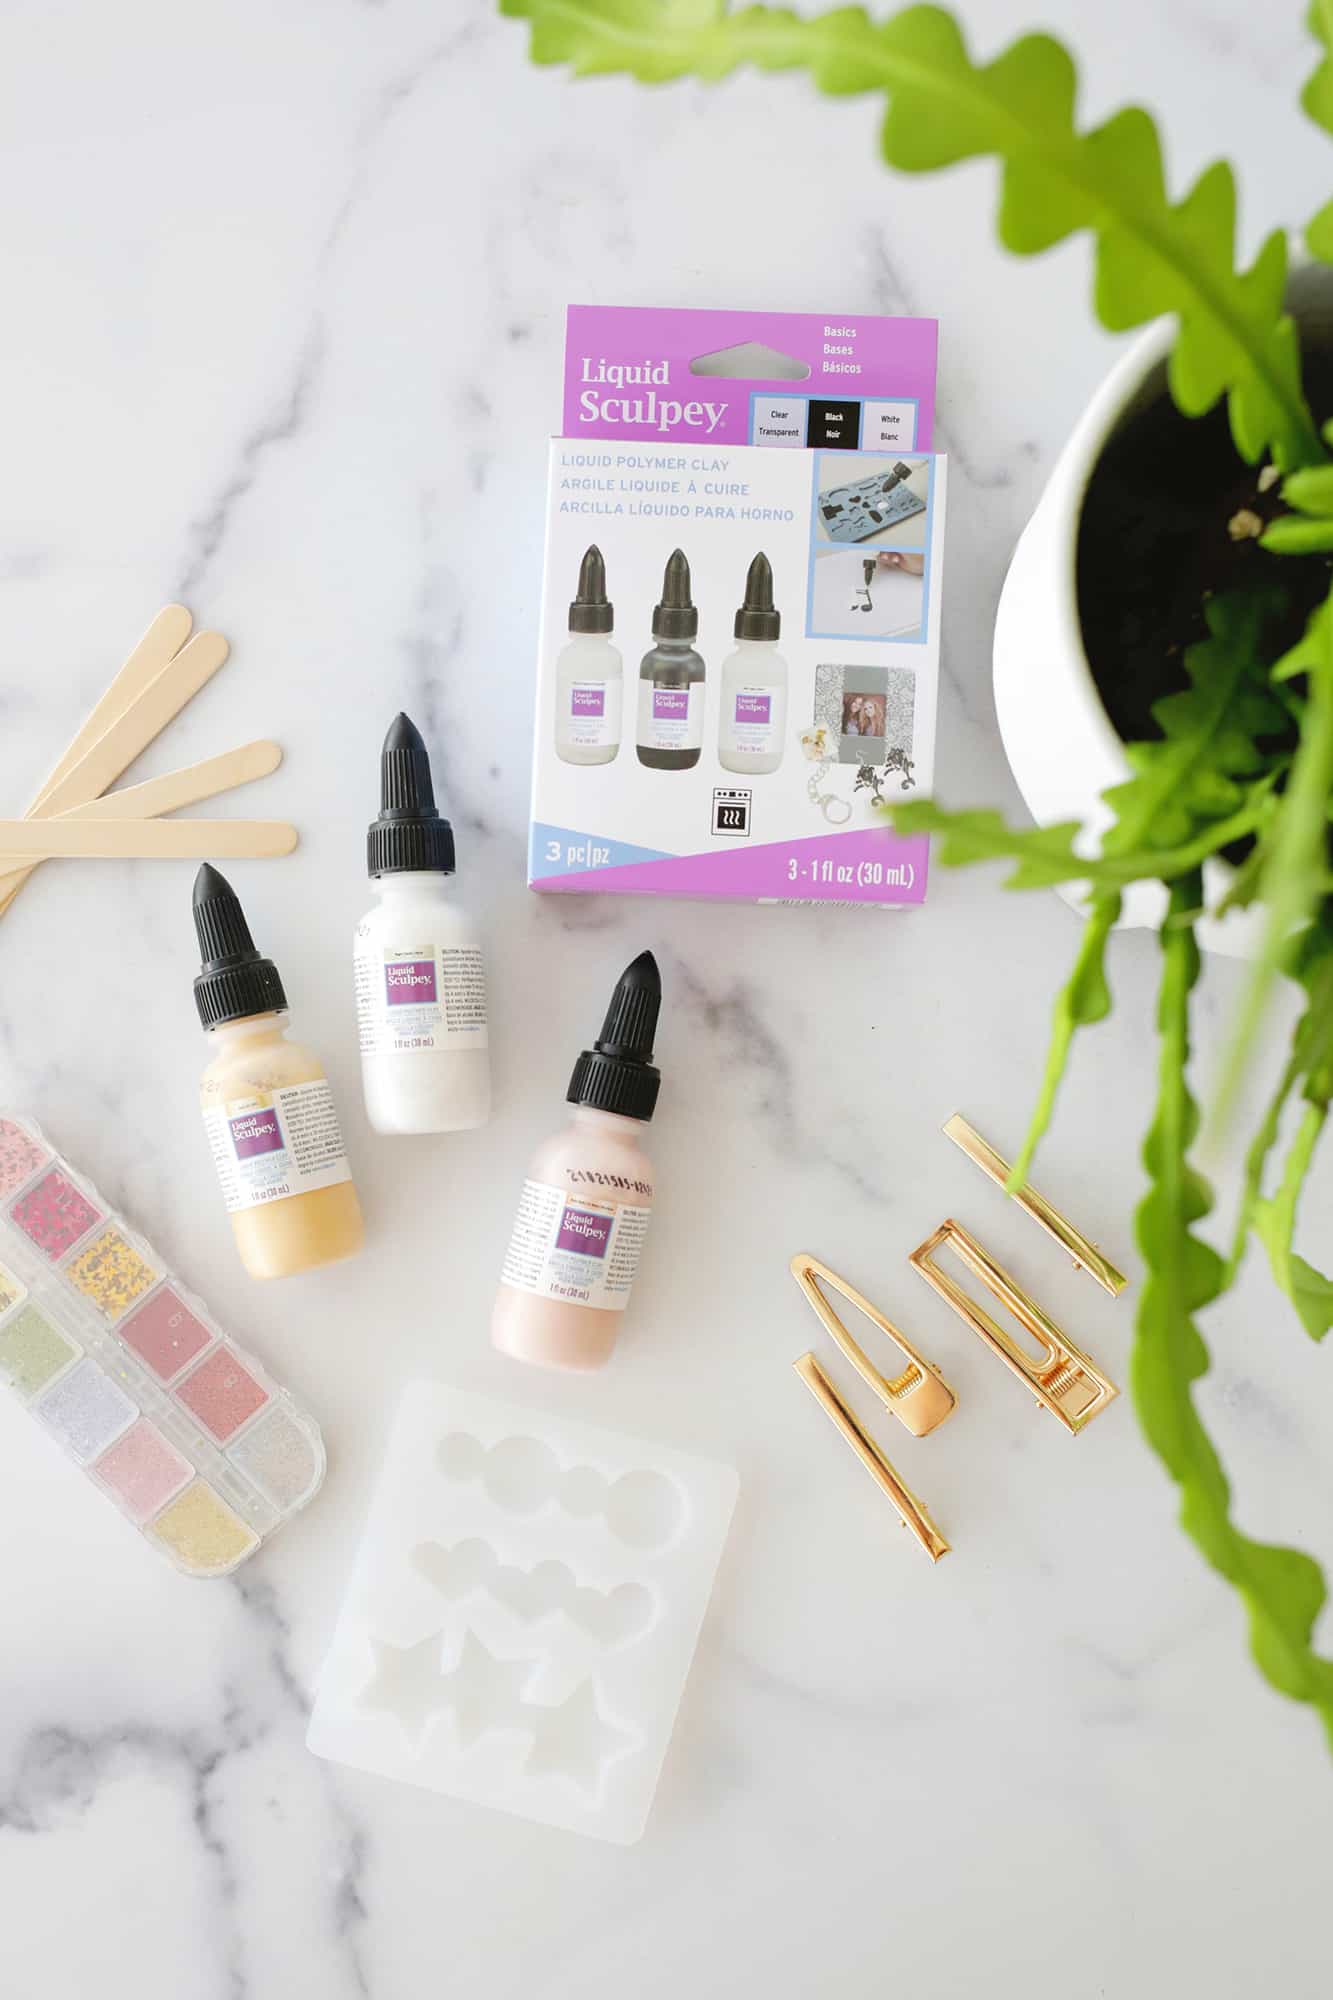
Supplies
- Sculpey Liquid Clay in various colors
- Barrette molds
- Barrette clips (this kit comes with the mold and the clips)
- Glue (this is my favorite one to use)
- Toothpicks or popsicle sticks
- Baking tray to bake clips on in oven
- Sculpey Clay Thinner (optional)
How to Make Your Own Statement Hair Clips At Home
- Open the lid of your liquid clay and stir the clay well with a popsicle stick. You can also add thinner to your clay if you want a more thin consistency, or you can let it sit out overnight with the cap off for a thicker consistency.
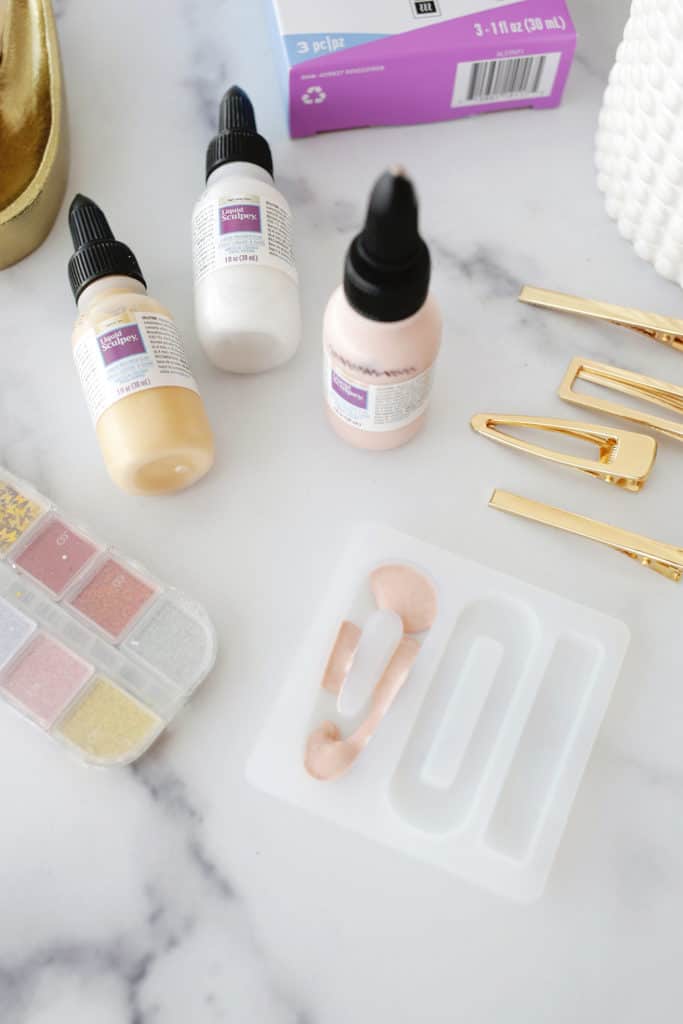
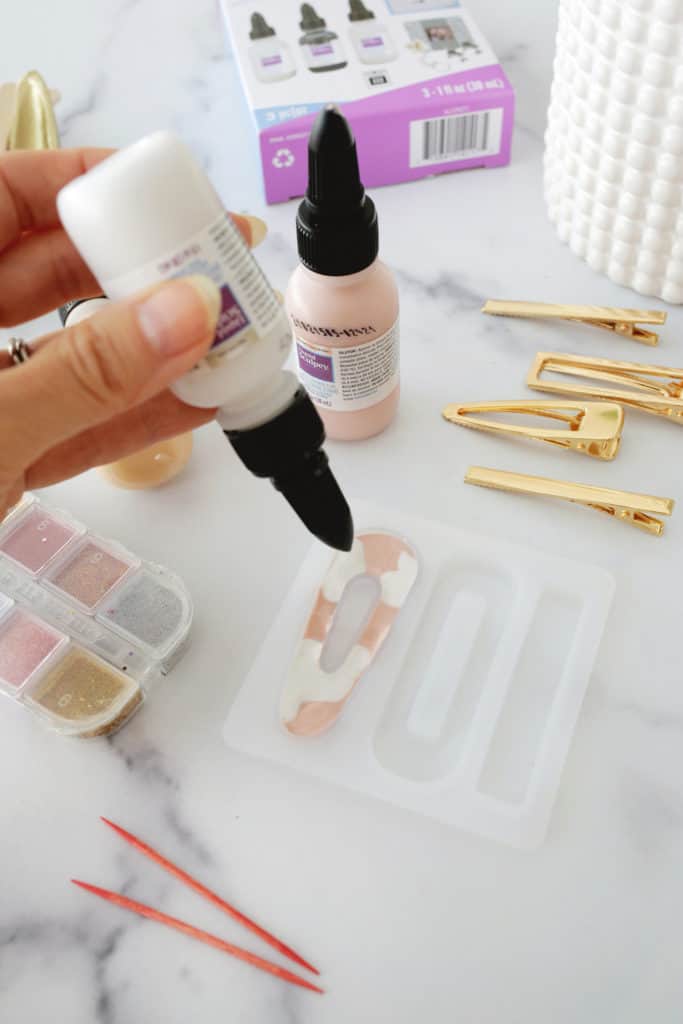
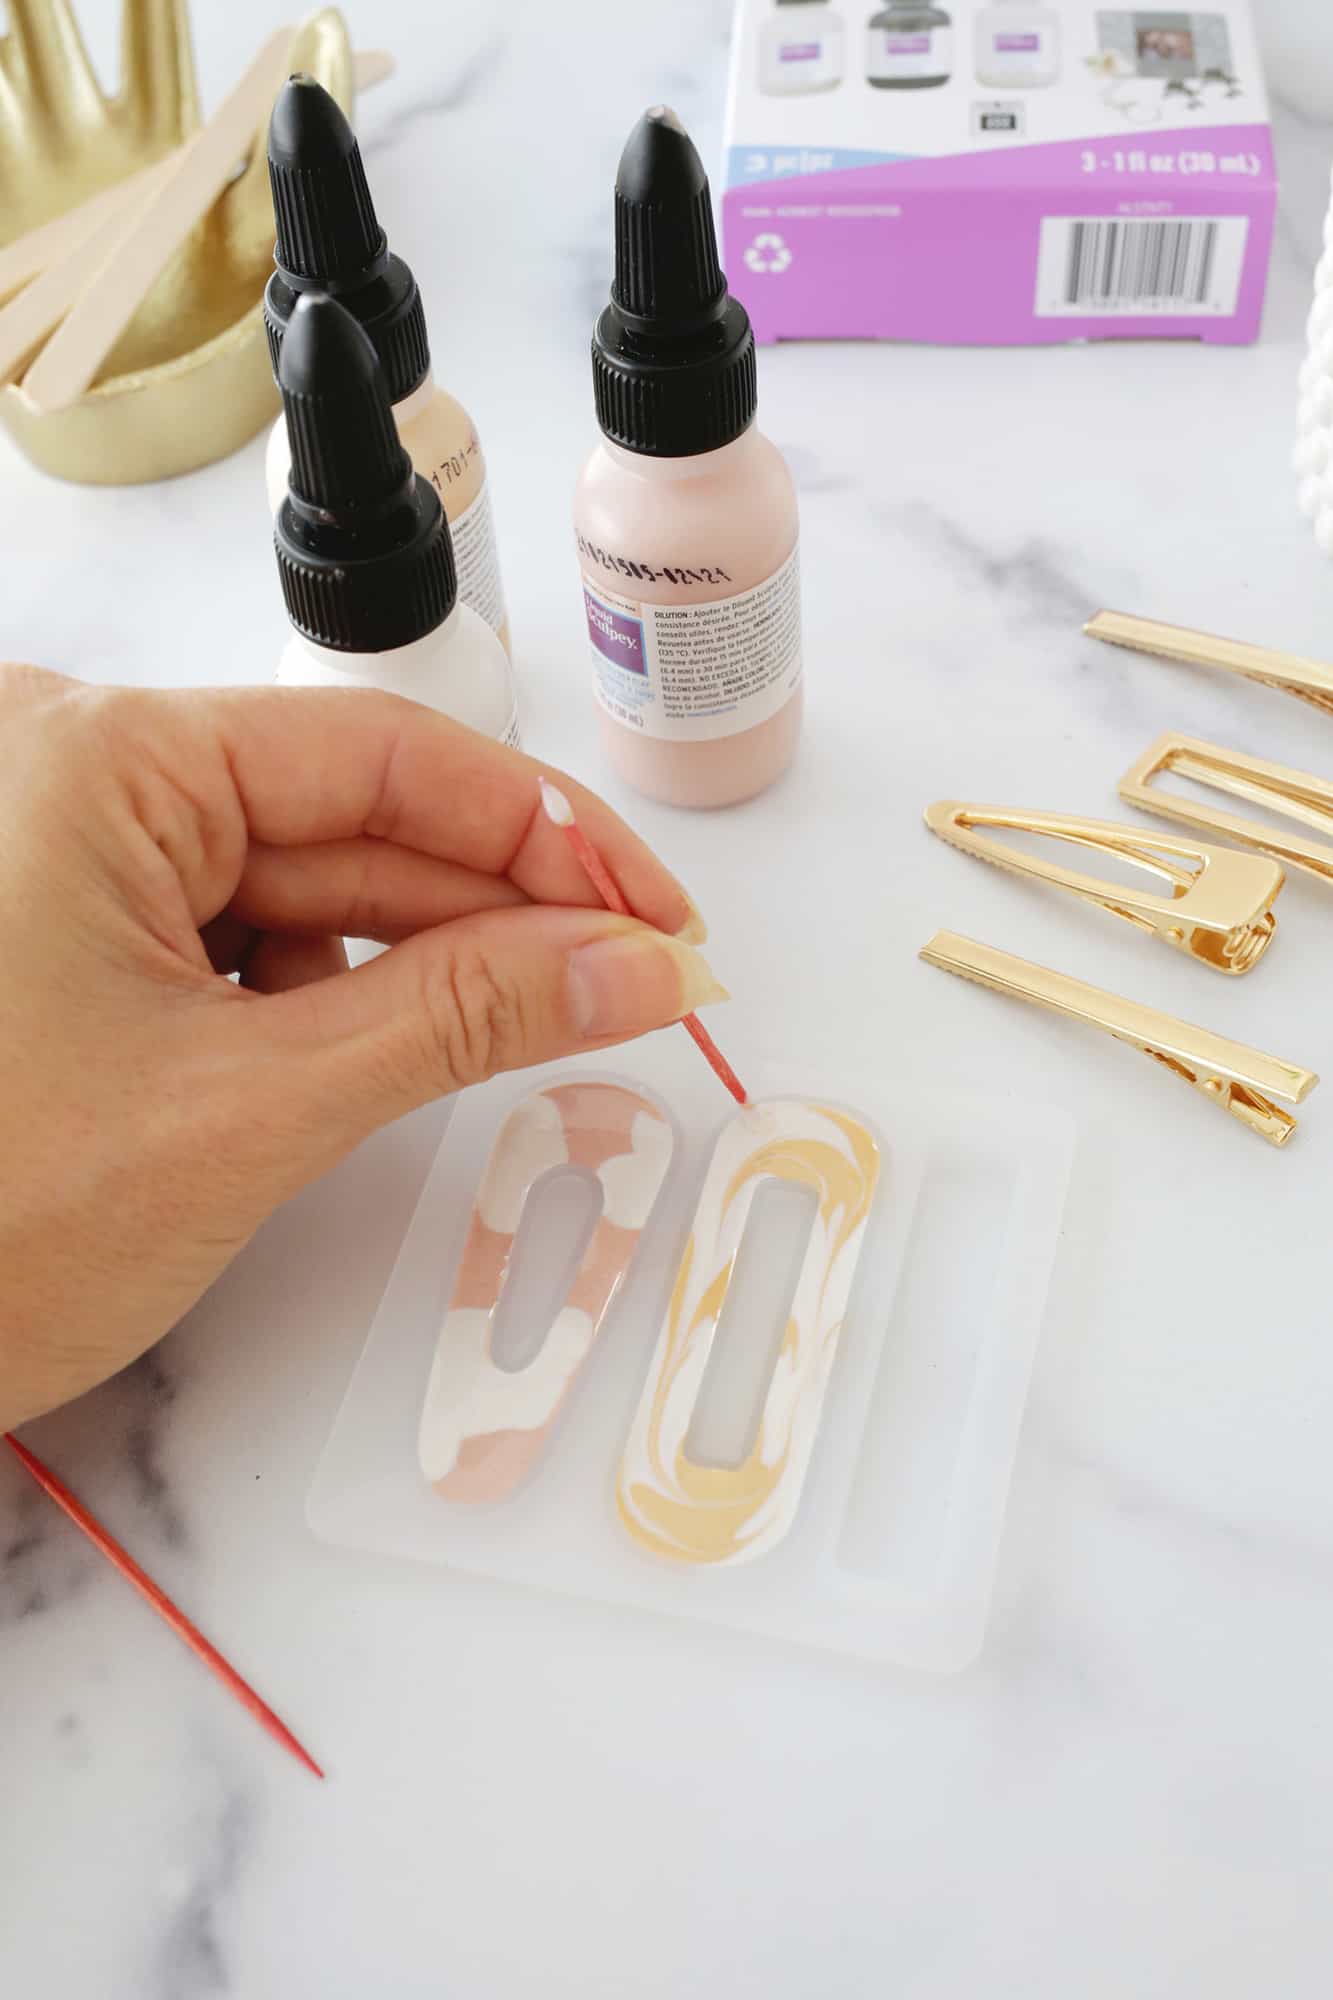
2. Twist the cap back on and twist the nozzle to open the clay and squeeze your color into your mold. There are lots of looks you can create with your liquid clay, but here are my favorite ones to do!
- Color blocked clips: To get a color block look, squeeze one color into half of your mold and straighten the edge where it will hit the other color with a toothpick so it’s as squared off as you can get it. Pour in the second color on the other side.
- Marbled clips: To get a swirled marbled look, squeeze one color in different spot of your mold and another color in the leftover areas (creating a tortoise shell-type of pattern).
Drag a toothpick or popsicle stick through the colors to swirl them. Make sure that your stick is touching the bottom of the mold when you drag it since the bottom of the mold will be the top when it’s done baking.
- Tortoise shell clips: To get a tortoise shell look, squeeze one color in different spots/corners of your mold and another color in the leftover areas.
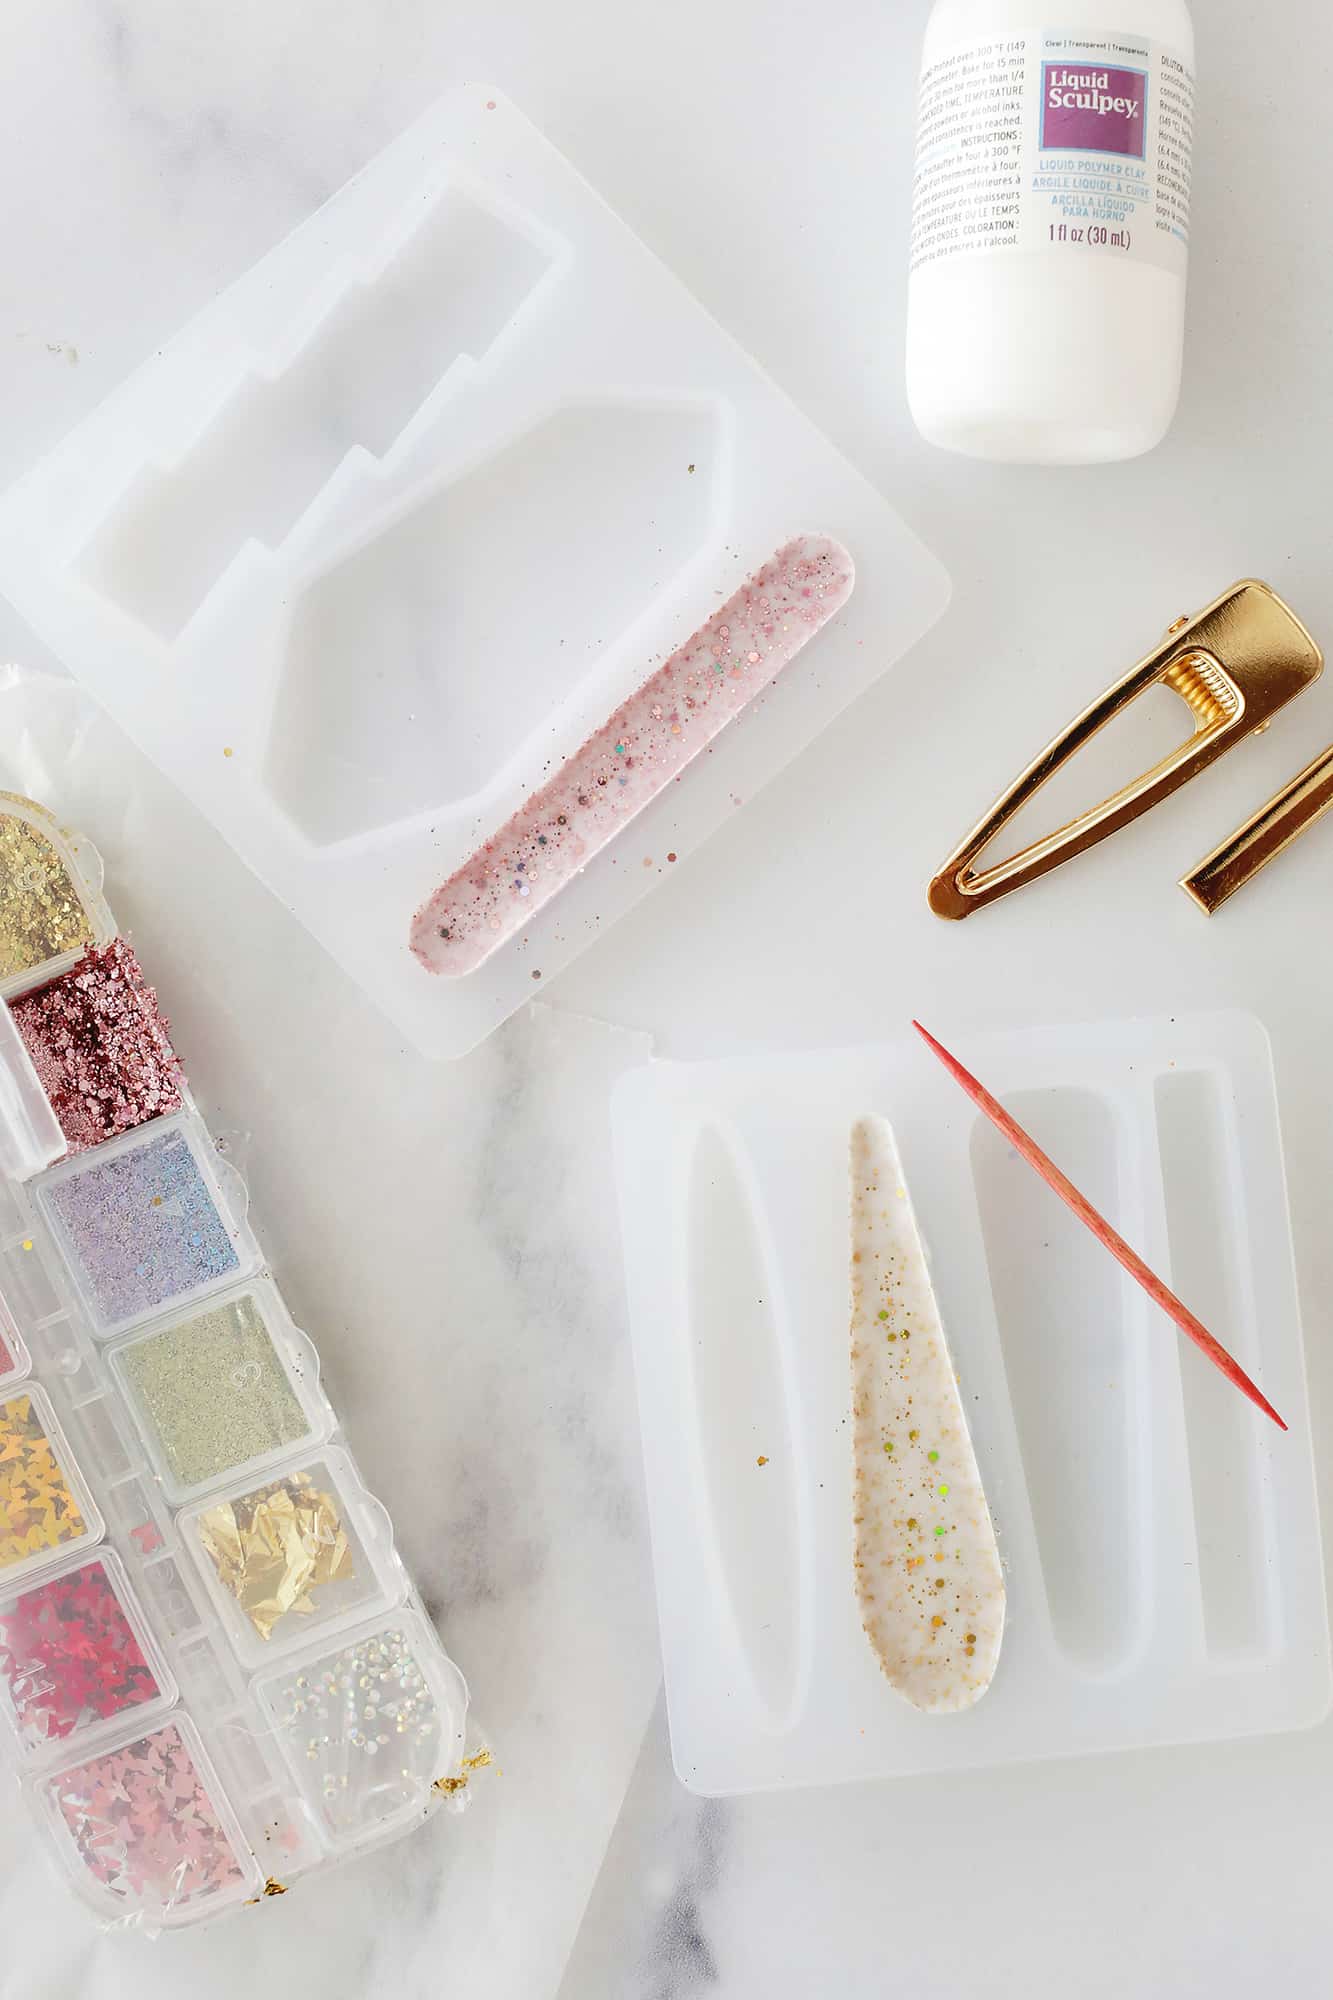
- Glitter clips: To get a glitter look, use the clear liquid clay to fill your mold about 2/3 full and then pour in small glitter shapes or loose glitter.
Mix in with a toothpick until it’s evenly distributed, add more clear liquid clay until mold is full, and stir again. If you want a solid glitter look, add more, and use less glitter if you want it to be more spread out.
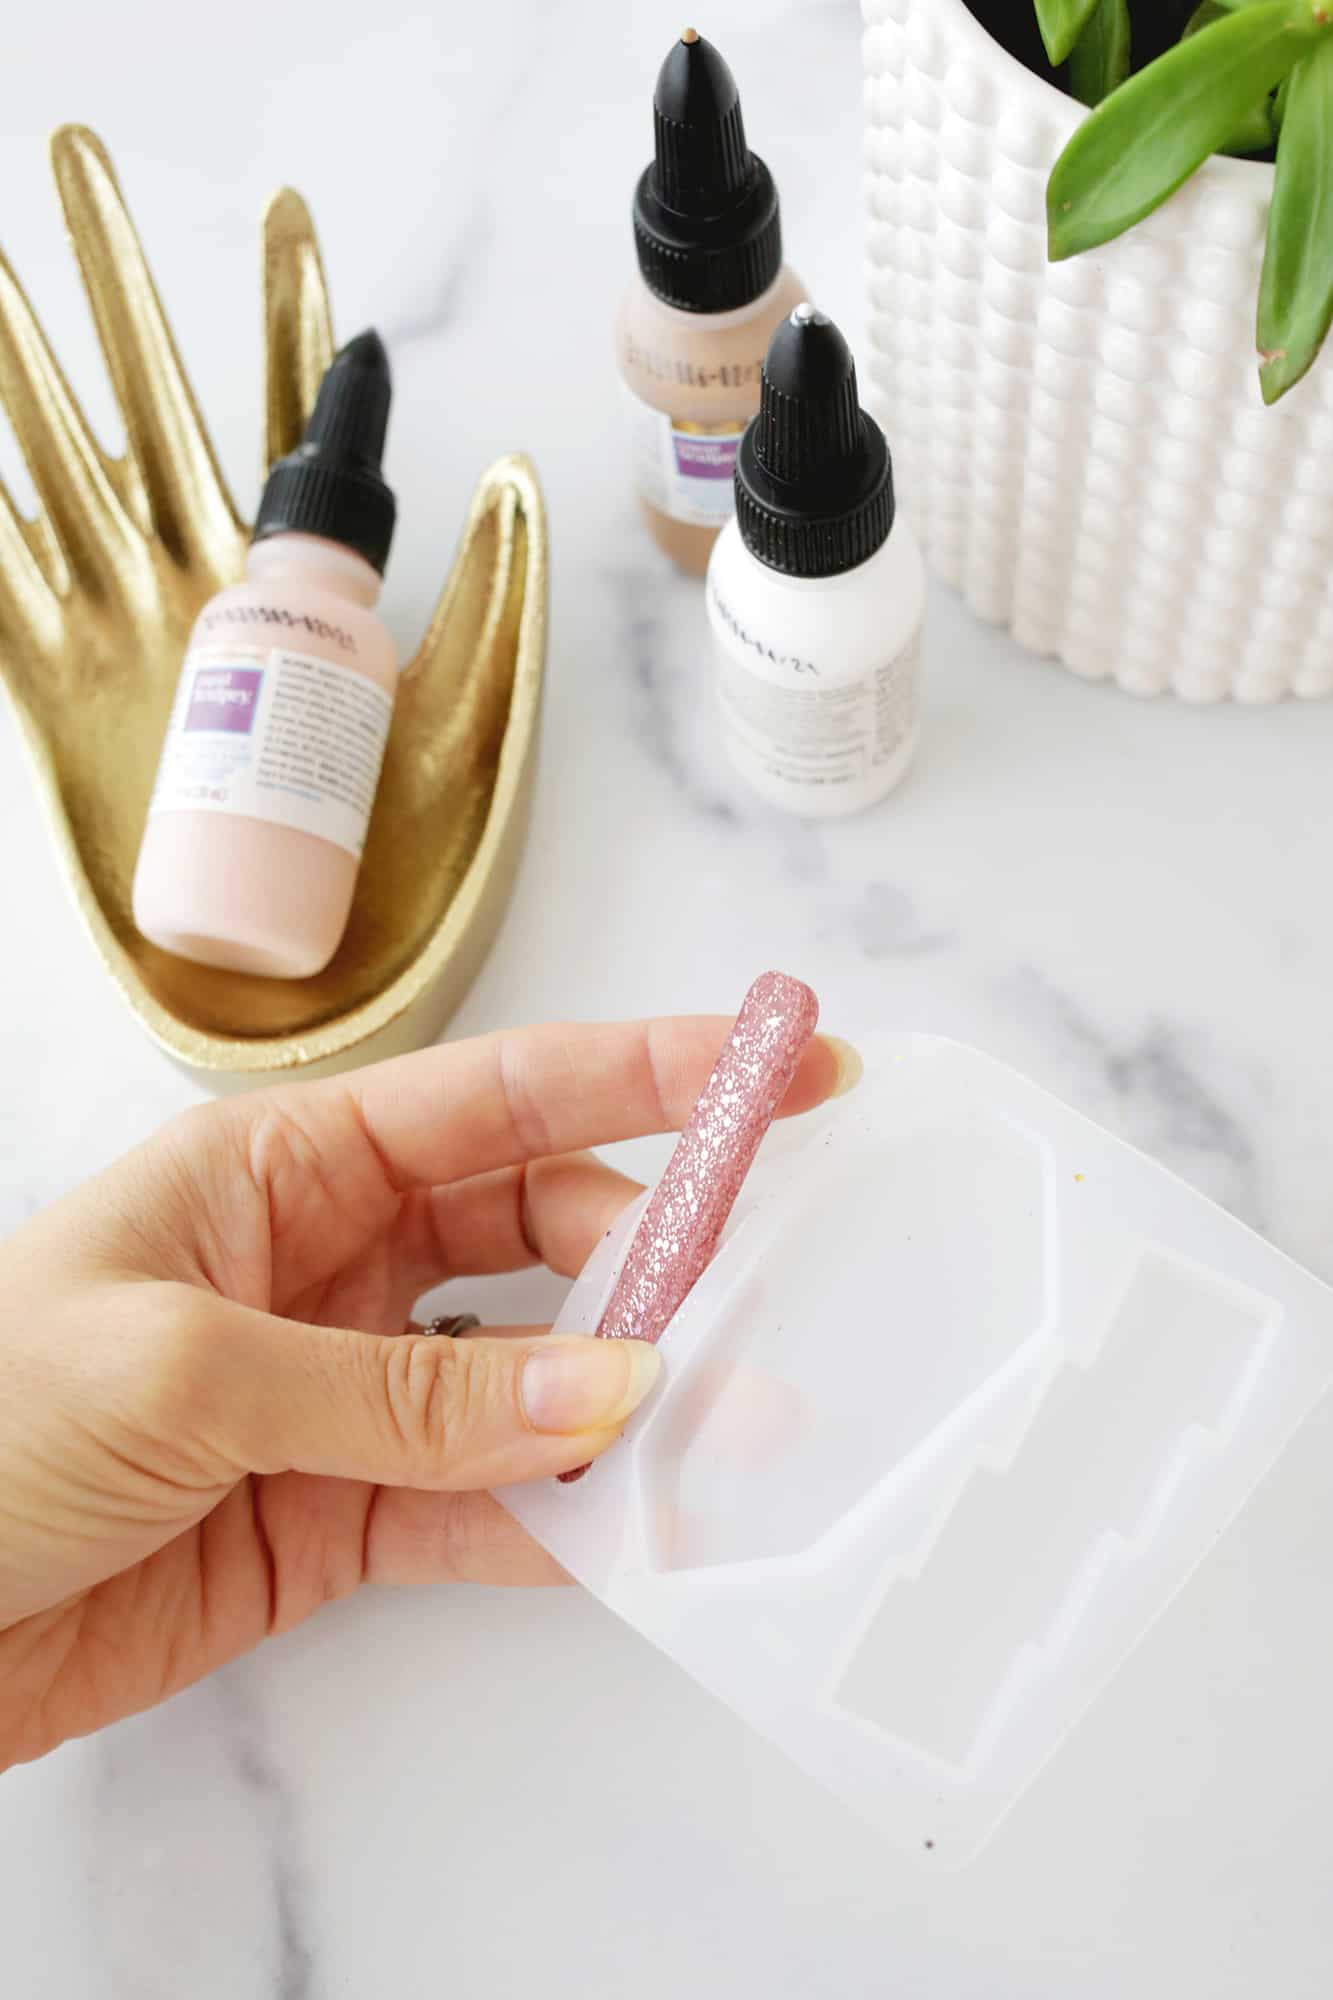
3. Once your molds are ready, bake them in the oven at 275° for 15 minutes (do 30 minutes if your molds are over 1/4″ thick).
4. When molds are done baking, pull them out of the oven and allow them to cool before popping them out of the mold. If you have any edges sticking up from the main part of your barrette, you can cut that edge off with scissors or an X-Acto knife.
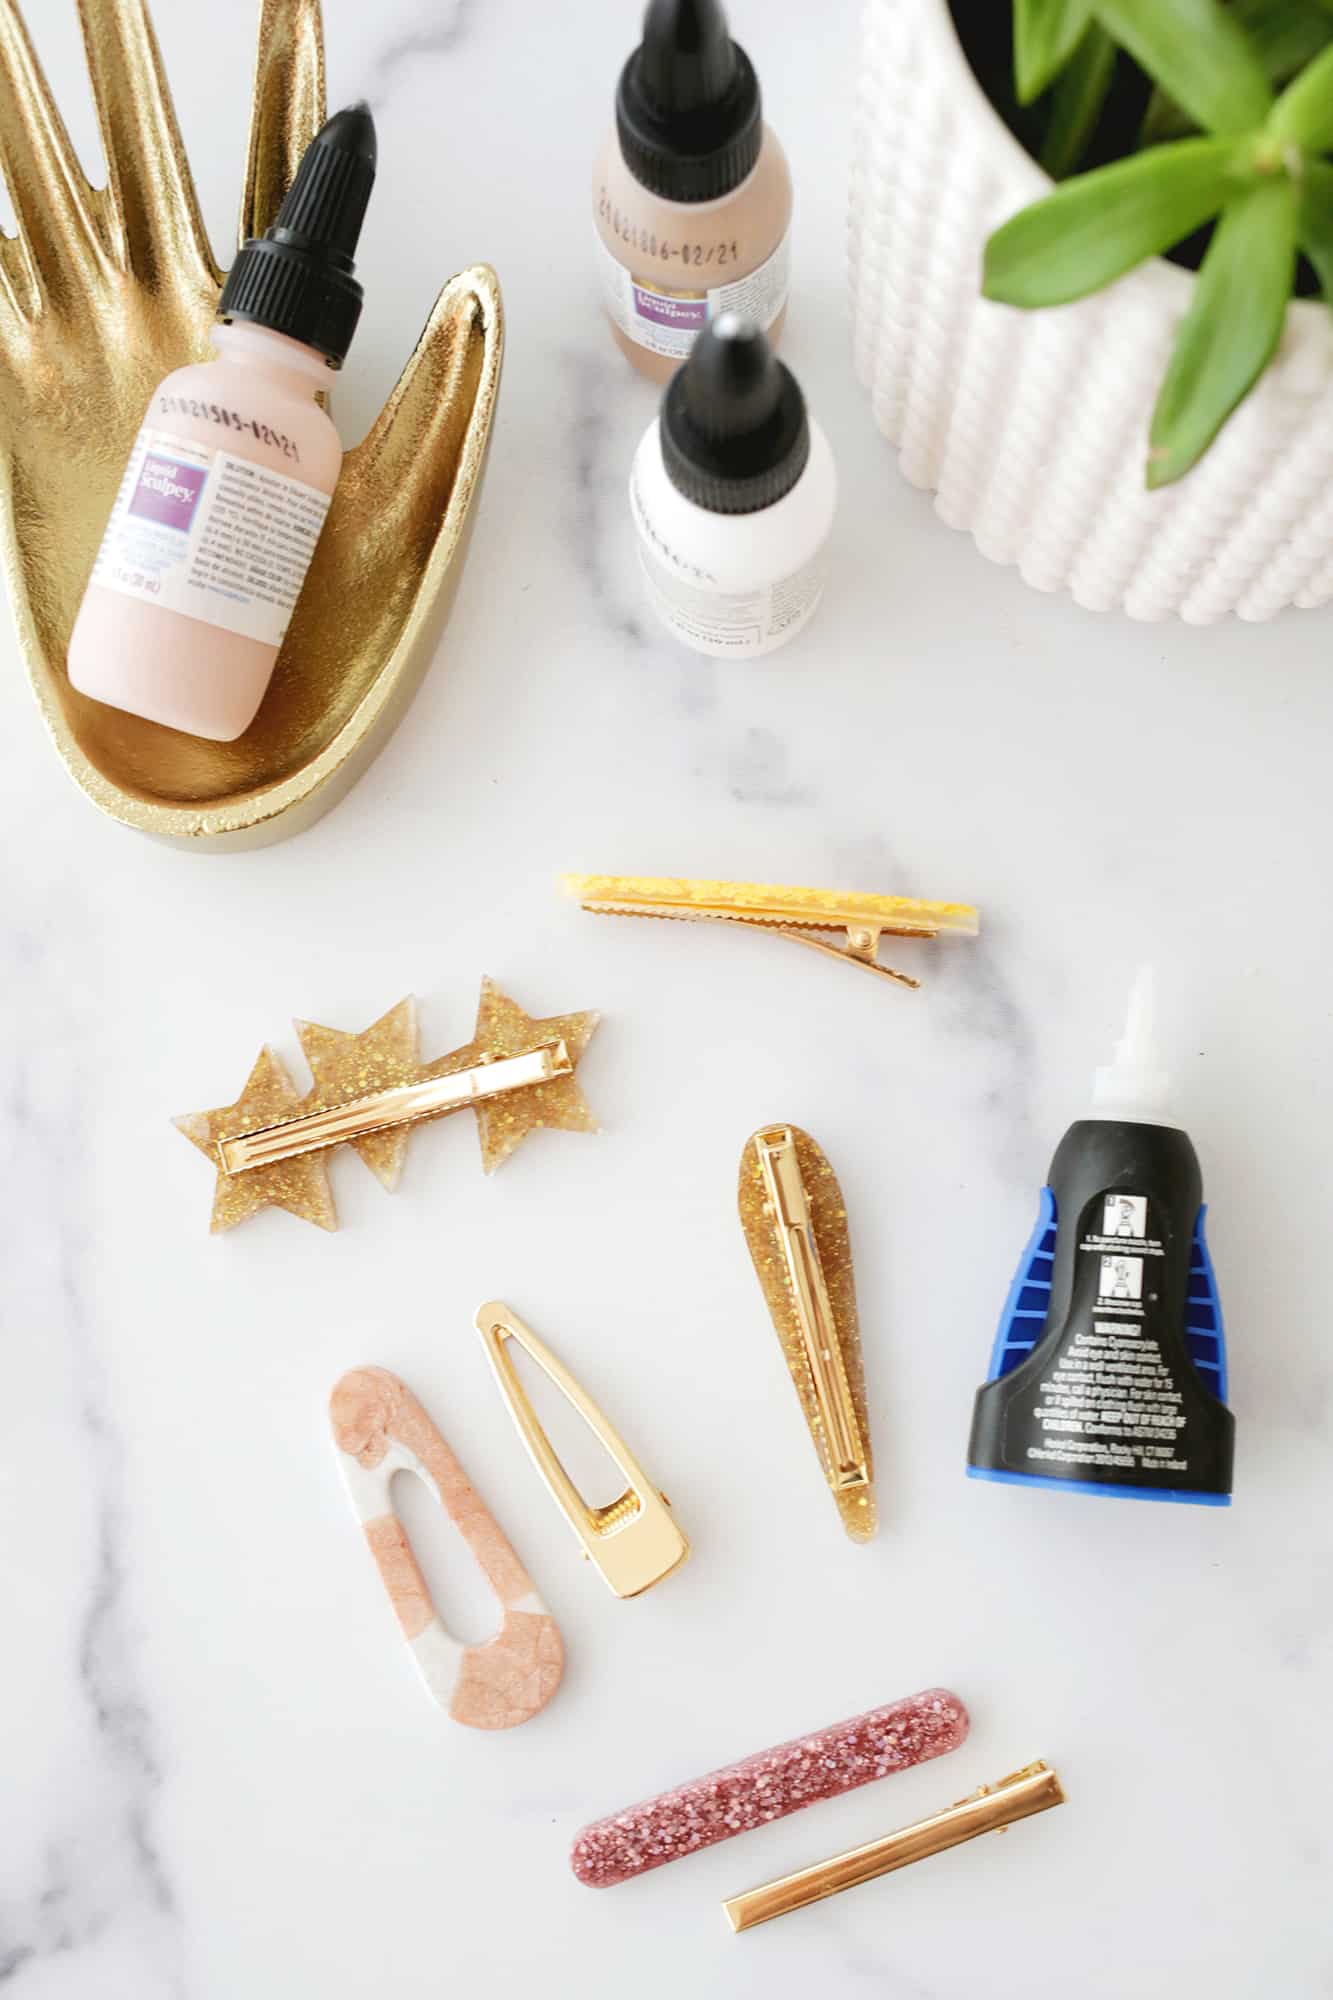
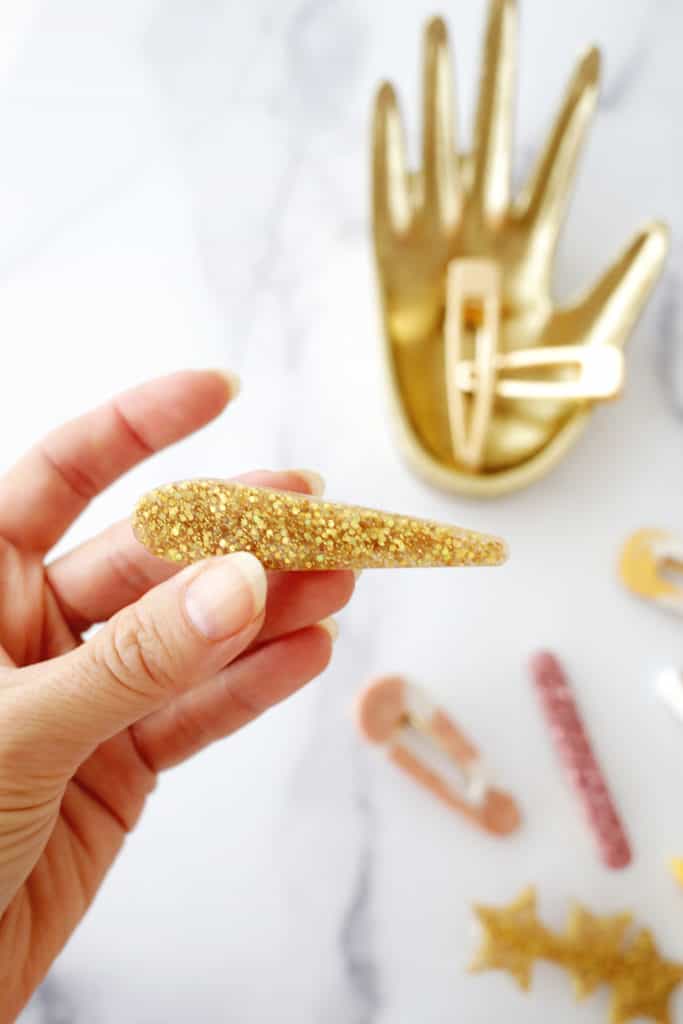
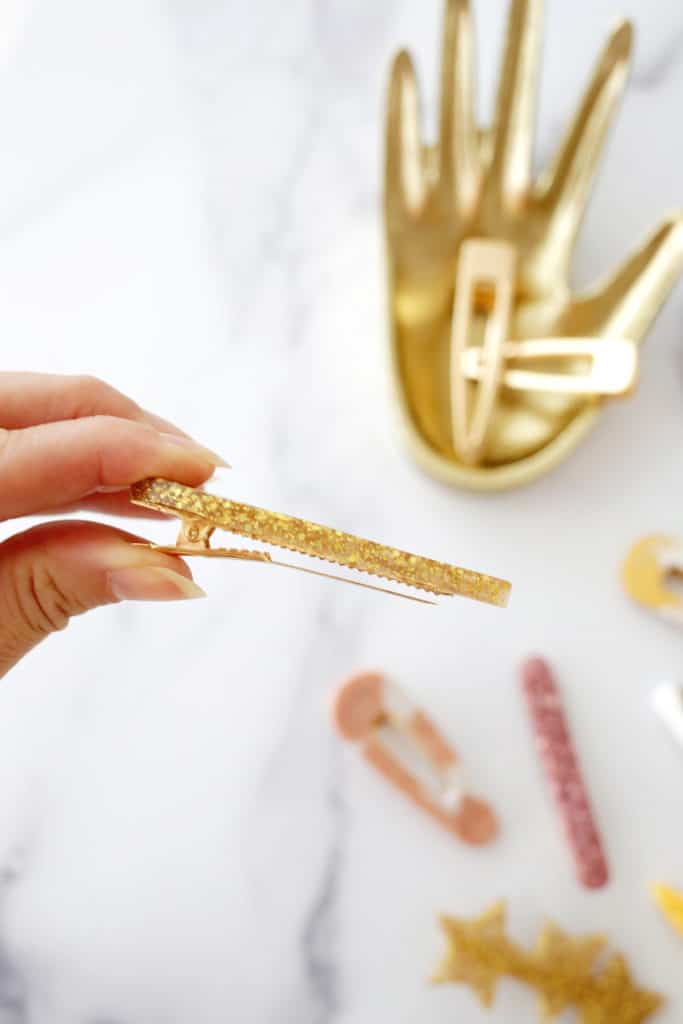
5. Once your clay has cooled, glue it onto the top of a barrette backing, let the glue set and you are ready to wear your creations!
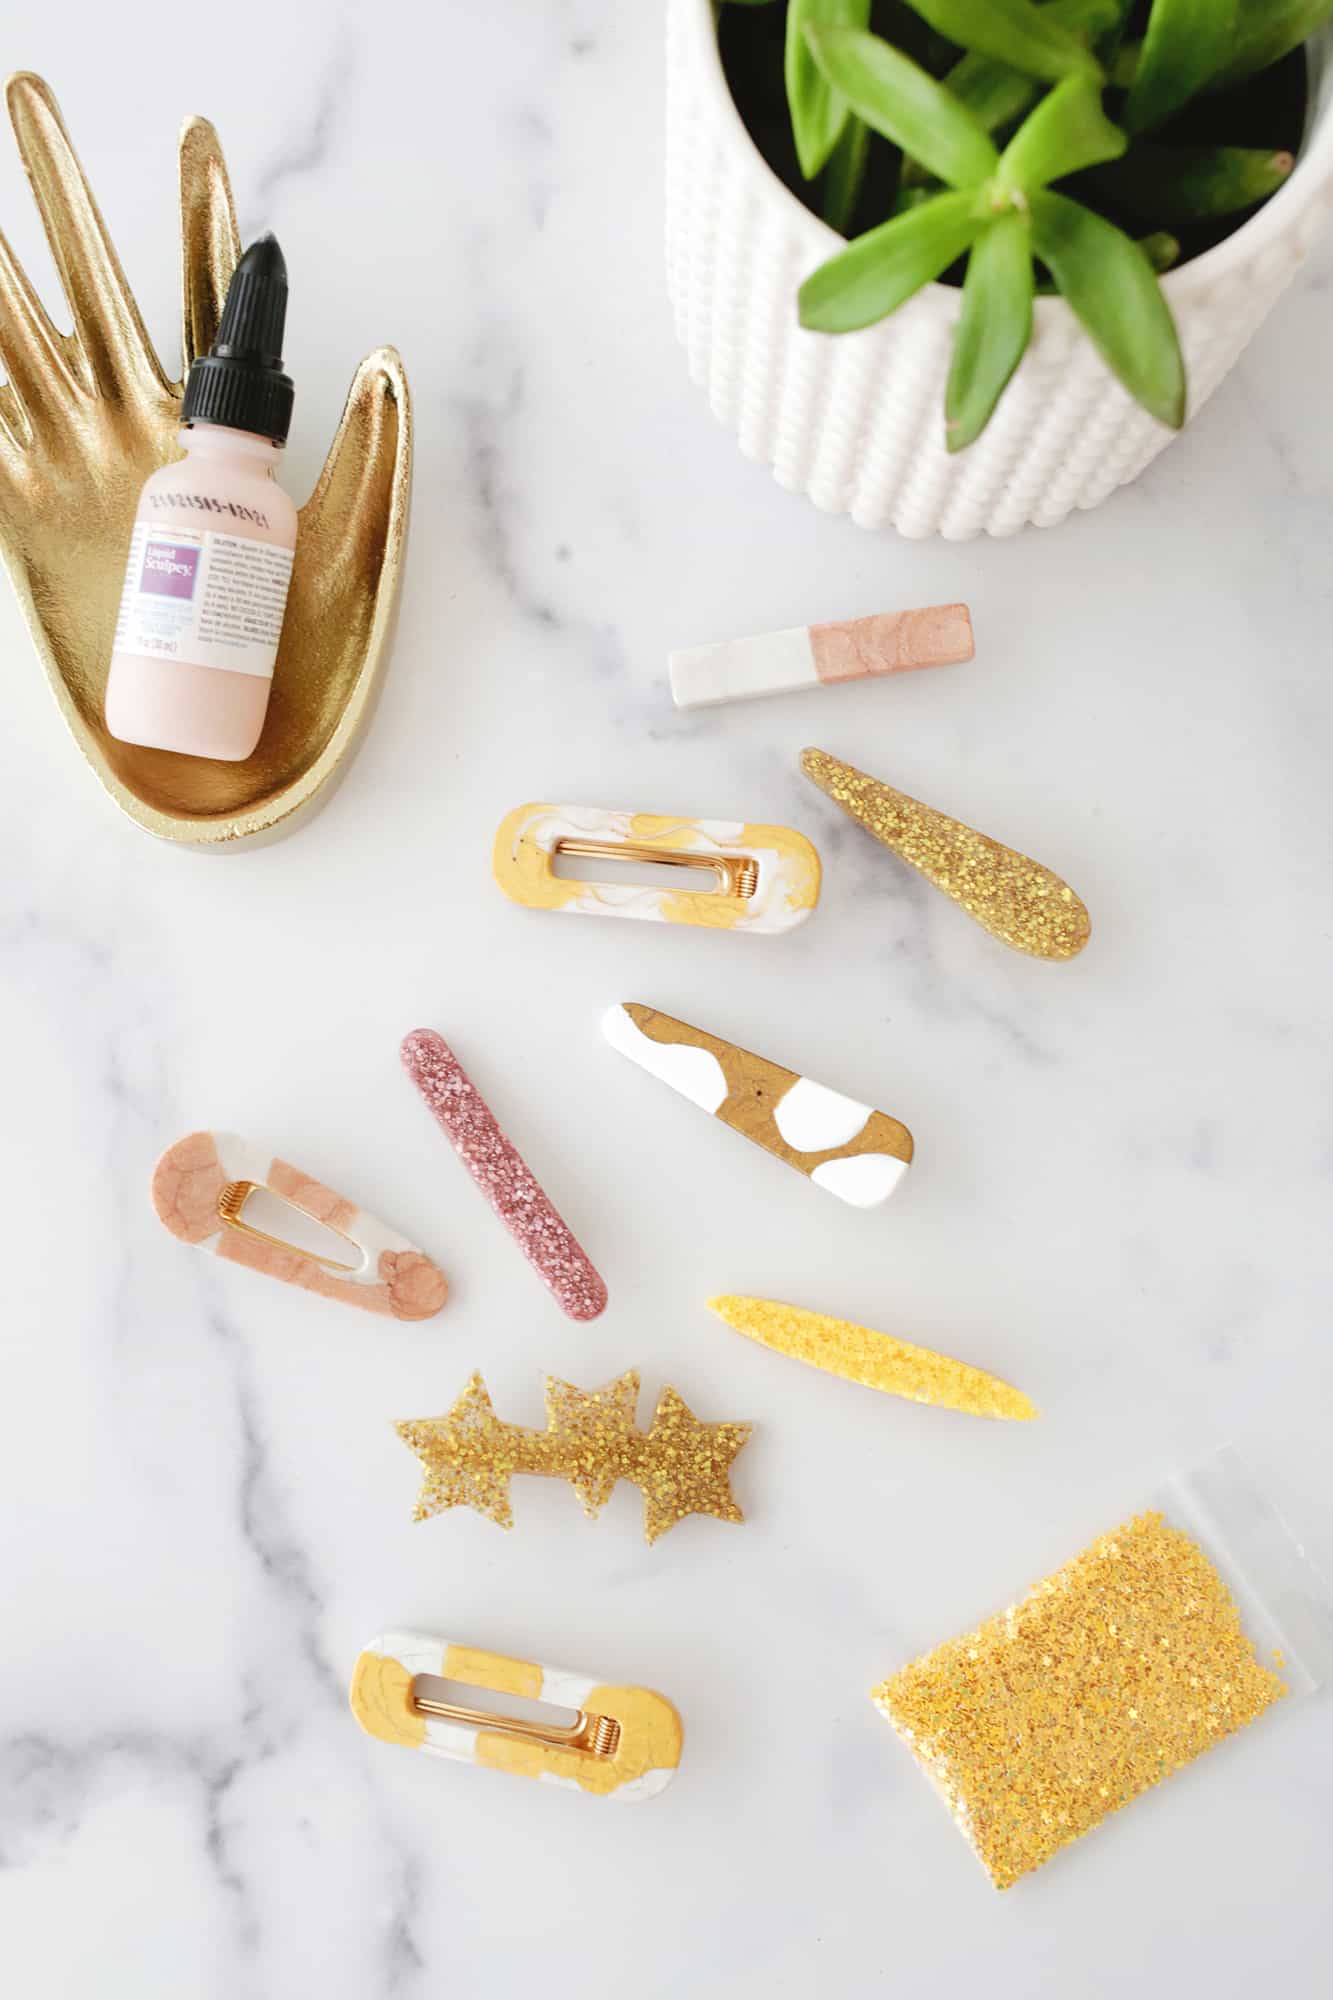
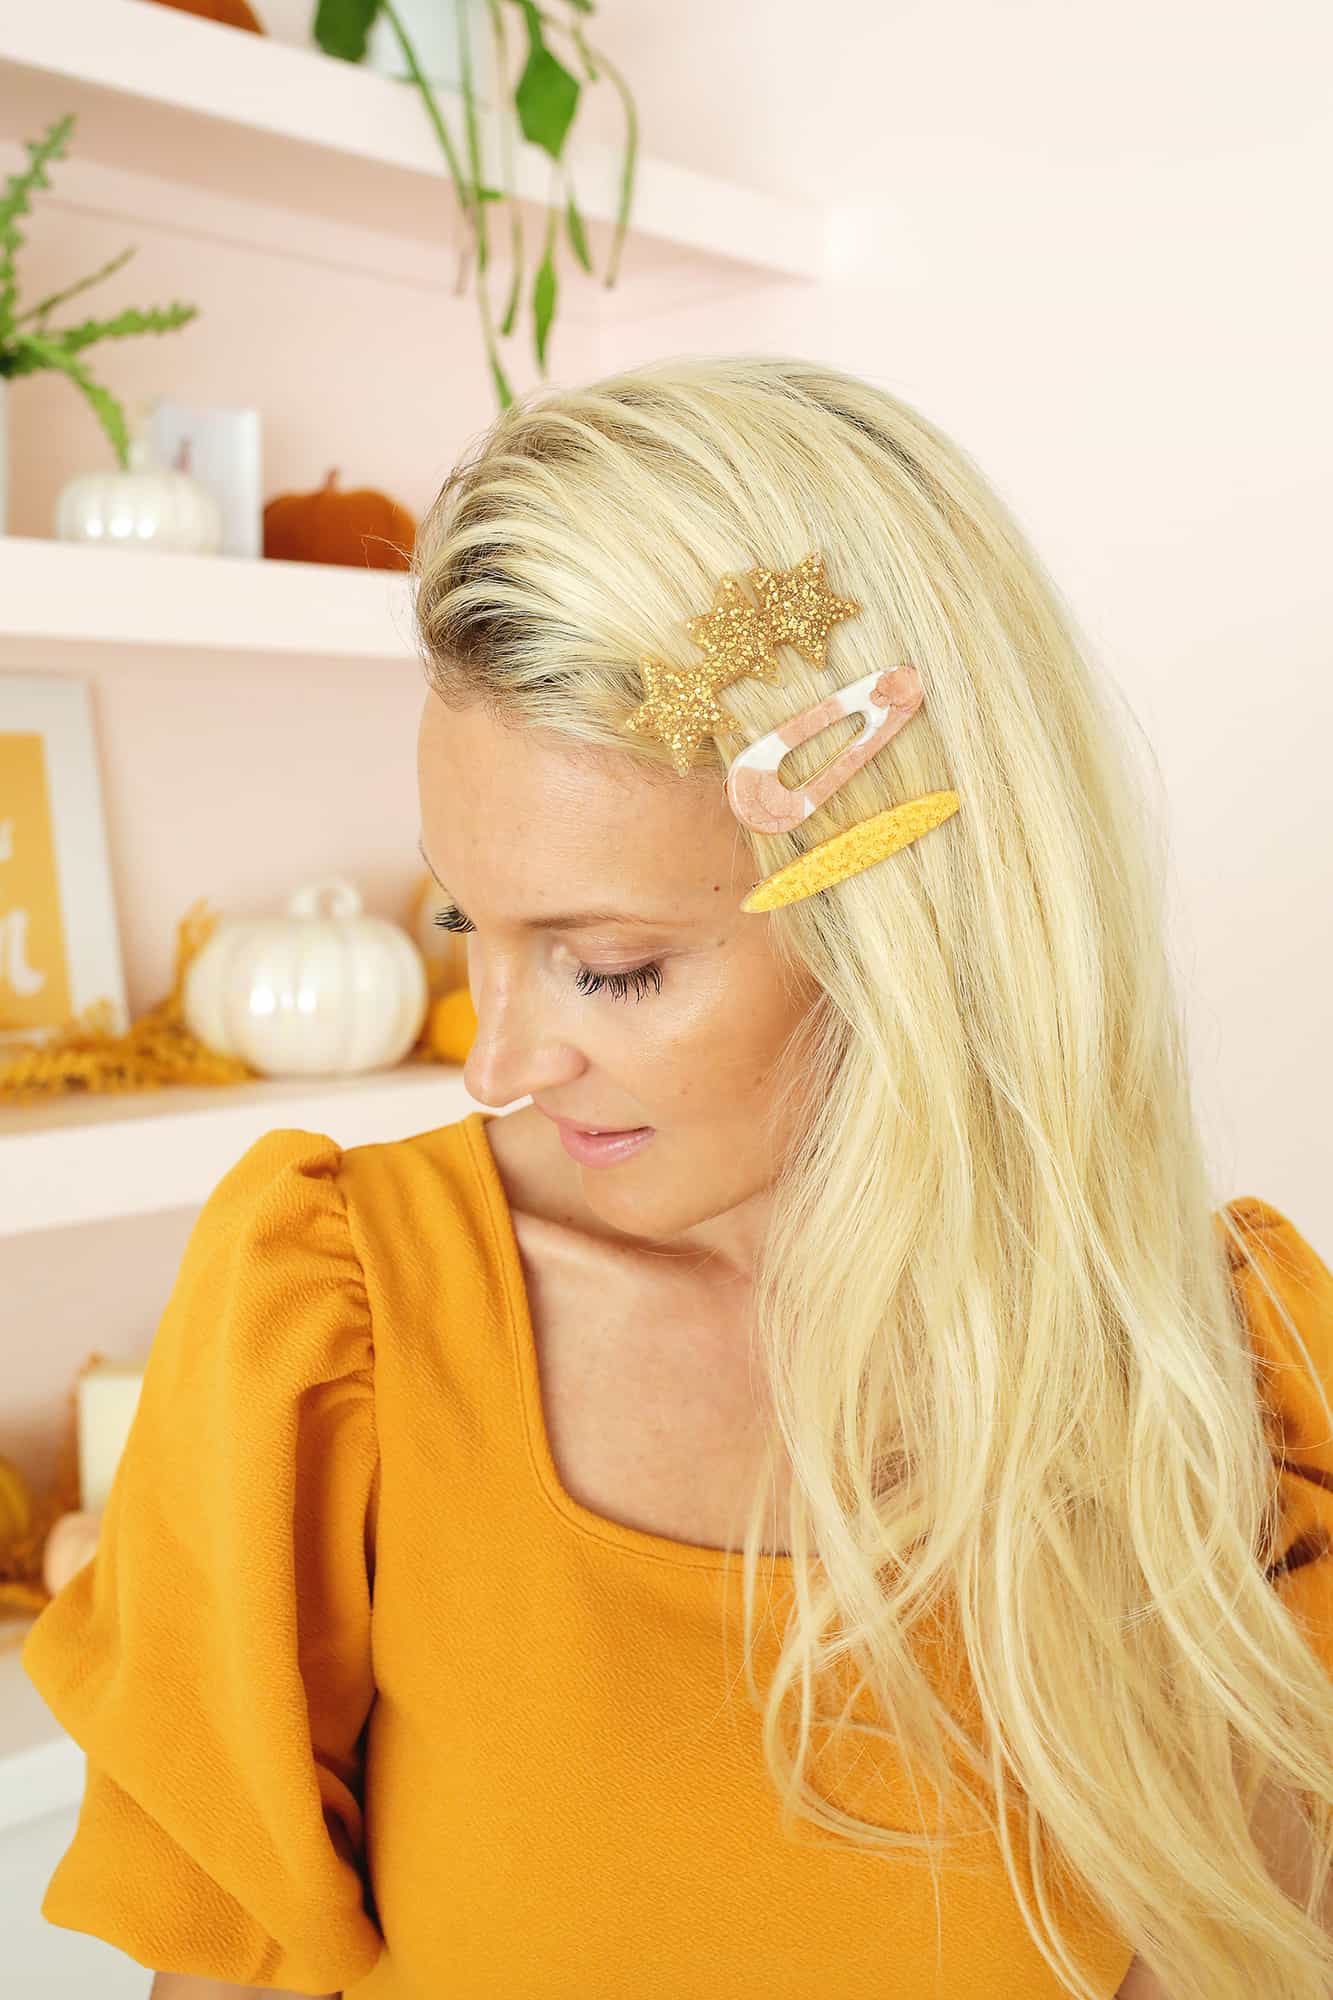
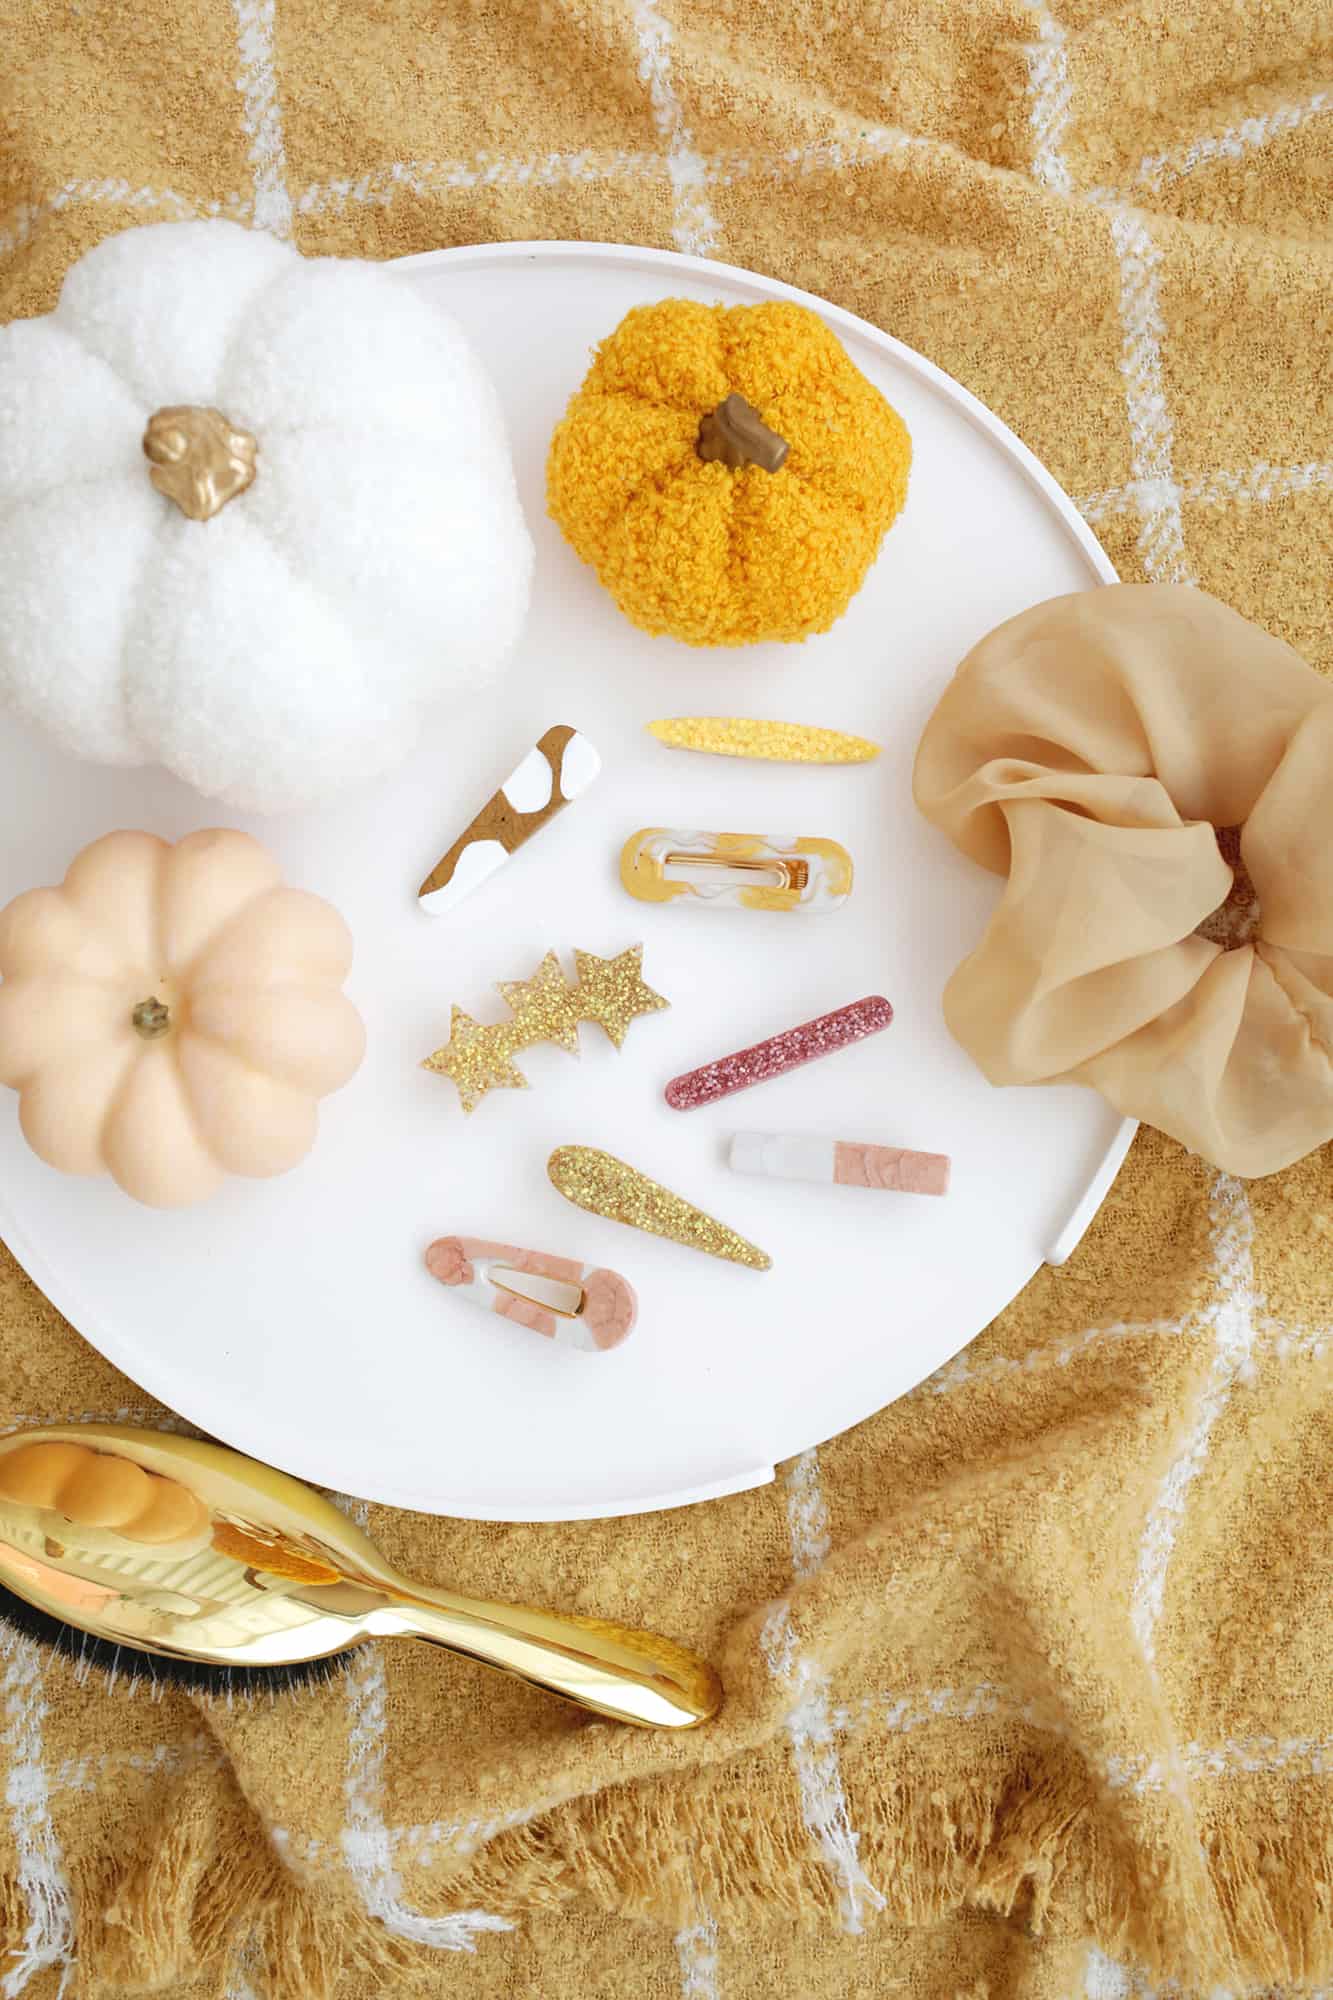
These clips turned out so cute, and your pals will be so impressed when they find out you made them yourself! Using the Sculpey liquid clay was so easy and it was really fun to be able to personalize all the clips to my favorite colors and designs.
Can you believe I made all of those in one afternoon?! And you can create so much more than hair clips with the liquid clay—from Croc charms for your shoes, home décor, jewelry, scrapbooking and beyond!
So, are you sold on making your own clips now? What kind of clips would you make? Color block? Glitter? Tortoise shell? All of them?? xo. Laura
Like This Post? Check Out More Easy Hair DIYs:
- 3 Trendy Hair Clips
- Padded Velvet Headband DIY
- Easy Rosemary Hair Growth Spray DIY
- No-Sew Braided Velvet Headband
If you’re looking for an easy to keep your hair accessories organized, check out Emma’s hair accessory organizer DIY!
FAQ
Frequently Asked Questions
What type of glue is best to glue the barrette holders to the barrettes?
You’ll want to use a multi-surface glue since you are gluing a rubber-like material to a metal surface.
A gel super glue should work well, but just make sure that the glue you are trying is for many different surfaces and that you give it adequate time for the glue to set before wearing.
Can I use the liquid clay for other DIYs as well?
Yes! There are tons of uses for Sculpey liquid clay! Besides using it in molds to make hair clips and jewelry, you can also write with it to add words/phrases to DIYs like we did with this wreath project.

How To Make Statement Hair Clips At Home
Equipment
- oven
- Toothpick or popsicle sticks
- Baking sheet
Ingredients
- Sculpey Liquid Clay in various colors
- Barrette molds
- Barrette clips
- Glue
- Clay thinner (optional)
Instructions
- Open the lid of your liquid clay and stir the clay well with a popsicle stick. You can also add thinner to your clay if you want a more thin consistency, or you can let it sit out overnight with the cap off for a thicker consistency.
- Twist the cap back on and twist the nozzle to open the clay and squeeze your color into your mold.
- To get a color block look, squeeze one color into half of your mold and straighten the edge where it will hit the other color with a toothpick so it’s as squared off as you can get it. Pour in the second color on the other side.
- To get a tortoise shell look, squeeze one color in different spots of your mold and another color in the leftover areas.
- To get a glitter look, use the clear liquid clay to fill your mold about 2/3 full and then pour in small glitter shapes or loose glitter. Mix in with a toothpick until it’s evenly distributed, add more clear liquid clay until mold is full, and stir again. If you want a solid glitter look, add more, and use less glitter if you want it to be more spread out.
- Once your molds are ready, bake them in the oven at 275° for 15 minutes (do 30 minutes if your molds are over 1/4″ thick).
- When molds are done baking, pull them out of the oven and allow them to cool before popping them out of the mold.
- Once your clay has cooled, glue it onto the top of a barrette backing, let the glue set and you are ready to wear your creations!
 Is there anything better than getting your hair done at the salon? Catching up with my stylist and getting fresh hair is one of my favorite things in the whole world!
One of the best parts of the experience for me is the shampoo bowl—I feel like the attention given to the process of a simple shampoo and condition is honestly magical. I wanted to know how to recreate it myself at home, and I’m sharing my research with you today!
Shampoo = Scalp Care
Of course scalp care is important, but doesn’t that just naturally happen when you lather up your shampoo and clean your hair? Not exactly.
One of the things I noticed the last time I went to the salon and really paid attention to the shampoo step is my stylist (if you’re in the Nashville area, Alexa at Crescent Salon is amazing) spends A LOT of time on my scalp and it’s not just for a relaxing massage effect—there is a lot of buildup that can form from product and dead skin on your scalp that needs to be cleaned.
The next time I shampooed myself, I wanted to make sure I was super thorough and cleaned every inch of my scalp instead of just focusing on “scrubbing” my head really hard which is what I normally did.
First up, I worked my shampoo into a really good lather — my stylist gave me a great tip for doing this when you’re using sulfate-free shampoo which can be hard to lather.
You’ll want to dab a small amount on each ‘zone’ of your head (temples, crown, nape, etc.), start to work into a lather, then quickly duck your head back under the water for just a second — this extra water will help your shampoo to work into a rich lather.
Now onto the “massage”— using the pads of my fingers to apply medium-firm pressure, I started by vigorously working my hairline to remove any product/makeup buildup, then moved to the front of my scalp, continued to take it on back through the crown and down to the nape of my neck where I gave a lot of attention since, let’s face it, that area can get kind of sweaty— especially if you’ve worked out or been out in the heat.
I have to say, I noticed a huge difference in the way my scalp felt, and because I took the time to be thorough (about 2.5 to 3 minutes), my hair felt cleaner as well. Alexa also recommended this amazing tool that can really help scrub your scalp. it’s easy to grip and has silicone bristles.
Condition Properly
Just as shampoo is for scalp health and the top of your head, conditioner should be used from the middle of your hair down to the ends. Be sure to leave it on long enough—a few minutes is usually good unless you’re doing a deep conditioning treatment, which usually gets left on anywhere from around 10 minutes to overnight.
I’ve found that using a wide-tooth comb really helps me evenly distribute the conditioner so it coats as many of my strands as possible. You also want to squeeze out any excess moisture from your hair before you condition so that the conditioner can properly penetrate your hair and do its job.
 Prep and Rinse Thoroughly
In order for your shampoo to lather its best and for each strand to be cleaned properly, you’ll want to make sure your hair is completely drenched before you start shampooing (alternately, as mentioned above, you’ll want to squeeze out extra moisture before you condition).
The shampoo bowl has those awesome sprayers to easily get the job done, but it’s a little harder when you’re in the shower—same when you’re rinsing shampoo or conditioner out of your hair (unless you have curly hair, then you may opt to leave some conditioner behind).
You may need to take a little extra time than you’re used to to be sure that all of the product is out so you can avoid buildup/have the most manageable hair possible.
I hope these have been helpful tips, and that the next time you shampoo, you feel that glorious salon-fresh feeling! xo, Keely
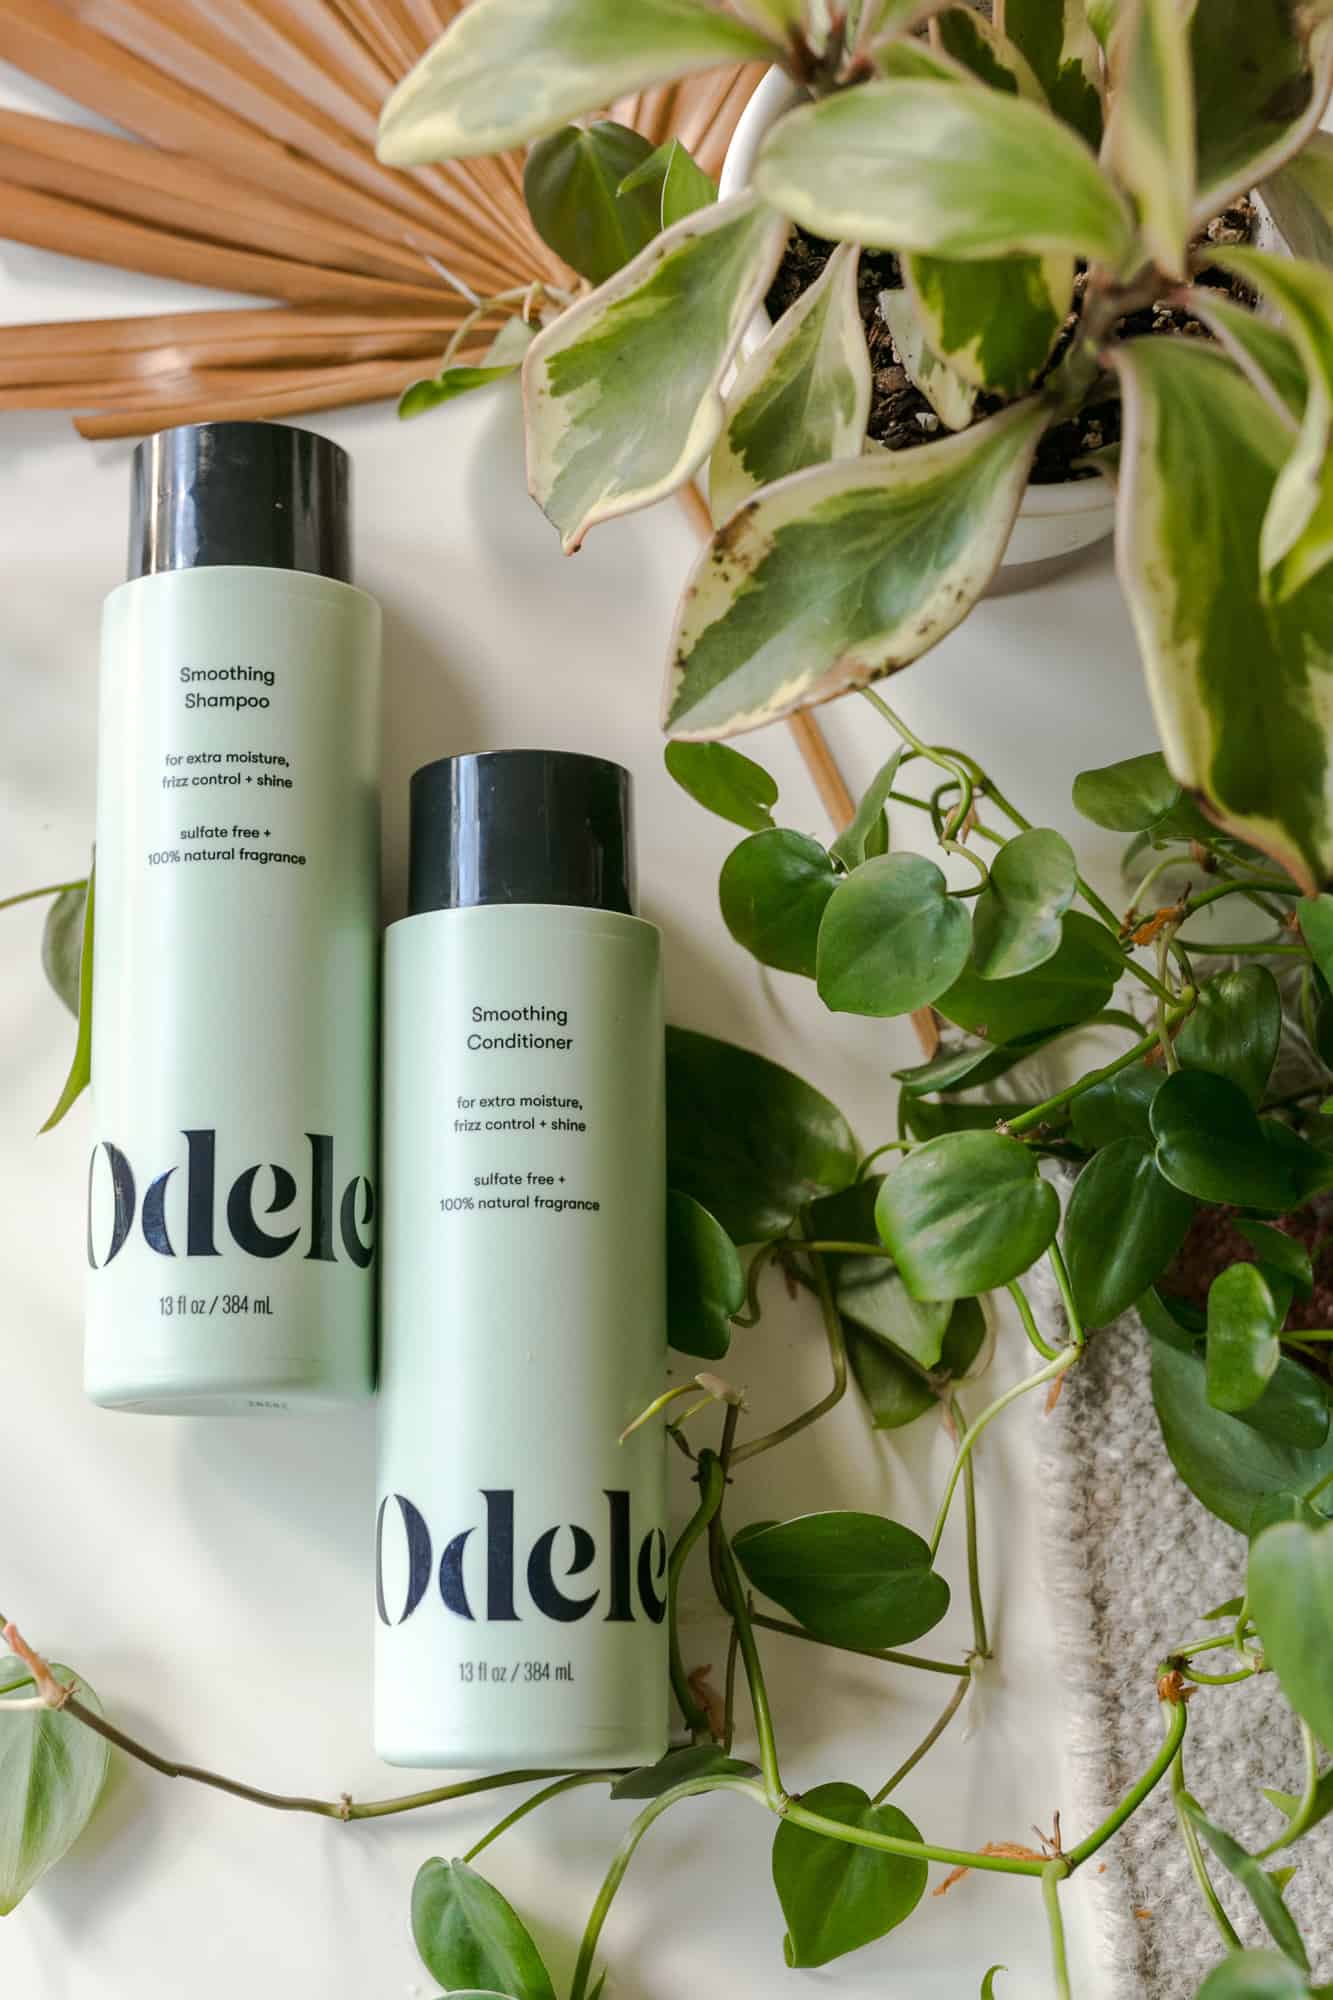
**Side note: Odele is Target’s new affordable clean hair care line and they’re products for every hair type!
]]>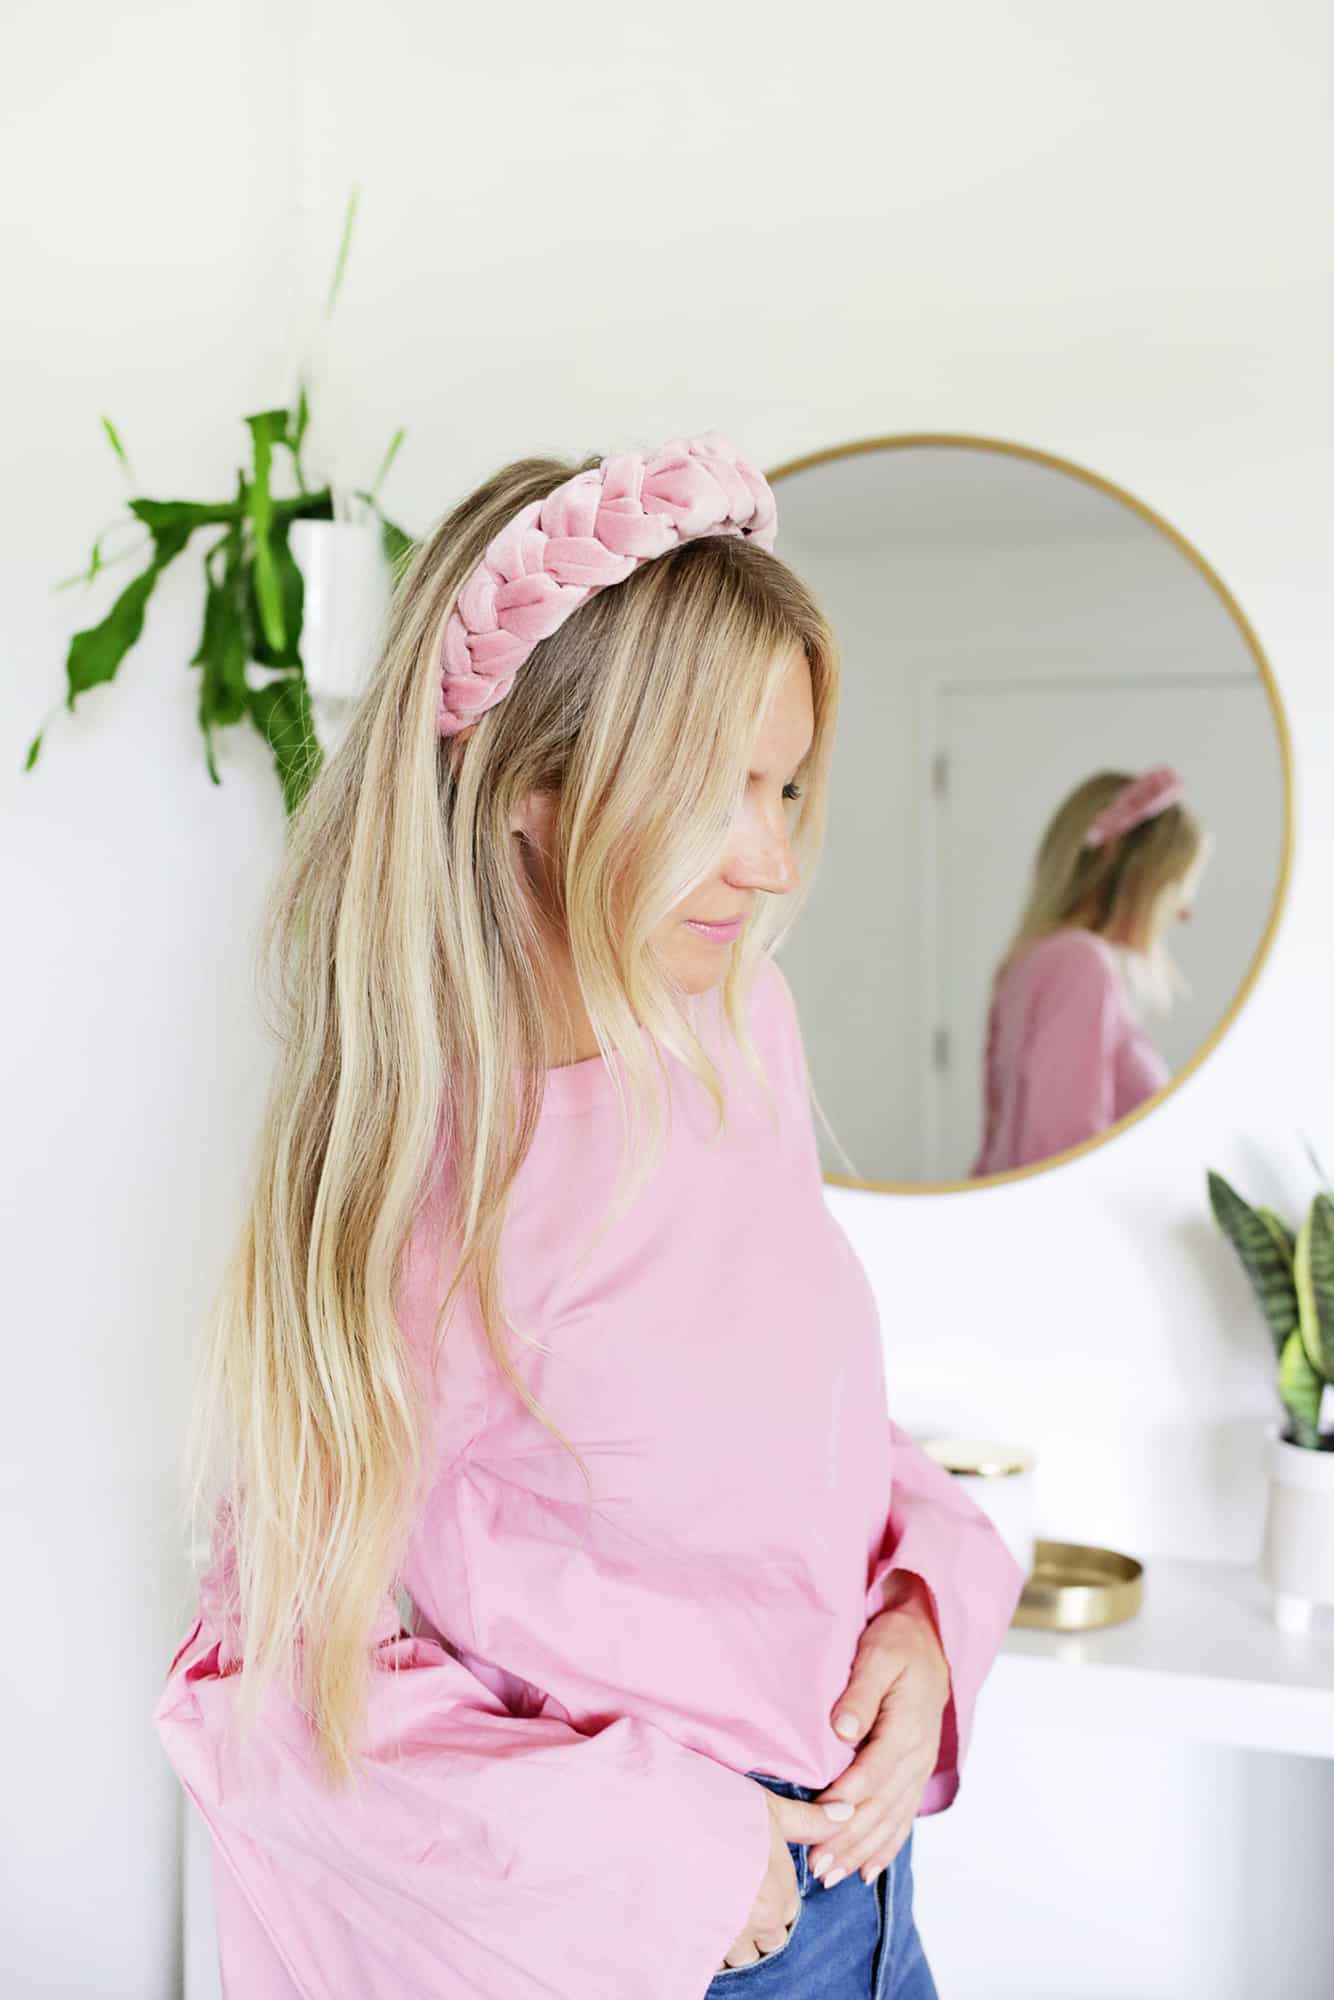
Headbands are just a fun accessory, as they can totally add a lot to a look and it only takes seconds to throw one on and take your look up a few notches. It was a lot easier than I thought to make a padded headband, so I thought it would also be fun to do a no-sew option with a braided version, as I’ve seen those all over my Pinterest feed as well lately.
The no-sew makes it super easy and you can whip up a batch of these for gifts or in different colors for yourself in no time! I made a thicker/wider version for myself and a thinner version to match with my daughter Lola.
Related: 25+ Easy Hair Tutorials For Any Occasion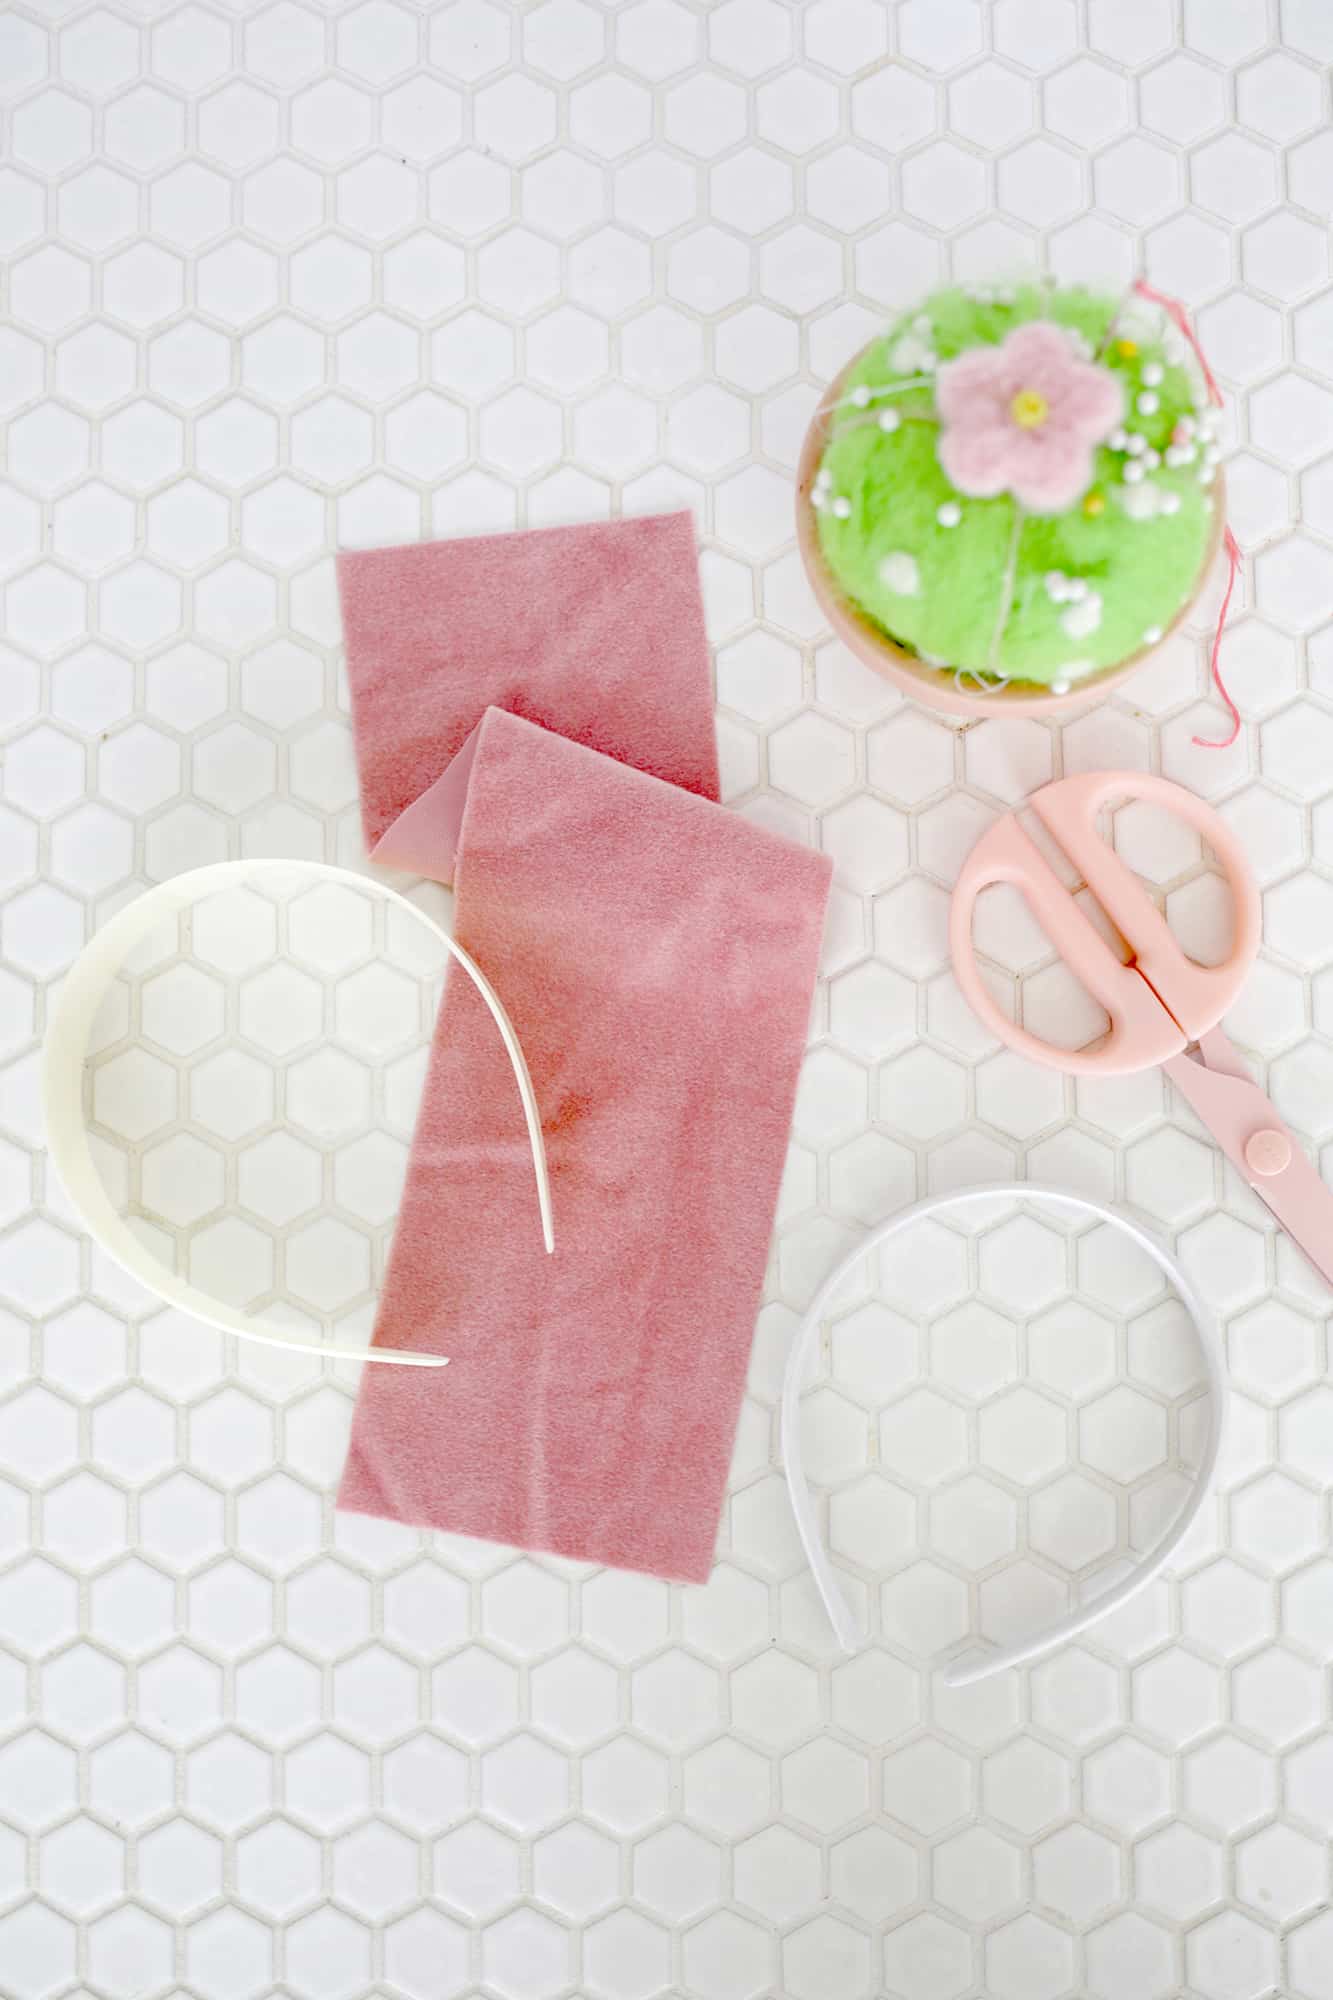 Supplies:
-1/4 yard of velvet fabric
-fabric scissors
-rotary cutter, ruler and mat (optional)
-hot glue gun
-ribbon that matches the color of the velvet
-headbands (I used this thick one for me and this thin one for Lola)
-straight pins
 For the first step, you’ll want to cover your headband with some velvet so it matches seamlessly with your braid on top. Cut a band of velvet as long as your headband and as wide as the circumference of the widest part of your headband.
Place your headband in the middle of the velvet so it’s covering the underside and use your hot glue to glue the velvet to the length of the underside of the headband.
Fold up the velvet on one side and cut it so it covers half of the top of your headband. Repeat the process with the other side so your underside is fully covered and you have a seam running down the middle of the top of your headband (it can overlap a little or just have the sides meet together in the middle, either way it will be covered so it doesn’t matter very much).
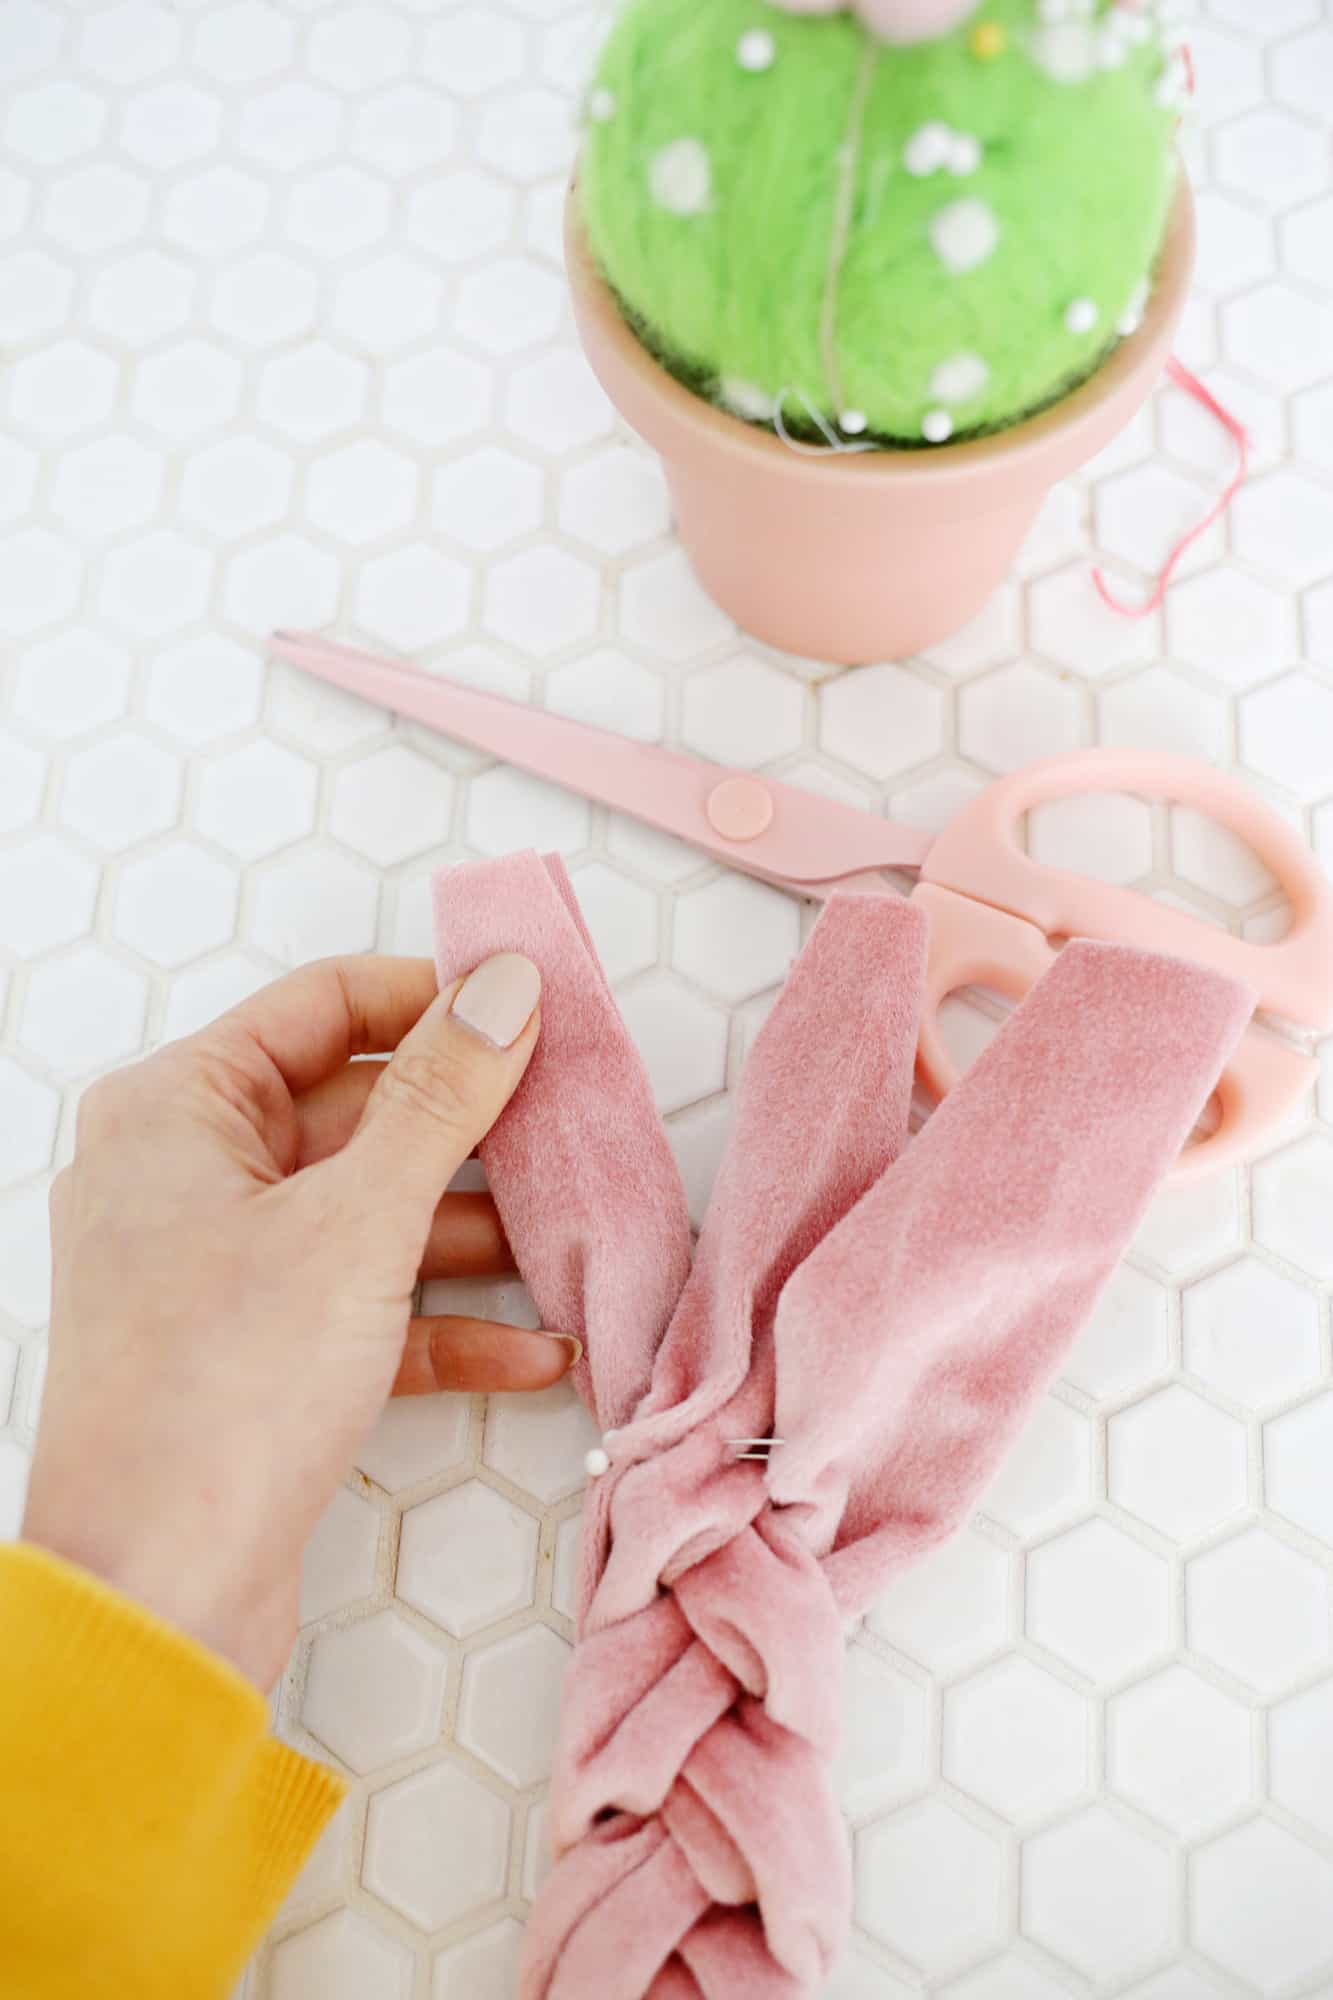 For the wider headband, cut three strips of velvet that are 25″ long and 4″ wide (and for the smaller headband cut them 25″ long and 3″ wide). Fold your strips in half lengthwise and stack the three strips on top of each other so you can braid them together.
Use a straight pin to keep the three strips together and set something heavy on that end so you can braid the tails (you could set it under a couch leg or something while you braid or get someone else to hold it for you).
You’ll want to twist the strands so that the cut side of the fabric stays on the bottom side at all times, so just keep checking that your cut ends are hidden and twist/rotate the fabric as needed to make that happen.
Once your braid is complete, place it against your headband to check the length and trim it if it’s longer than your headband length. Once you have a good length, you can unbraid the last 3″ of each end to gradually cut some of the fabric strip width off of the ends of the tails (as you see above in the photo). That will make the ends less bulky and tapered a bit as the braid ends on each side.
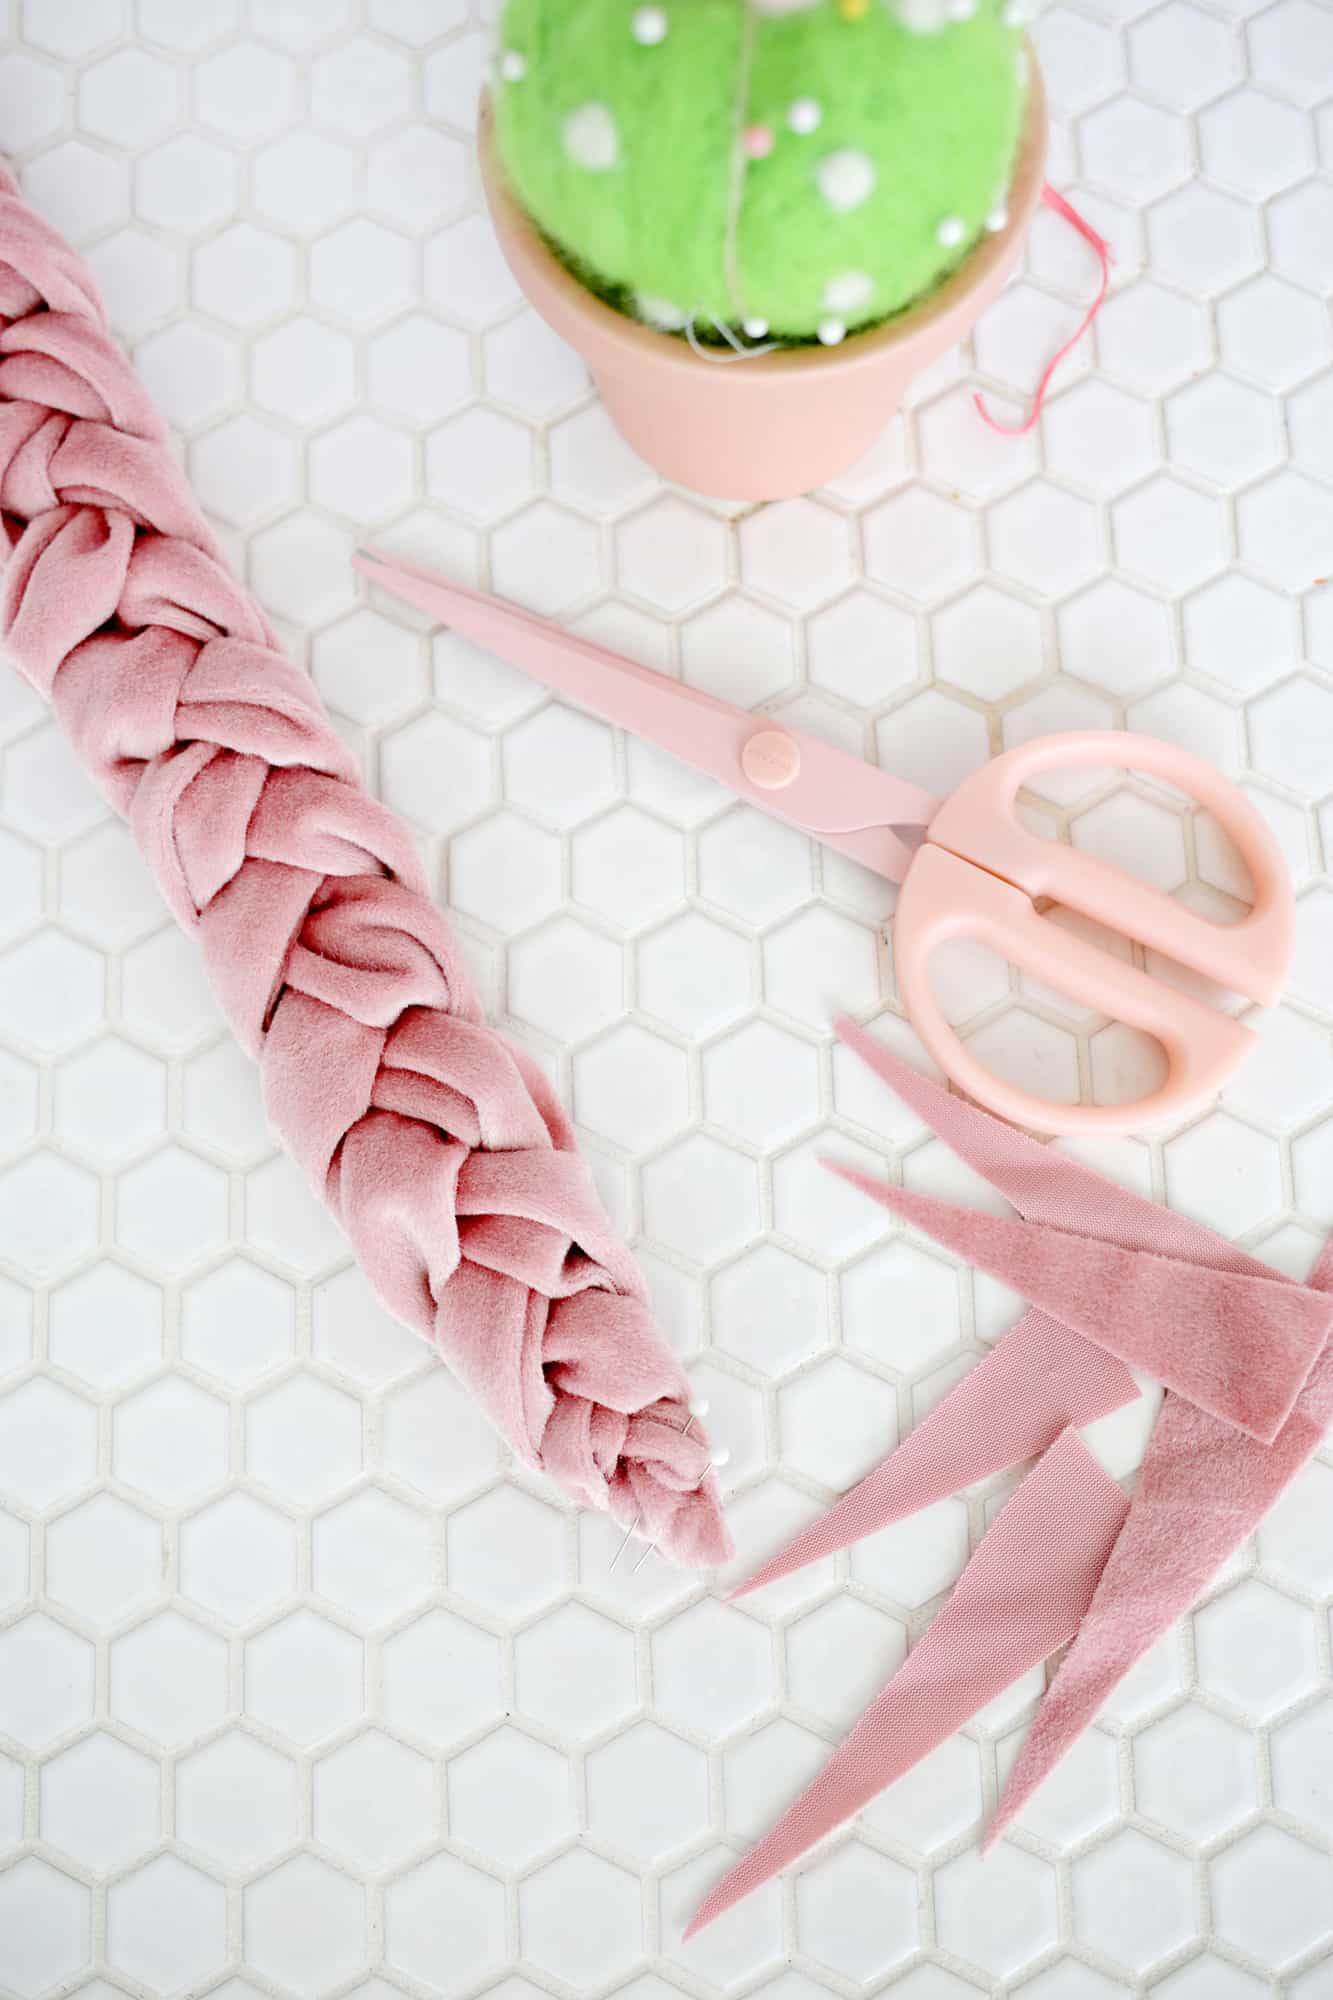 Once you remove as much bulk as you want, rebraid and pin your ends together, then use a hot glue gun to glue the ends together.
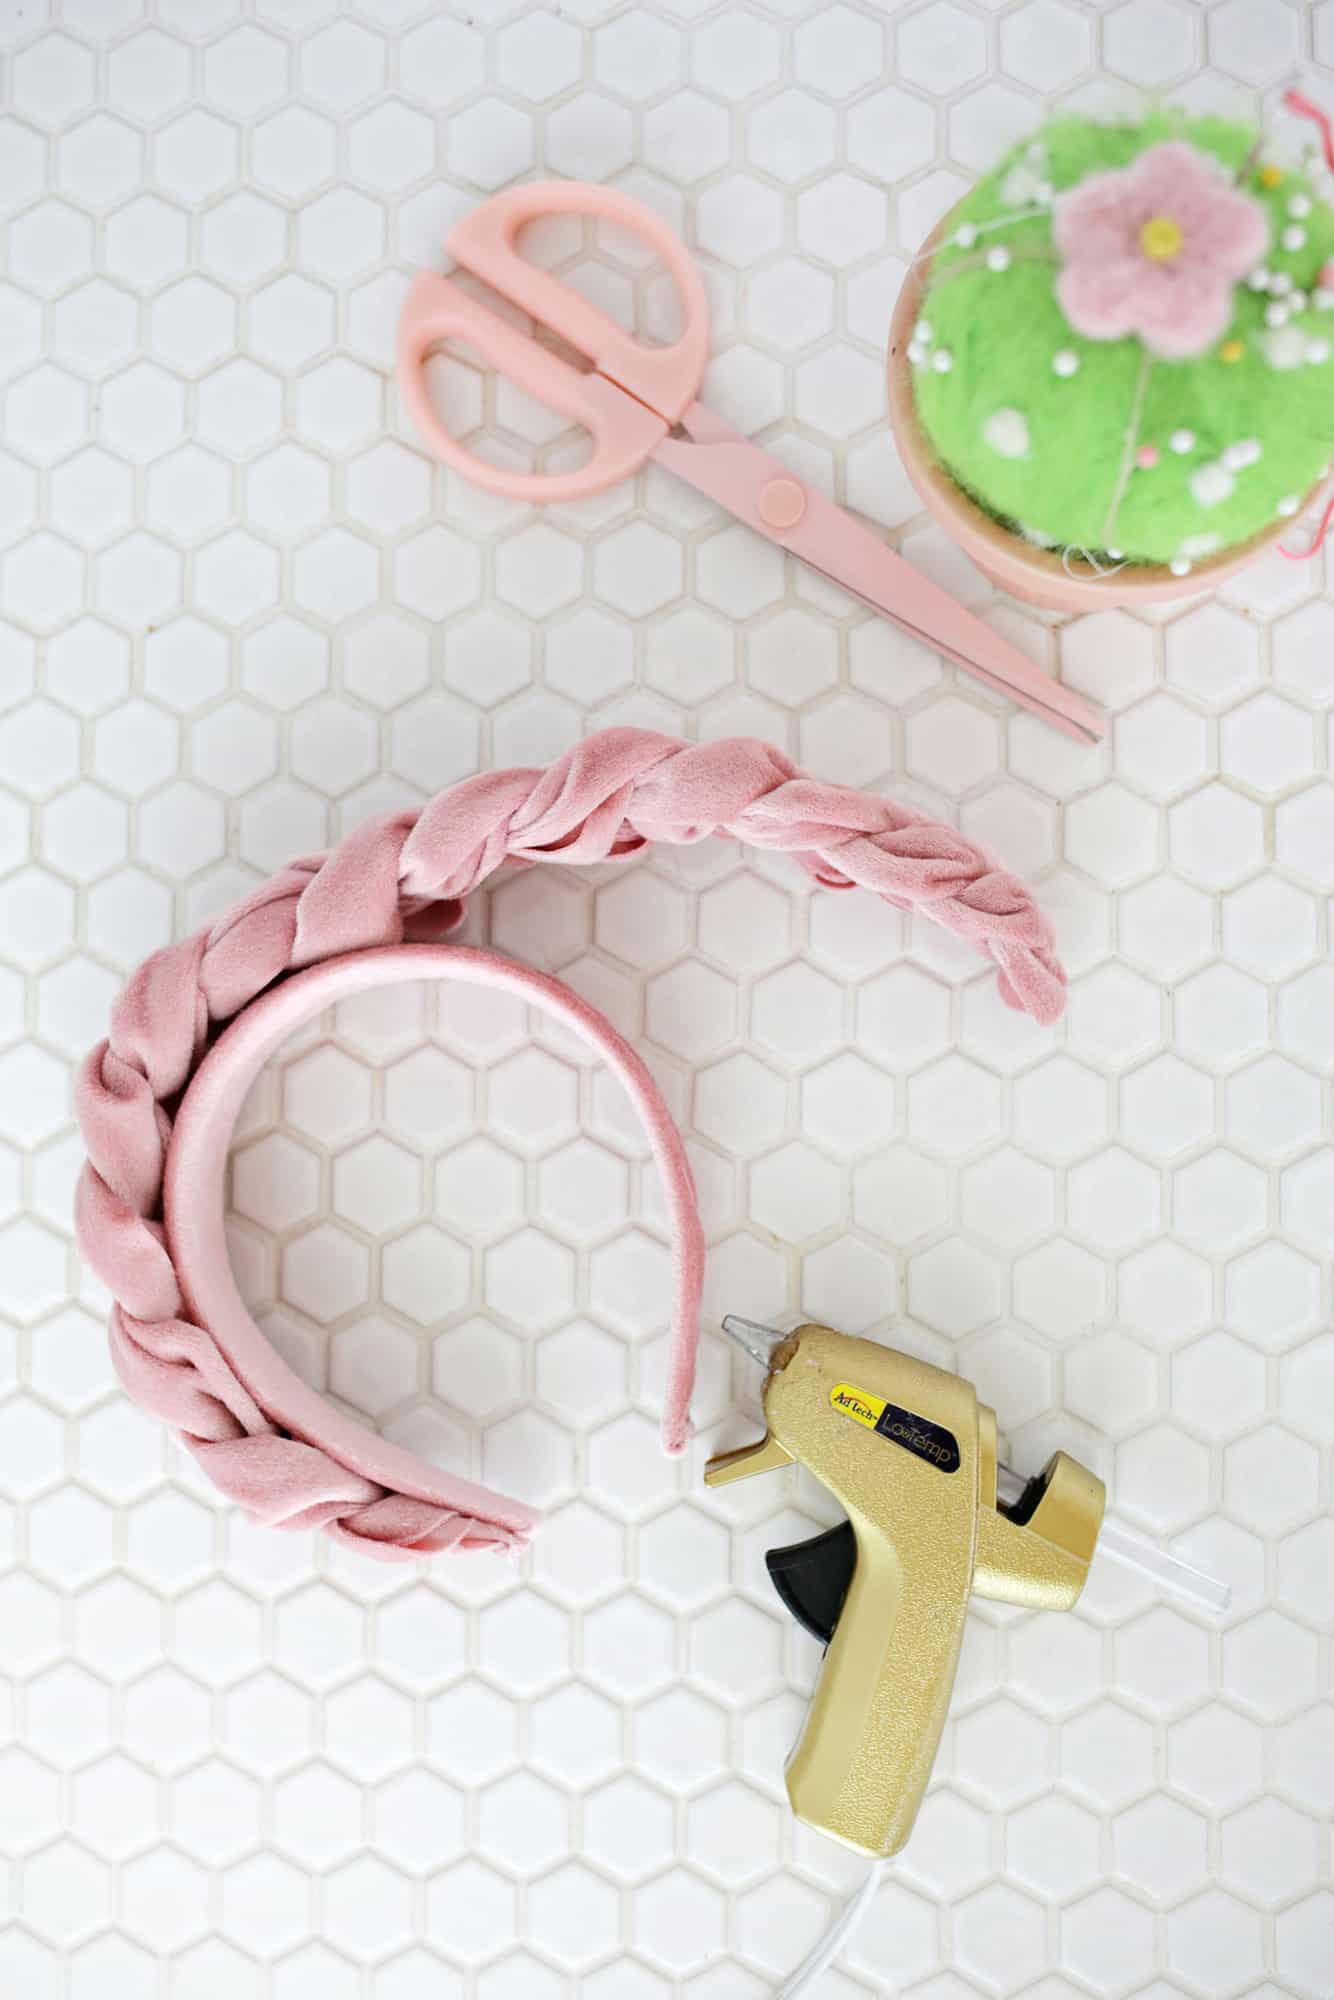
Now that your braid is the right length and tapered, glue it to the topside of your velvet headband with a generous amount of hot glue. Take some ribbon and fold and glue the cut edges so you have a strip about 2 1/4″ long with folded edges on both sides (so the ribbon won’t unravel).
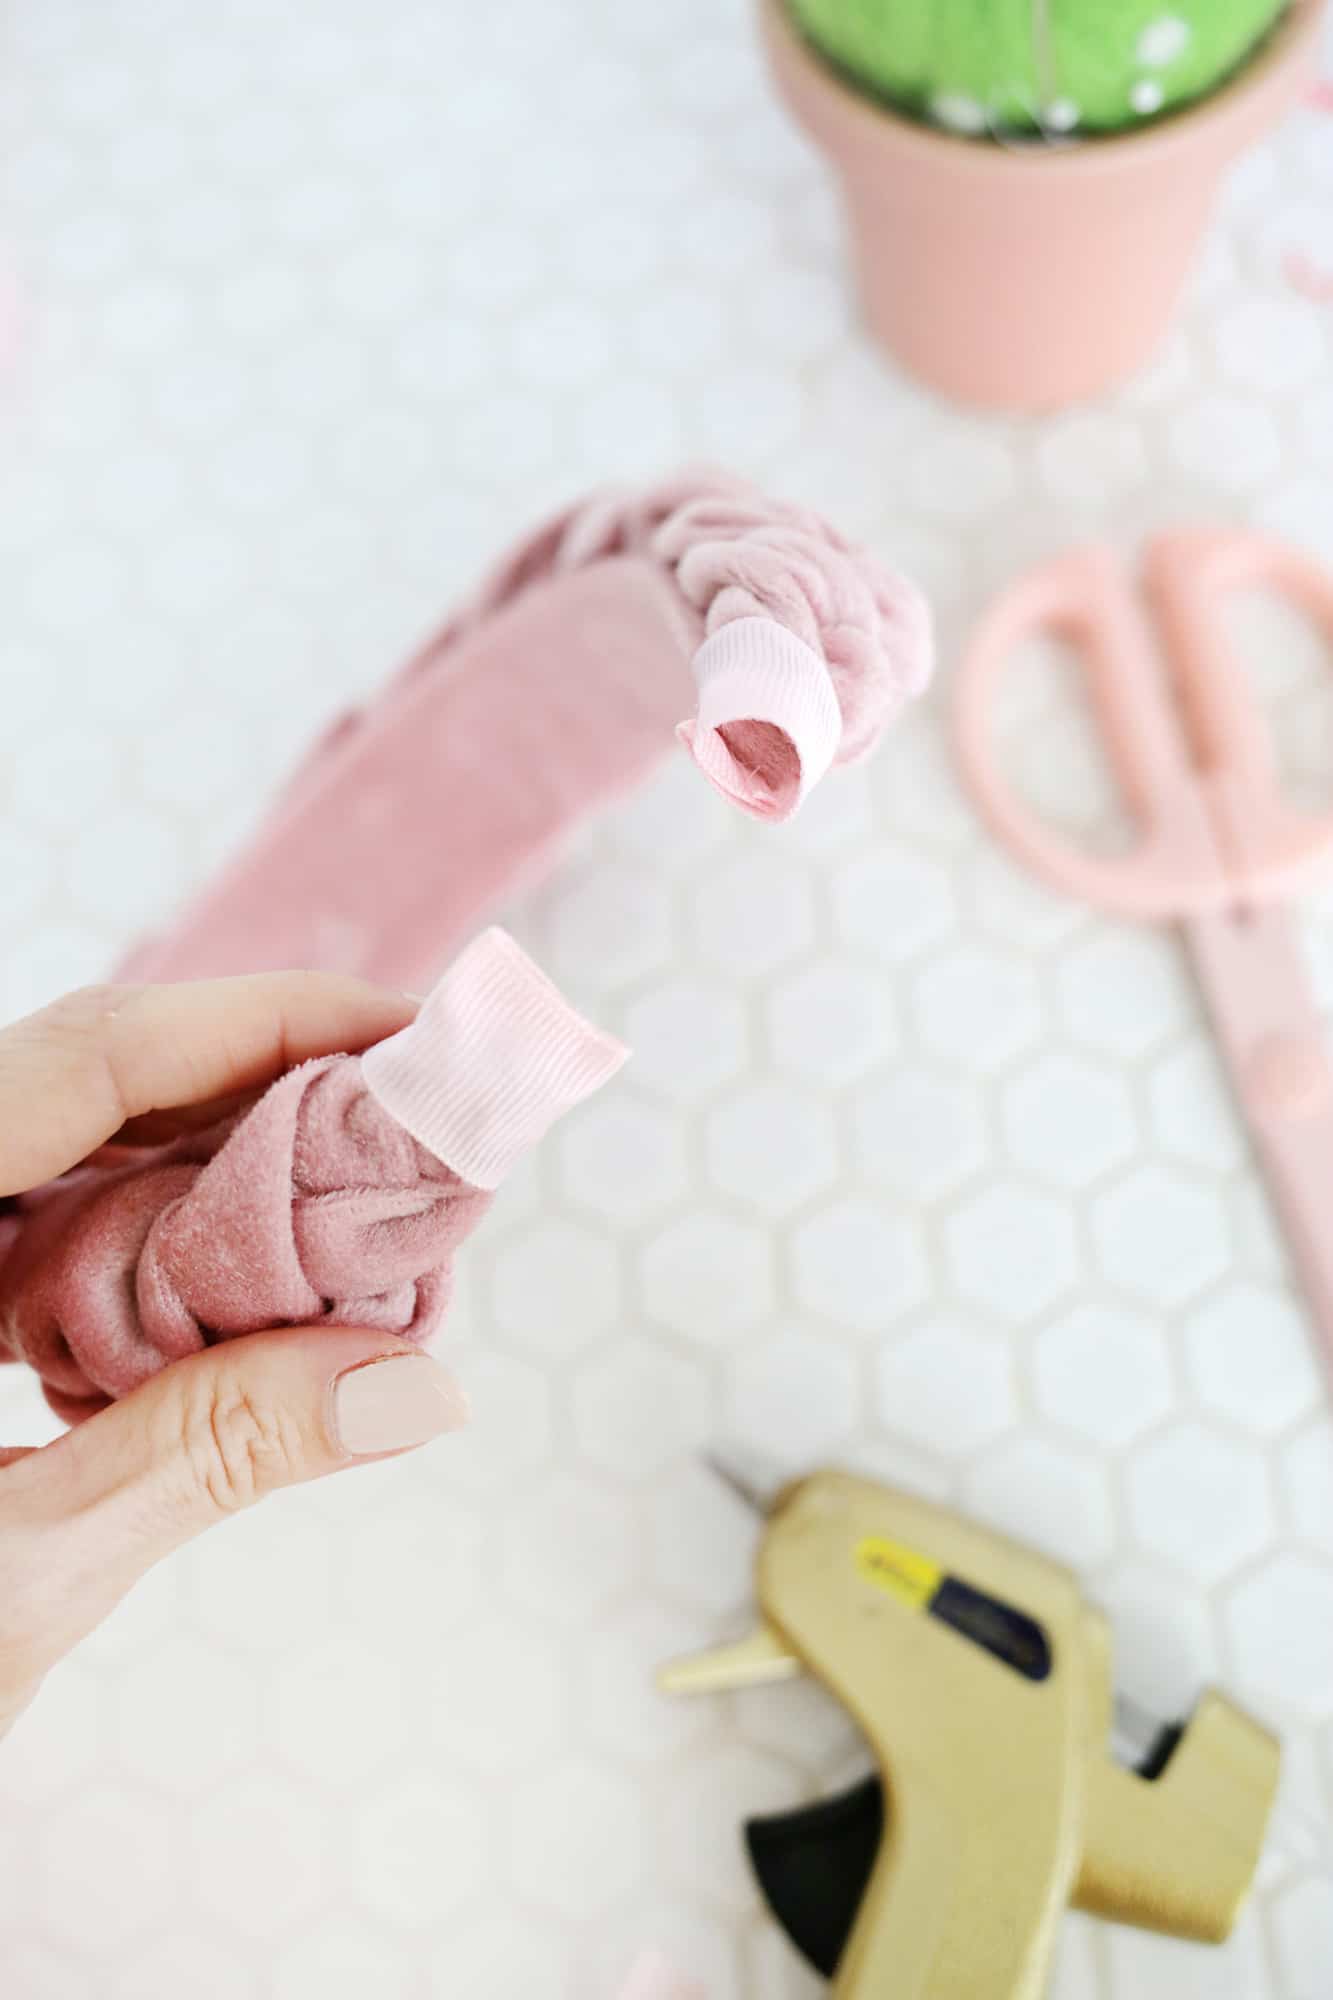
Starting on the underside of the headband, glue the start of the strip folded side down and wrap it around the end of your headband so that it overhangs the headband just a little. Wrap it around and glue it in place on the underside.
Use some glue in the overhang opening of the ribbon and pinch that opening shut while the glue sets to finish off the ends. Once your glue has set, your headband is ready to wear!
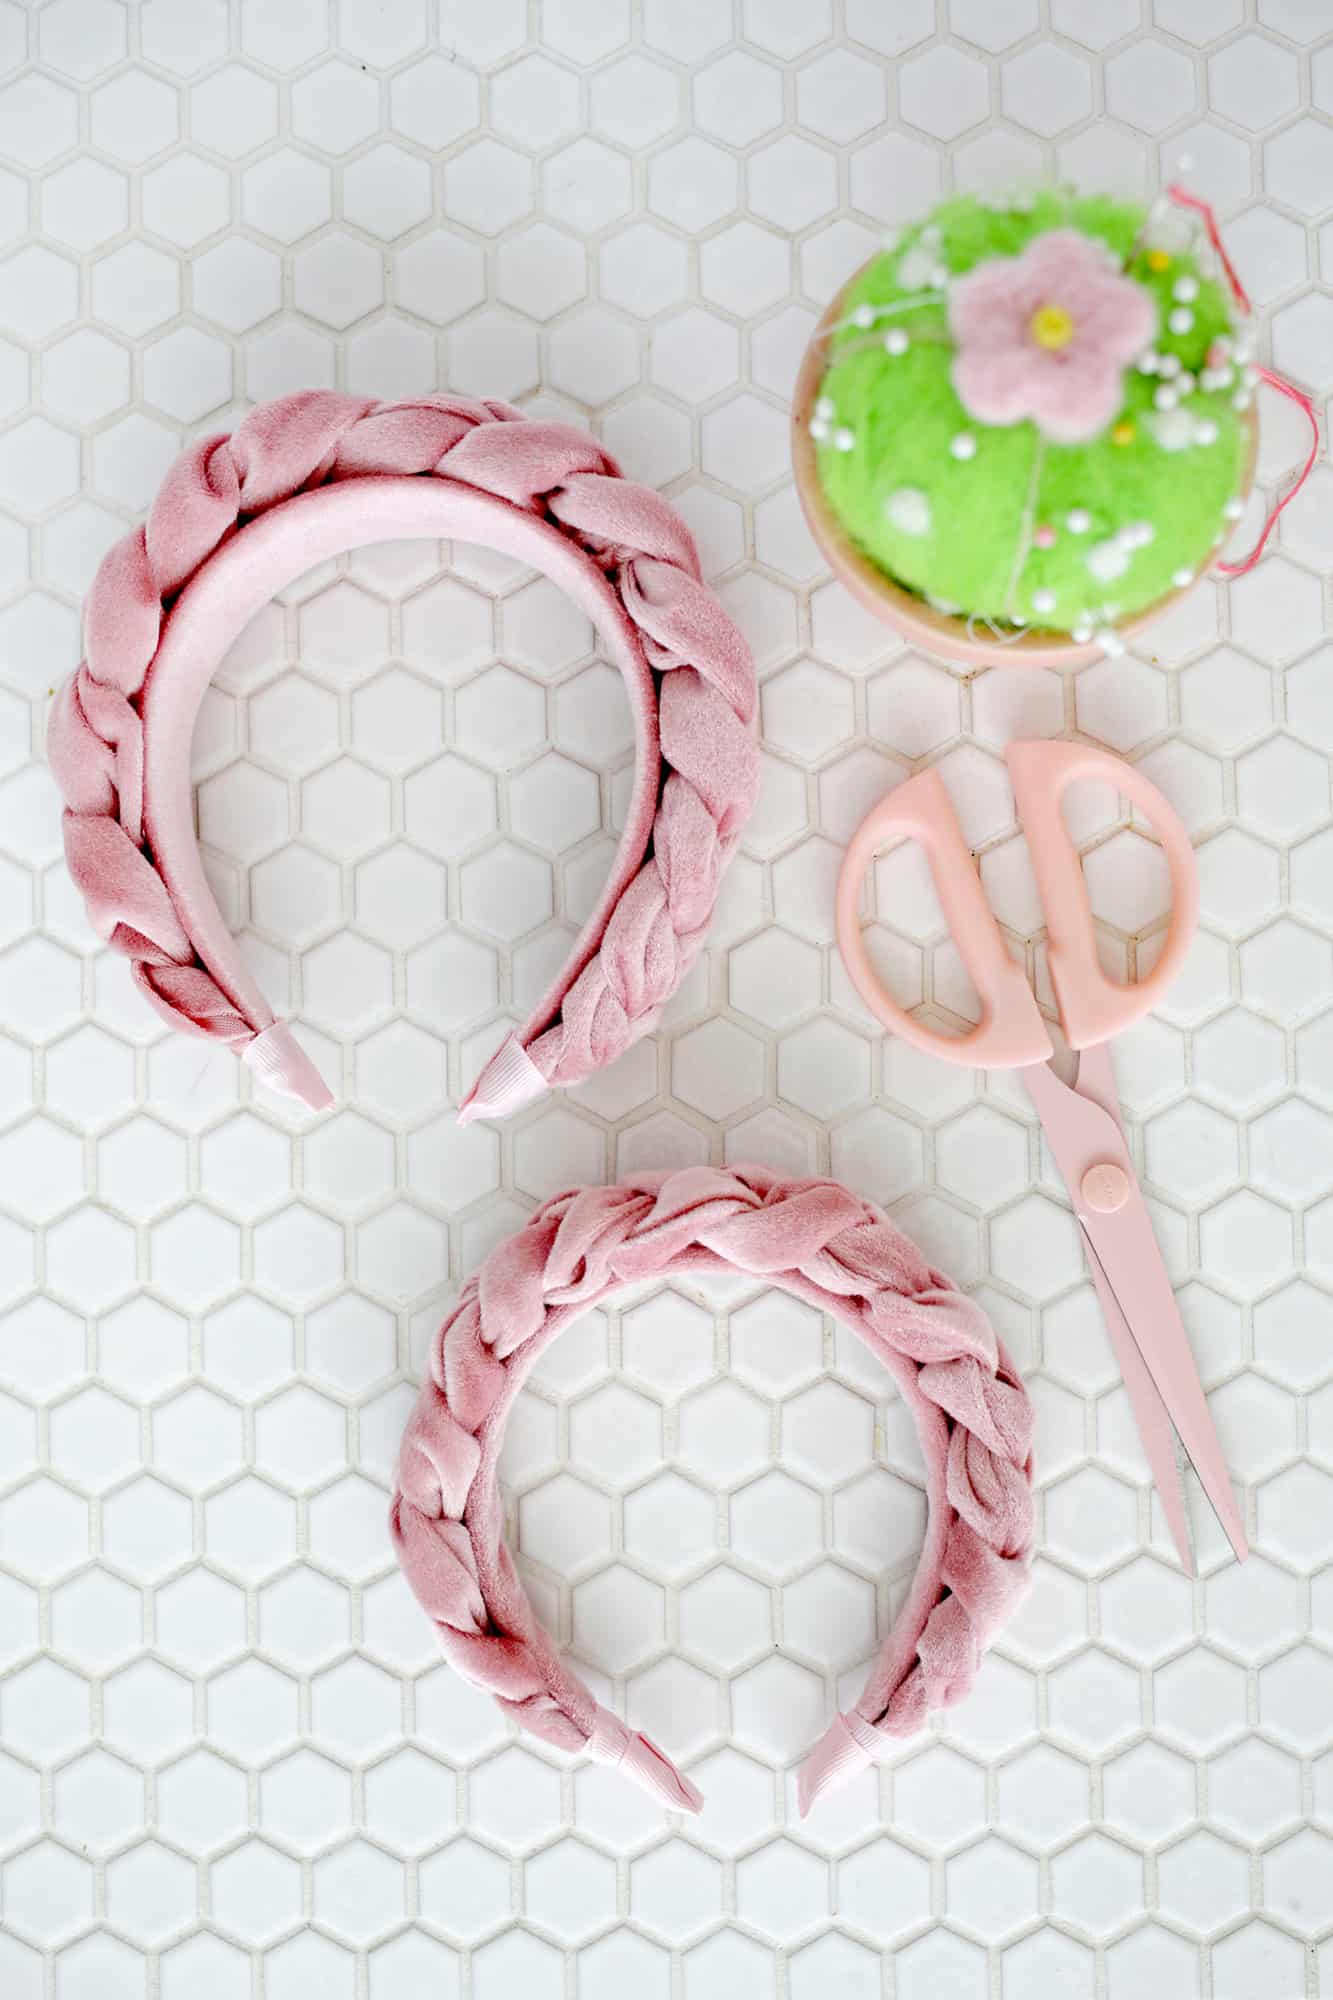
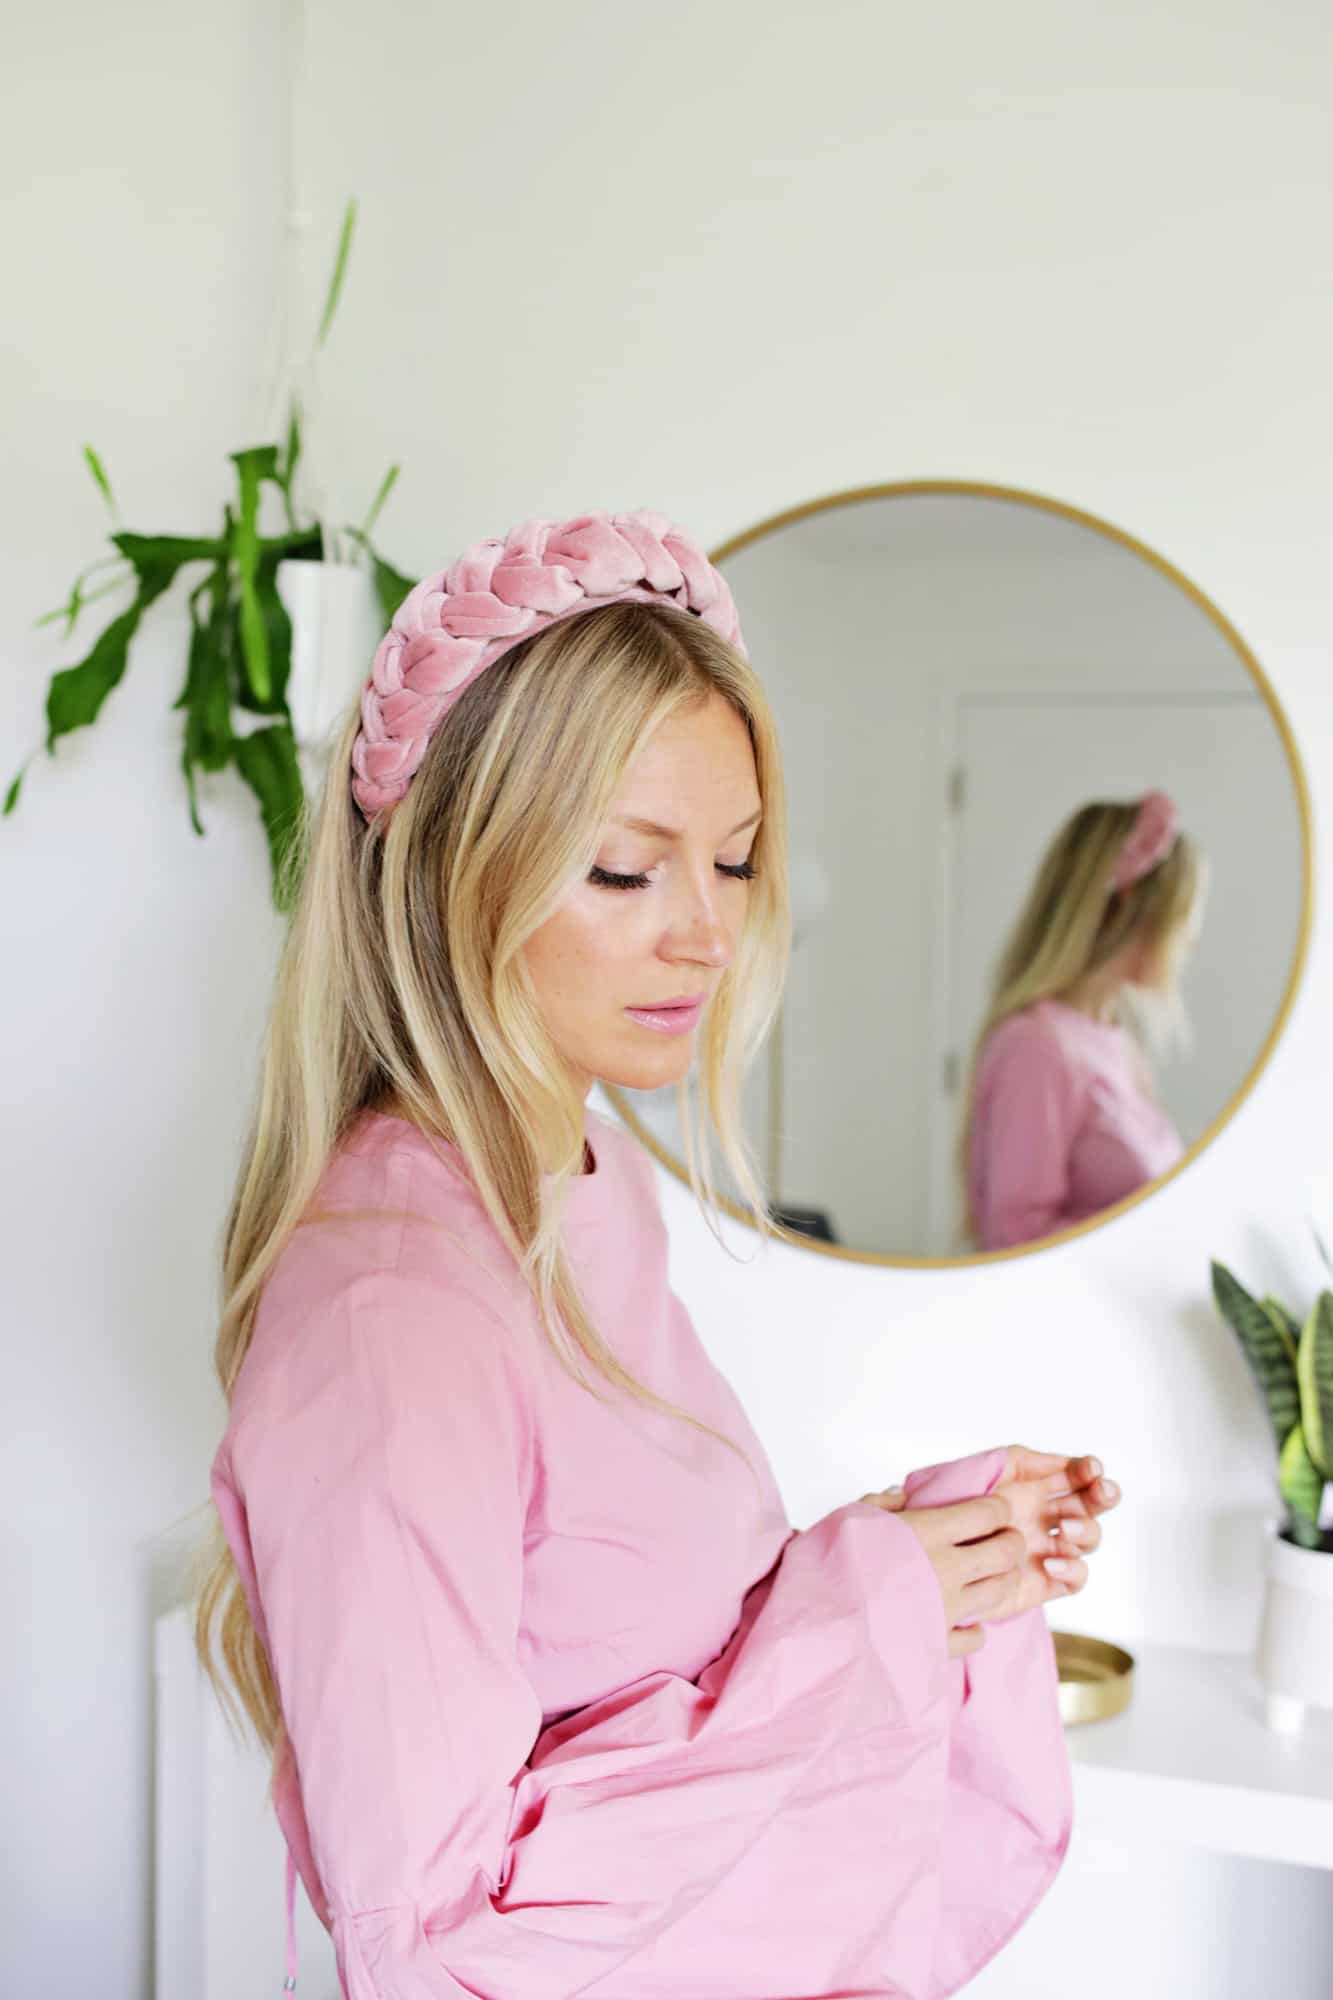

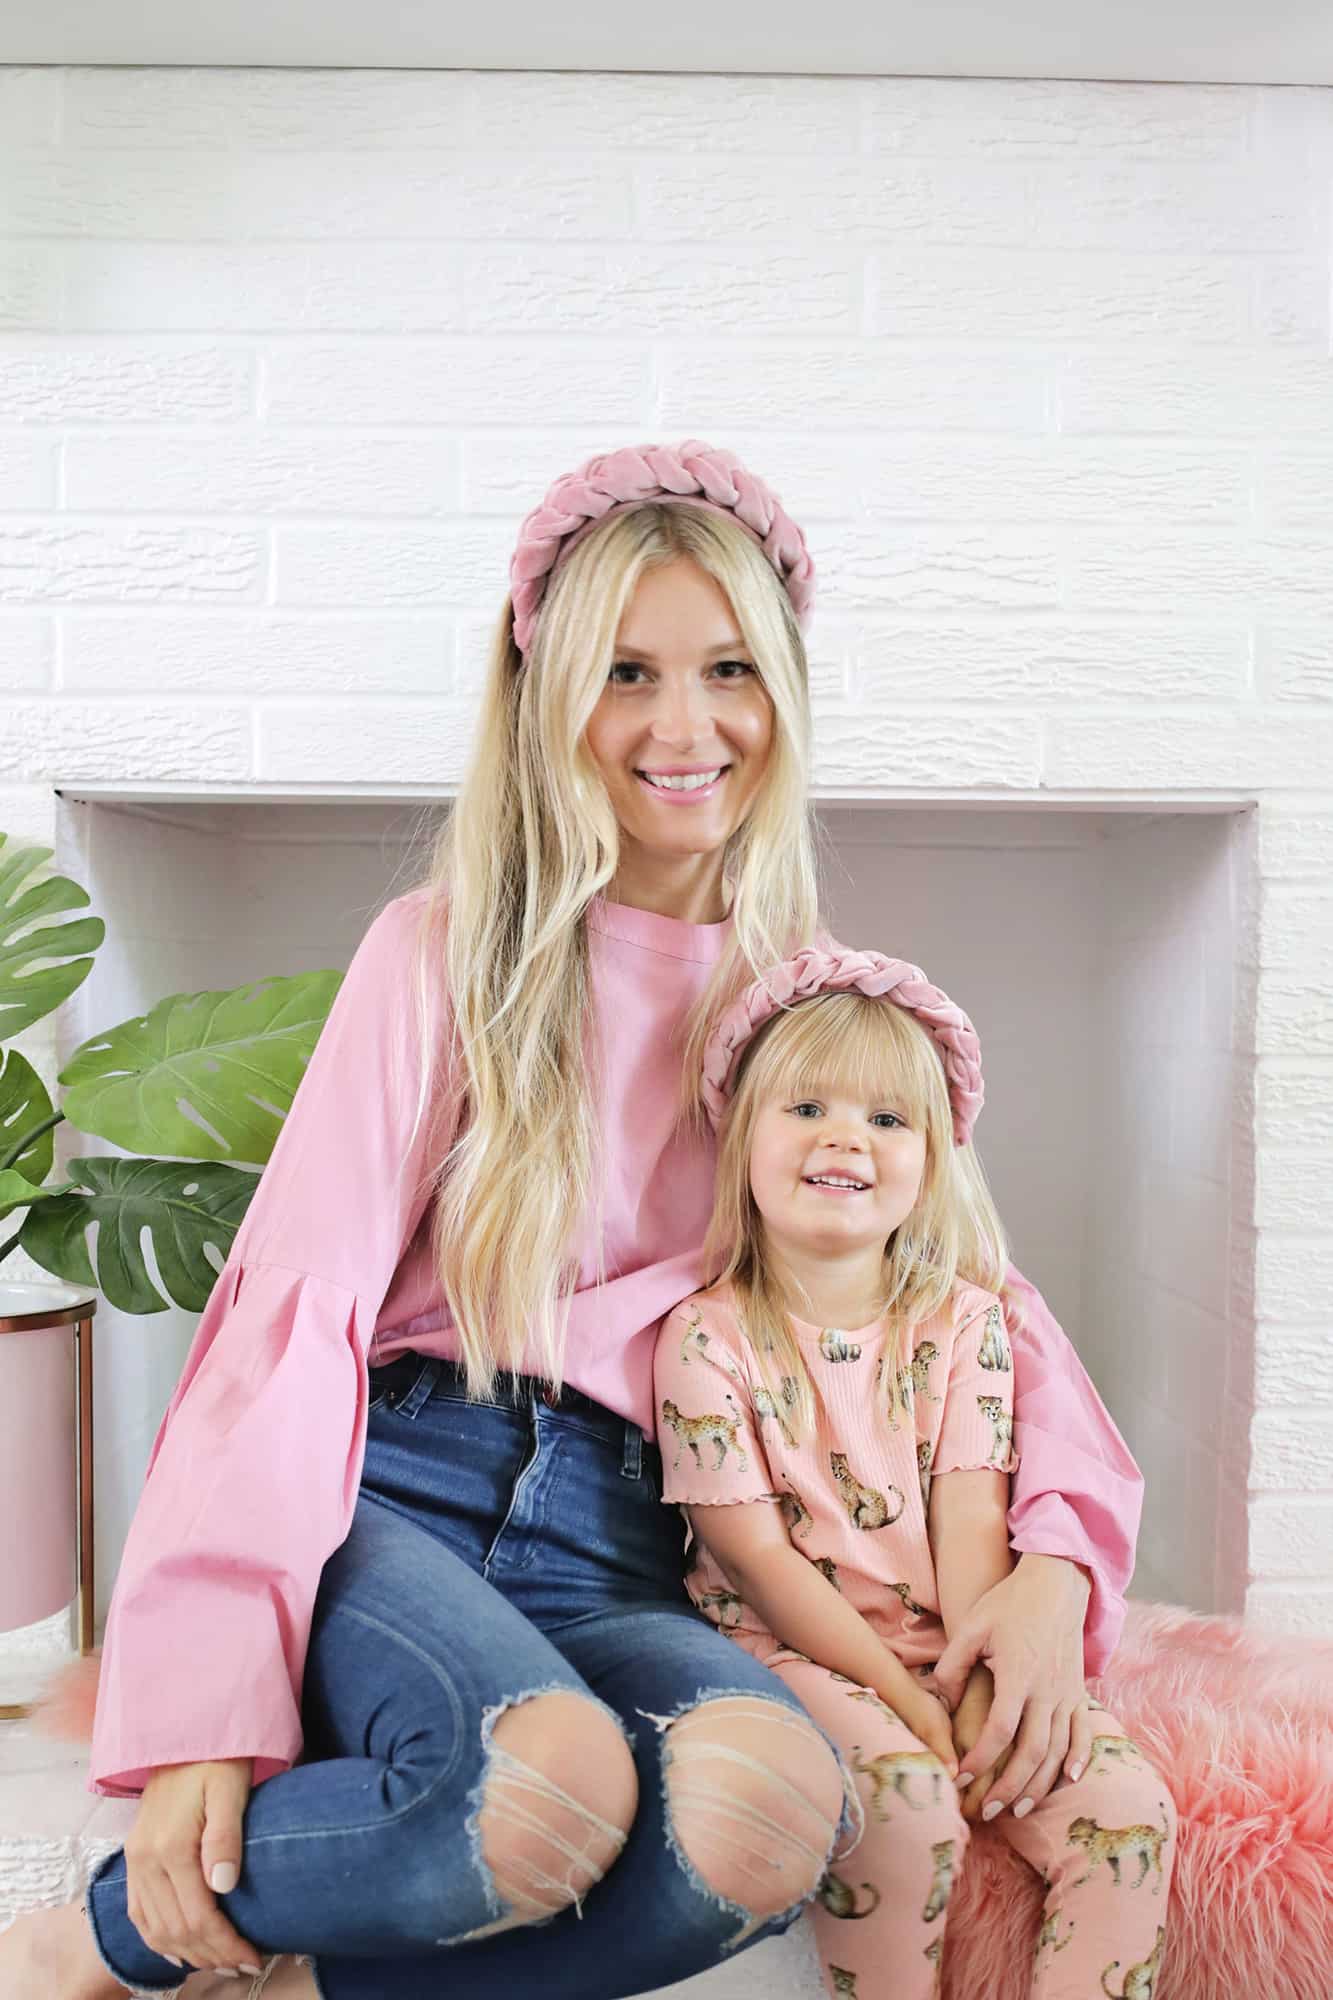 SO cute! You can either make the thinner version for a kiddo to match with like I did, or make it for yourself if you just want a look that’s a little less dramatic.
Either way, this is a super easy way to create a pretty look for any occasion and I realized that if you make this in a color similar to your own hair color, it will look like you have an awesome headband braid braided into your hair … I think I’m going to make another one in a tan color for just that reason! xo. Laura

No-Sew Braided Velvet Headband
Ingredients
- 1/4 yard of velvet fabric
- fabric scissors
- rotary cutter, ruler and mat (optional)
- hot glue gun
- ribbon that matches the color of the velvet
- headbands (I used this thick one for me and this thin one for Lola)
- straight pins
Instructions
- For the first step, you’ll want to cover your headband with some velvet so it matches seamlessly with your braid on top. Cut a band of velvet as long as your headband and as wide as the circumference of the widest part of your headband. Place your headband in the middle of the velvet so it’s covering the underside and use your hot glue to glue the velvet to the length of the underside of the headband. Fold up the velvet on one side and cut it so it covers half of the top of your headband. Repeat the process with the other side so your underside is fully covered and you have a seam running down the middle of the top of your headband (it can overlap a little or just have the sides meet together in the middle, either way it will be covered so it doesn’t matter very much).
- For the wider headband, cut three strips of velvet that are 25″ long and 4″ wide (and for the smaller headband cut them 25″ long and 3″ wide). Fold your strips in half lengthwise and stack the three strips on top of each other so you can braid them together. Use a straight pin to keep the three strips together and set something heavy on that end so you can braid the tails (you could set it under a couch leg or something while you braid or get someone else to hold it for you). You’ll want to twist the strands so that the cut side of the fabric stays on the bottom side at all times, so just keep checking that your cut ends are hidden and twist/rotate the fabric as needed to make that happen.
- Once your braid is complete, place it against your headband to check the length and trim it if it’s longer than your headband length. Once you have a good length, you can unbraid the last 3″ of each end to gradually cut some of the fabric strip width off of the ends of the tails (as you see above in the photo). That will make the ends less bulky and tapered a bit as the braid ends on each side.
- Once you remove as much bulk as you want, rebraid and pin your ends together then use a hot glue gun to glue the ends together.
- Now that your braid is the right length and tapered, glue it to the topside of your velvet headband with a generous amount of hot glue.
- Take some ribbon and fold and glue the cut edges so you have a strip about 2 1/4″ long with folded edges on both sides (so the ribbon won’t unravel).
- Starting on the underside of the headband, glue the start of the strip folded side down and wrap it around the end of your headband so that it overhangs the headband just a little. Wrap it around and glue it in place on the underside. Use some glue in the overhang opening of the ribbon and pinch that opening shut while the glue sets to finish off the ends. Once your glue has set, your headband is ready to wear!
]]>
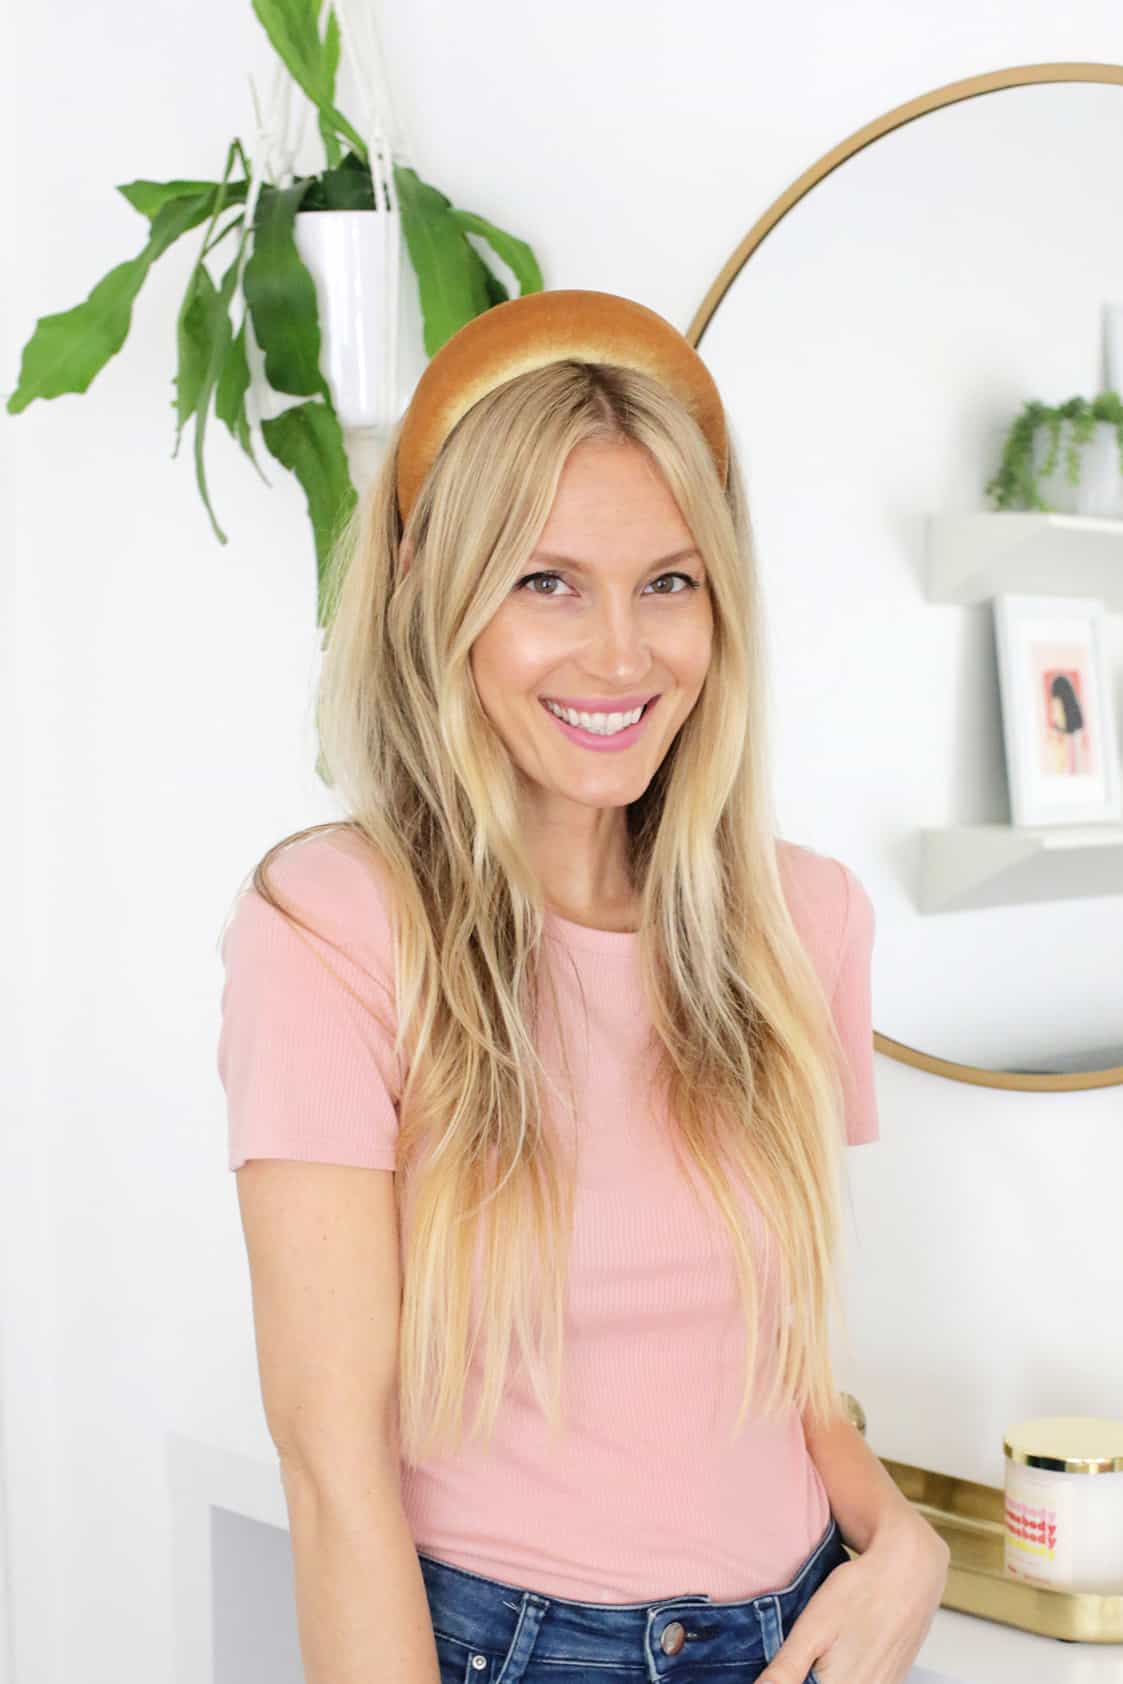 Have you gotten on board with the padded headband trend yet? Padded headbands are super versatile (as it’s something you can wear with a casual tee and jeans) or use to make a statement with a dressier outfit as well!
You may think these aren’t something you can DIY easily, but you’re wrong! Here’s how to make your own!
Related: 25+ Easy Hair Tutorials For Any Occasion
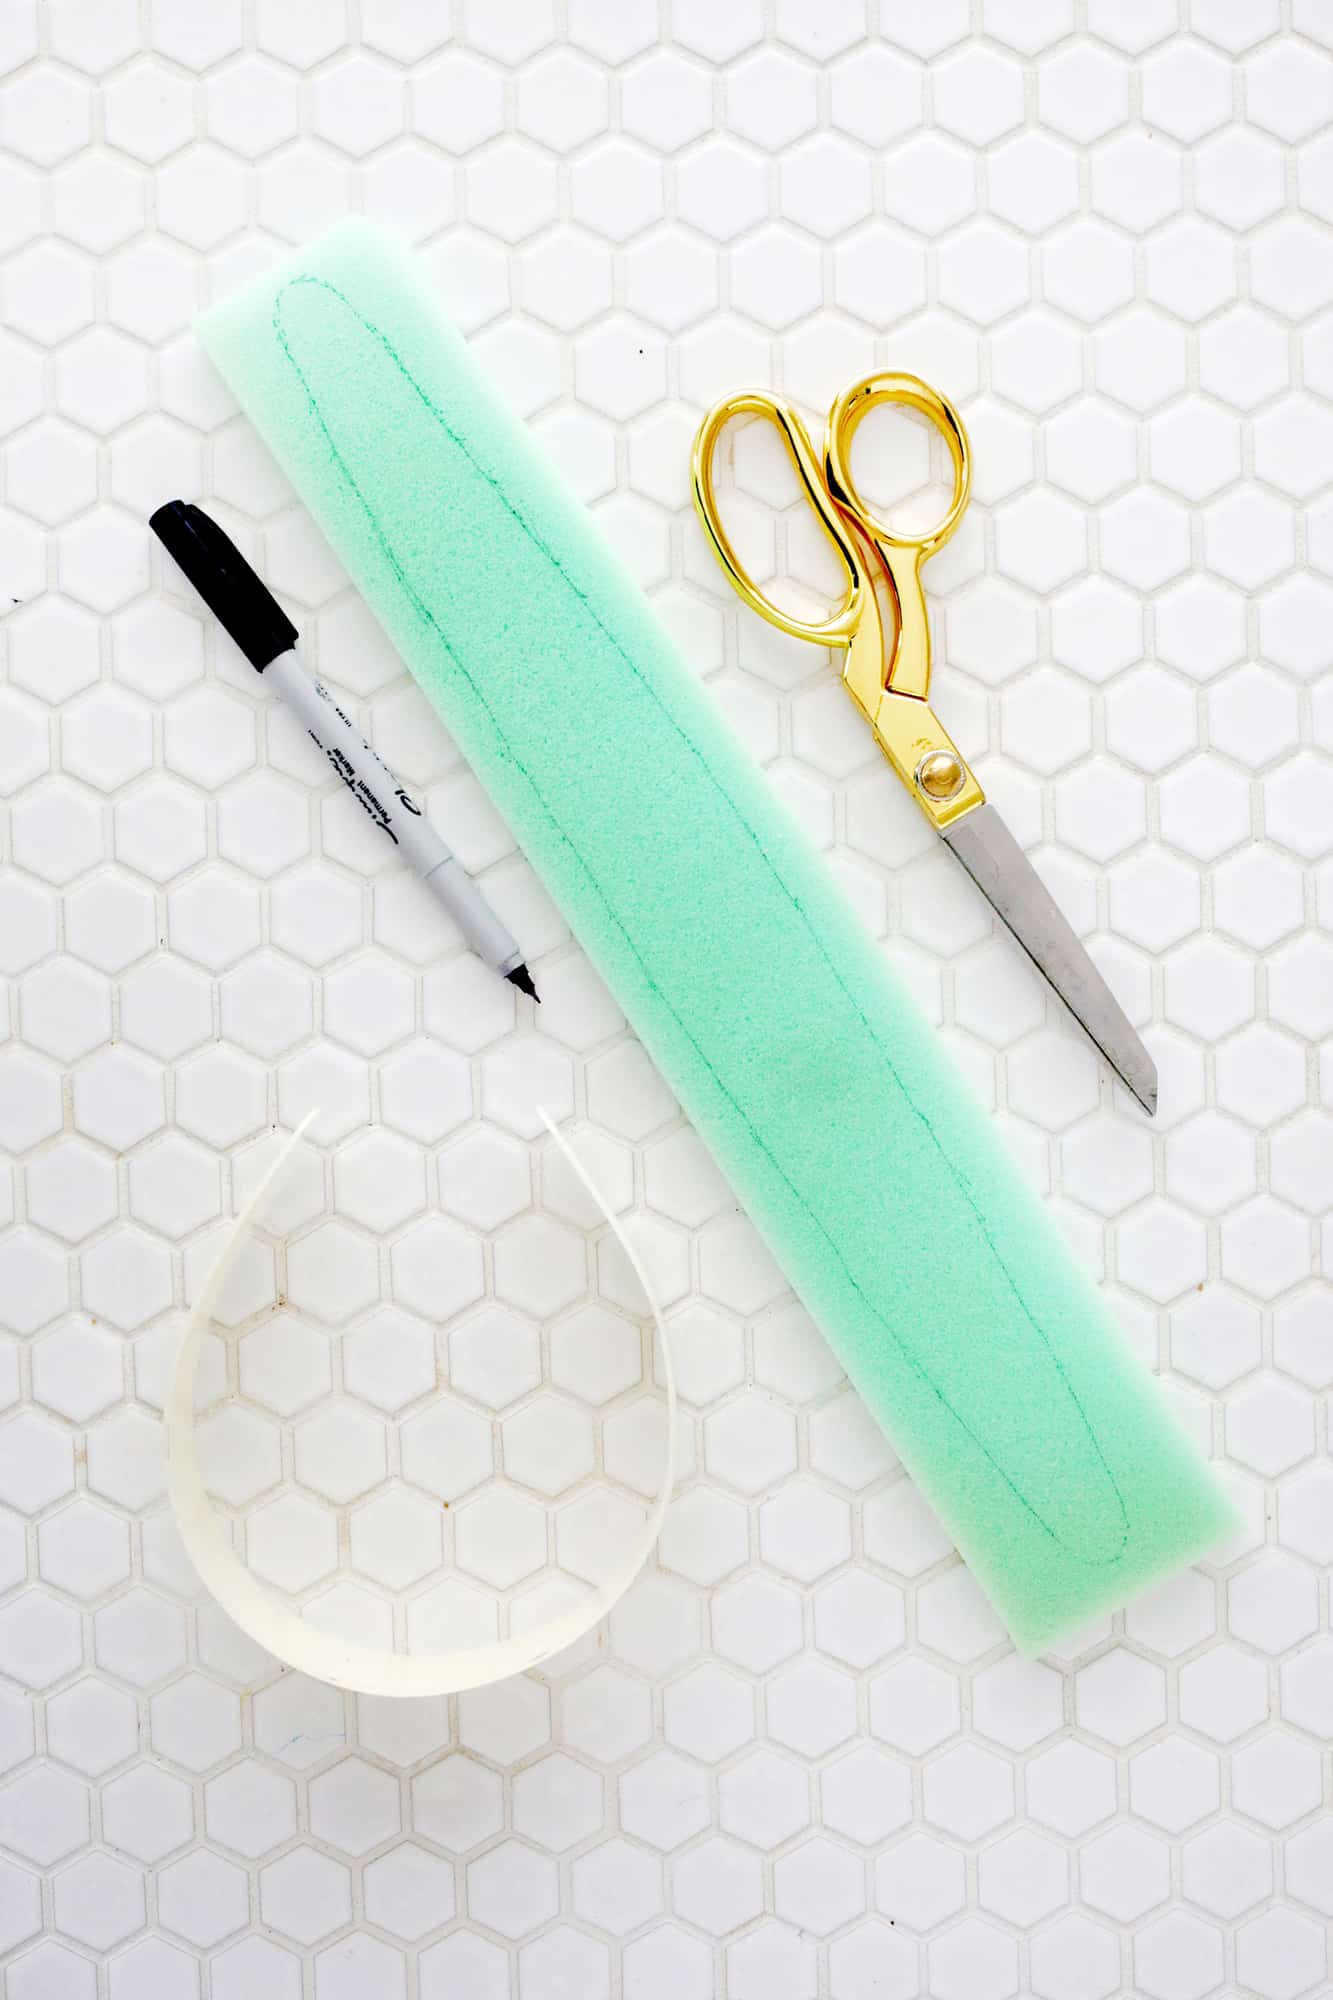
Supplies:
-1/4 yard of fabric that has at least a little stretch to it (I used this gold velvet)
–1/2″ upholstery foam
-scrap paper for template
–1 1/2″ plastic headband
-fabric scissors and straight pins
-sewing machine
-hot glue gun
First, you’ll want to trace your headband onto your craft foam. Use your scissors to cut out your shape.
Use your scissors to cut and shave off the last 3″ of your foam so the ends taper down to be thinner and it won’t be super thick behind your ears. It doesn’t have to be super perfect since we’ll place the cut side down, so don’t worry too much about it being a little bumpy.
If you want an extra high headband like the one I made, trace a second piece of foam from the middle 6″ section of the headband (to hive extra height at the top) and repeat the process of tapering down the ends like you did with the large piece.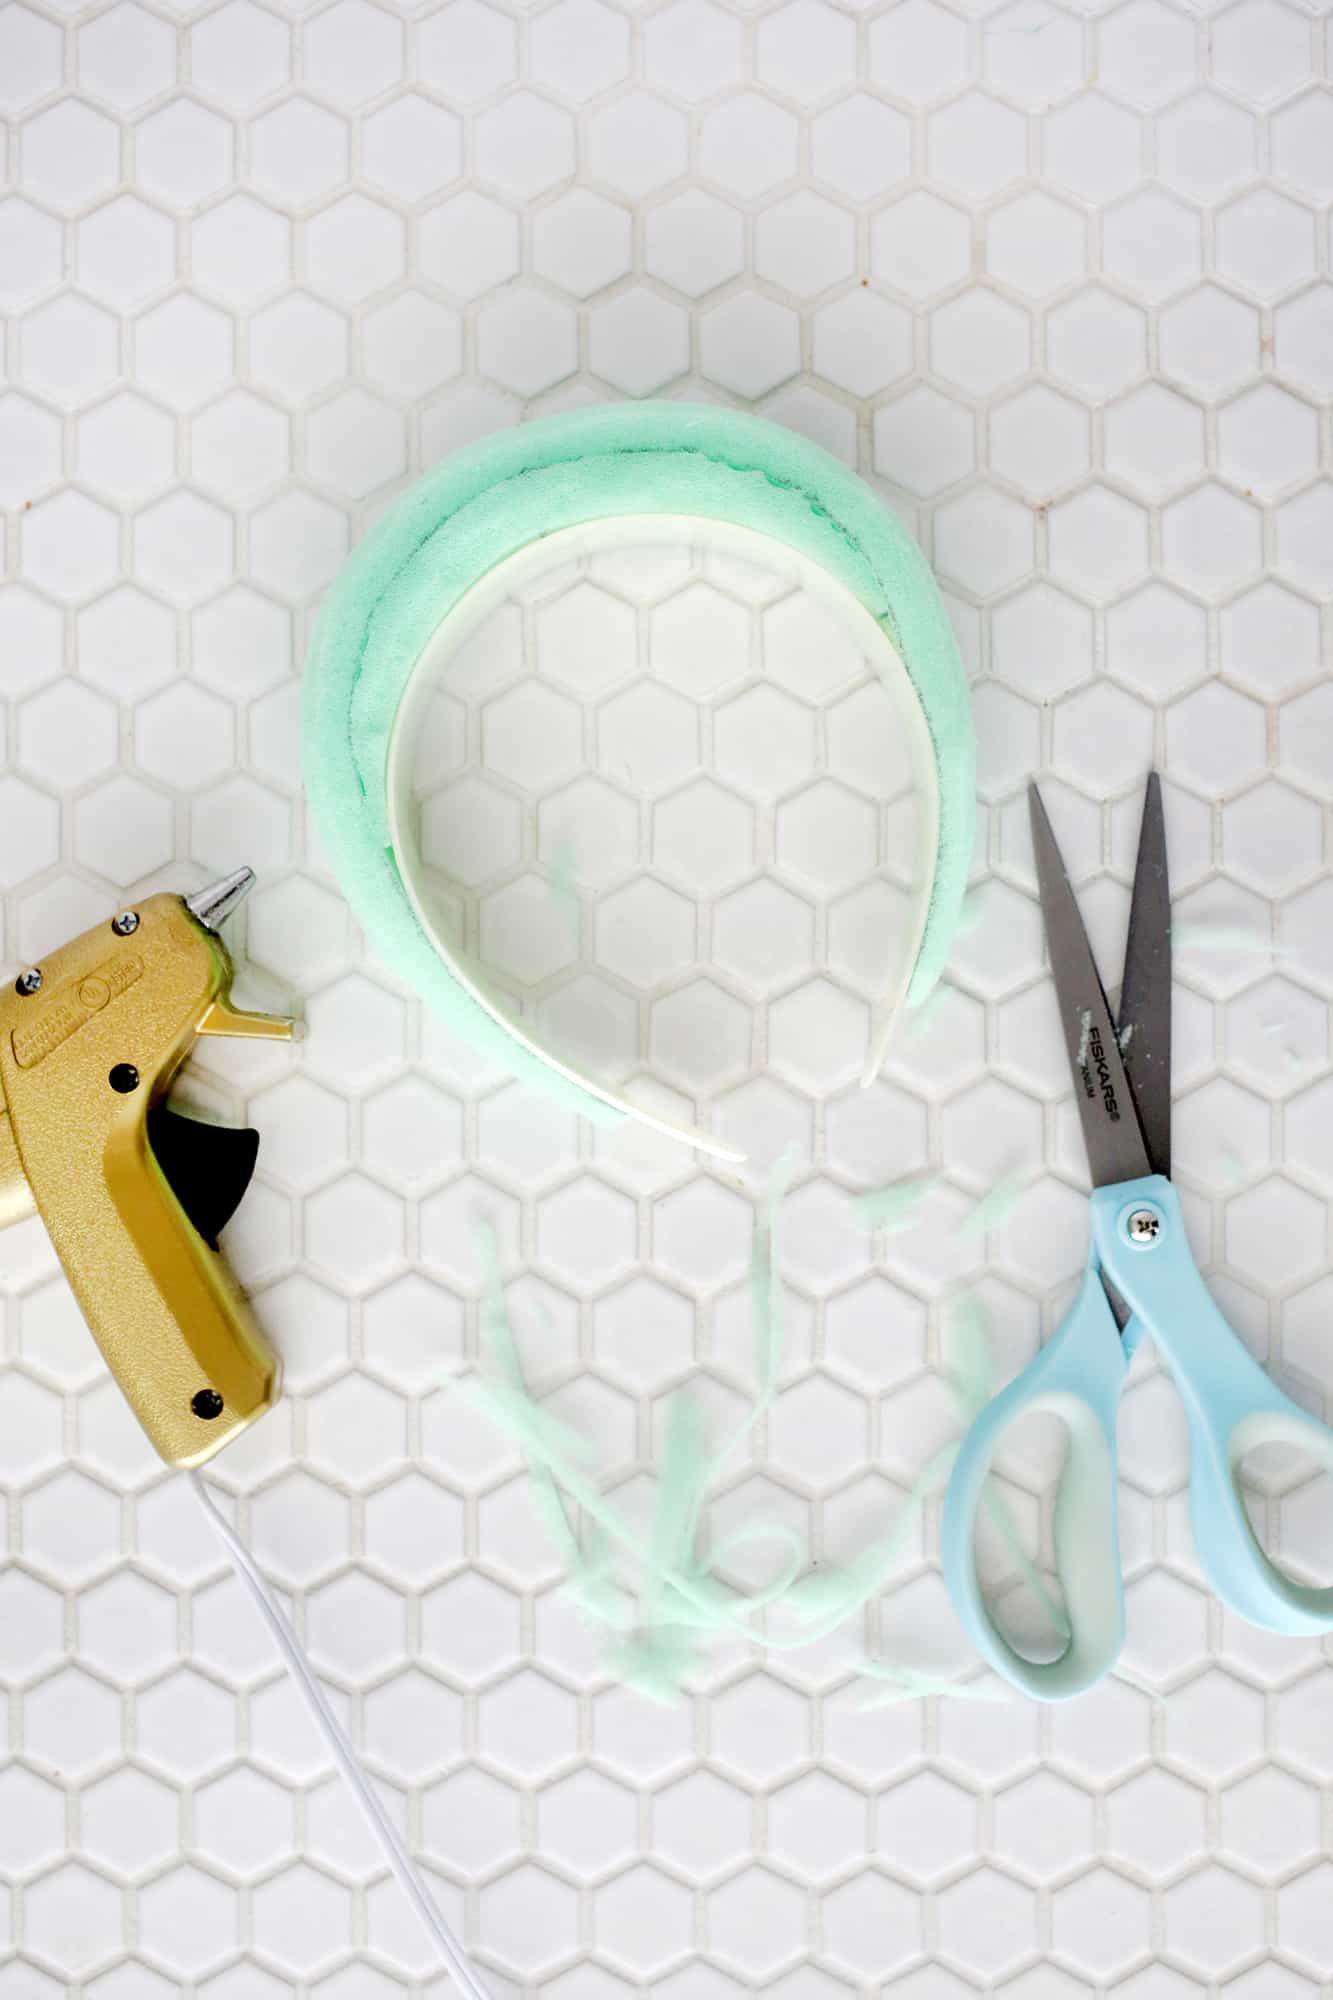
Use hot glue to attach your foam to your headband with the smaller section in the middle first (cut side down) and then the larger piece on top (cut side down as well).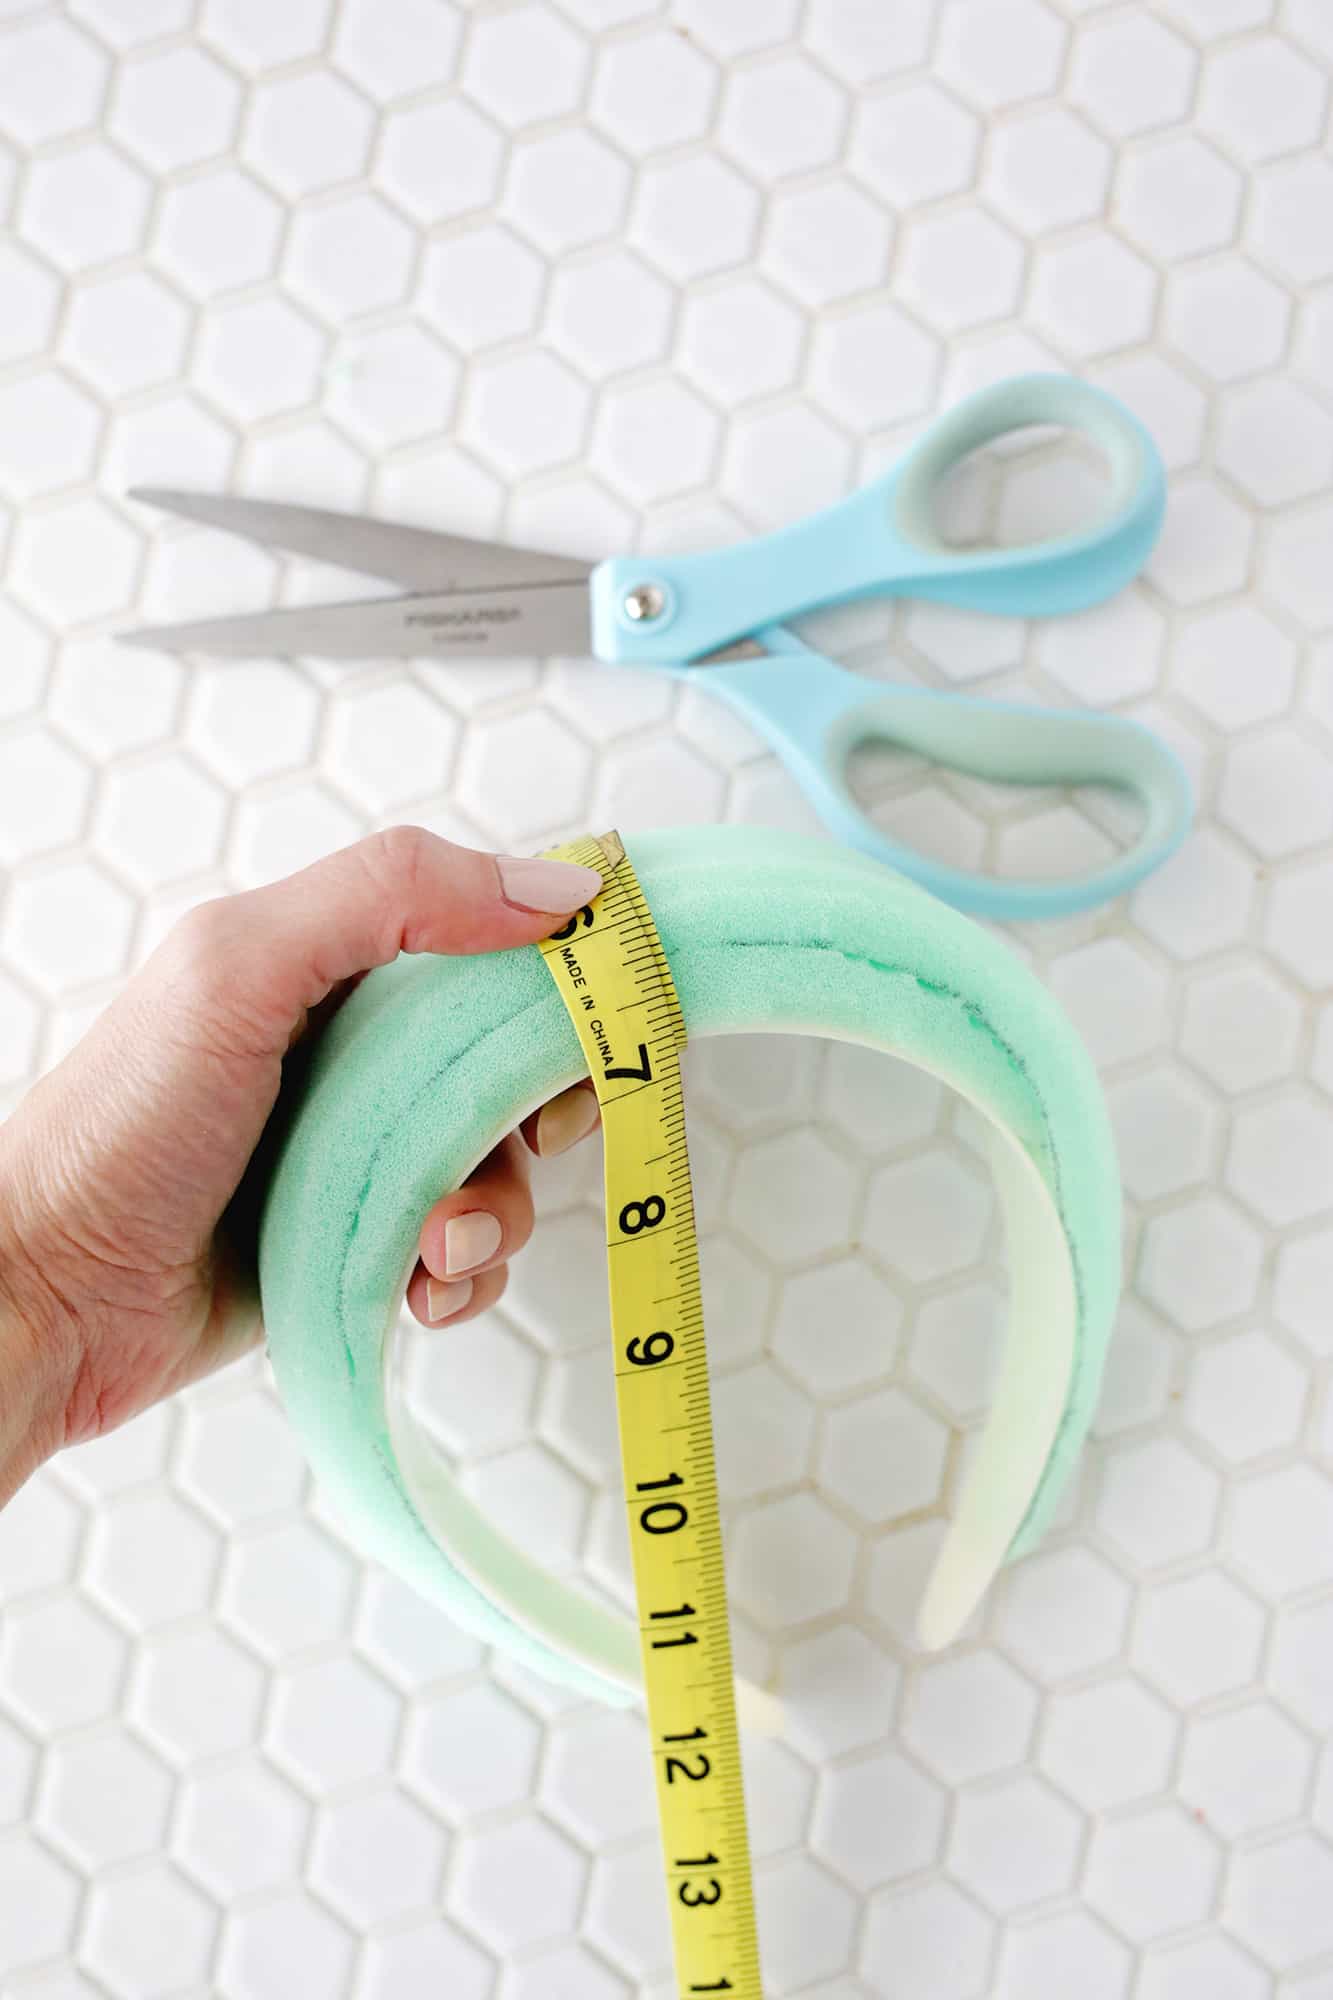
To make the template for your fabric cover, measure the thickness of the middle of your headband, the thickness of the ends of your headband, and the overall length of your headband across the top of the foam.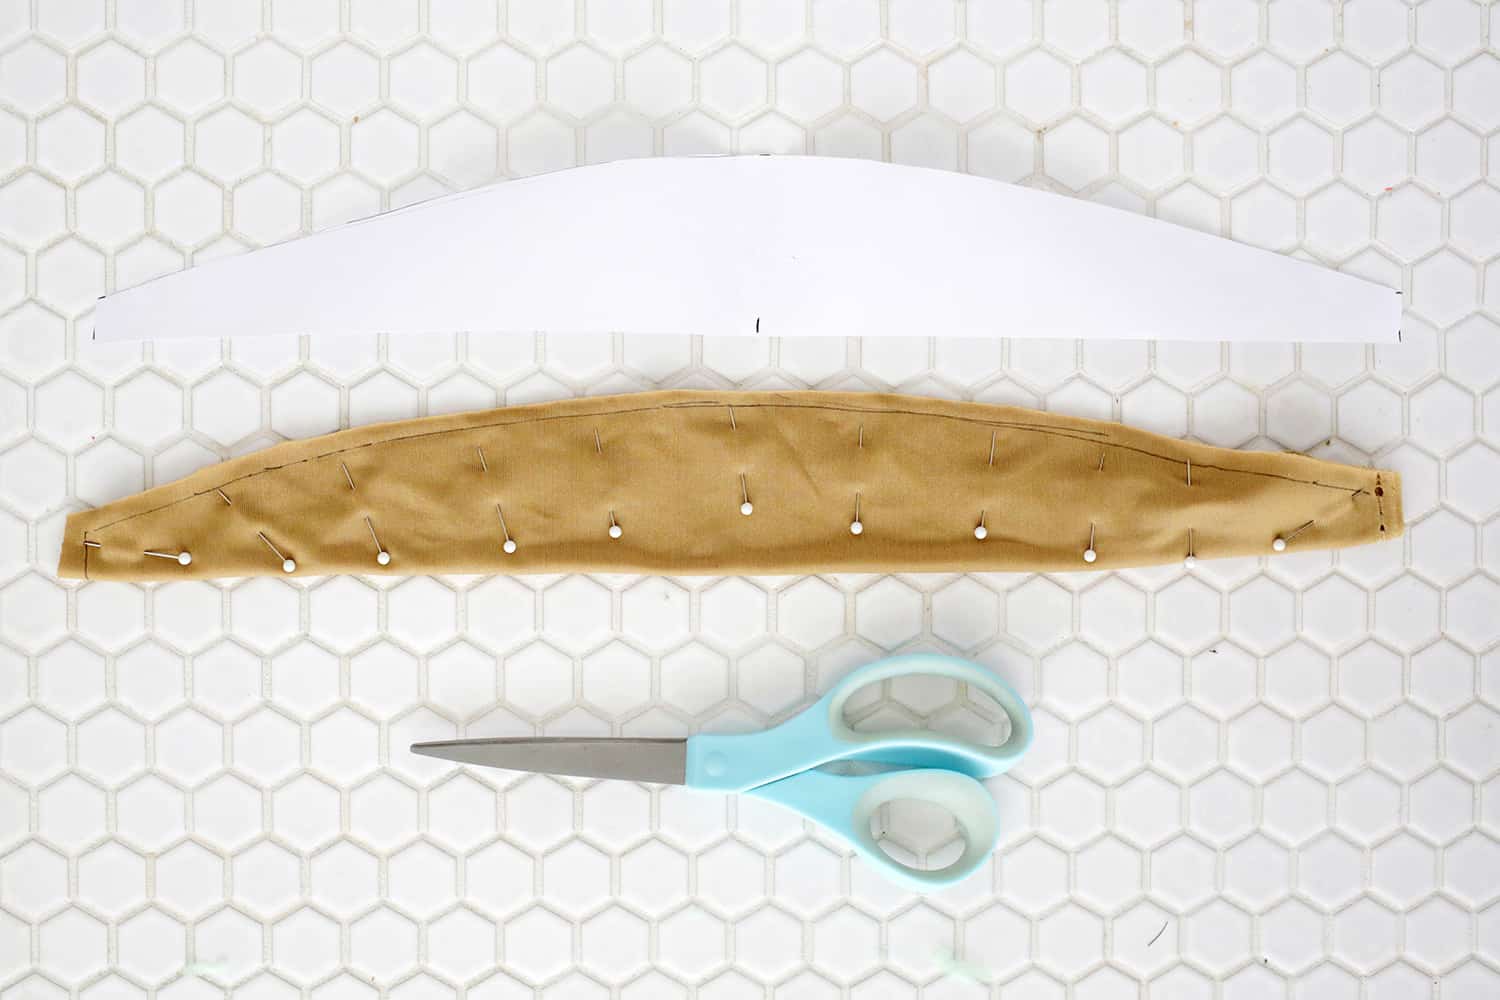
To make your paper template, mark the length of your headband, and at the middle point, go up on the paper and make a mark half the height of your middle thickness measurement. At each end, go up on the paper and make a mark half the height of your end thickness measurement. Connect the three points with a slight curve so you have a shape that looks like the one above.
Fold your fabric right side in and place your template on the fold. Cut out your fabric and pin the folded layers together.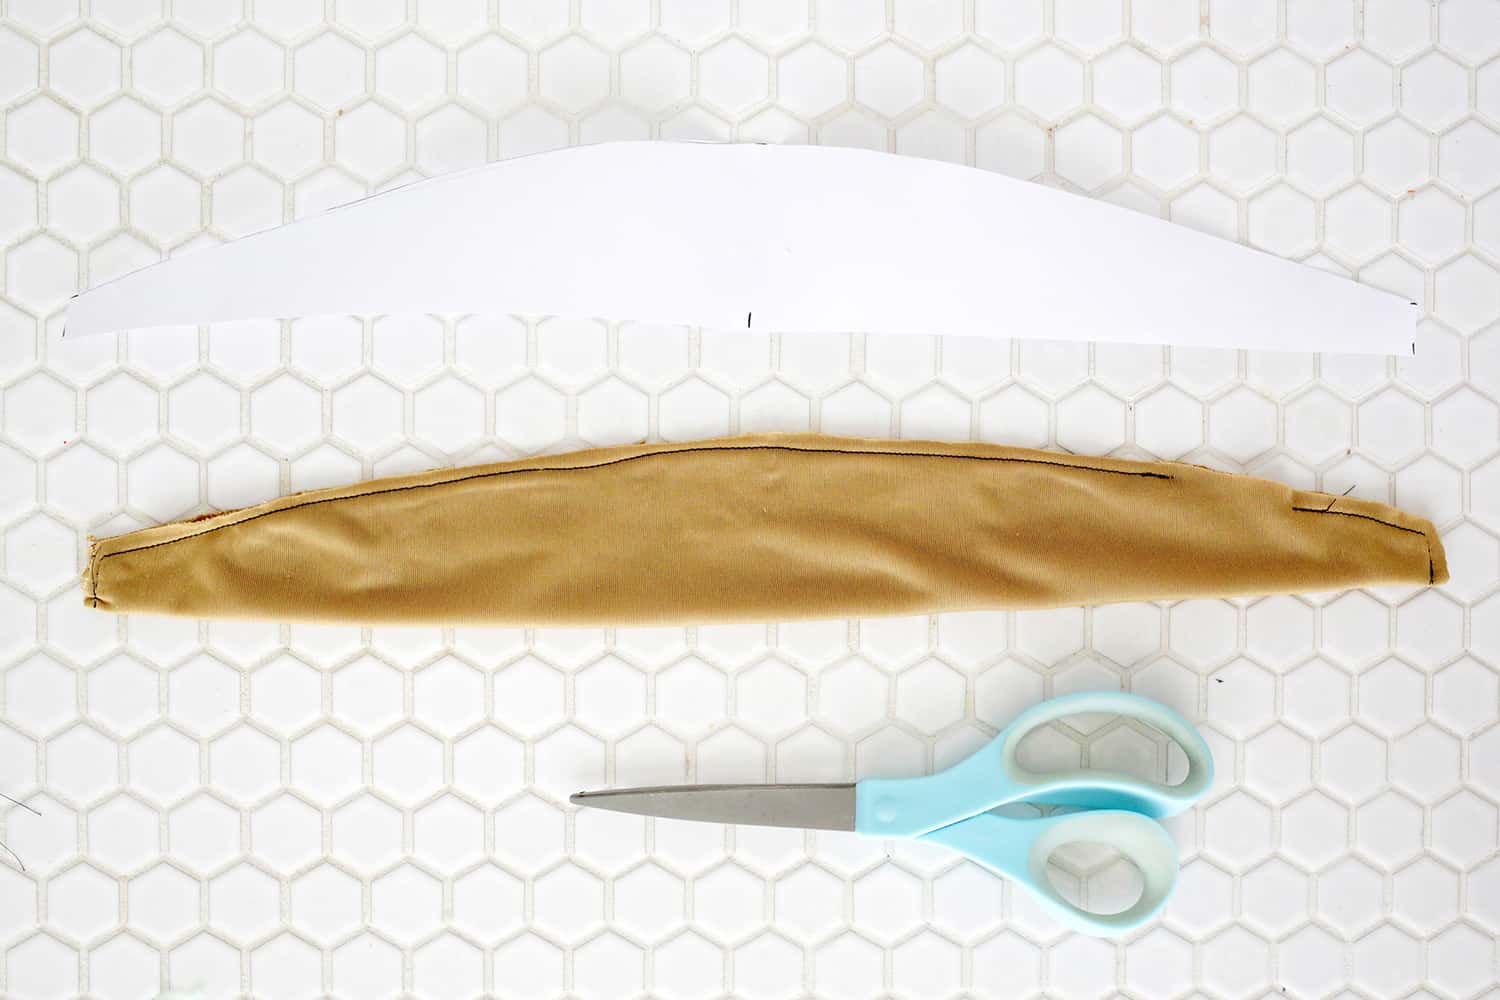
Sew around the edge with a 1/4″ seam allowance, leaving a 2″ gap near one end to turn your fabric through again.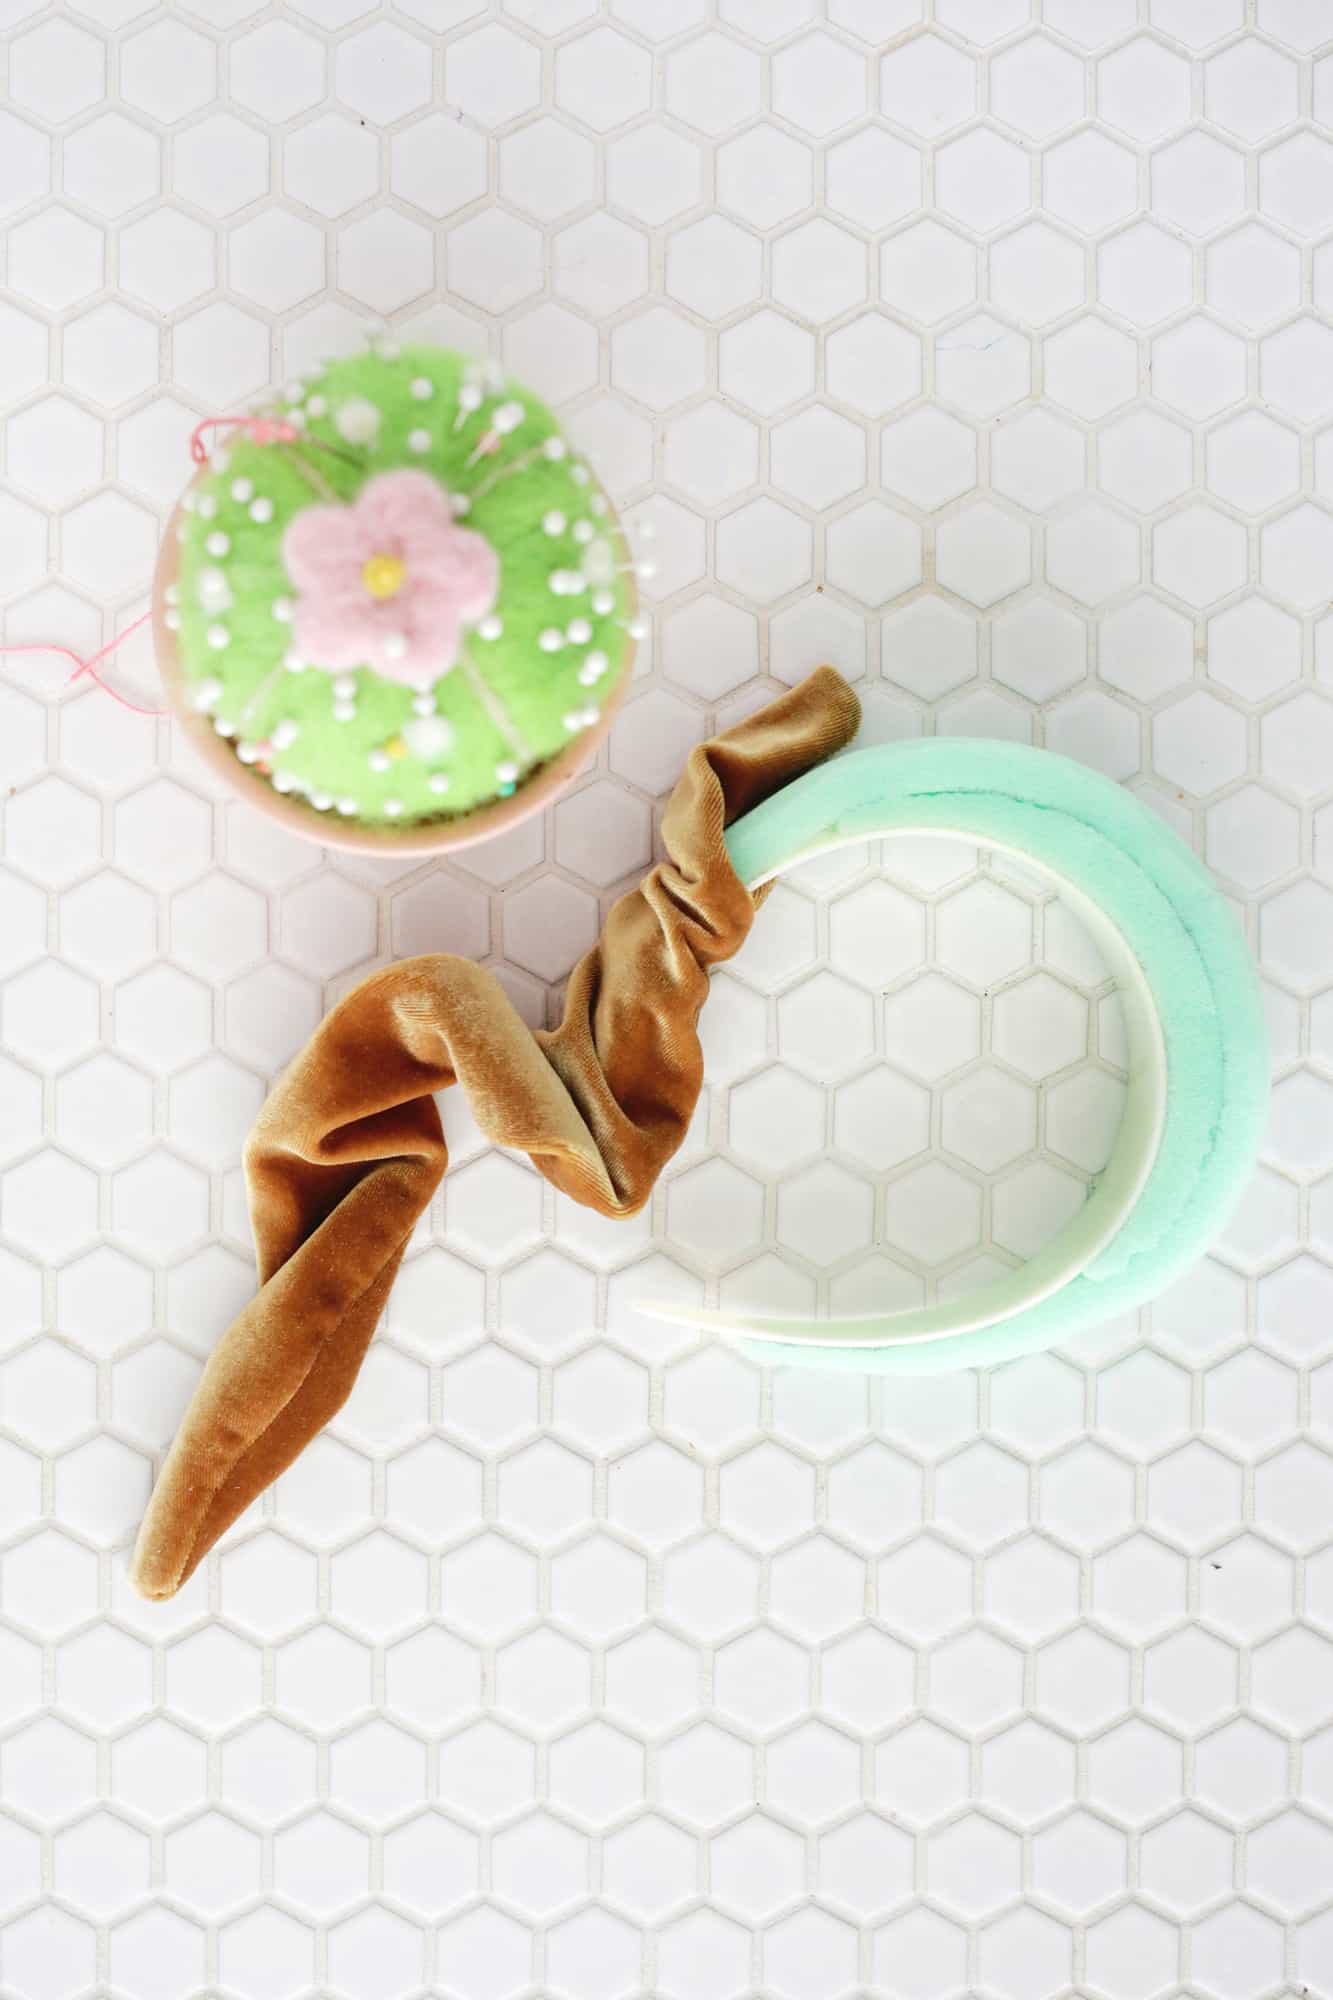
Turn your fabric through the hole and slide your headband into one side until fully in, and then slip the other end in as well (this is why you want to do this with a stretchy fabric). I’ve noticed that depending on the fabric and how much stretch it has, your fabric cover may fit perfectly or may seem pretty big once you put it on.
So if it’s too big, make note how much fabric is hanging off each end if you center the cover on the headband, remove the cover, and remake your template to be that new length instead.
So if you had first measured a 15″ length but there is 1.5″ extra hanging off of each side, redraw the template to be 12″ wide instead with the same thicknesses for the middle and ends. Trace that new template onto your fabric and resew it to be smaller.
Cut the excess fabric and repeat the process of turning it and inserting the headband. If there’s any spot where the cover is not fitting as snugly as you would like, you can keep removing it and sewing that section a little smaller until it all fits snug.
Once your headband is inserted and you are happy with the fit, hand sew your opening closed and your headband is ready to wear!
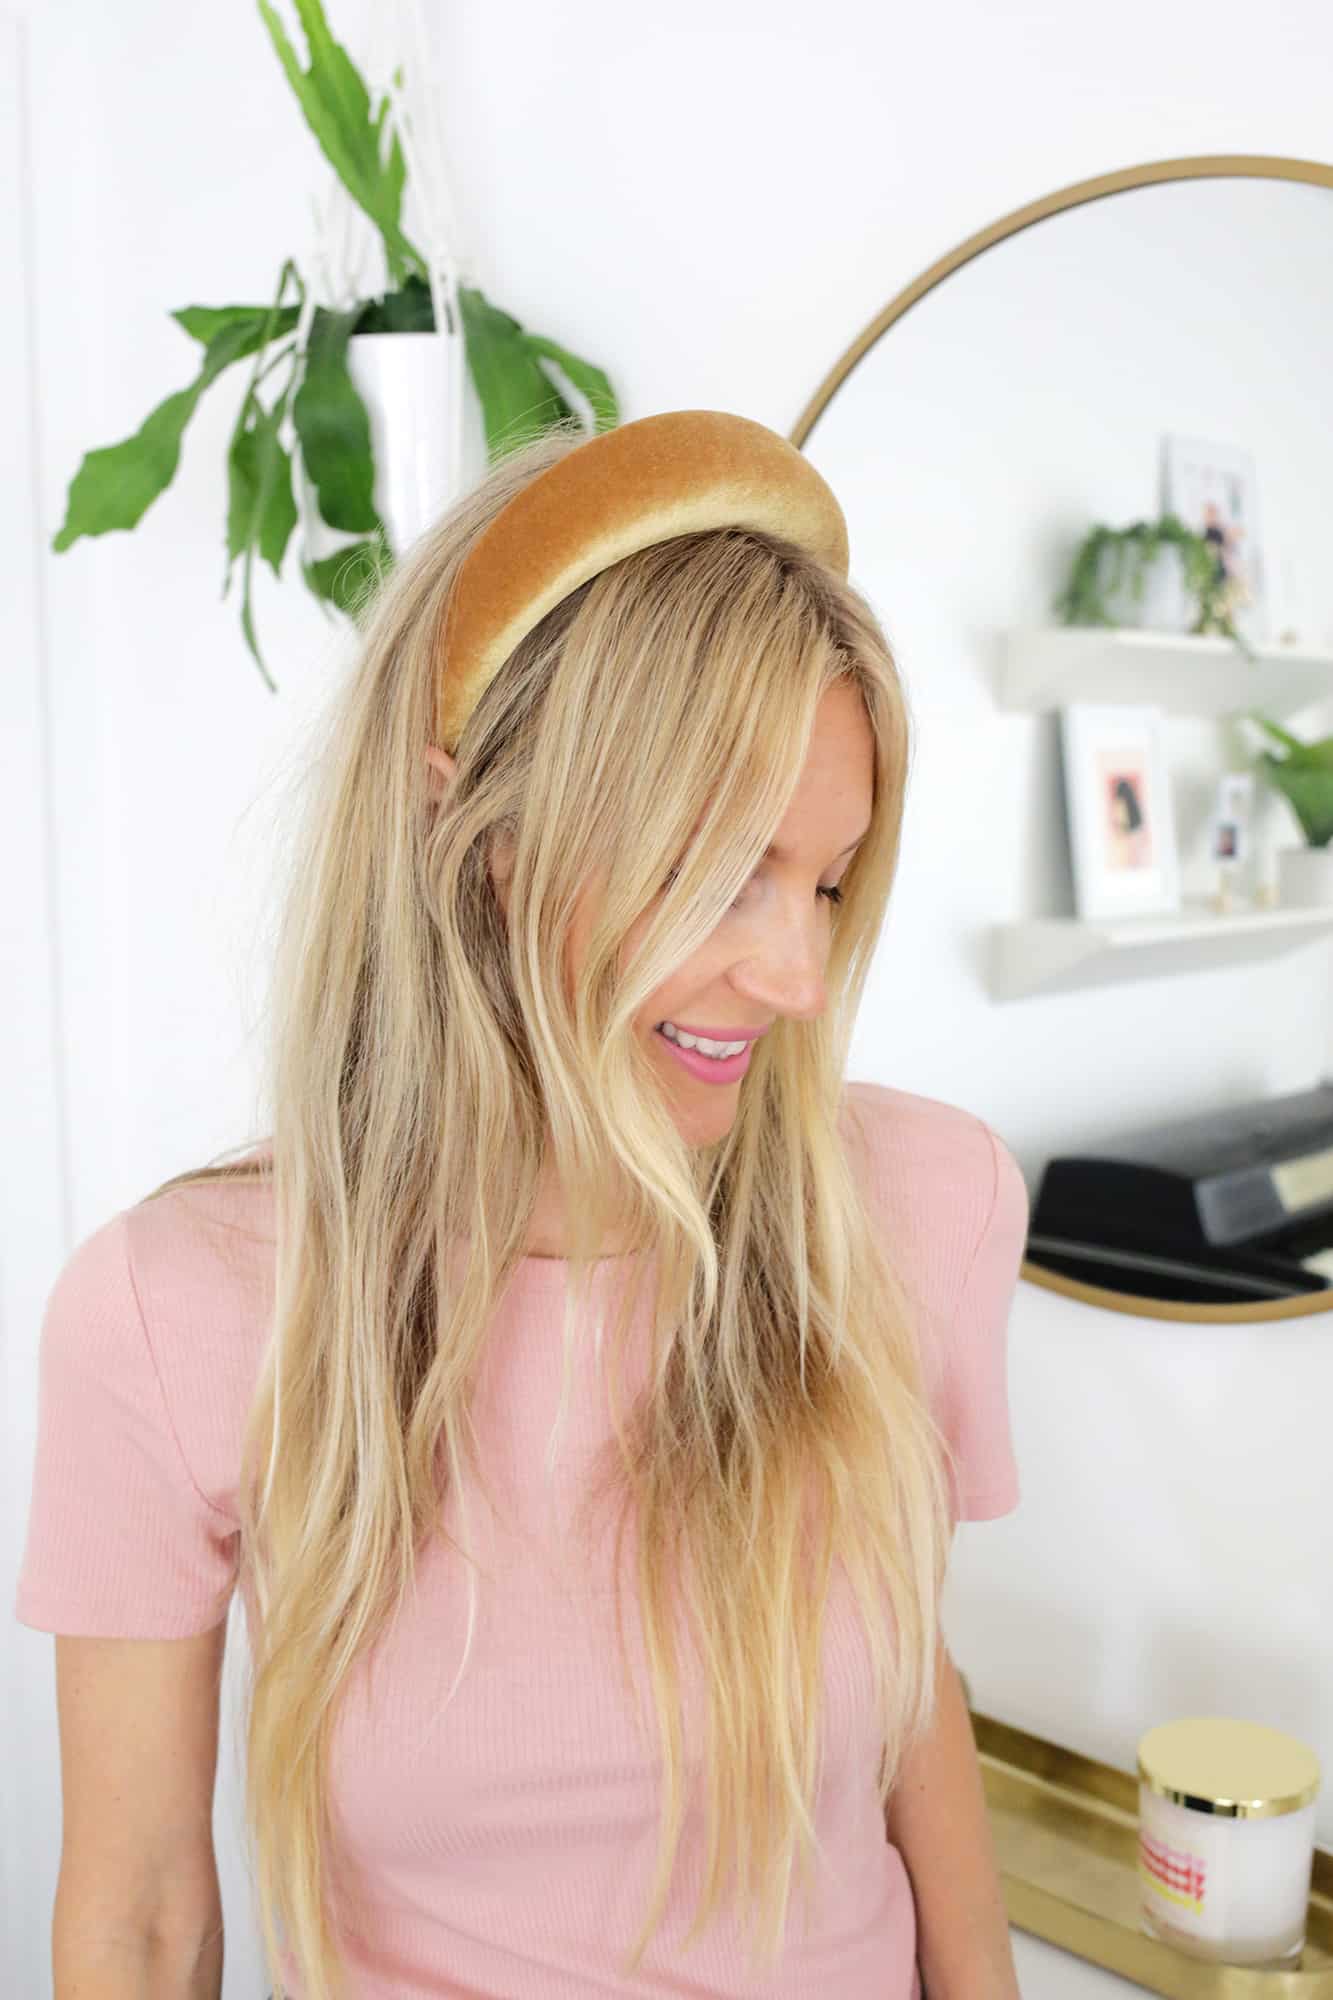

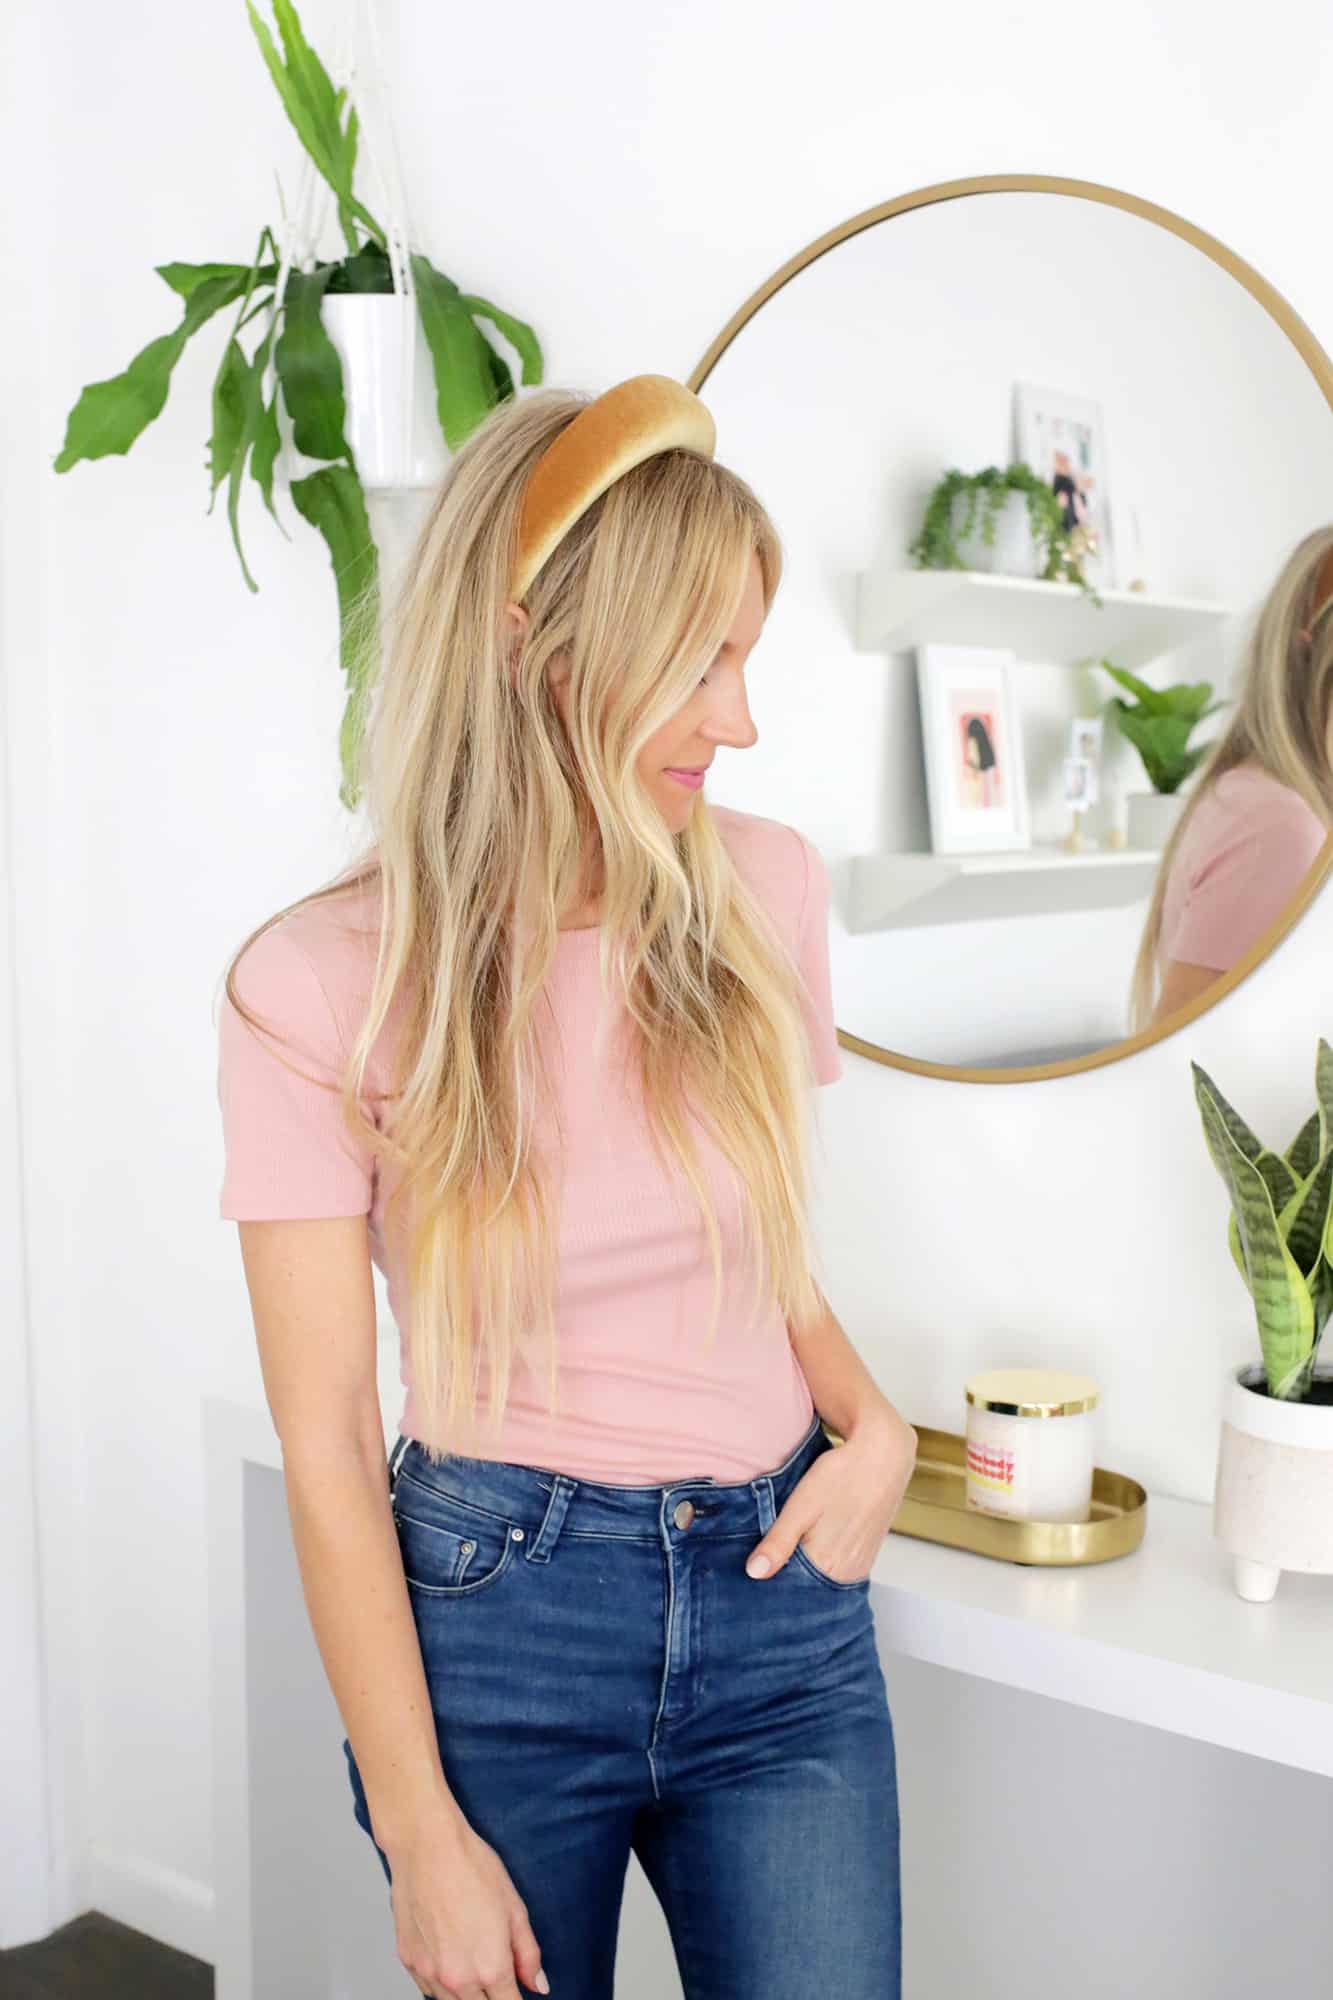 So fun! Velvet is a great choice for these headbands as well as they don’t slide around as much as a more slippery fabric may.
You could definitely batch-make these in different colors/patterns and be set for the season! Do you think you’ll give the padded headband a try? You should! xo. Laura
Love a good headband DIY? Check out…
]]>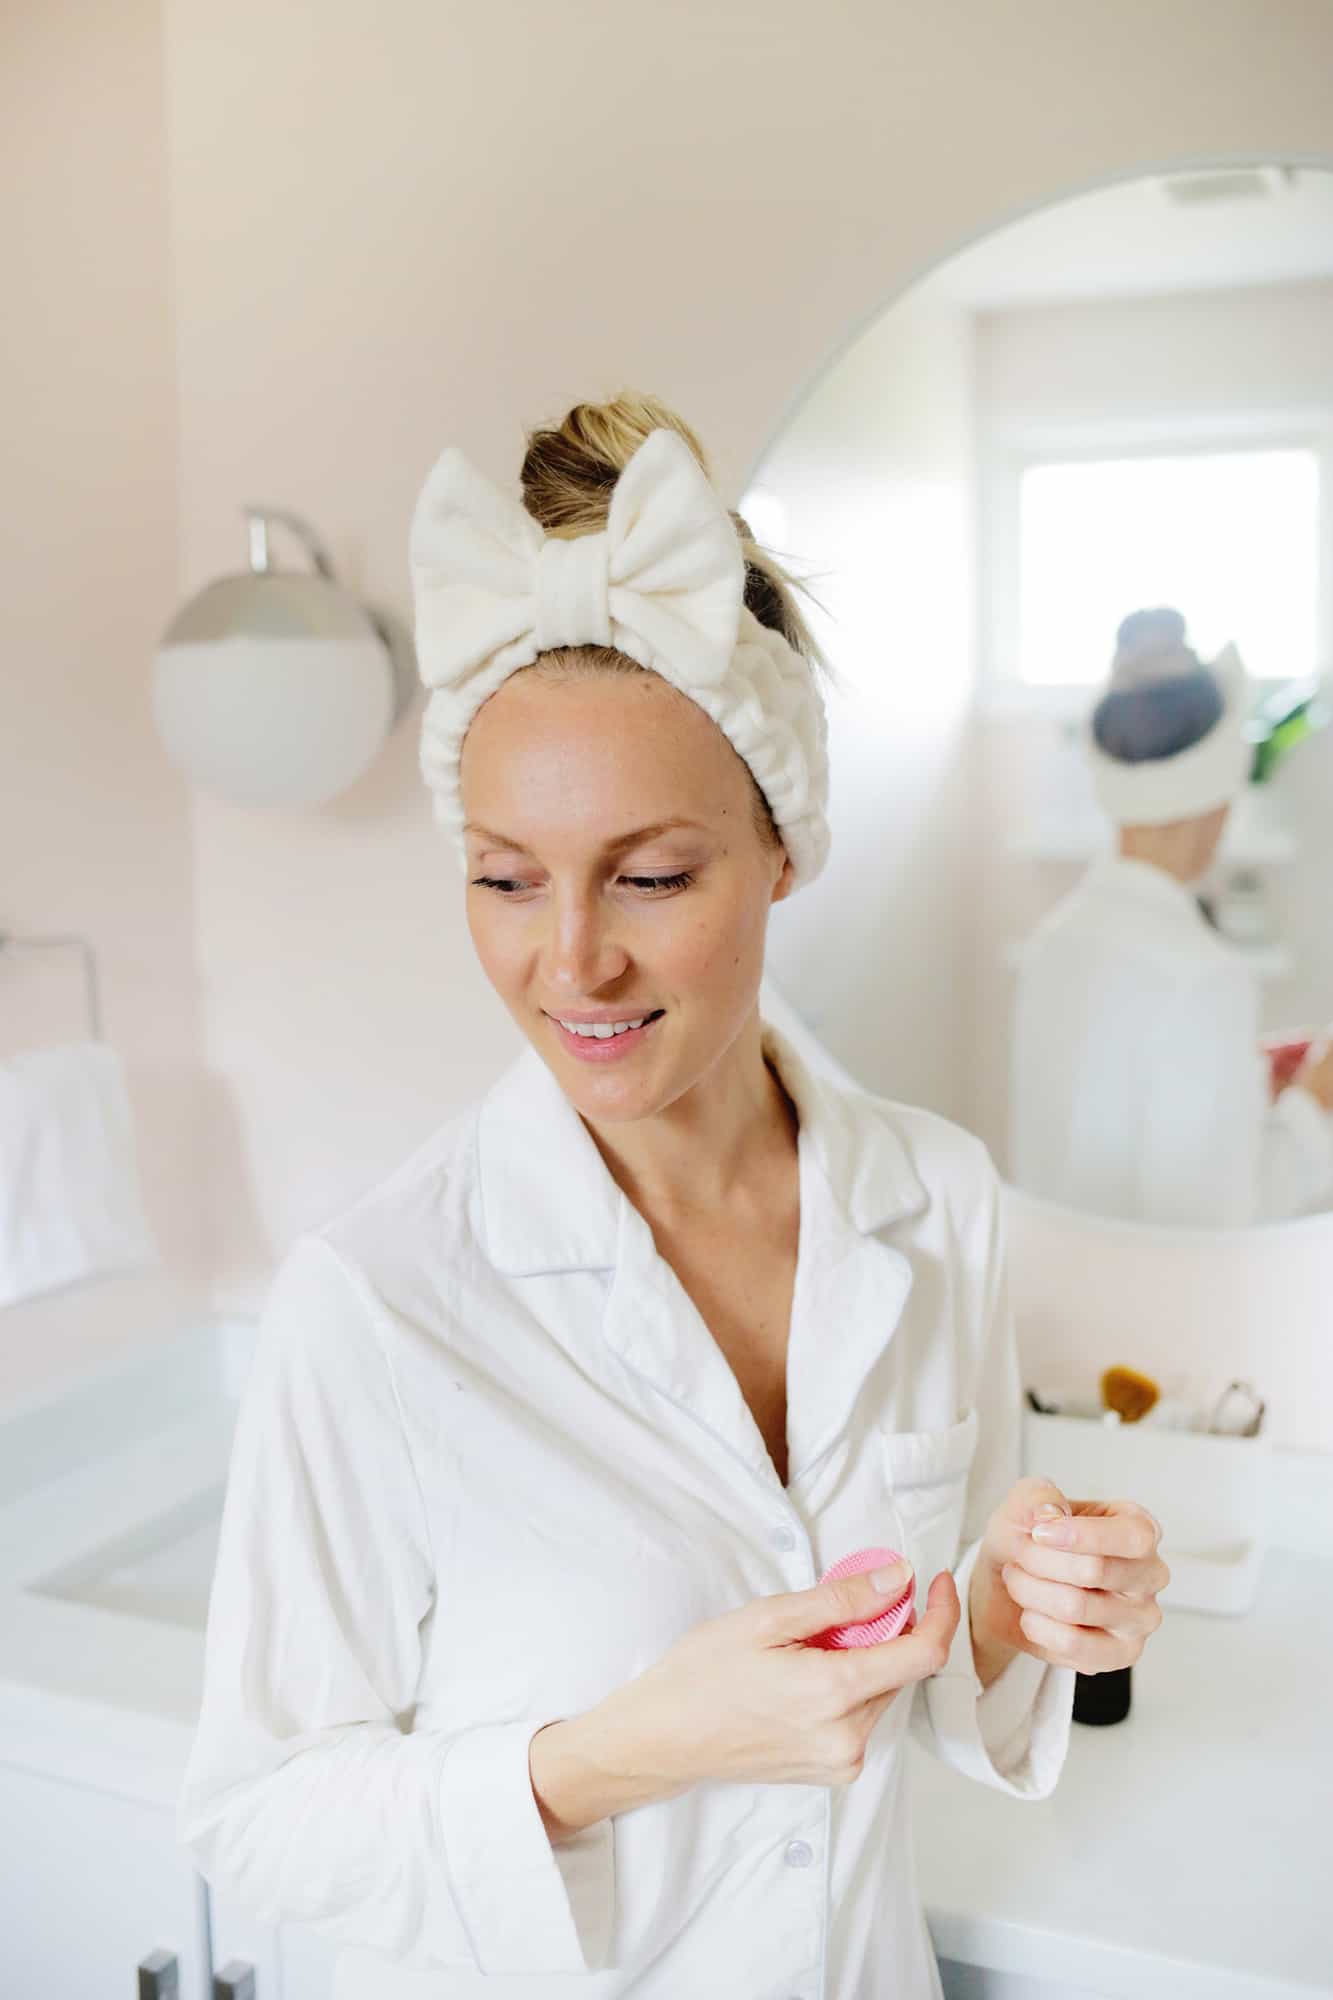 I haven’t always taken great care of my skin as a teen/young adult, but in the last five years I’ve definitely become so much more aware of trying to care for my body in better ways. That includes cleaner beauty products in my routine and washing my face is now a must before bed.
I also have pretty long hair and lots of little baby hairs in the front of my hairline that get weird (or weirder I should say) if they get wet, so a spa headband is totally necessary when doing my face wash routine at night. I’ve always wanted one of those cute versions with a giant bow on top, so I decided to make my own and I love how it came out!
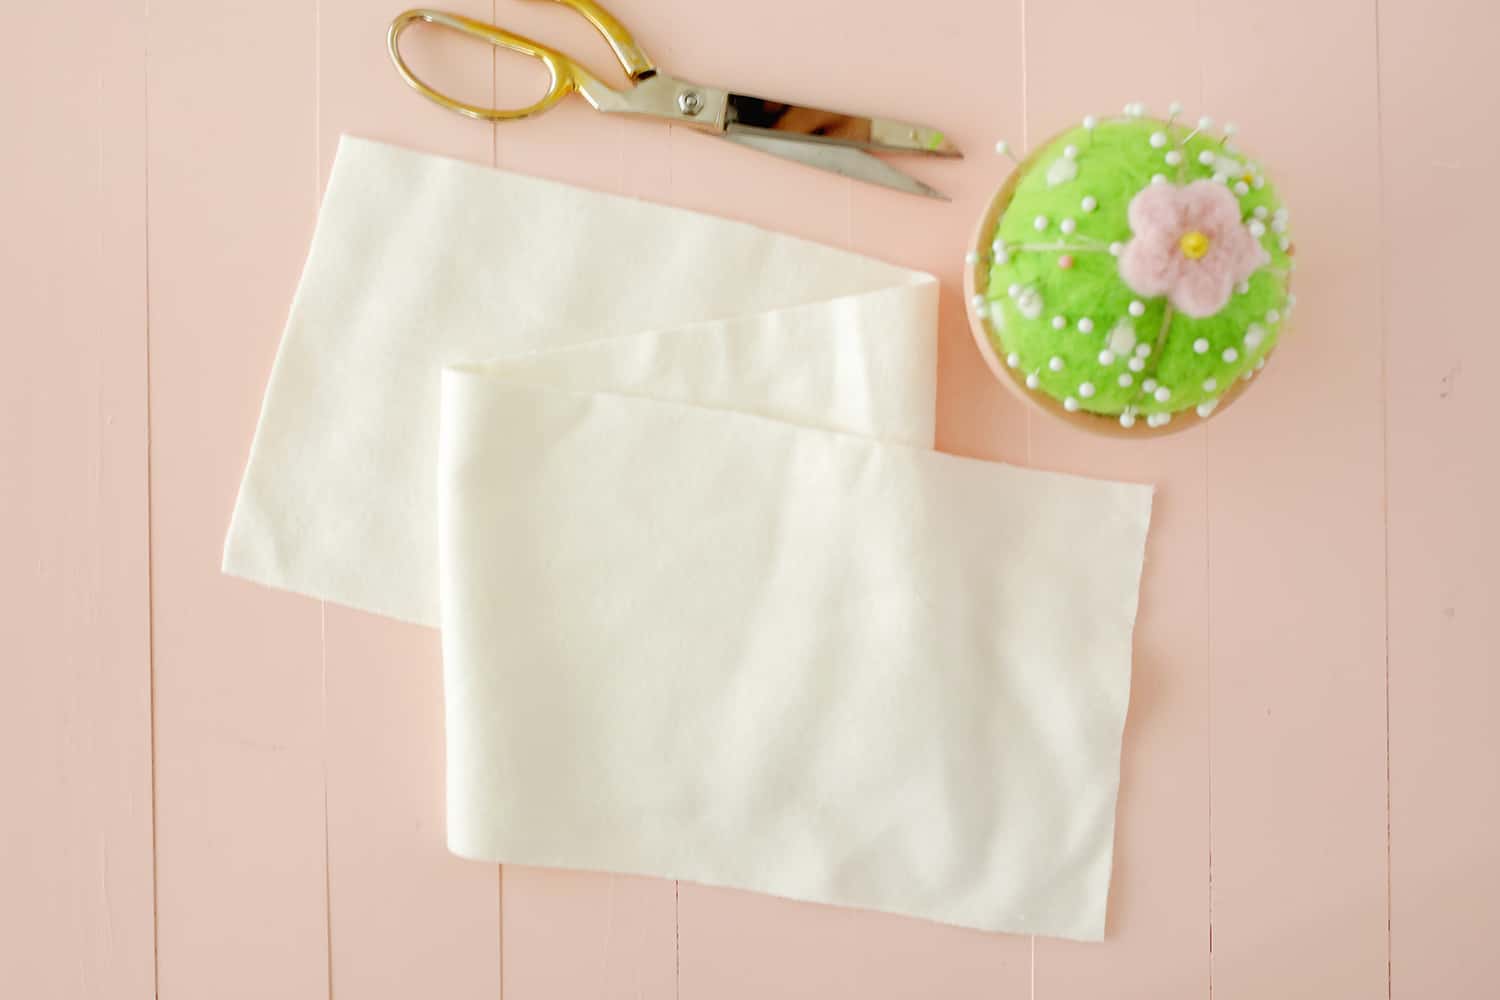
Supplies:
–cotton flannel fabric (a quarter yard)
-straight pins and fabric scissors
–1/2″ elastic (two pieces 18″ long)
–1/4″ elastic (two pieces 18″ long)
-sewing machine
 Cut a large rectangle of flannel that is 6″ x 27″ for the main body of the headband. If you have a serger sewing machine, sew around the outside of the rectangle to keep the edges from fraying, and if you don’t have a serger, use a zig-zag stitch on your regular machine around the edges instead.
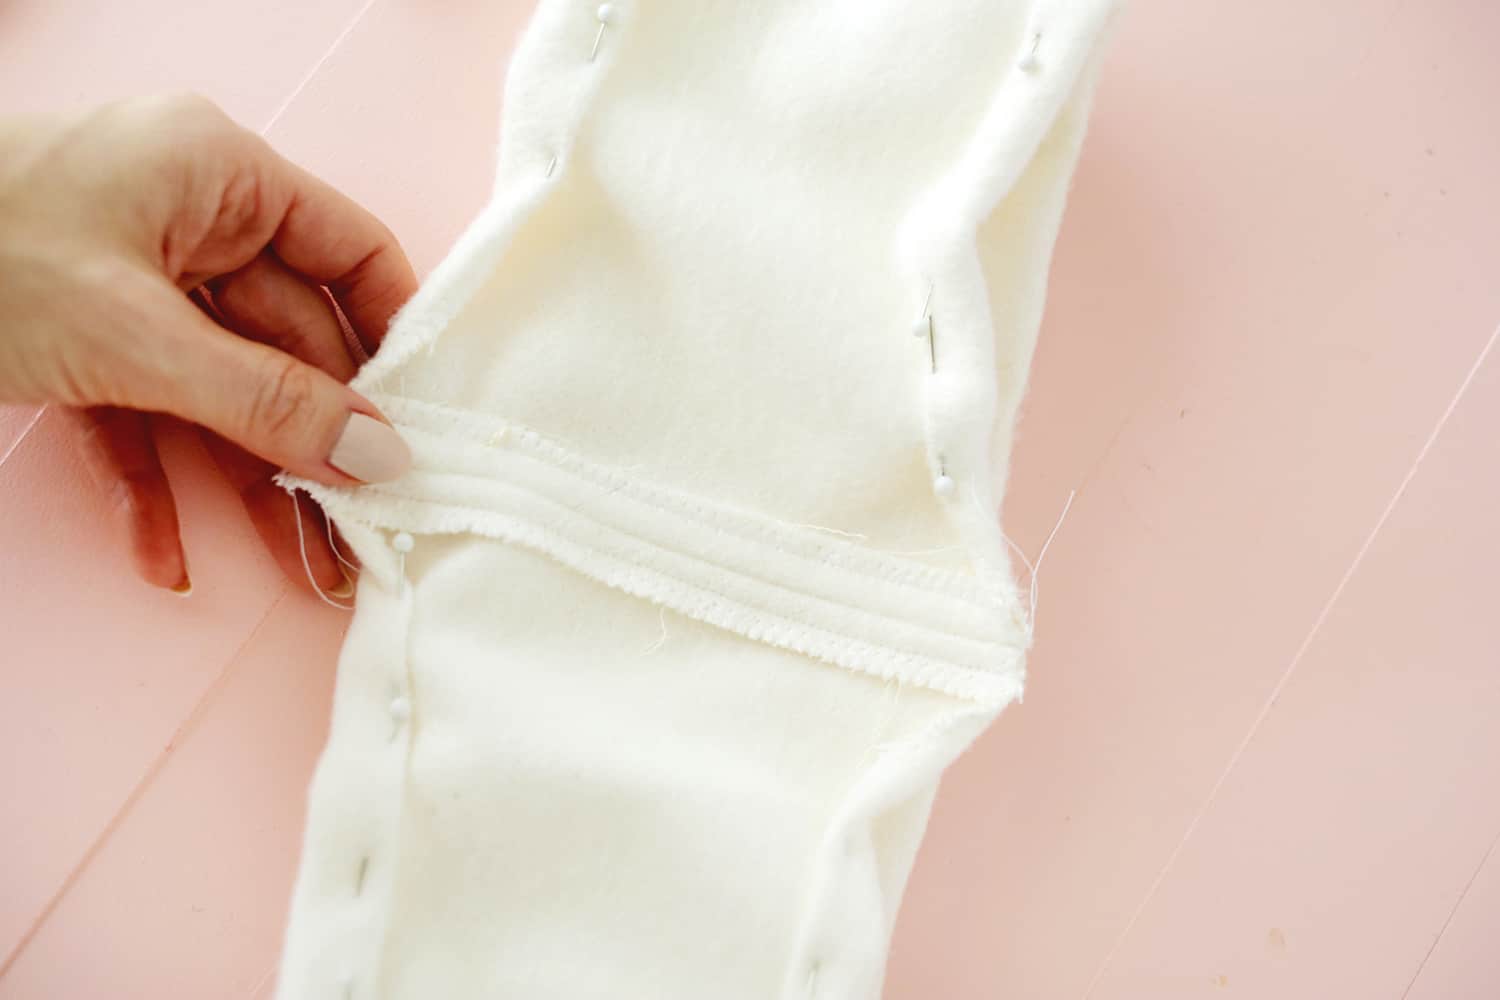 You’ll want to make your long rectangle into a loop for the headband, so fold it in half, line up the edges, and pin them together. Sew with a 1/2″ seam allowance and then press your seams flat and top stitch each flap flat so the underside looks like what you see above.
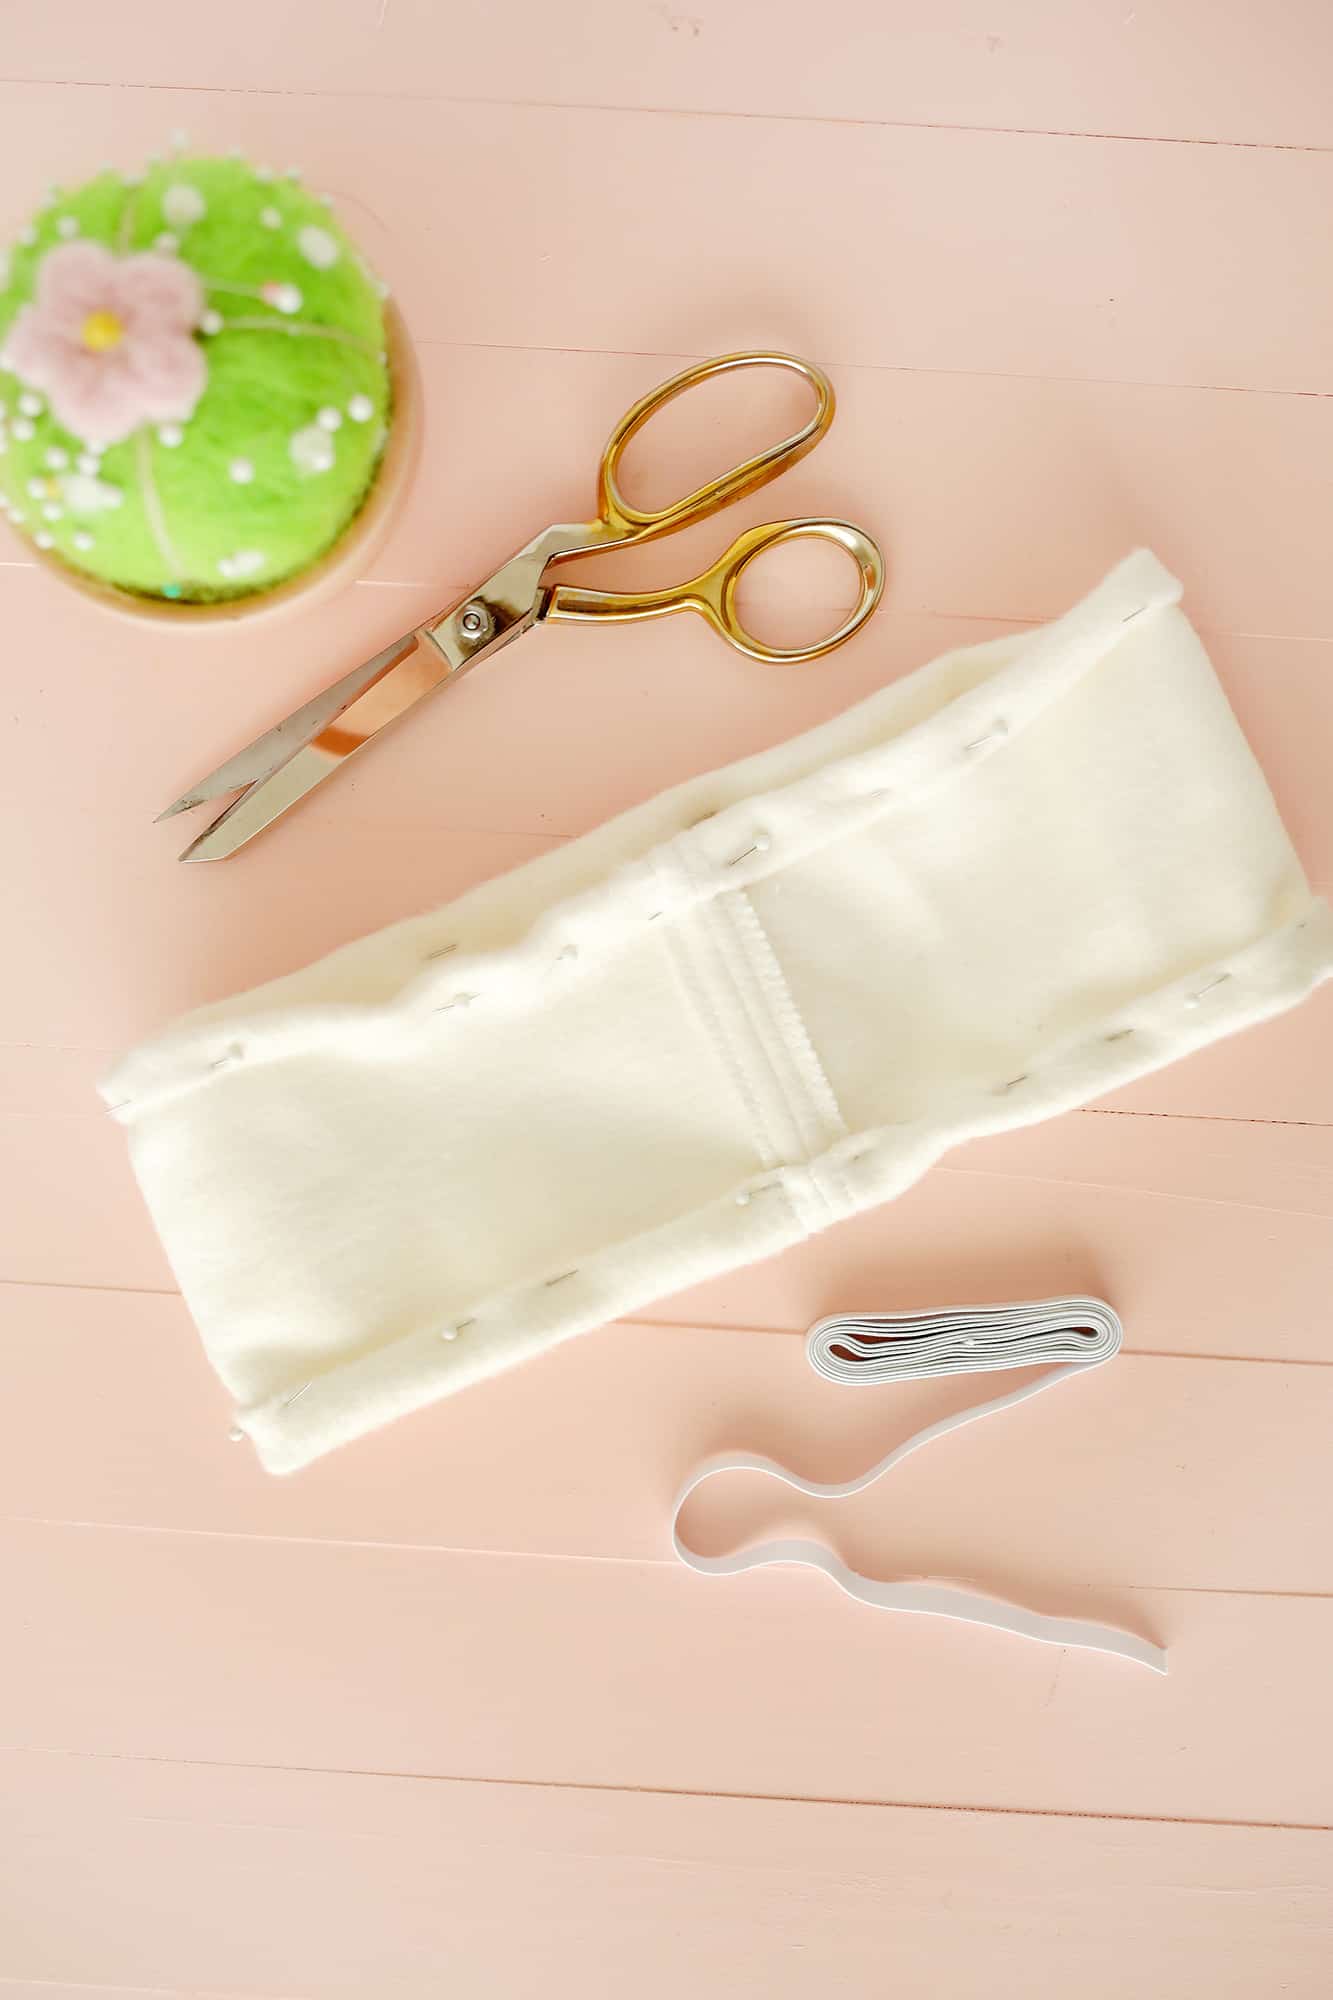 Fold under your zig-zag edge on the top and bottom edge of the headband and pin so that you’ll have a 1/2″ channel of space with which to thread your 1/2″ elastic through.
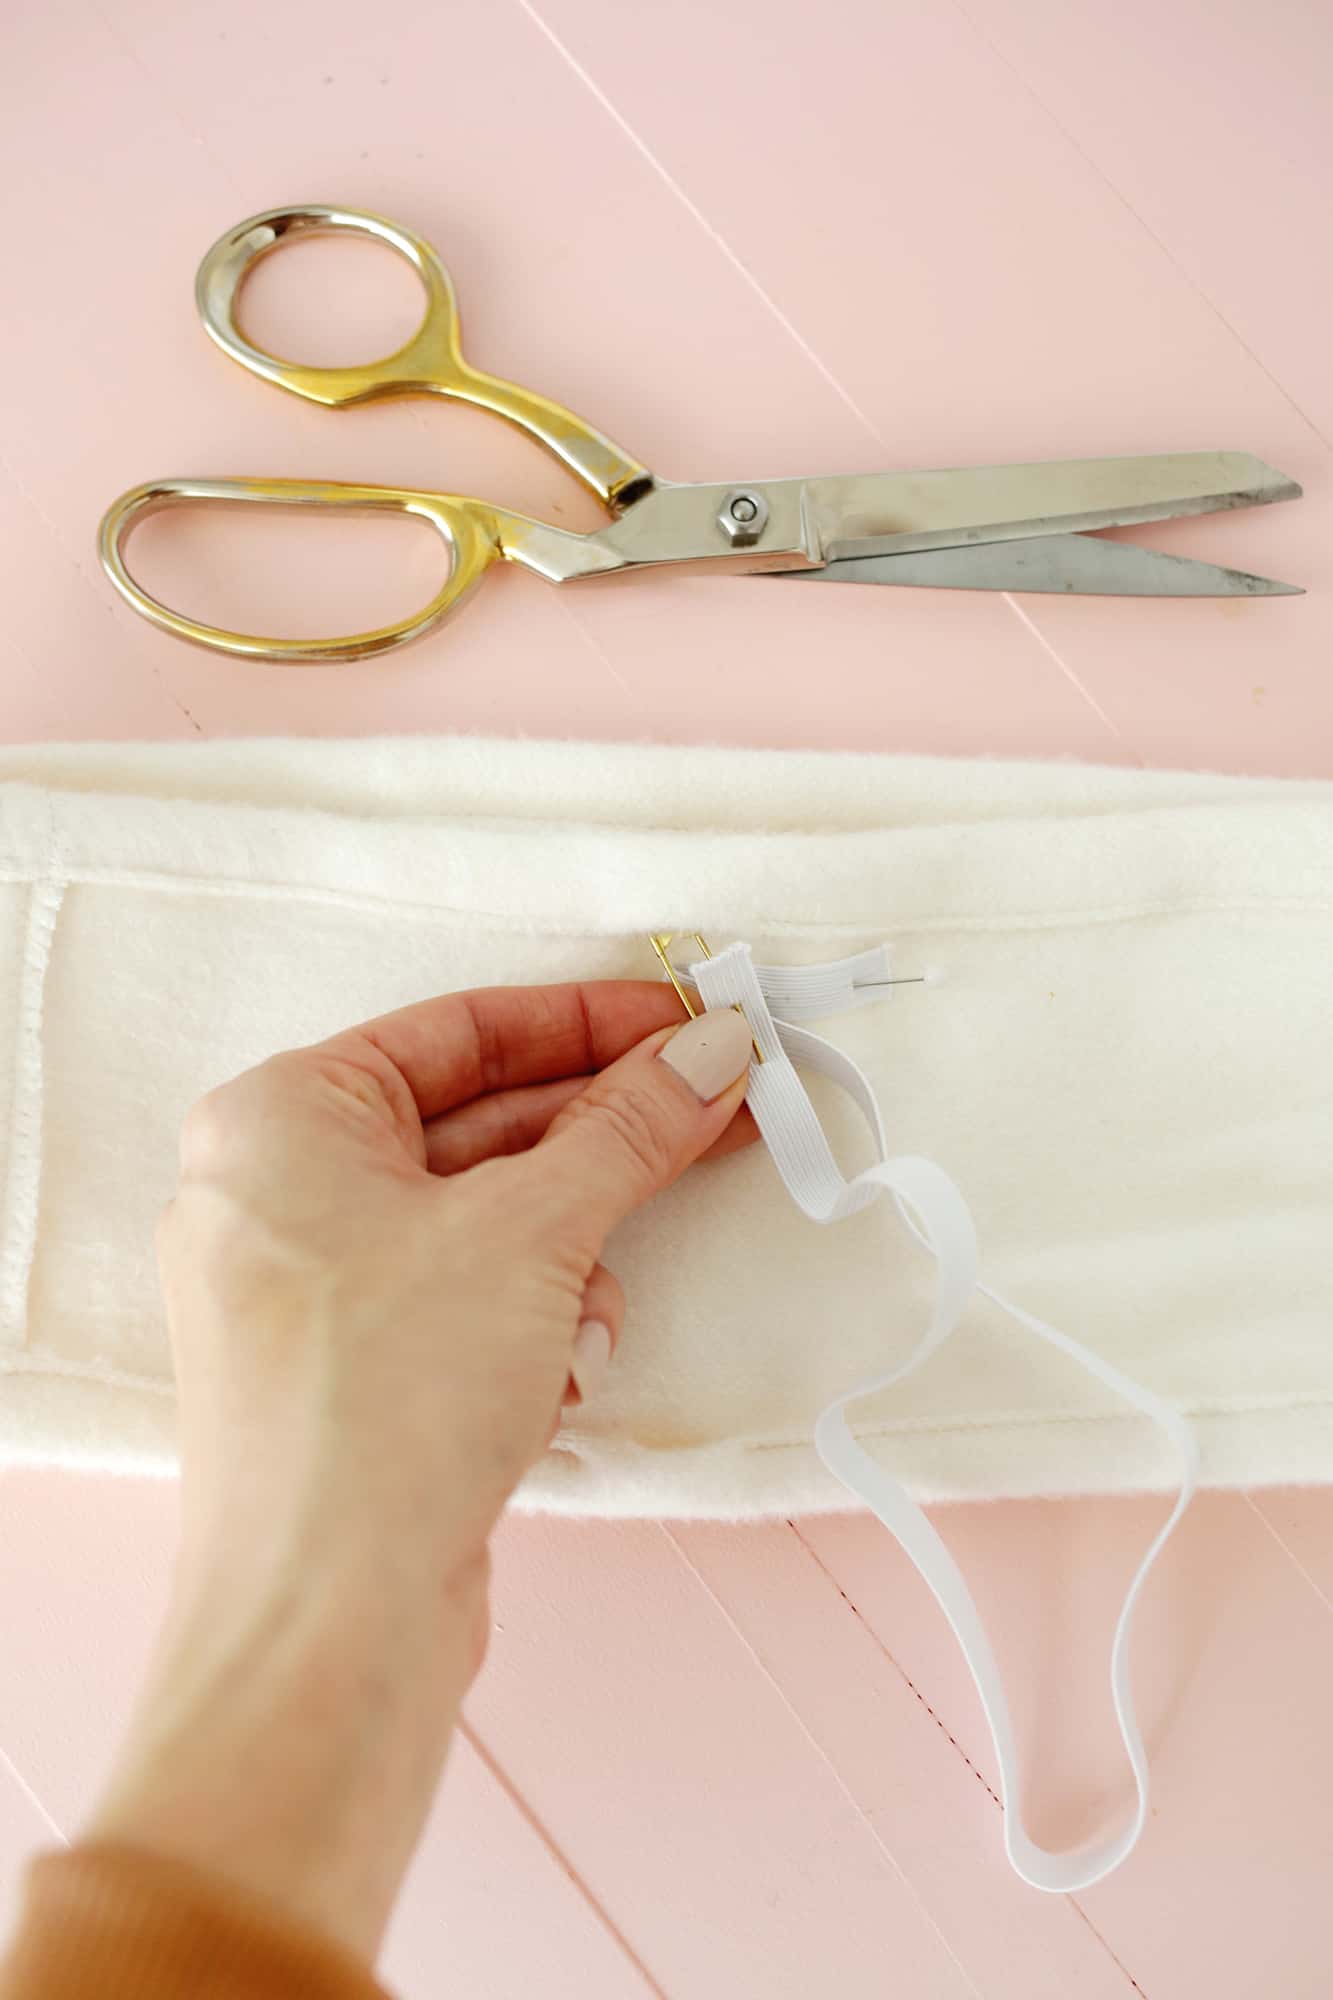 Sew all the way around the folded edges with the smallest seam allowance you can while leaving 1″ gap in the top and bottom channels to add your elastic through. Pin a large safety pin onto one side of your elastic and pin the other side to just outside of your gap opening to keep it in place.
Thread your 1/2″ elastic all the way through the channel and back out, feeling and guiding the safety pin through with your fingers from the outside. Pin in place. Repeat with your second 1/2″ elastic.
You can try on your headband at this point and if it’s too loose cut off some of the elastic to make them both shorter and tighter (just make sure to trim your 1/4″ elastic to that same length).
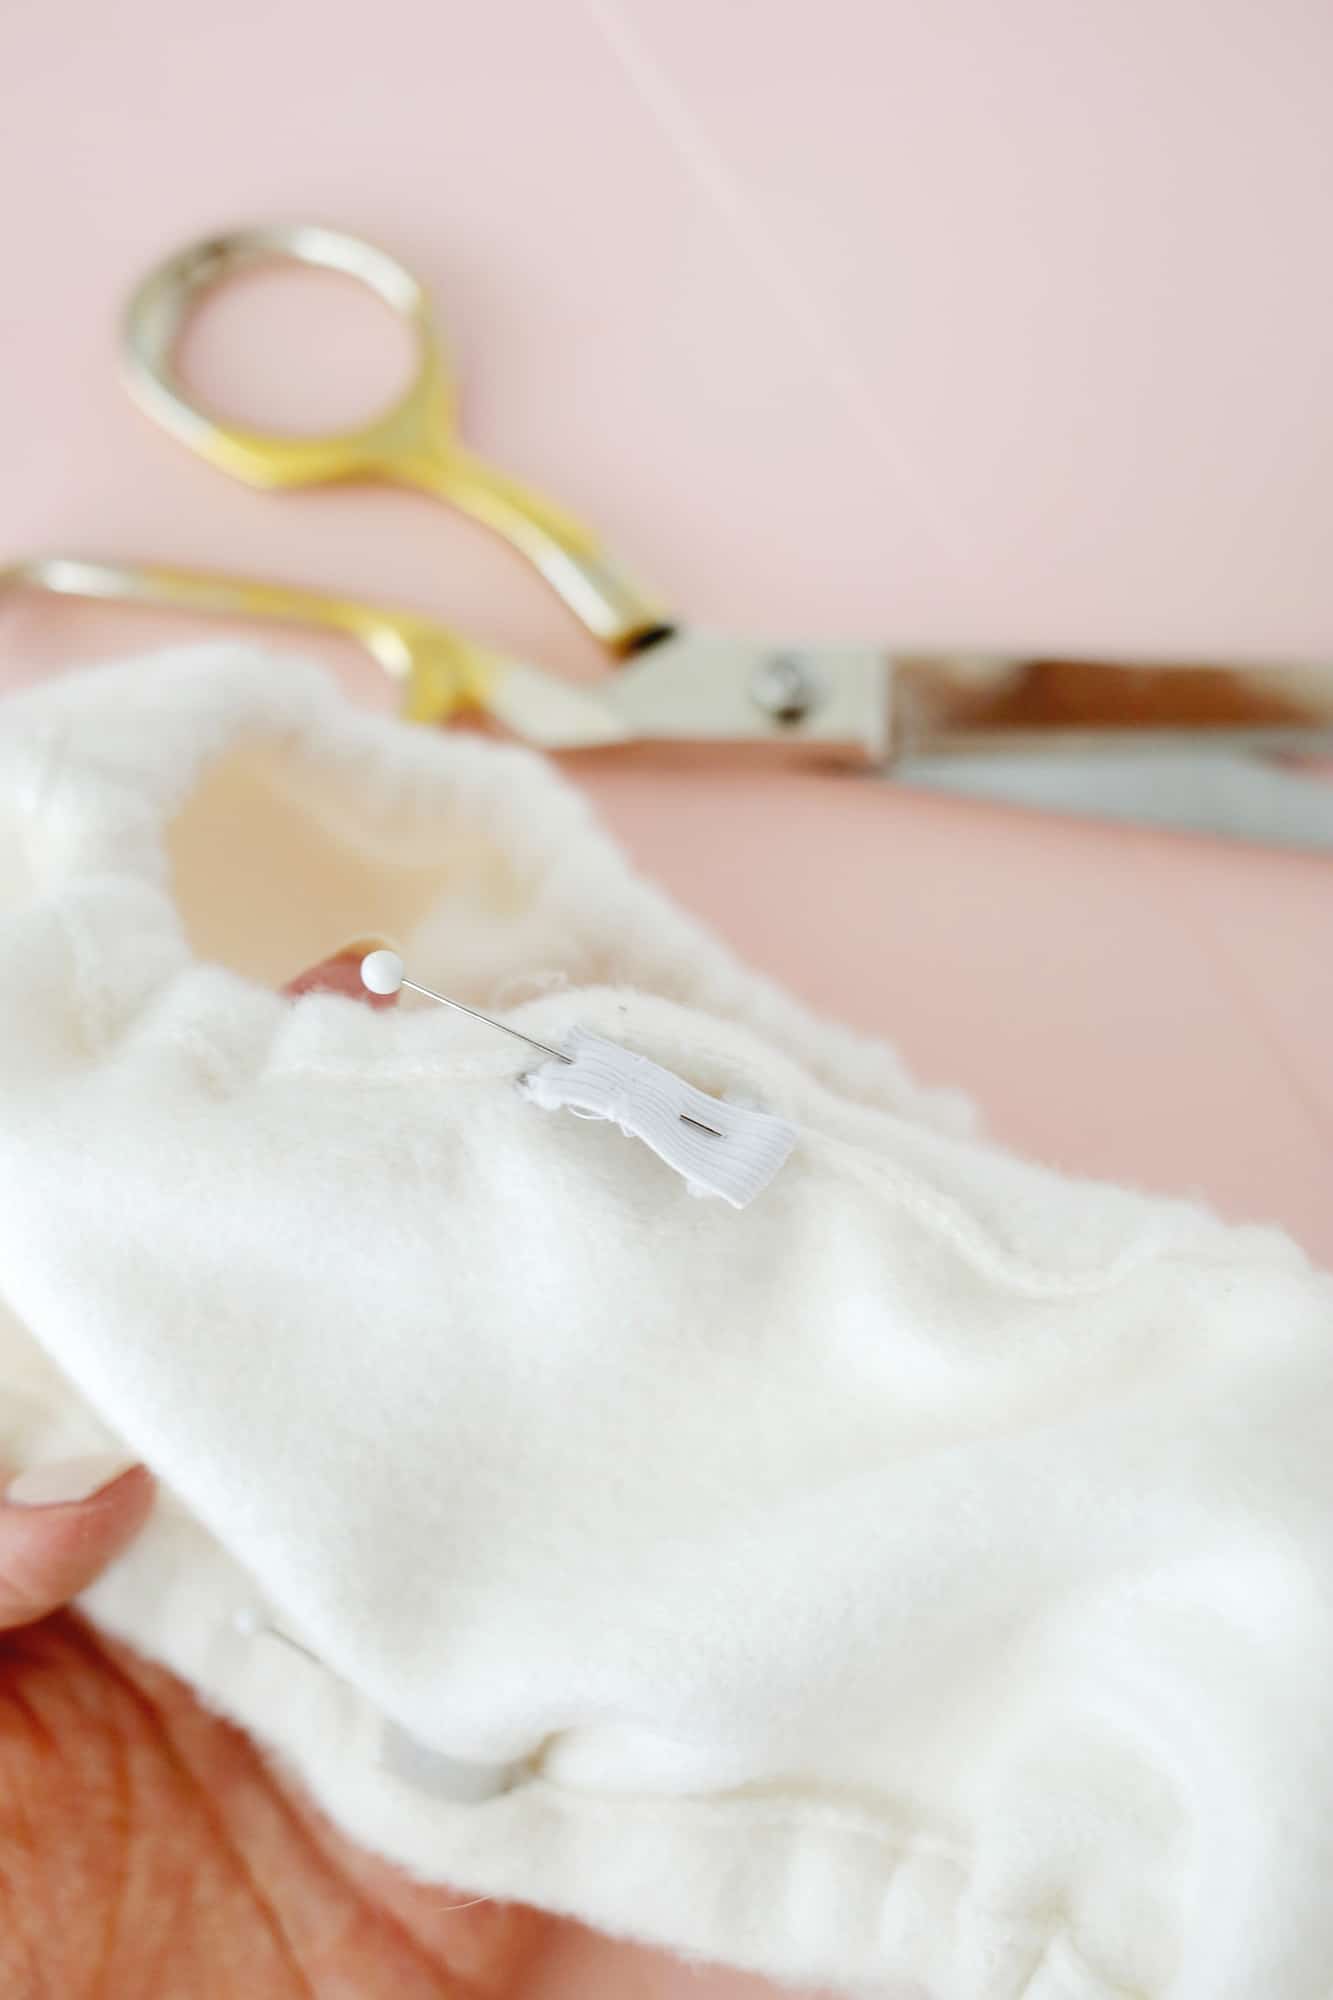 Once you have both elastics through, overlap and pin your elastic ends together and sew to join. Push them through back into the channels and then hand stitch the openings closed.
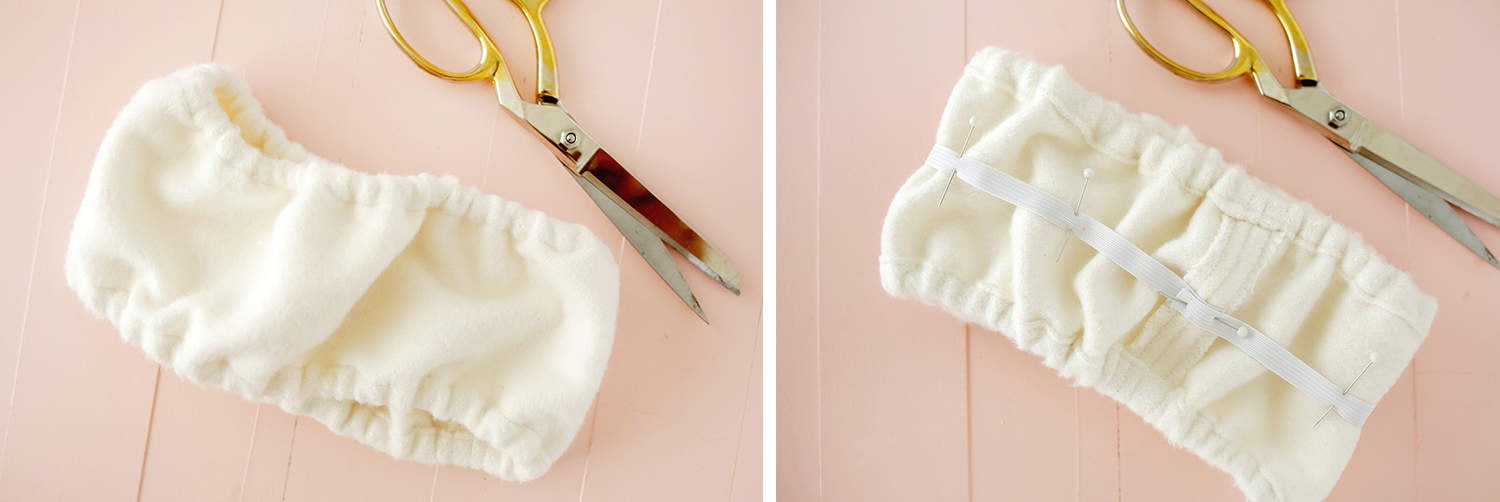 You should now have a headband that fits but is kind of puffy if you turn it right side out and put it on. So we are going to add a little more elastic to the body part to make that look a little nicer. This step is optional, but I think it does look better.
I ended up adding two elastic bands instead of just one as you see in the photo (I think the two bands makes it look optimal), but one will definitely help if you want to do half the work—haha!
Take your elastic band, fold it in half and mark the middle point with a pen or marker. Pin the two elastic ends overlapping where your headband seam is (see photo above on the right), fold your headband at that seam to find its middle point on the opposite end of the headband and pin the middle of the headband to the marked middle of the elastic so the elastic is evenly spaced.
Fully stretch out your headband (you may need a second pair of hands for this or find a small box or pillow to stretch it around) and then pin the elastic to the headband every 2-3″. If you do one piece of elastic, do it right down the middle and if you do two then space them evenly in the middle section of the headband.
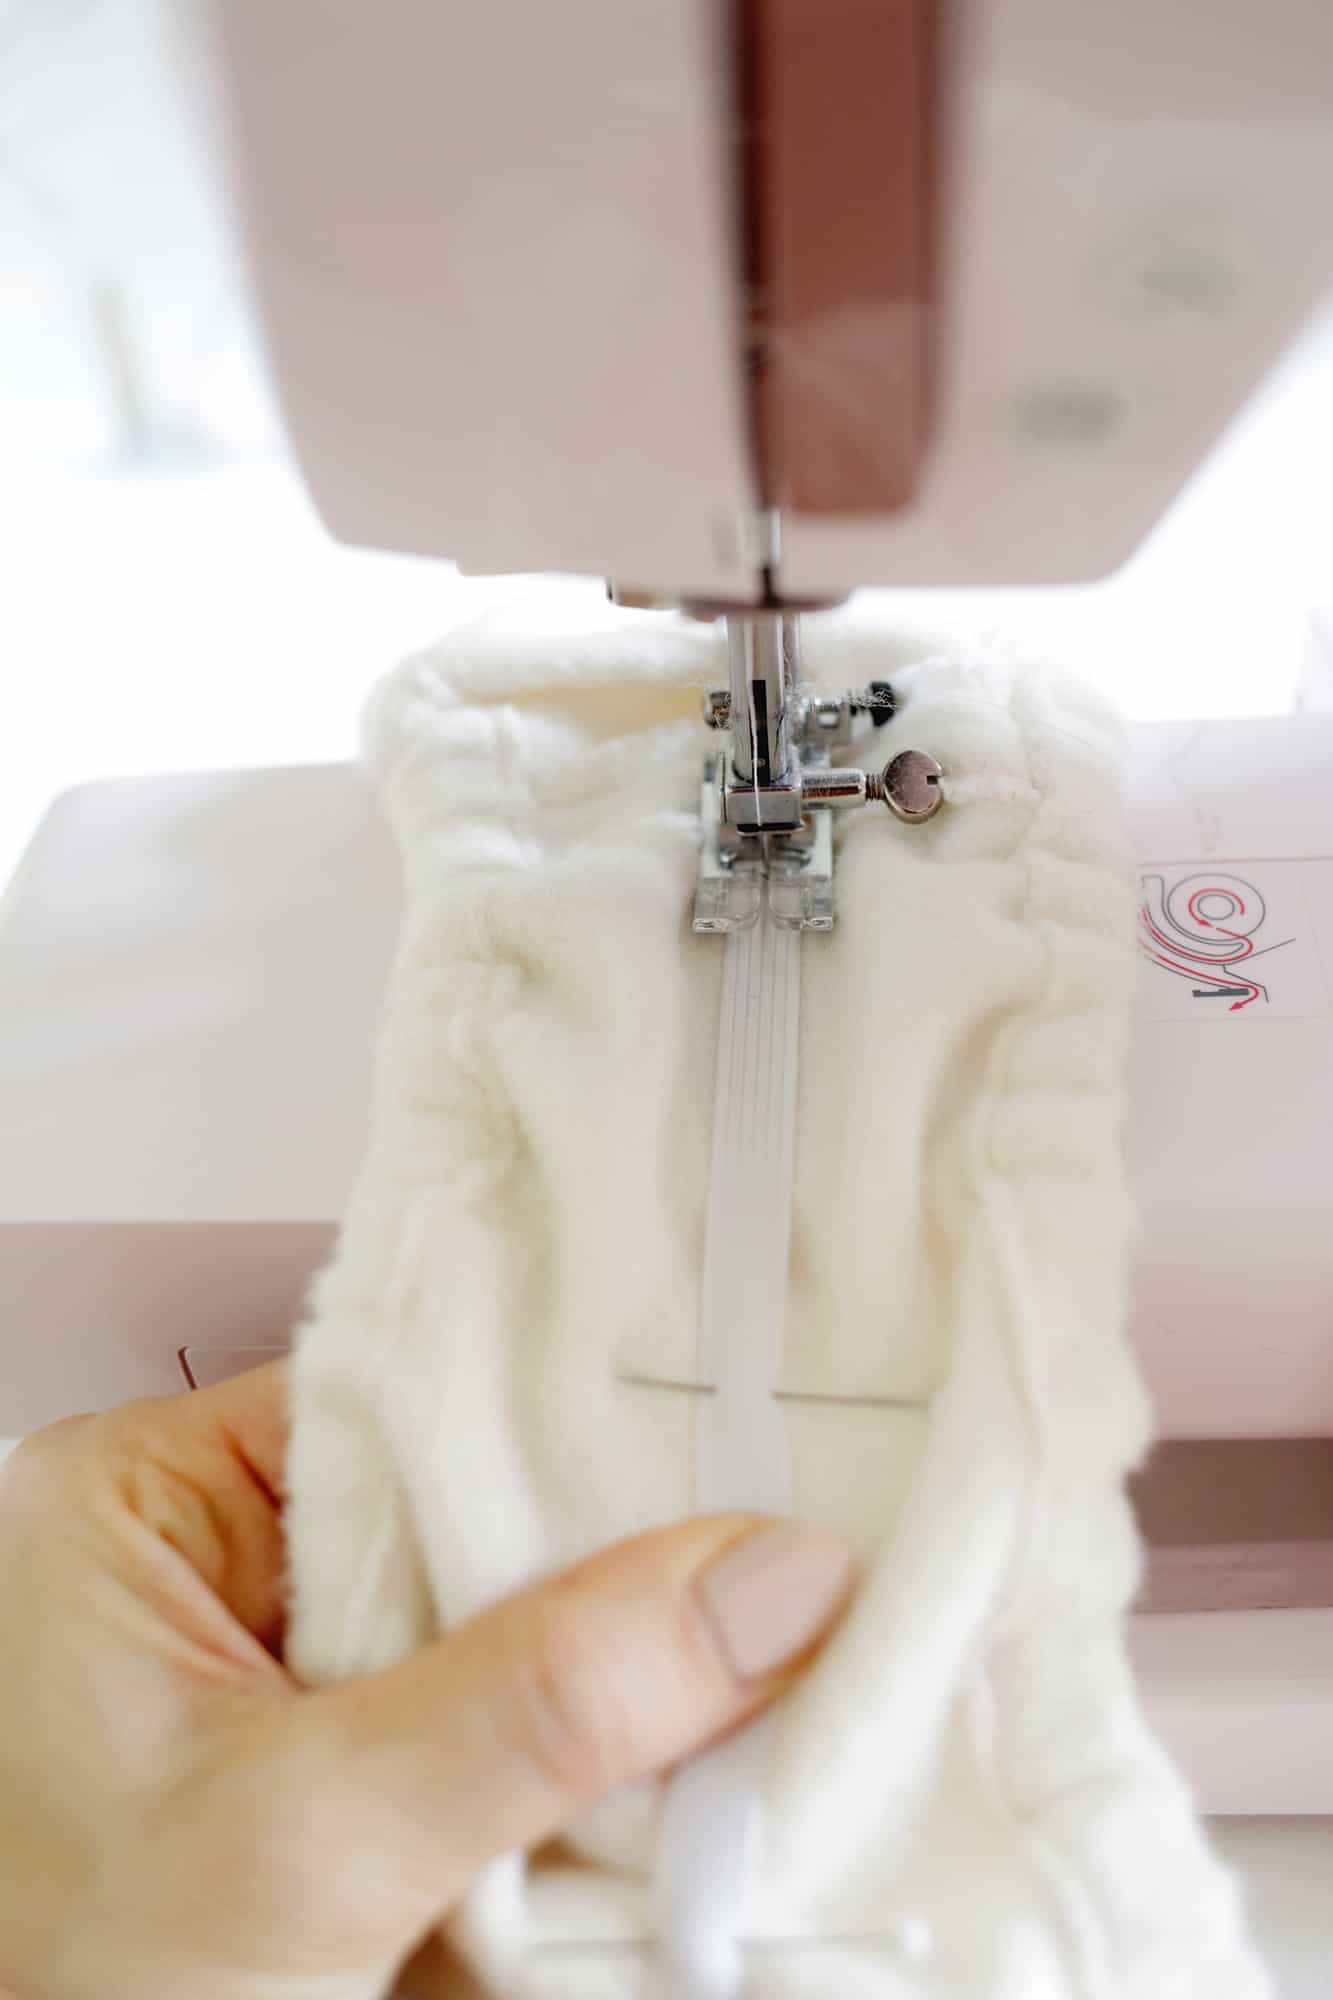
Sew down the middle of your elastic all the way around. To do this properly you need to pull it out so it’s stretched and flat with the headband as you sew (keep one hand pulling away from you behind the needle and the other in front of the needle pulling forward towards you a little).

See? The elastic helps to hold the middle section close to your head too so it’s nice and tidy rather than puffy. Turn your headband right side out.
 Cut two 7″ x 5.5″ rectangles to be the bow of your headband and cut a rectangle 3.5″ x 5.5″ to be the middle section of the bow. Pin the two larger rectangles together and sew around the outside with a 1/2″ seam allowance leaving a 1-2″ gap for turning.
Fold your smaller rectangle in half, longways, and sew down the length with a 1/2″ seam allowance making a tube with both ends open. Zig-zag stitch around your sewn edges to keep them from fraying and turn both your pieces right side out. Hand-sew your bow rectangle opening closed.
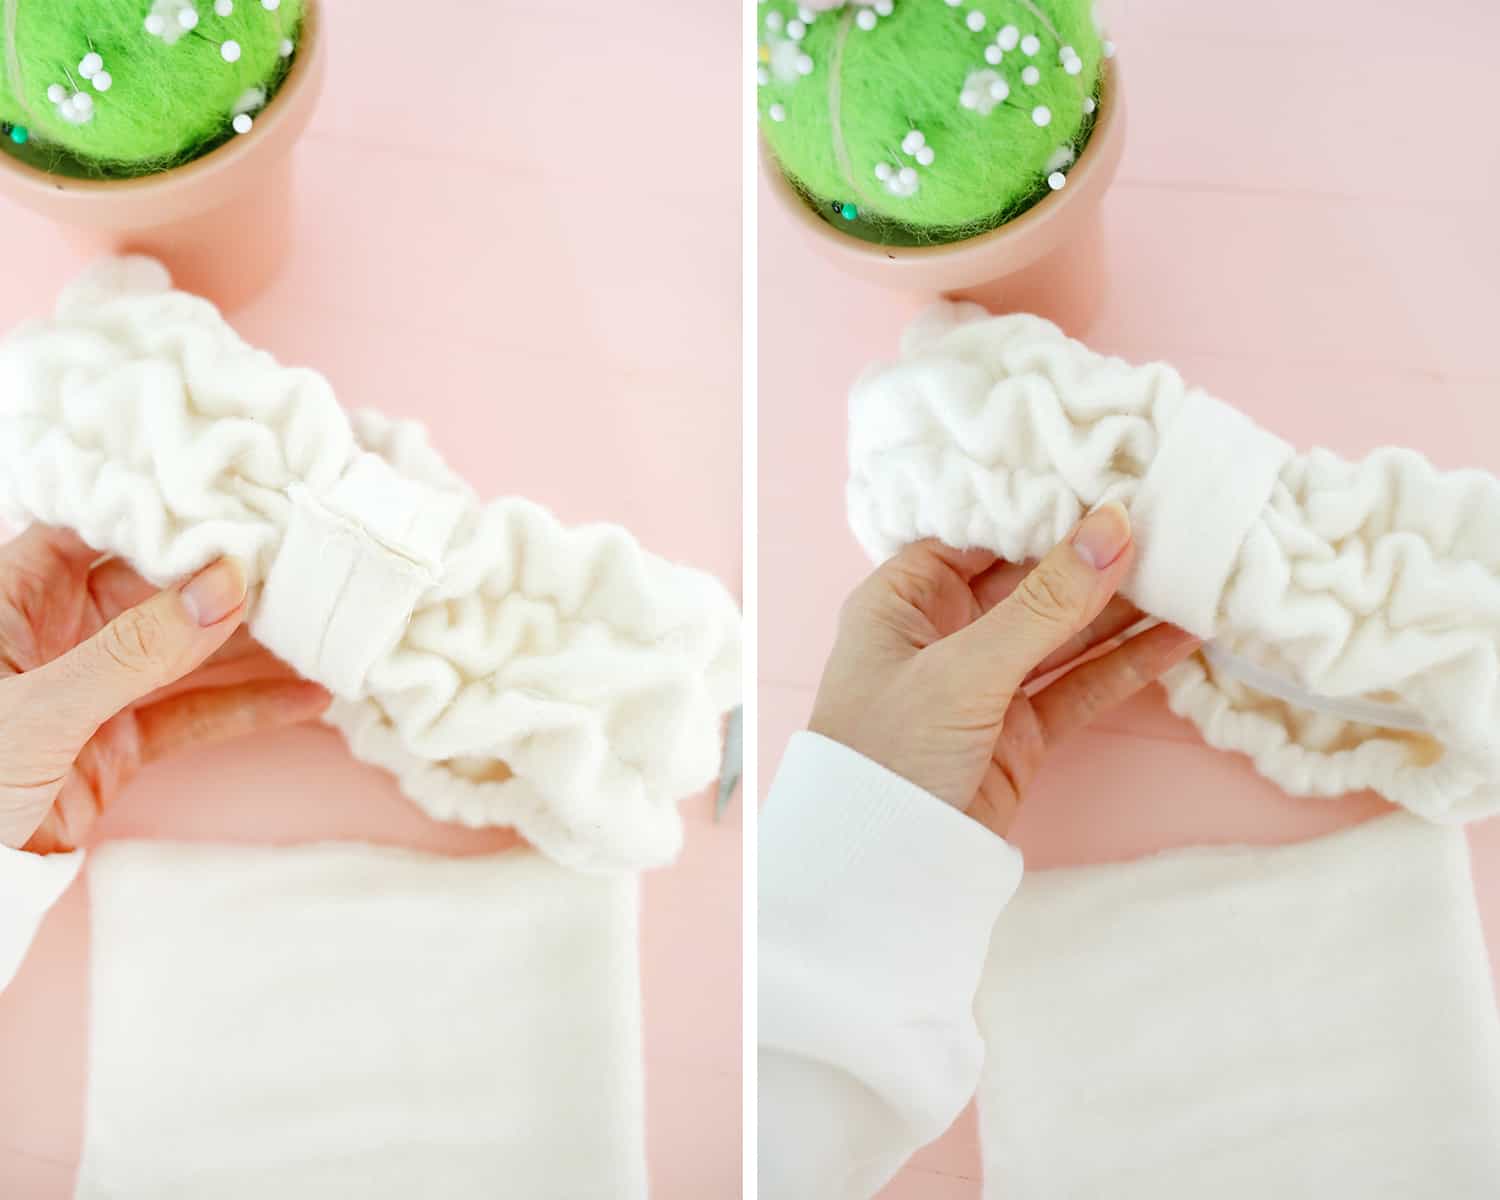 With the seam facing outward, wrap your bow middle around your headband and sew the ends together with a 1/4″ seam allowance. Zig-zag stitch the seam allowance. Turn your bow middle so the seam side is on the inside.
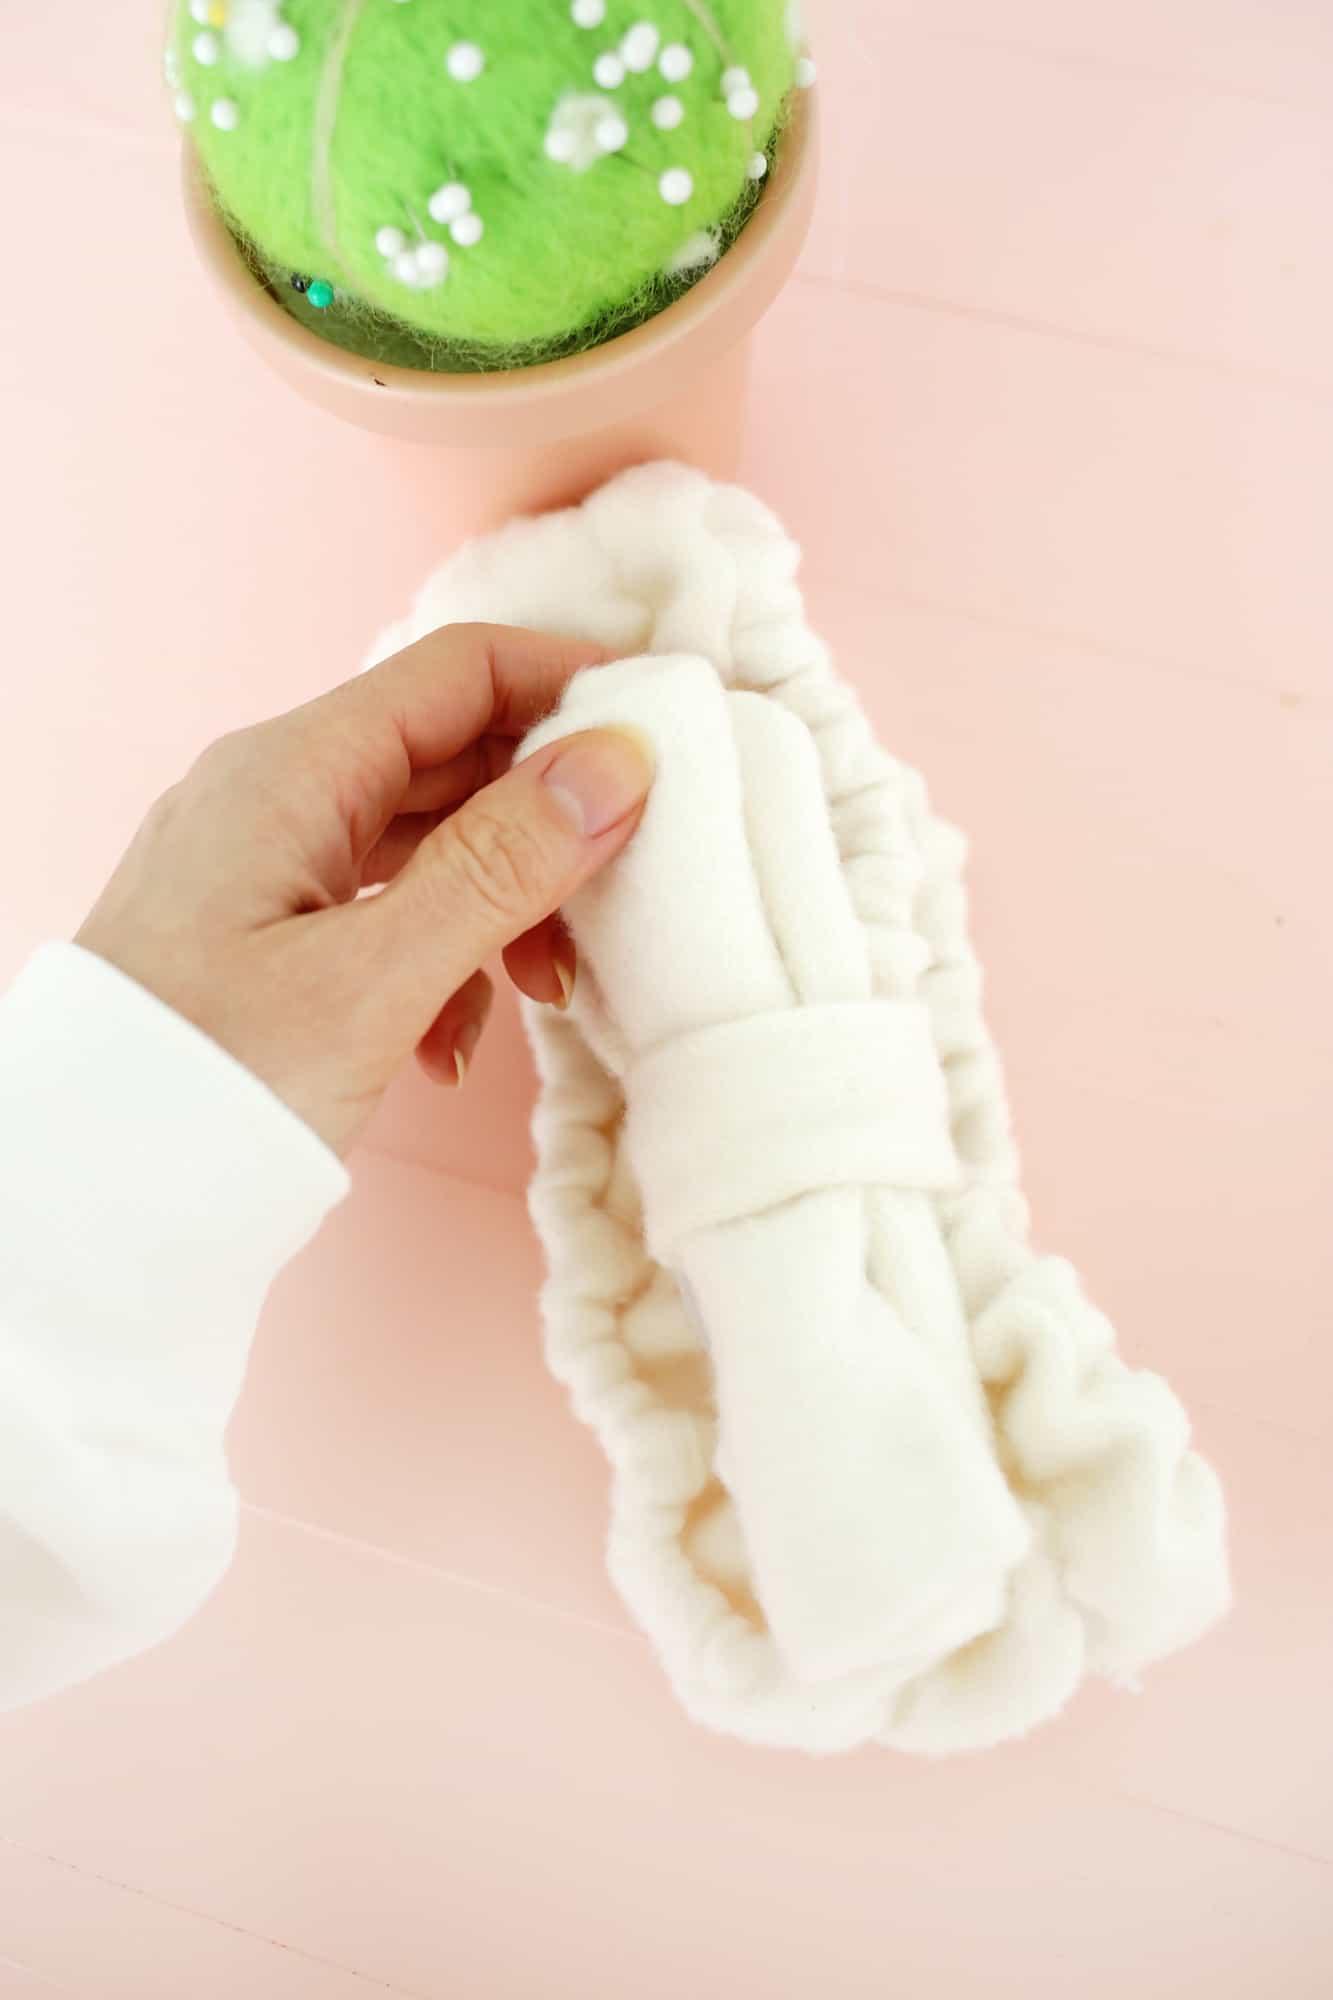 Roll your bow like a fruit roll-up and thread it through your bow middle.
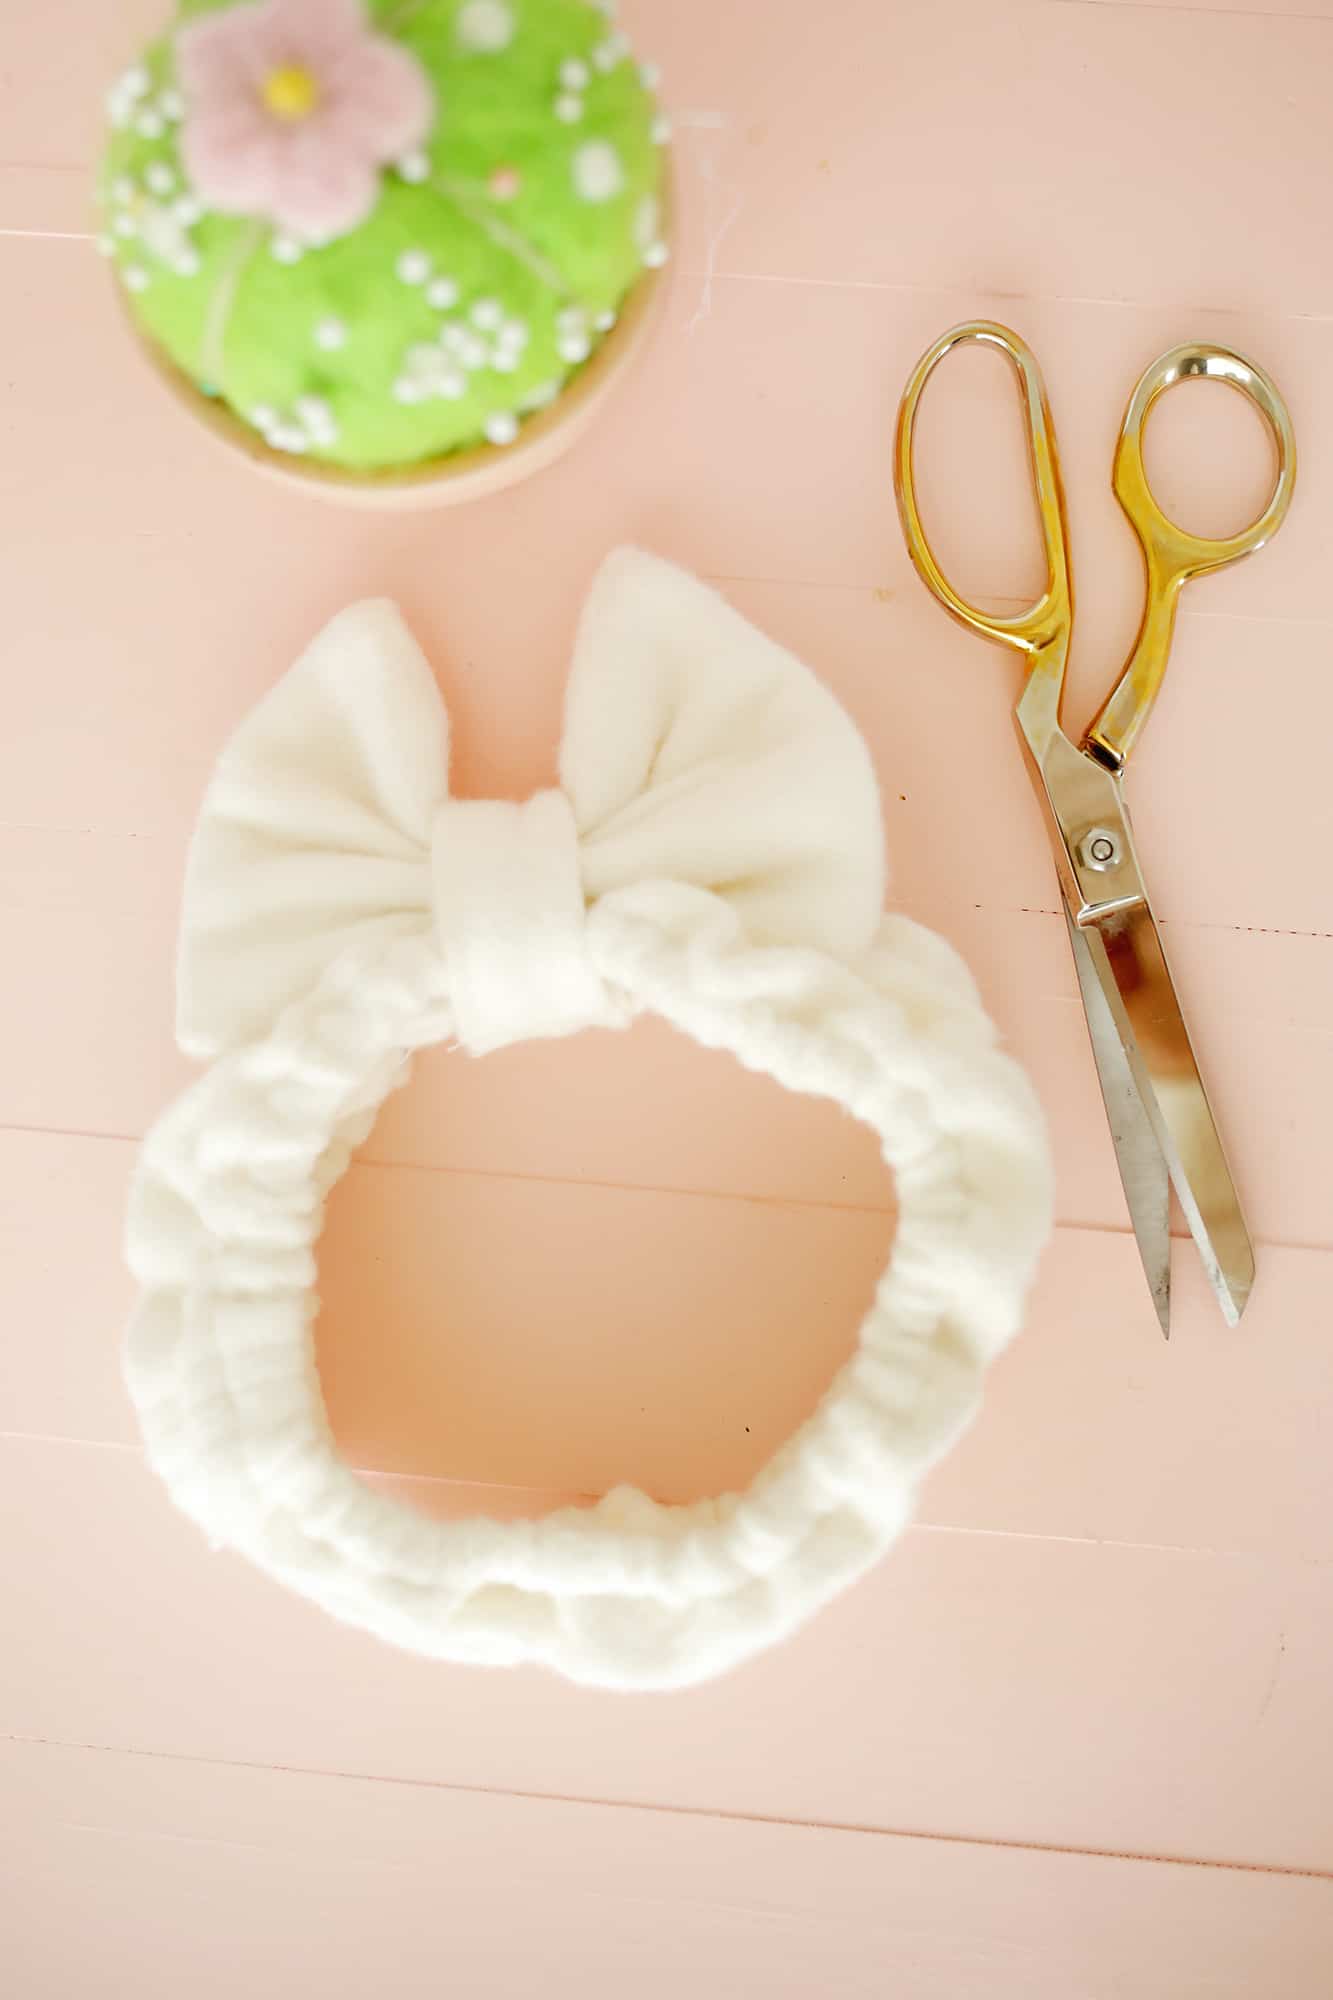
Unroll your bow, fluff it up, and your headband is ready to use!
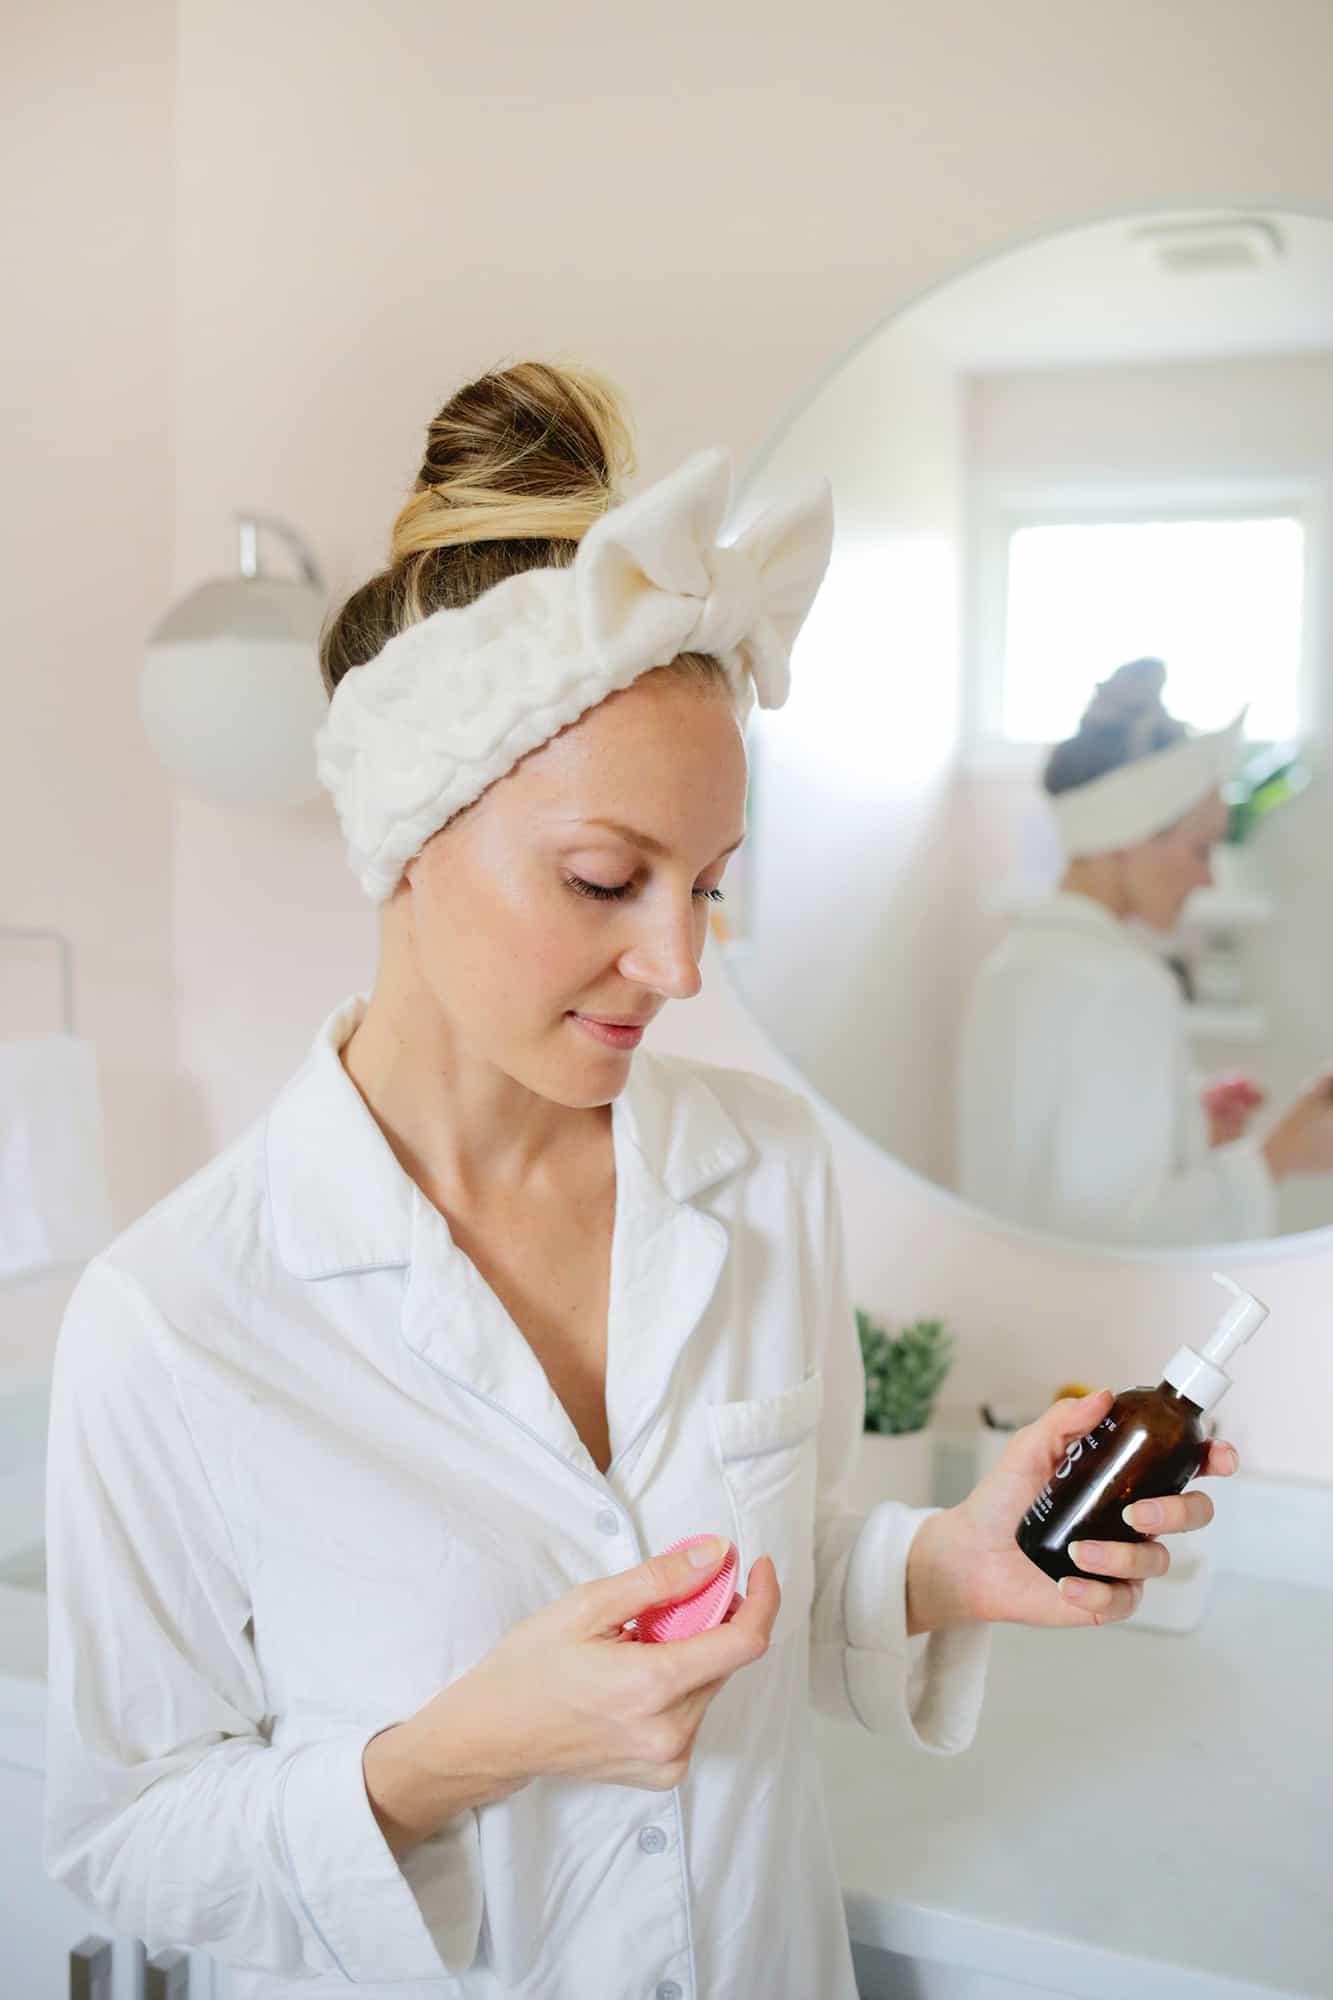
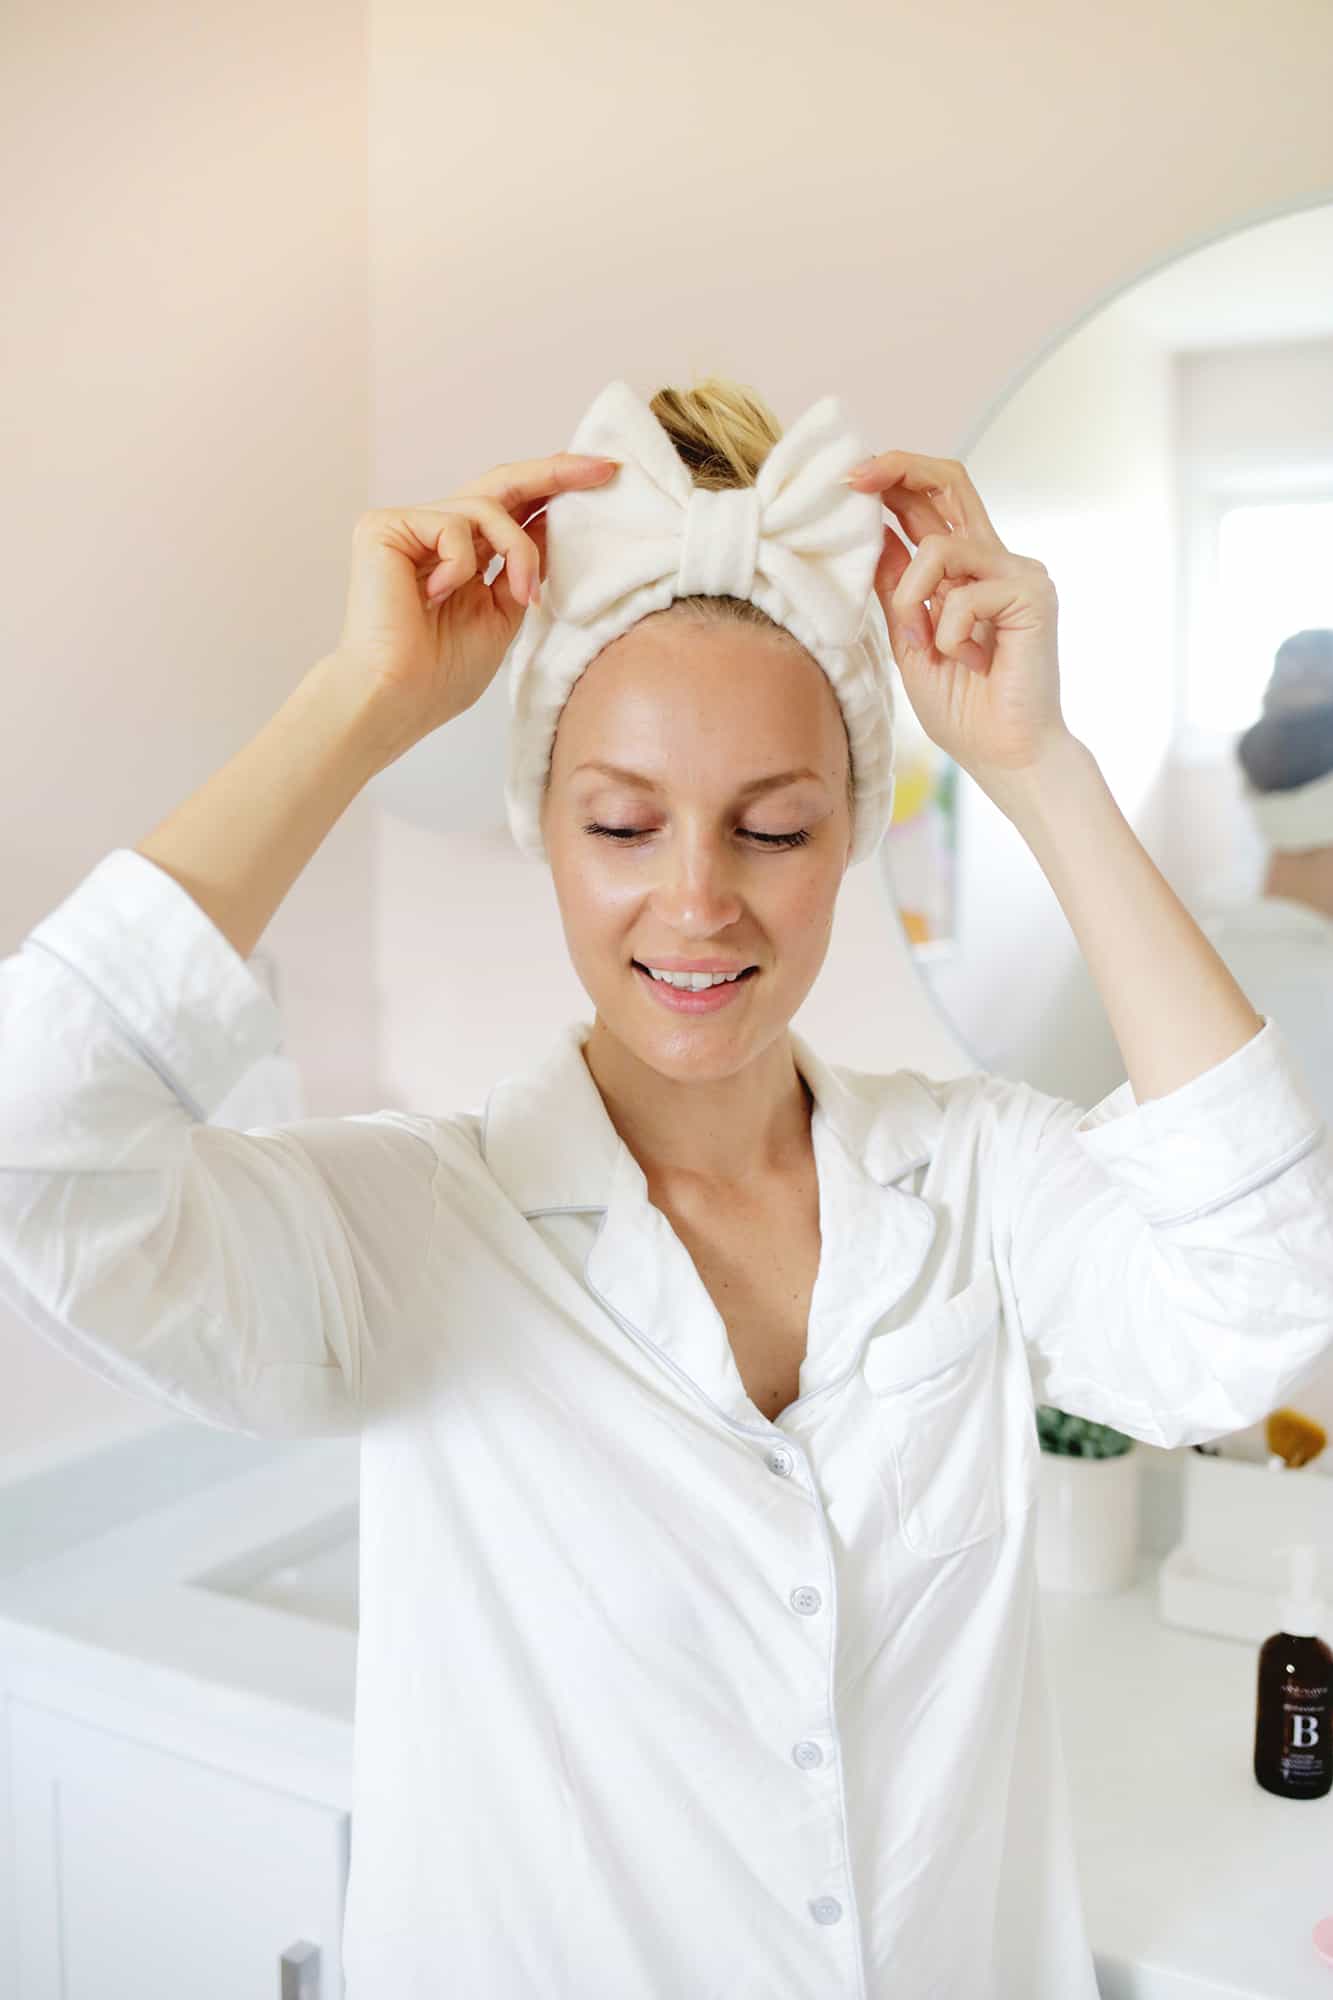
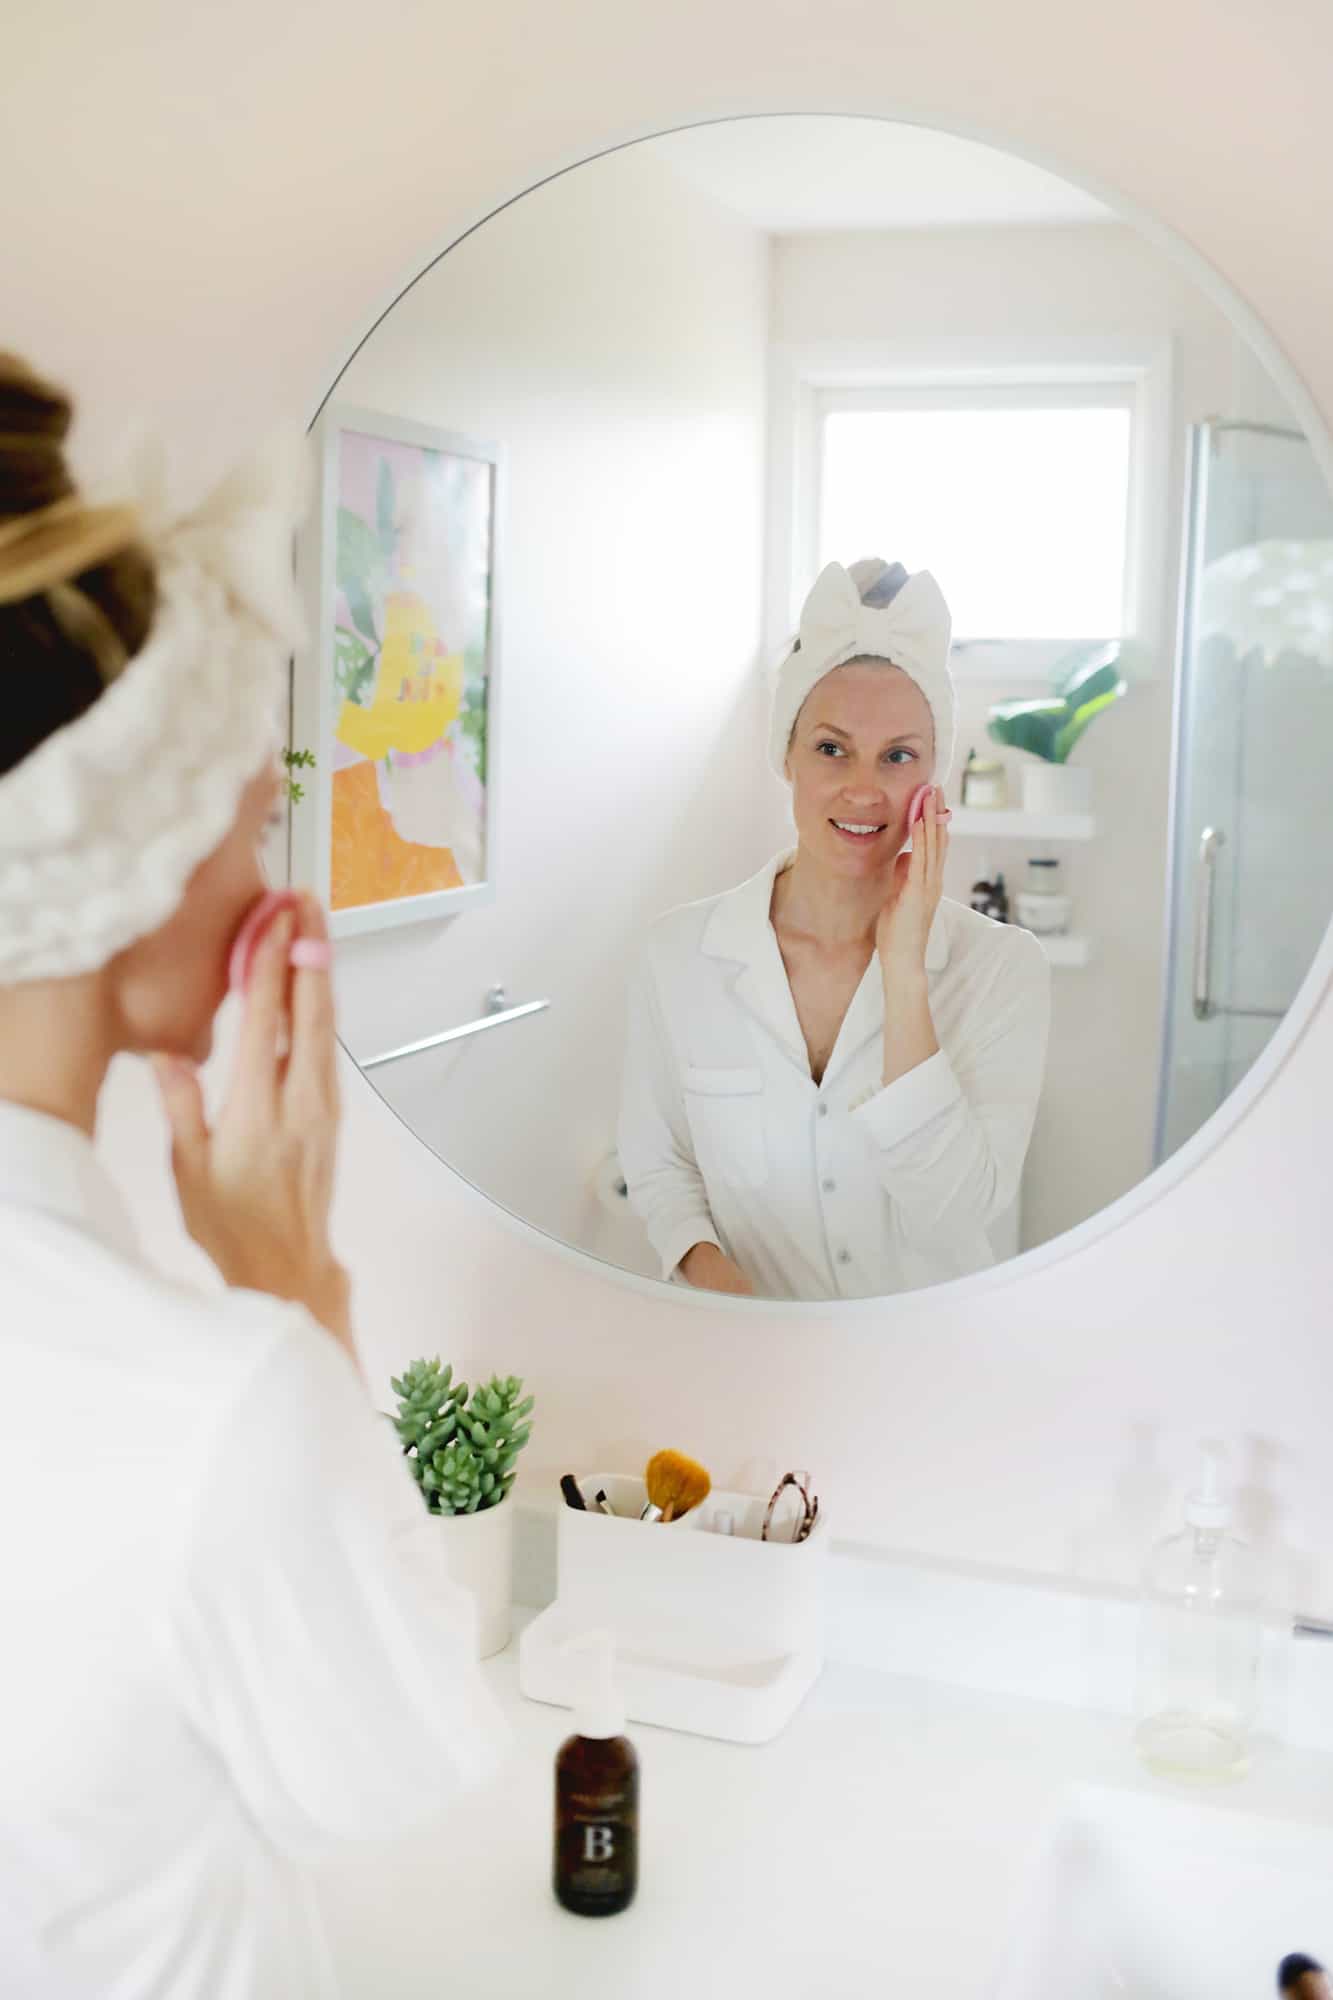 I’ve got to say that I’m pretty proud of myself here … it looks so profesh! I love that it helps keep shorter pieces and flyaways out of my face while I wash my hair (or you can use it while applying makeup as well), and I can throw it in the wash as needed with my washcloths and reusable makeup wipes.
These are also great if you are doing a beauty mask and want to keep your hair at bay (although if you do a lot of charcoal and darker masks you may want to make a darker colored one to hide any mask stains).
Overall, you just can’t help but feel cute and pampered when you pop one of these on—love it! xo. Laura
]]>