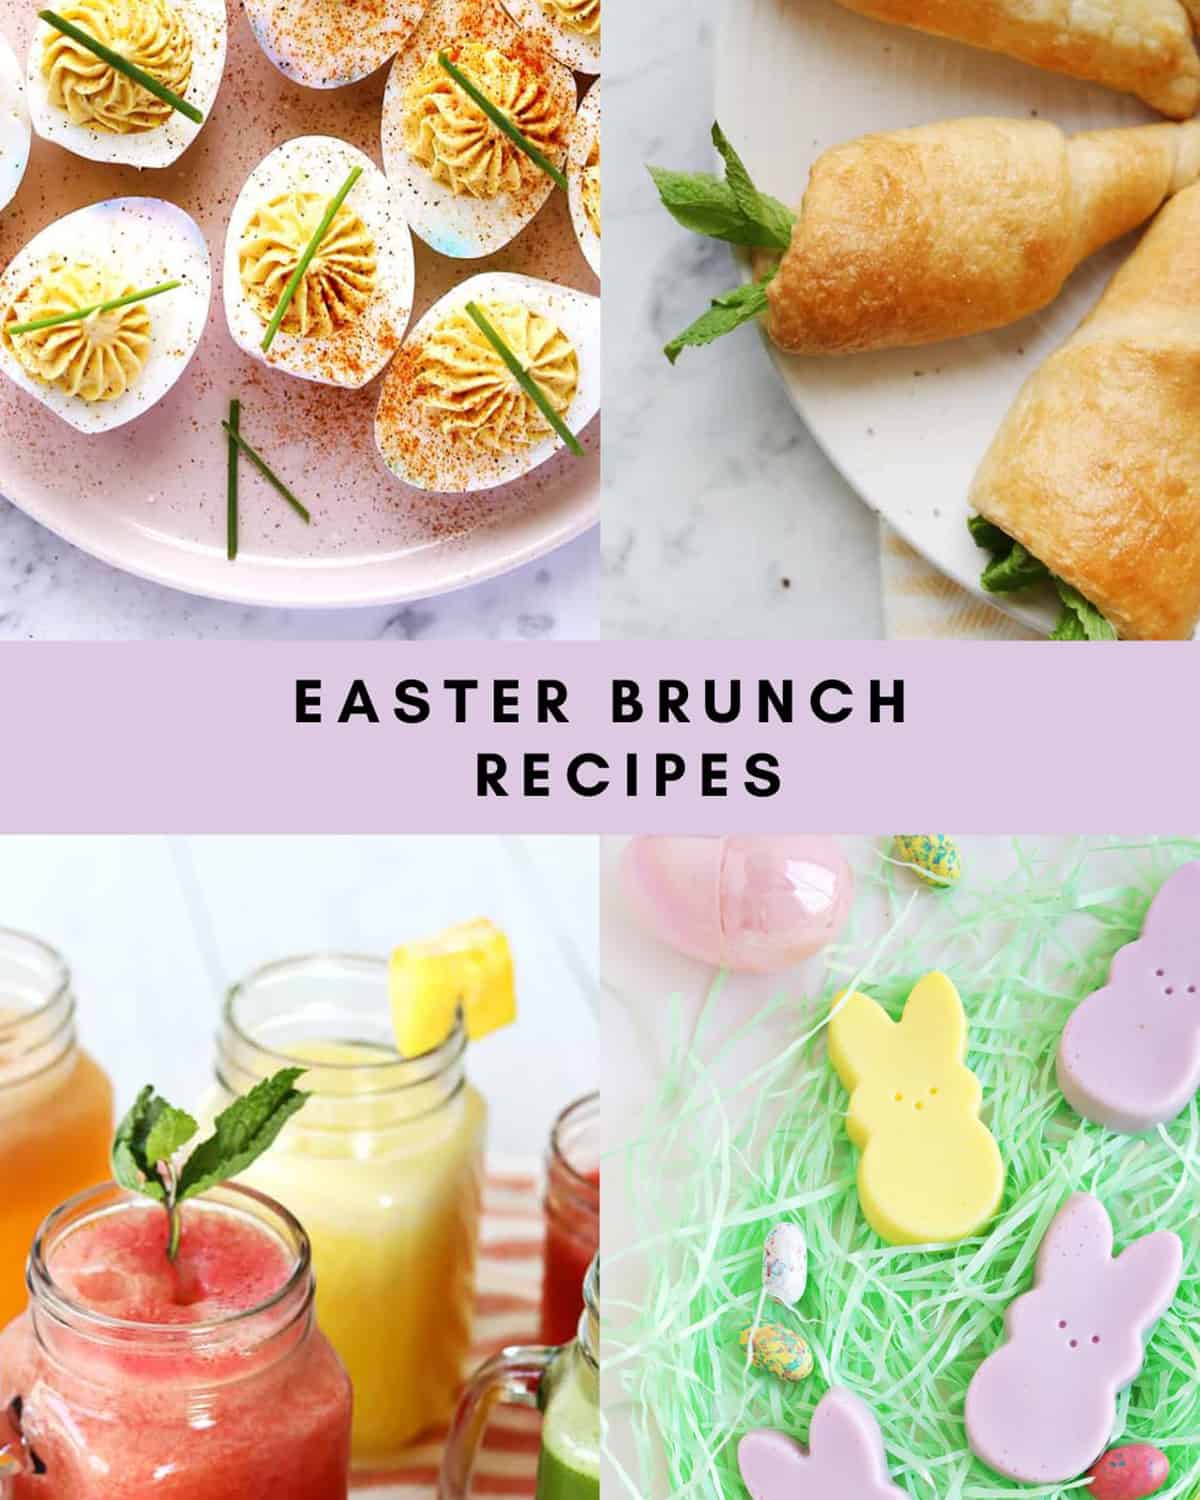
You’ll find the perfect recipes for your Easter brunch menu!
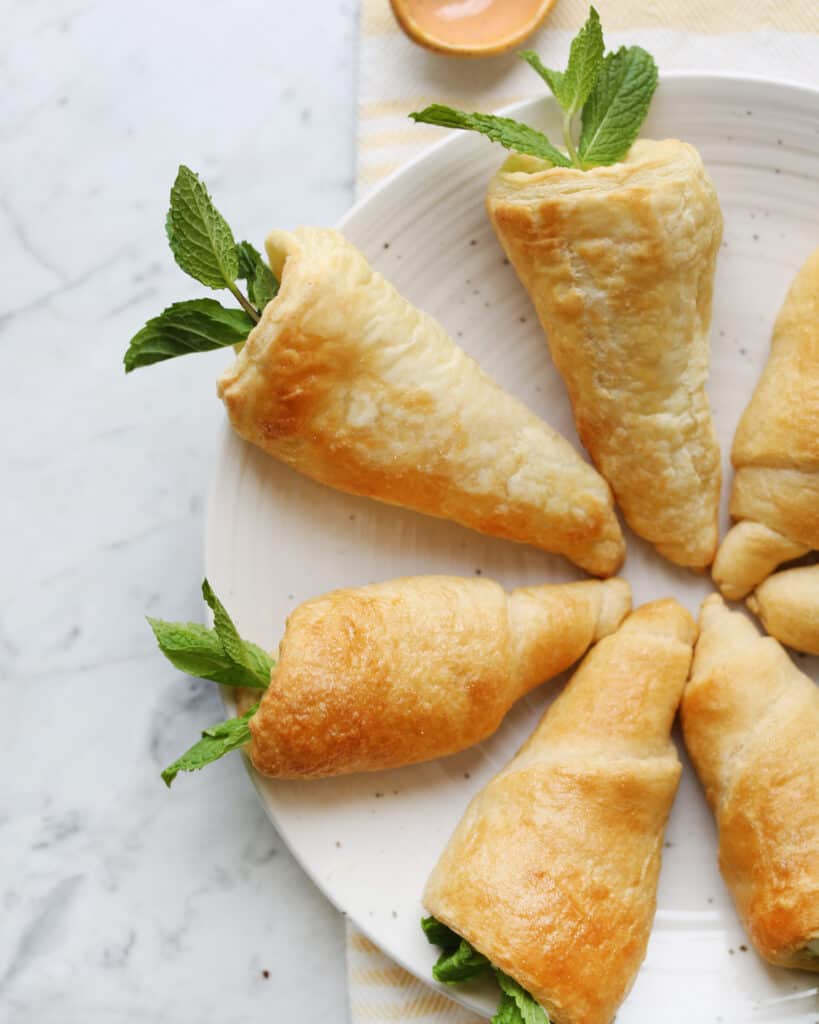
Carrot-Shaped Pastries
Make these savory spring-themed pastries, perfect for an Easter brunch or dinner.
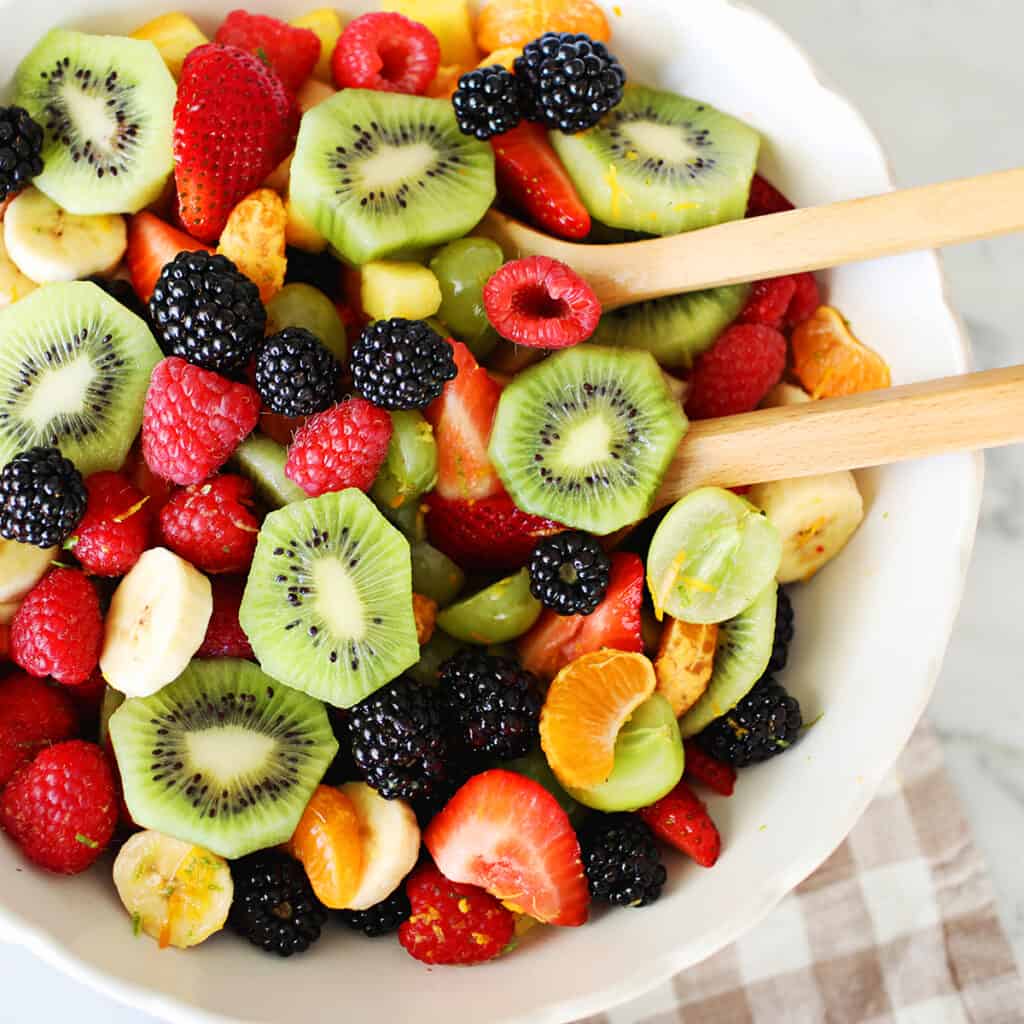
The Best Fruit Salad
A recipe for classic fruit salad. The citrus honey dressing makes the flavors bright and delicious. This recipe is made with strawberries, grapes, raspberries, banana, pineapple, oranges, blackberries and kiwi, and includes a sauce that makes it so tasty!
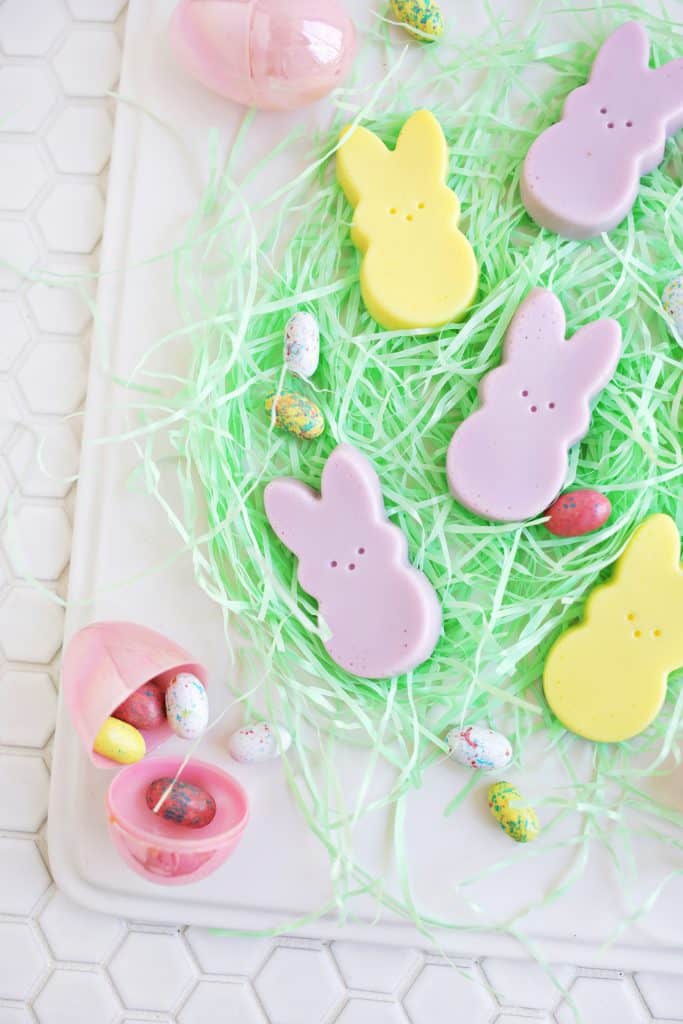
Peeps Jello Shots
Learn to make novelty Easter-themed jello shots that look just like peeps for the adults on your guest list.
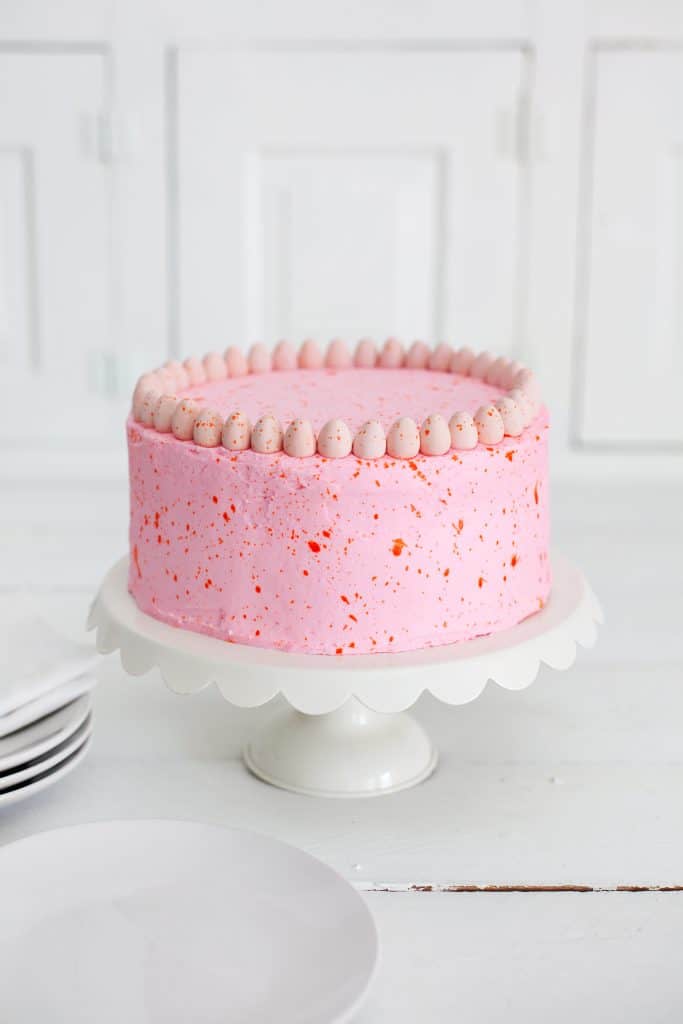
Speckled Easter Egg Cake
A dessert recipe inspired by Cadbury eggs. This cake is the perfect centerpiece for your Easter brunch.
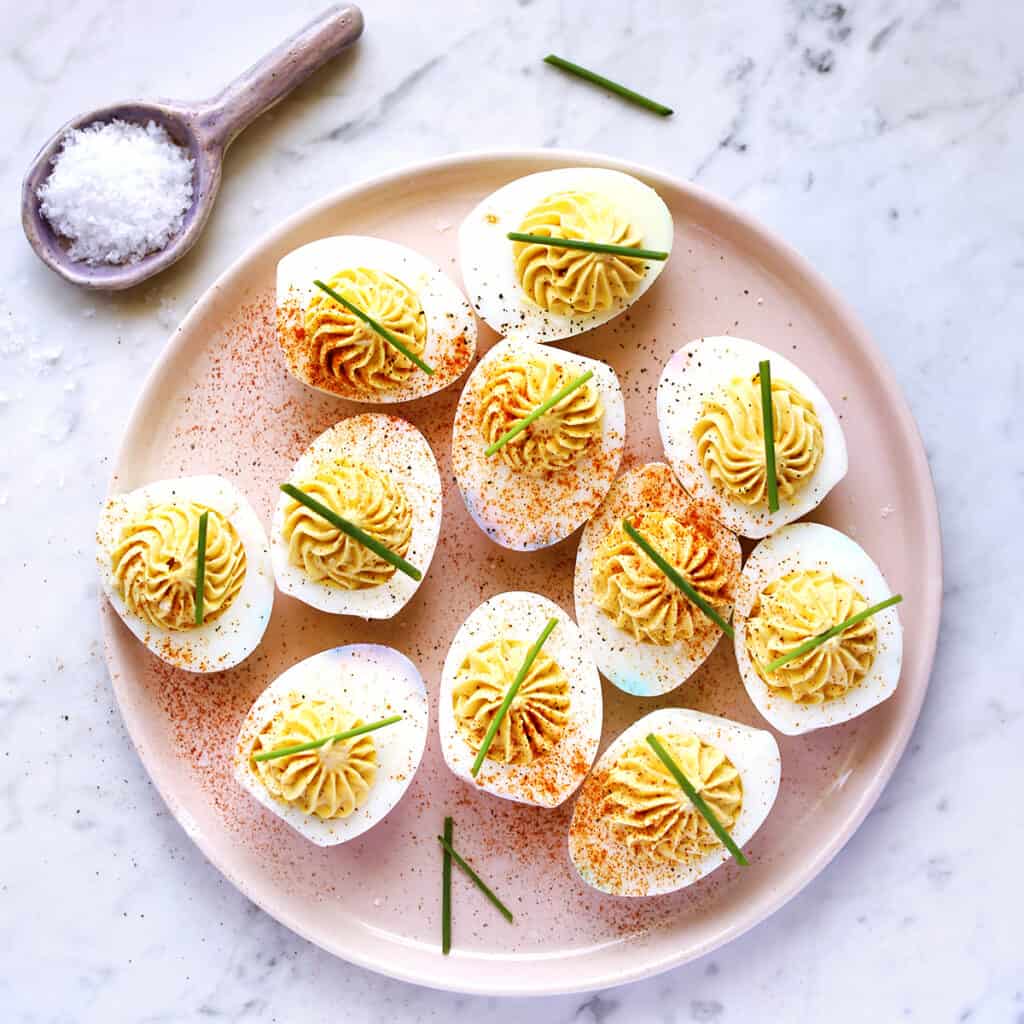
Deviled Eggs Recipe
Learn to make classic deviled eggs plus a few variations. These are essential for an Easter gathering.
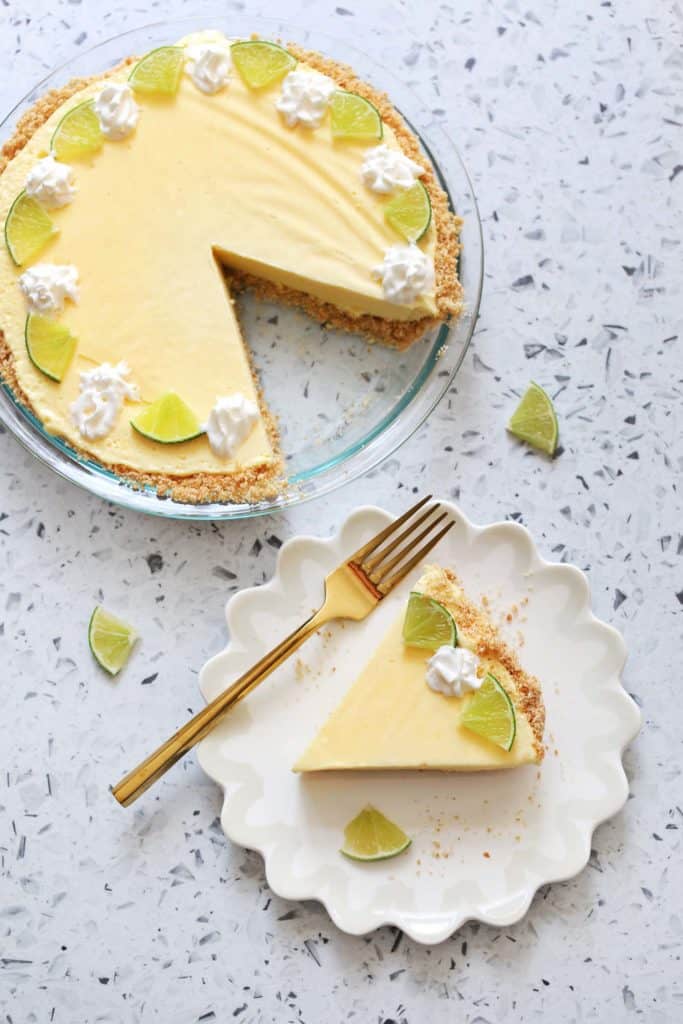
Easy No-Bake Key Lime Pie
An easy key lime pie that can be made the night before.

Easy Overnight Oats
An easy and delicious way to make no-cook oatmeal for breakfast
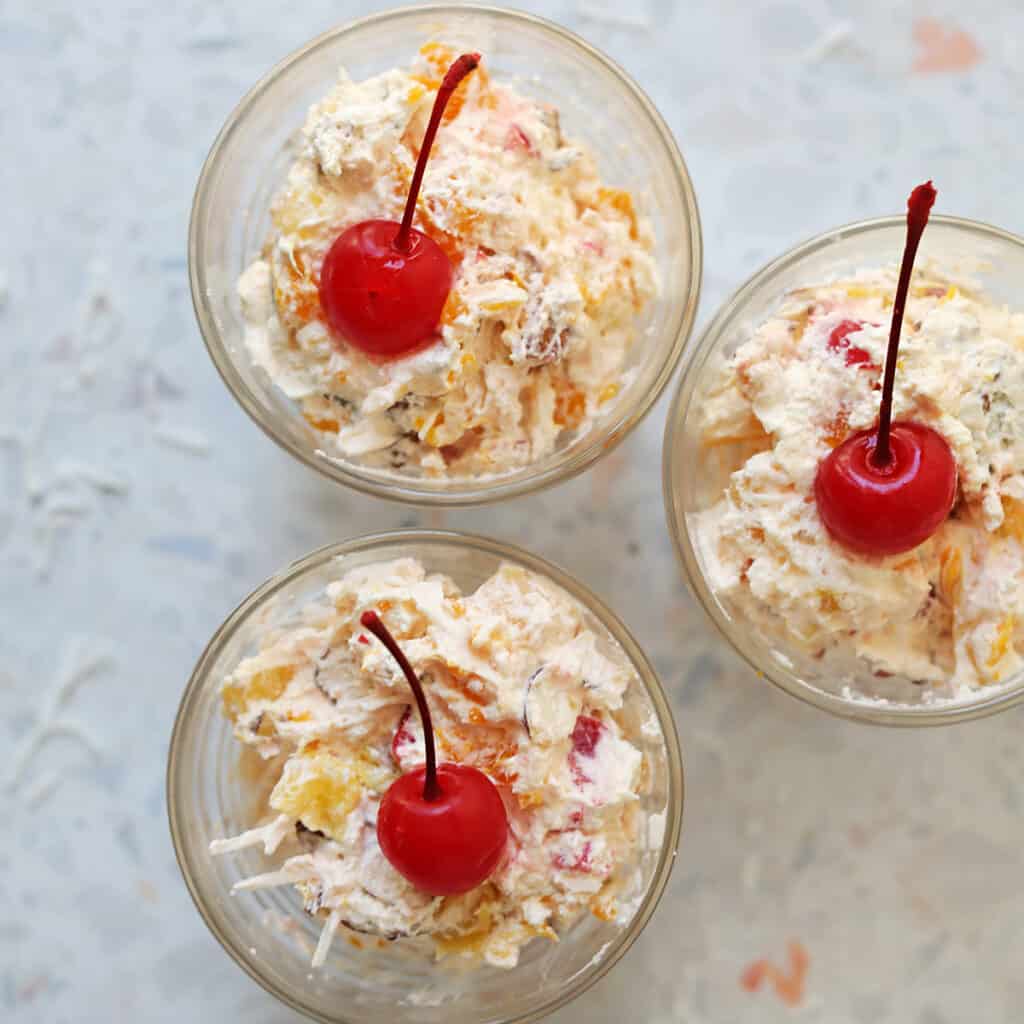
Ambrosia Salad
A creamy, sweet fruit salad. This old school recipe is perfect for Easter.
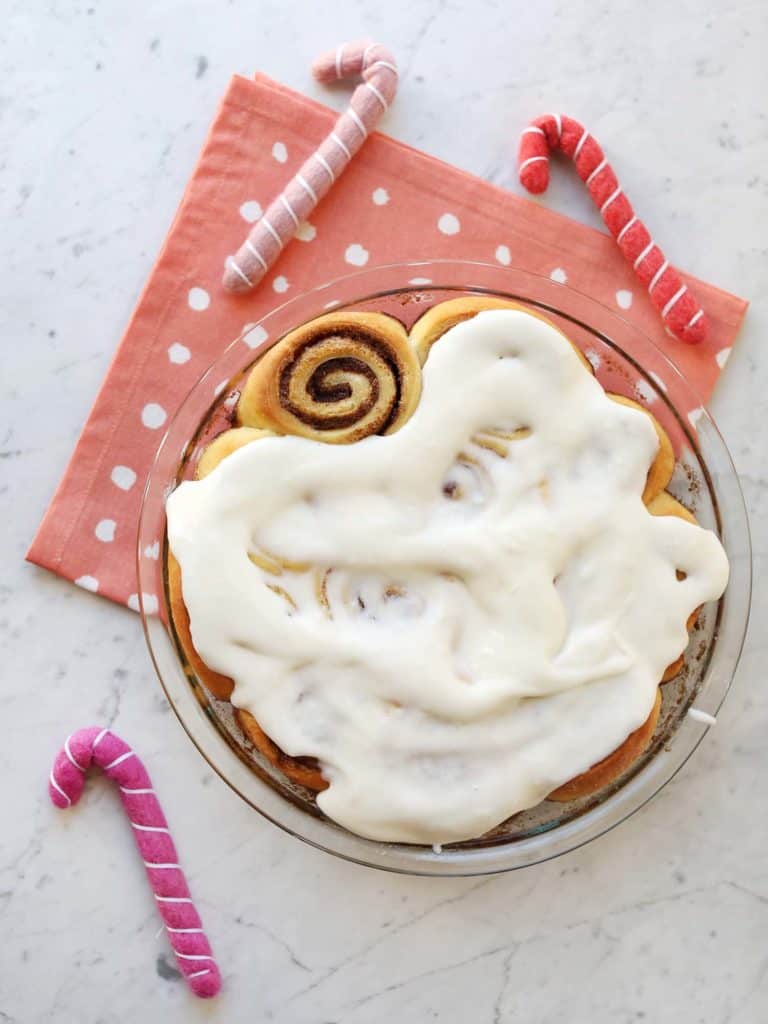
Overnight Cinnamon Rolls
These delicious cinnamon rolls can be make the night before and ready to pop in the oven or just ice in the morning.
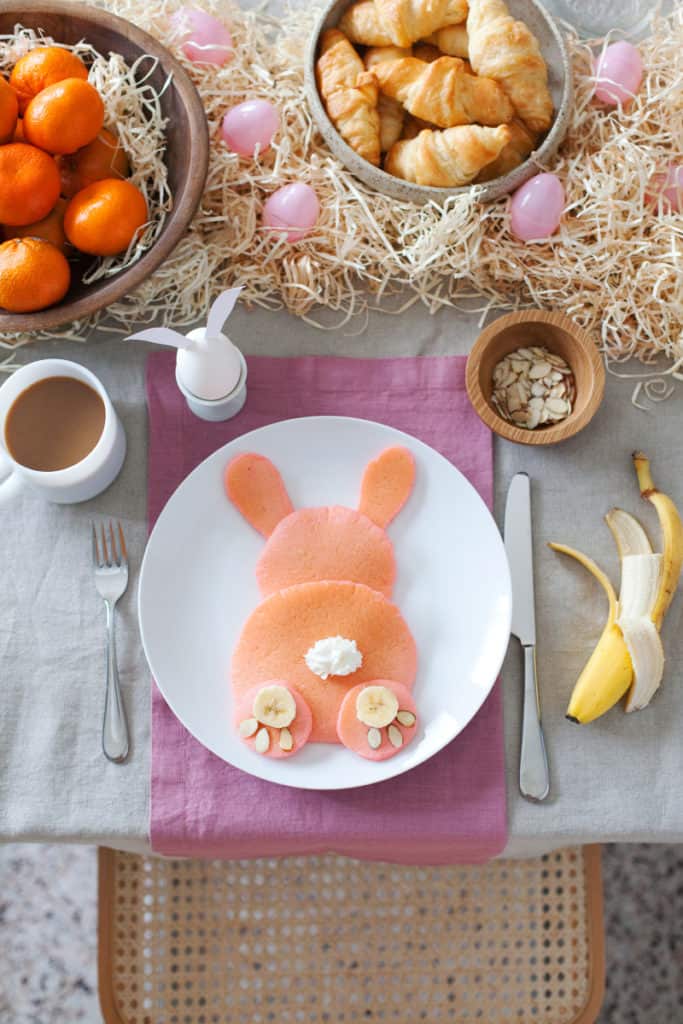
Easter Bunny Pink Pancakes
Learn to make Easter Bunny pancakes for Easter morning.
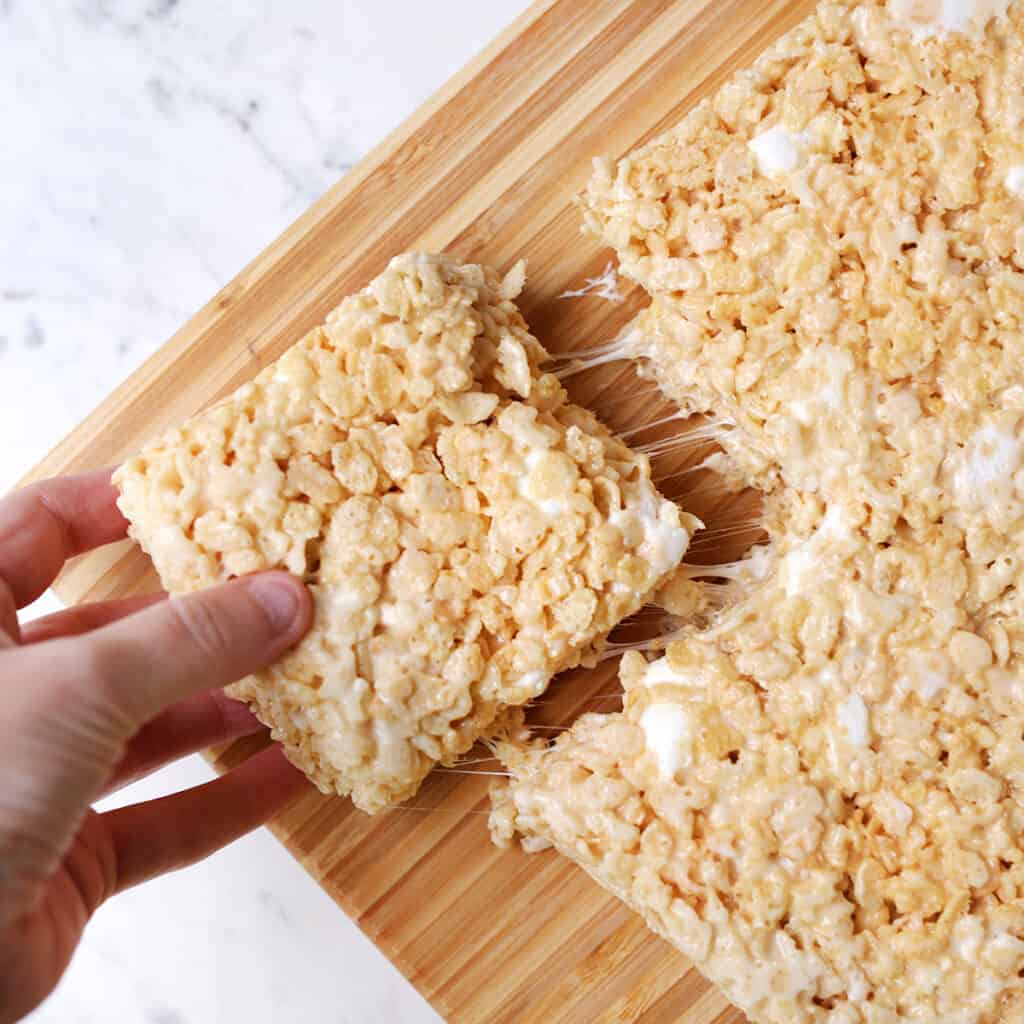
Bakery-Style Giant Rice Krispie Treats
Learn to make oversized, soft Rice Krispie treats just like a bakery.
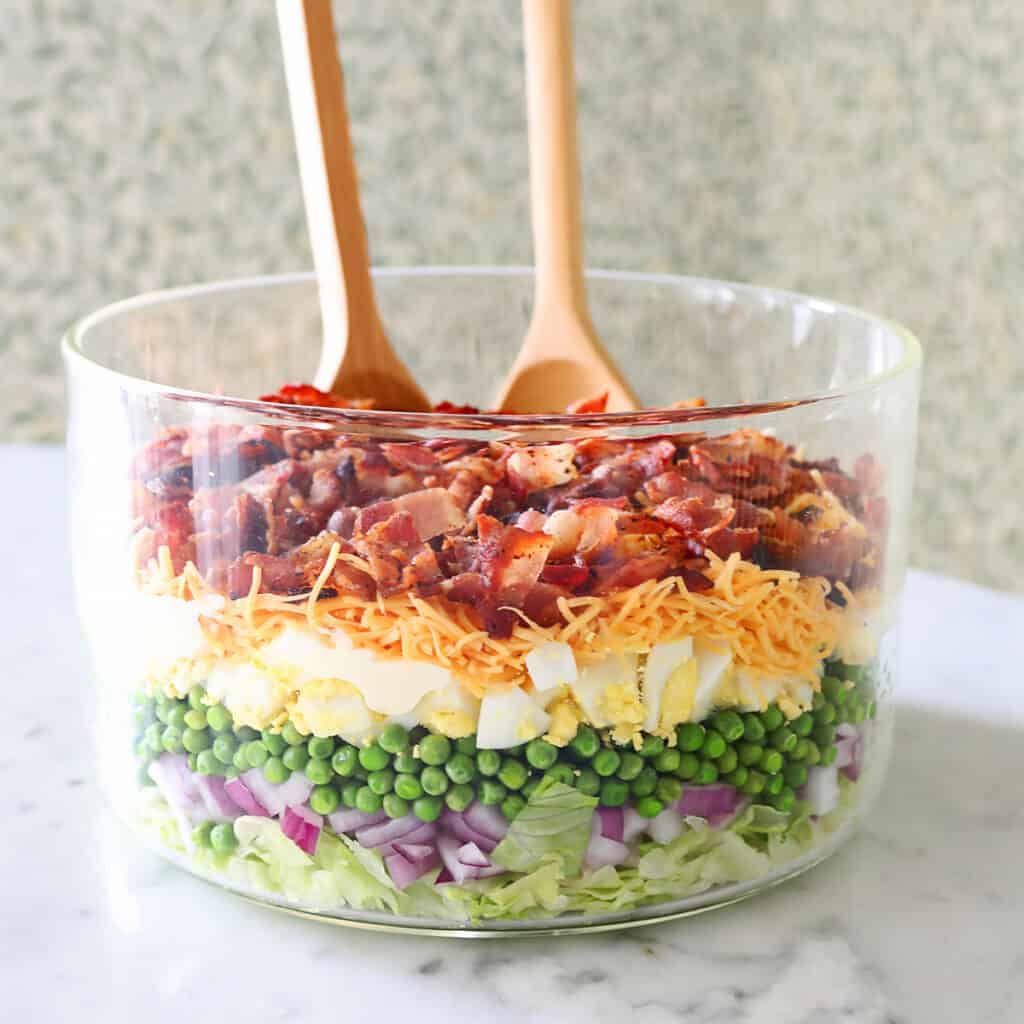
7 Layer Salad
The classic 7-layer salad includes ingredients like lettuce, peas, onions, hard boiled eggs, bacon and cheese. The sauce makes this recipe so delicious.
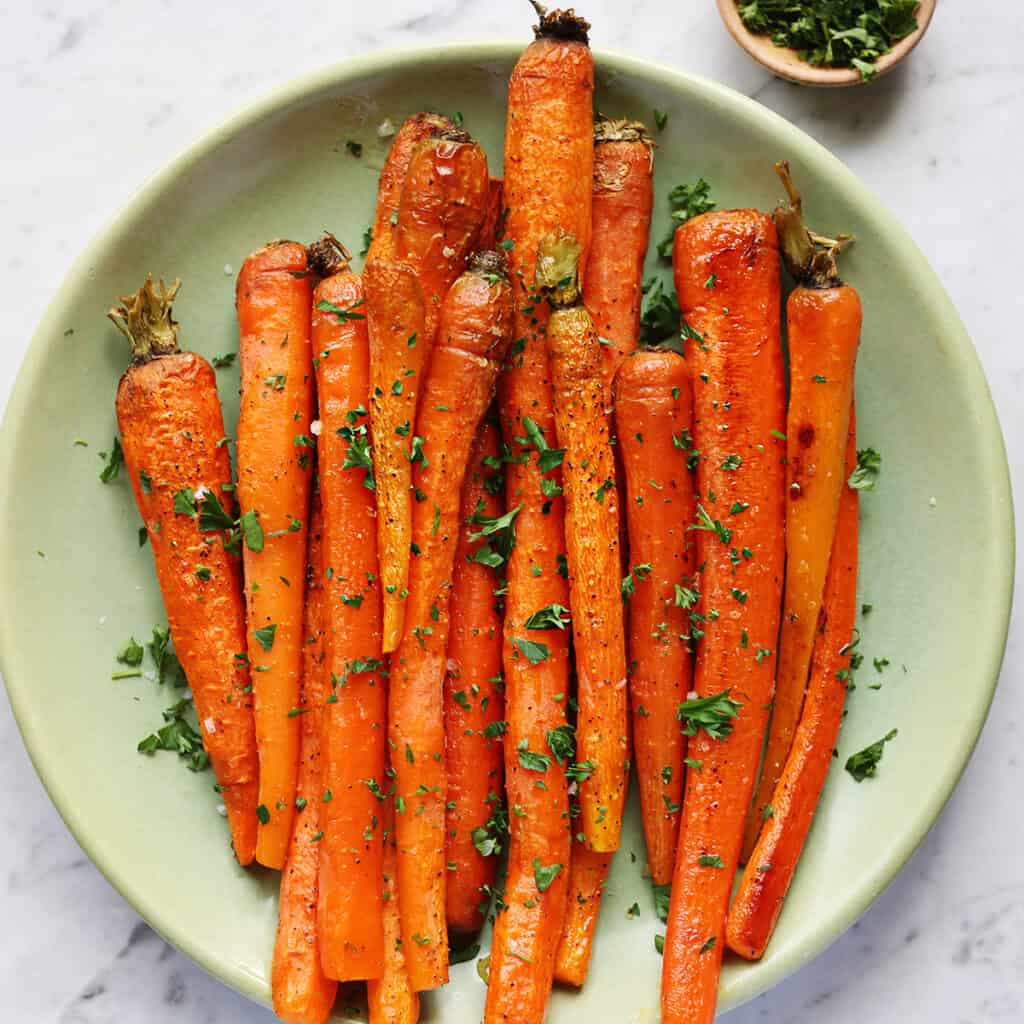
Roasted Carrots
Learn to make oven roasted carrots in just 30 minutes.
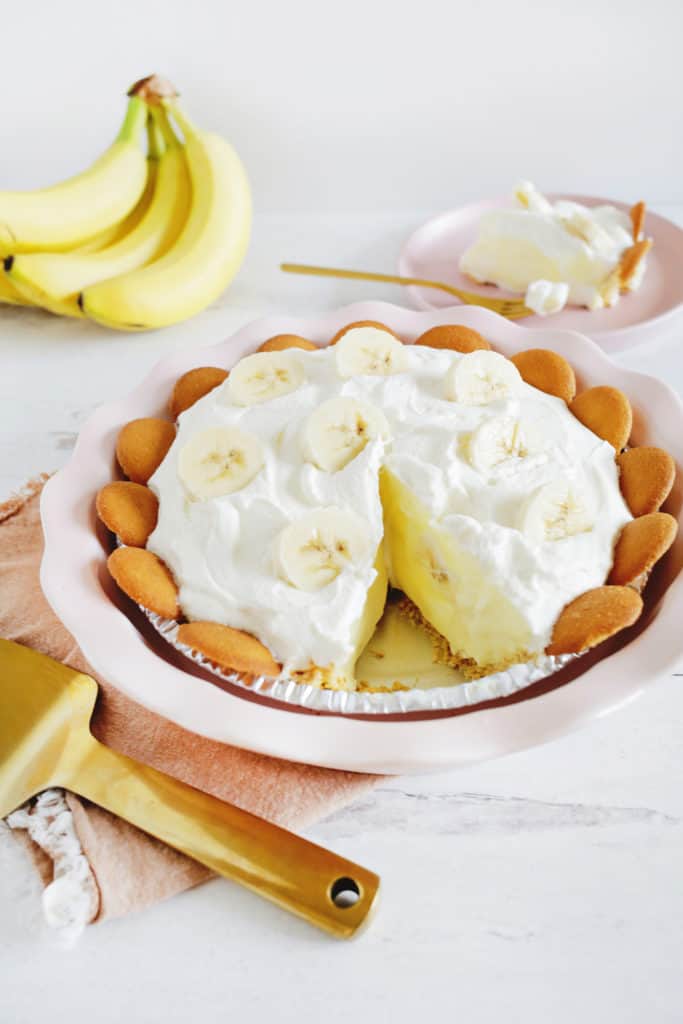
No-Bake Banana Cream Pie
This delicious no-bake banana cream pie recipe is quick, easy and a crowd-pleaser for your next party.
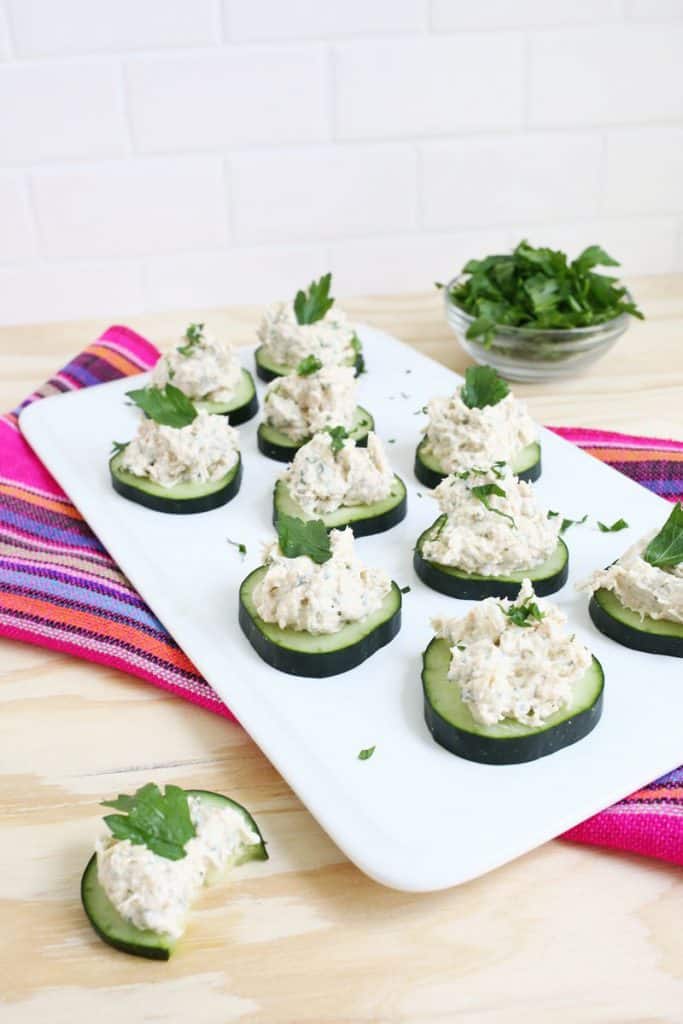
Creamy Chicken Dip
This recipe is so good! It reminds me of fancy tea sandwiches. Adults and children alike will love this recipe.
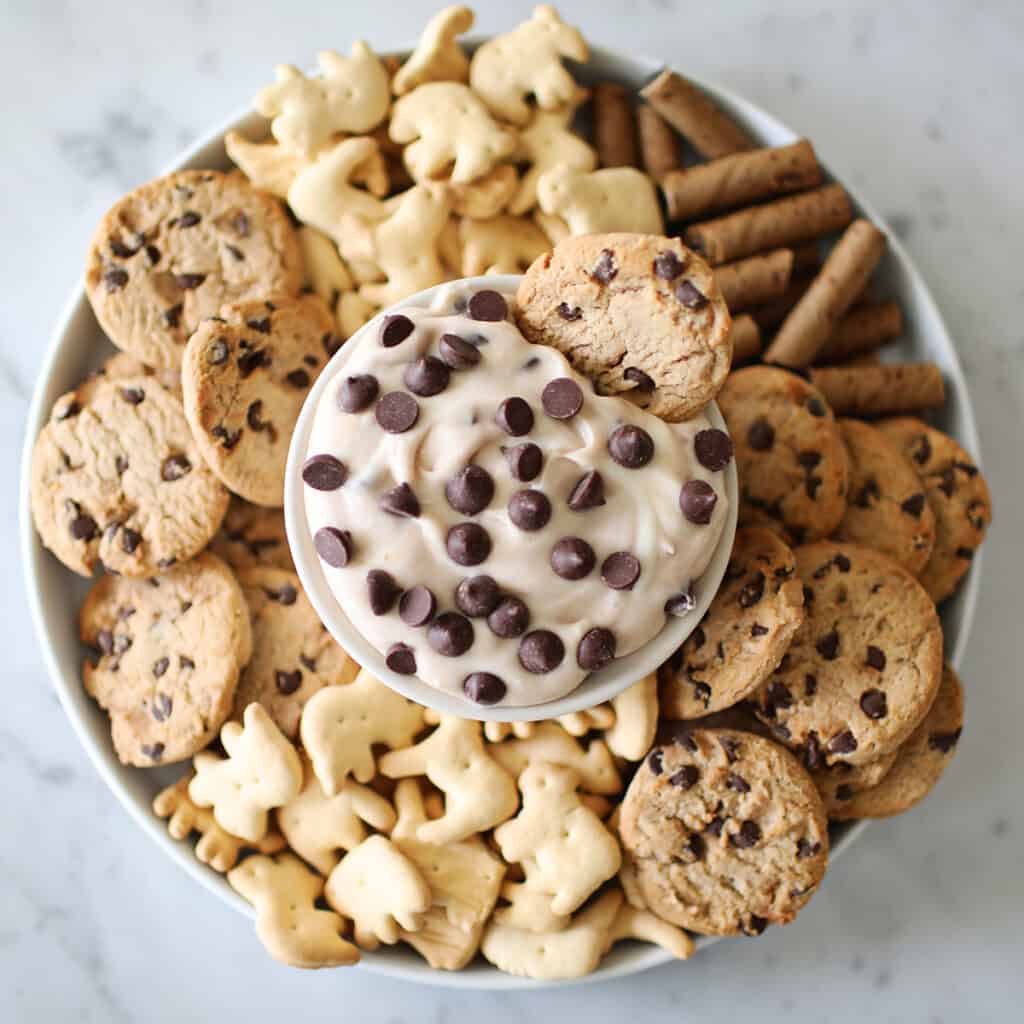
Cookie Dough Dip
A no-bake chocolate chip cookie dough dip recipe. Bonus: It’s healthier than it looks!

Banana Bread
A moist and flavorful banana bread recipe without butter.
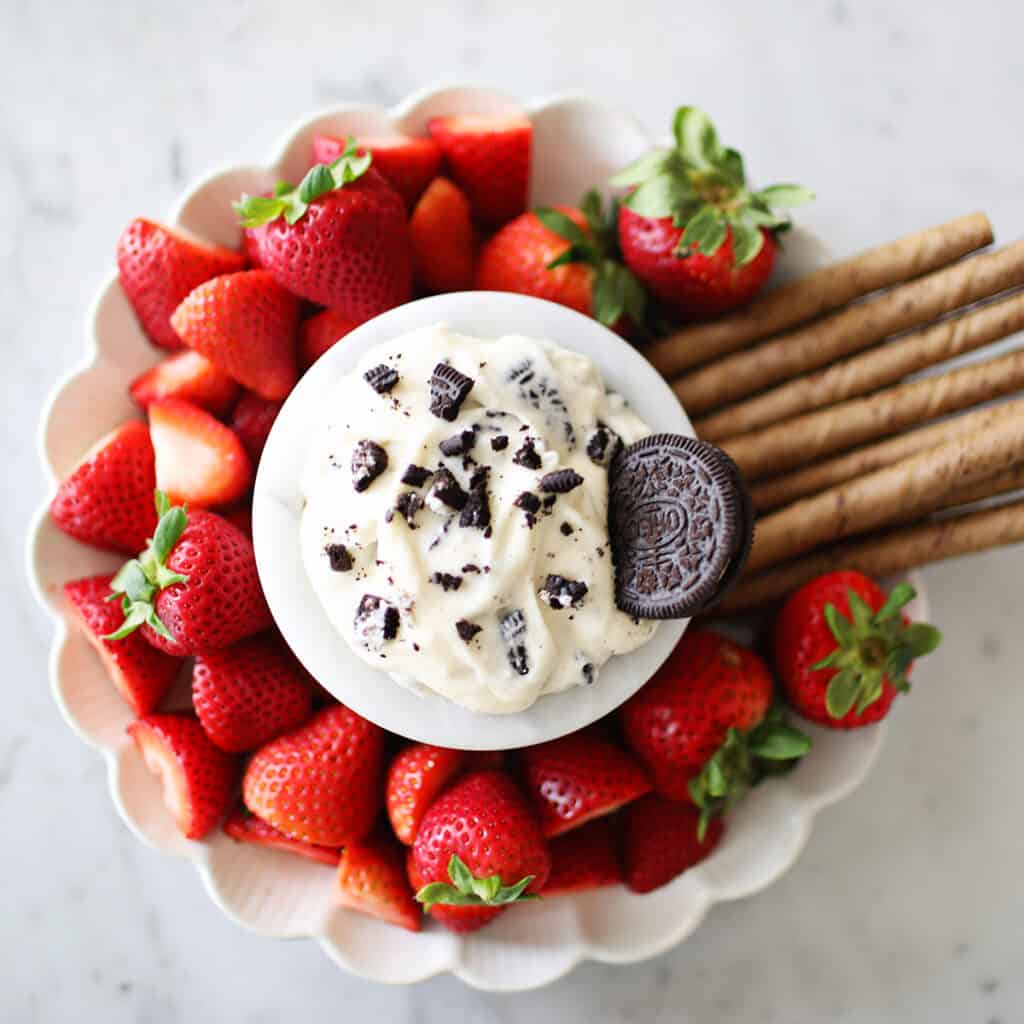
Oreo Dip
Easy Oreo dip recipe. Make this recipe in five minutes. I love serving this with fresh strawberries.
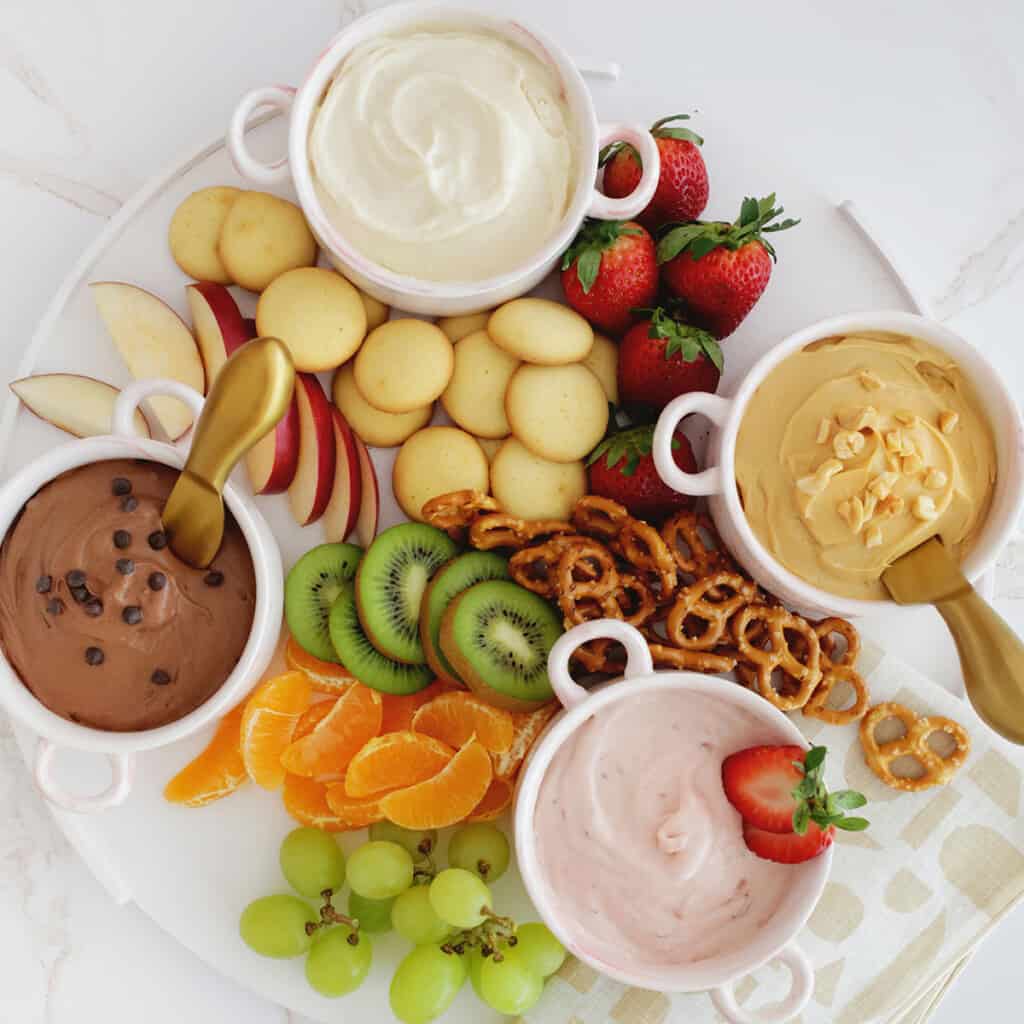
Cream Cheese Fruit Dip
It only takes five minutes to make an easy vanilla, strawberry, chocolate, or caramel cream cheese fruit dip—perfect for any party! Serve with fruit, pretzels, cookies and berries.
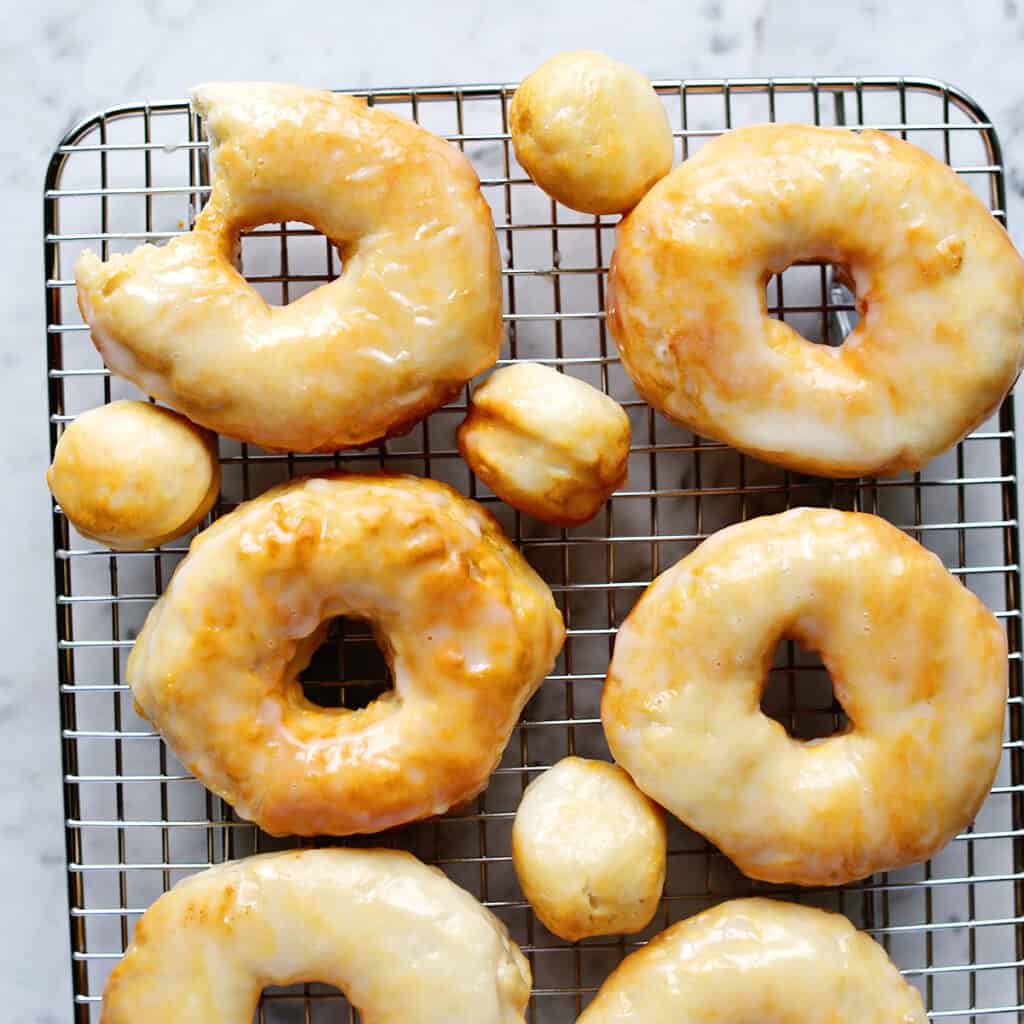
Air Fryer Donuts
Learn to make homemade donuts from canned biscuits in the air fryer.
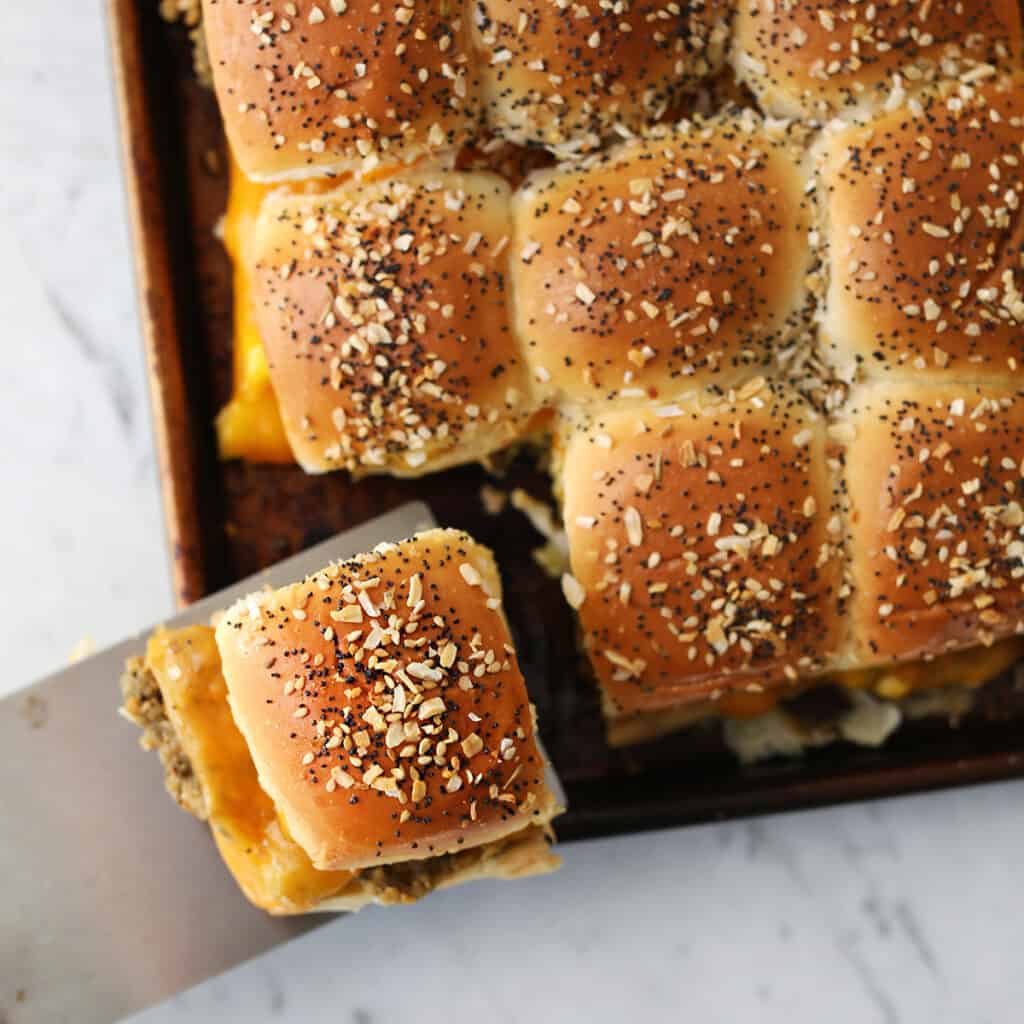
Sheet Pan Breakfast Sandwiches
Easy sheet pan breakfast sandwiches made with Hawaiian rolls, cheddar cheese and breakfast sausage. These are easy to make ahead for your brunch.
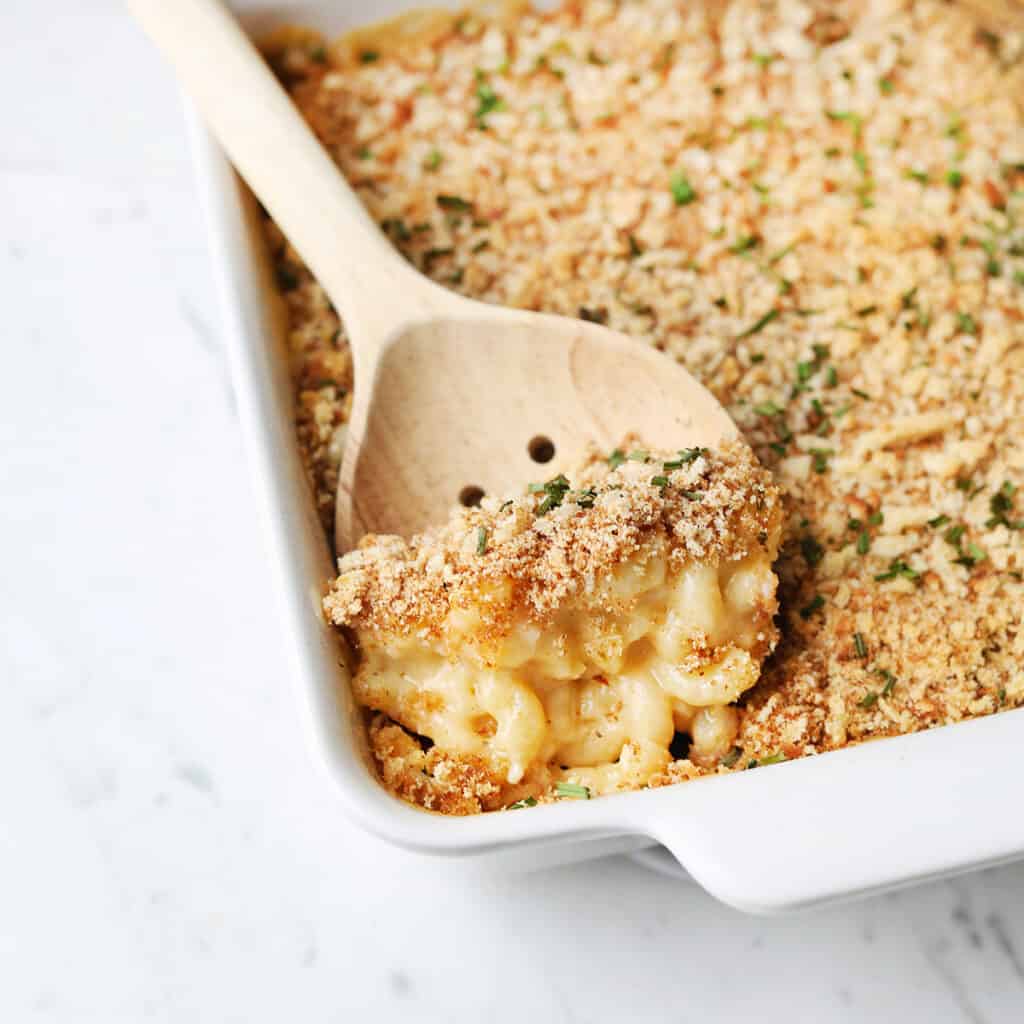
Best Baked Macaroni and Cheese
This is a classic baked macaroni and cheese recipe with no eggs or evaporated milk. It’s creamy, delicious and can be prepped in advance.
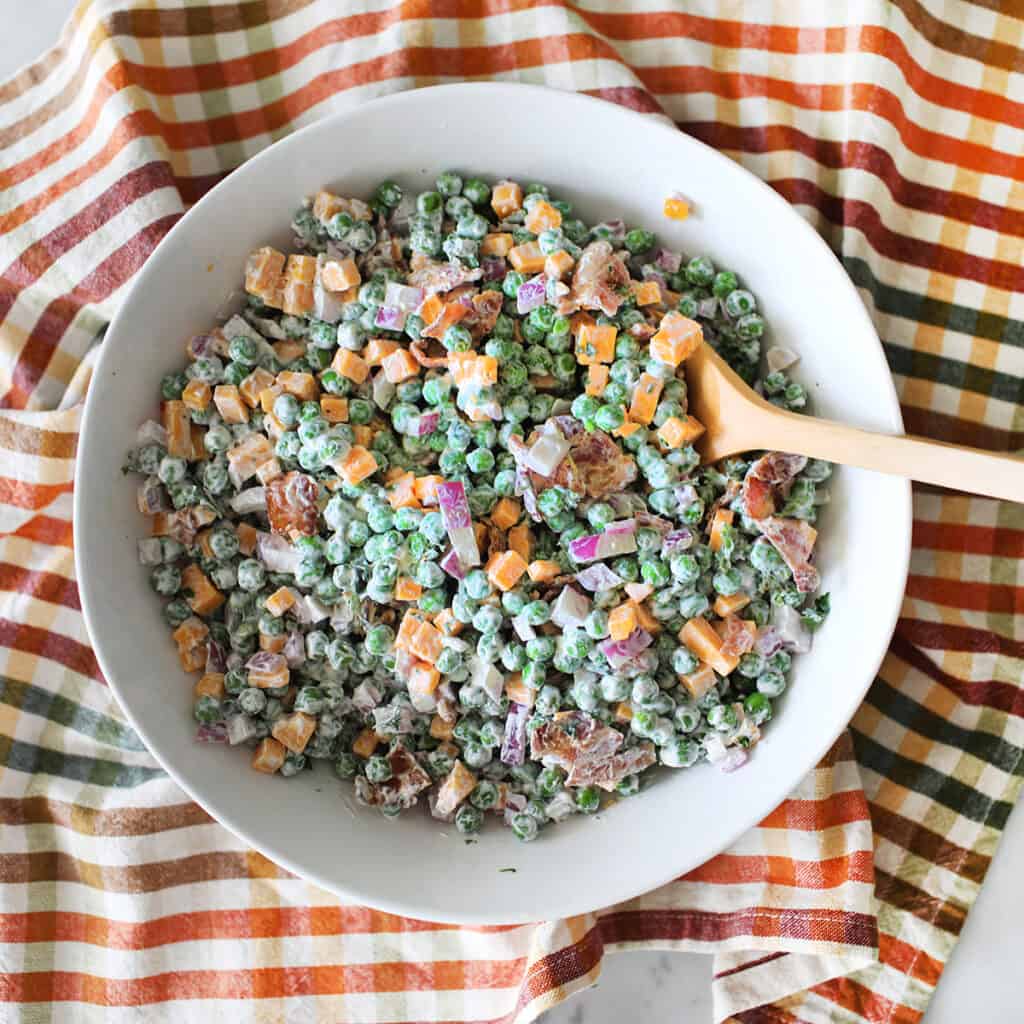
Classic Pea Salad with Bacon
An easy to make mayonnaise-based pea salad to serve at your next family lunch.
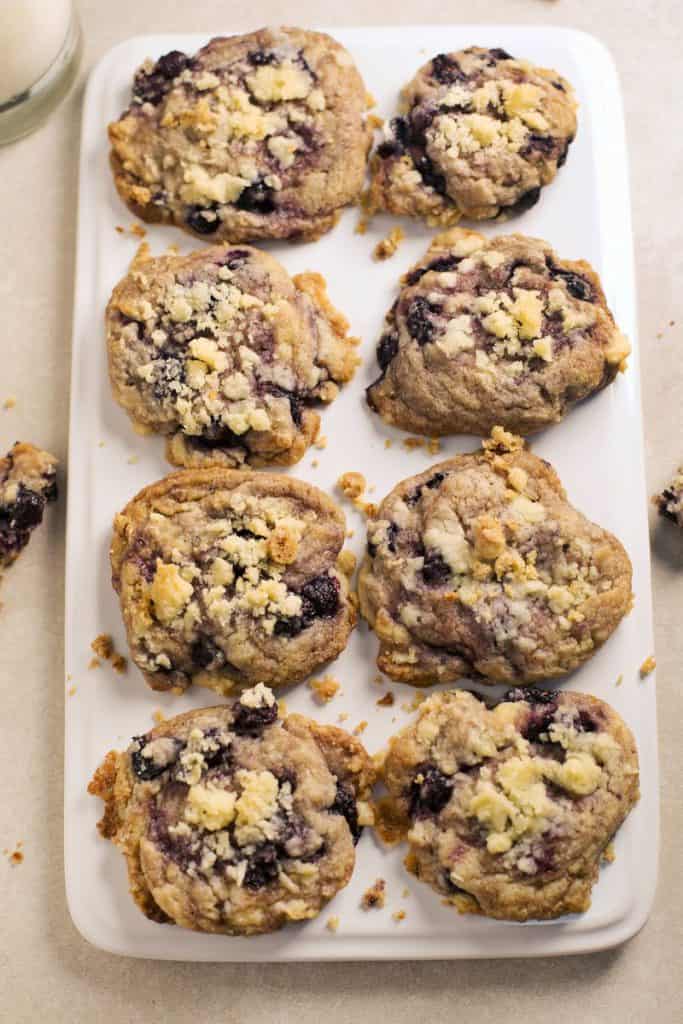
Blueberry Muffin Cookies
These cookies embody all of my favorite parts of a muffin, namely sweet, delicious flavors (these feature blueberries and candied ginger) and the crown, crumble tops.
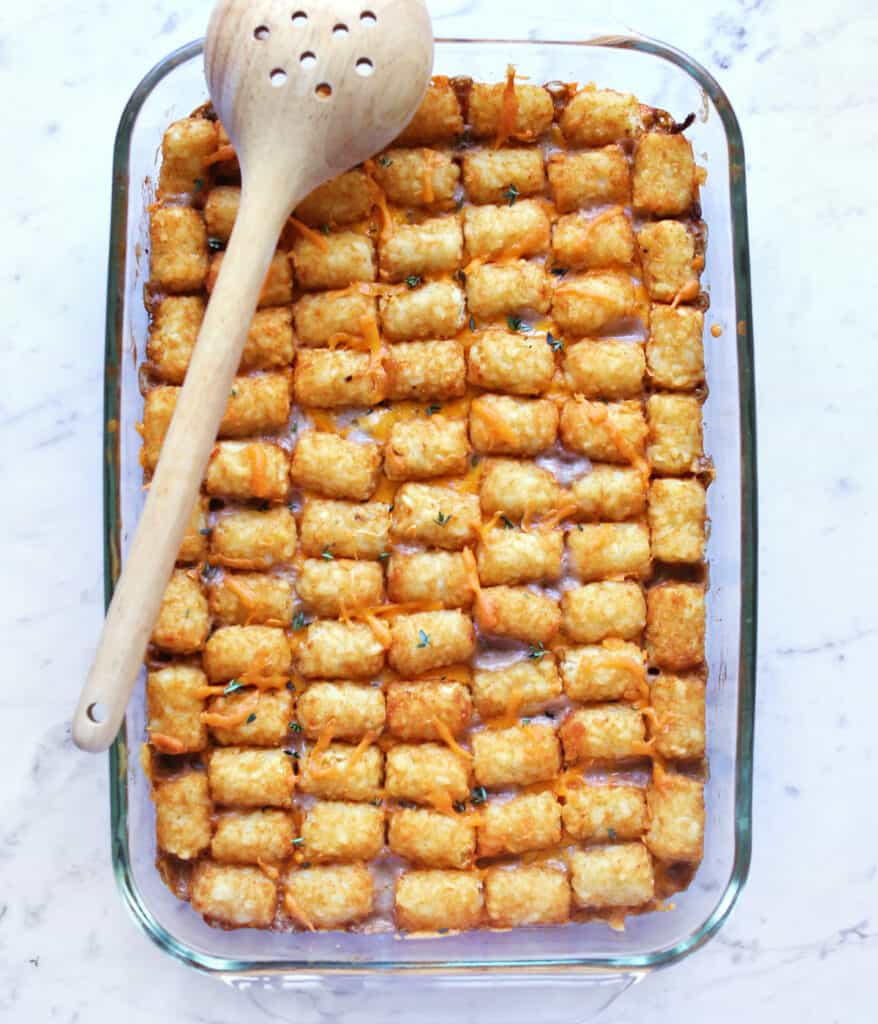
Tater Tot Casserole
A simple five-ingredient casserole with frozen tater tots on top. This brunch recipe can be prepped the night before.
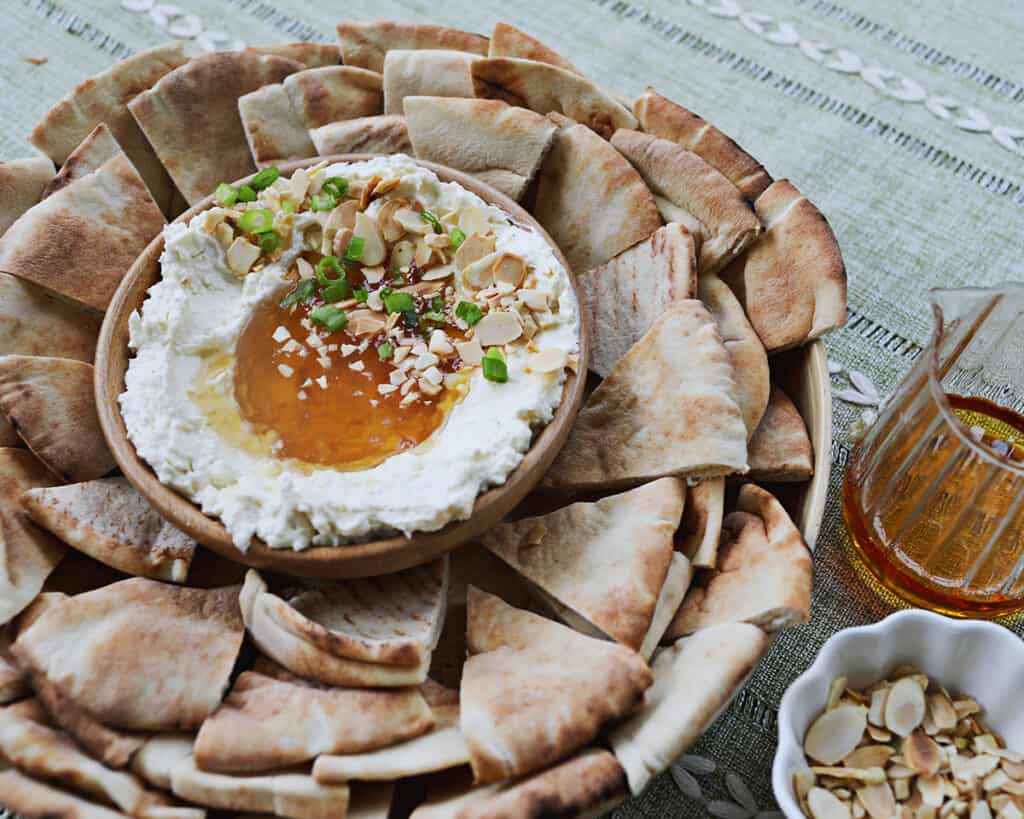
Whipped Feta Dip
Whipped feta dip with honey and pita bread. This fancy dip recipe is perfect for a family brunch or lunch.
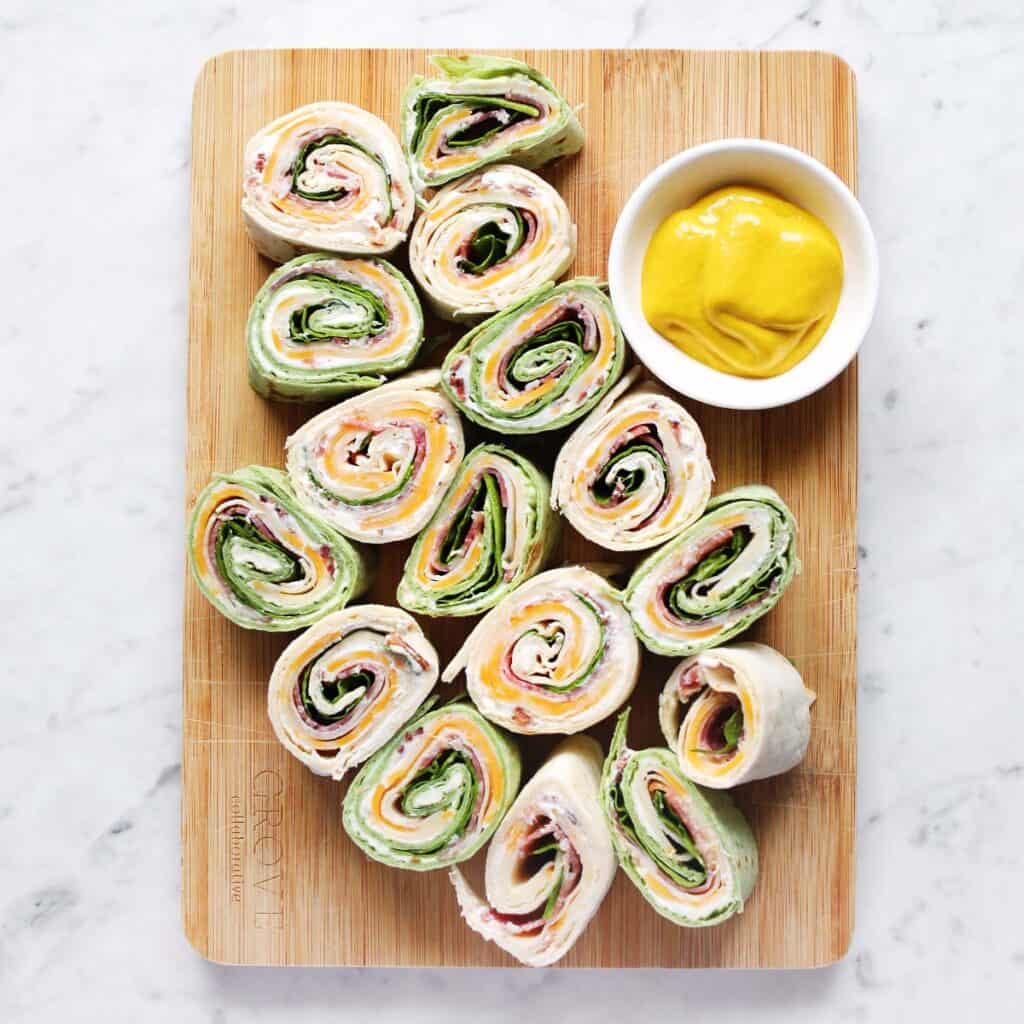
Pinwheel Sandwiches
Finger food perfect for any party or school lunch. Make these for the kids’ table at your Easter brunch.
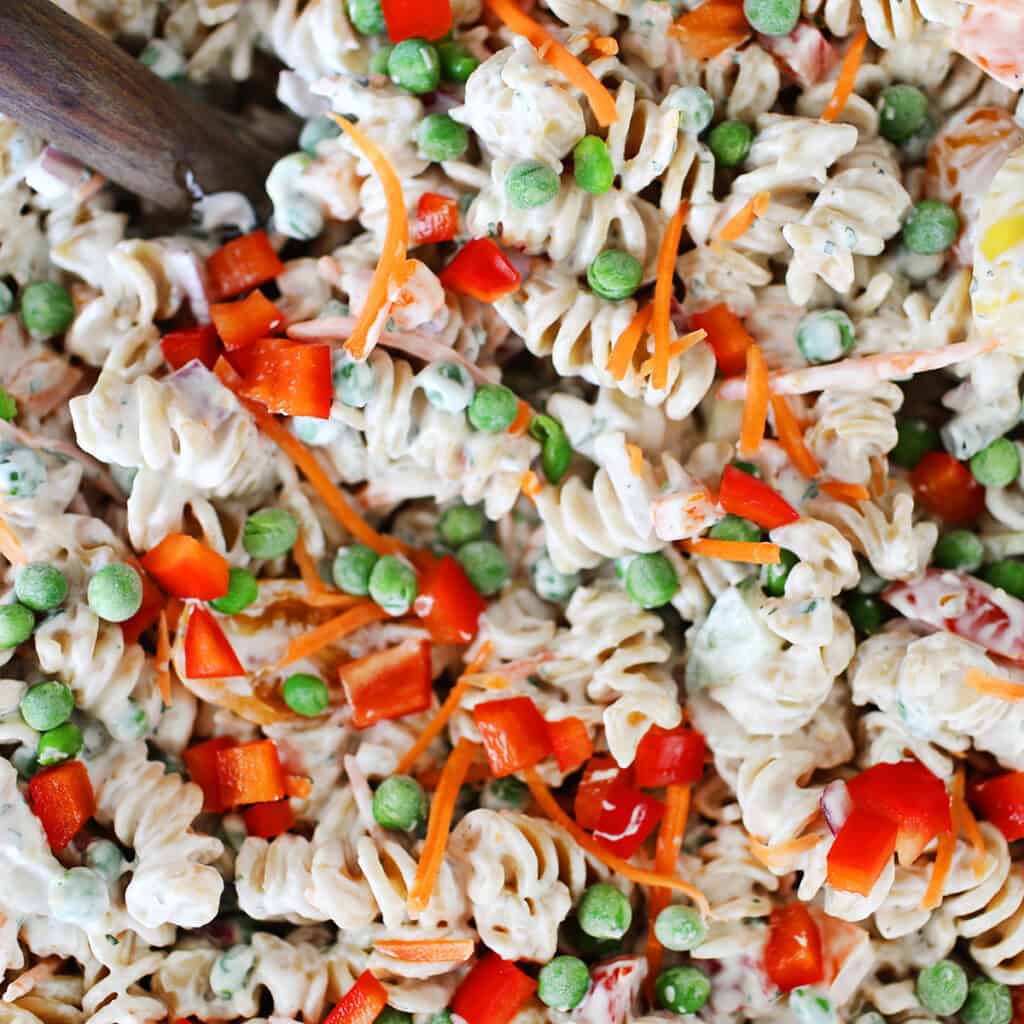
Creamy Pasta Salad
A creamy, mayonnaise-based pasta salad recipe. Pasta salad is perfect for a spring party.
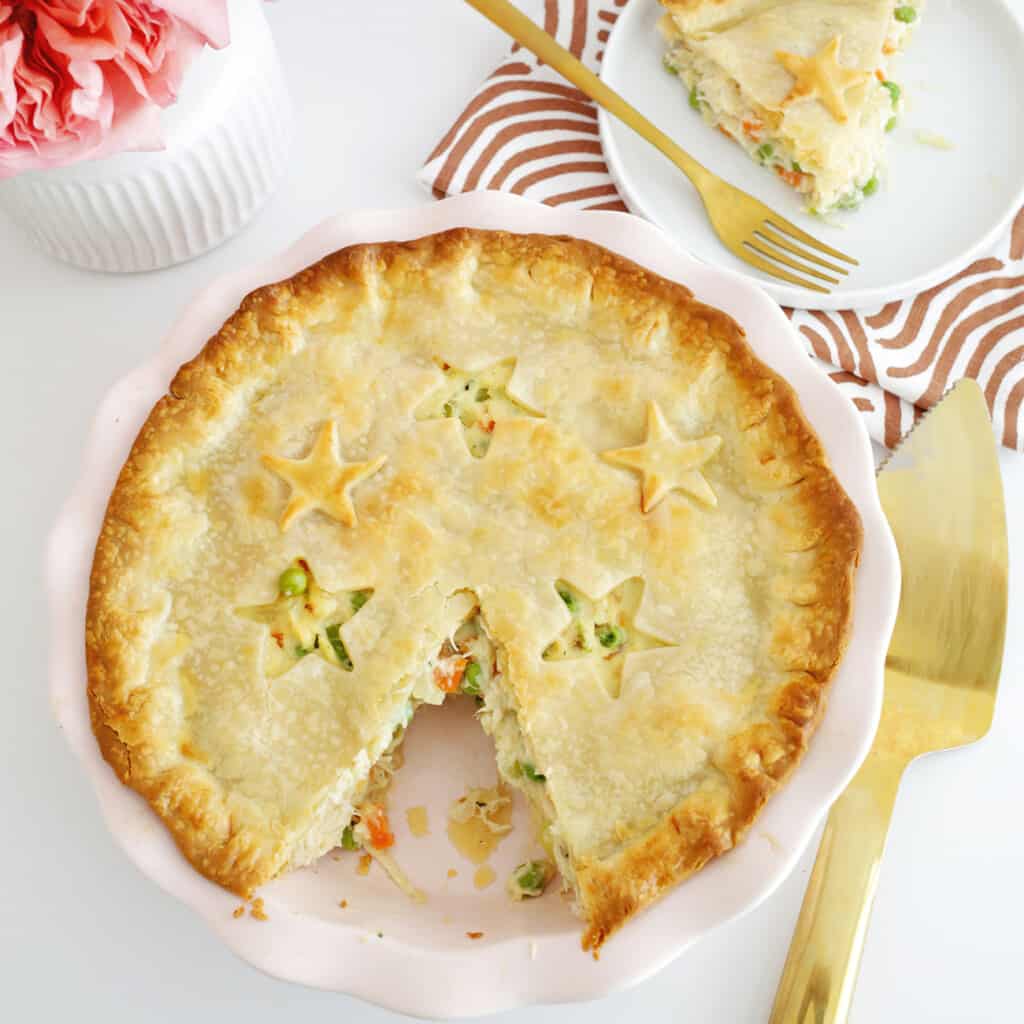
Chicken Pot Pie
Delicious and easy chicken pot pie with premade crust and rotisserie chicken. You can easily customize the crust design for your occasion.
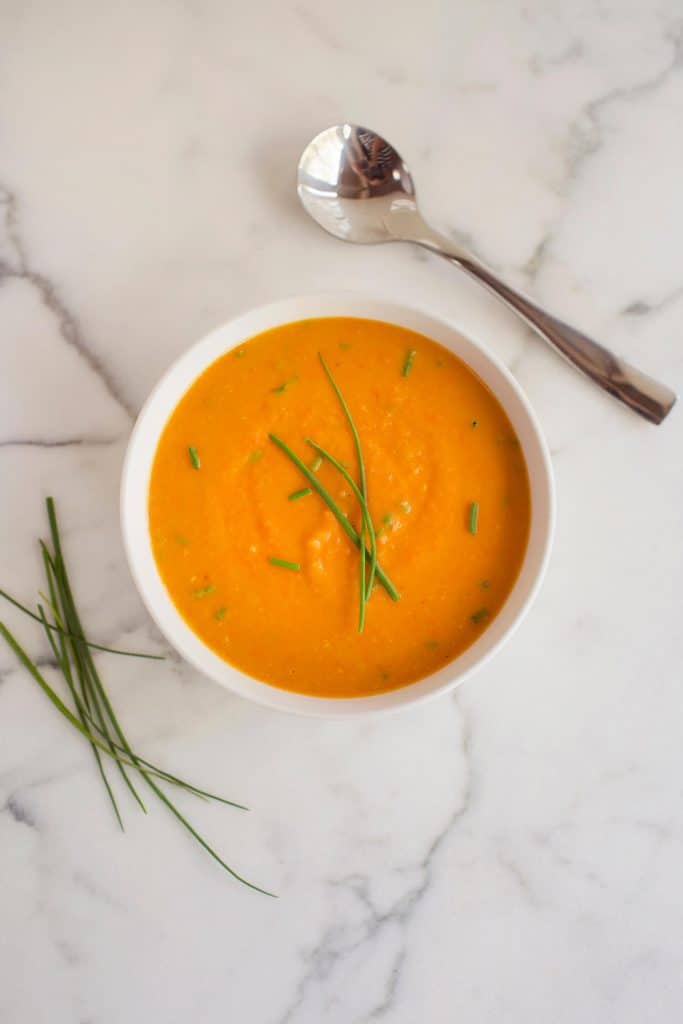
Creamy Chipotle Carrot Soup
Carrot soup is a great crock pot recipe to serve at an Easter gathering.
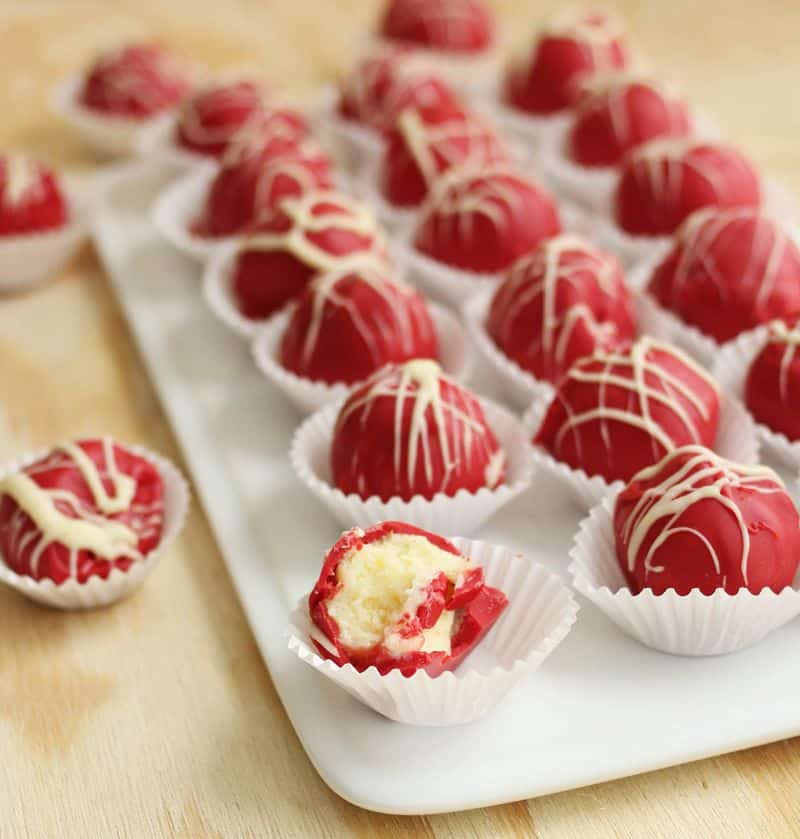
No-Bake Cheesecake Truffles
These easy no-bake truffles are made with a boxed cheesecake mix. They are simple to make and easy to customize with a chocolate color that matches your party decor.
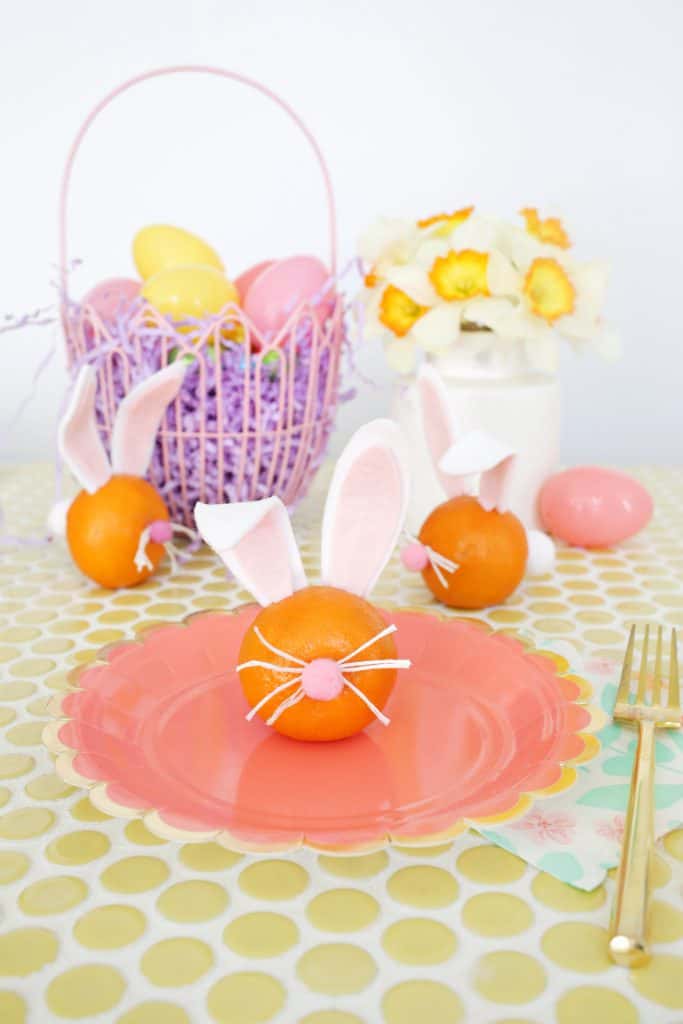
Mandarin Easter Bunny Craft For Kids
Make this cute Easter bunny from oranges for your kids’ tablescape.
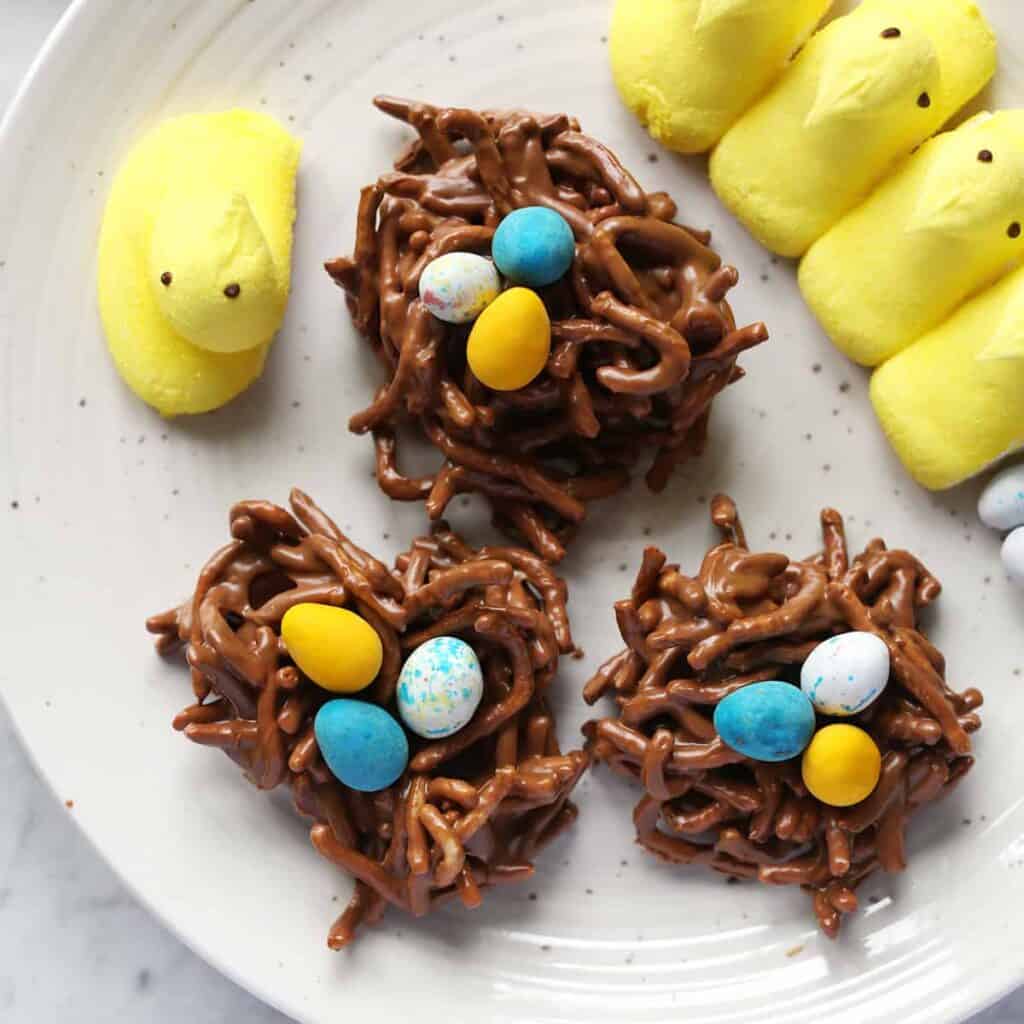
Bird’s Nest Cookies
These classic bird’s nest cookies are a dessert I most often associate with Easter, but it’s a fun one for anytime in the spring to celebrate the changing of the seasons. If you’ve never had bird’s nest cookies before, they are crunchy chocolate and peanut butter no-bake treats that get topped with candy eggs.
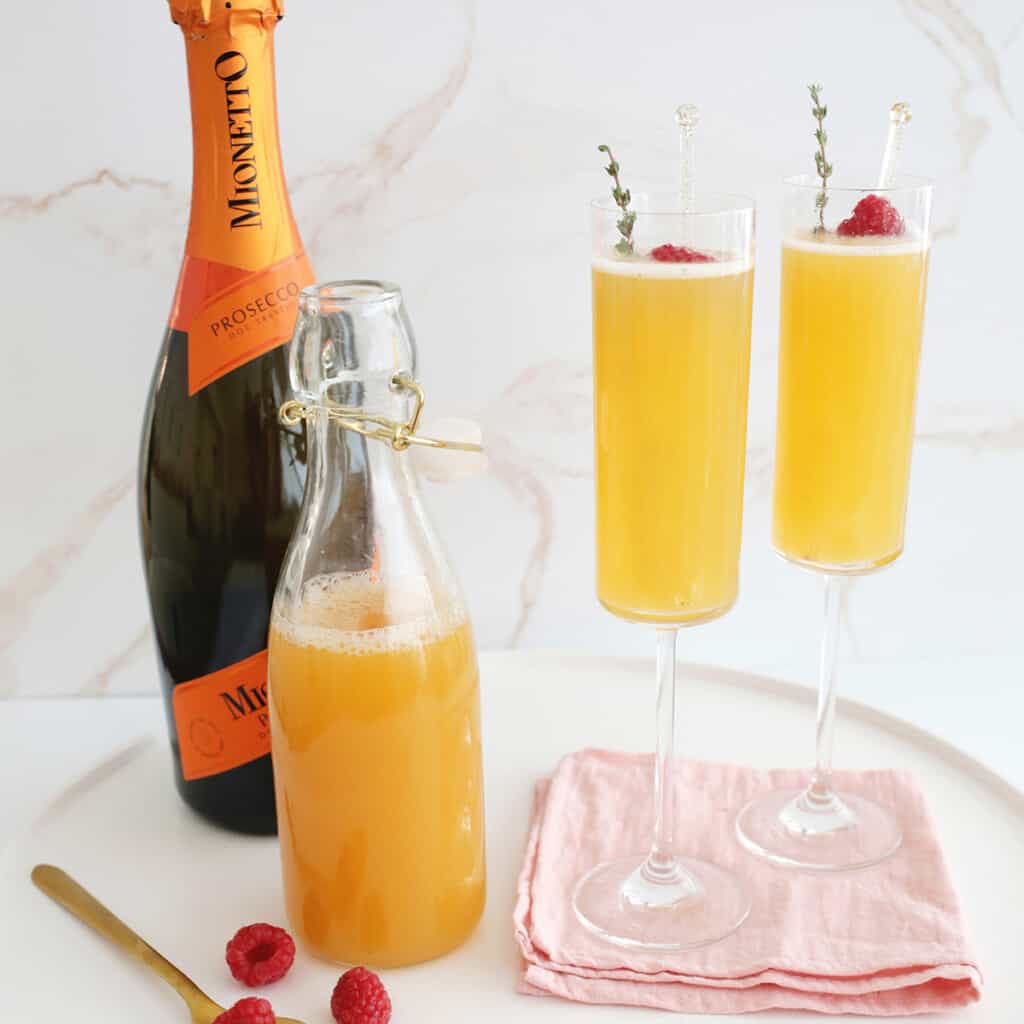
Peach Bellini
Fresh Peach Bellini made with sparkling wine, peach puree, and raspberry.
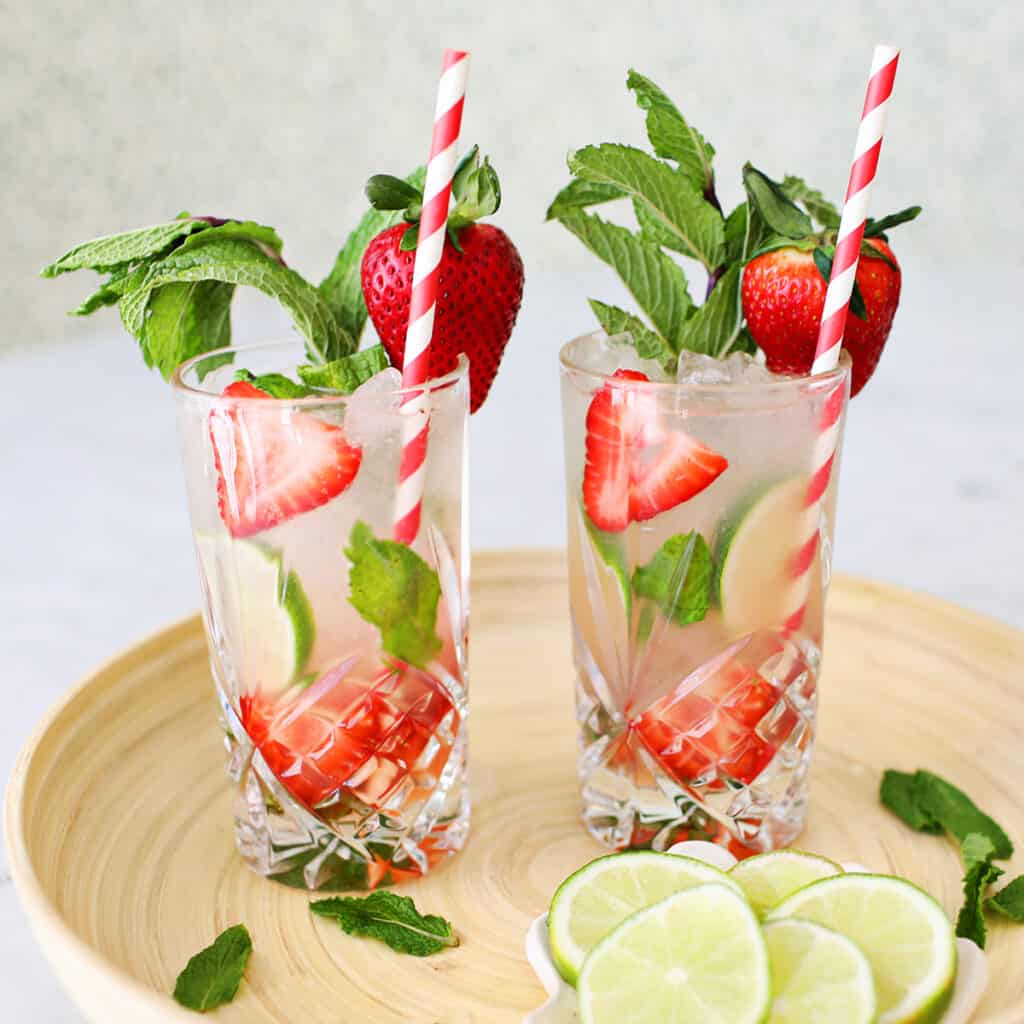
Strawberry Mojito
A recipe for a strawberry mojito using fresh ingredients—mint leaves, lime and strawberries.
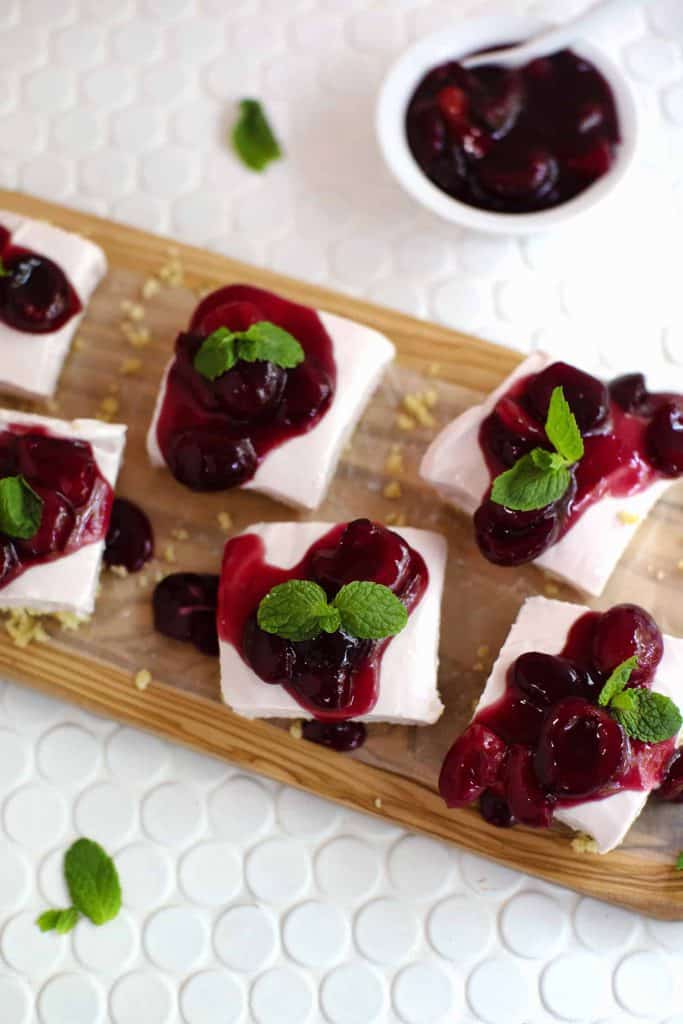
Easy No-Bake Cherry Cheesecake
Learn to make delicious no-bake cherry cheesecake at home! The total prep time for the recipe is about two and a half hours.
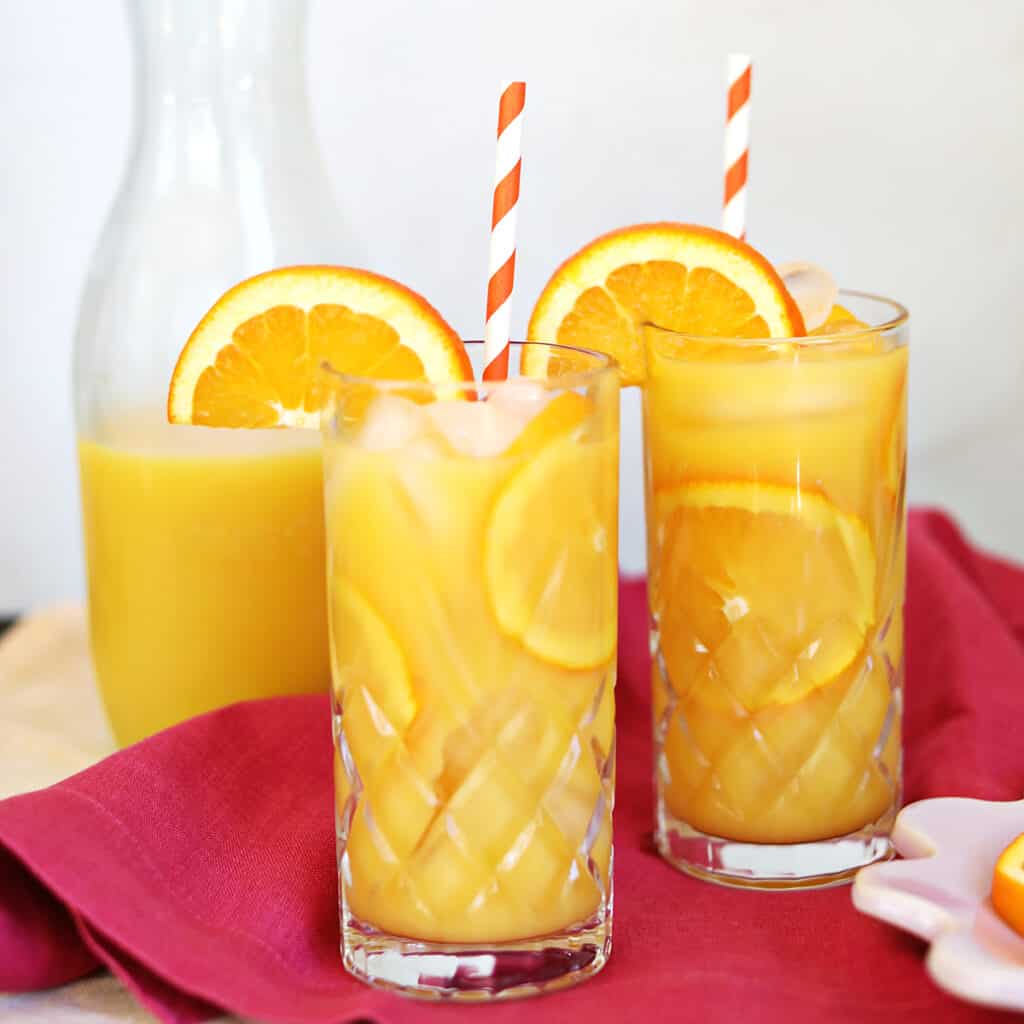
Screwdriver Drink
A classic brunch cocktail with a little twist. Learn to make the perfect Screwdriver cocktail at home.
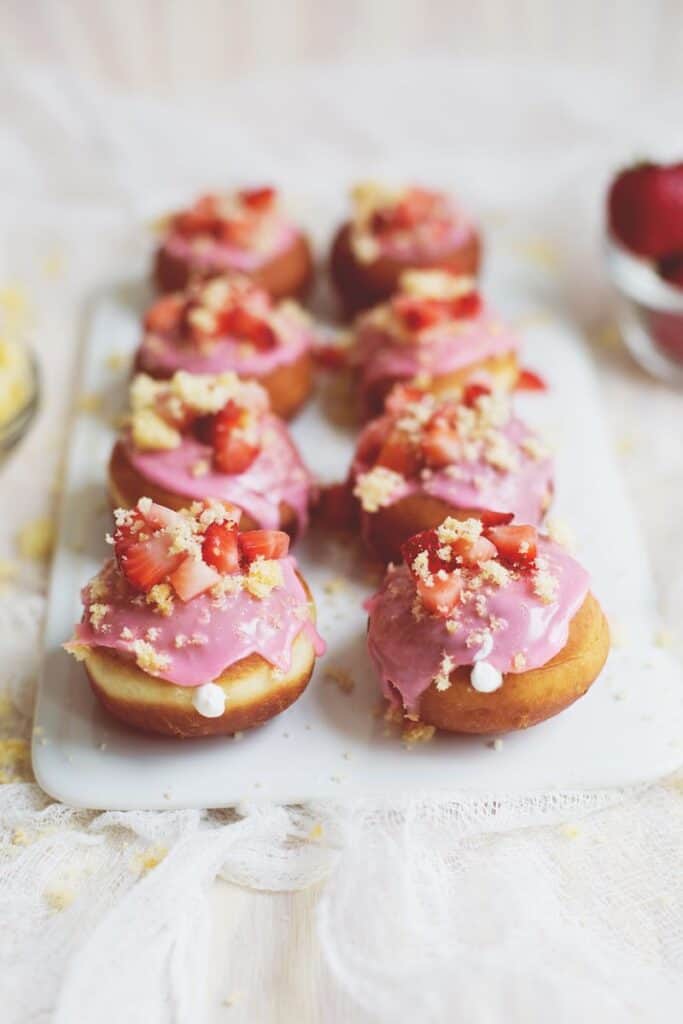
Strawberry Shortcake Donuts
The epic love story between Emma Chapman and donuts continues. Did you know that this is my, I believe, 11th donut recipe I’ve shared on the blog? These are perfect for an Easter celebration.
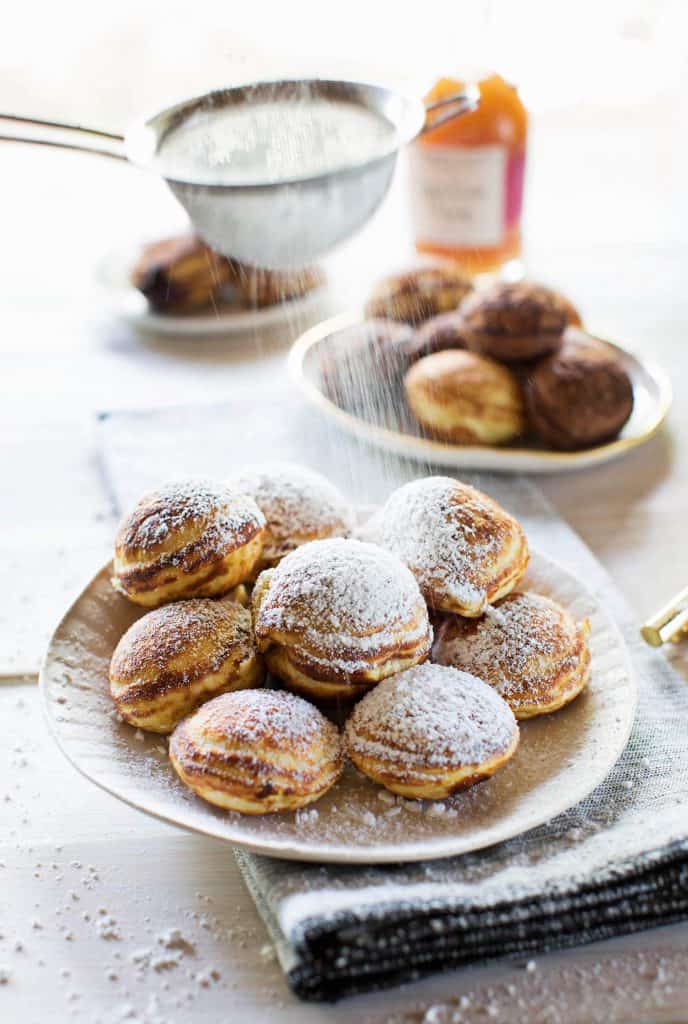
Stuffed Pancake Puffs
Stuffed pancake puffs are a great brunch option. They can be stuffed with peanut butter, chocolate (such as Nutella) or cream cheese.
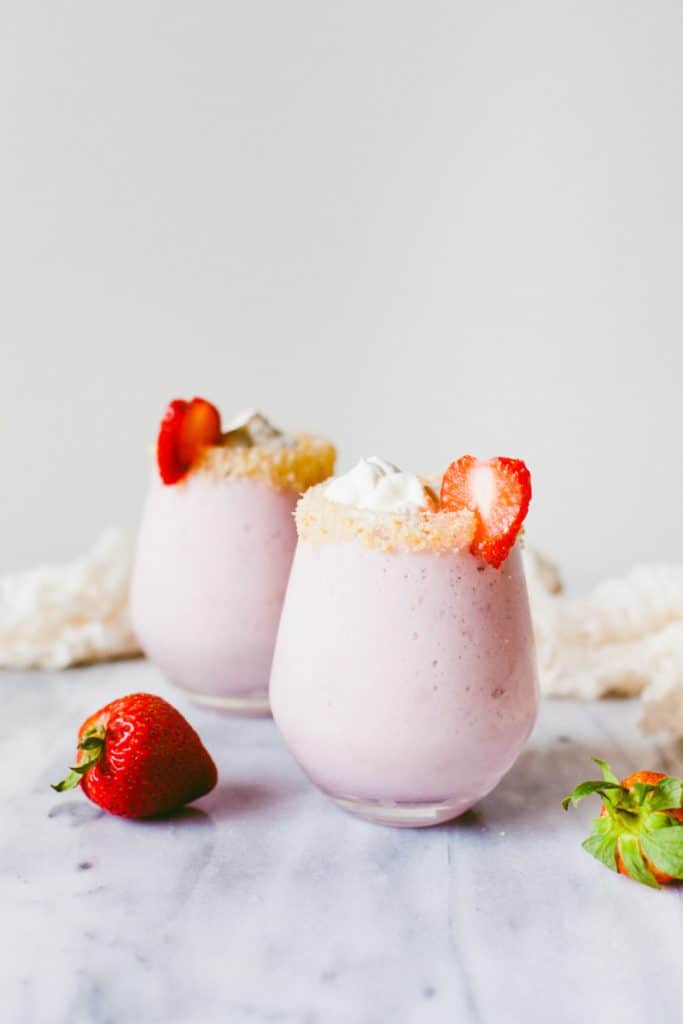
Grown Up Strawberry Shortcake Shake
Learn how to make this delicious grown up milkshake.
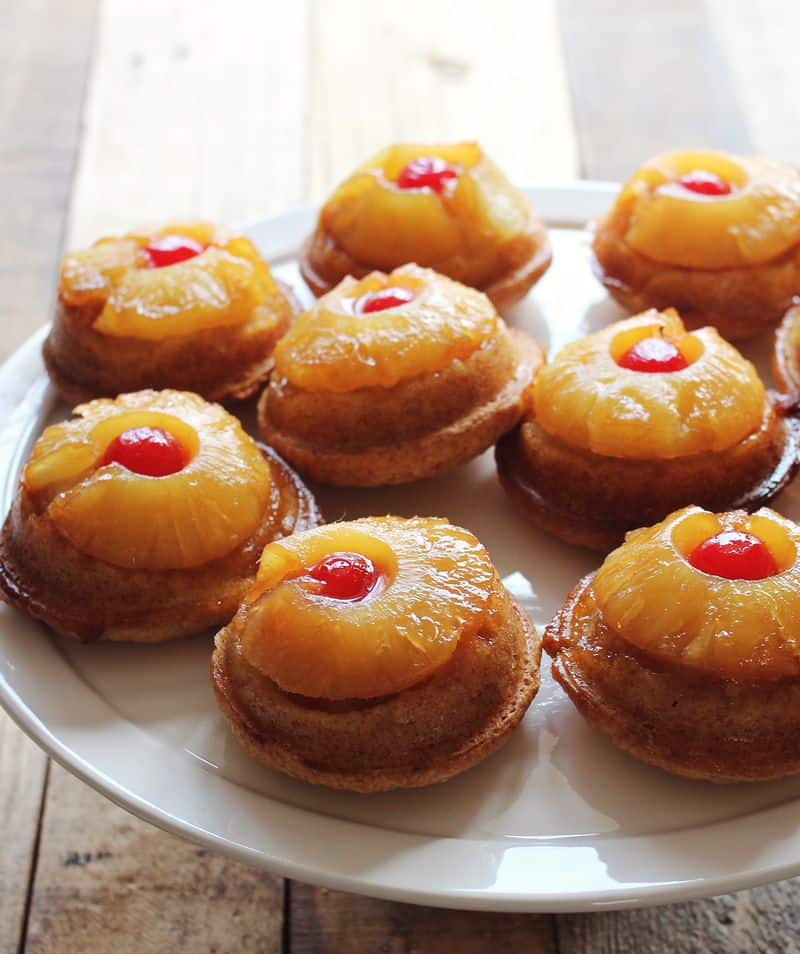
Mini Pineapple Upside Down Cakes
One of my grandmother’s favorite desserts is pineapple upside down cake. These mini cakes hit the spot and are a great choice for a party as they are easier to serve.
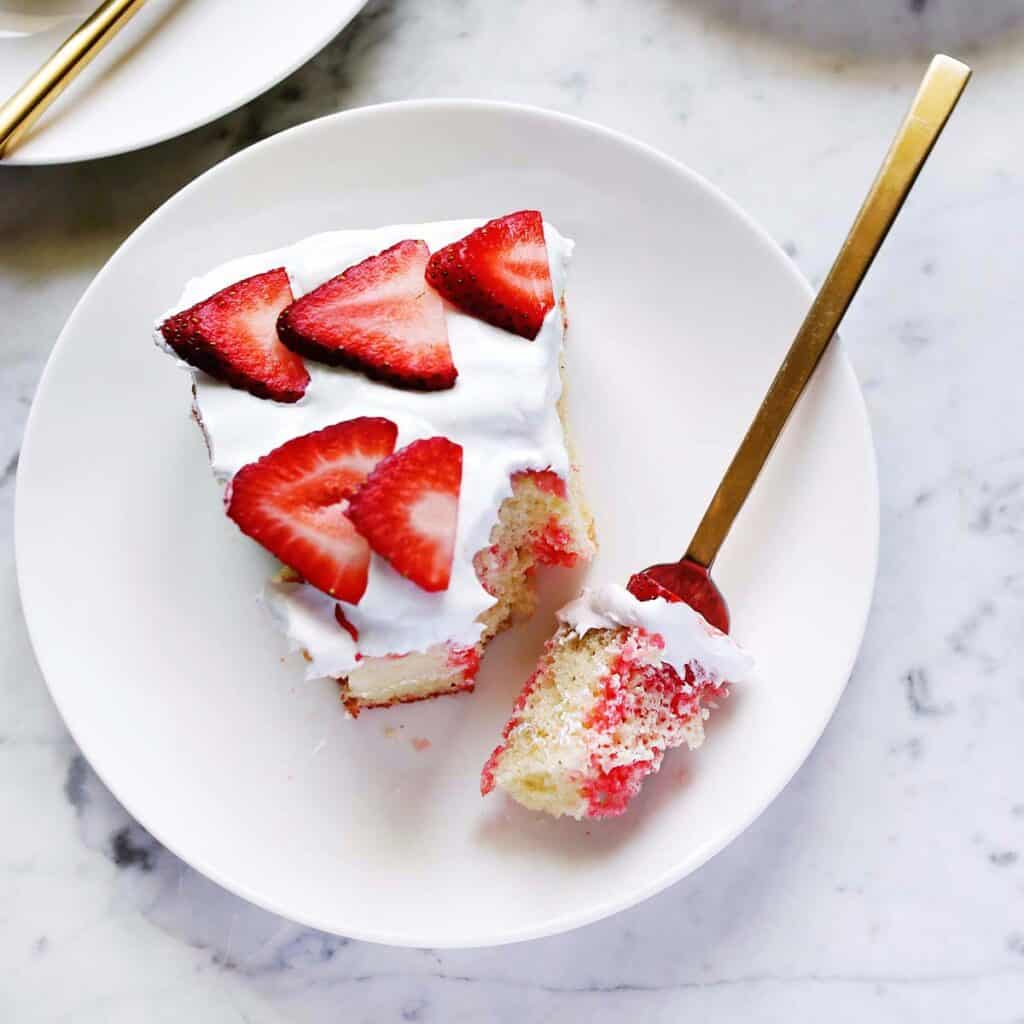
Jello Poke Cake – 3 Ingredients
A flavorful, moist cake made with a boxed cake mix and Jello.
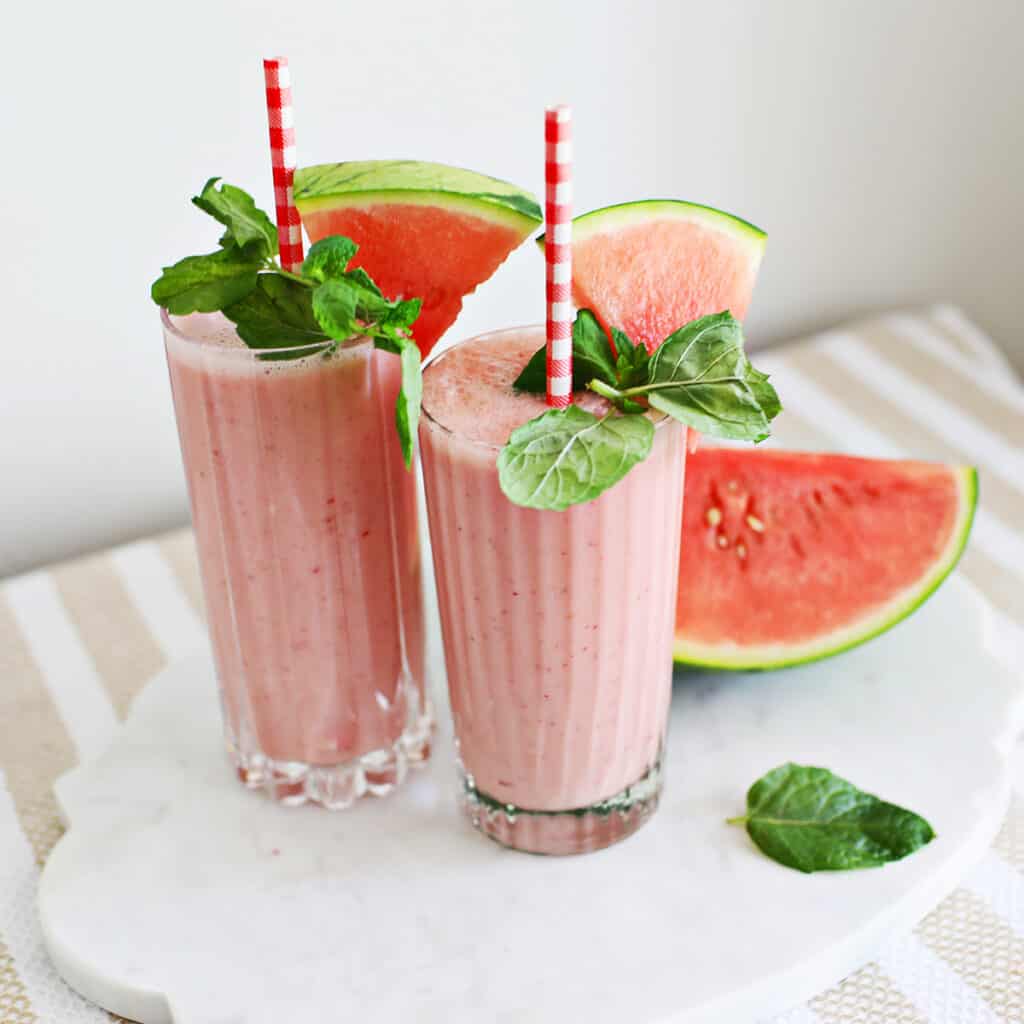
Watermelon Smoothie
An easy recipe for a watermelon smoothie. This refreshing recipe feels like springtime in a glass.
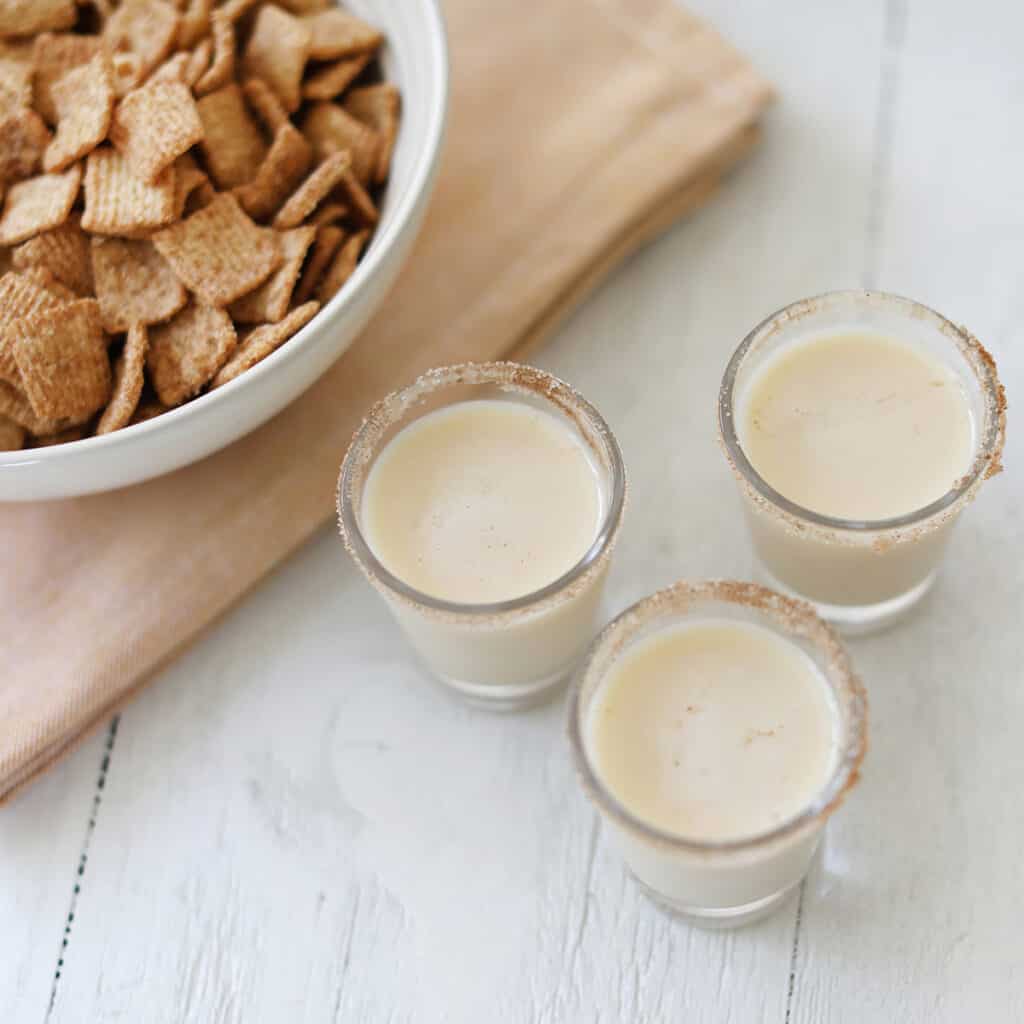
Cinnamon Toast Crunch Shot
If you love the cereal then you’ll love this creamy, boozy shot!
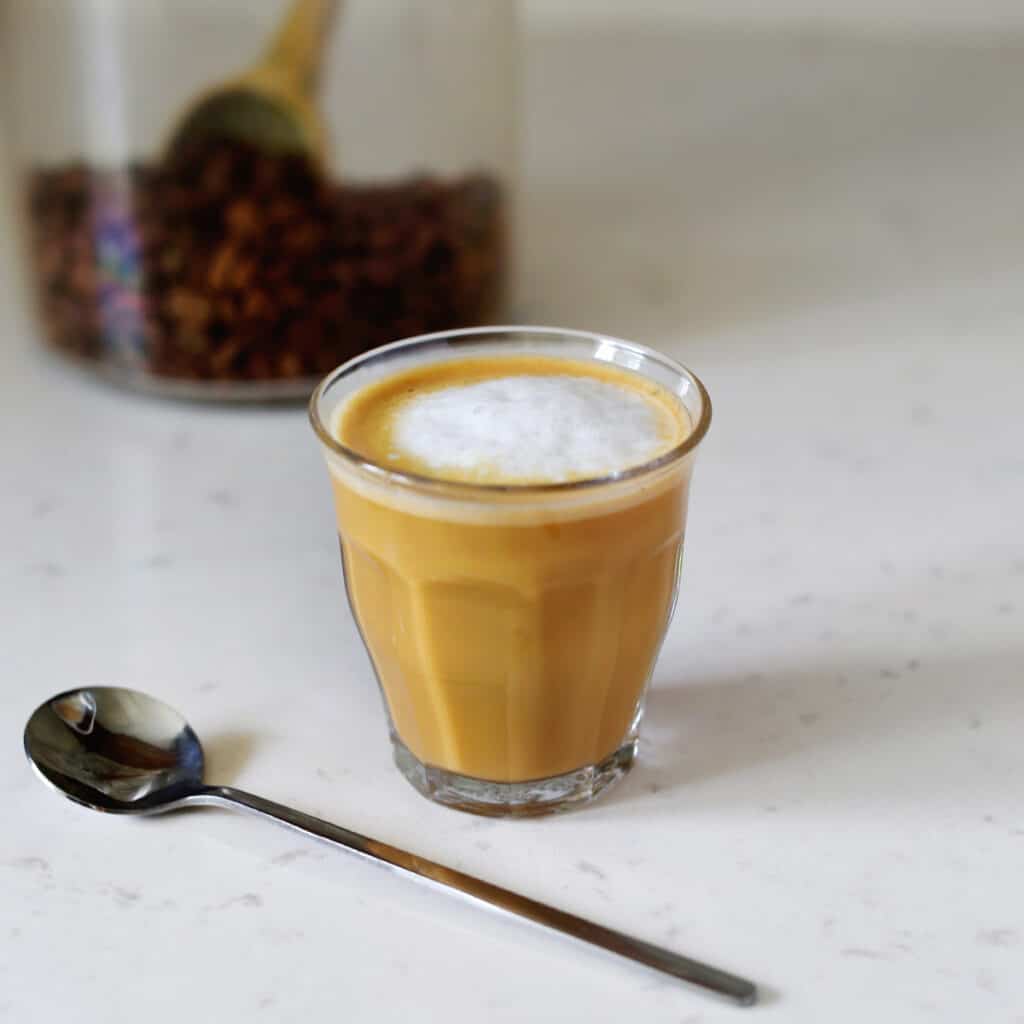
Cortado
An easy to make fancy coffee drink for a brunch gathering.
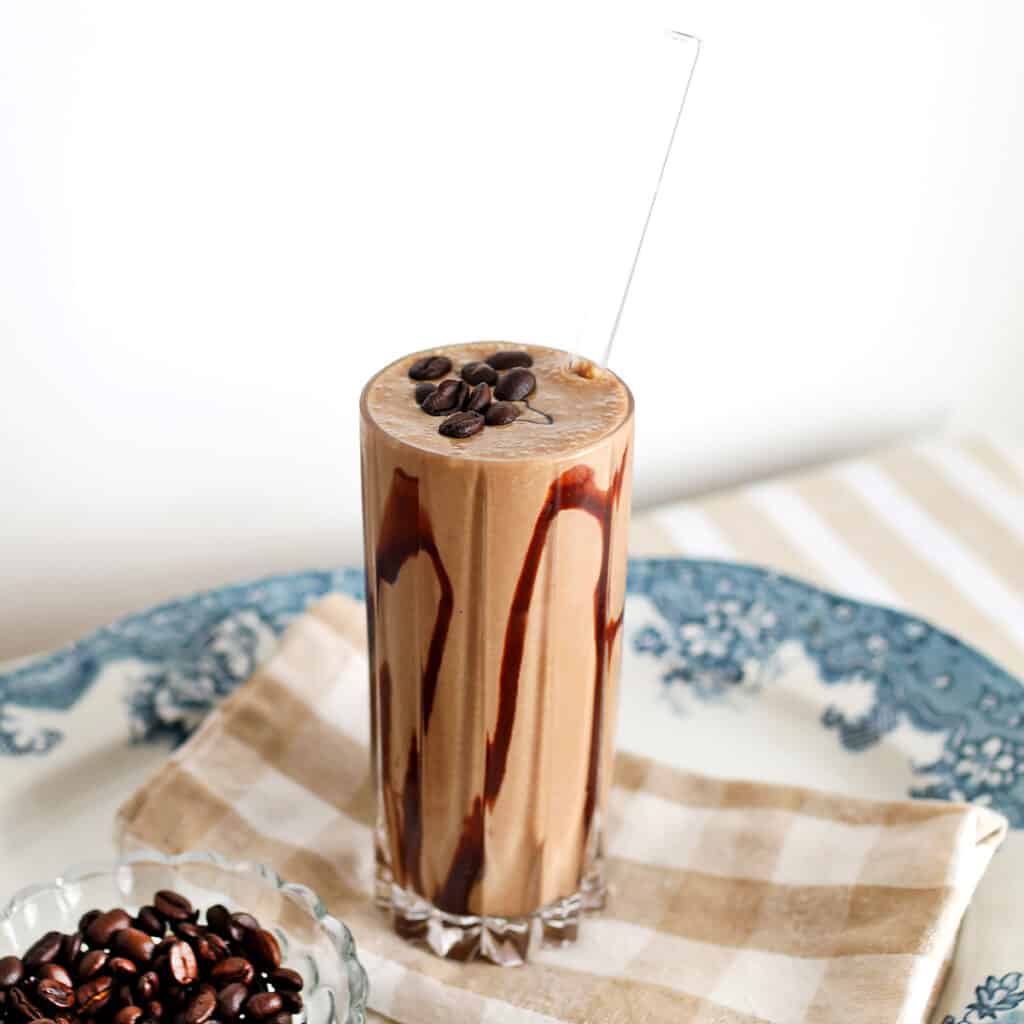
Coffee Smoothie
Make a delicious, rich, creamy coffee smoothie in just five minutes.
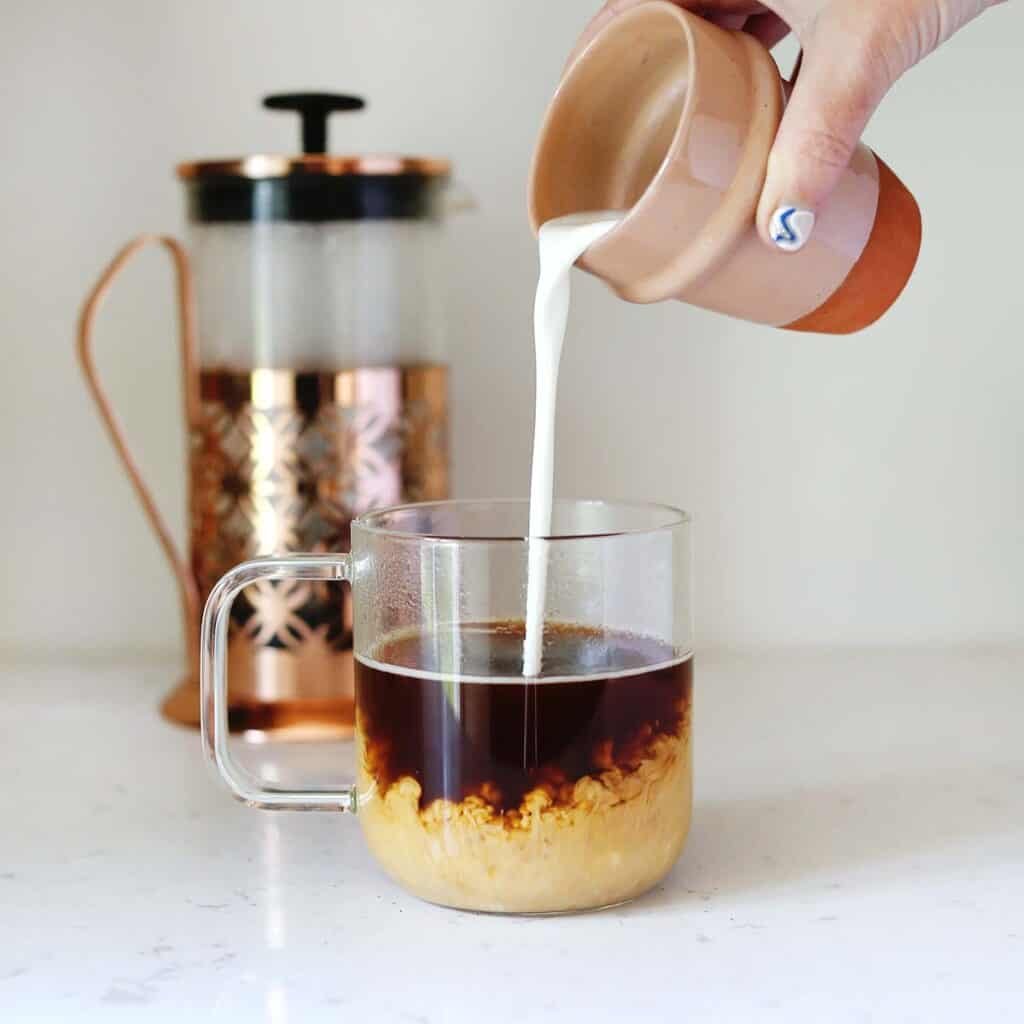
How to Make French Press Coffee
How to make the prefect cup of French press coffee.
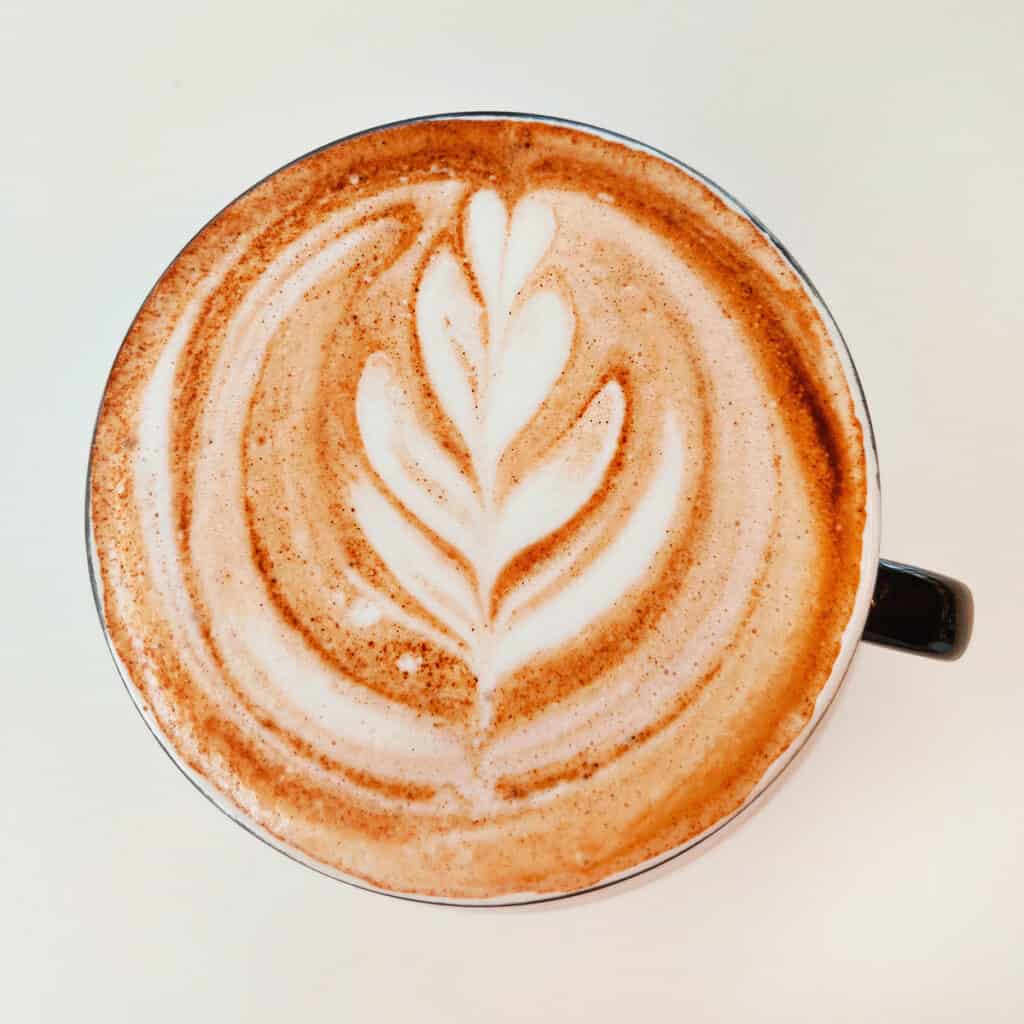
Latte Recipe
How to make a classic latte at home. You can add syrup in an flavor to create a flavored latte.
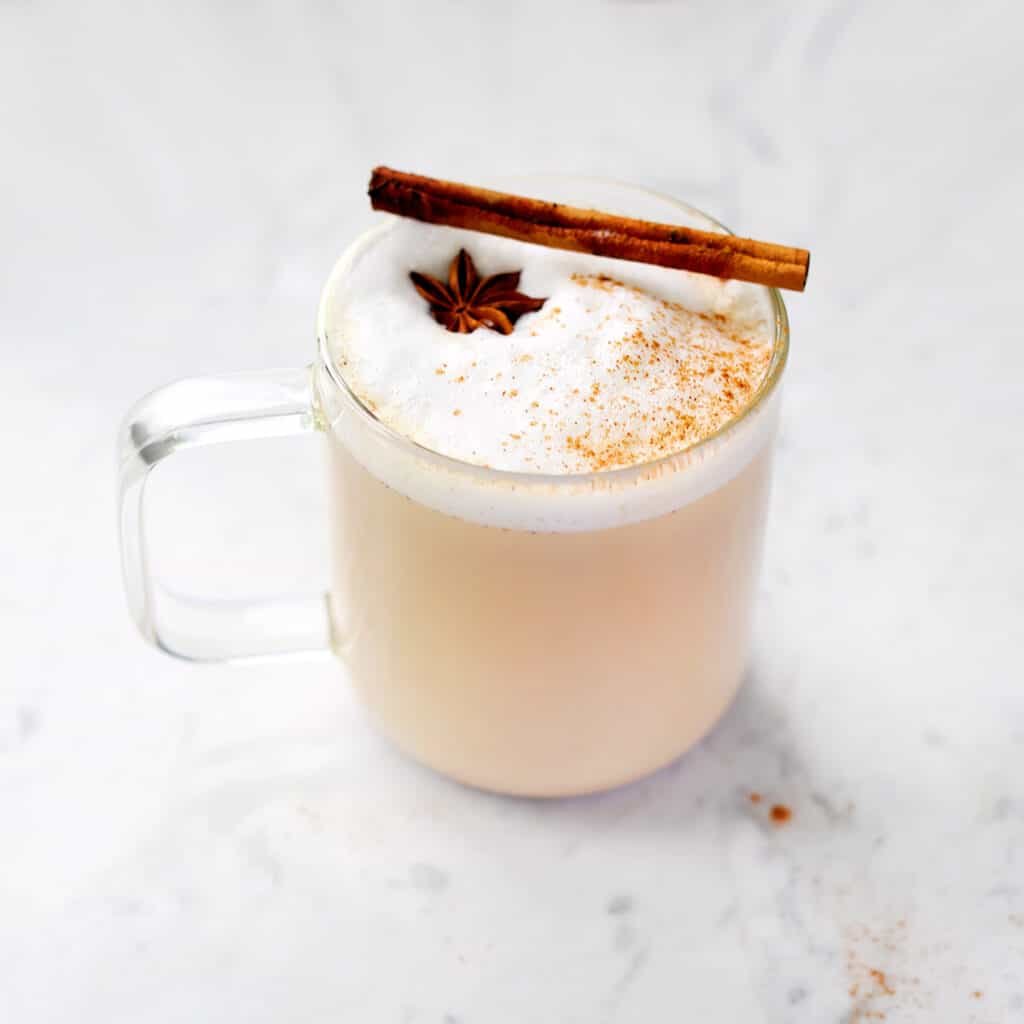
Chai Latte
Learn to make a classic chai latte using black tea mixed with spices and warm milk.

Watermelon Mint Frosé
An excellent brunch cocktail choice. This slushee cocktail is easy to make in your blender.
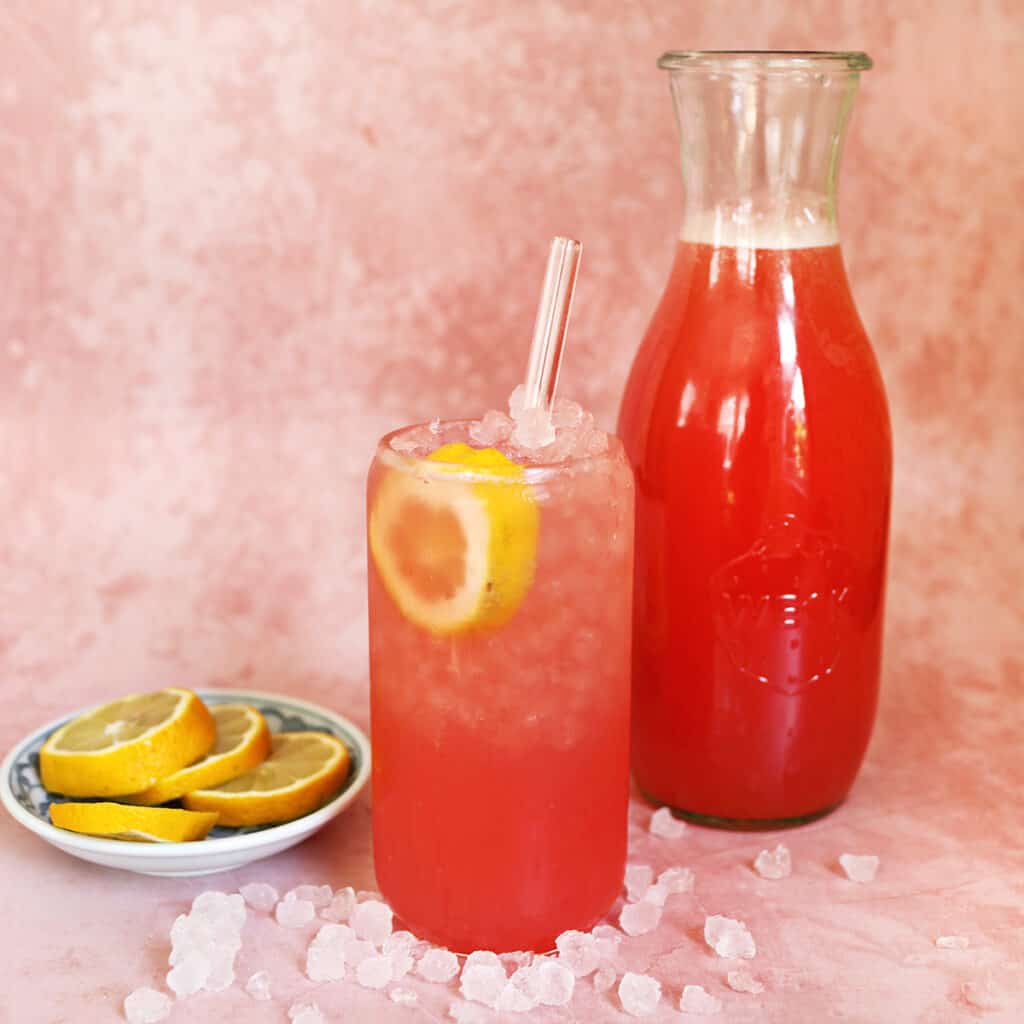
Pink Lemonade
Learn to make pink lemonade that is naturally colored using watermelon or cranberry juice. This recipe is perfect for an Easter brunch.
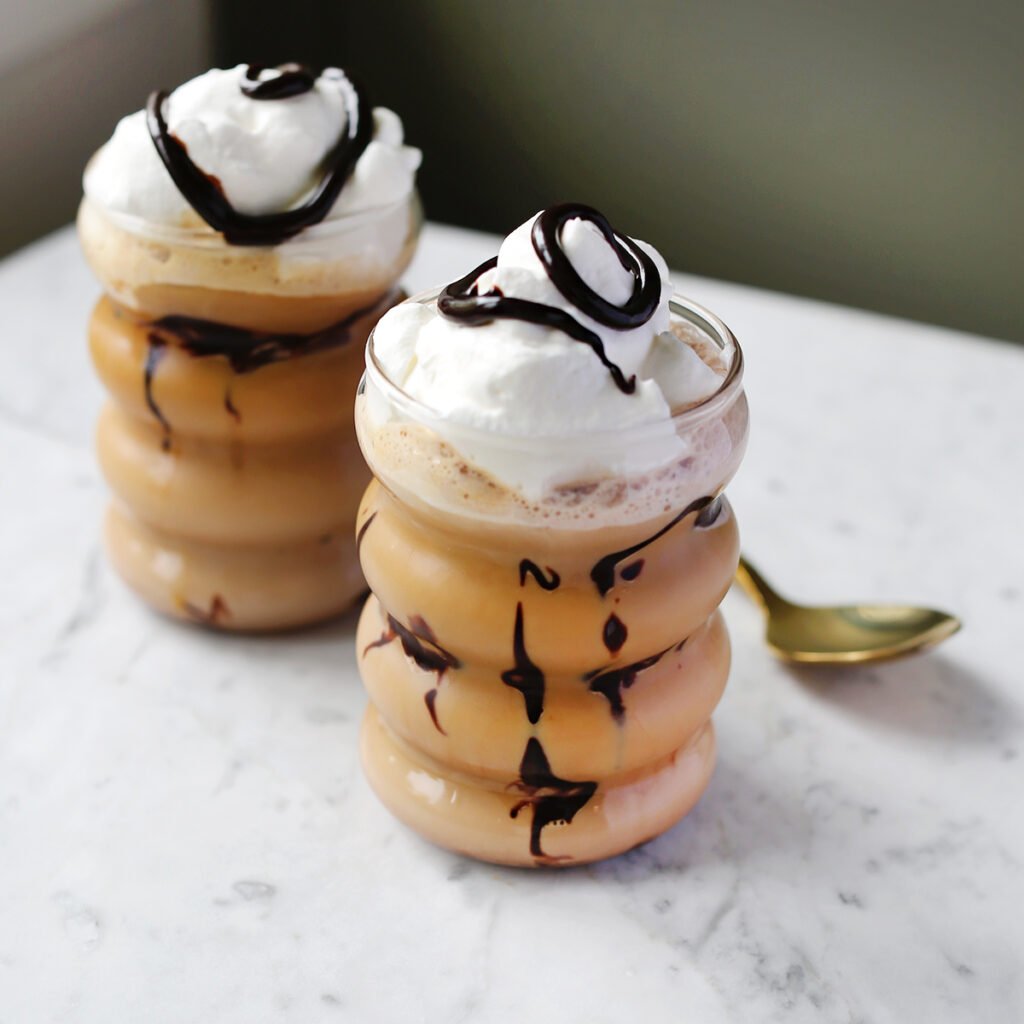
Iced Mocha
This is the iced version of a classic mocha!
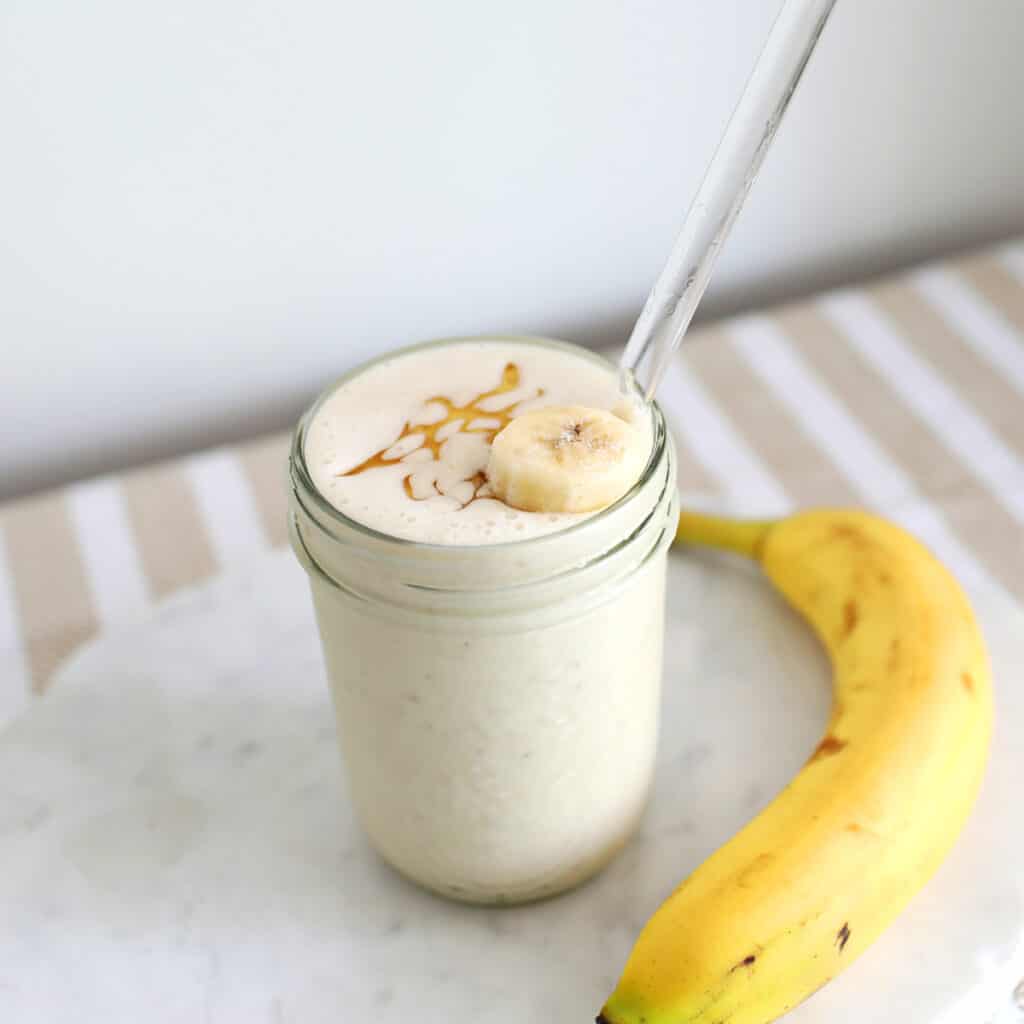
Banana Smoothie
Blend up a healthy banana smoothie in just five minutes. This recipe is simple, tasty and satisfying.
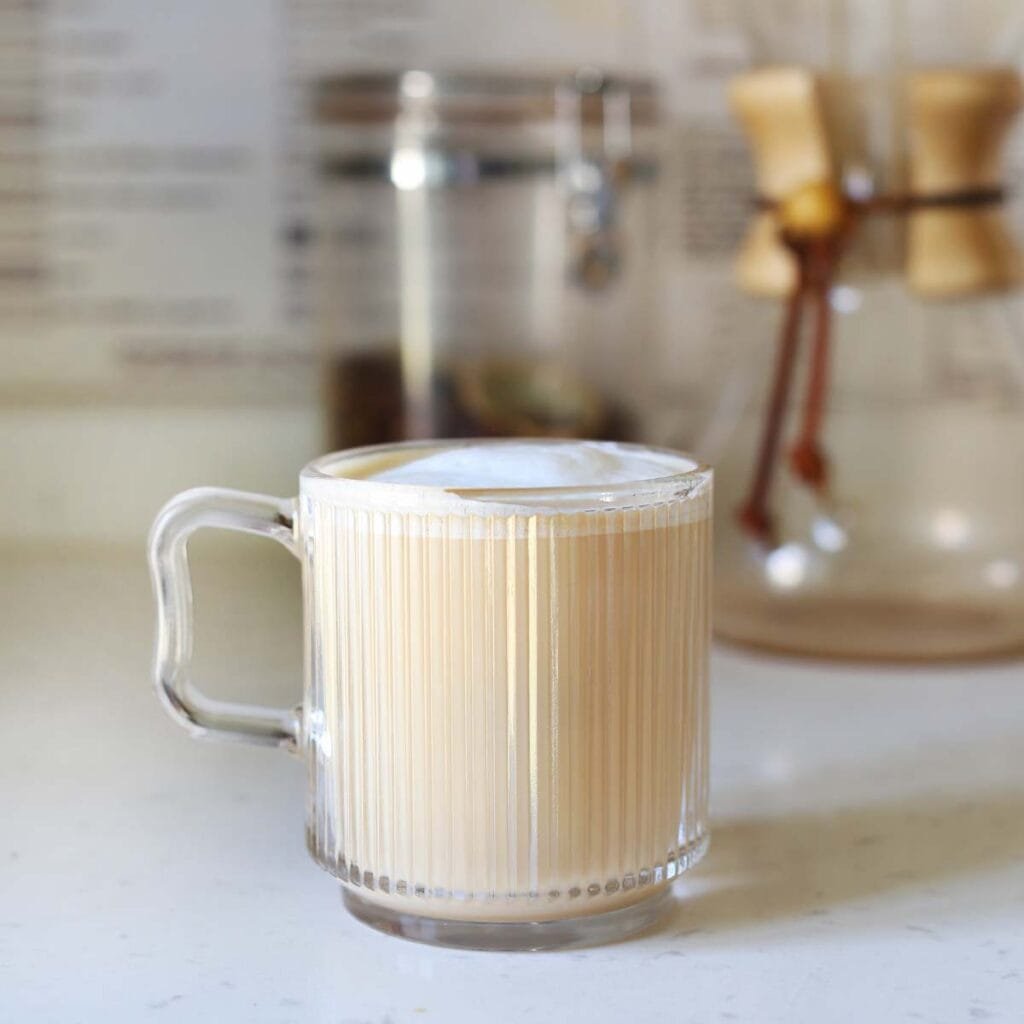
Flat White
Learn to make a Flat White at home.
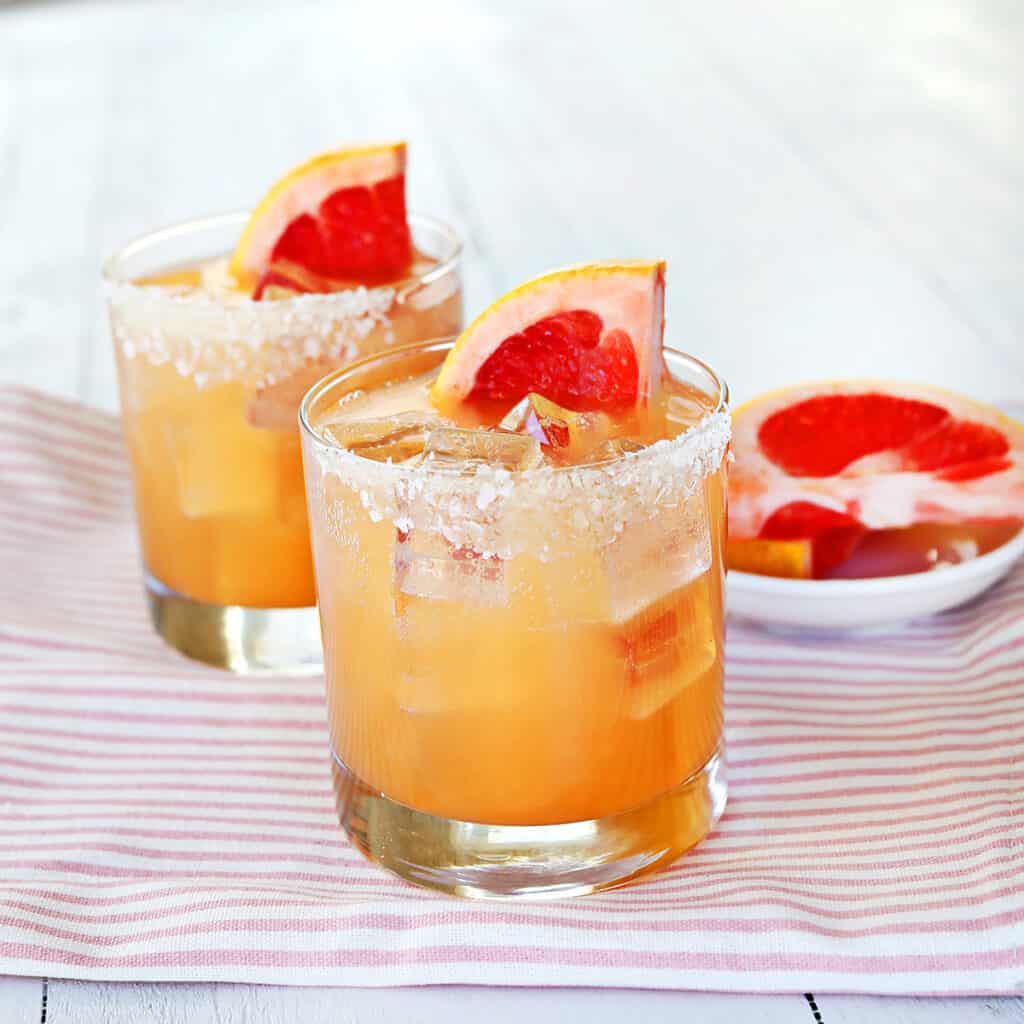
Paloma Cocktail
Learn to make a Paloma cocktail at home. This recipe is made with grapefruit juice, lime, soda water, tequila and a salted rim.
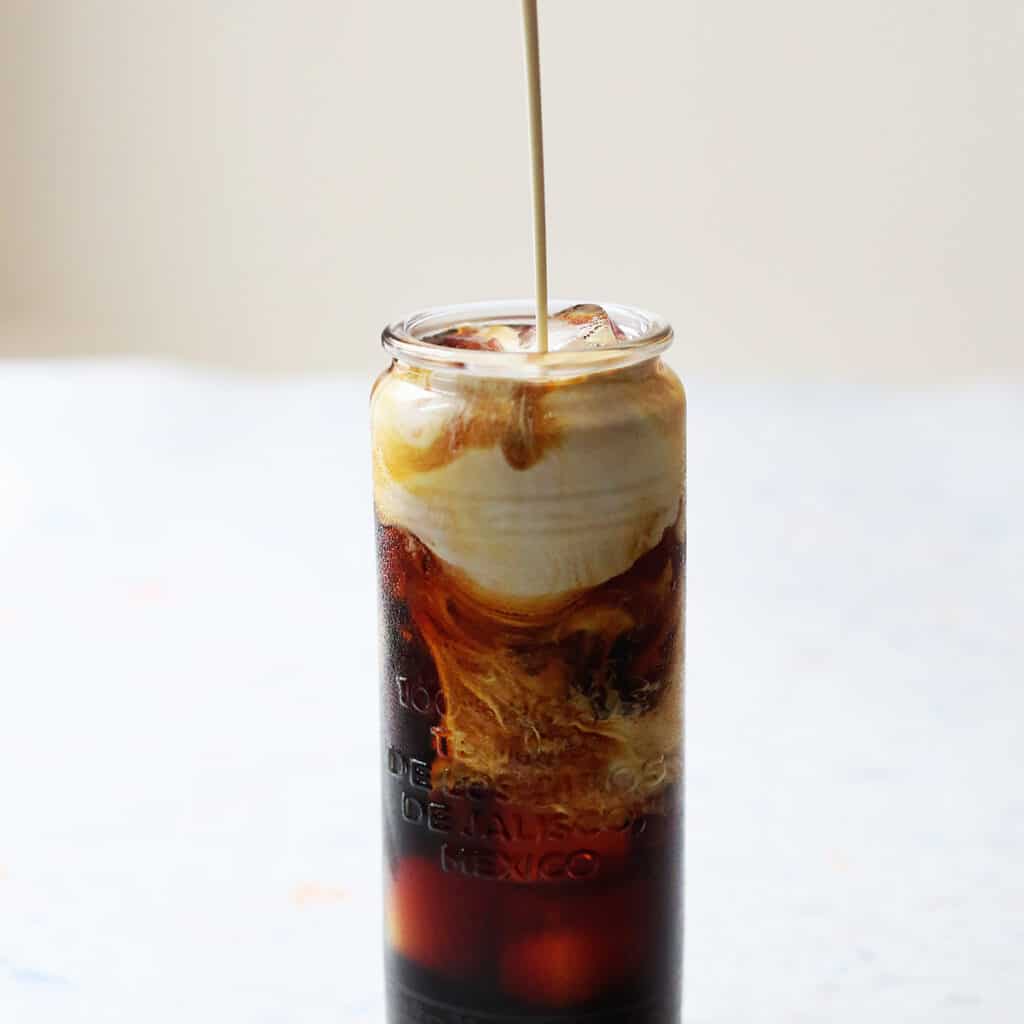
Cold Brew Coffee
Get step-by-step instructions to make cold brew coffee concentrate and the perfect cold brew at home!
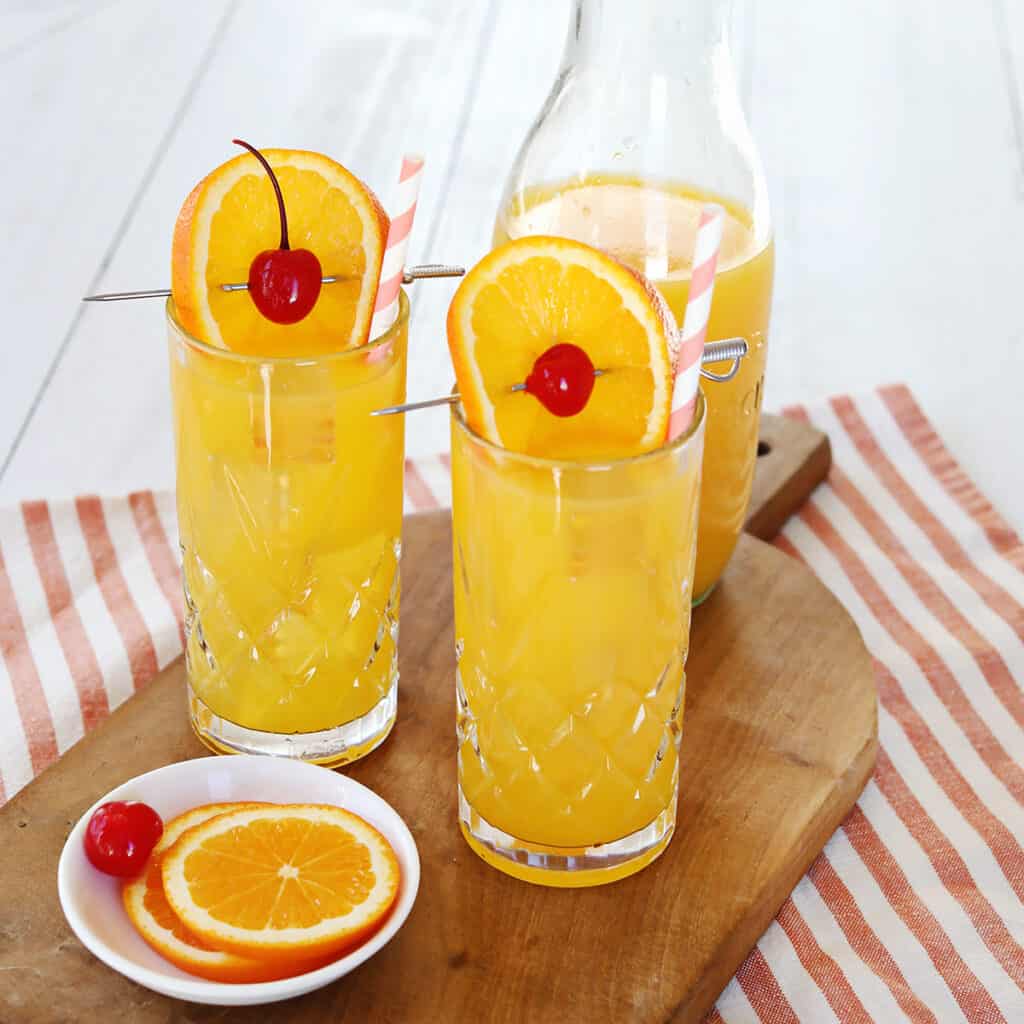
Harvey Wallbanger Cocktail
Learn to mix a Harvey Wallbanger using vodka, orange juice and Galliano L’Autentico. This is like a fancier version of the screwdriver.
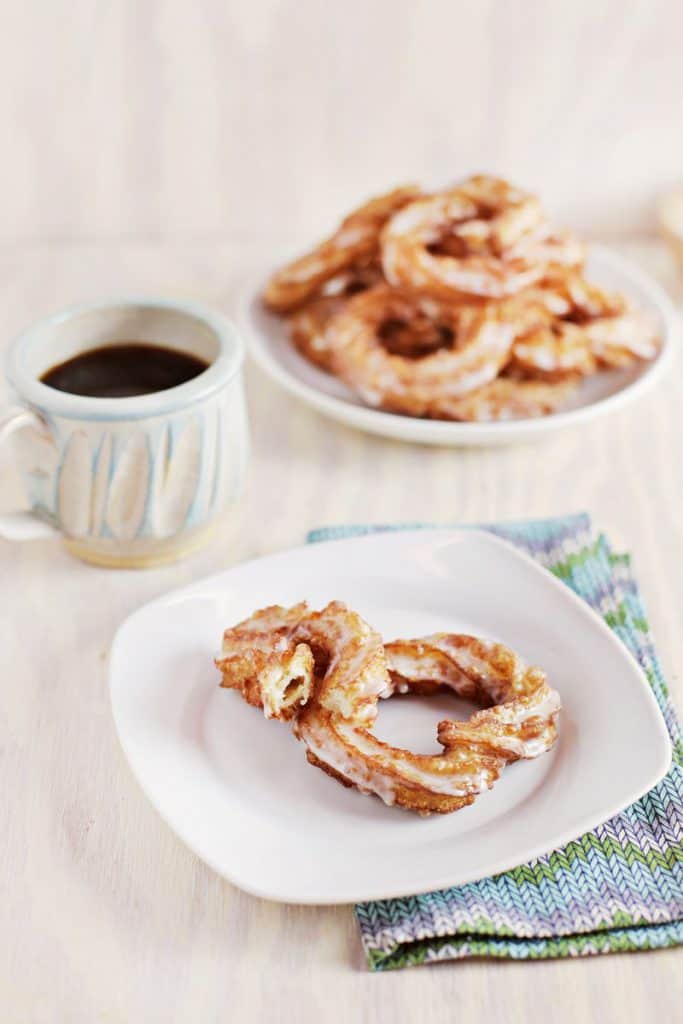
Rum Glazed Crullers
Have you ever made French crullers? I love the twisted ridges on these fancy little treats. That coupled with the airy insides. You will love this decadent brunch recipe.
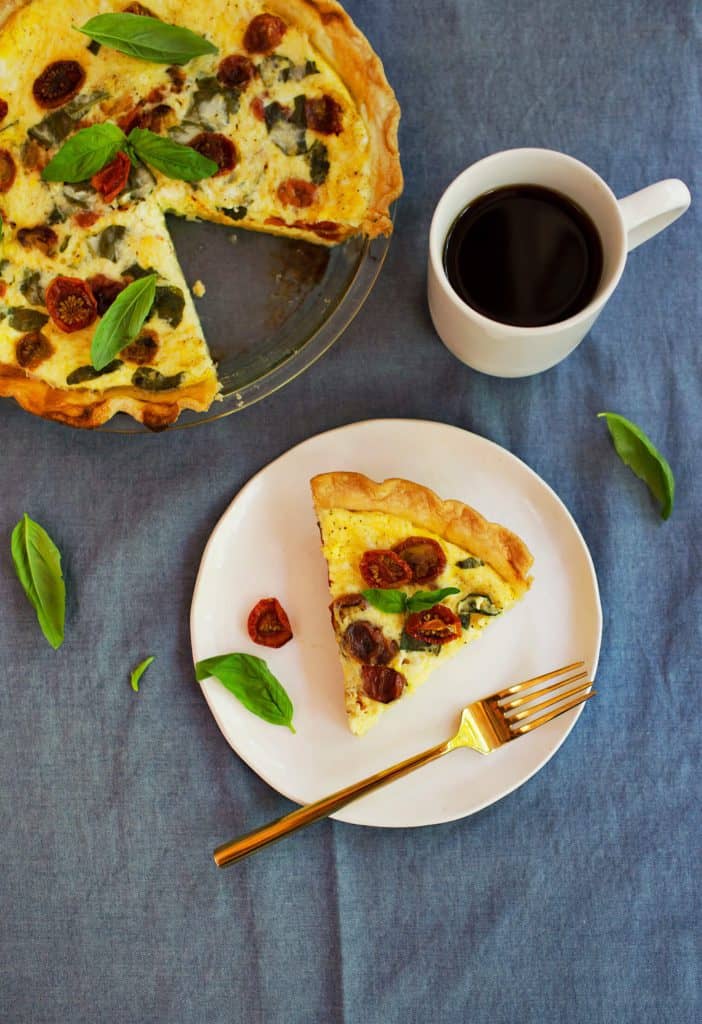
Oven Roasted Tomato Basil Quiche
Learn to make this delicious quiche recipe.
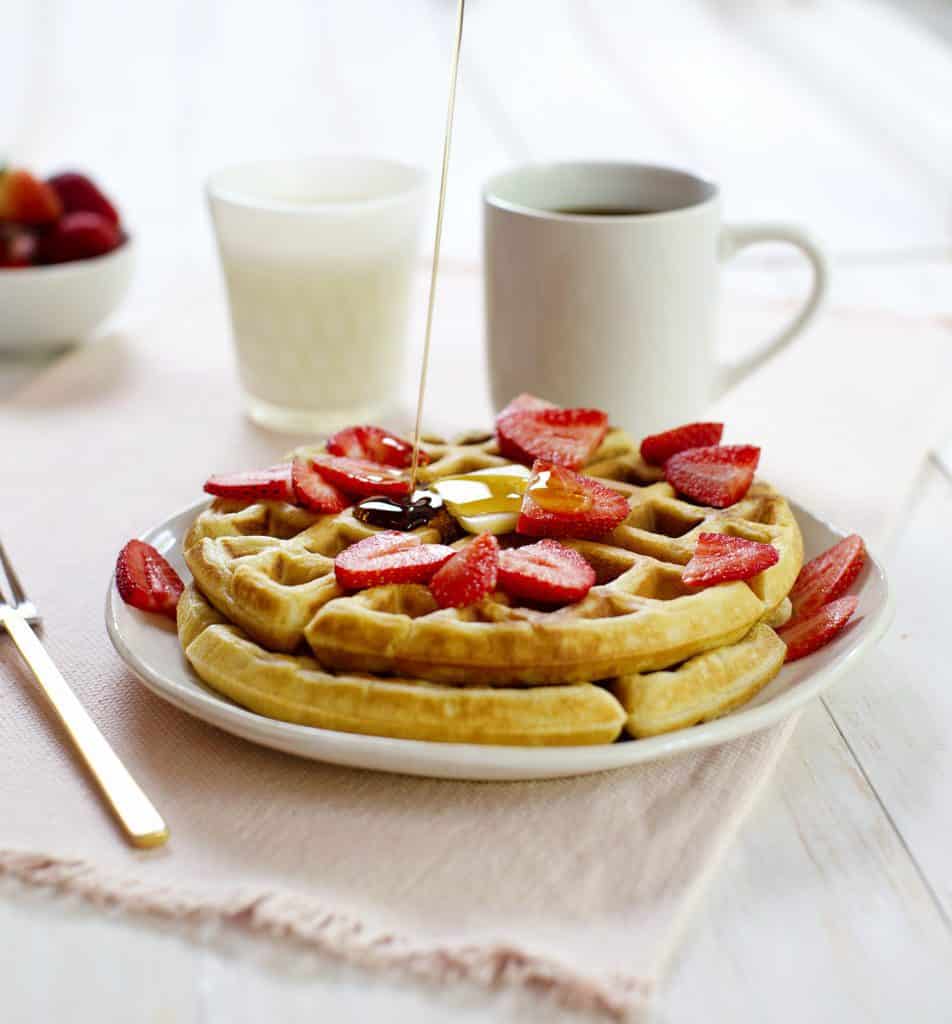
Saturday Morning Blender Waffles
Waffles are always on our brunch menu.
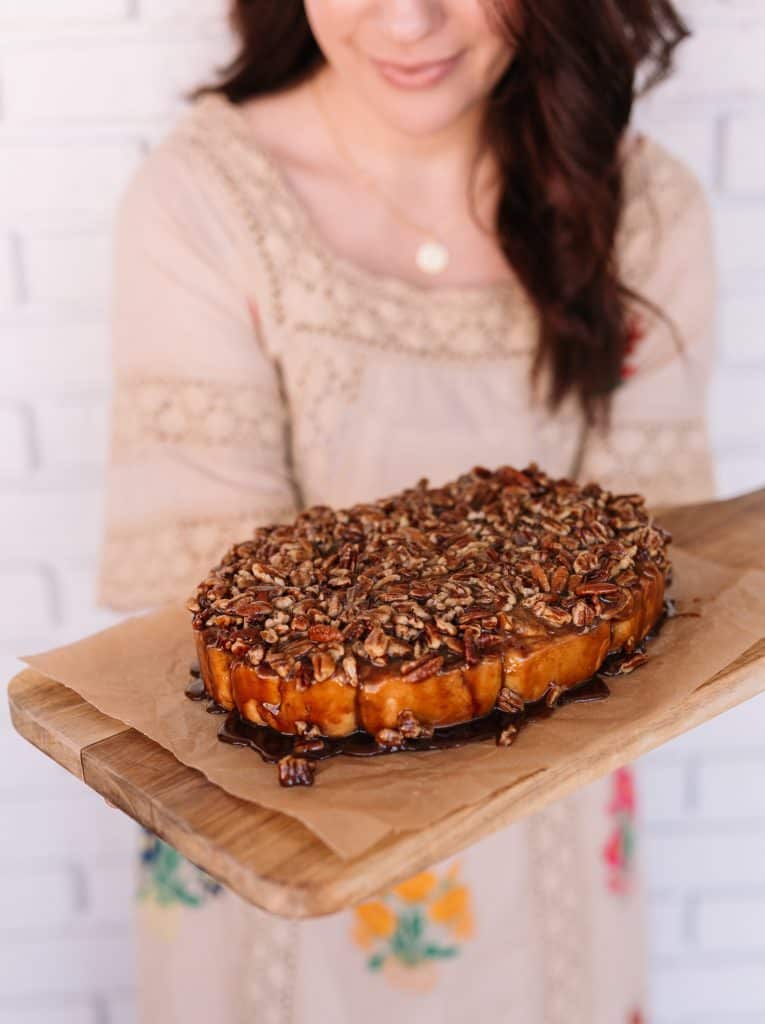
Pecan Pie Sticky Buns
Your guests will love these epic, homemade sticky buns. The texture is absolutely perfect.
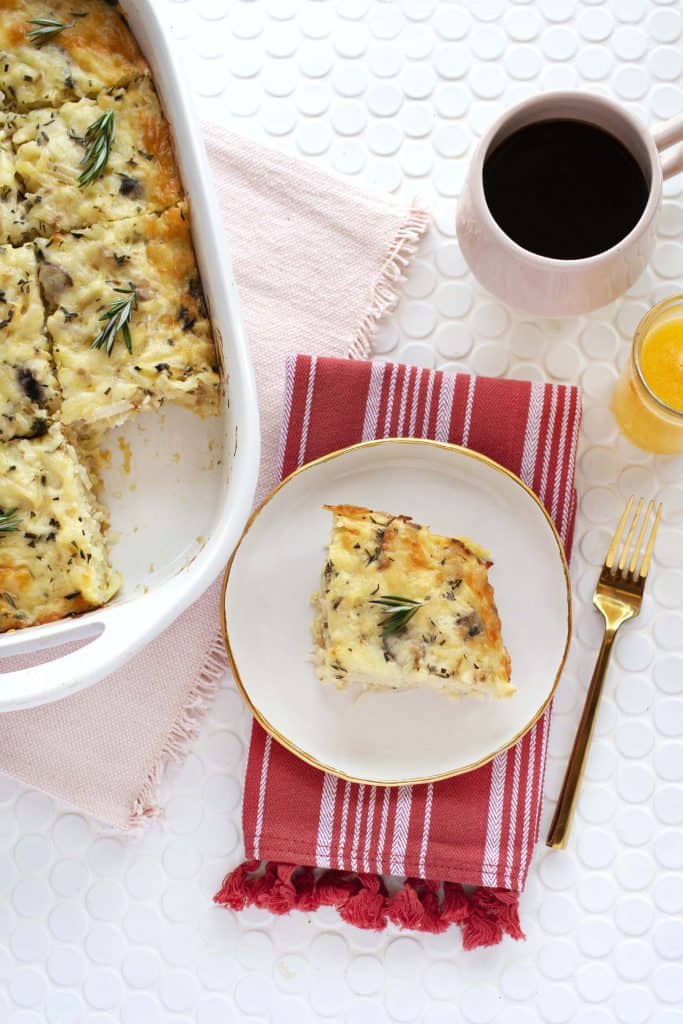
Rosemary and Mushroom Hashbrown Casserole
A savory vegetarian breakfast casserole.
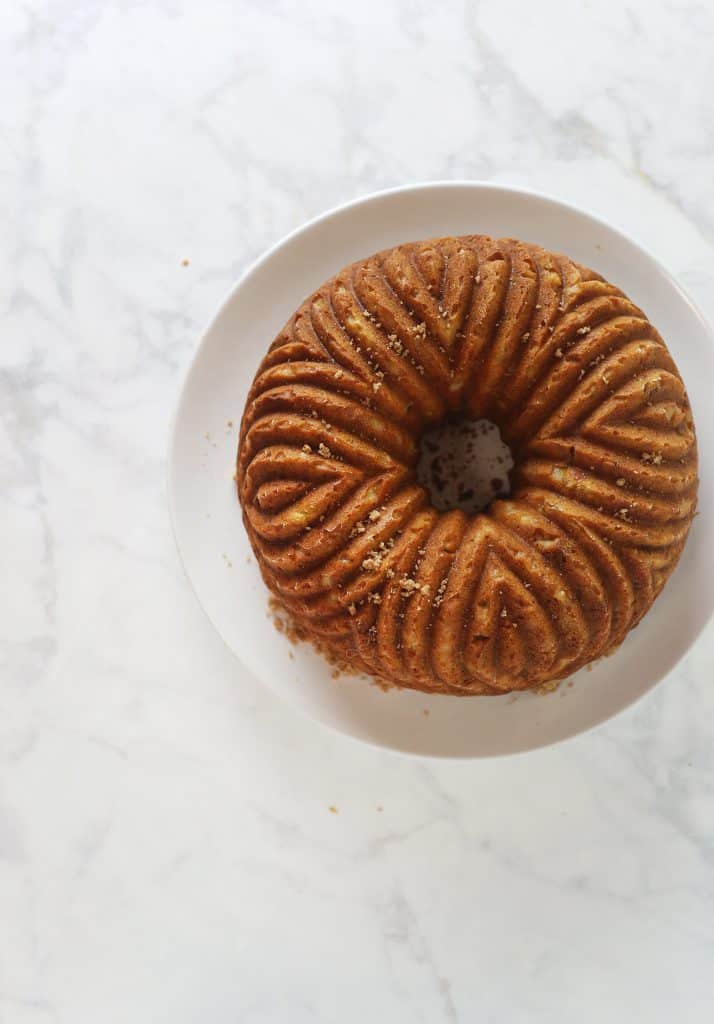
Upside Down Banana Coffee Cake
This banana coffee cake recipe is so good and easy to make!
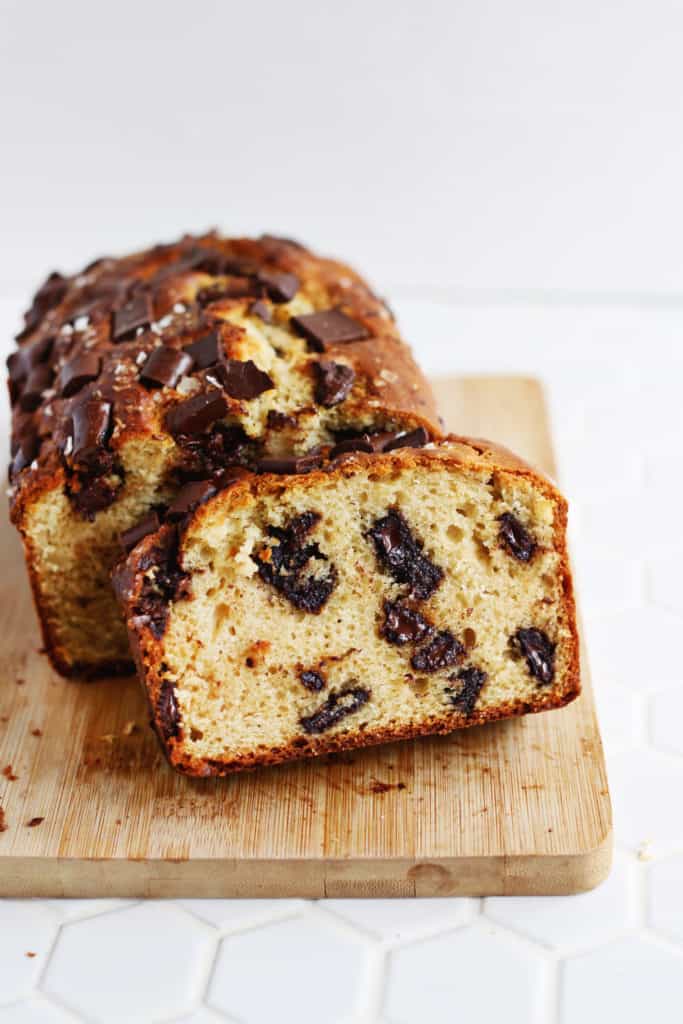
Chocolate Chip Bread
Easy quick bread recipe that doesn't require any yeast or rising time.
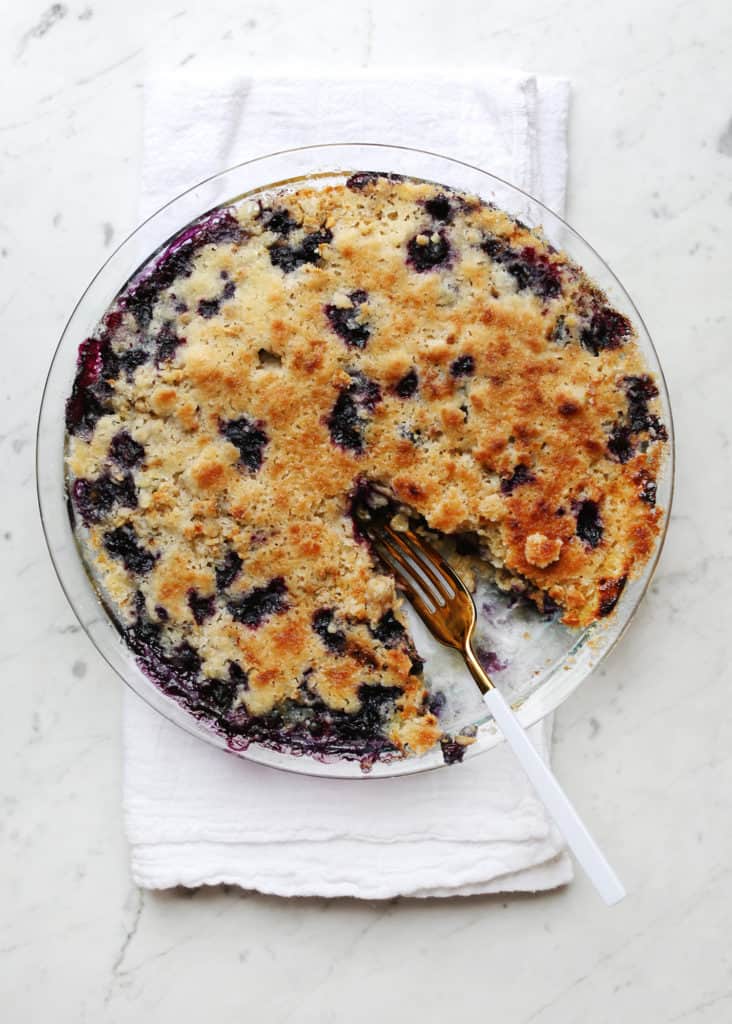
Overnight Baked Blueberry Muffin Oatmeal
An easy baked oatmeal recipe made with fresh berries.
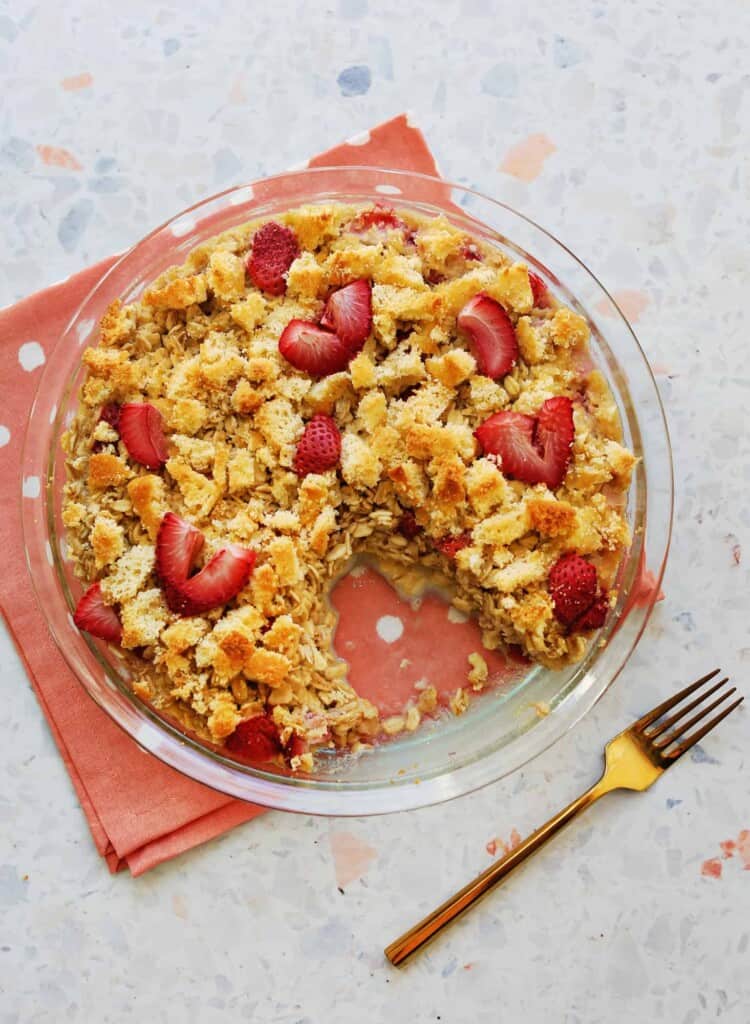
Strawberry Shortcake Overnight Baked Oatmeal
Baked strawberry oatmeal topped with crumbled shortbread on top.
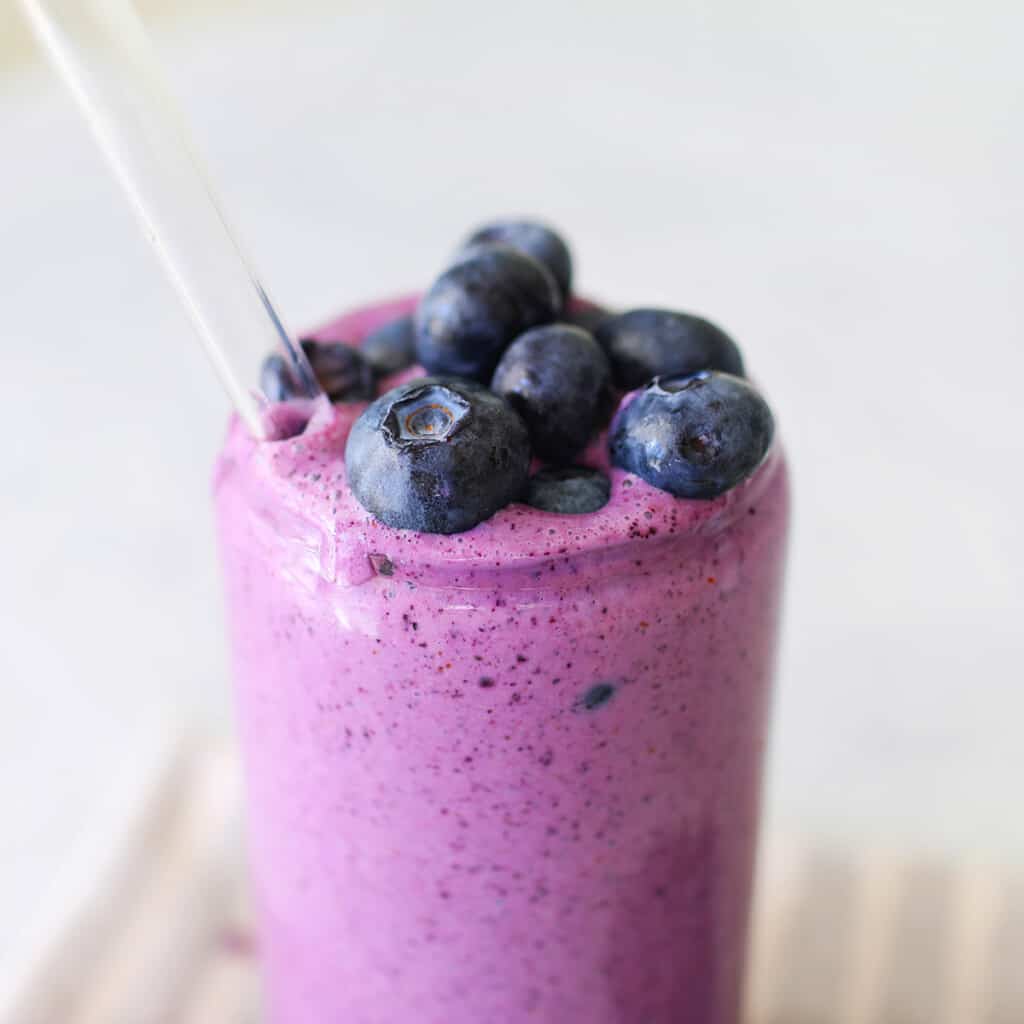
Blueberry Smoothie
Recipe for a healthy and delicious blueberry smoothie topped with fresh berries.
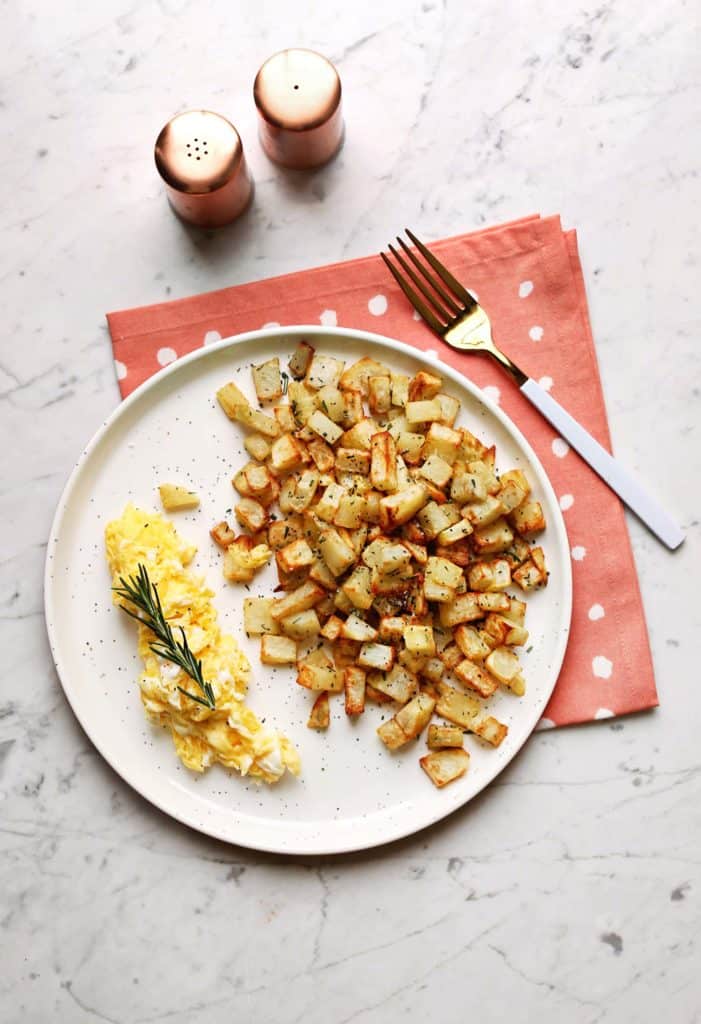
Air Fryer Breakfast Potatoes
Our favorite brunch side dish is always breakfast potatoes. This is a recipe I never skip. Use fresh herbs and flaky salt to level them up.
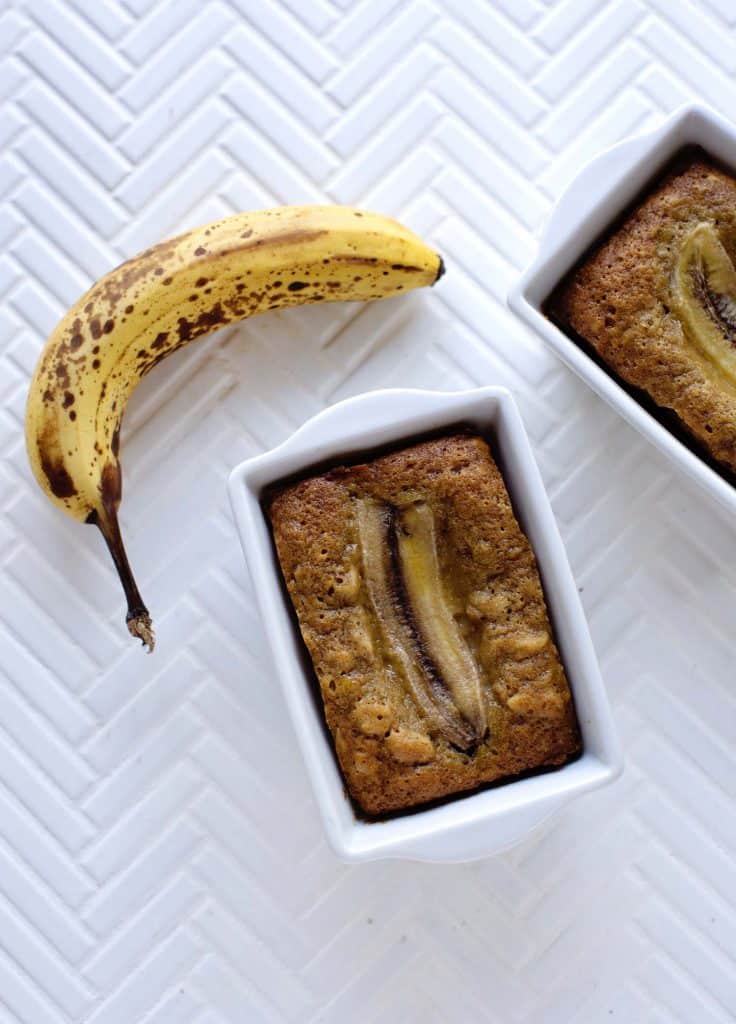
One Banana – Banana Bread
The best banana bread recipe using only one banana!
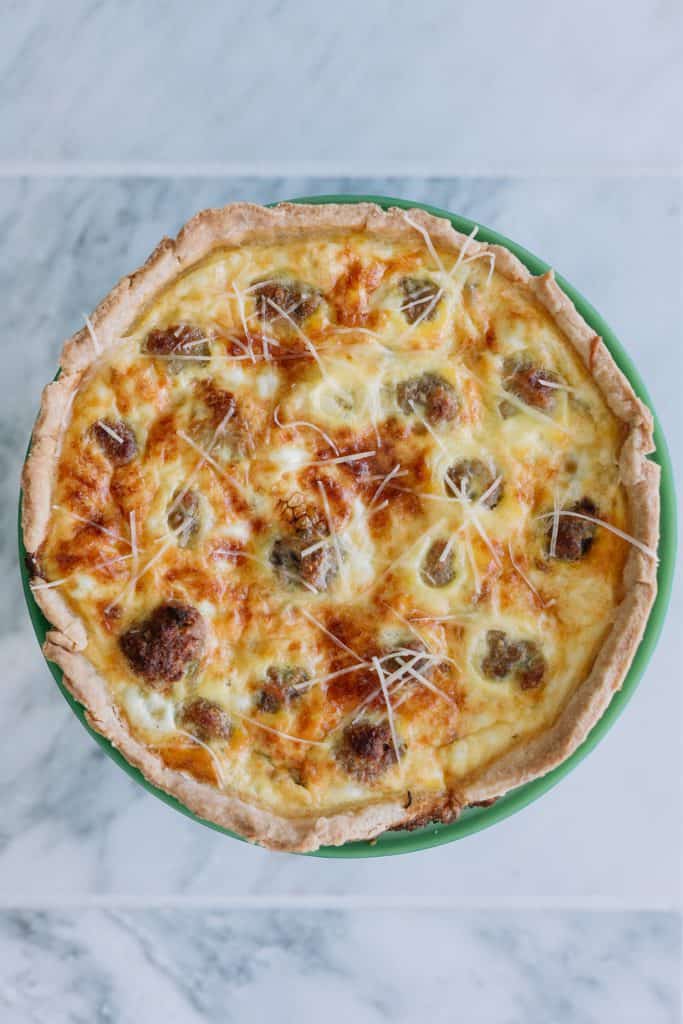
Turkey Meatball Quiche
A delicious quiche recipe with a homemade crust. You have to try this one!
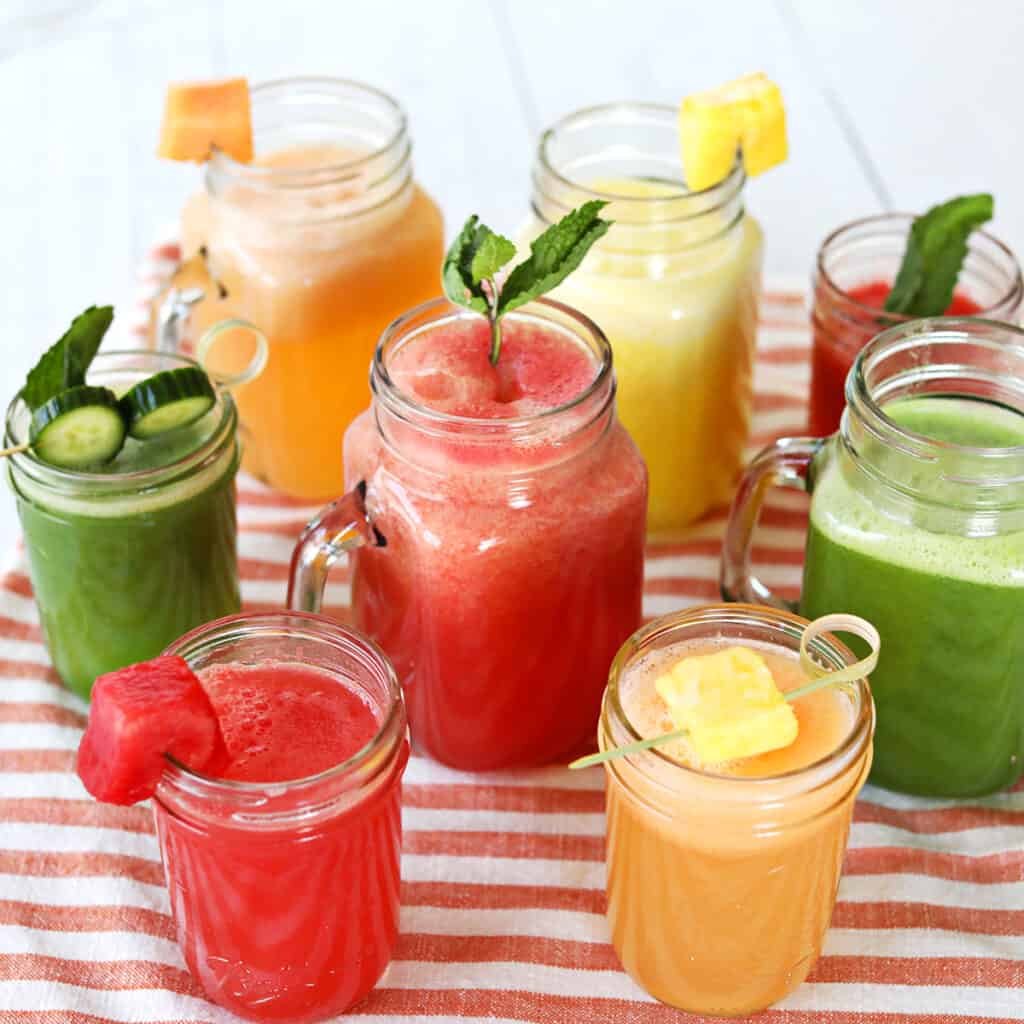
Agua Fresca
Learn to make refreshing Agua Fresca at home using this easy, healthy recipe! Use fresh fruits and vegetables such as watermelon, cucumber, pineapple, melon and mint.
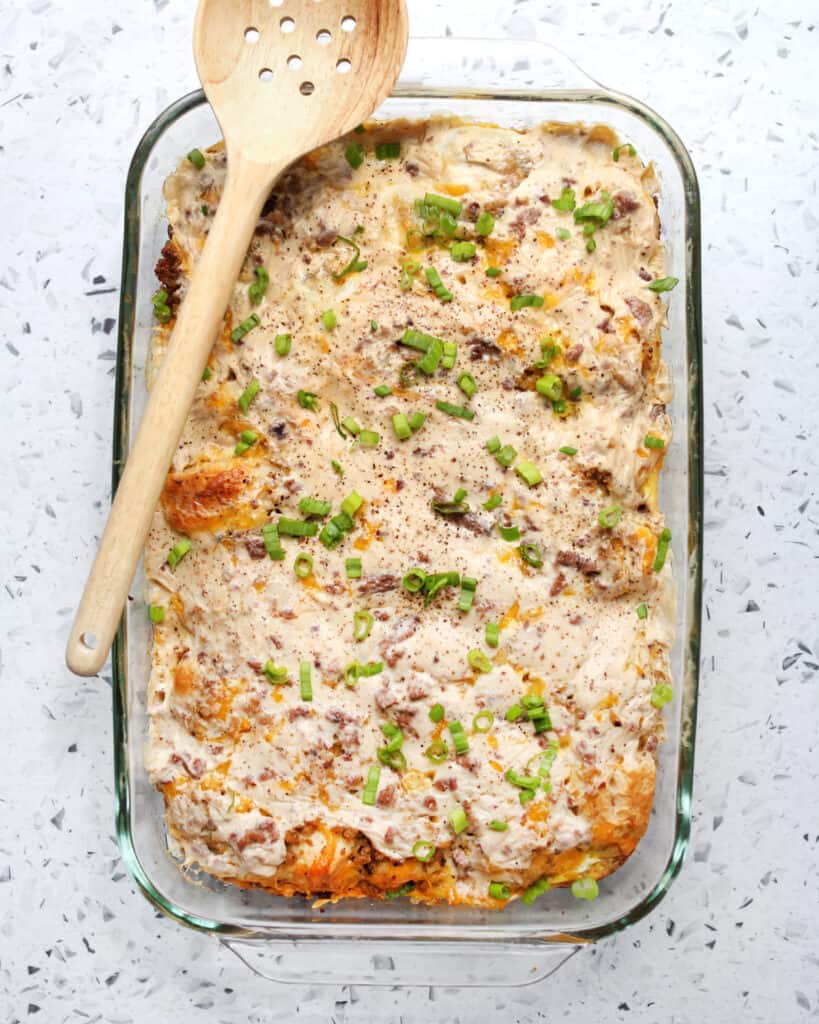
Biscuits and Gravy Casserole
Easy cheesy biscuits and gravy casserole recipe.
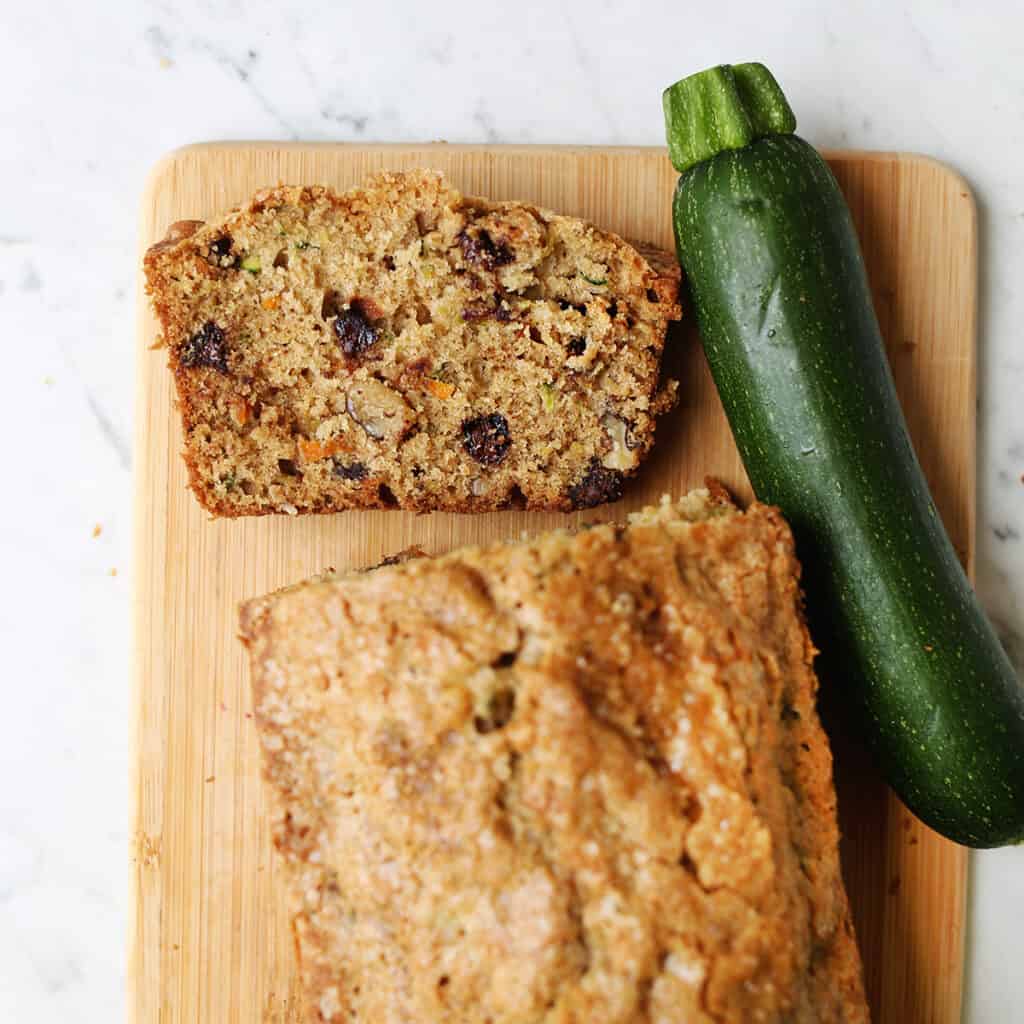
Zucchini Bread Recipe
A simple and moist quick bread recipe made with zucchini and carrots.
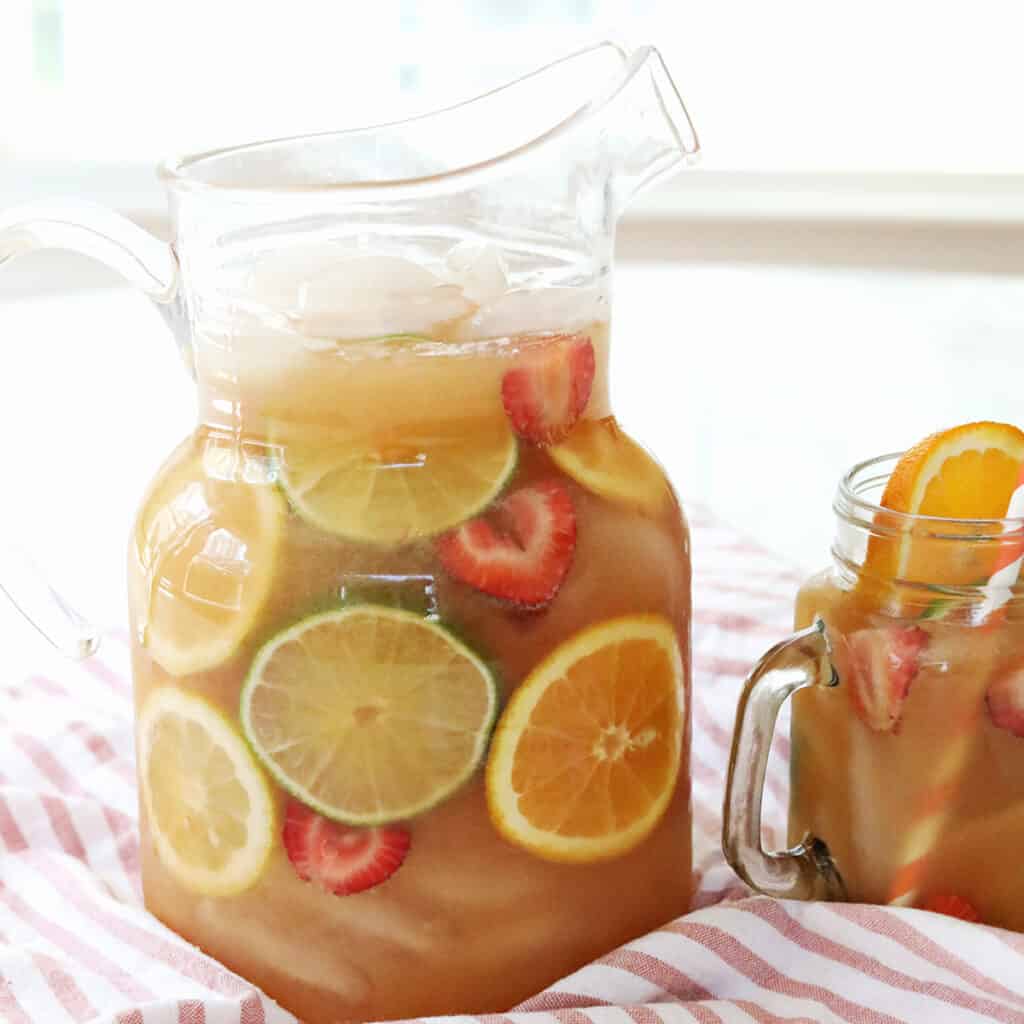
Fruit Punch
Learn to make homemade fruit punch.
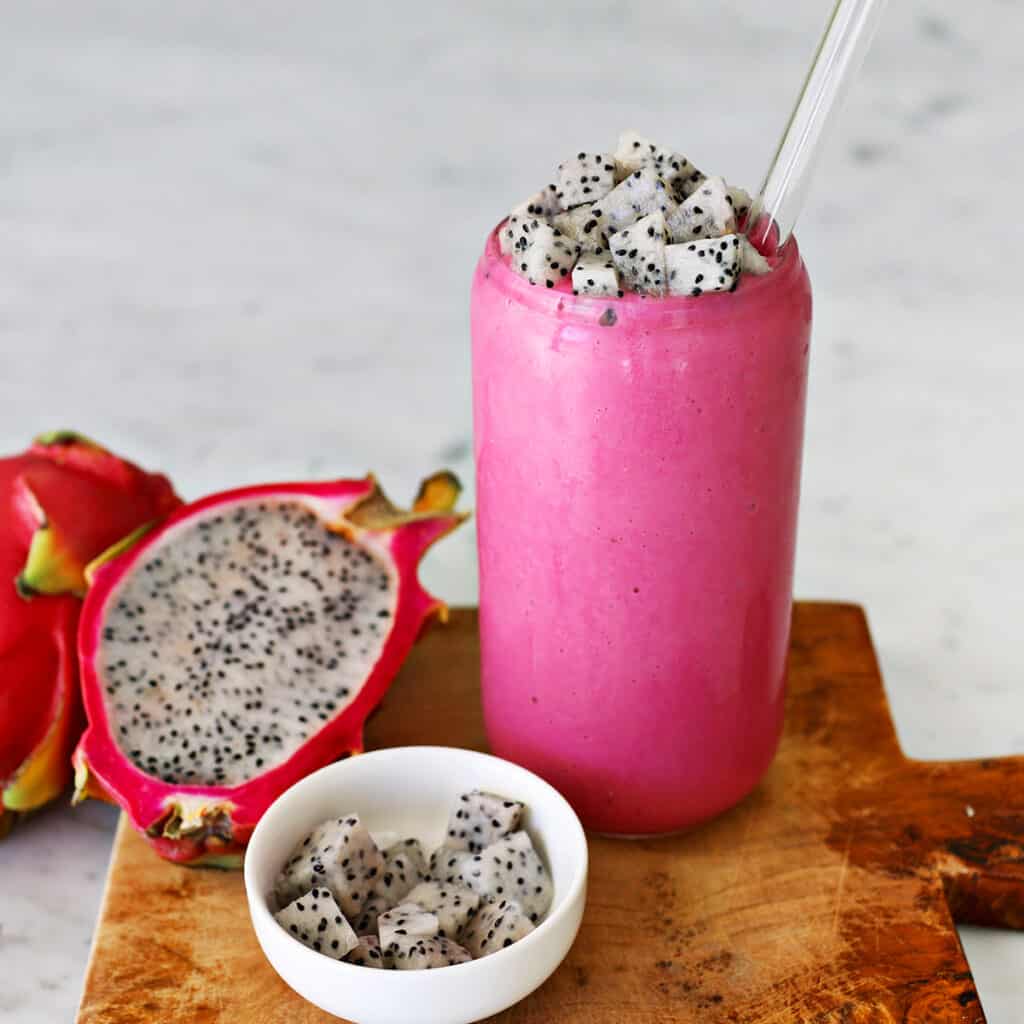
Dragon Fruit Smoothie
Learn how to make a delicious and healthy dragon fruit smoothie.
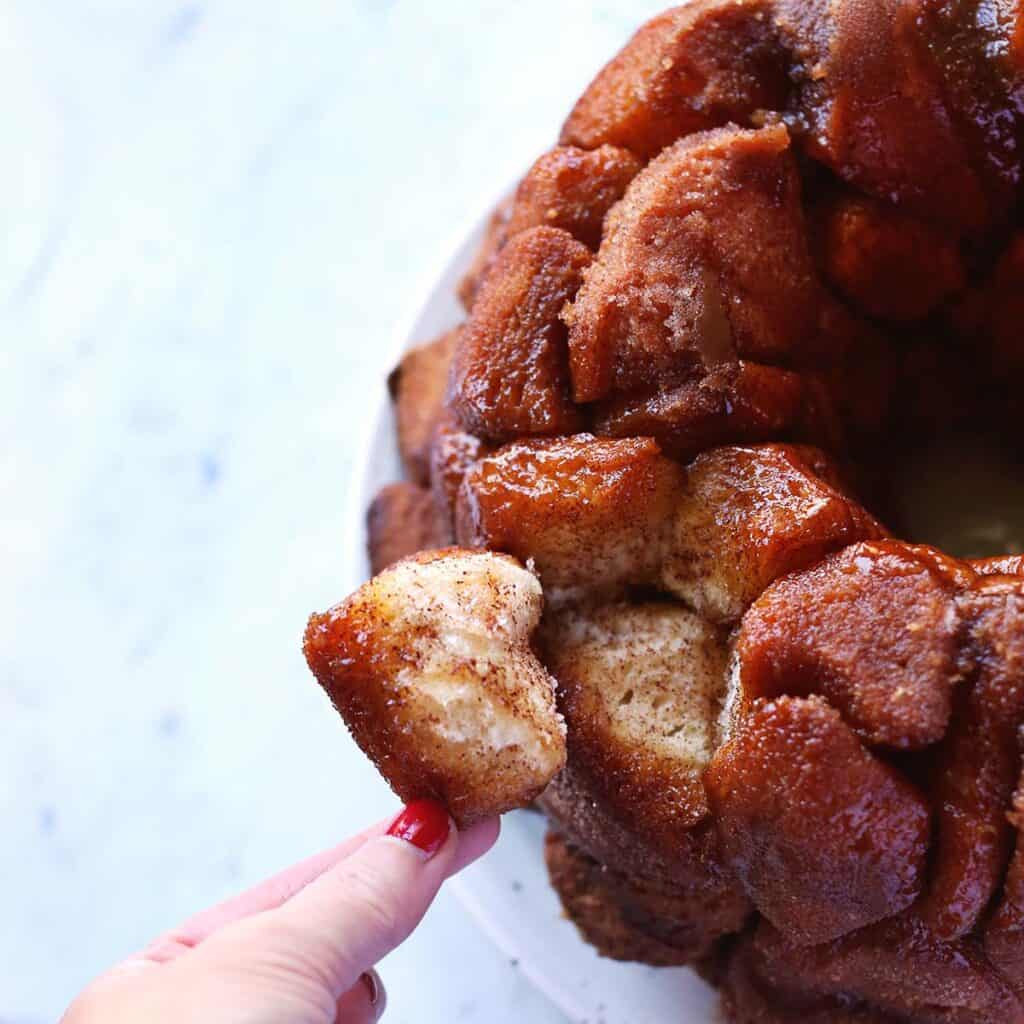
Monkey Bread with biscuits
An easy, classic monkey bread recipe.
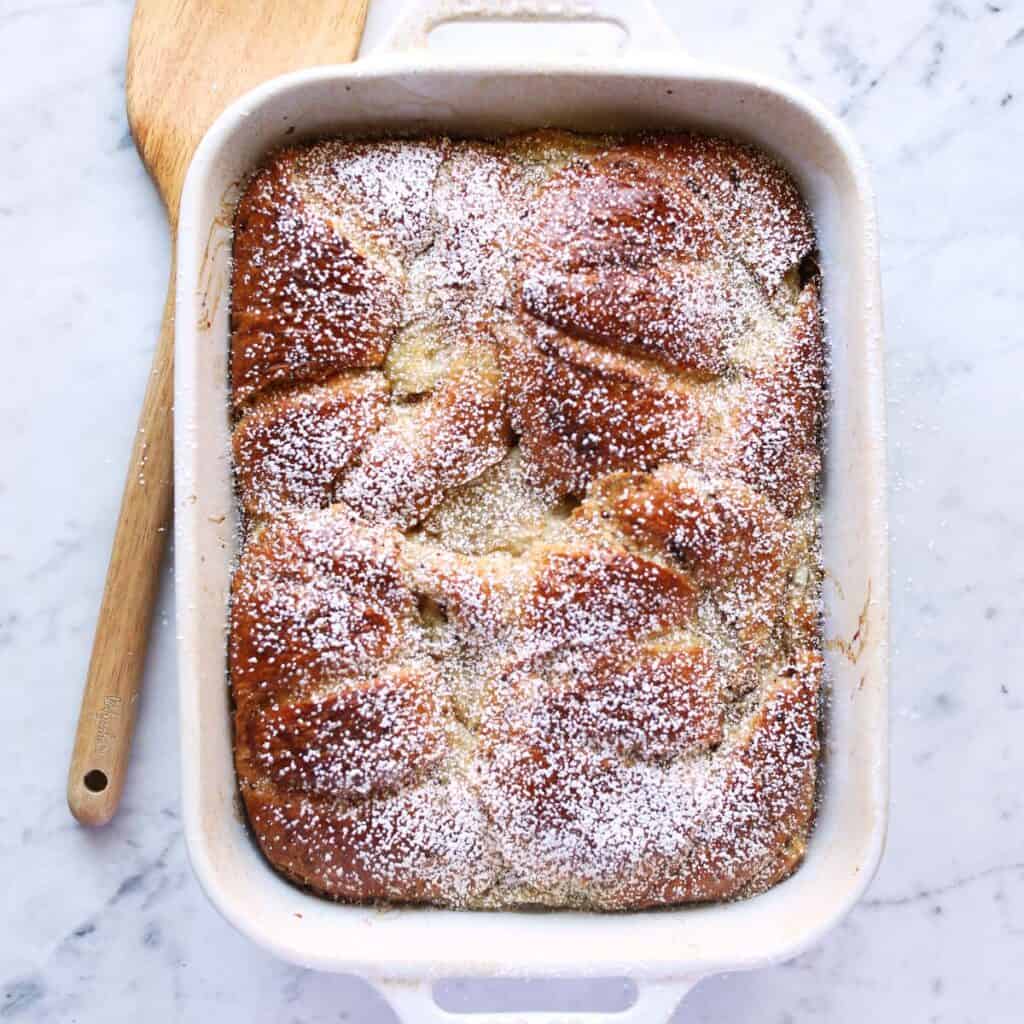
French Toast Casserole
A bread pudding-like breakfast with the flavors of French toast.
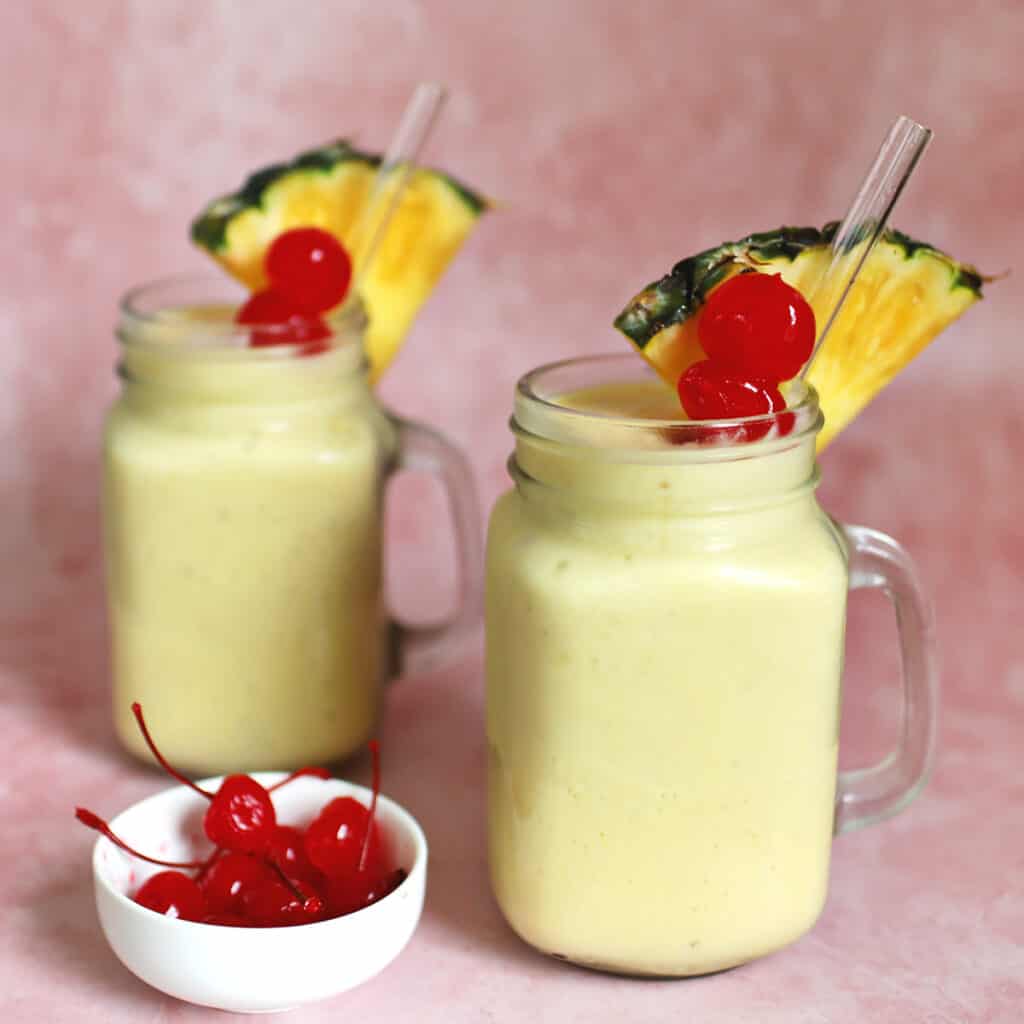
Tropical Smoothie
Make a delicious tropical smoothie using pineapple, mango and more.
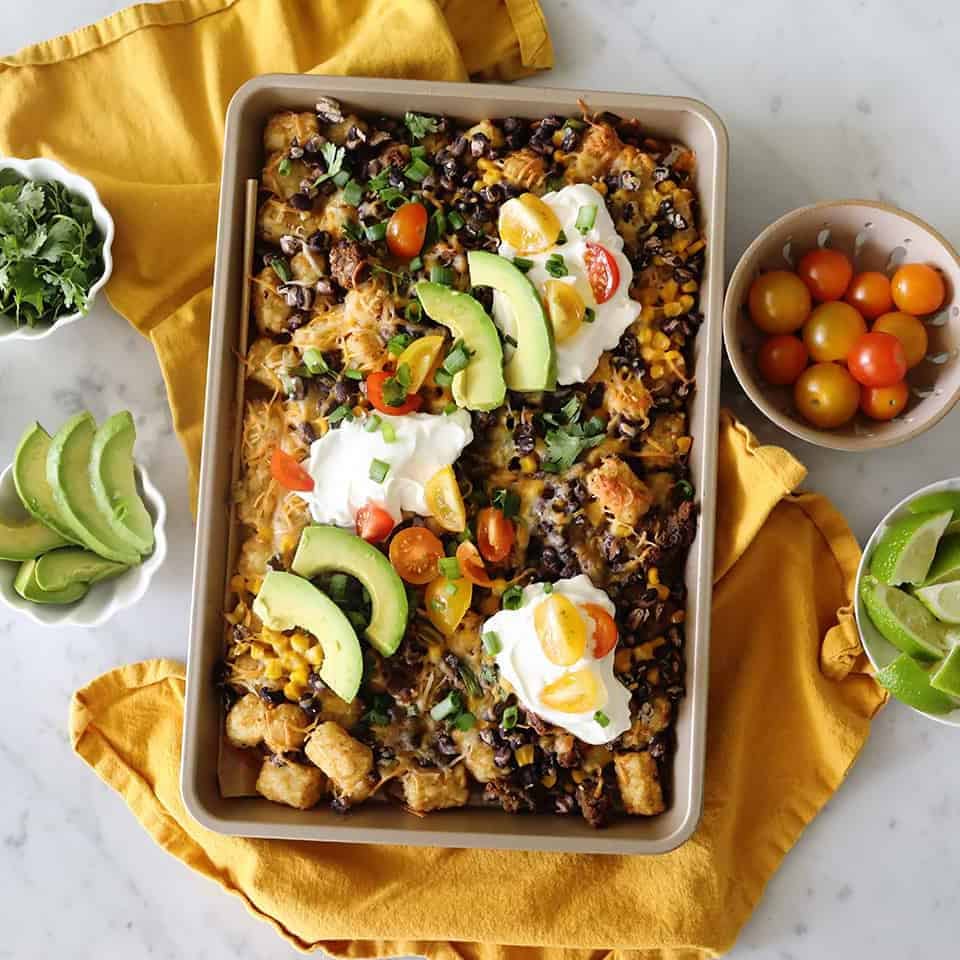
Sheet Pan Totchos
Sheet pan nachos with tater tots and ground beef. These are an epic brunch recipe!
More Easter Ideas
]]>Looking for more nail ideas? Check out:
- Beginner’s Guide to Gel Polish
- Get The Perfect Manicure at Home
- Nail Design Ideas (125+ ideas!)
- 55+ Winter Nail Designs
- 65+ Fall Nail Designs
- 30+ Chrome Nail Designs
- 100+ Summer Nail Designs
- 50+ Spring Nail Designs
- 45+ Halloween Nails
- 55+ Christmas Nail Designs
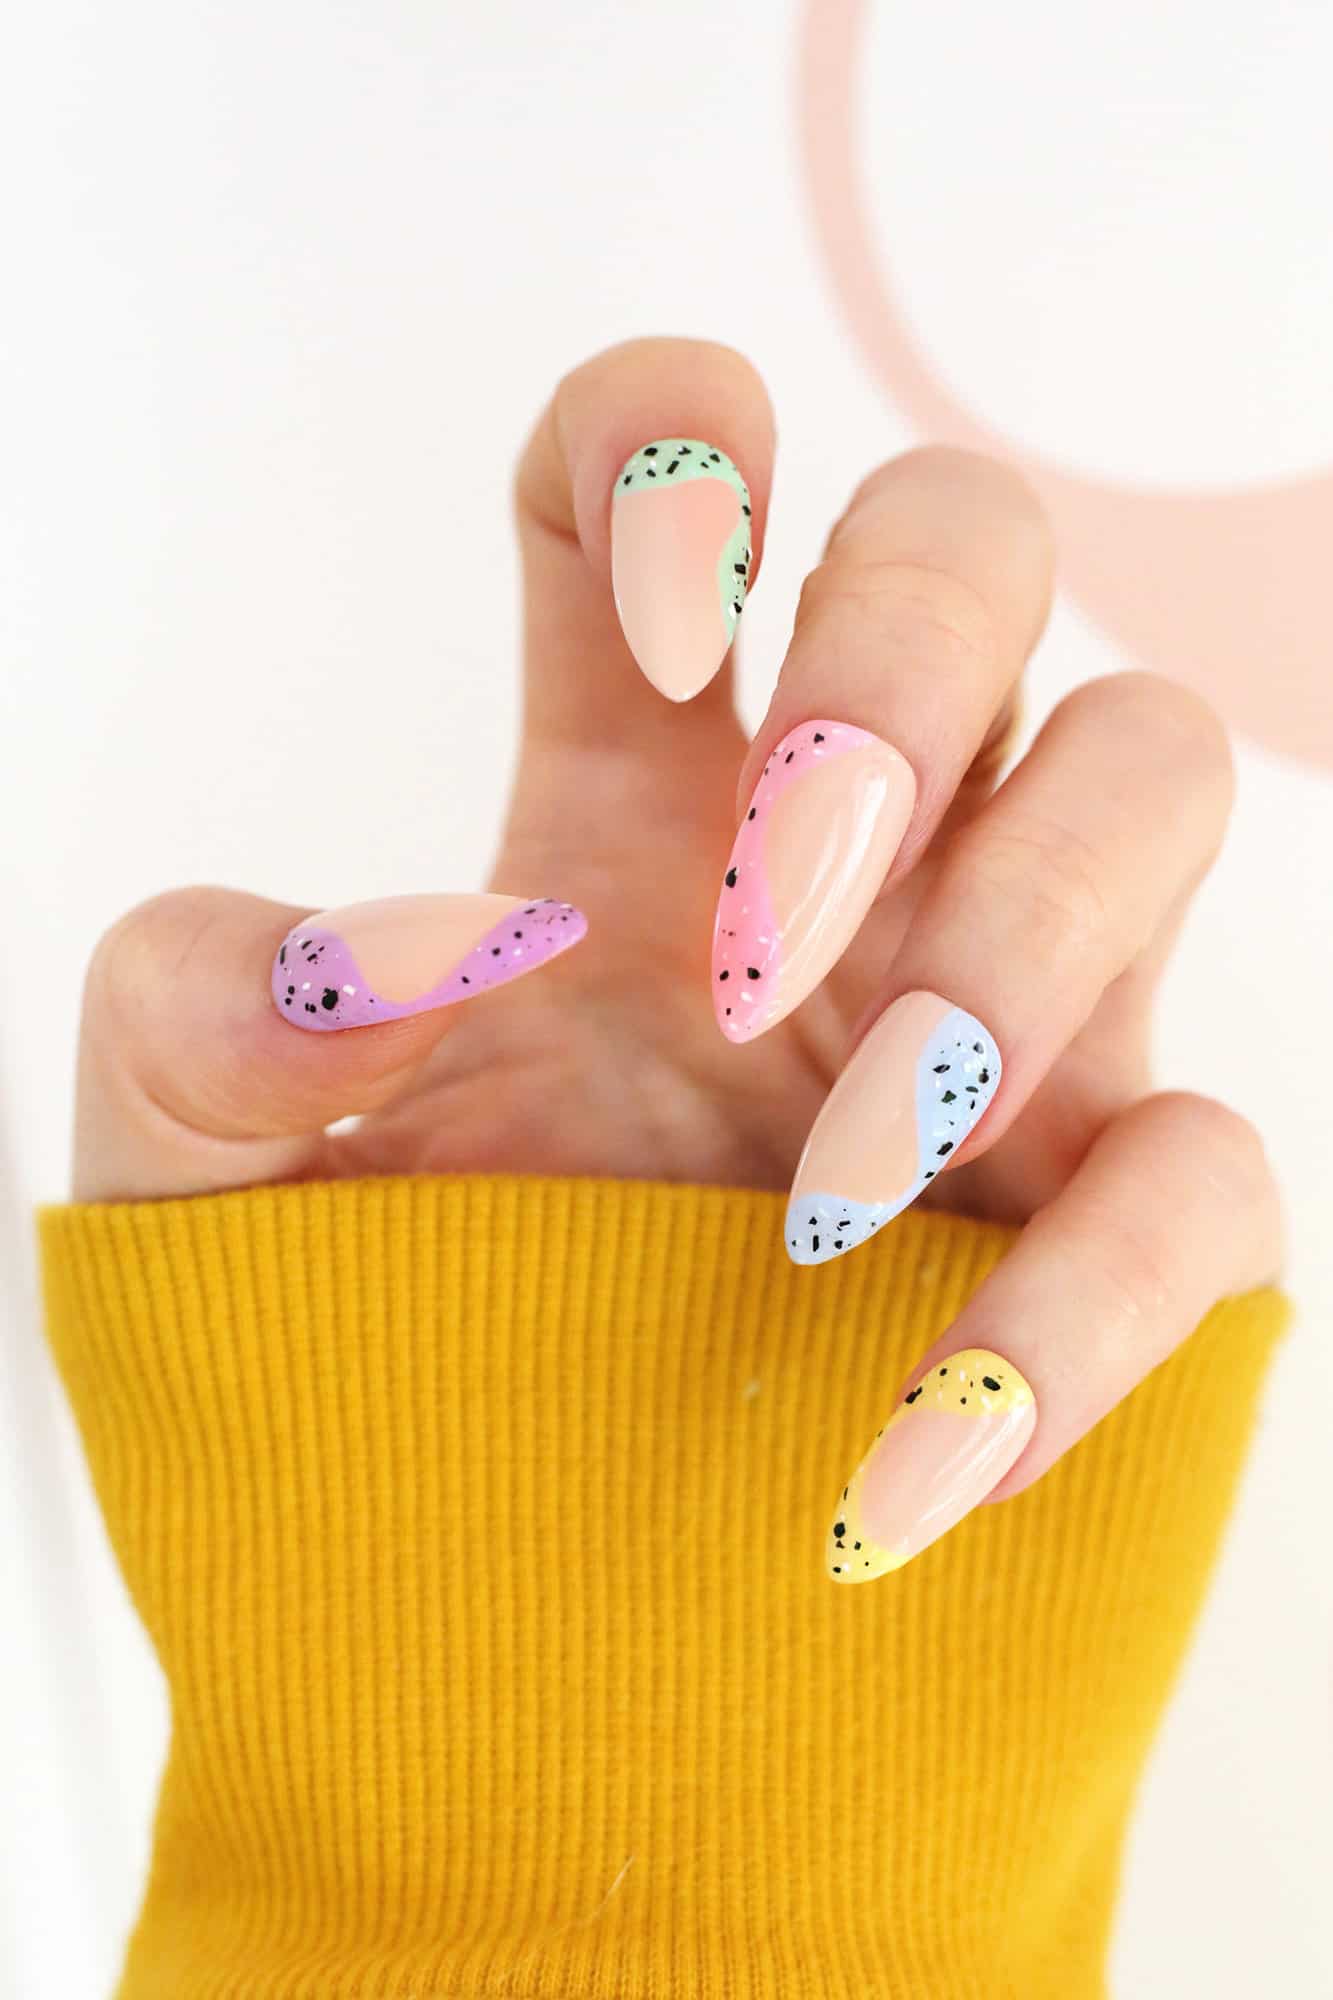
At home Easter nails vs. salon nails:
While you can do so many manicure looks at home now with gel manicure kits, it can be a little intimidating to some who are not as steady with their hands or just generally prefer the pampered experience at their local nail salon.
While gel manicures will generally last longer than traditional polish (usually 2-3 weeks for a gel manicure), there are traditional polish brands that boast several weeks of wear from their products, and you don’t have the longer gel removal process at home if you choose to take off your own polish.
Some of the trickier techniques like chrome or magnetic polish also might be a little easier in the hands of a professional, but if you have a gel nail kit at home, they are looks that are fun to try and master.
Of course, doing a press-on nail is the easiest way to get your perfect Easter style at home by yourself, so there’s no shame in finding your favorite look and grabbing your nail glue.
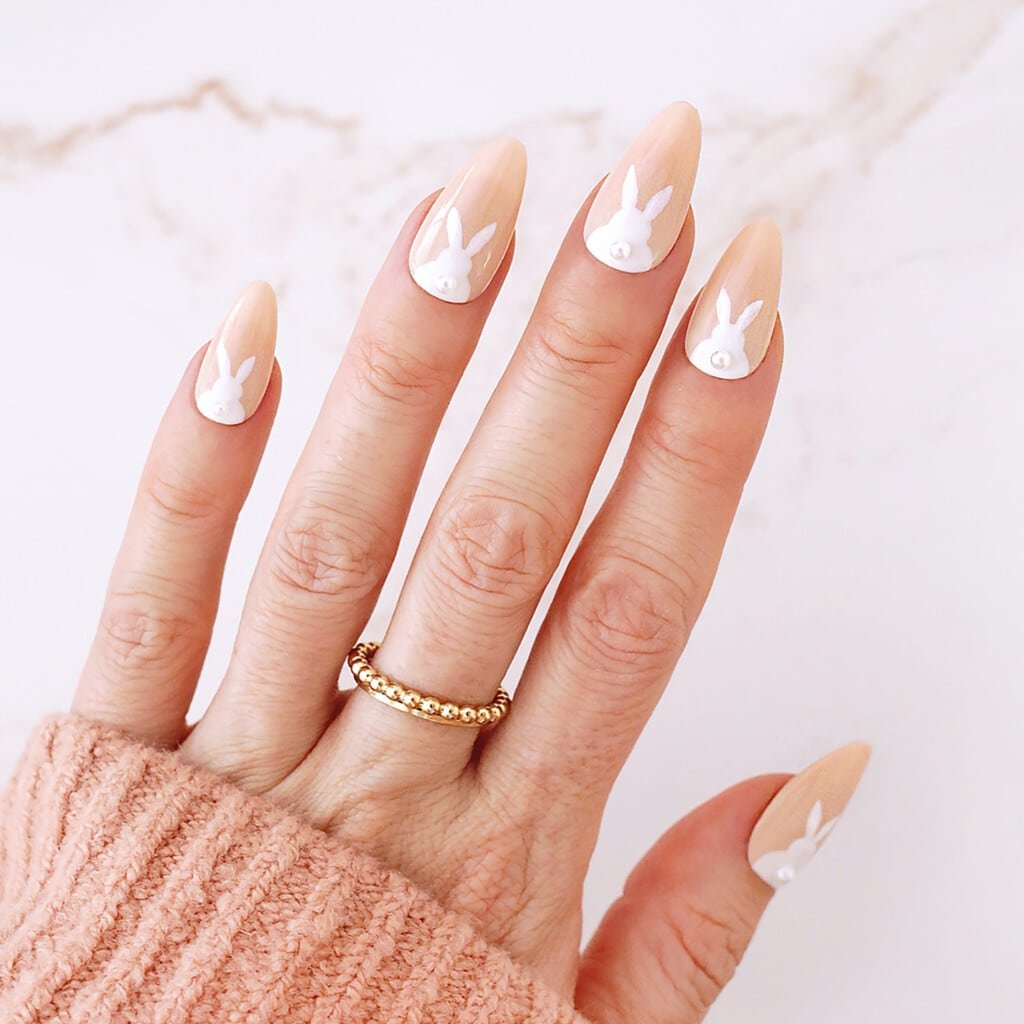
Bunny Butts
Bunny silhouettes and pearl tails are the vibe for carrying that Easter basket.
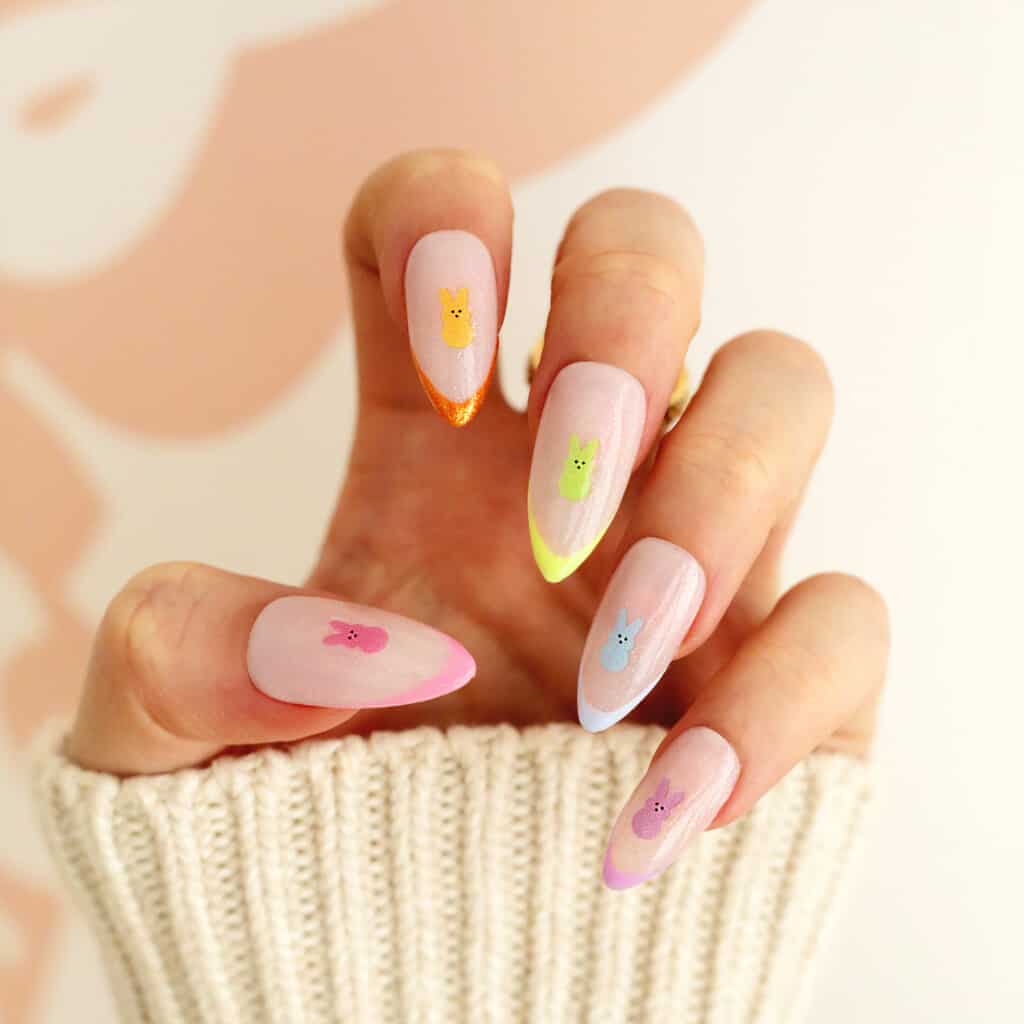
Where My Peeps At?
Rainbow colored pastel tips and little peeps are the perfect Easter egg hunt mani.
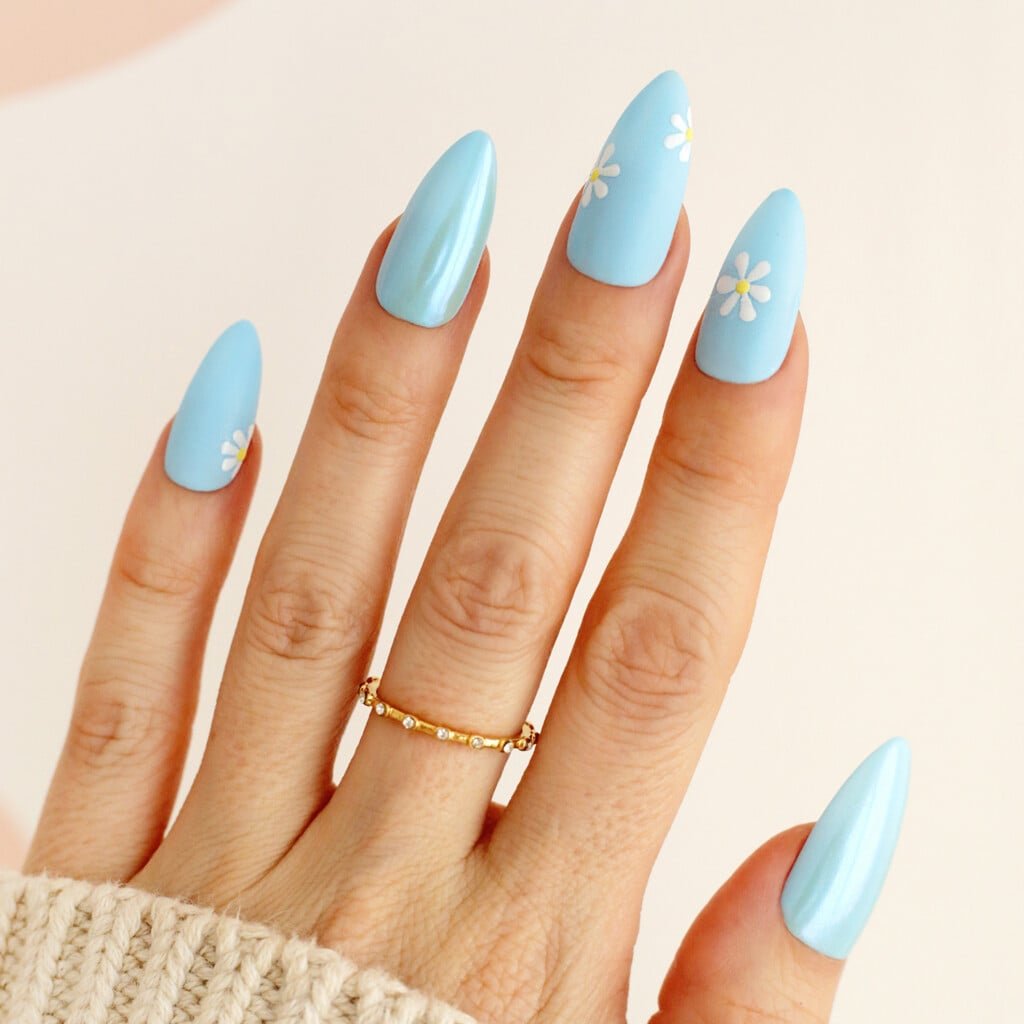
Sky Blue Daisies
This sky blue mani features friendly daisies, and one of the hottest nail trends, chrome accents nails.
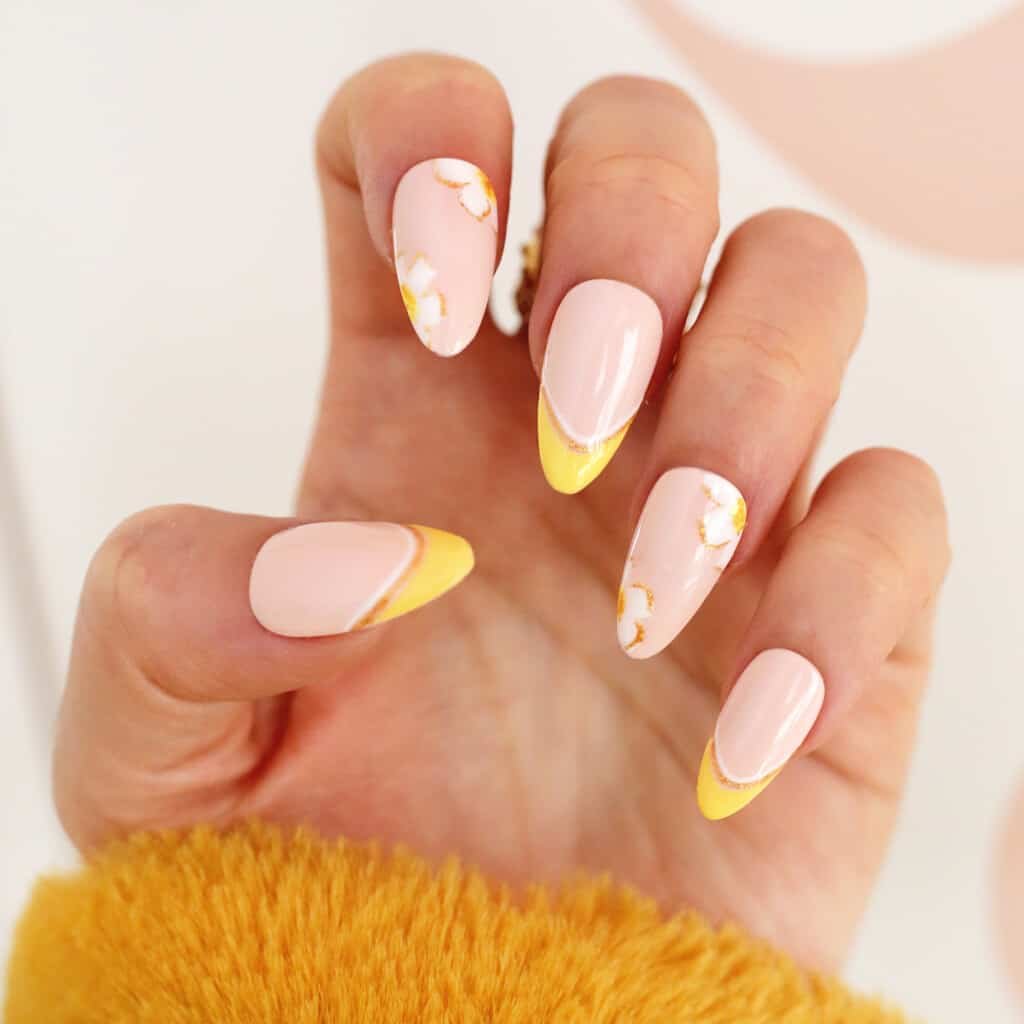
Sunny Days
These butter yellow tipped nails are all the spring and floral vibes you need.
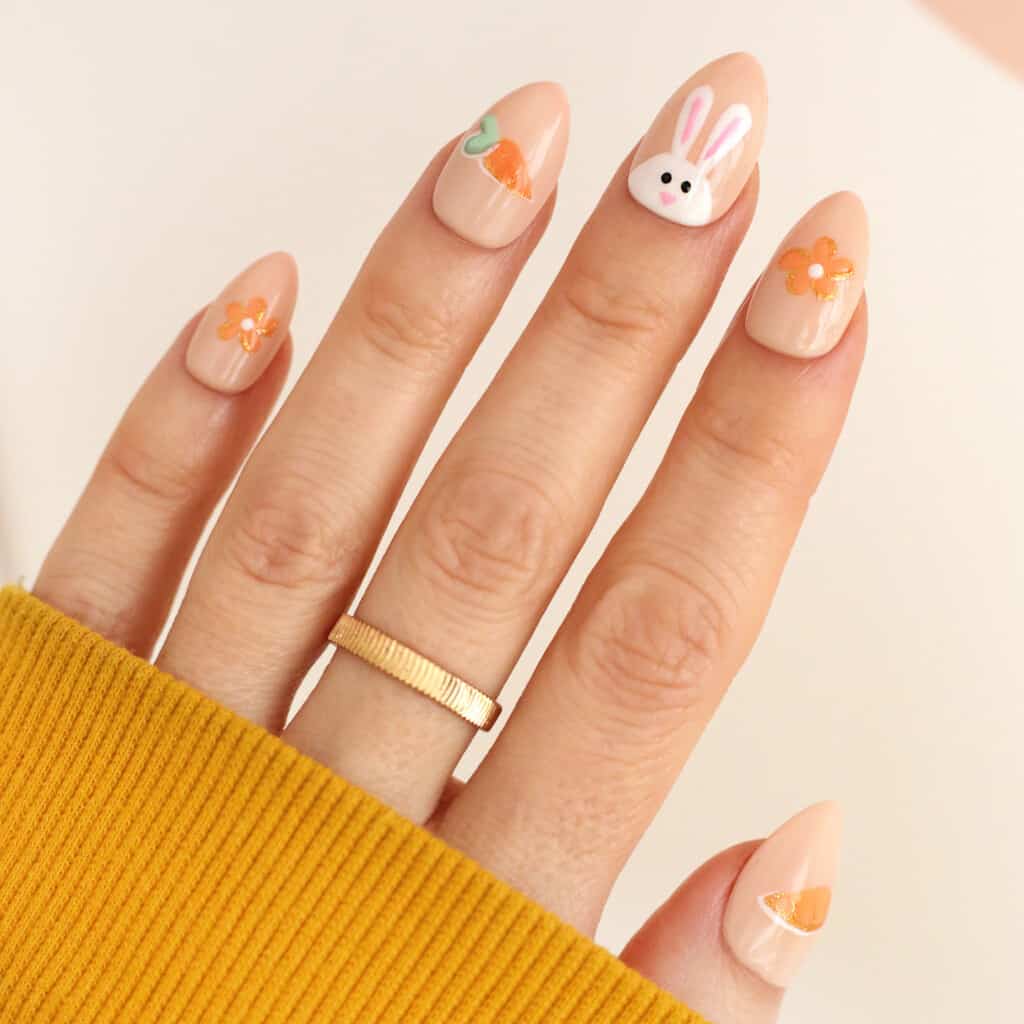
24 Carrot Bunny
Bunny faces and carrot details make a fun Easter manicure.
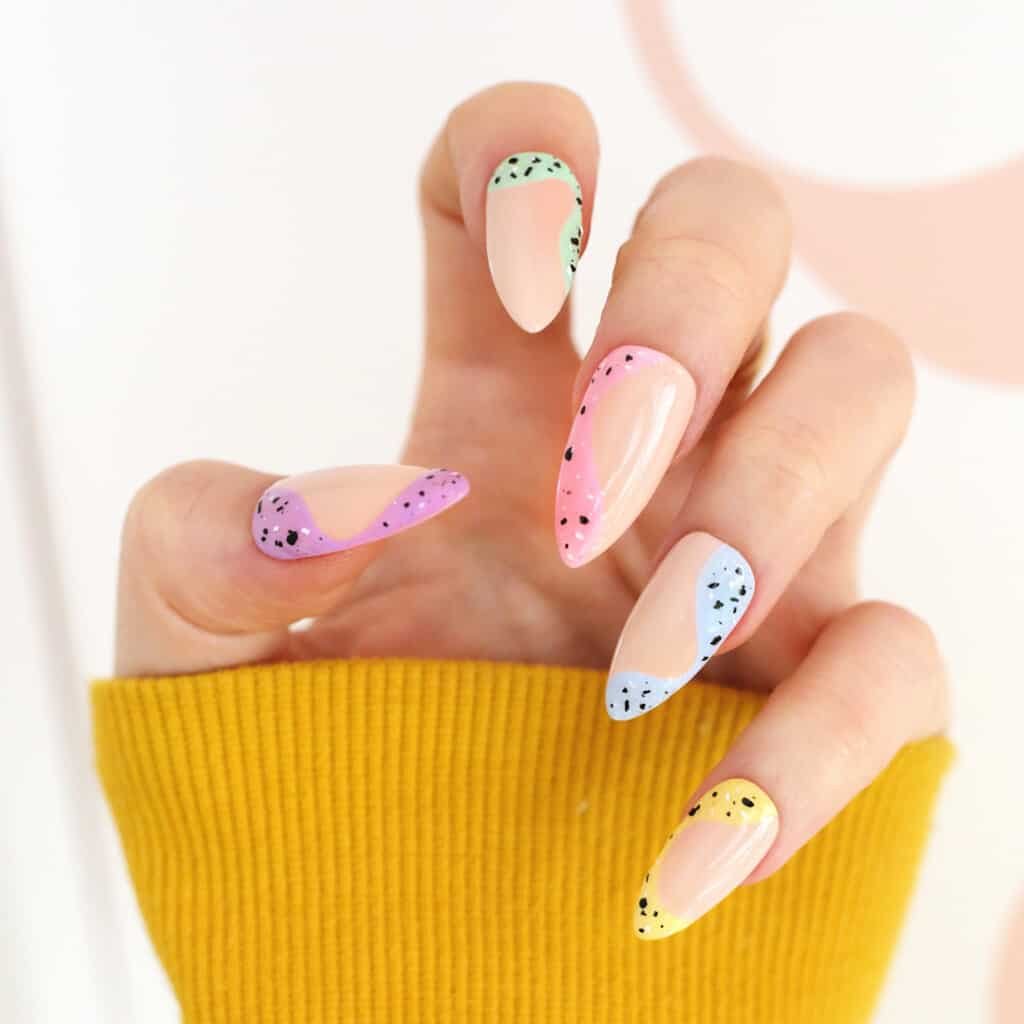
Whopper Waves
Copy your favorite Easter candy with these speckled egg nails in pastel polishes.
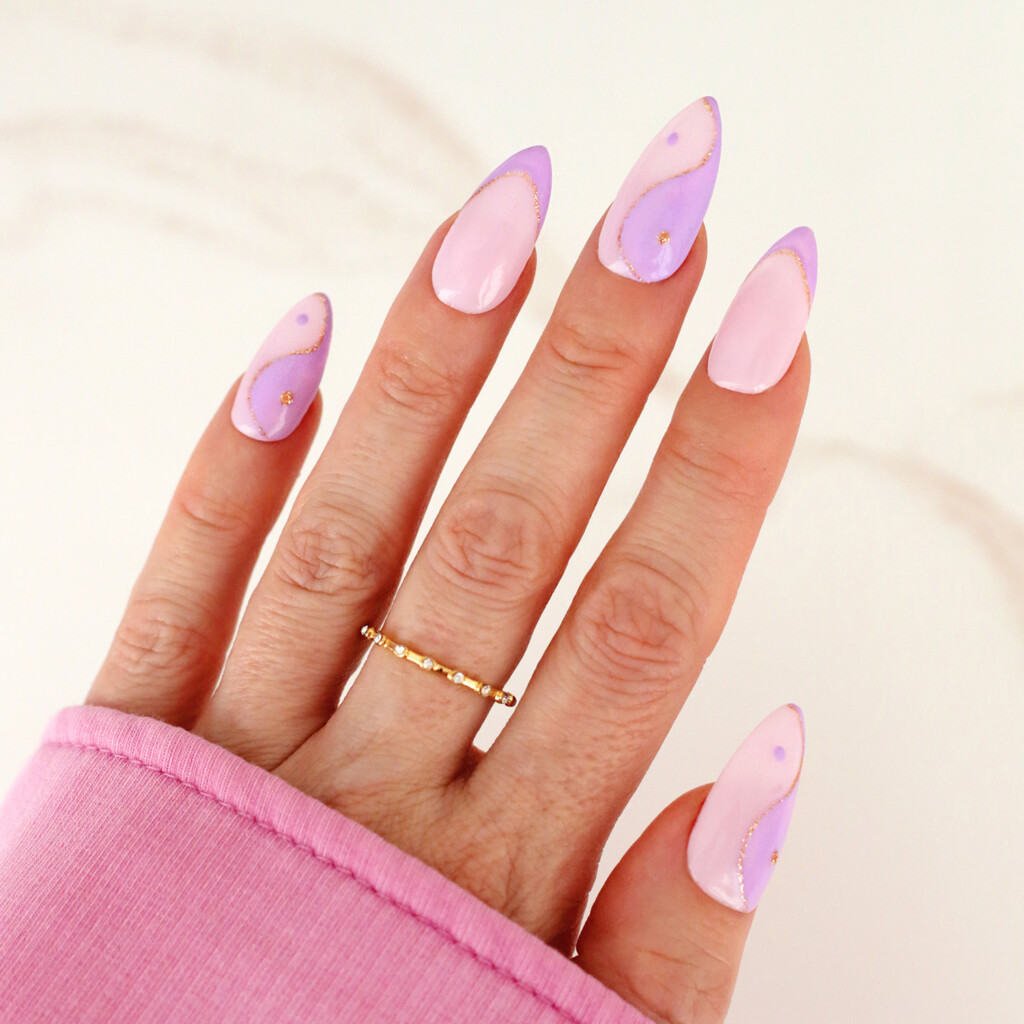
Pastel Yin Yang
This purple and pink yin yang design is fun for spring and well into summer.
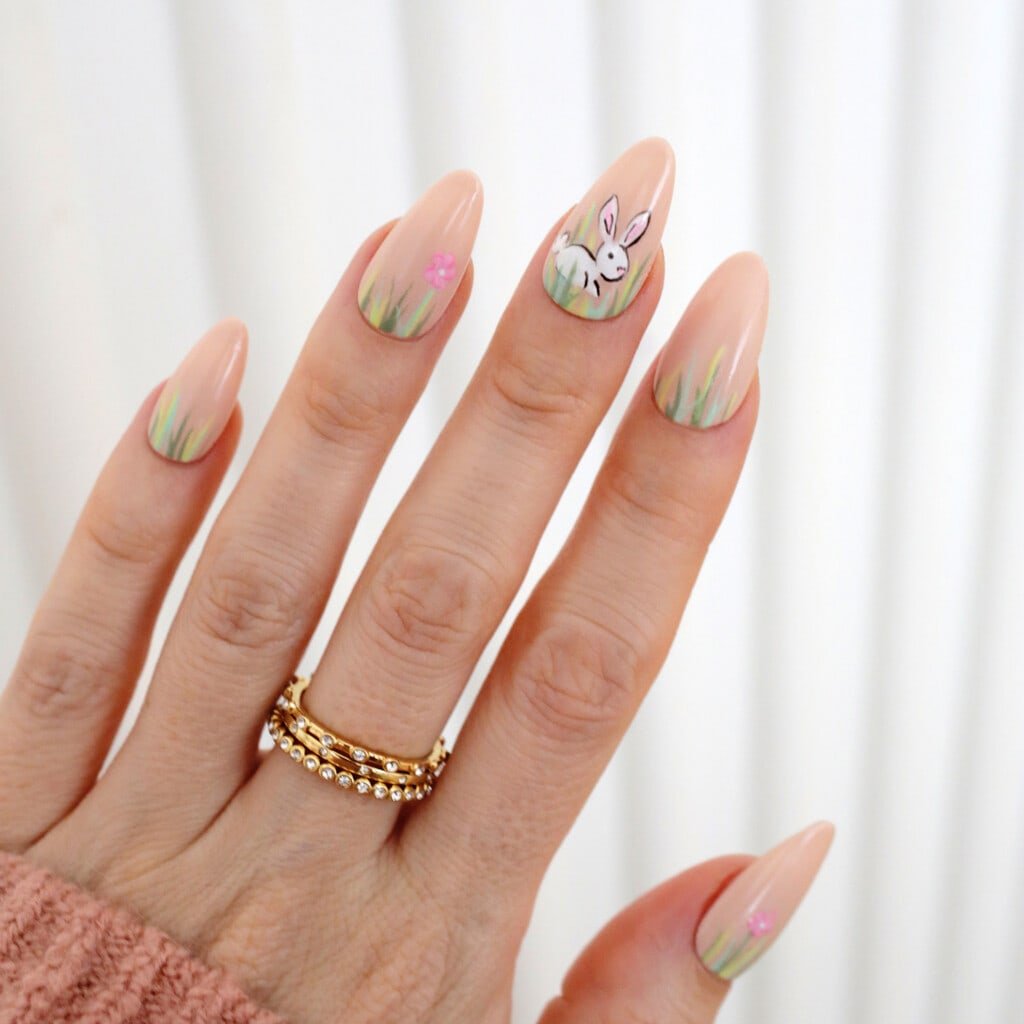
Bunny in the Grass
This adorable little bunny in a field is sure to make you smile on Easter morning.
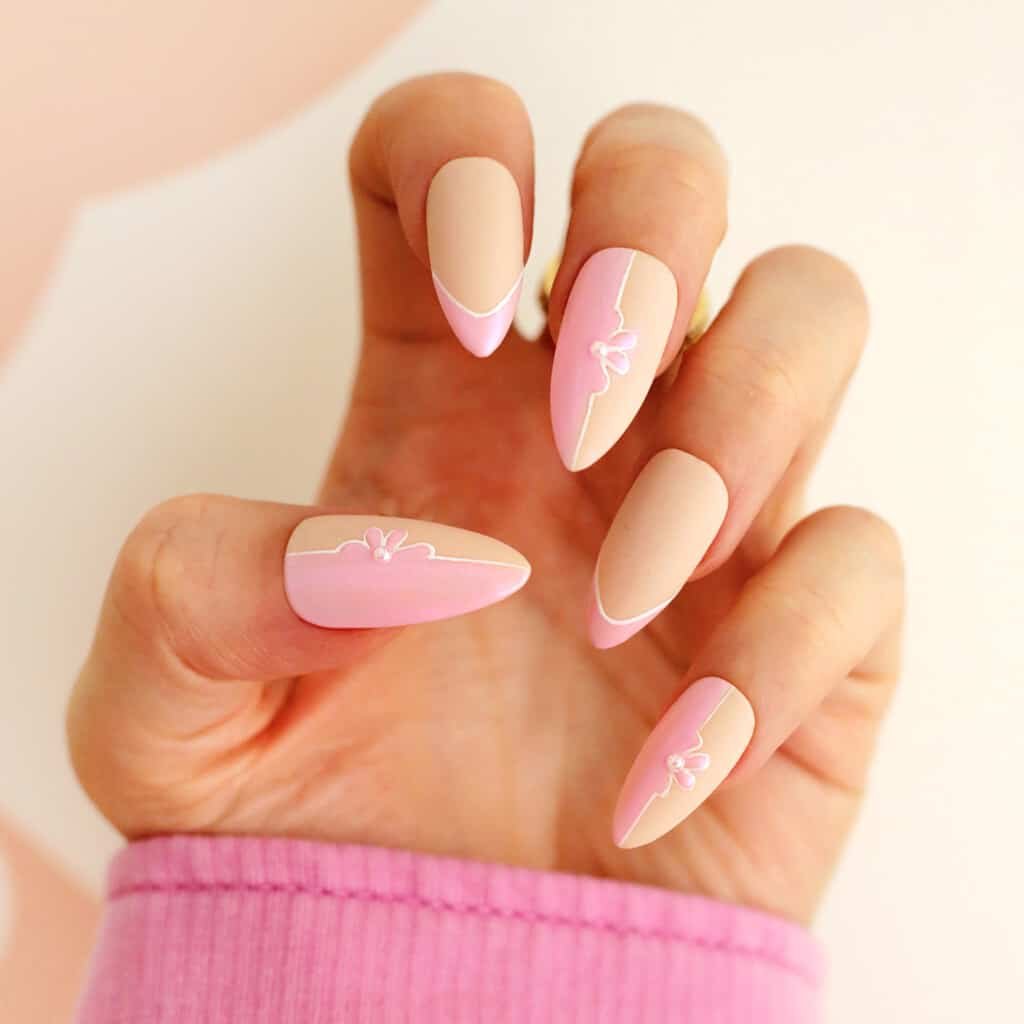
Floral Color Block
Add a flower outline to the color blocked look for a spring twist.
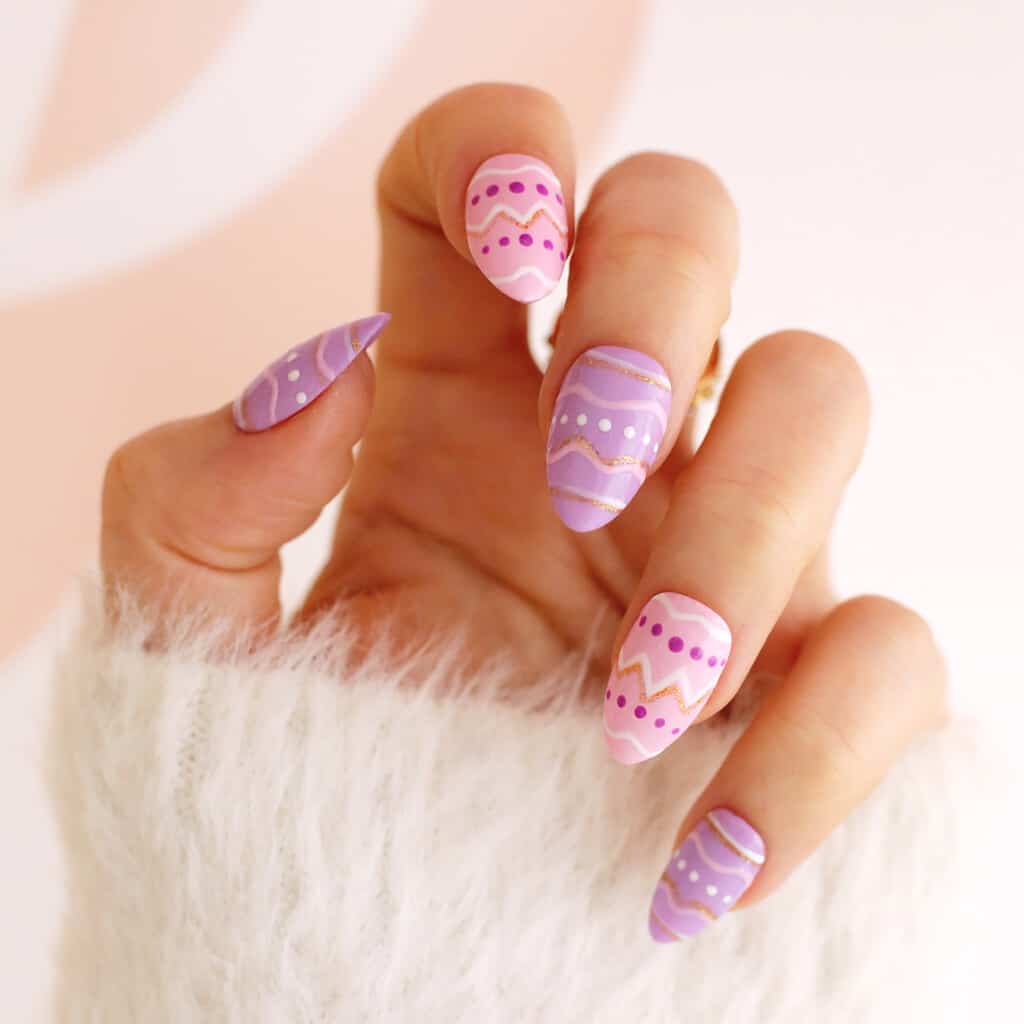
Egg Hunt
Add some Easter nail art with this pastel painted egg design!
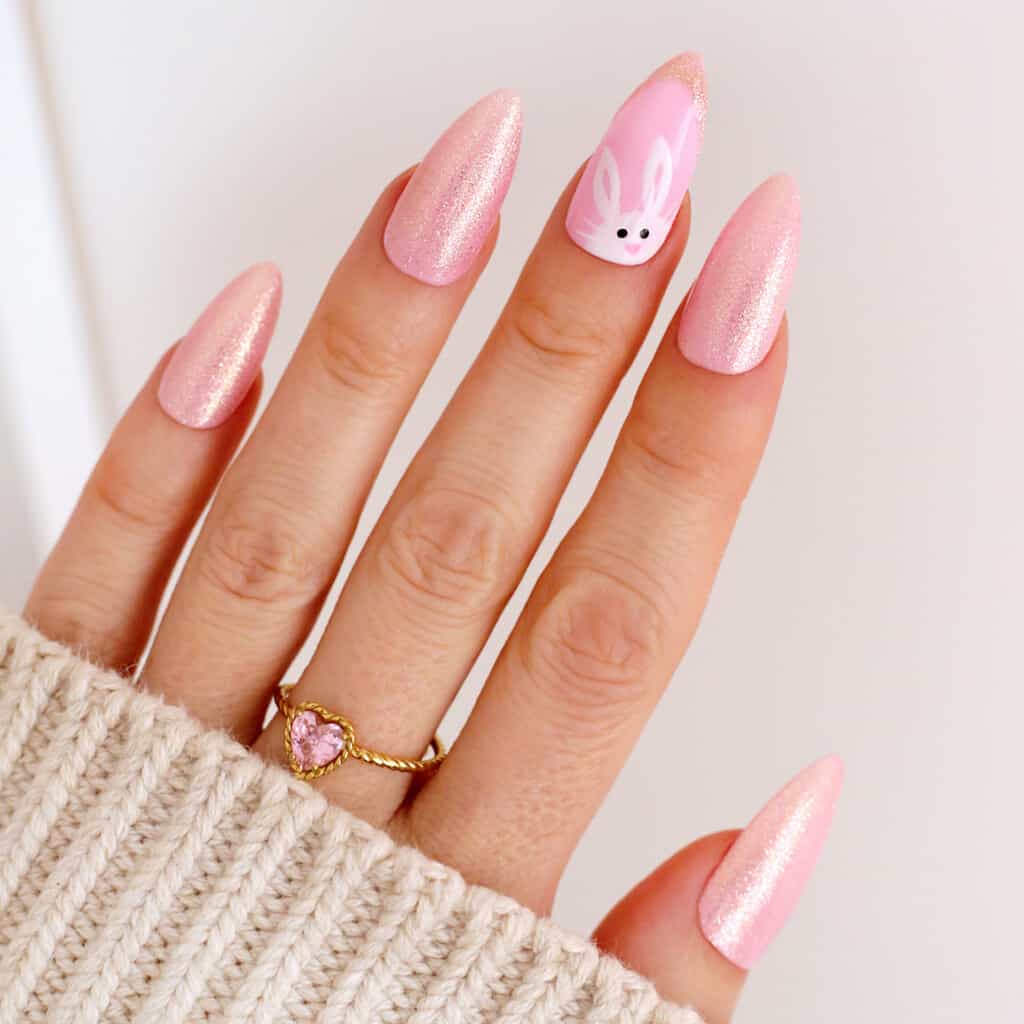
Here Comes Peter Cottontail
Hop right down the bunny trail by adding a sweet bunny face as an accent to pastel hued glitter nails.
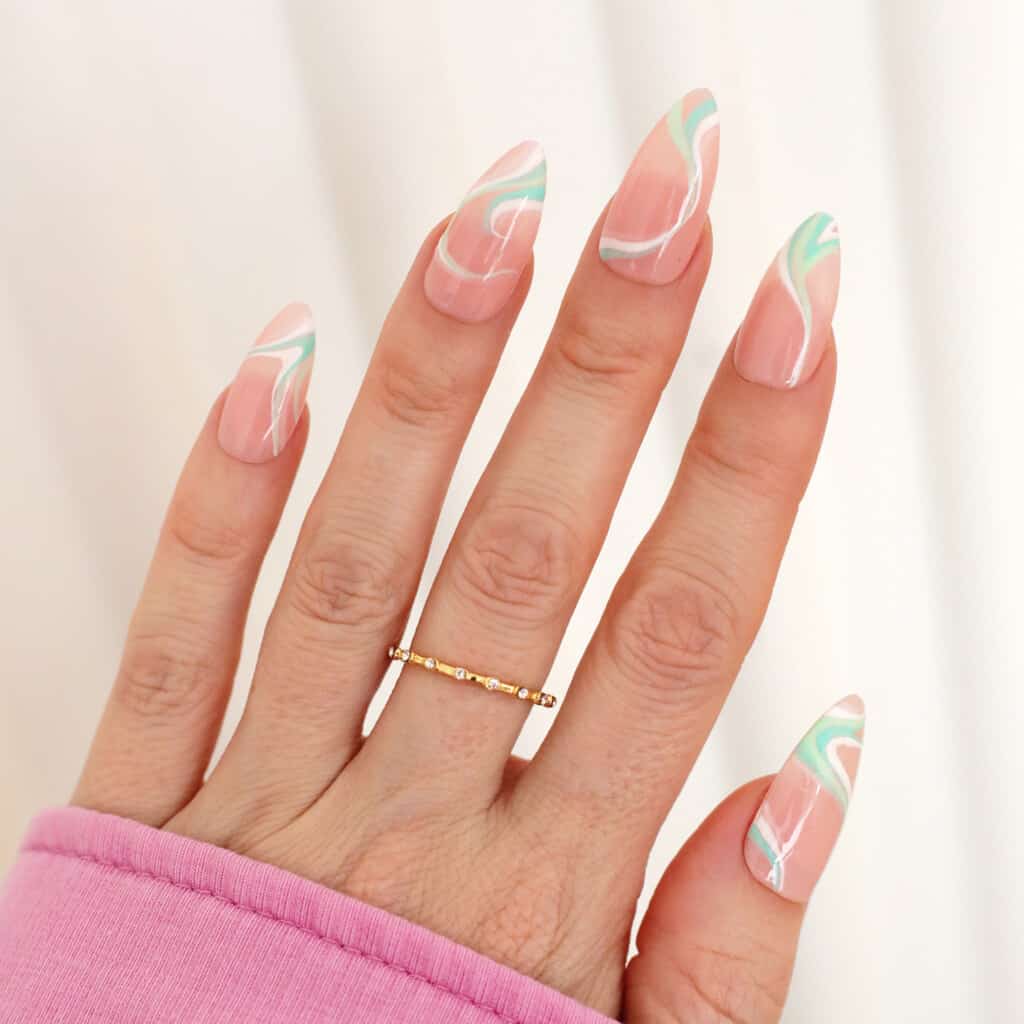
Minty Waves
These mint colored waves will match all the new buds springing up in your yard.
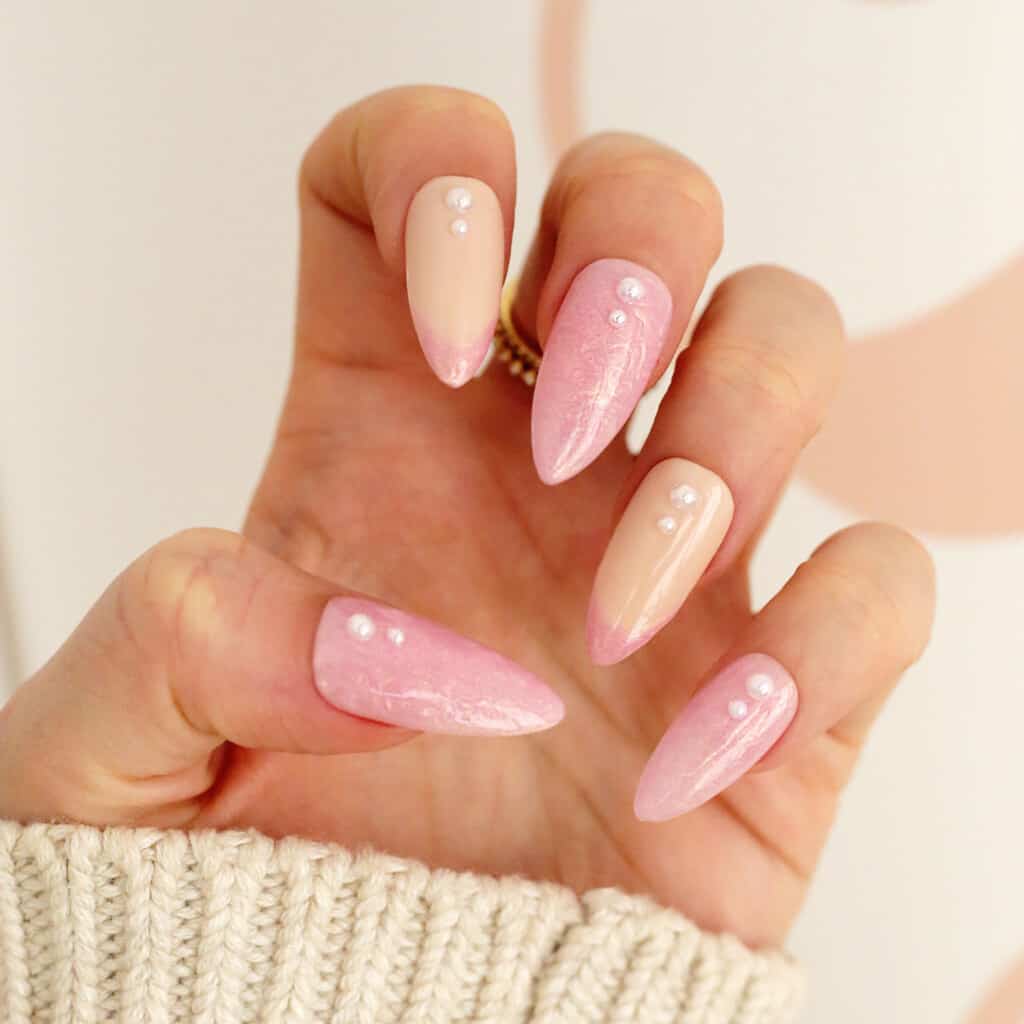
Pink Pearls
This pearl look manicure is a nail trend we love and can be done in your favorite spring shade and we love the small pearl accents for an Easter look.
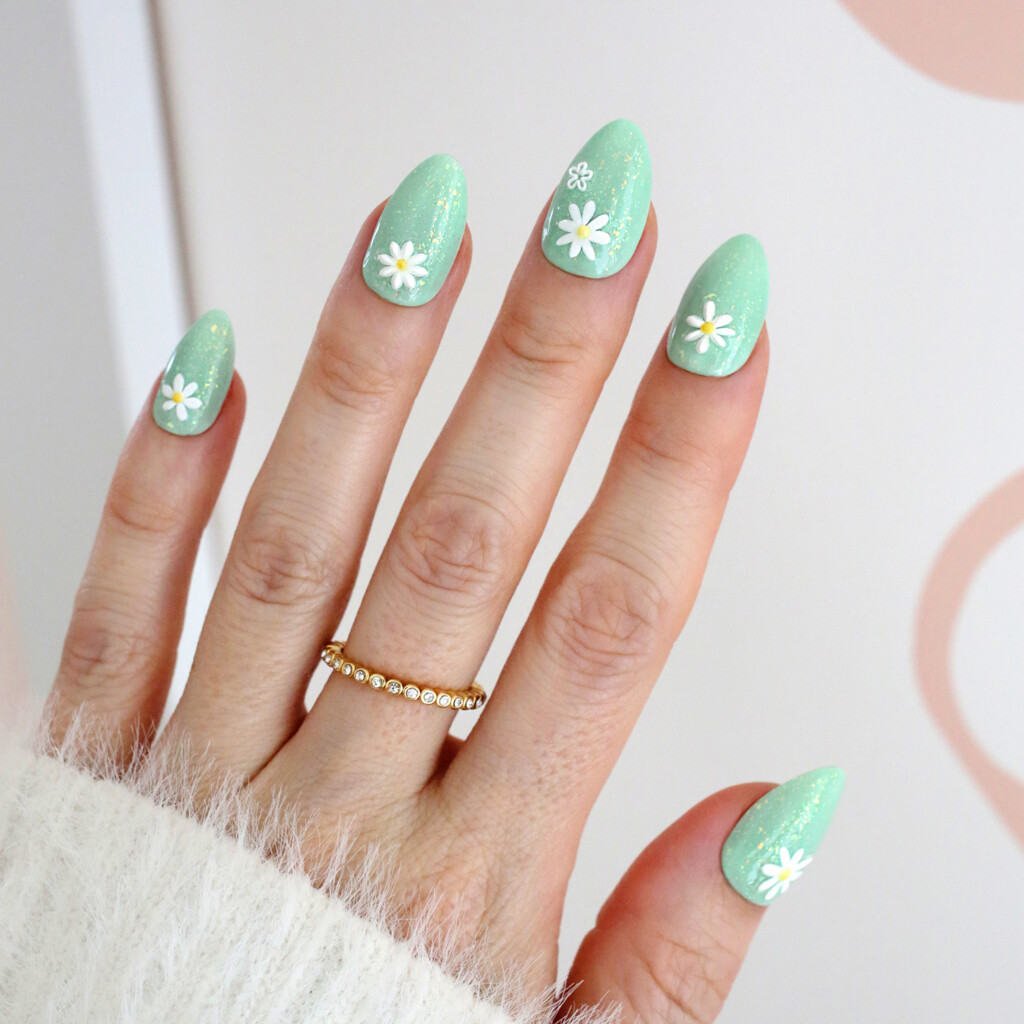
Daisy Fields
These mint green glitter nails with daisy accents are perfect for your Easter egg hunt.
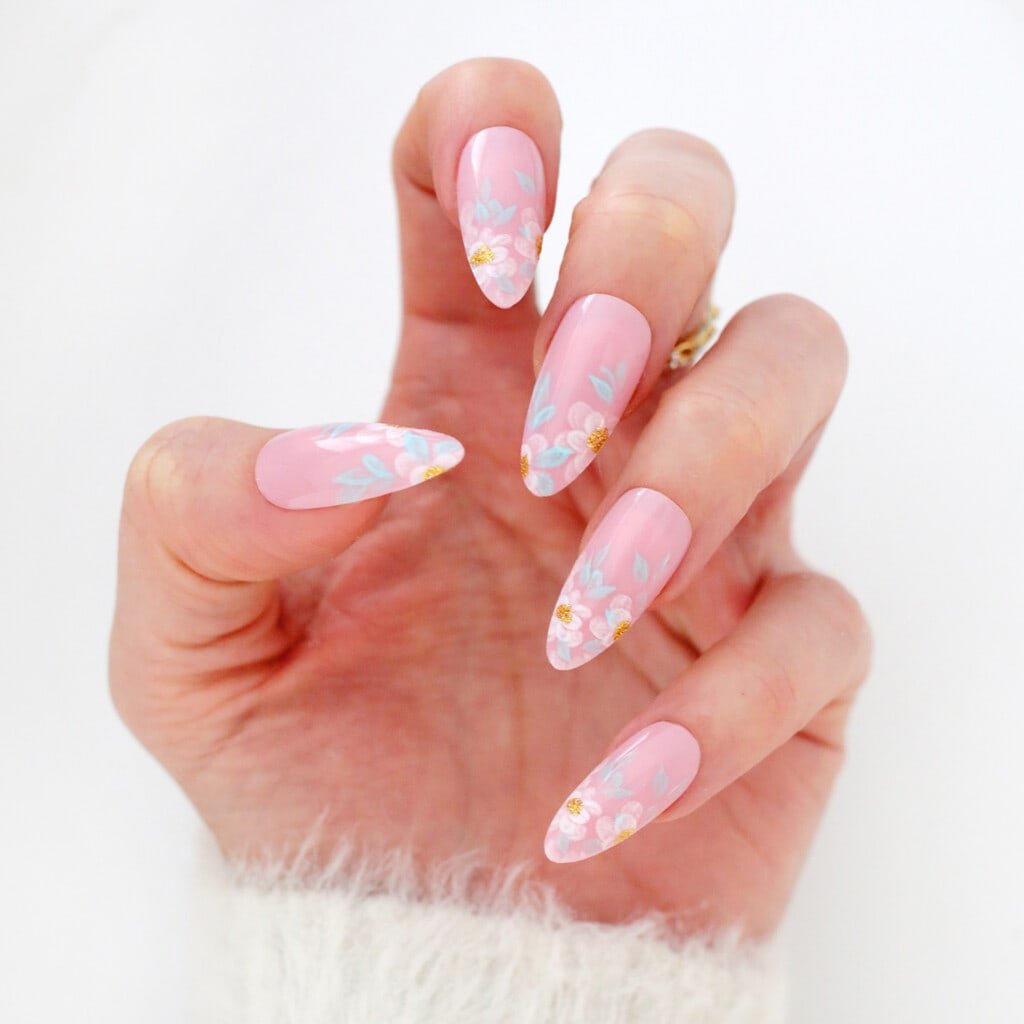
Easter Bouquet
These pretty floral nails will match just about any Easter outfit.
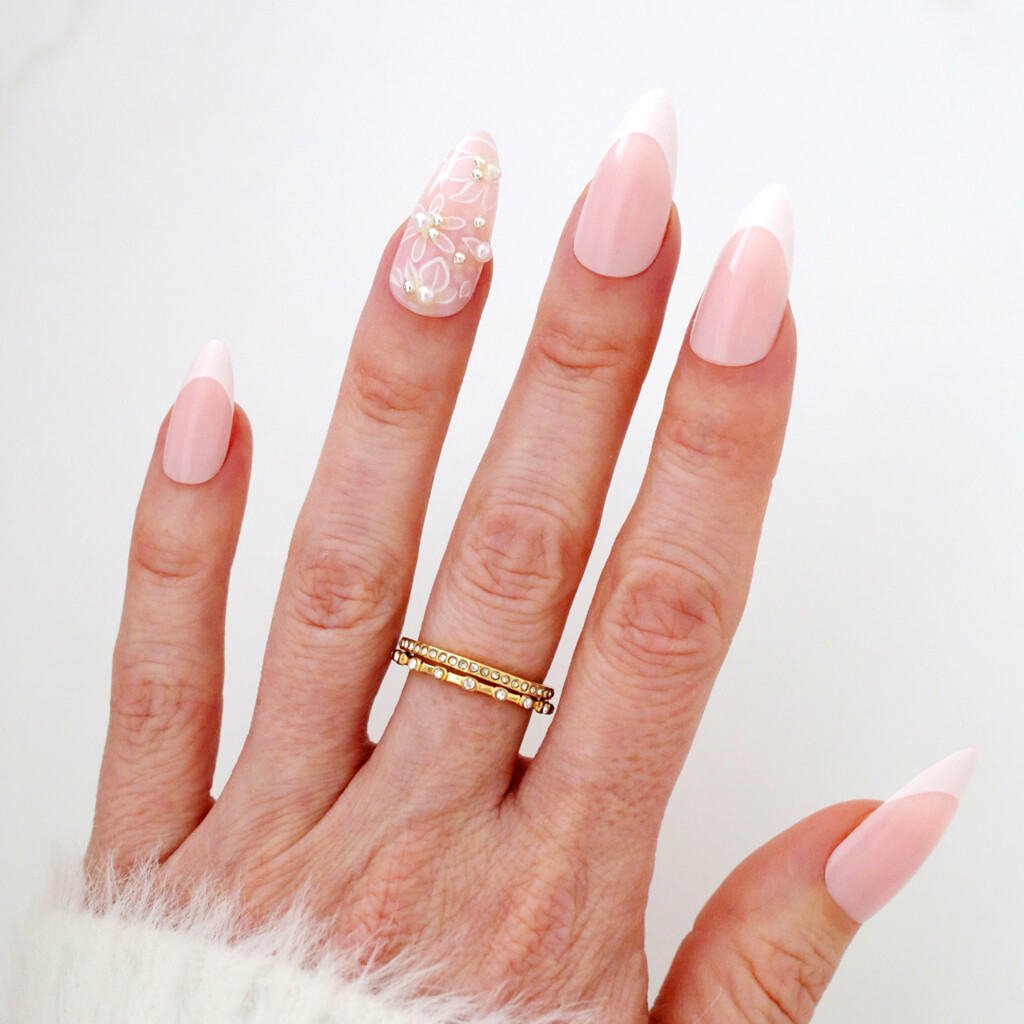
Lace and Pearls
Add the look of lace and pearls to your Easter manicure for a fun yet sophisticated look.
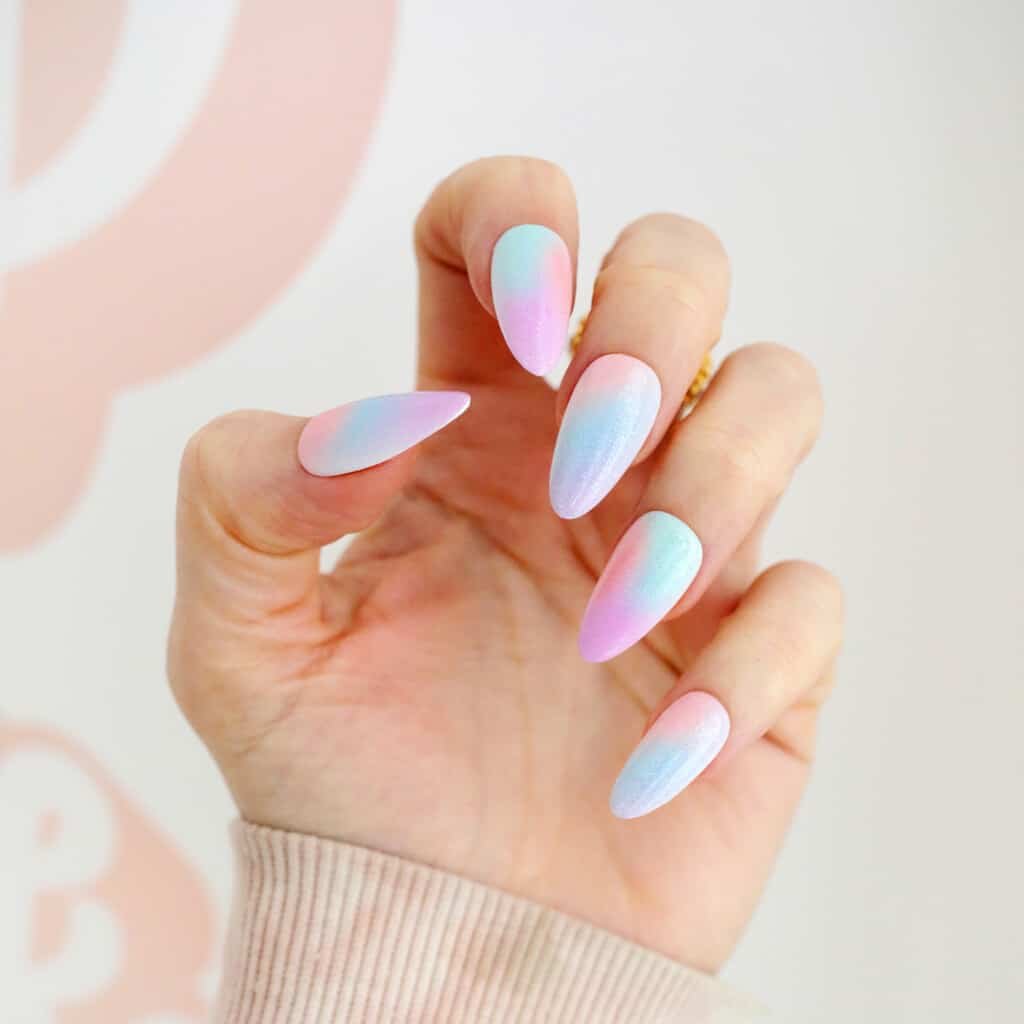
Pastel Rainbow Tie Dye
This pastel rainbow dream manicure is a colorful choice for the spring season and beyond.
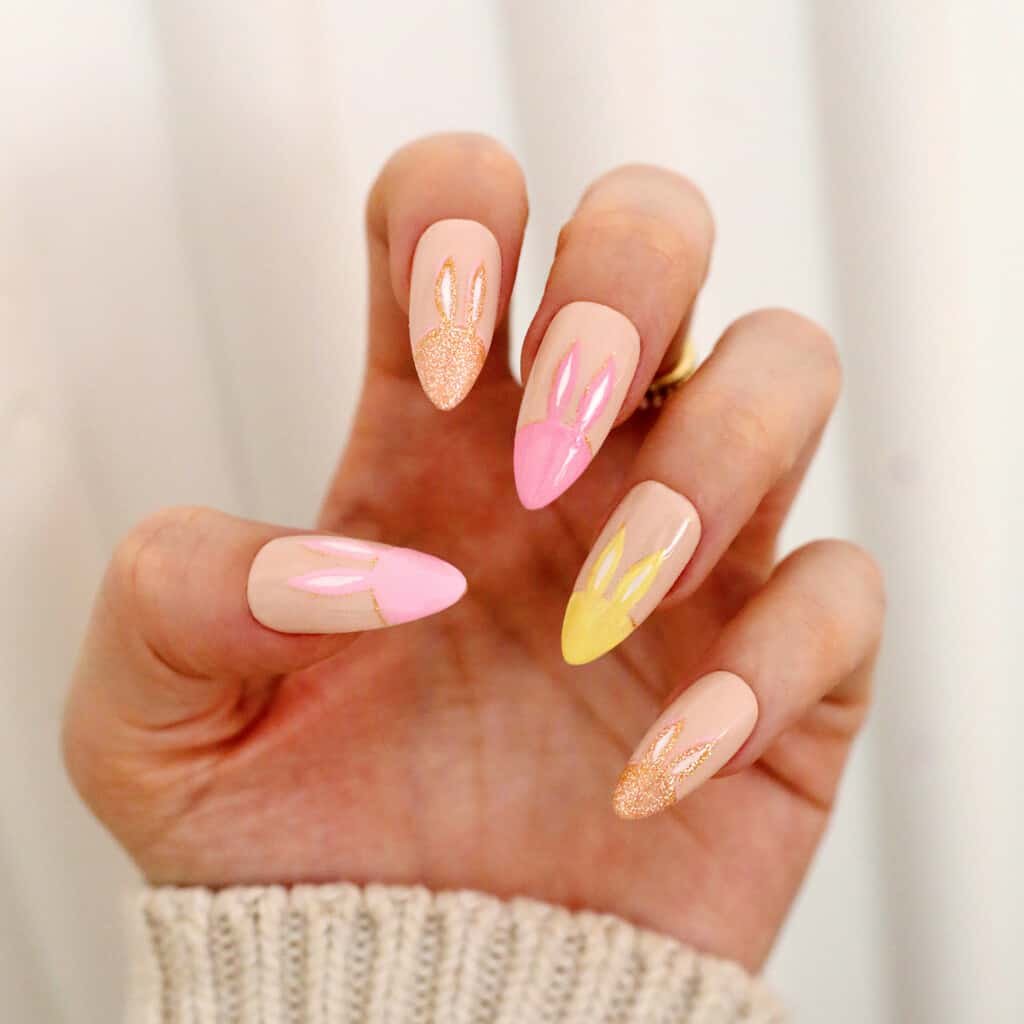
Bunny Silhouette
Add silhouettes of bunnies to your manicure for a fun Easter design.
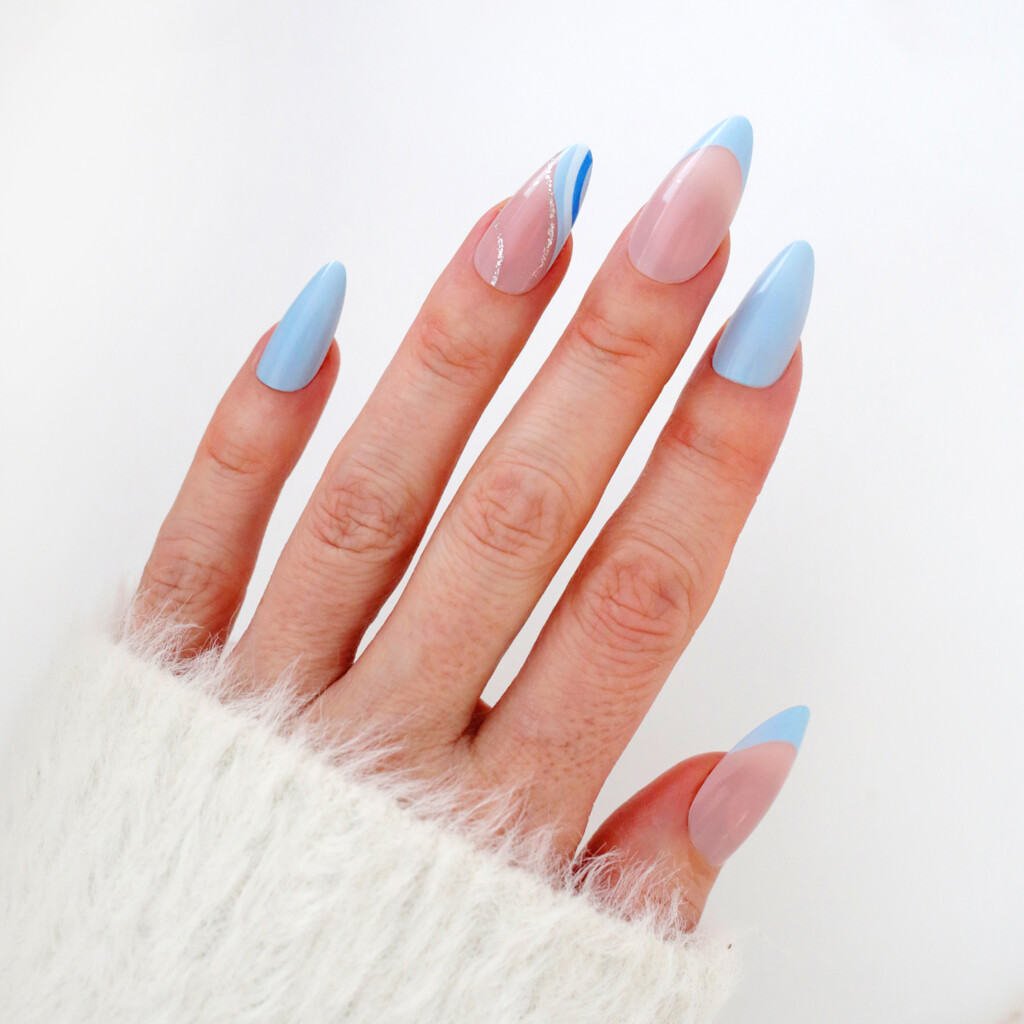
Baby Blues
These baby blue accent nails will match the return of spring blue skies.
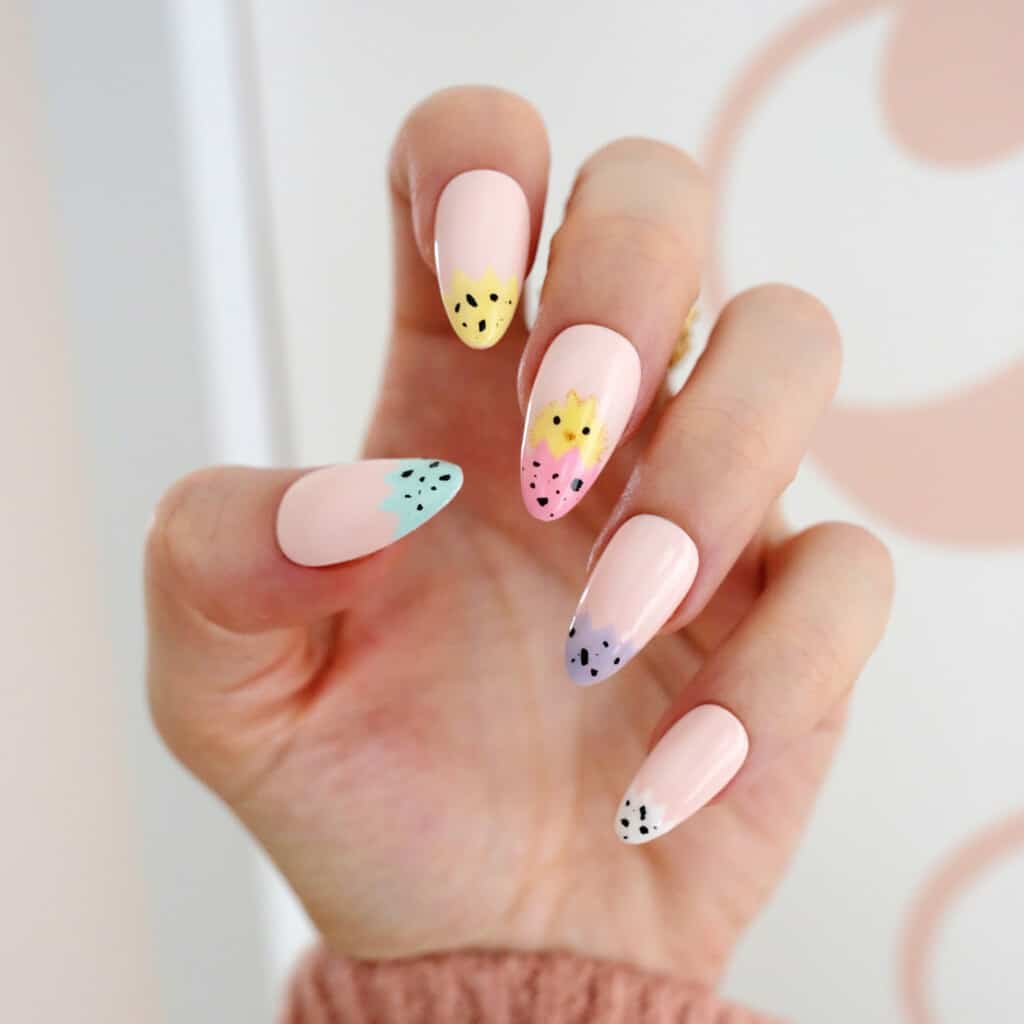
Baby Chick
How cute is this baby chick in an egg design?
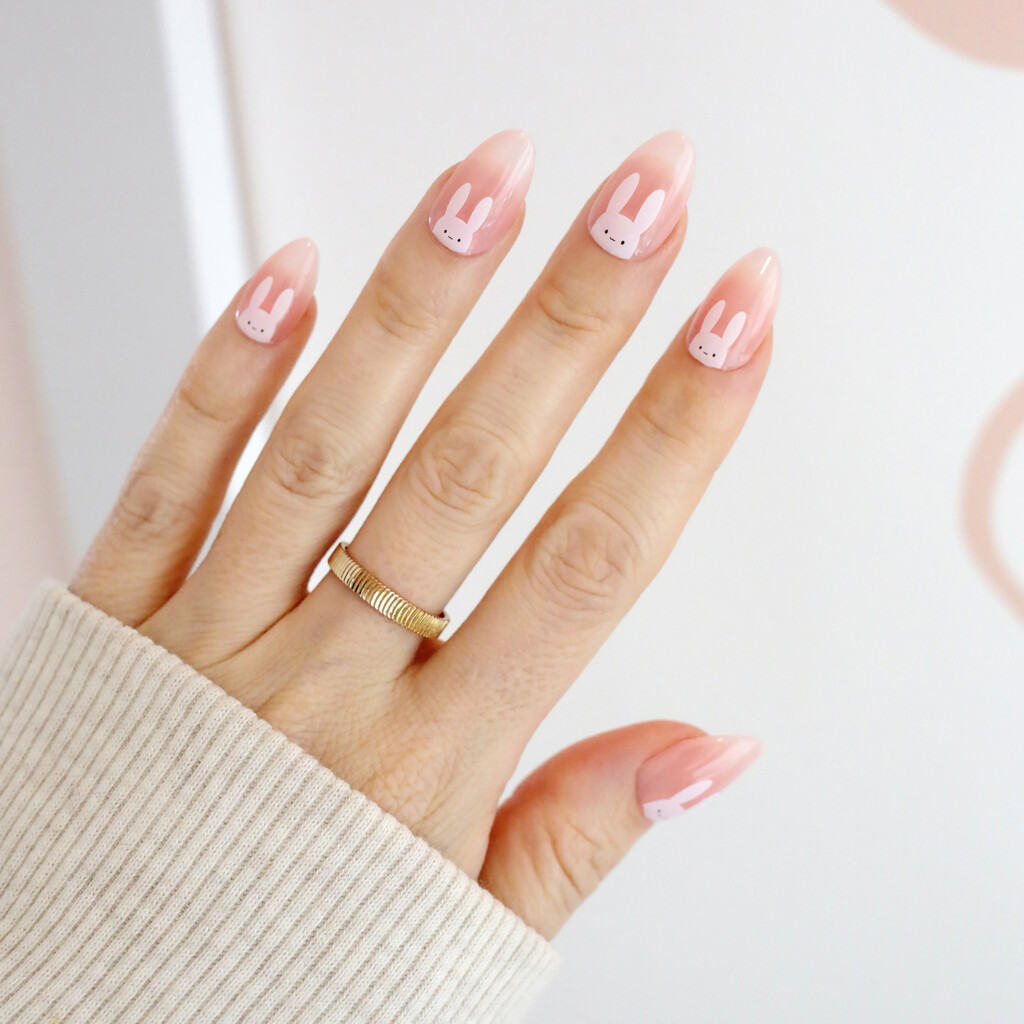
Peek A Boo Bunny
Nothing says spring and Easter like sweet little bunnies on your nails.
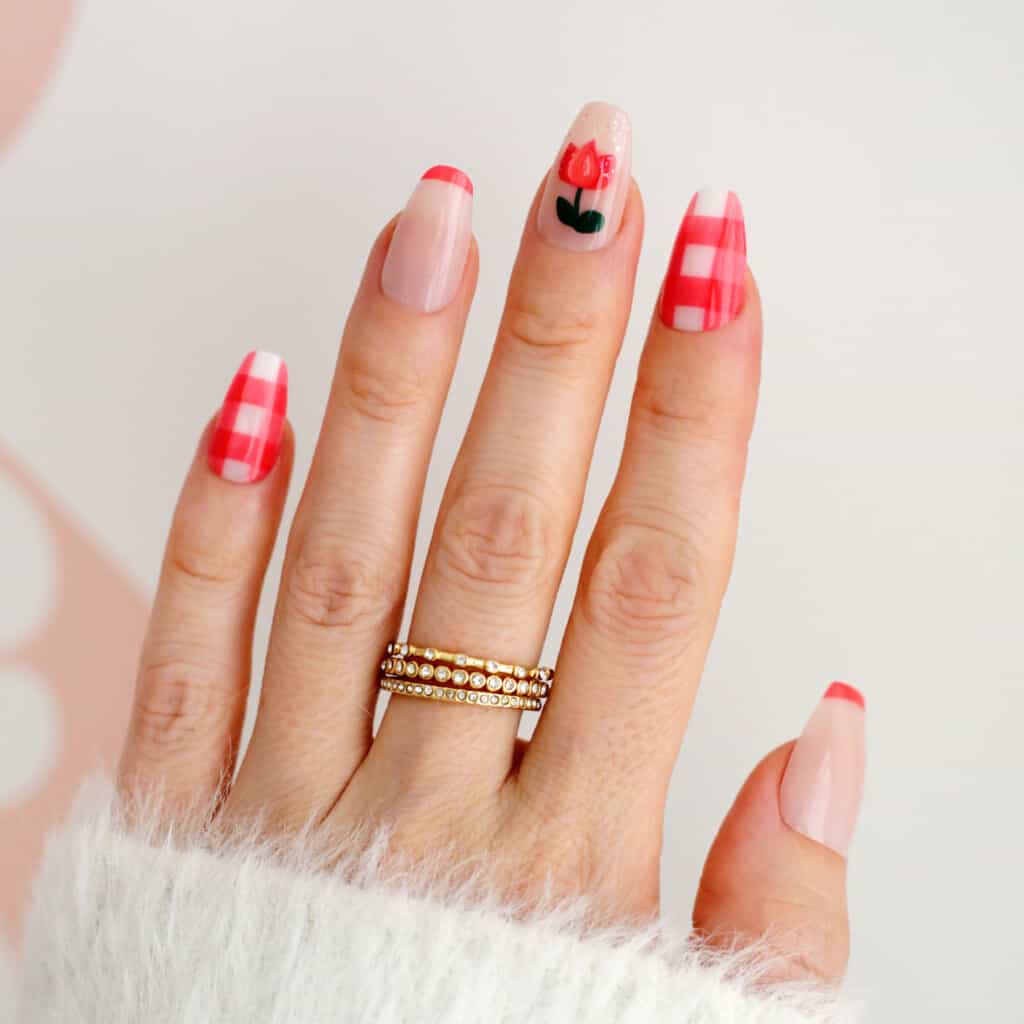
Field of Tulips
Add a sweet touch of spring to your manicure with this tulip and buffalo check design.
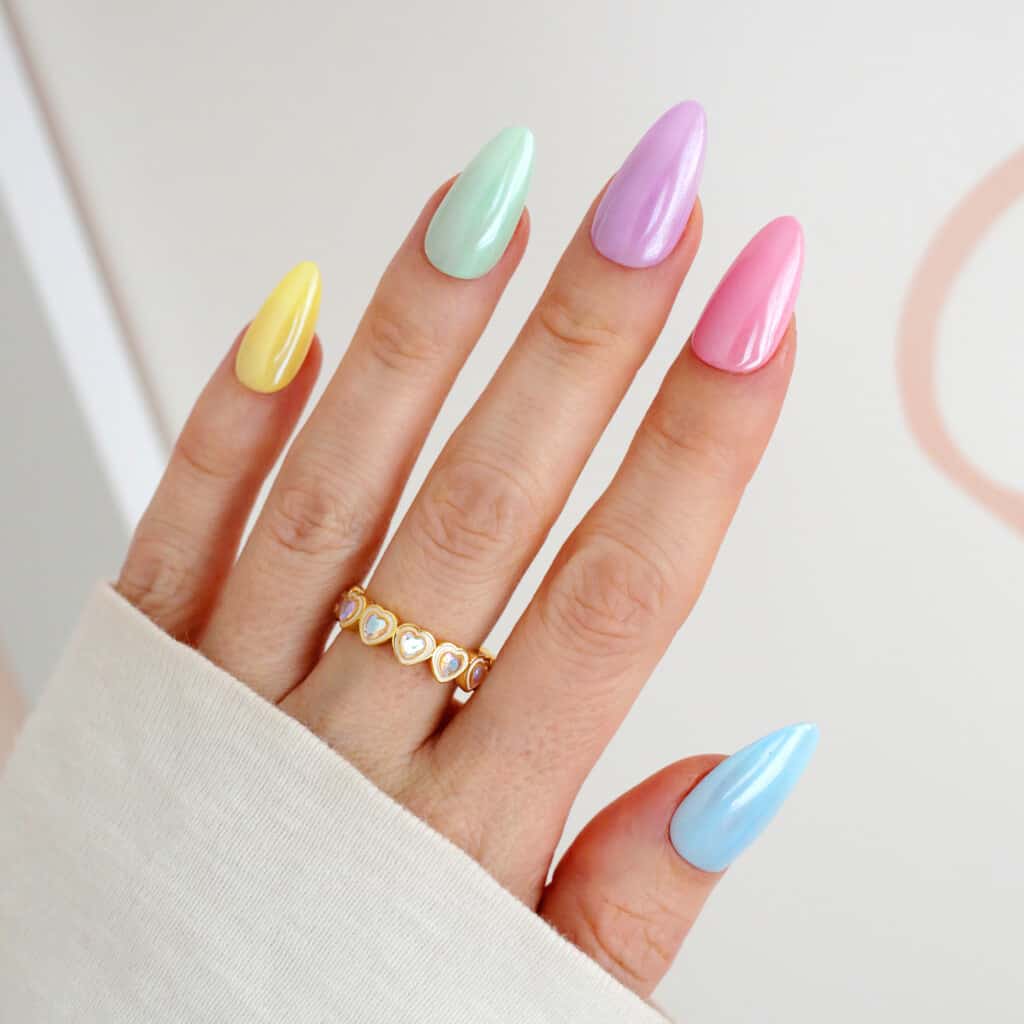
Pastel Chrome
These pastel chrome nails bring just the right amount of pastel power to your spring manicure.
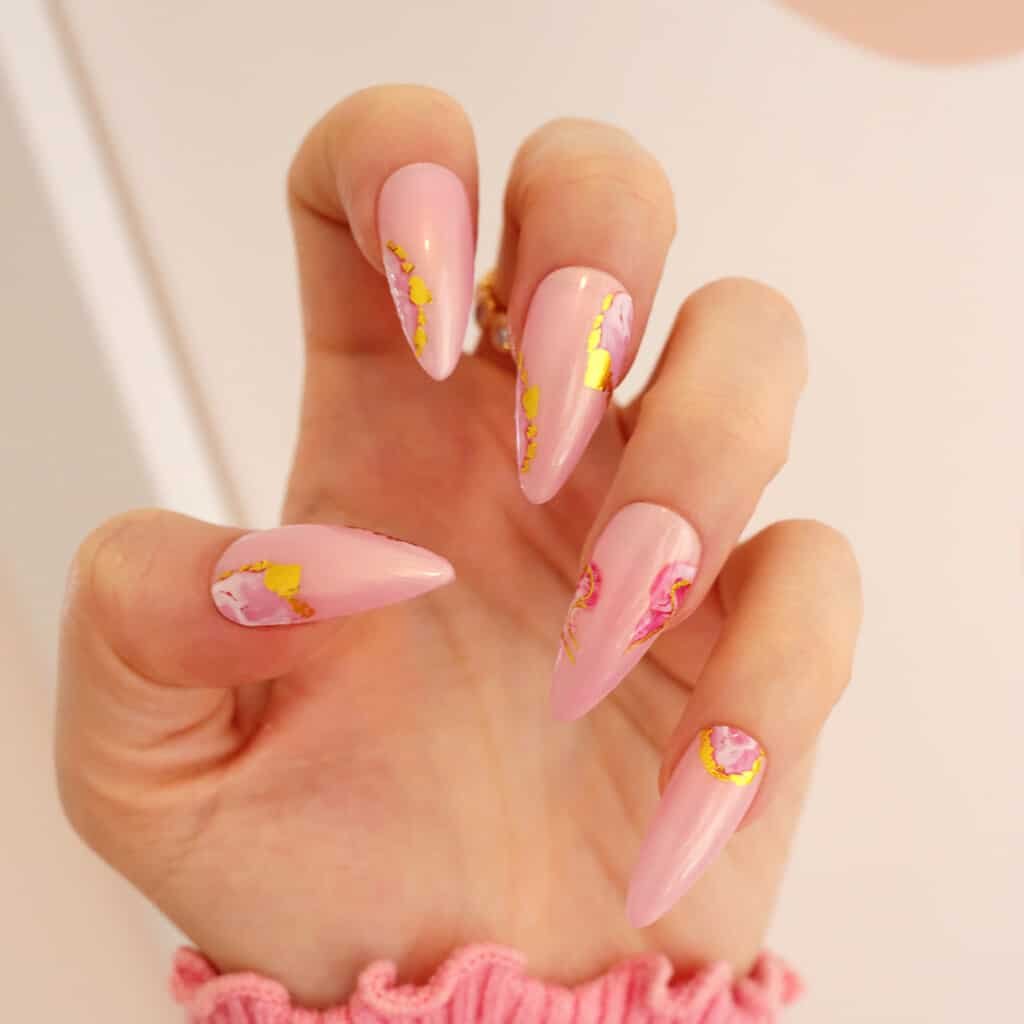
Pink Marble
Add some marble details to your mani for a sweet spring look.
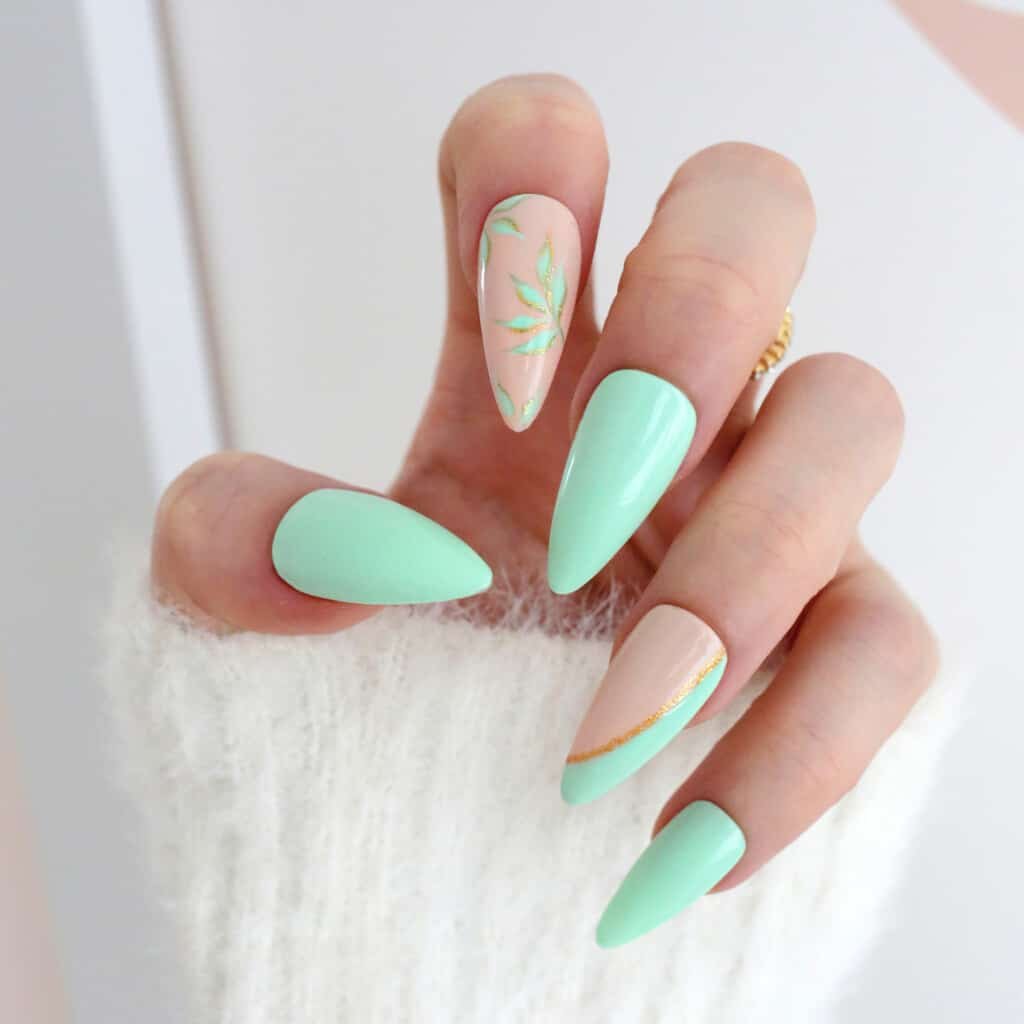
Spring Has Sprung
Have fun with accent nails with this mint greenery design.
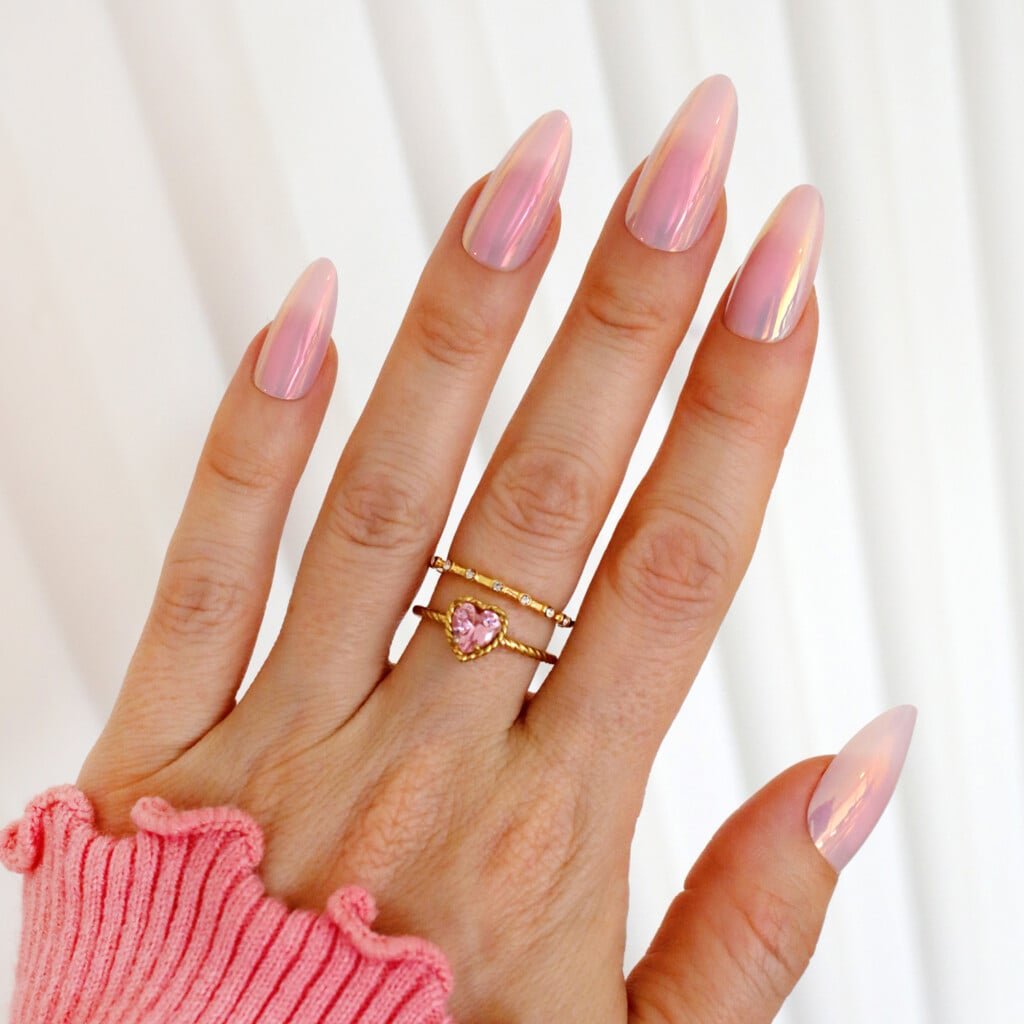
Bubblegum Donut Glaze
These sweet pink chrome nails are a pink-lovers dream!
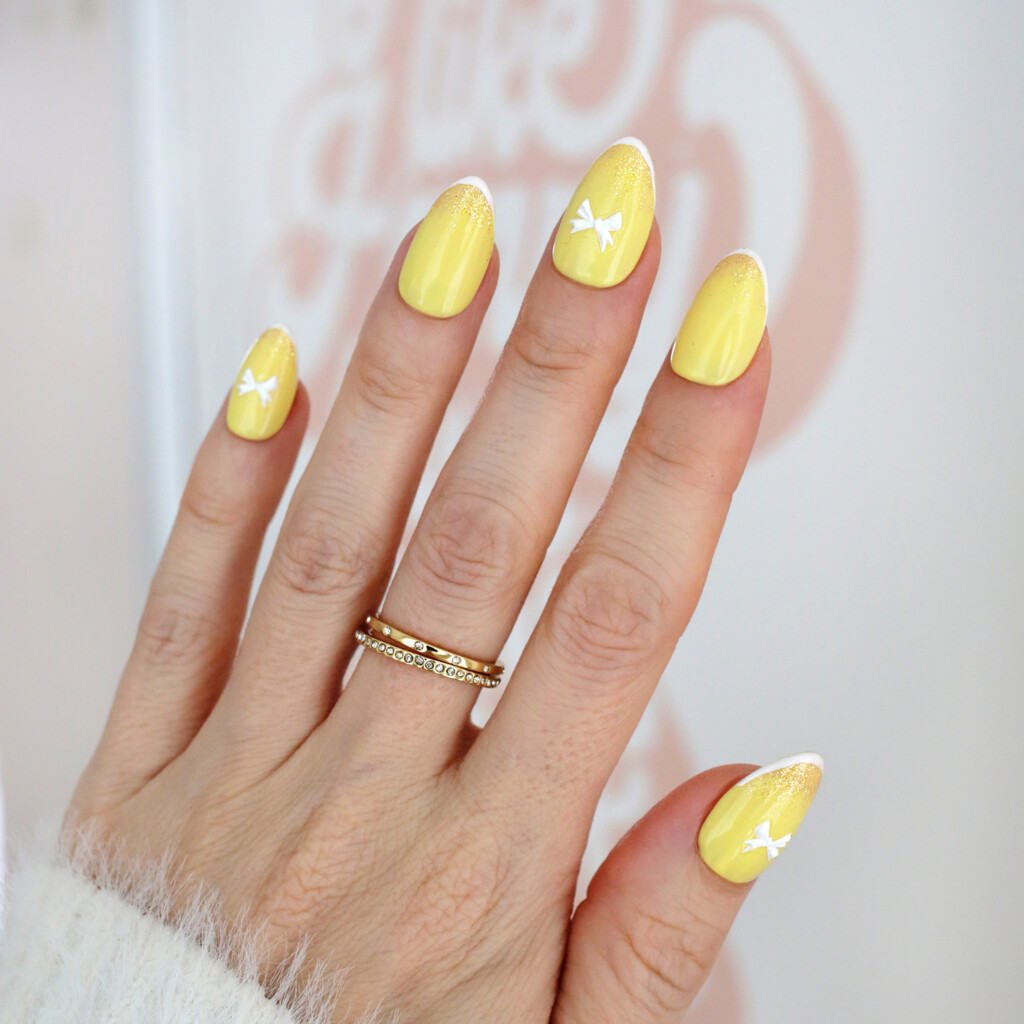
Sunshine Bows
Add a little sunshine to your Easter with these yellow glitter tipped nails with tiny bows.
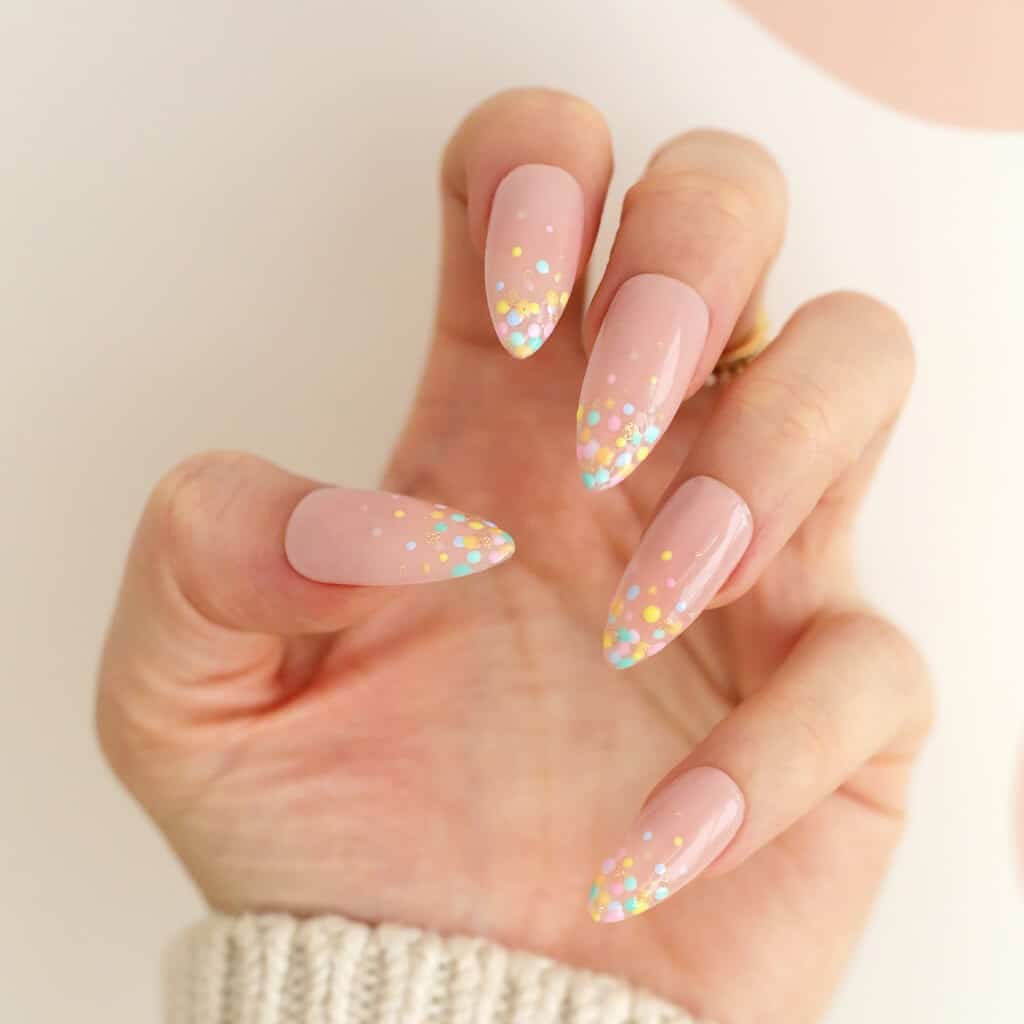
Pastel Confetti
Celebrate Easter with these easy pastel confetti nails.
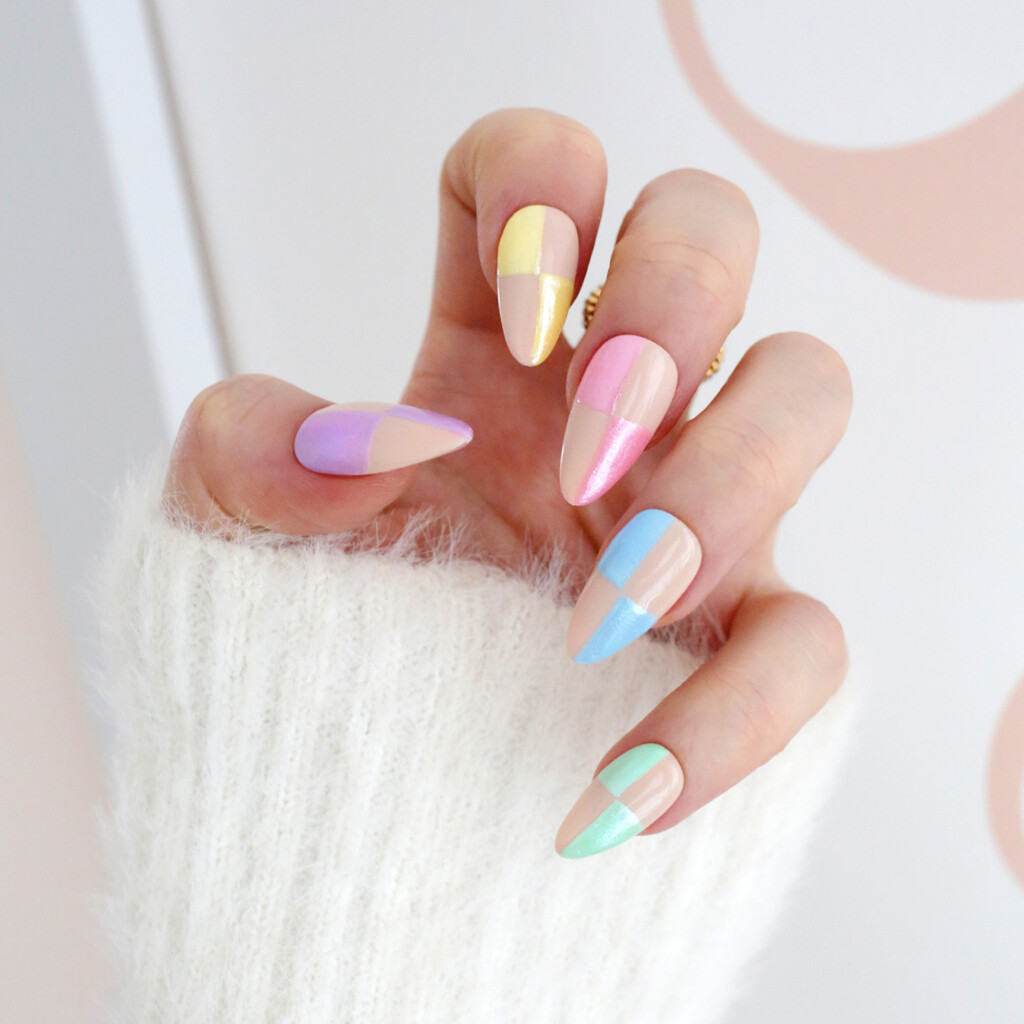
Checkered Pastel Chrome
Get in on the checkered and chrome trend with these pastel checkerboard nails.
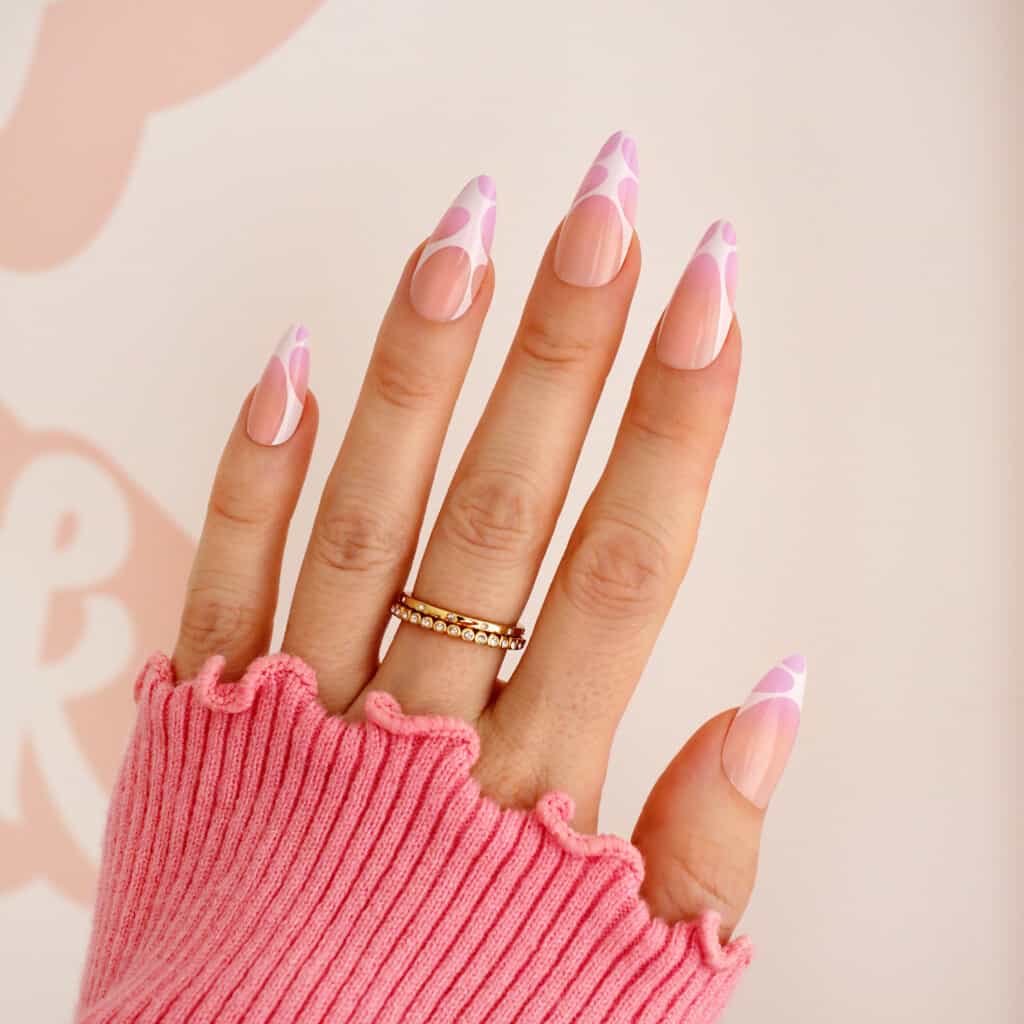
Purple Haze
These purple tipped nails are a cute way to bring some Easter hues to your manicure.
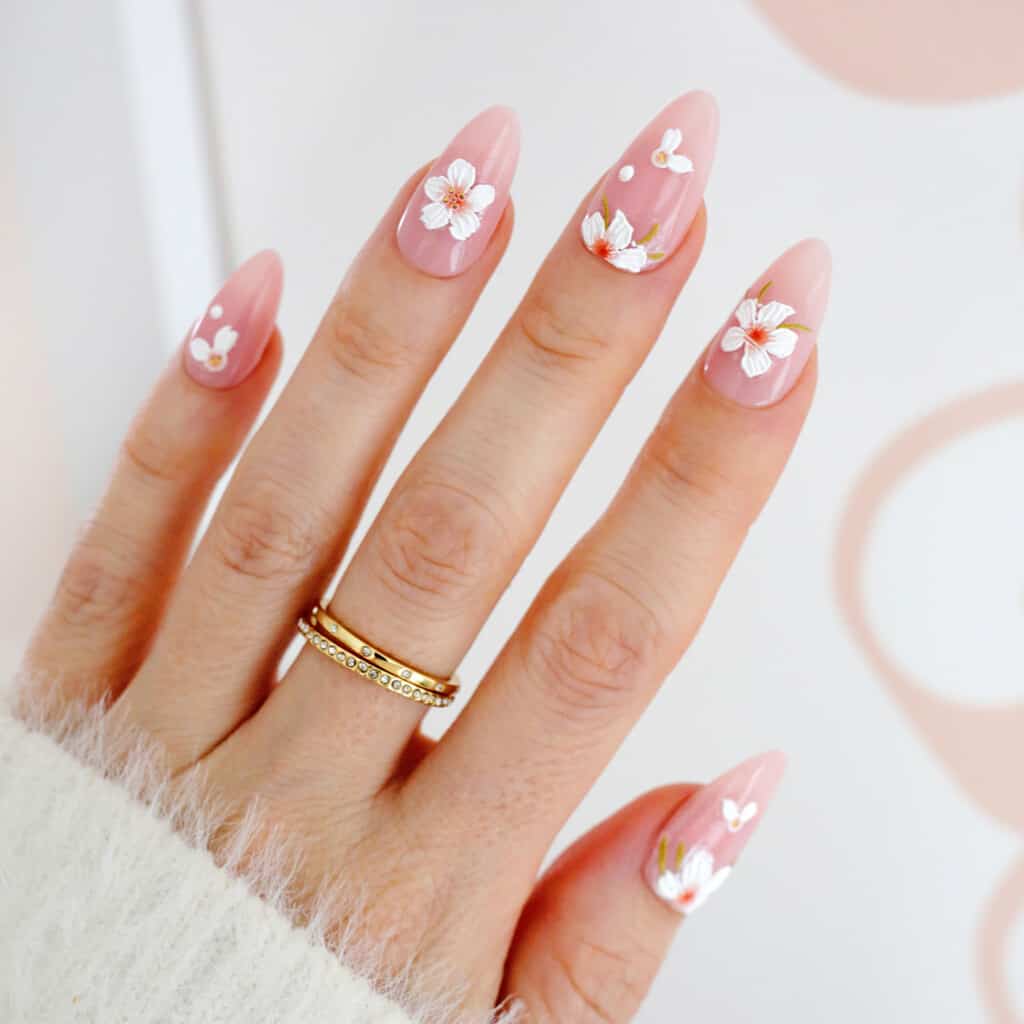
Easter Blossoms
These textured flowers look like spring perfection over a pink jelly hue.
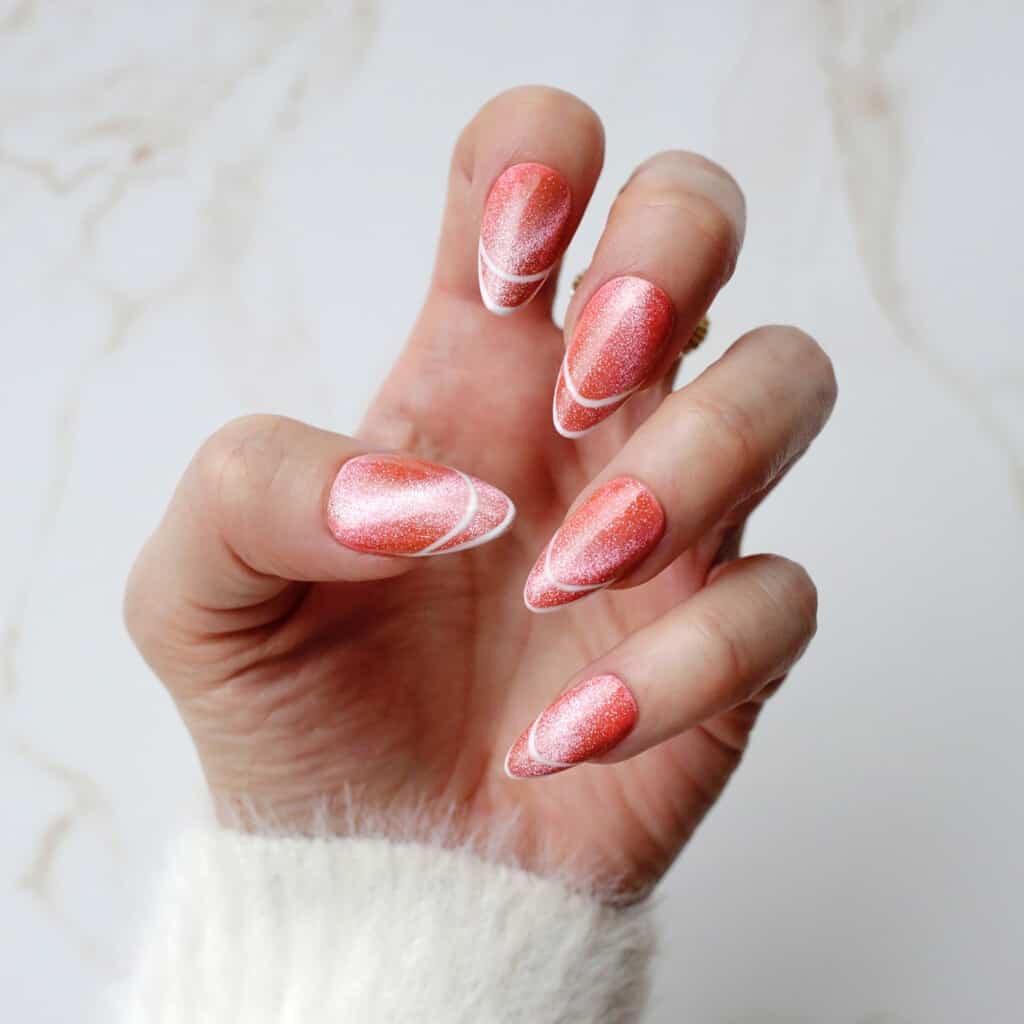
Coral Cat Eye
This coral cat eye effect is so pretty with a double French tip.
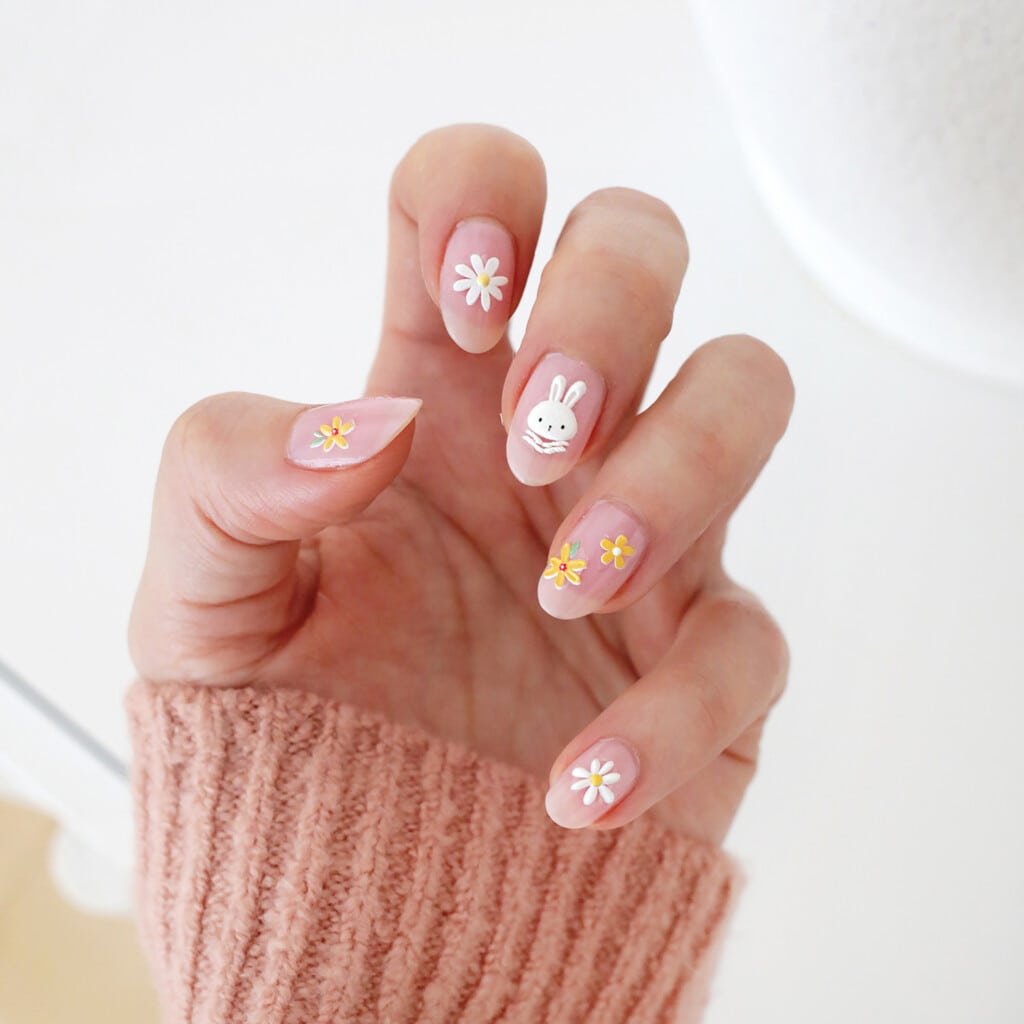
Floral Bunny
Spring flowers and a sweet bunny will put a hop in your step.
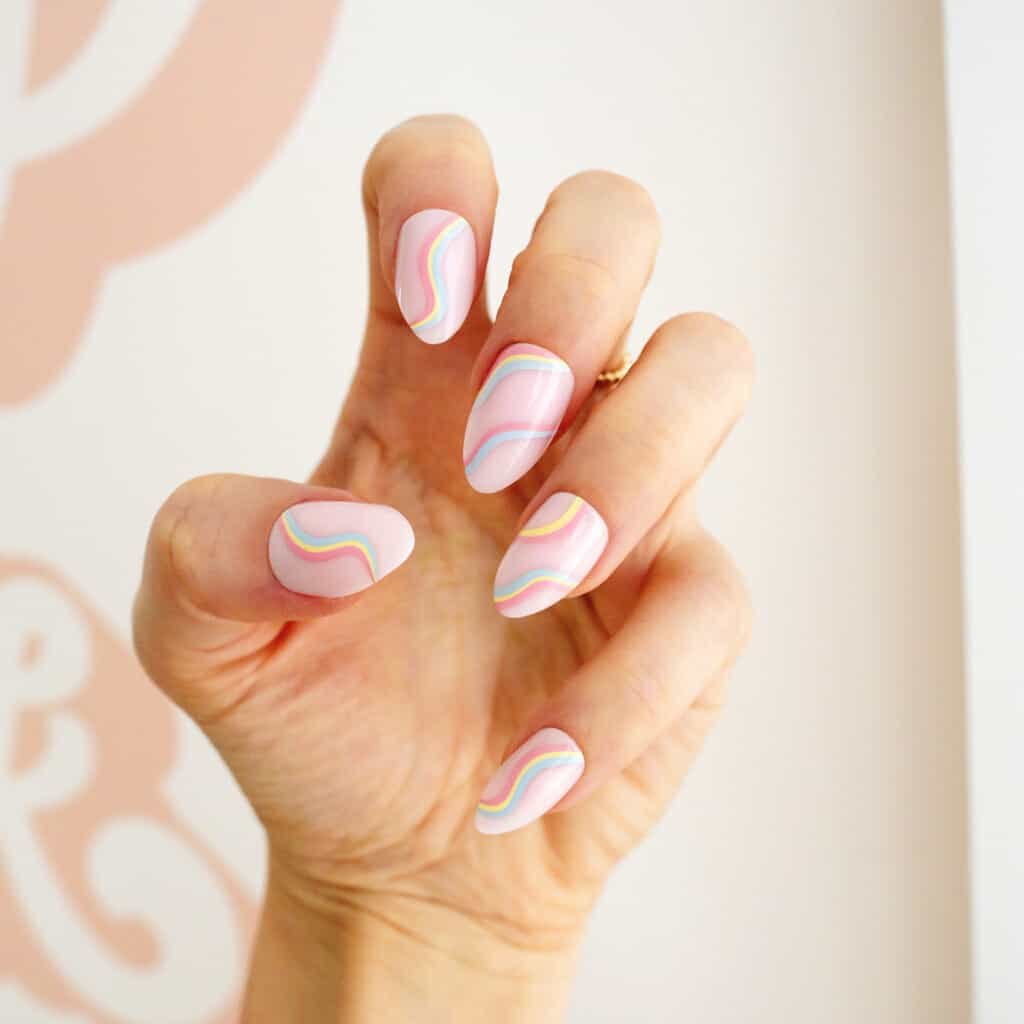
Rainbow Waves
Spring rain brings rainbows so let your nails get in on the color too.
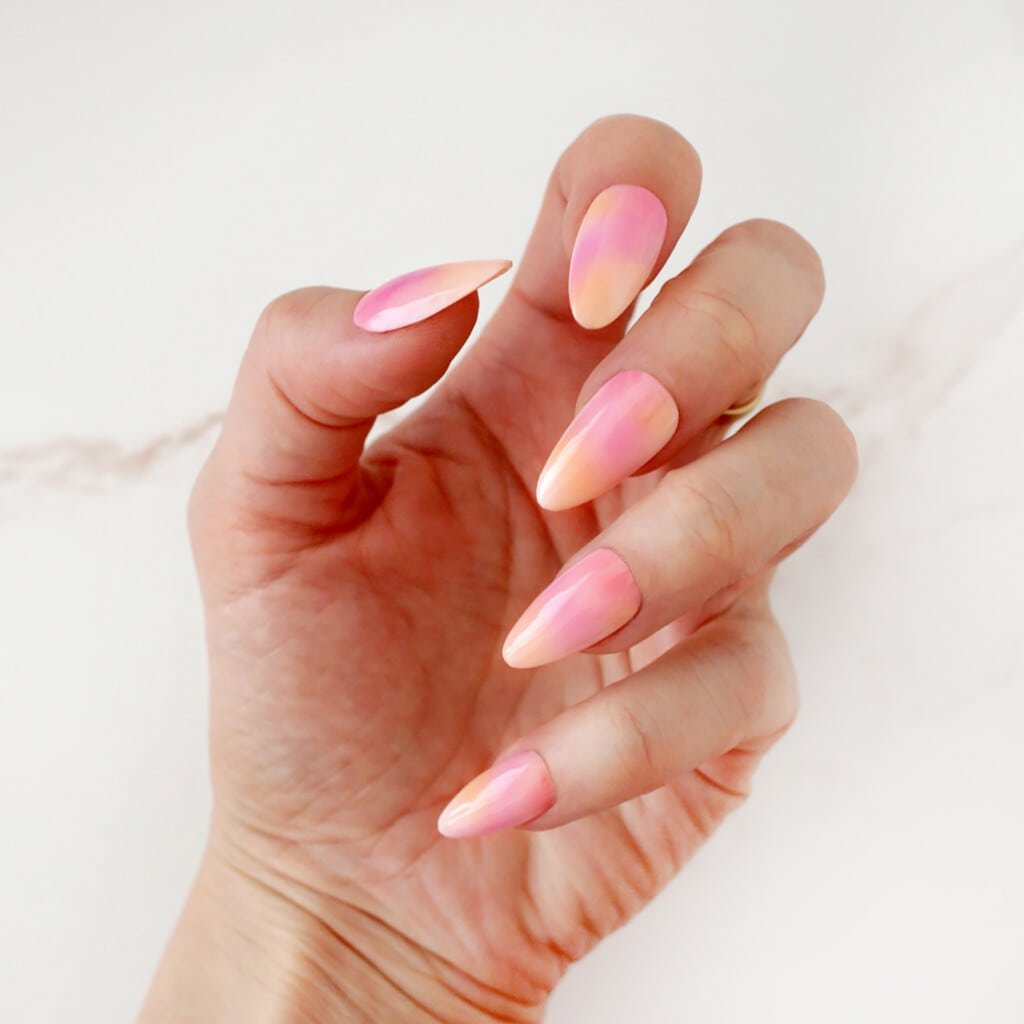
Sherbet Tie Dye
Remind yourself of a spring sunrise with this tie dye color combo.
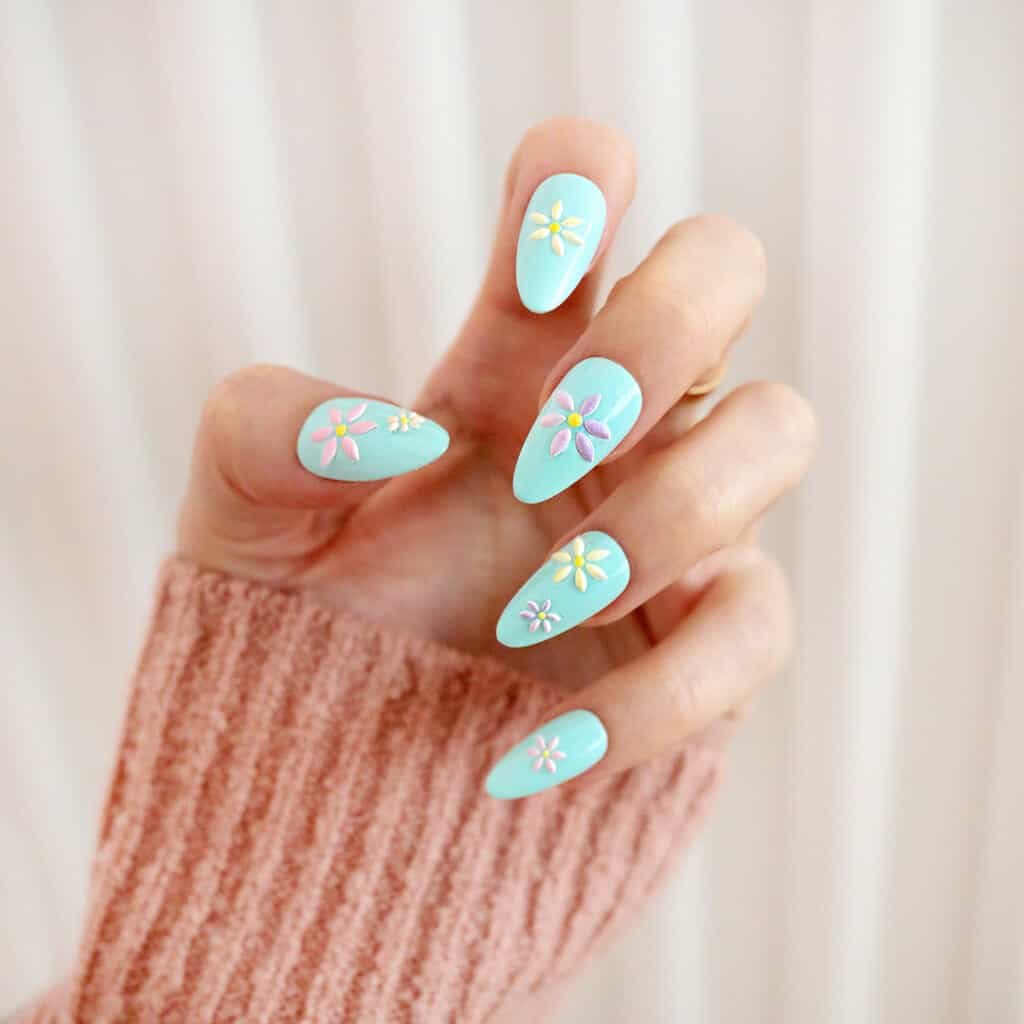
Pastel Rainbow Flowers
Add color with a pastel base and some rainbow pastel petals!
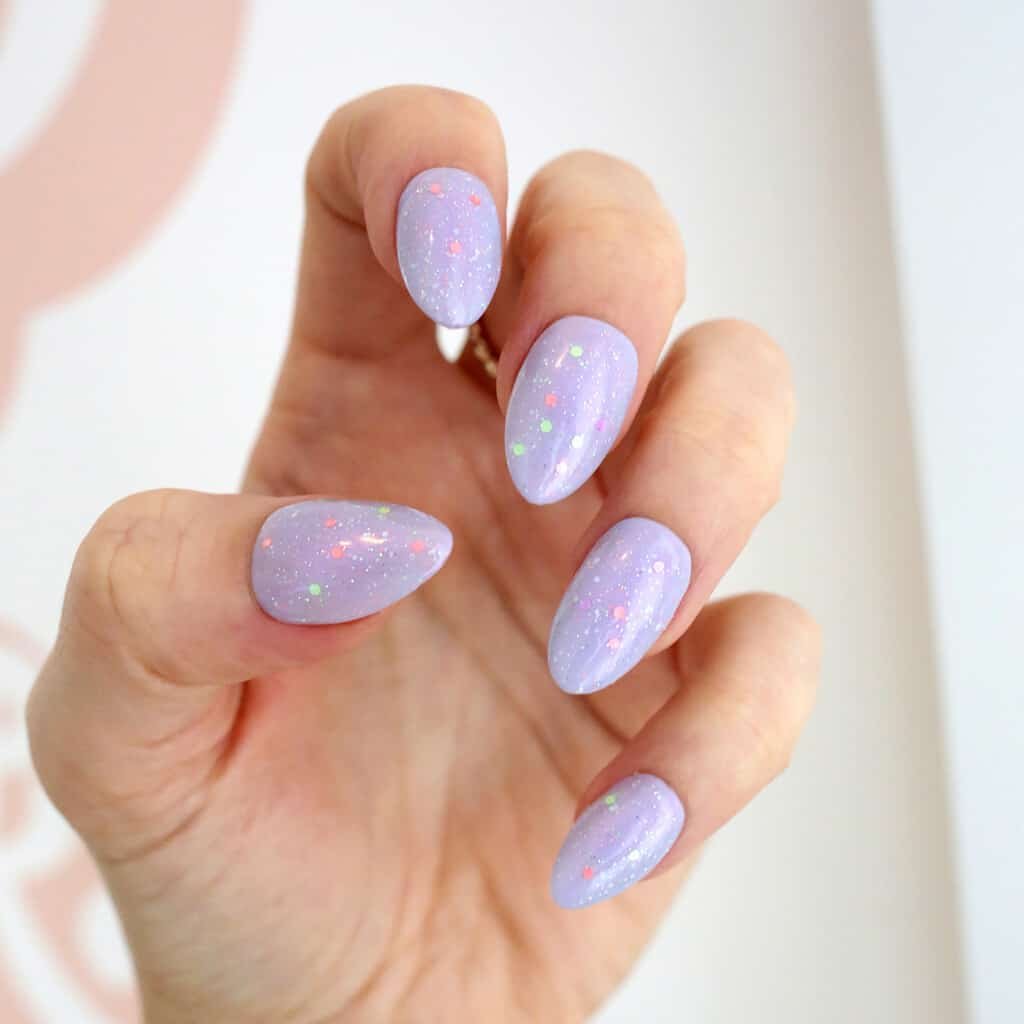
Pastel Confetti
Celebrate spring with pastel confetti over the top of your favorite spring hue.
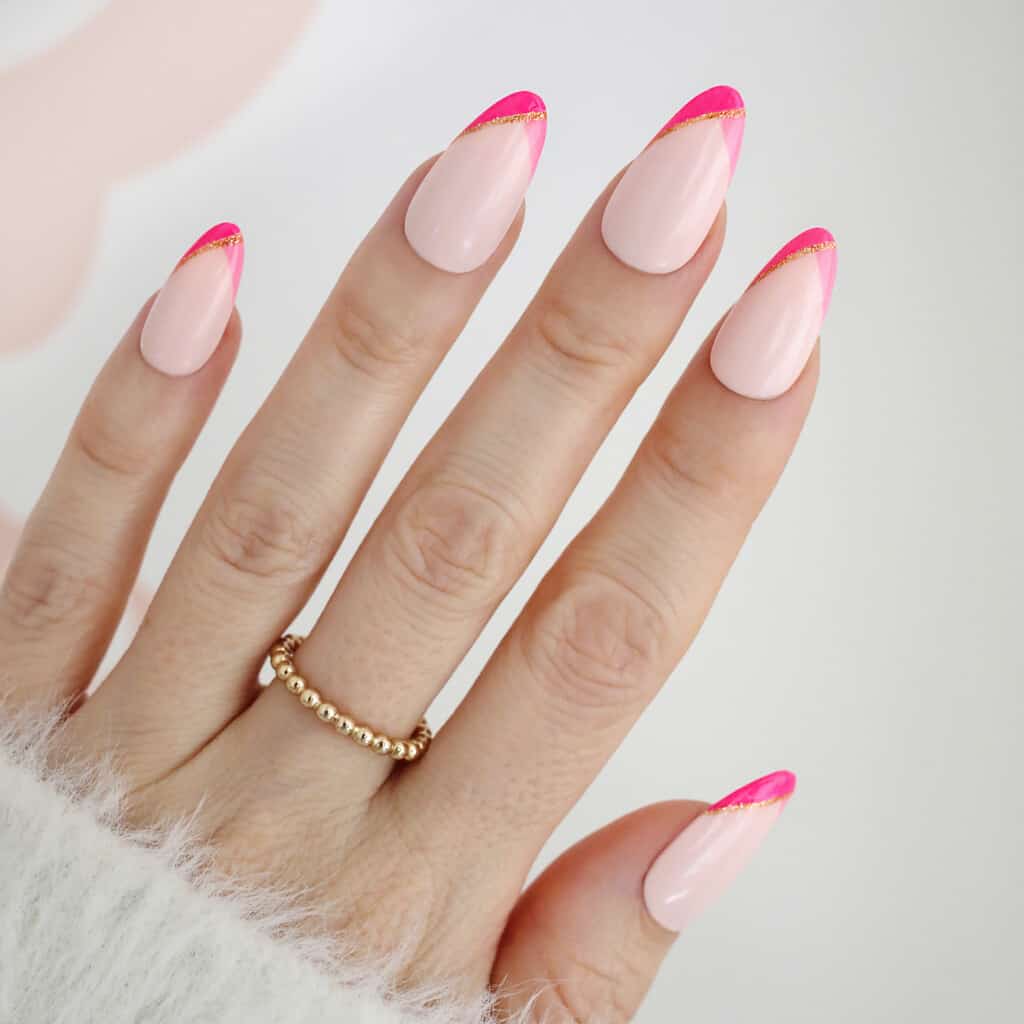
Pink Color Blocked Tips
Color block your French tip nails with your favorite spring hues for a fresh look.
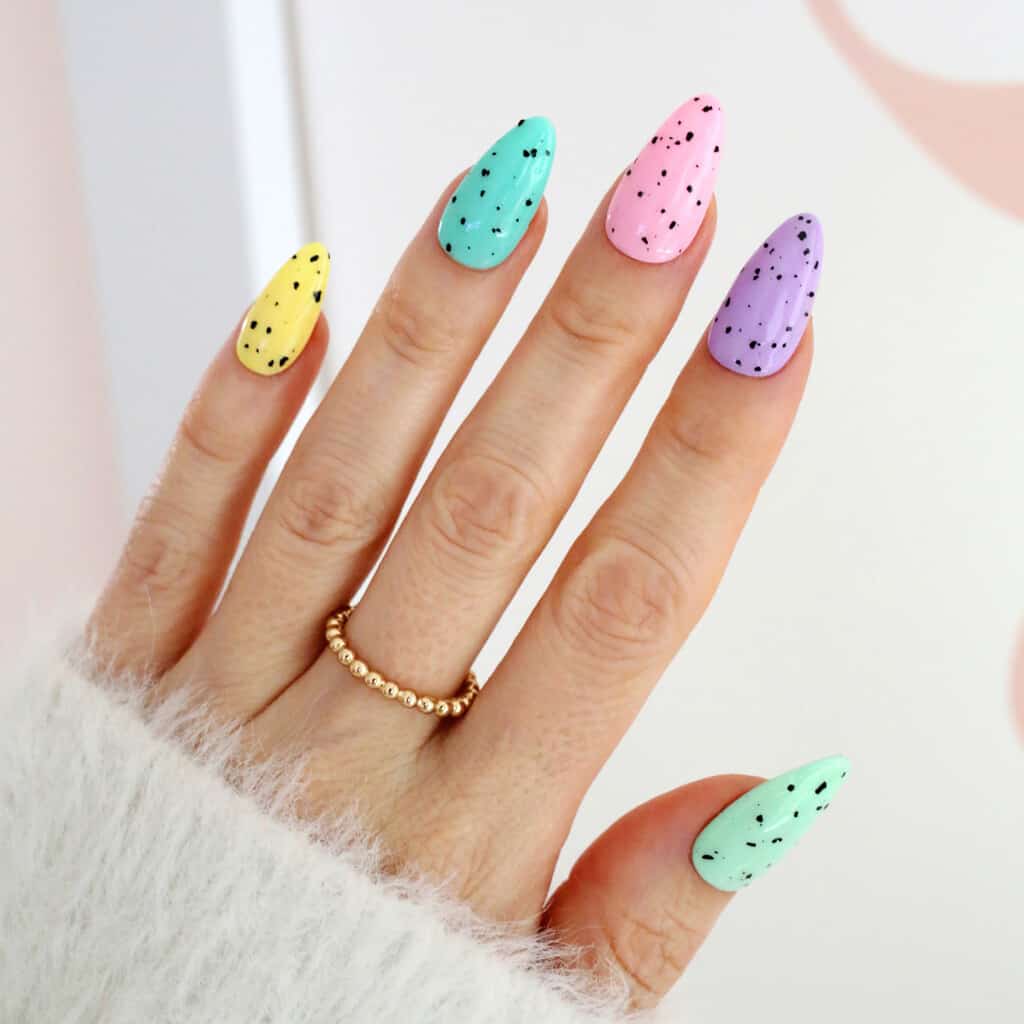
Speckled Spring
These speckled nails are perfect for Easter and remind us of our favorite Whoppers holiday candies.
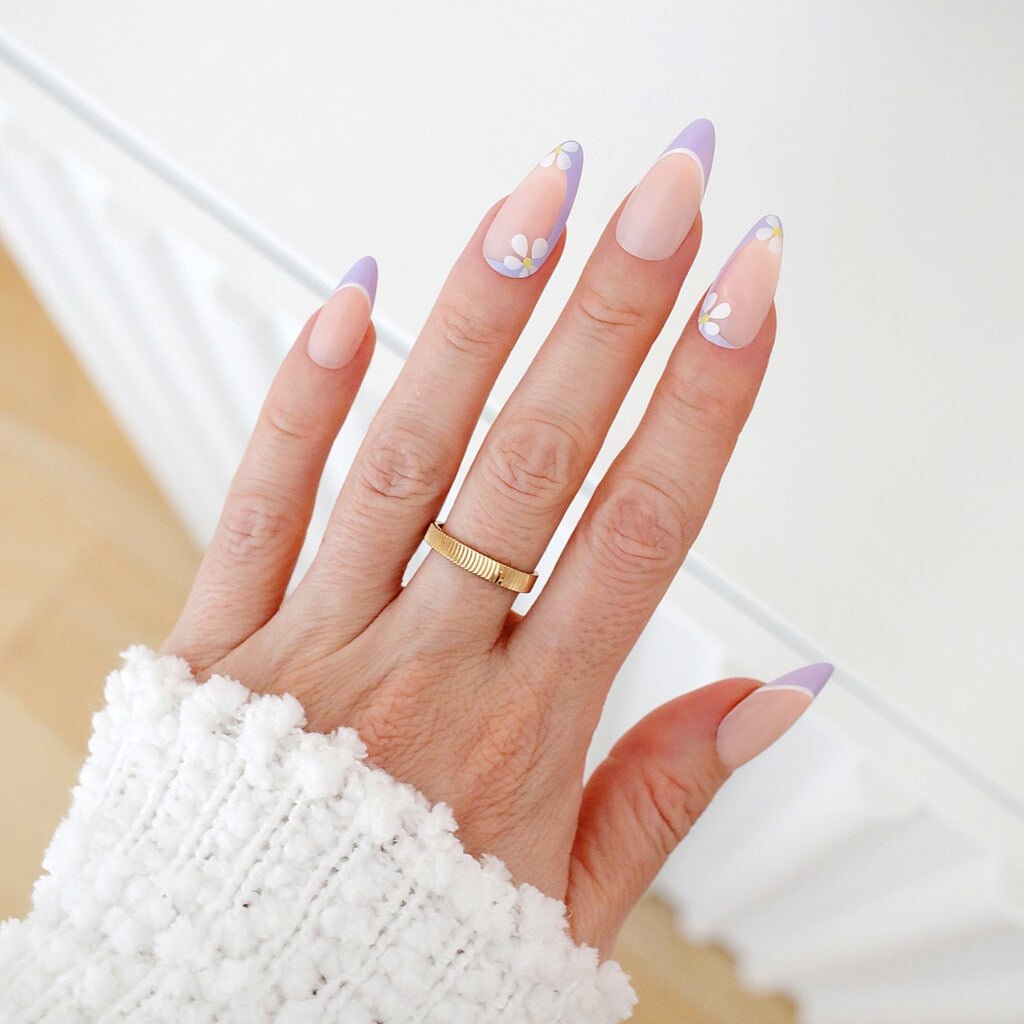
Lavender Love
These purple French tips with daisy details are the perfect welcome to spring weather.
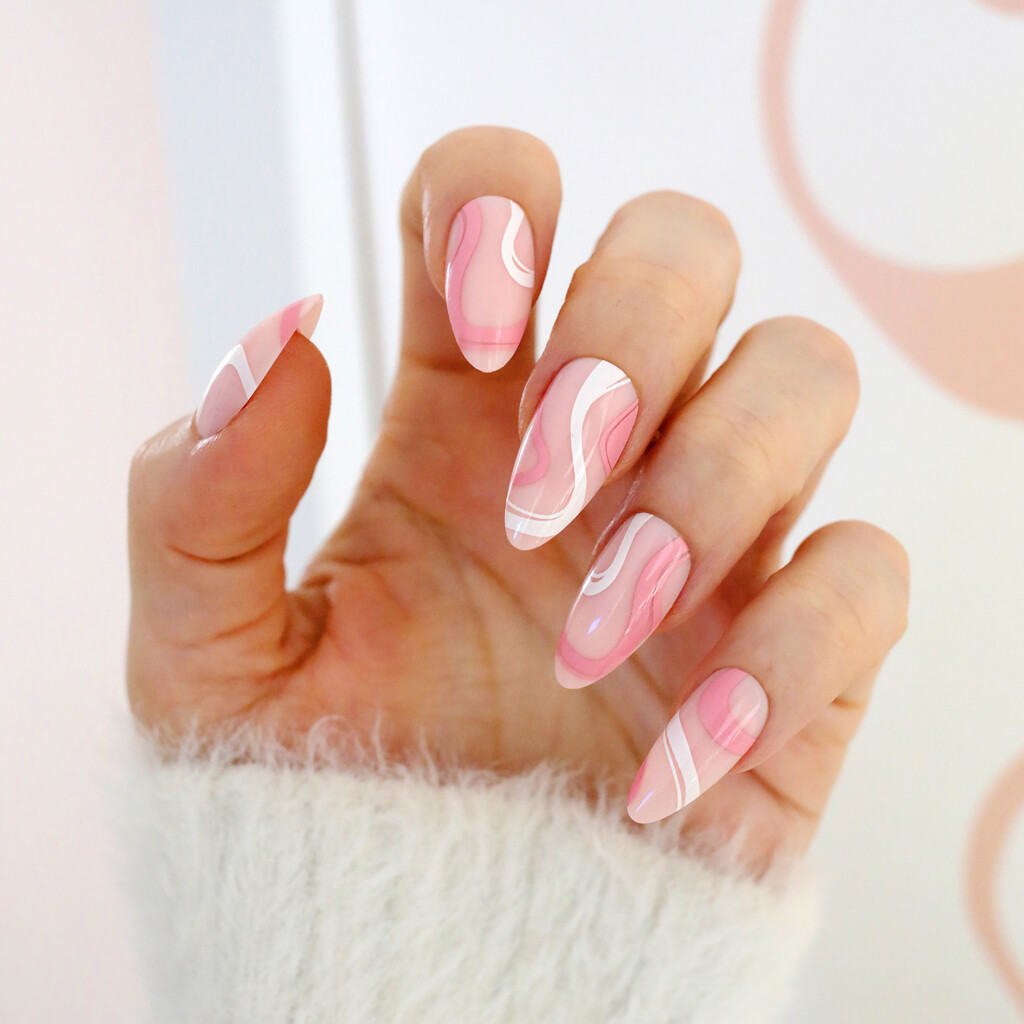
Pretty in Pink
These pink swirl nails will put a spring in your step!
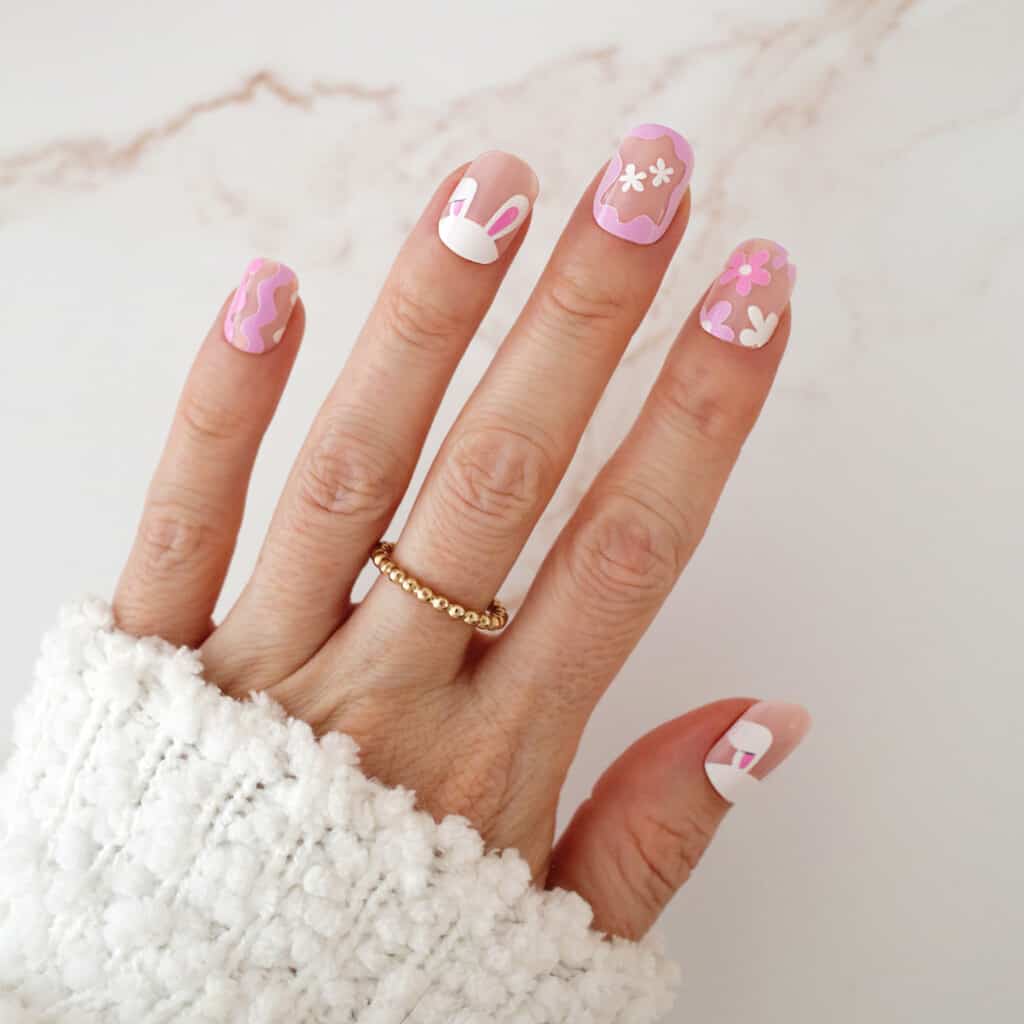
Groovy Easter
These fun easter nails have a groovy pastel vibe.
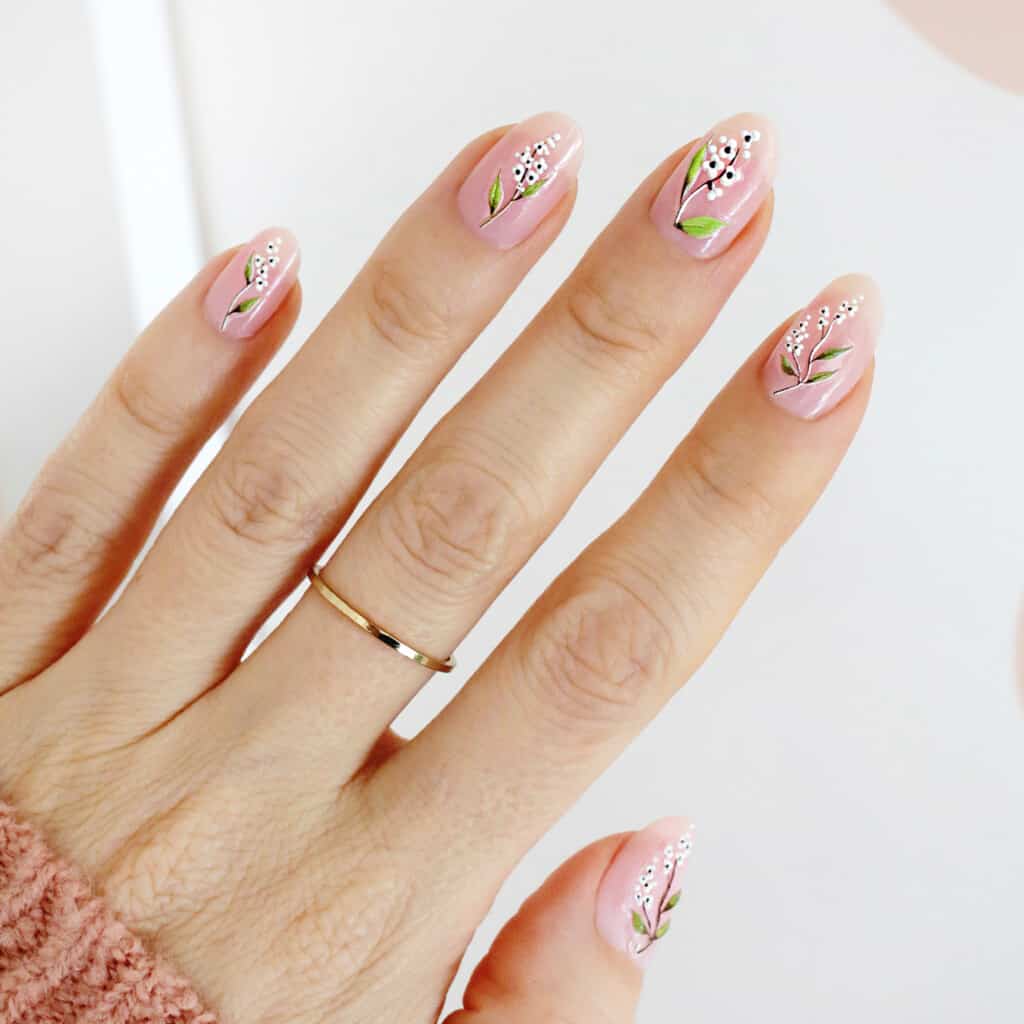
Botanical Babe
Easter is all about flowers so try these nail stickers for an easy at home mani.
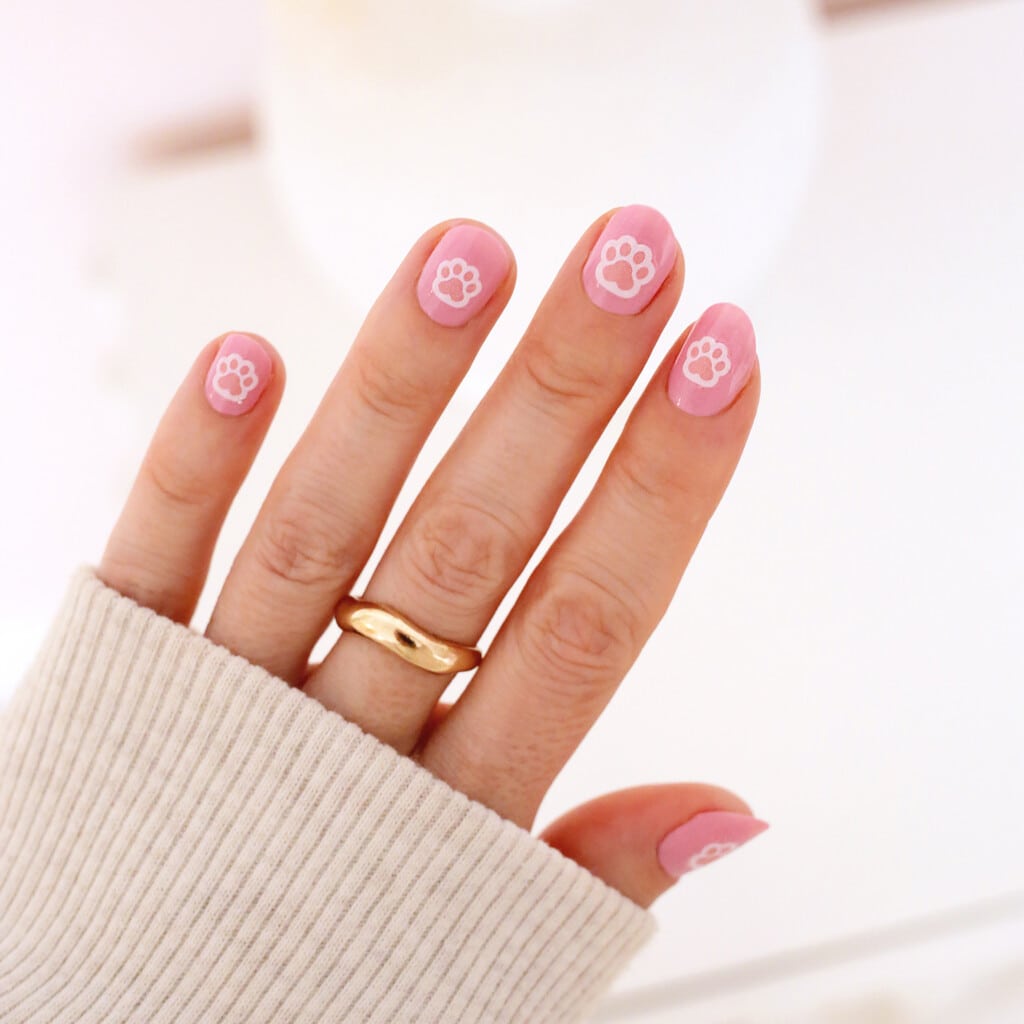
Bunny Paws
Add some cute bunny paws to your nails.
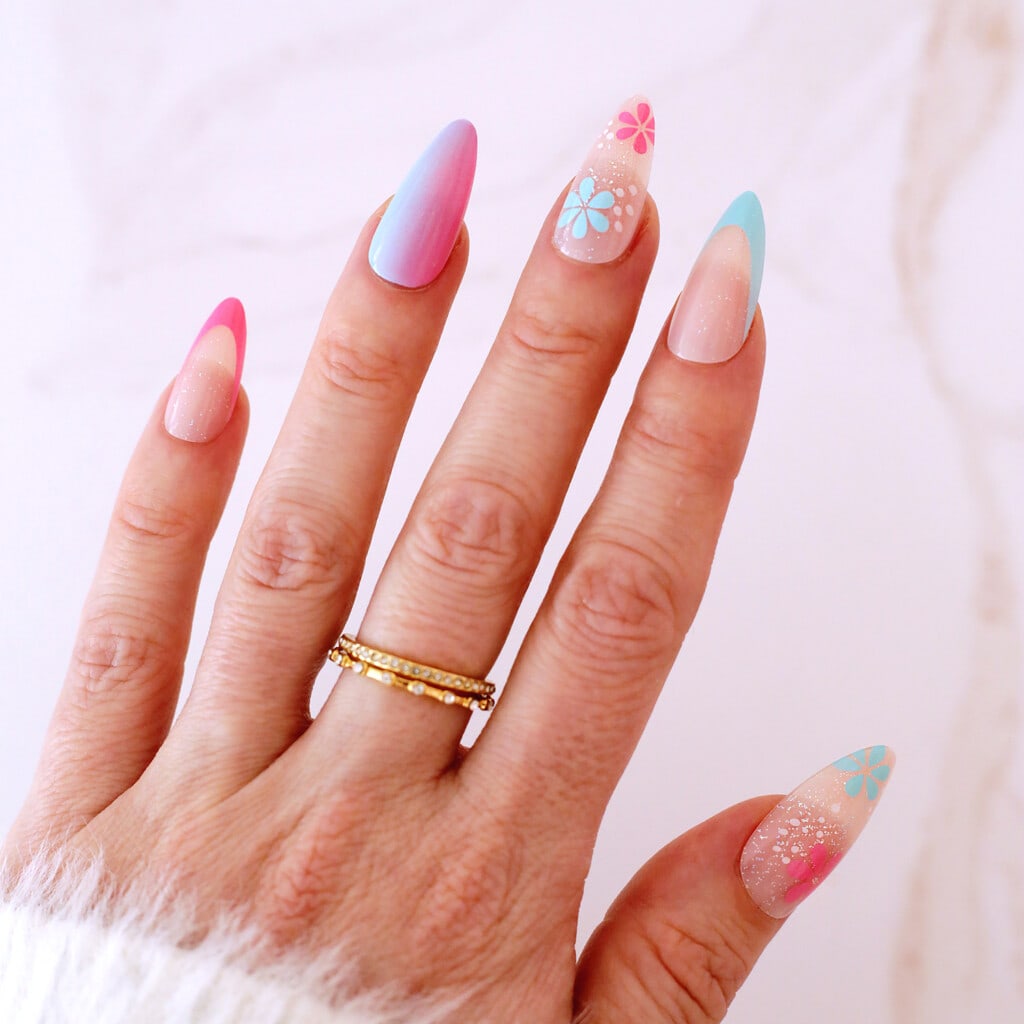
Blue and Pink Accents
These fun nails feature accents of blue and pink ombre, French tips, and floral fun.
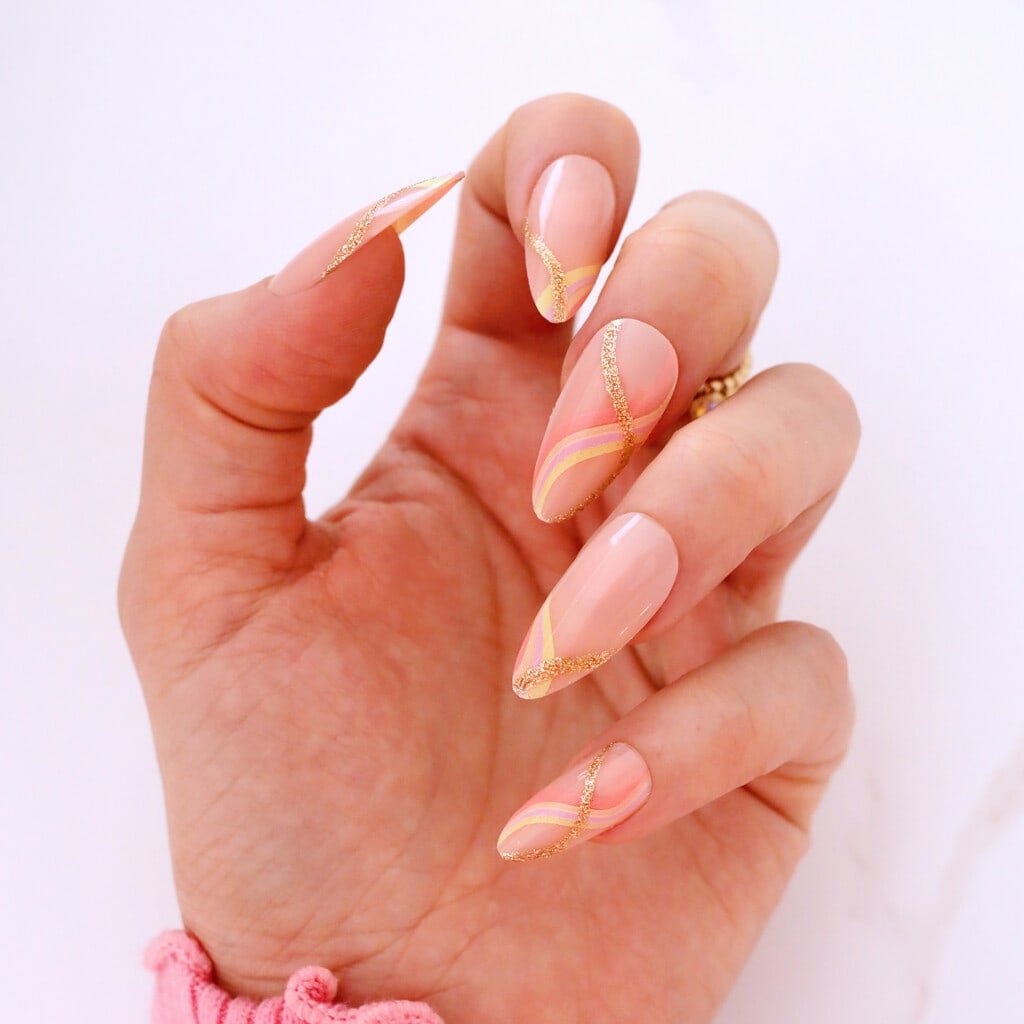
Sherbert Waves
These gold and sherbet colored waves bring just the right amount of color and pattern to your manicure.
There are so many ways to add some spring inspiration to your nail game, like subtle glitters, floral designs, pastel accent nails, and you can request your favorite idea to do in gel at your local salon or find the perfect press-on nail to do it yourself at home.
And if you love the trendy twists on looks, like French manis and rainbow nails, we’ll show you our favorite ways to add a spring vibe to all the current trends.
Looking for more nail ideas? Check out:
- Beginner’s Guide to Gel Polish
- Get The Perfect Manicure at Home
- Nail Design Ideas (125+ ideas!)
- 55+ Winter Nail Designs
- 65+ Fall Nail Designs
- 100+ Summer Nail Designs
- 30+ Chrome Nail Designs
- 45+ Easter Nail Ideas
- 45+ Halloween Nails
- 55+ Christmas Nail Designs
- Easy Galaxy Nails Tutorial (with Video!)
At home spring nails vs. salon nails:
While you can do so many manicure looks at home now with gel manicure kits, it can be a little intimidating to some who are not as steady with their hands or just generally prefer the pampered experience at their local nail salon.
While gel manicures will generally last longer than traditional polish (usually 2-3 weeks for a gel manicure), there are traditional polish brands that boast several weeks of wear from their products and you don’t have the longer gel removal process at home if you choose to take off your own polish.
Some of the trickier techniques like chrome or magnetic polish also might be a little easier in the hands of a professional, but if you have a gel nail kit at home, they are looks that are fun to try and master.
Of course, doing a press-on nail is the easiest way to get your perfect spring style at home by yourself, so there’s no shame in finding your favorite look and grabbing your nail glue.

3D Rose Garden
These nails have a raised rose design to add texture to the flowery look.

Happy Summer!
These smiley face flowers on a baby blue background look sweet yet fun.

Butterfly Fields
These pink and purple butterfly nails look so pretty with the waves and french tip accents.

What’s Butter Than Spring?
These butter nails are a trendy shade for spring or summer.
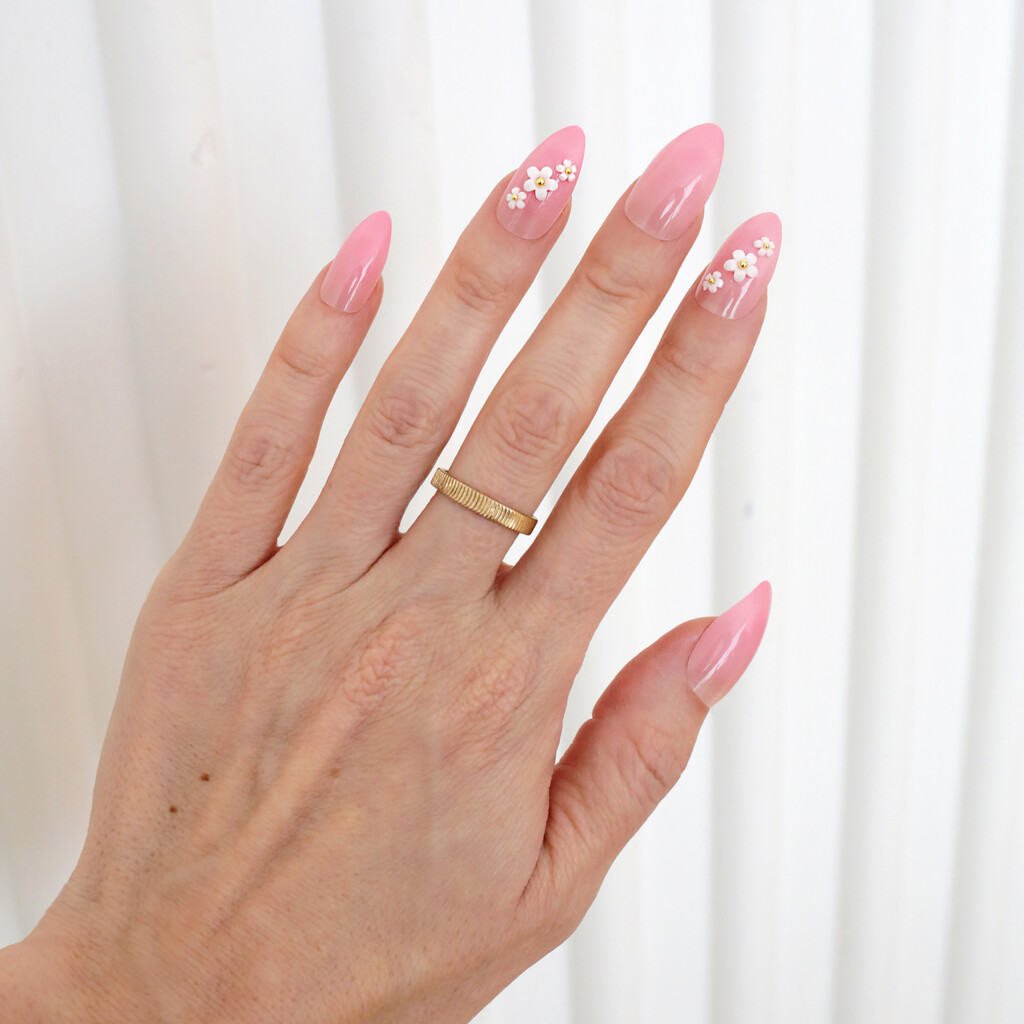
Daisy Dukes
These 3D flowers added to a pink ombre base are exactly what you need to leave your winter blues behind.
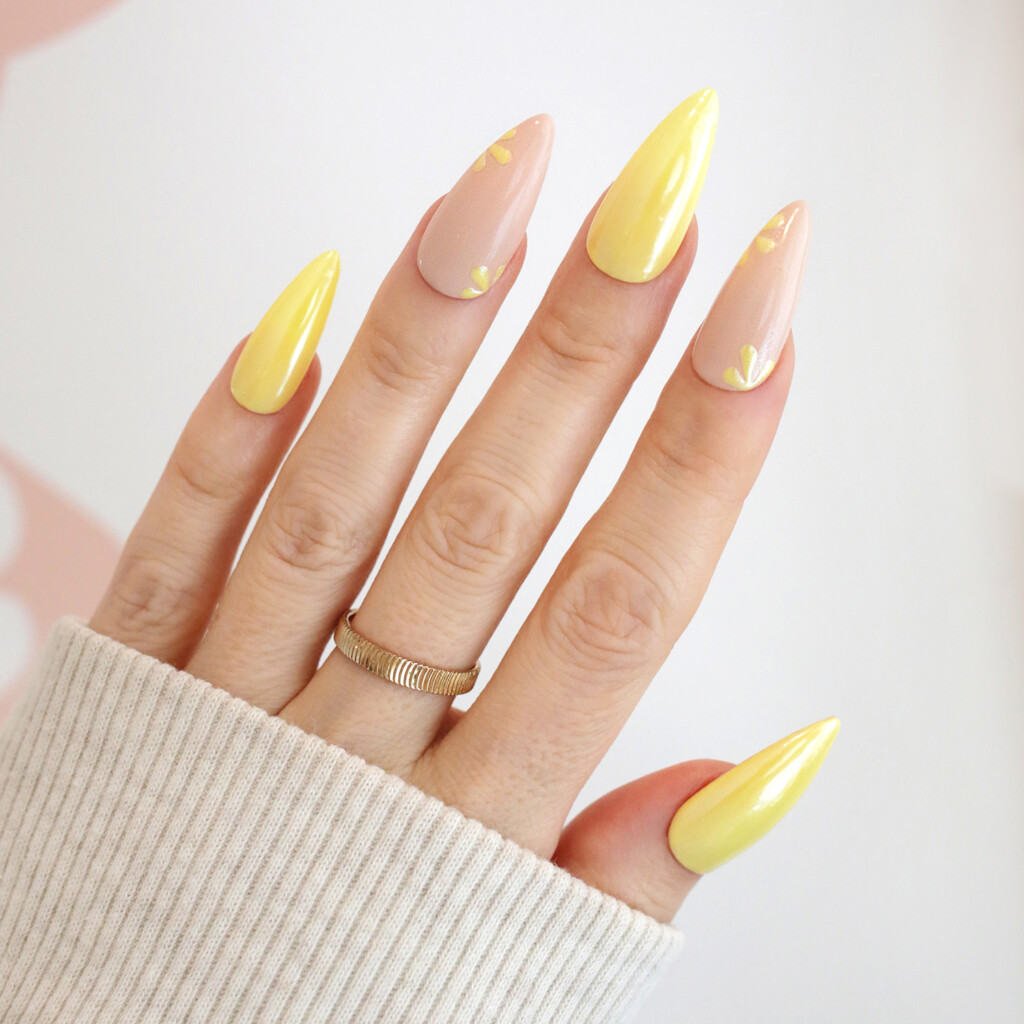
Sunny Side
Add some sun to your spring days with this cheerful yellow design.
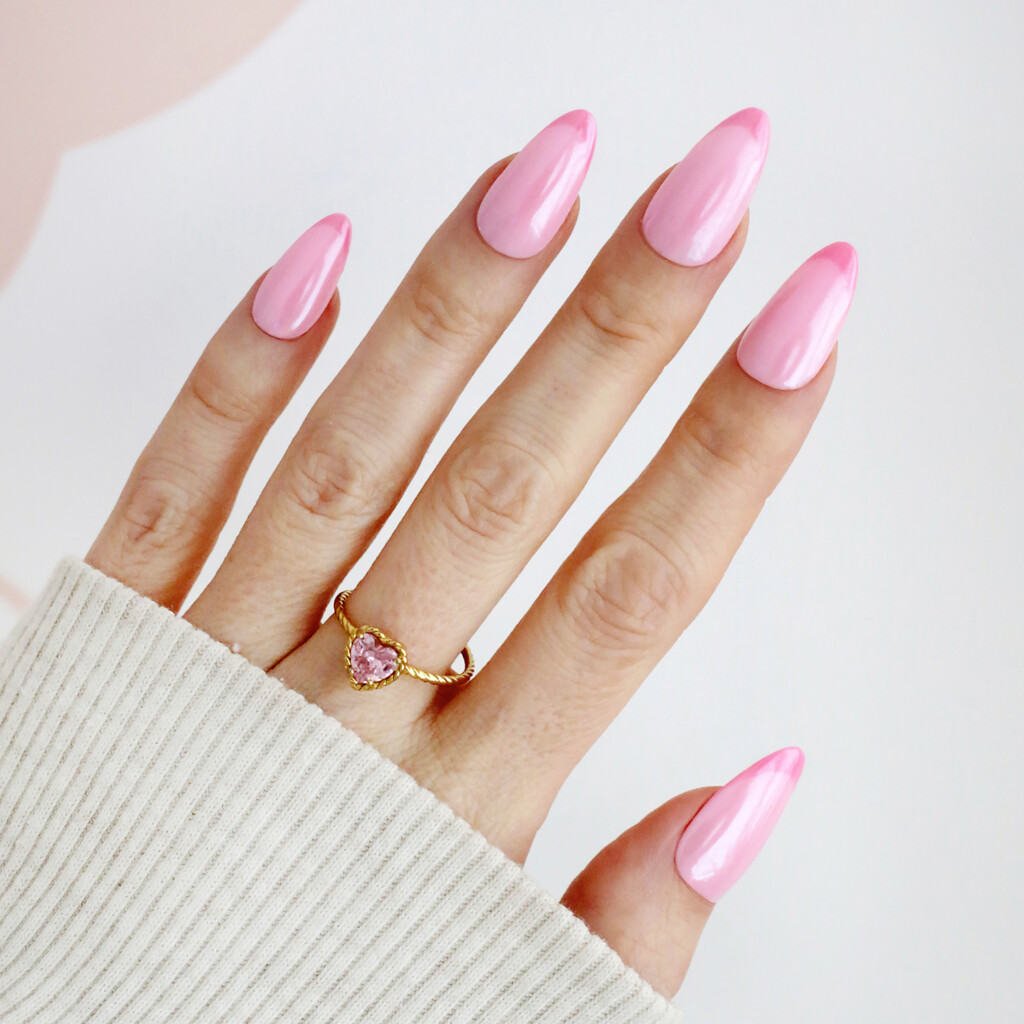
French Barbie
Go for the Barbie trend with a chrome pink French tip look.
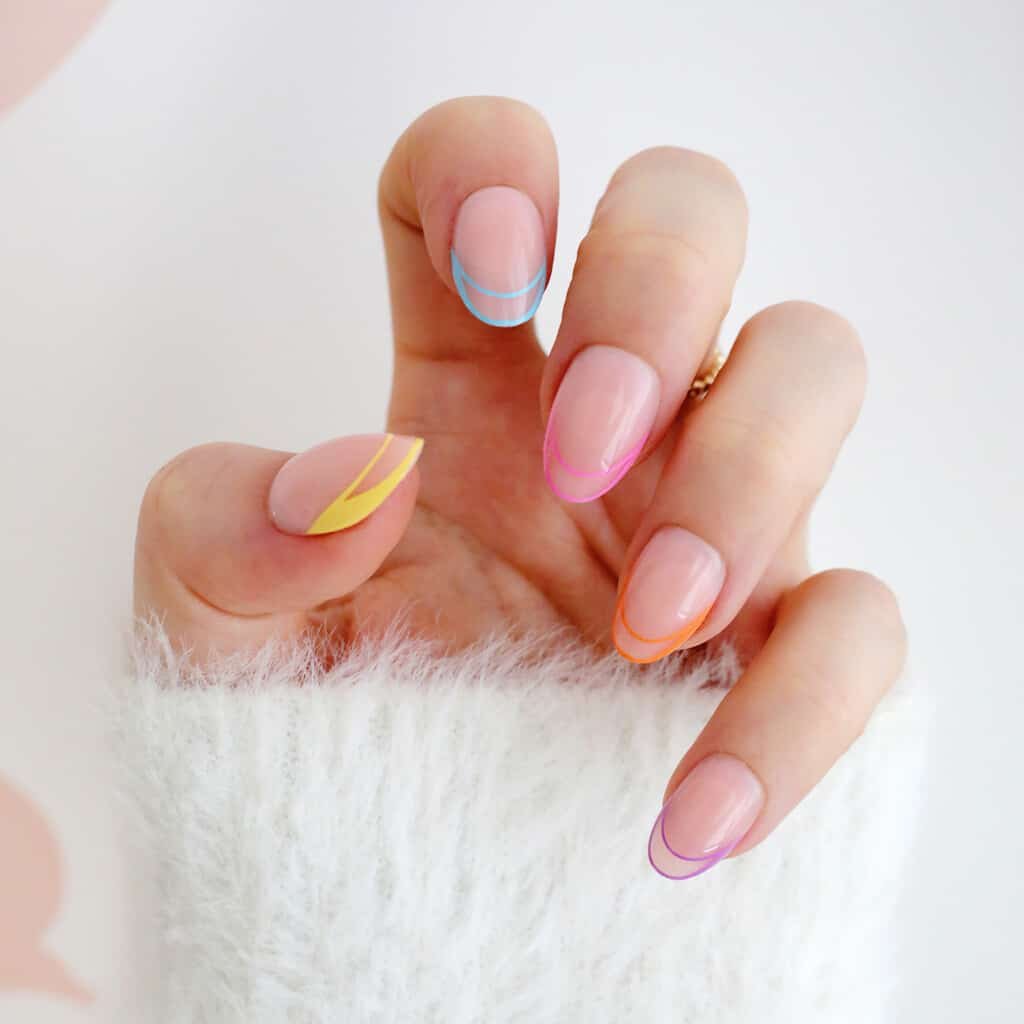
Rainbow Outline
These rainbow French outline nails enter spring with a subtle pop of color.
Sky Blue Daisies
This sky blue mani features friendly daisies and chrome accents nails.
Pretty in Pink
These pink swirl nails will put a spring in your step!
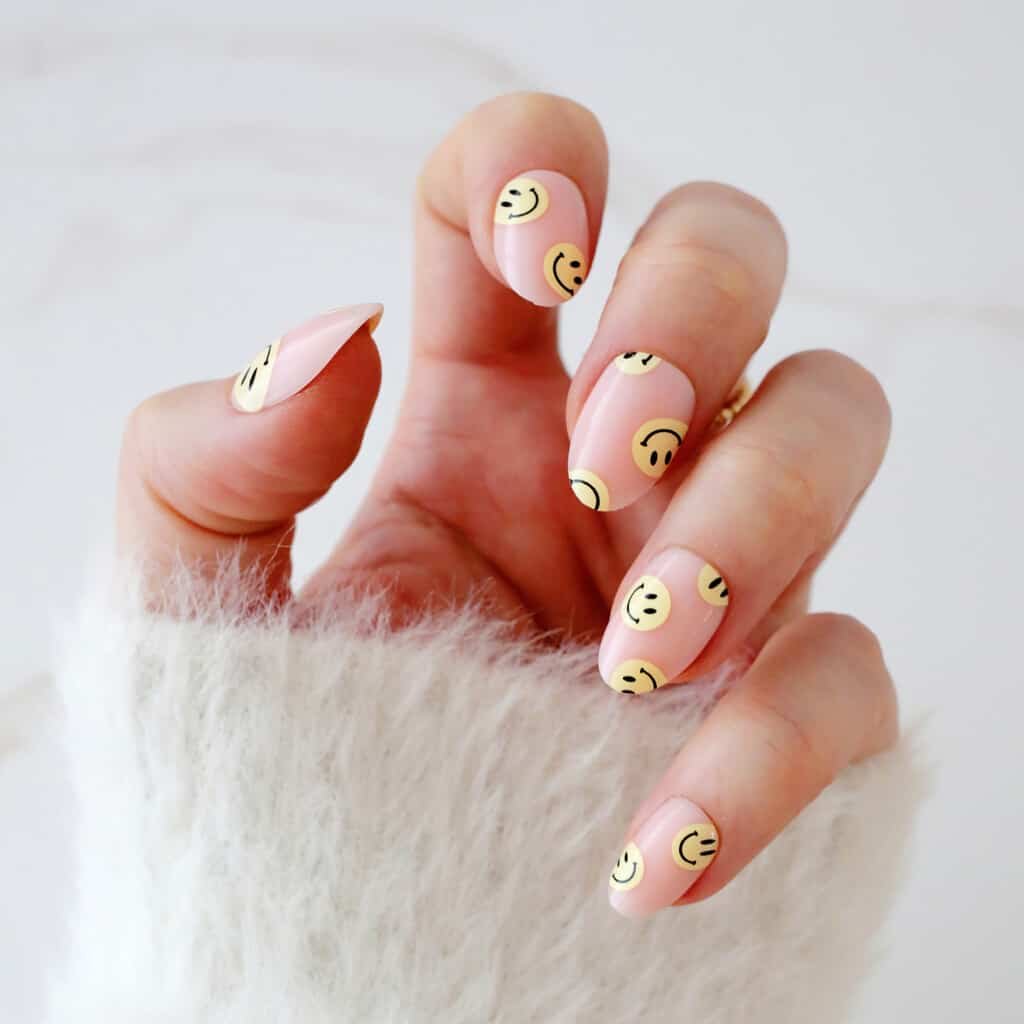
All Smiles
How cute are these smiley face nails for spring or summer?

Halftone Butterflies
These pretty rainbow butterflies look so cute perched upon a half white half yellow nail.

Gold Reverse
Add some gold chrome to a reverse french tip design for a touch of shine.

Tickled Pink
These pretty pink pastel chrome french tips are just right for spring and summer.
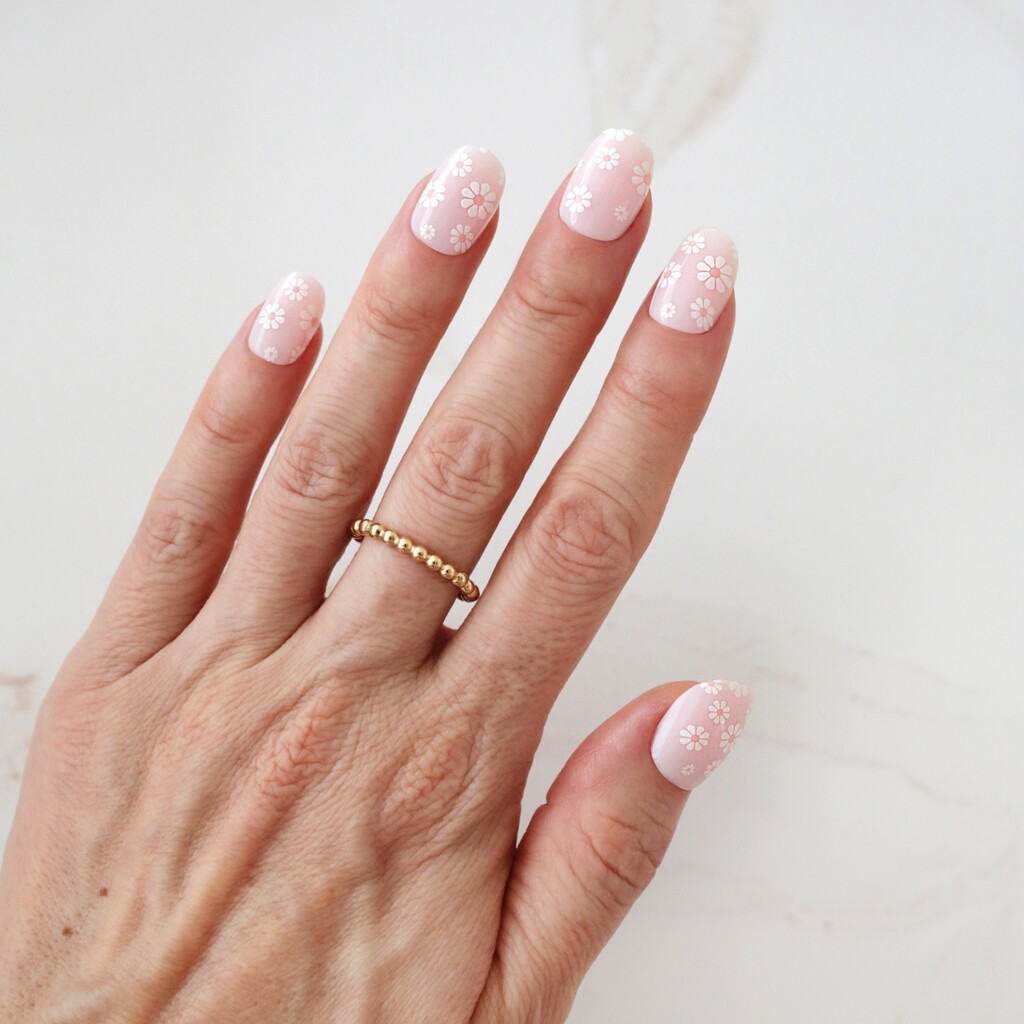
Daisy Fields
Daisies all over for a sweet floral design? Yes, please!
Botanical Babe
Add some flowers and greenery with nail art or these nail stickers for an at home mani.
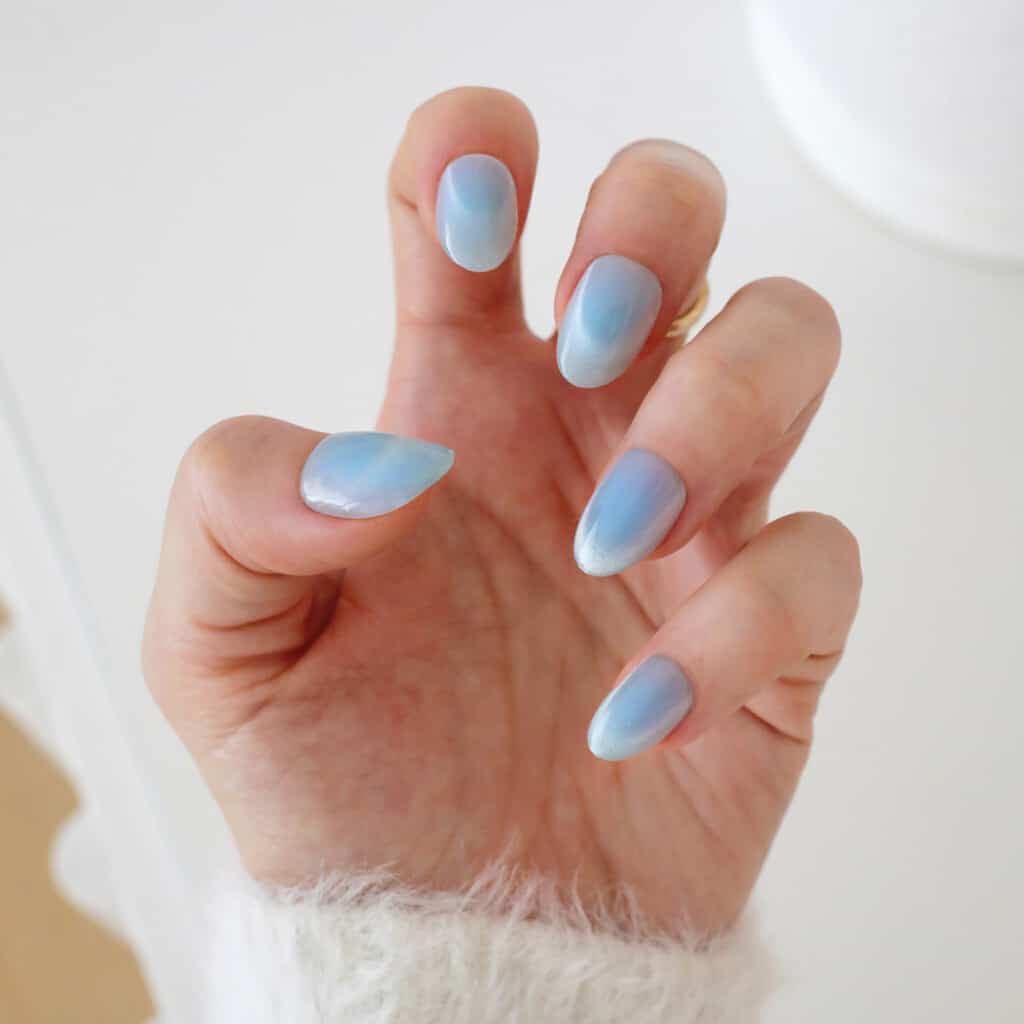
Blue Skies
These velvet cat eye nails in a baby blue are a soft and pretty start to spring.
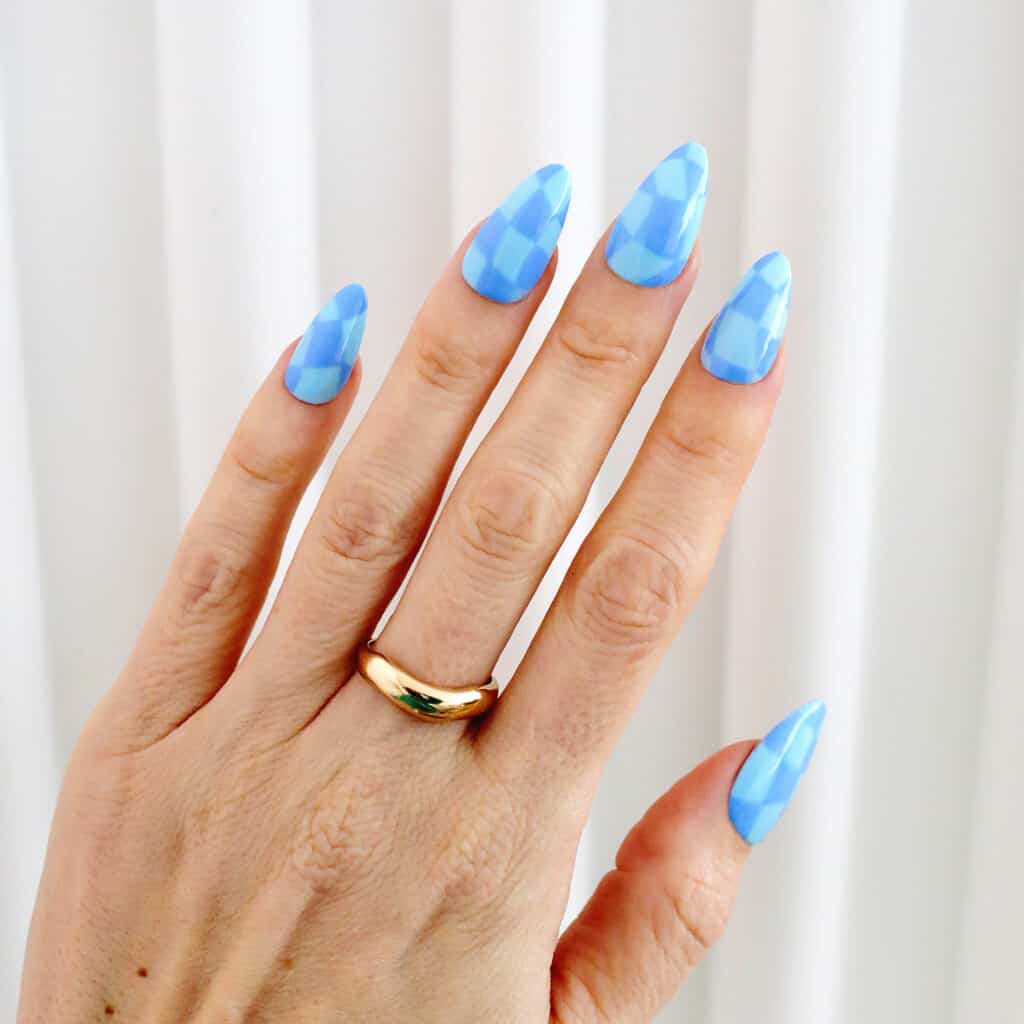
Wavy Checkerboard
Get into the checkered trend with this wavy design.
Pastel Confetti
Celebrate spring with pastel confetti over the top of your favorite spring pastel hue.
Pastel Rainbow Flowers
Add color with a mint green base and some rainbow pastel petals!

Rainbow Tie Dye
Explode your nails with pastel color with these rainbow tie dye.
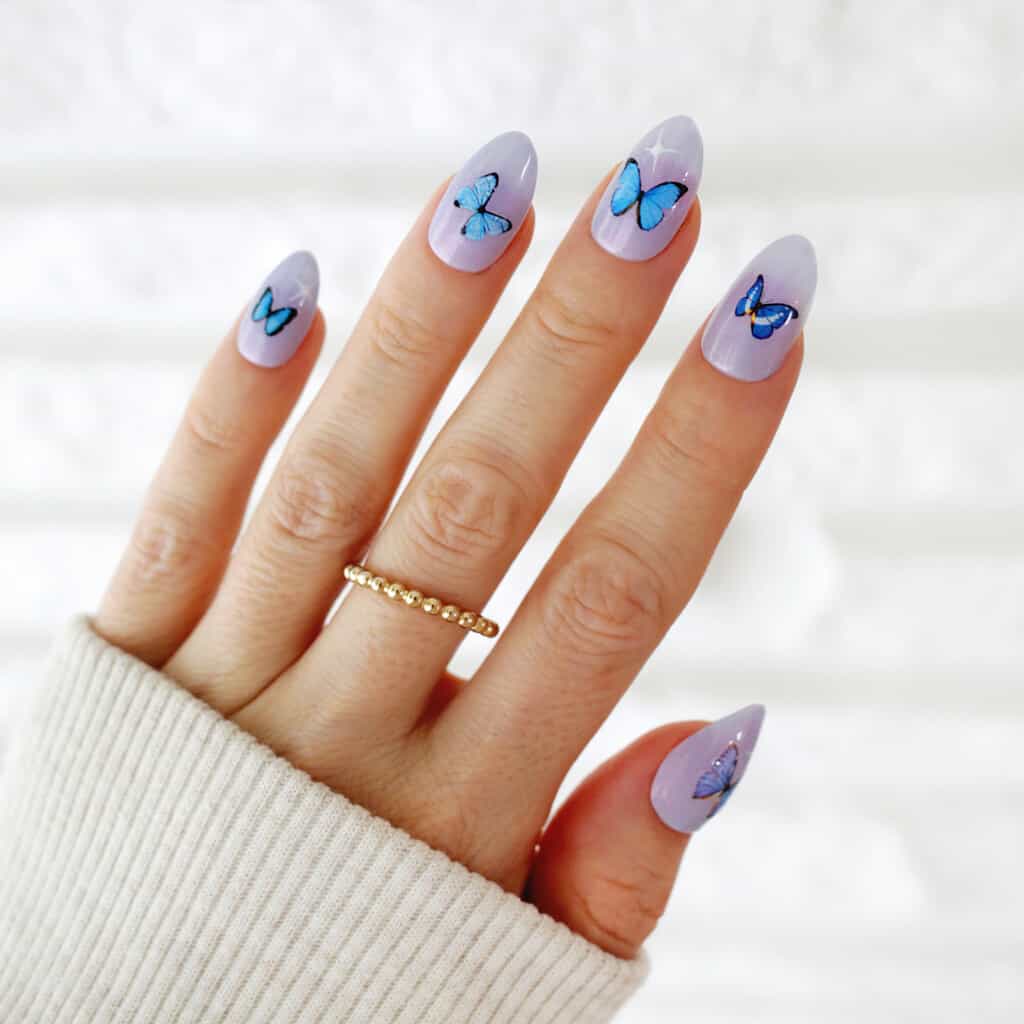
Blue Butterflies
Make your spring mani a breeze with butterfly decals.

Galaxy Pearl
These pearlized nails create a galaxy feeling and really shimmer in the spring sun.

Butter Chrome
Add some shine to the trendy butter colored nails by making them a chrome option.
Peek A Boo Bunny
Nothing says spring like sweet little bunnies on your nails.
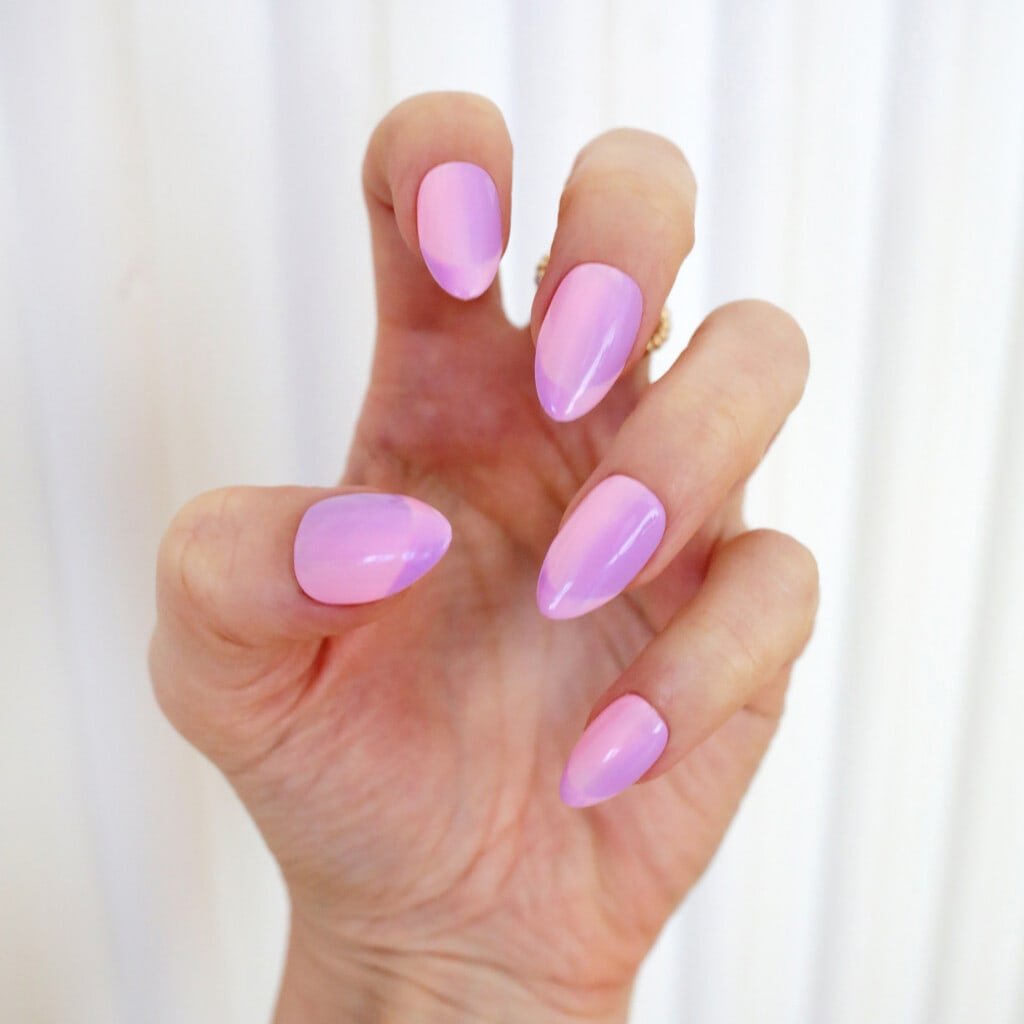
Spring Barbie
Try the hot trend of a reverse optical illusion French manicure in the perfect pink and purple pastel for spring.
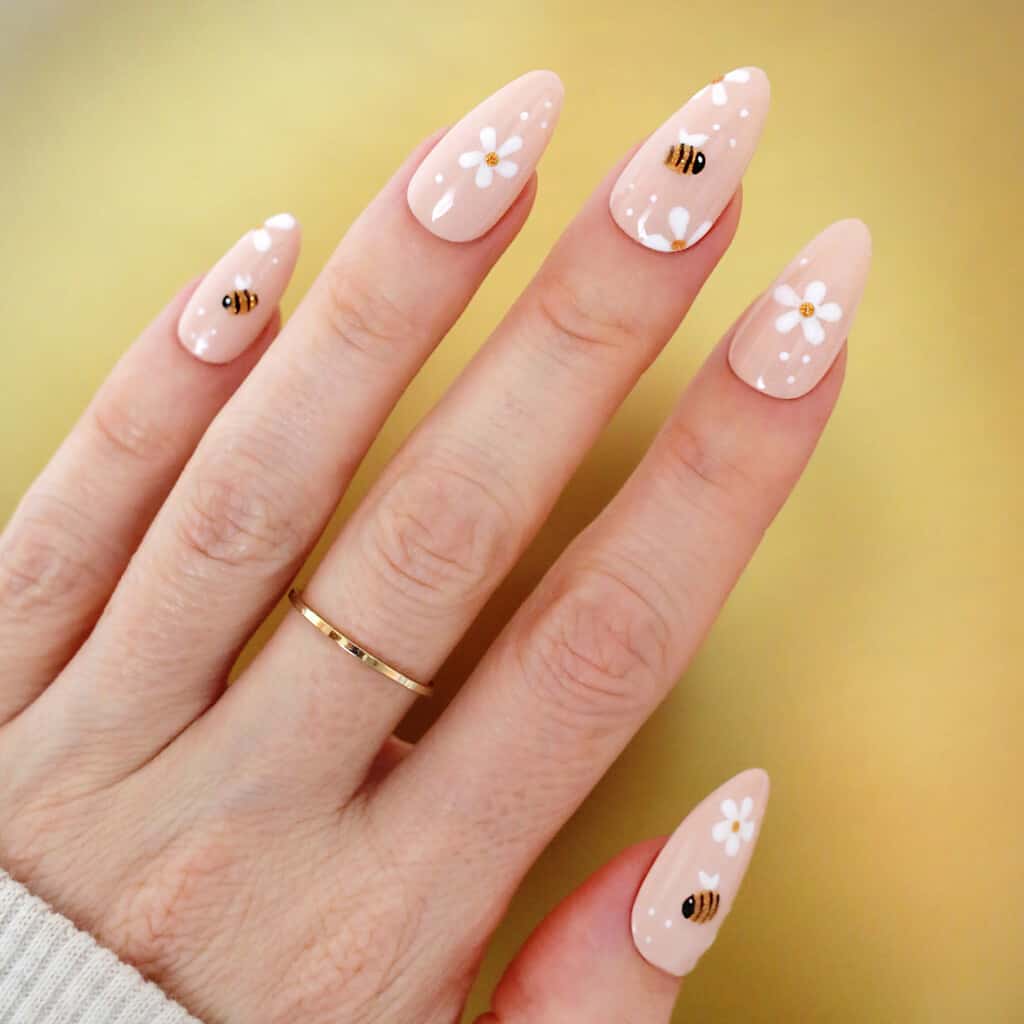
Bee Yourself
Bee excited for spring with these pretty pollinators.
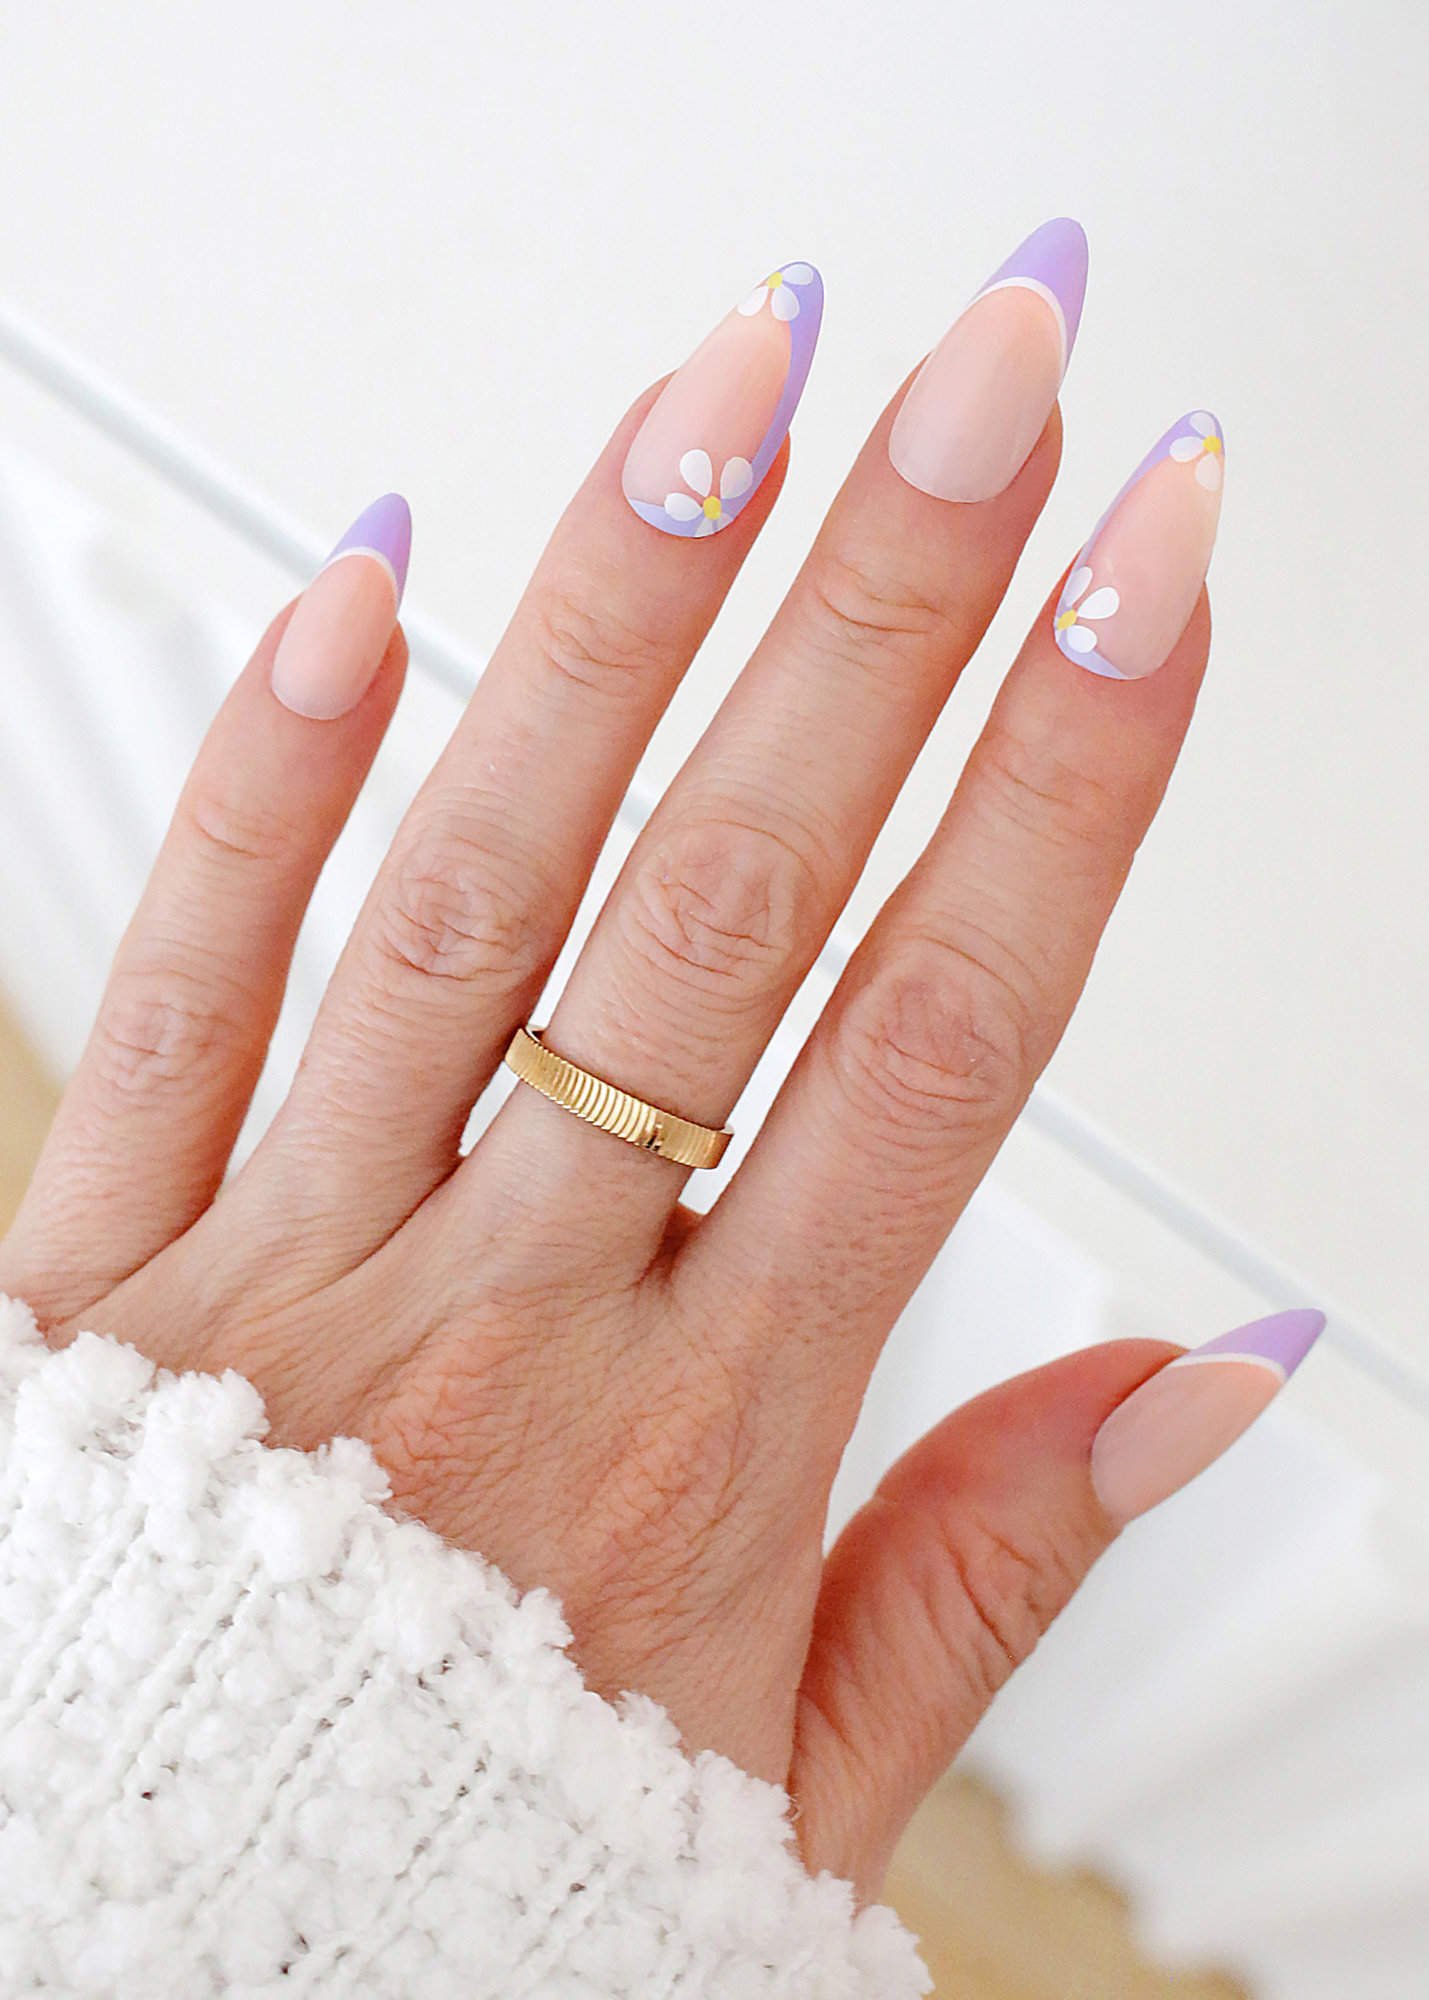
Lavender Love
These purple French tips with daisy details are the perfect welcome to spring weather.
Bunny Tails
Hop into spring with these cute pearl bunny tail nails!

Rainbow Love
Chrome rainbow hearts and french tips are a match made in heaven with this colorful look.
Sherbet Tie-Dye
Remind yourself of a spring sunrise with this pastel tie-dye color combo.

Lavender Check
Accent your nails with lavender and white checkered designs for a look that will stand out all season.
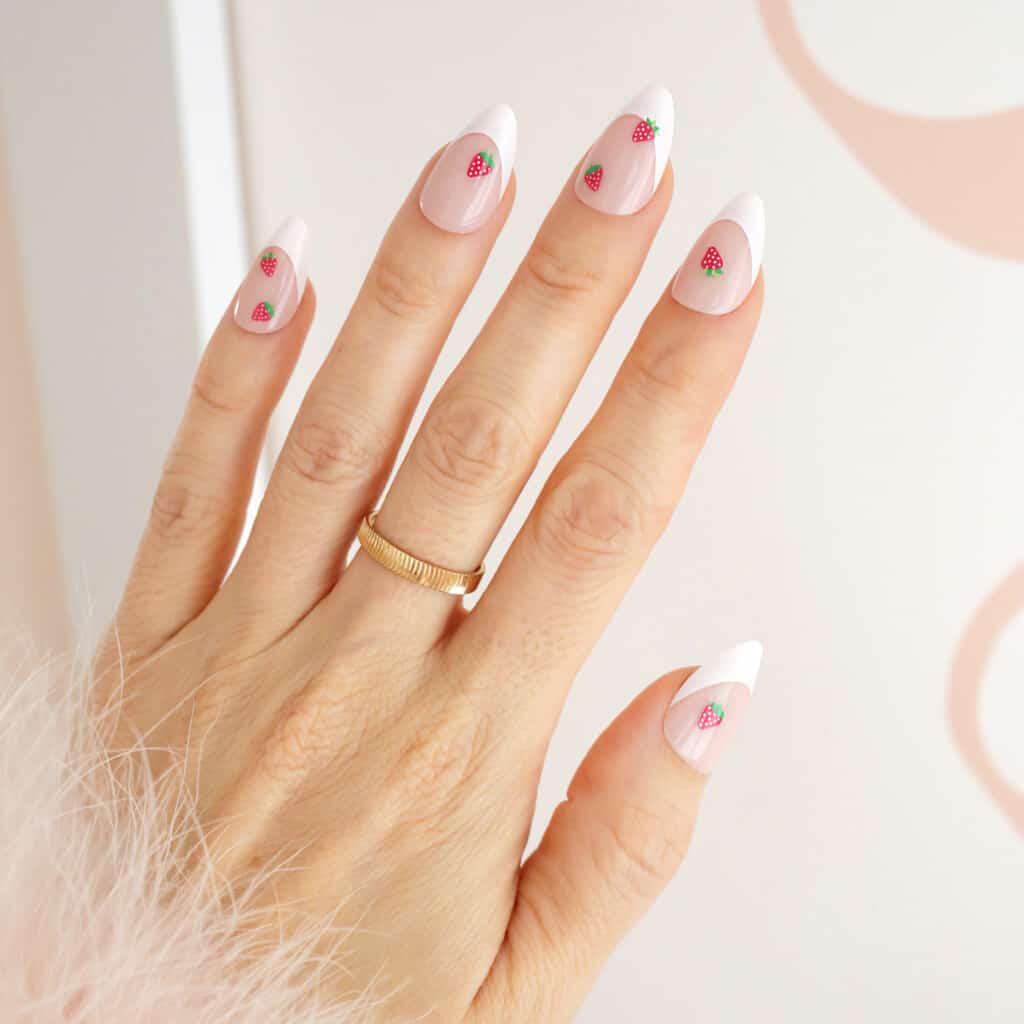
Strawberry Patch
Wear these to the strawberry patch and the berries won’t be the only thing looking fresh.
Pastel Yin Yang
This purple and pink yin yang design is fun for spring and well into summer.
Rainbow Waves
Spring rain brings rainbows so let your nails get in on the color too with this rainbow nail design.

Butterfly Halves
Add a glittery butterfly to two of your nails to make this fun look.
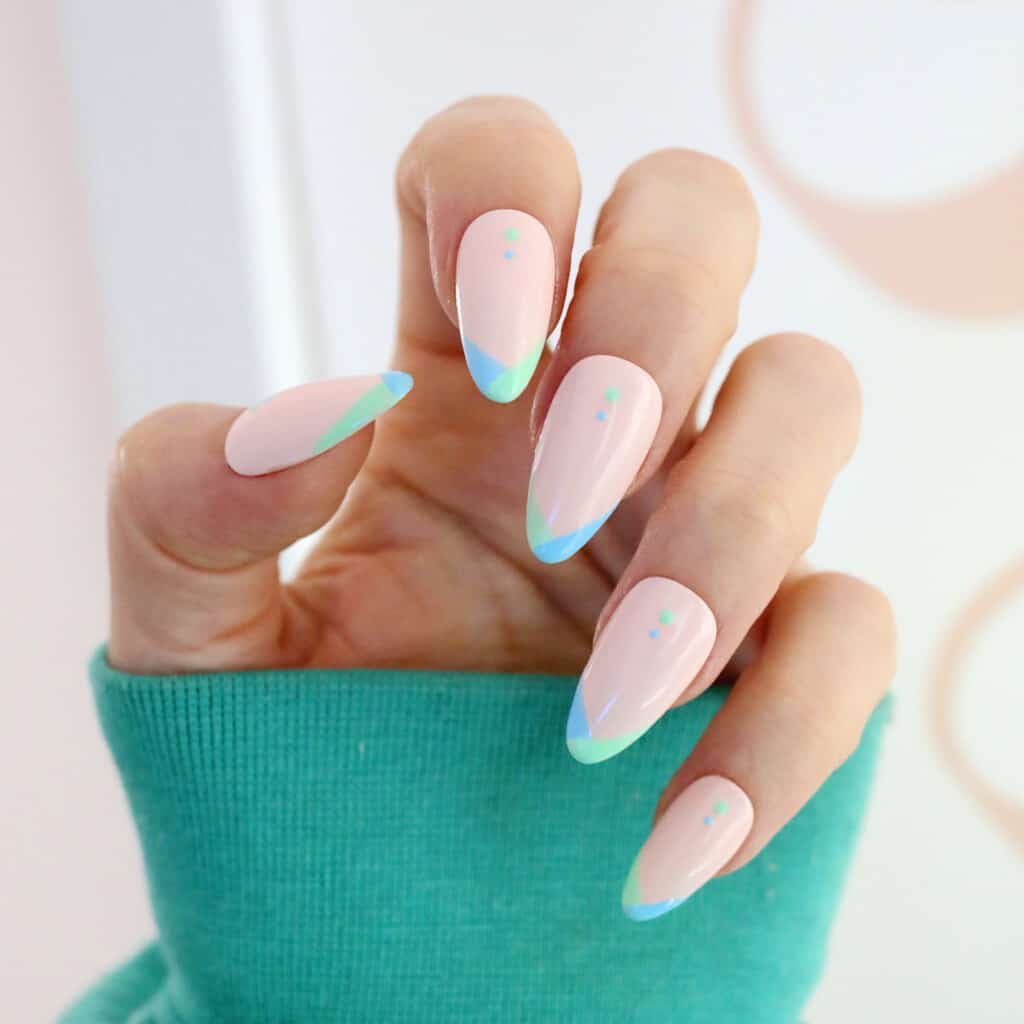
Color Blocked Tips
Color block your French tip nails with your favorite spring mint and green hues for a fresh look.
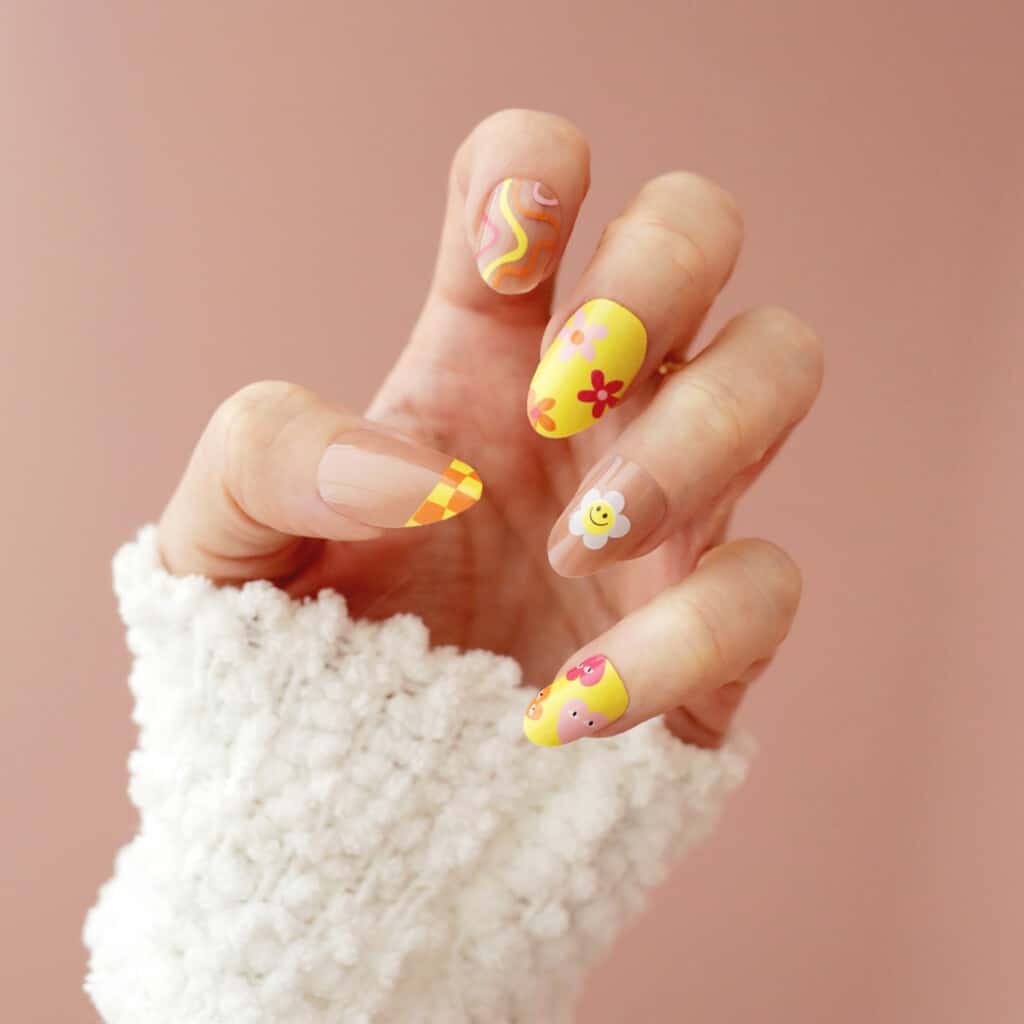
Happy Nails
These nails have such a happy vibe when you make every nail an accent nail!
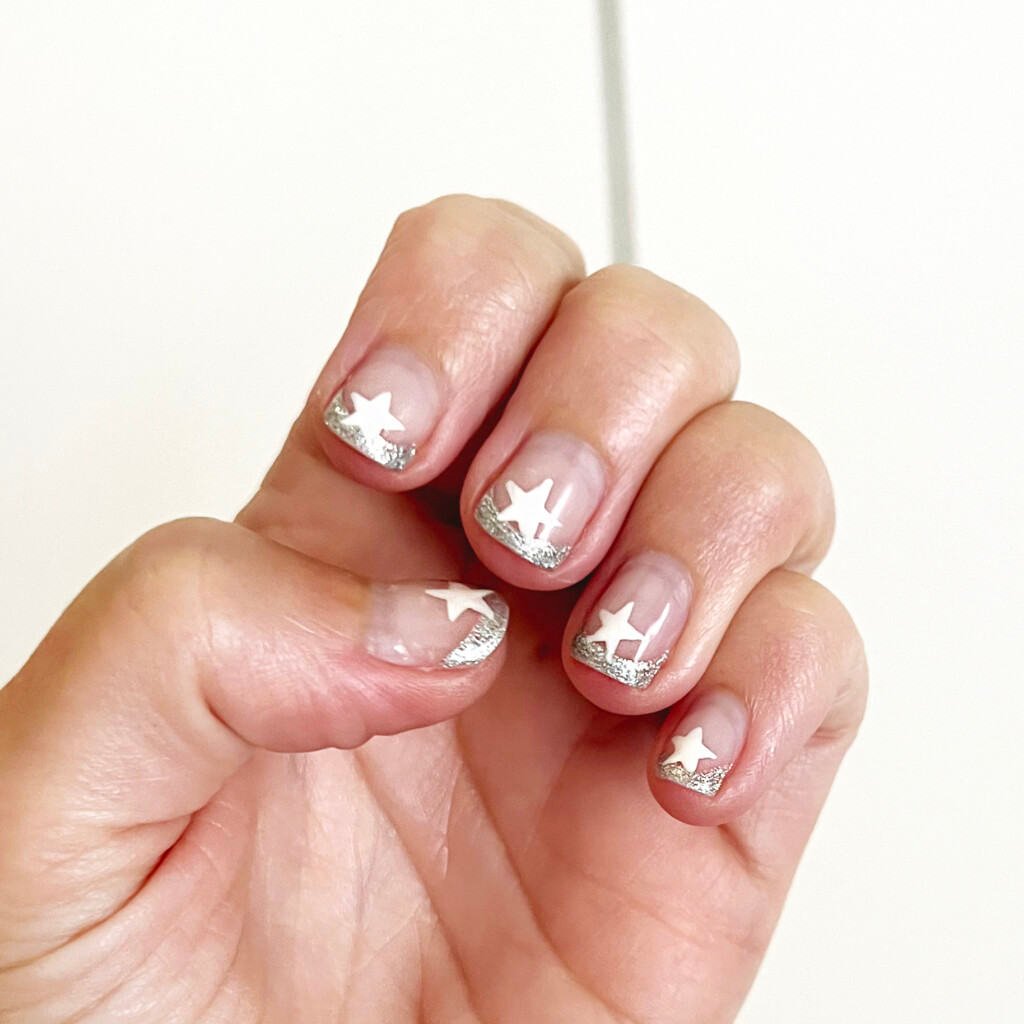
You’re A Star
Add some stars and glitter french tips to your nails for a fun yet simple look.
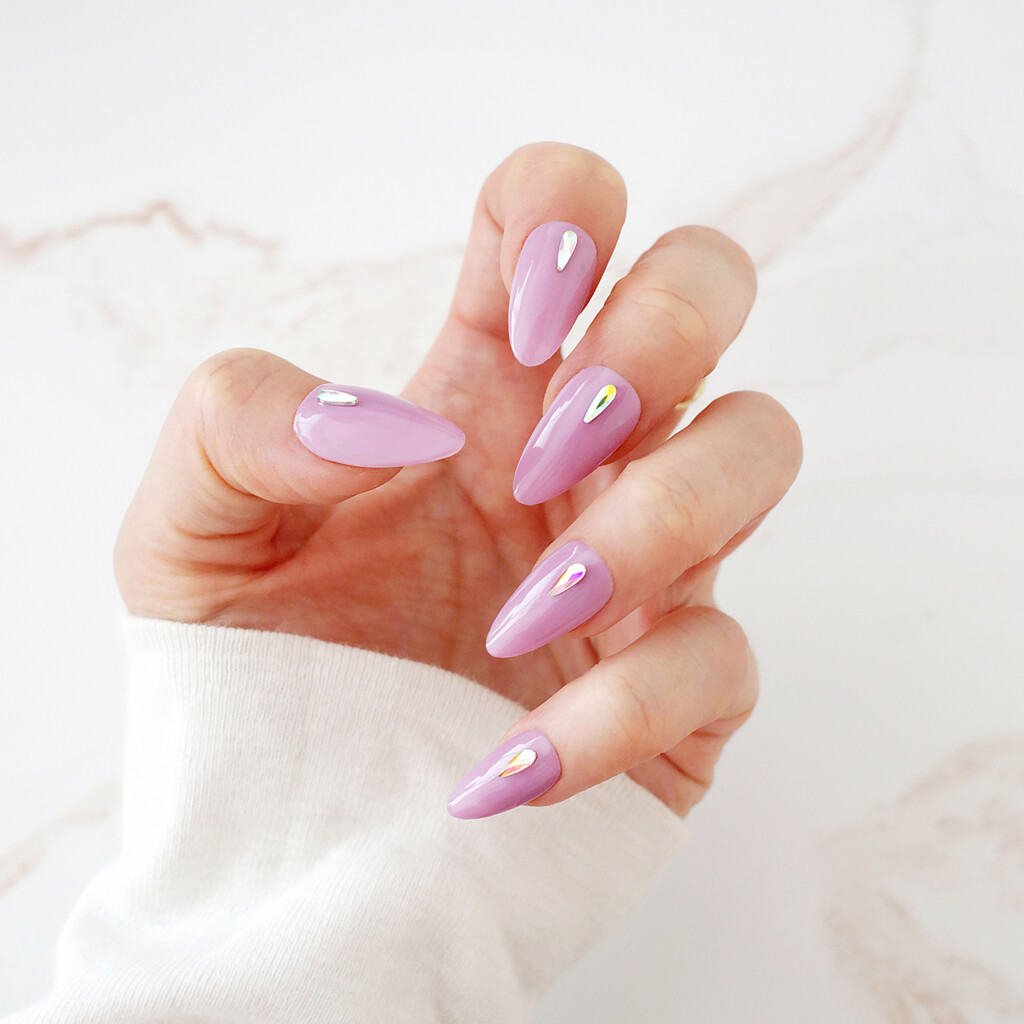
Grape Gemstones
These pastel purple jelly nails look so cute with a rhinestone accent.
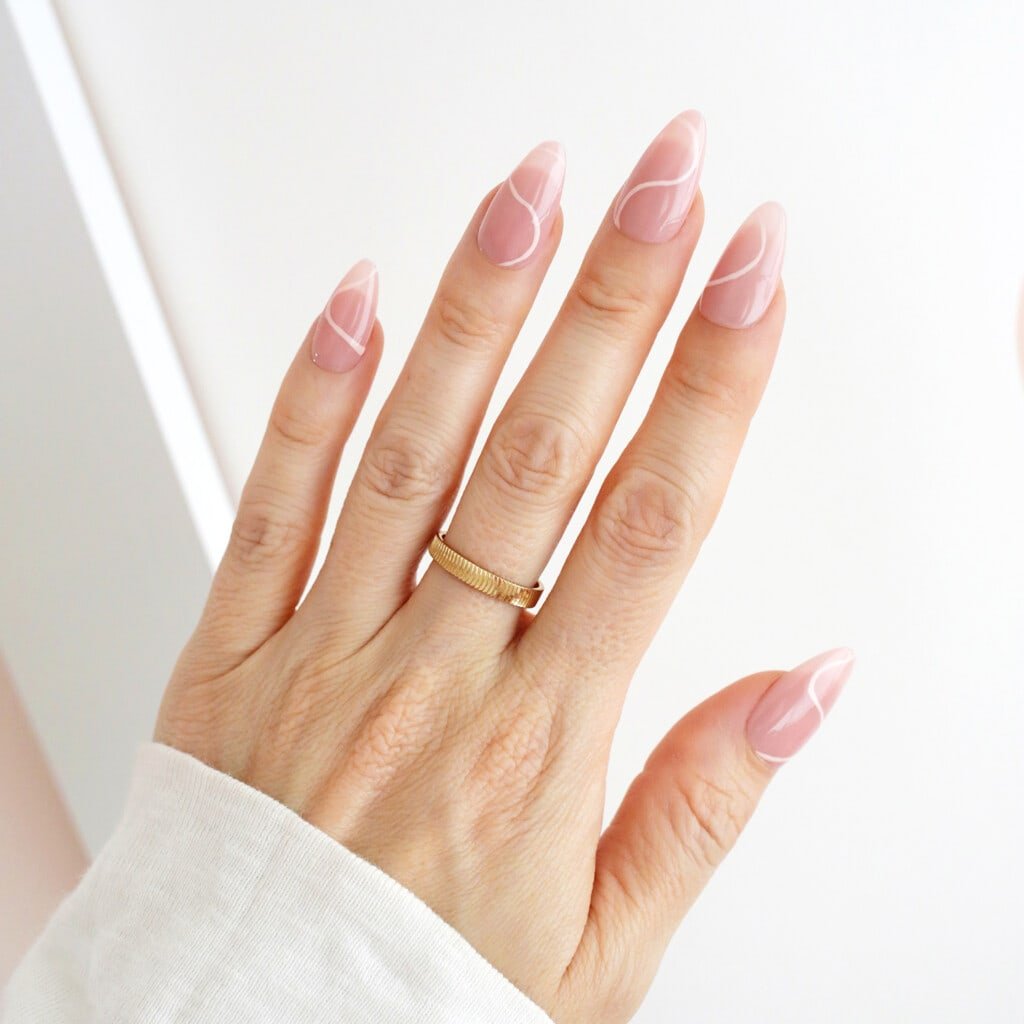
Sweet Swirl
Try a nude translucent shade with a simple line swirl for an understated pattern.
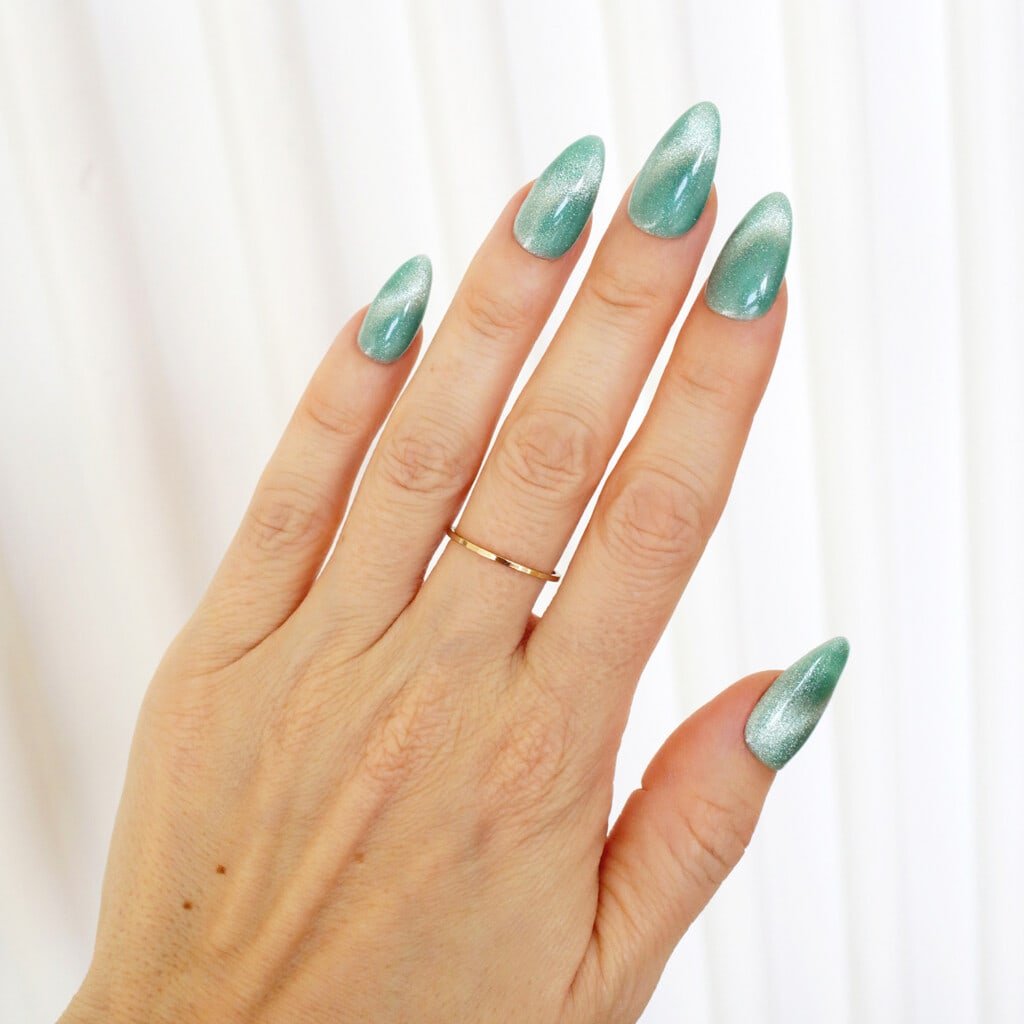
Green Grass Cat Eye
Welcome all the growing grass with this green cat eye effect.
Sunny Daze
These happy yellow-tipped nails will bring in the sunshine.
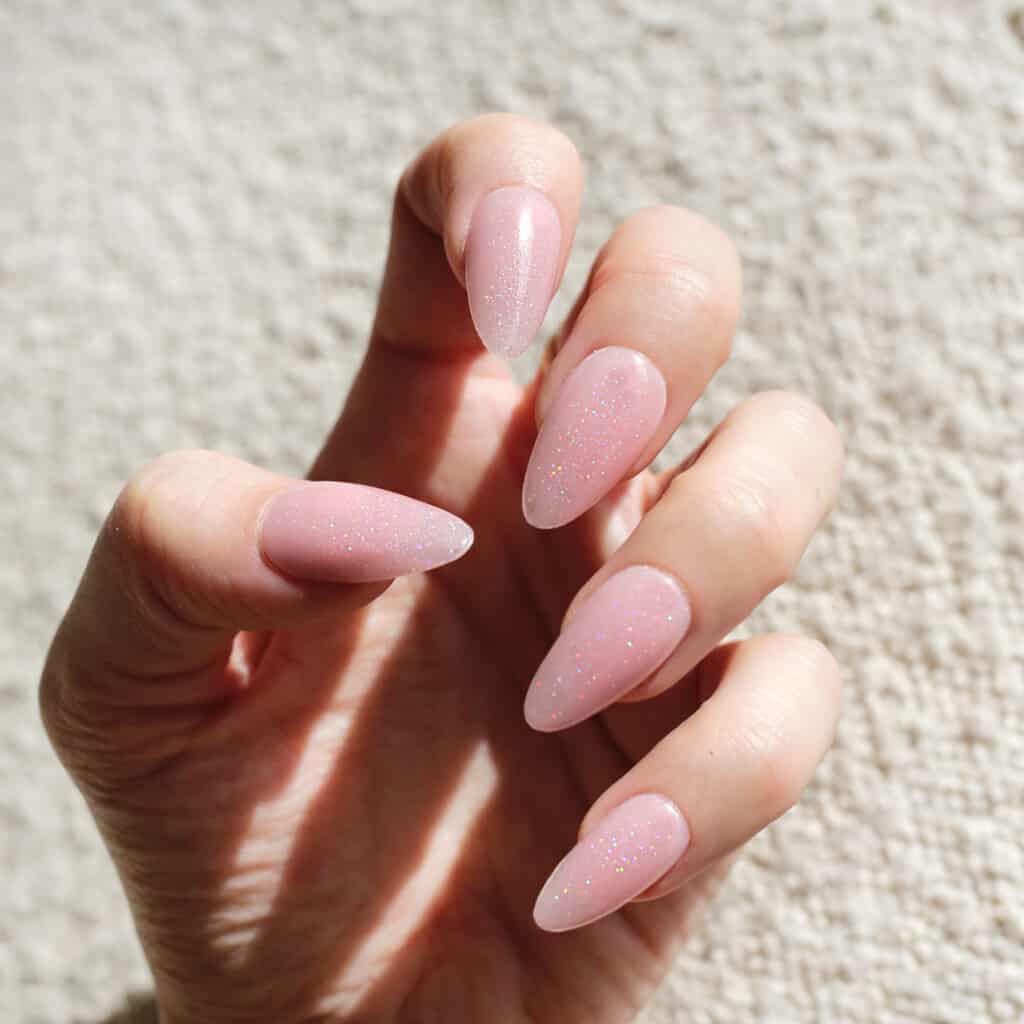
Pink Jelly Sparkle
These petal pink jelly nails have just the right amount of sparkle to be fun but not too over the top.

Sweet and Simple
Daisy accents on a pink mani are pretty and subtle all spring long.
Minty Waves
These mint colored waves will match all the new bud springing up in your yard.
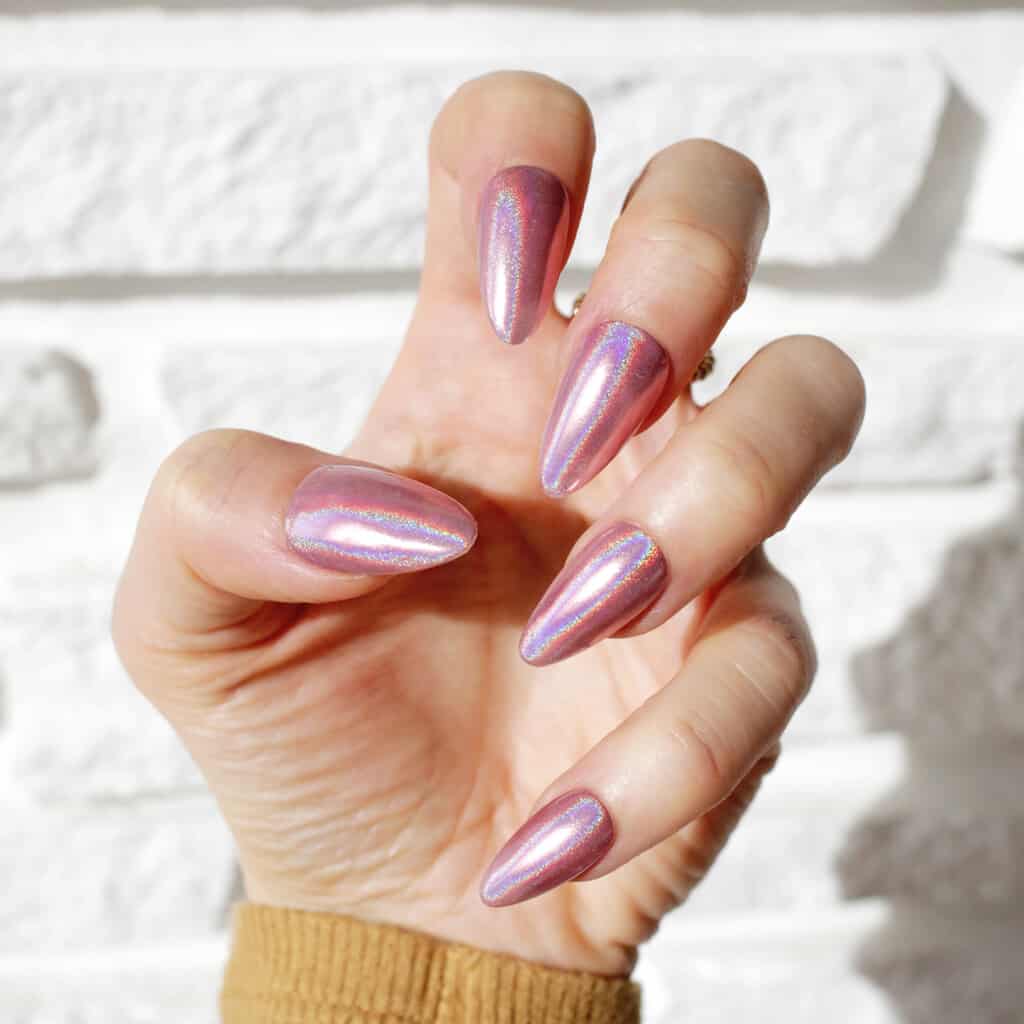
Pink Hologram
Take advantage of the spring sunshine and show off your hologram mani in a bright pink shade.
Floral Bunny
Spring flowers and a sweet bunny will put a hop in your step.
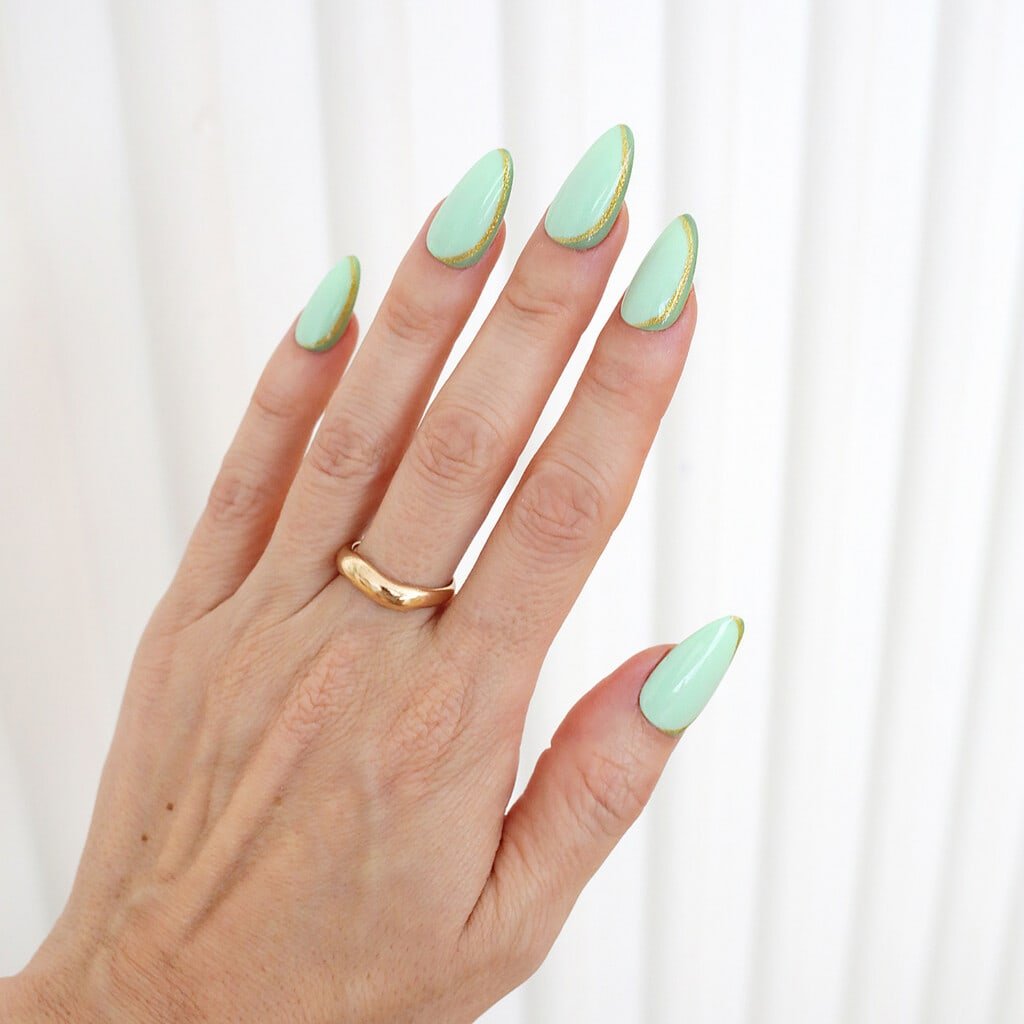
Mint and Gold
Try a mint green base with a gold and sage green side accent.
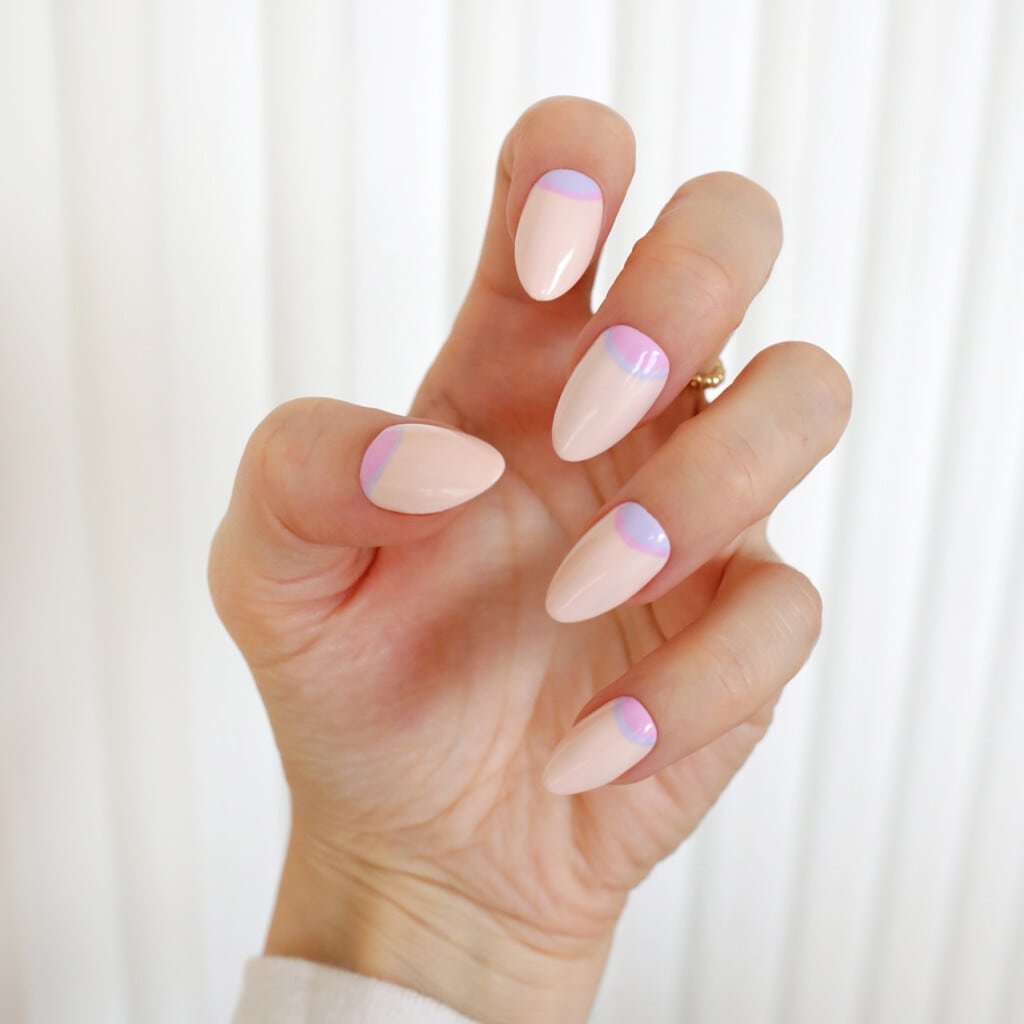
Purple Half Moons
These contrasting shades of purple make the half moon look into a pastel dream.
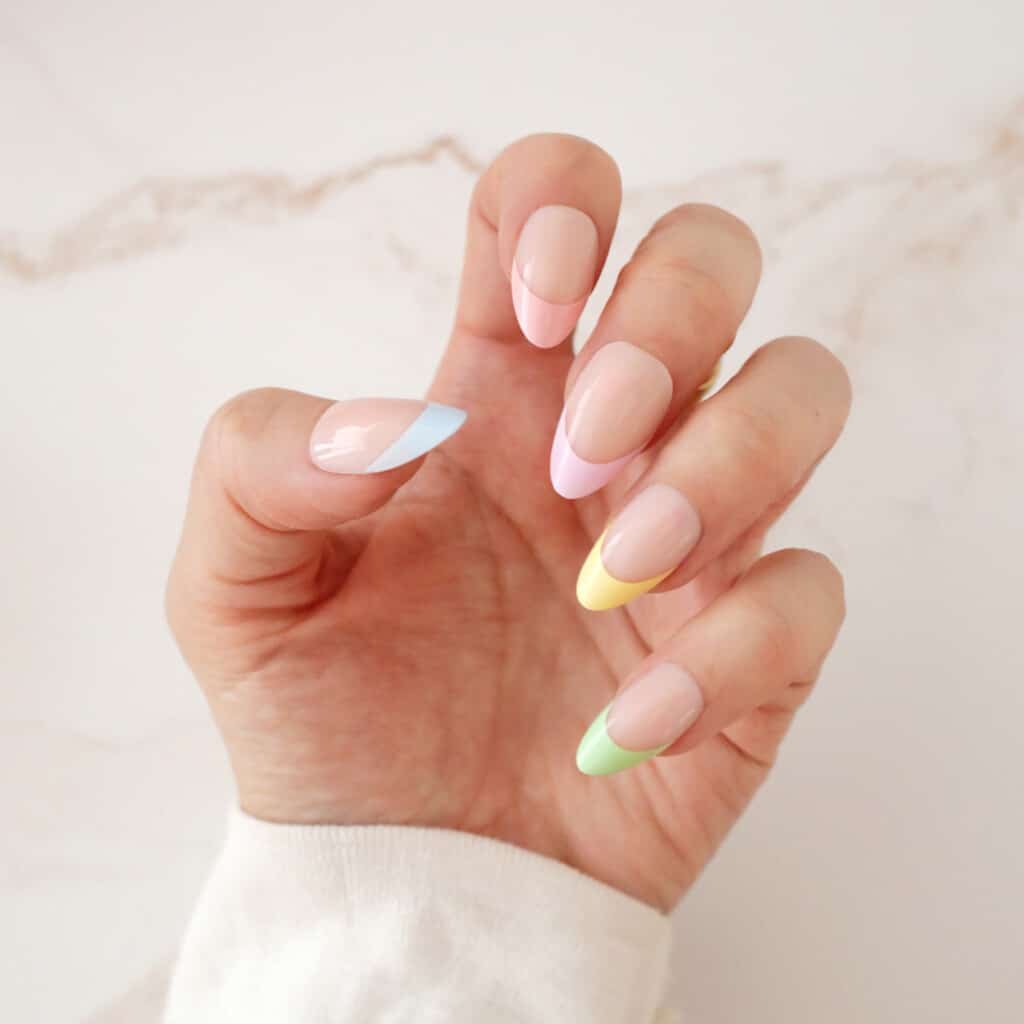
Pastel French Tips
To add a little color without going crazy, try rainbow colored pastel French tips!
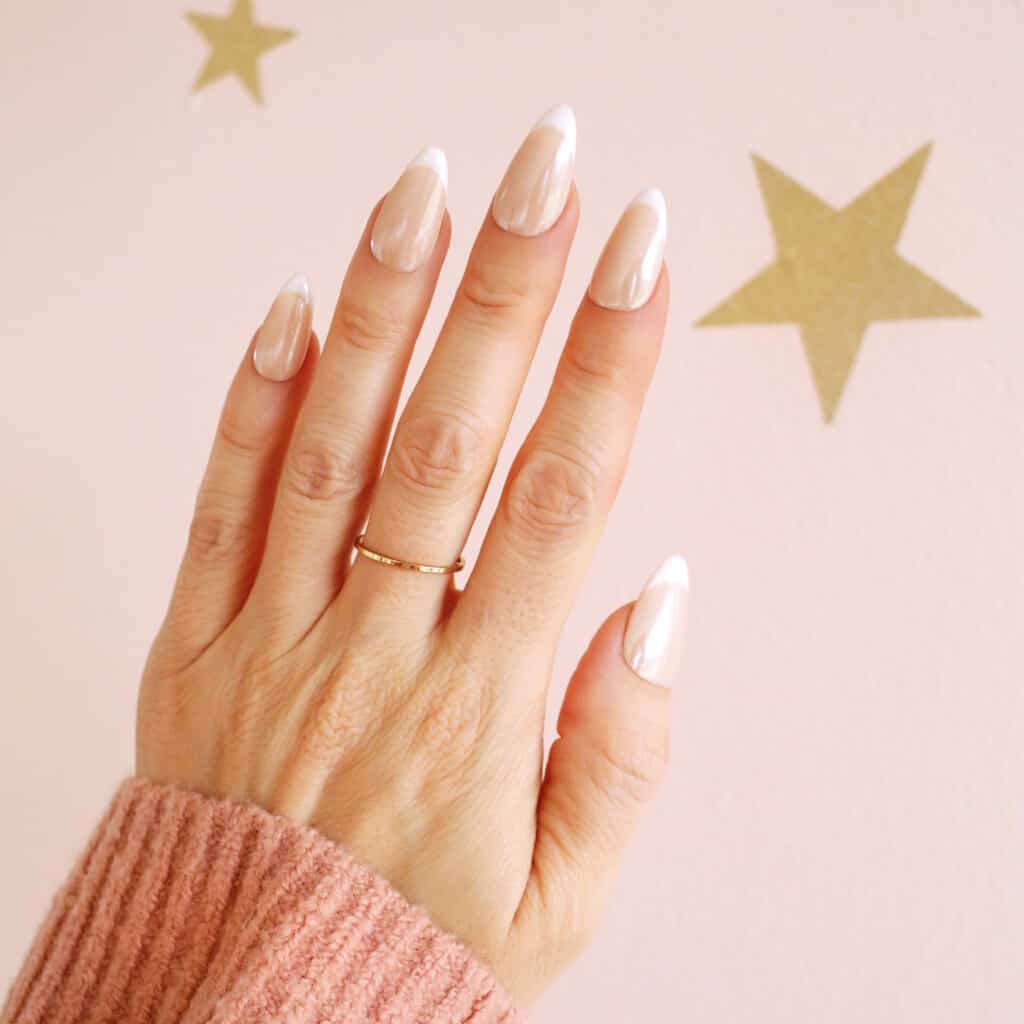
Glazed French Tips
A twist on a classic, the glazed French tip look is fresh and light for spring.
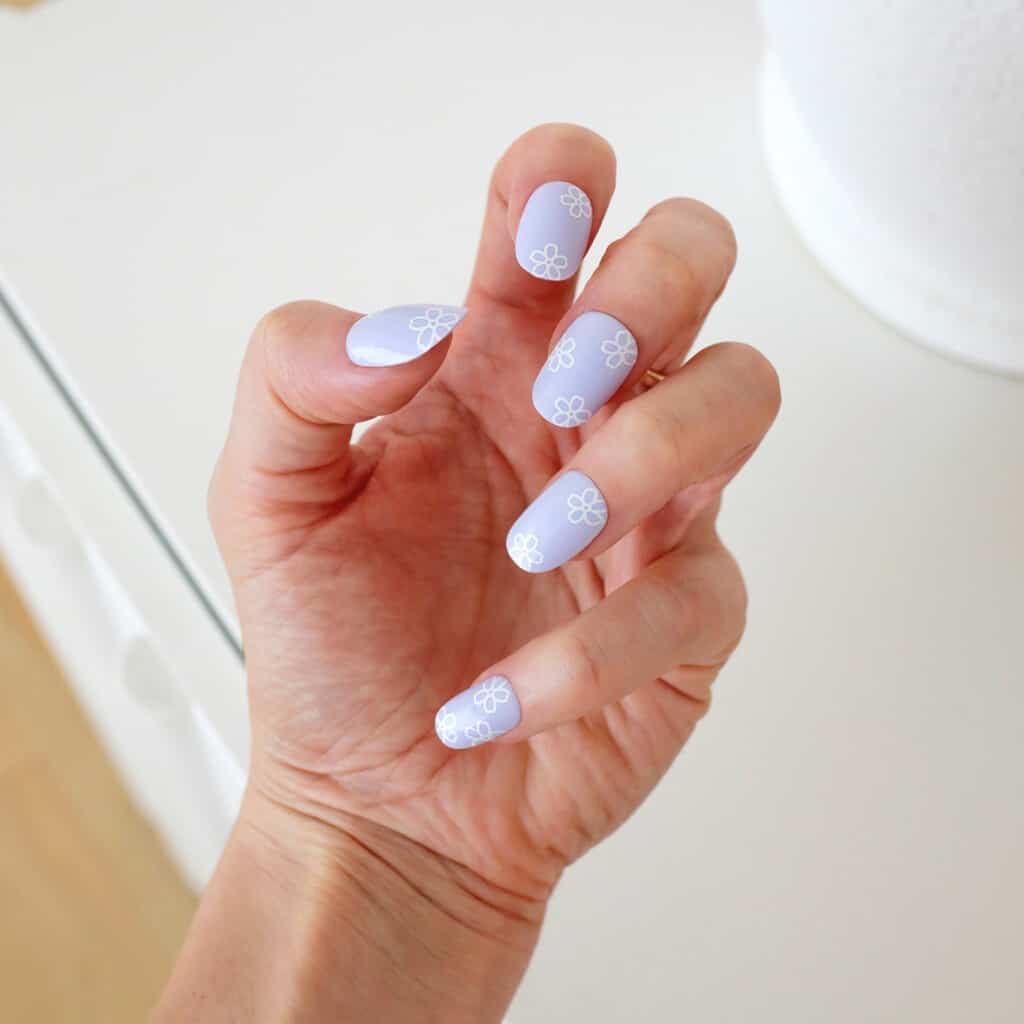
Lavender Love
Simple flower outlines on a pastel purple background are just the right look for spring.
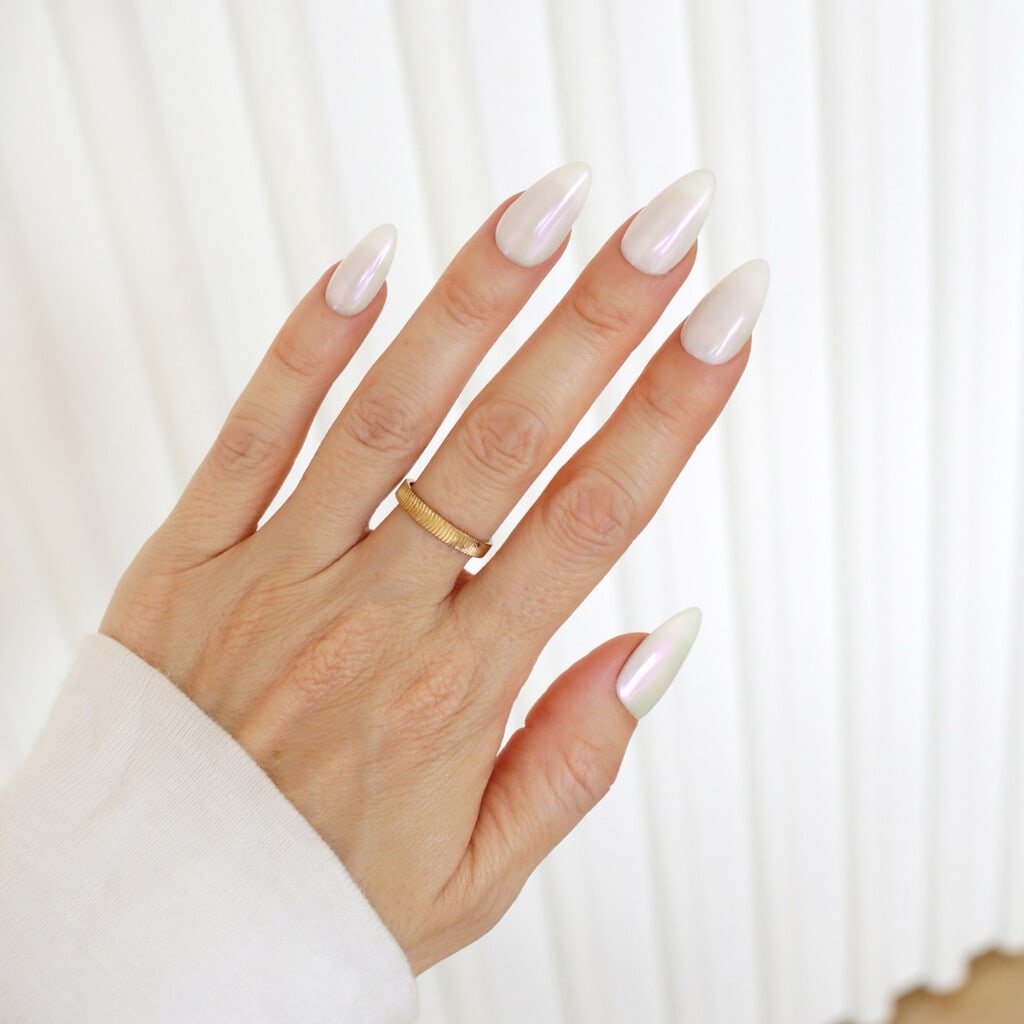
Donut Glazed
Add a slight iridescent shine to your nails for a look that will match any spring outfit.
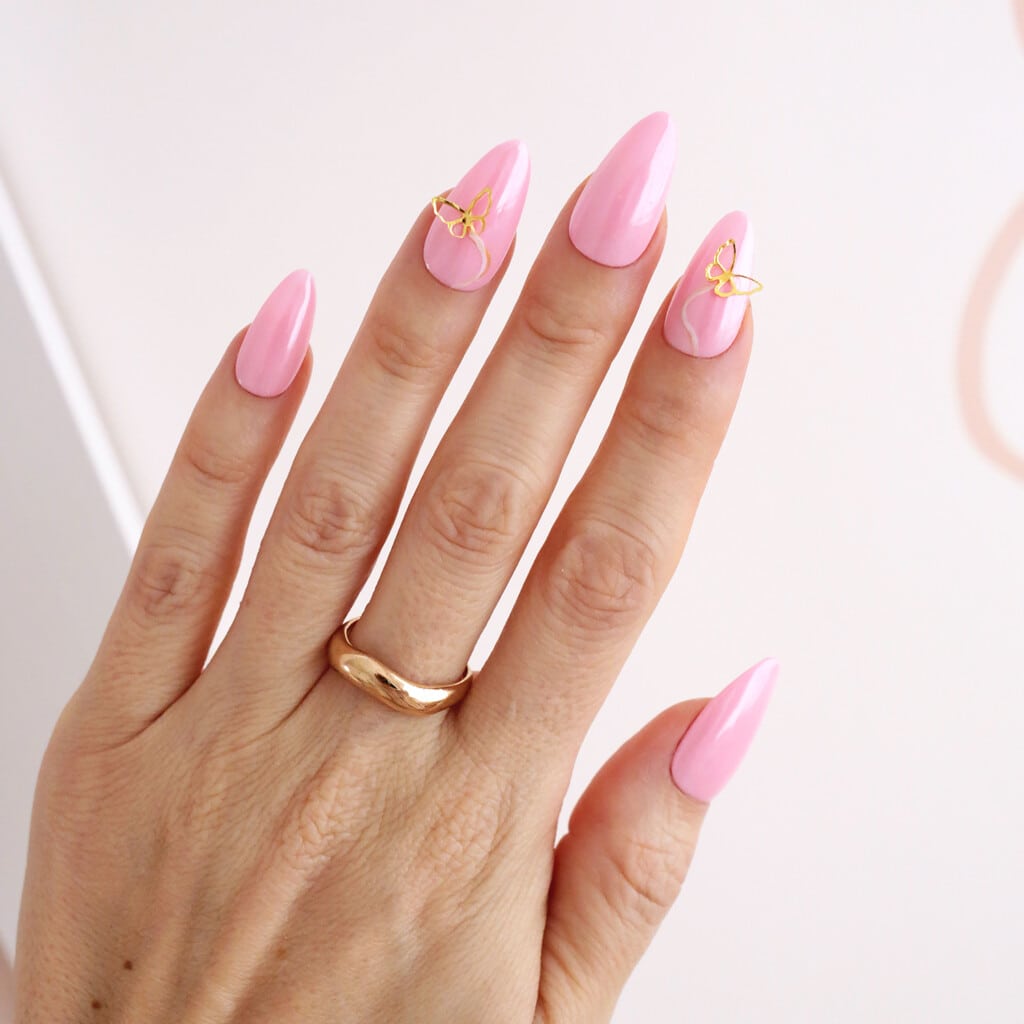
Bubblegum Butterfly
This bubblegum hue is just right for spring with some 3D gold butterflies added for a little extra fun.
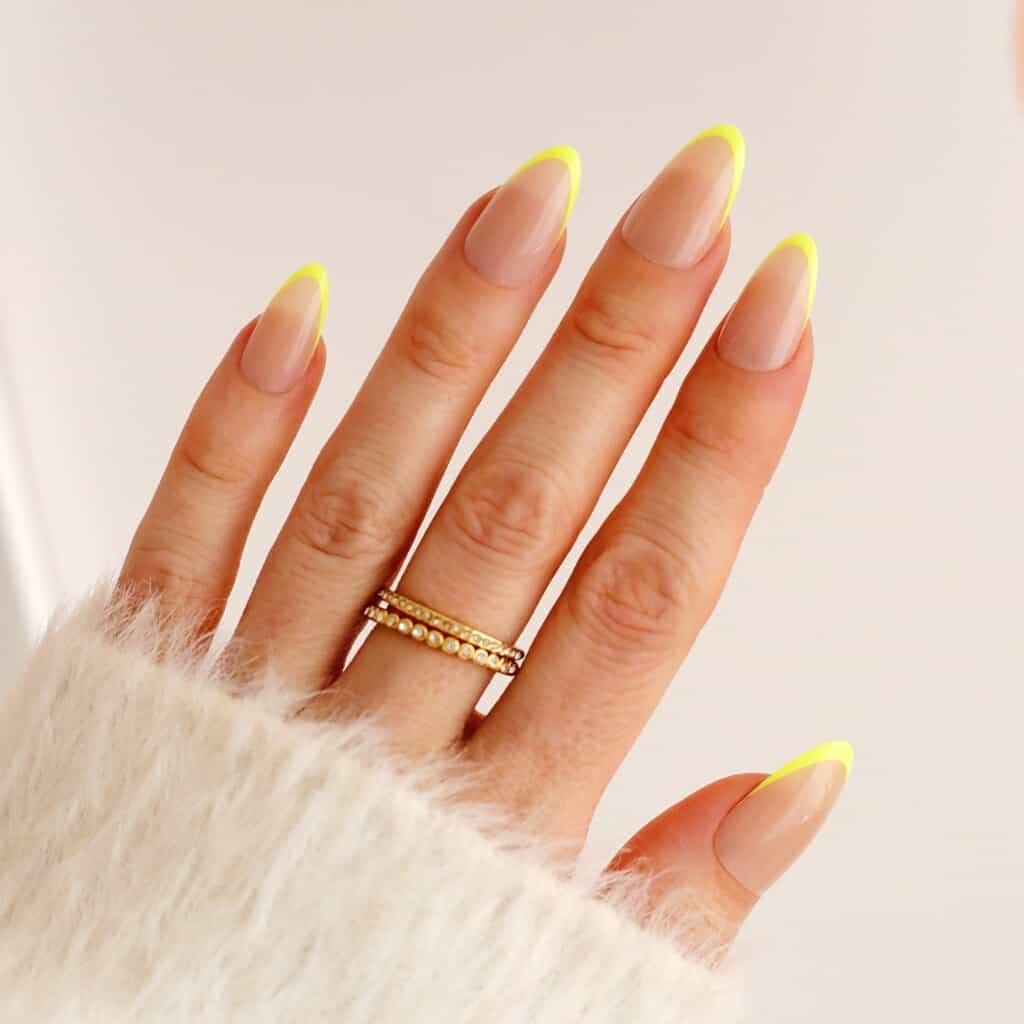
Walking on Sunshine
These neon yellow french tips are a sunny way to welcome in warmer weather.
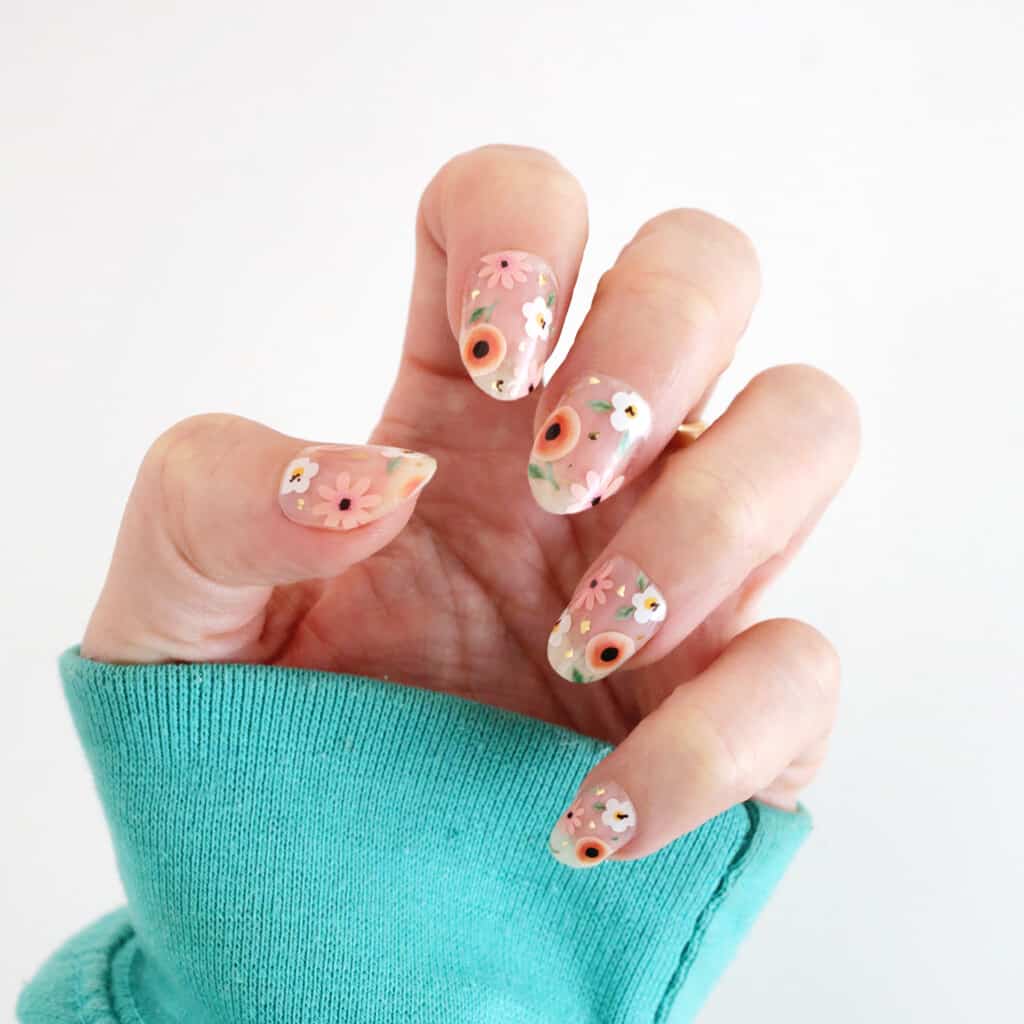
Clearly Floral
Try adding flowers to nude nails for a clearly cute manicure.
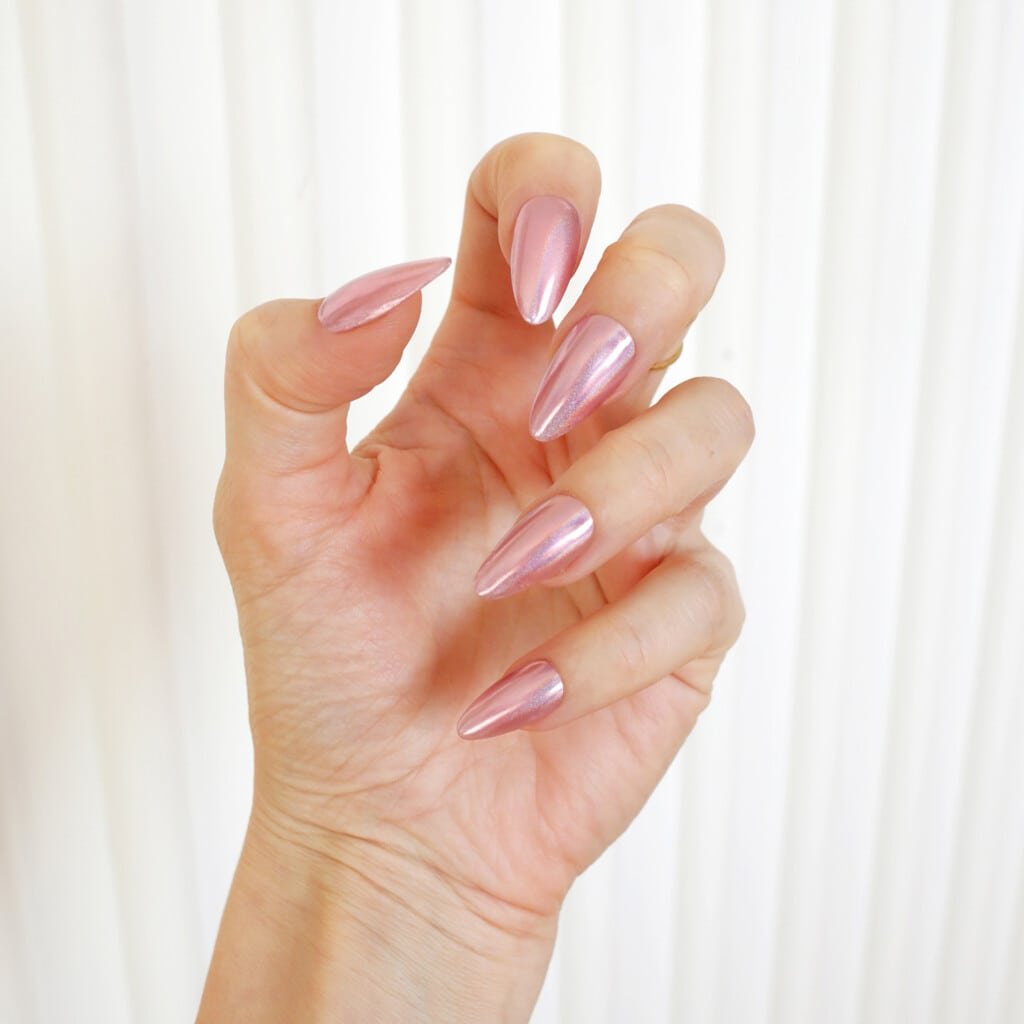
Petal Power Chrome
Join the chrome trend in your favorite pink hue.
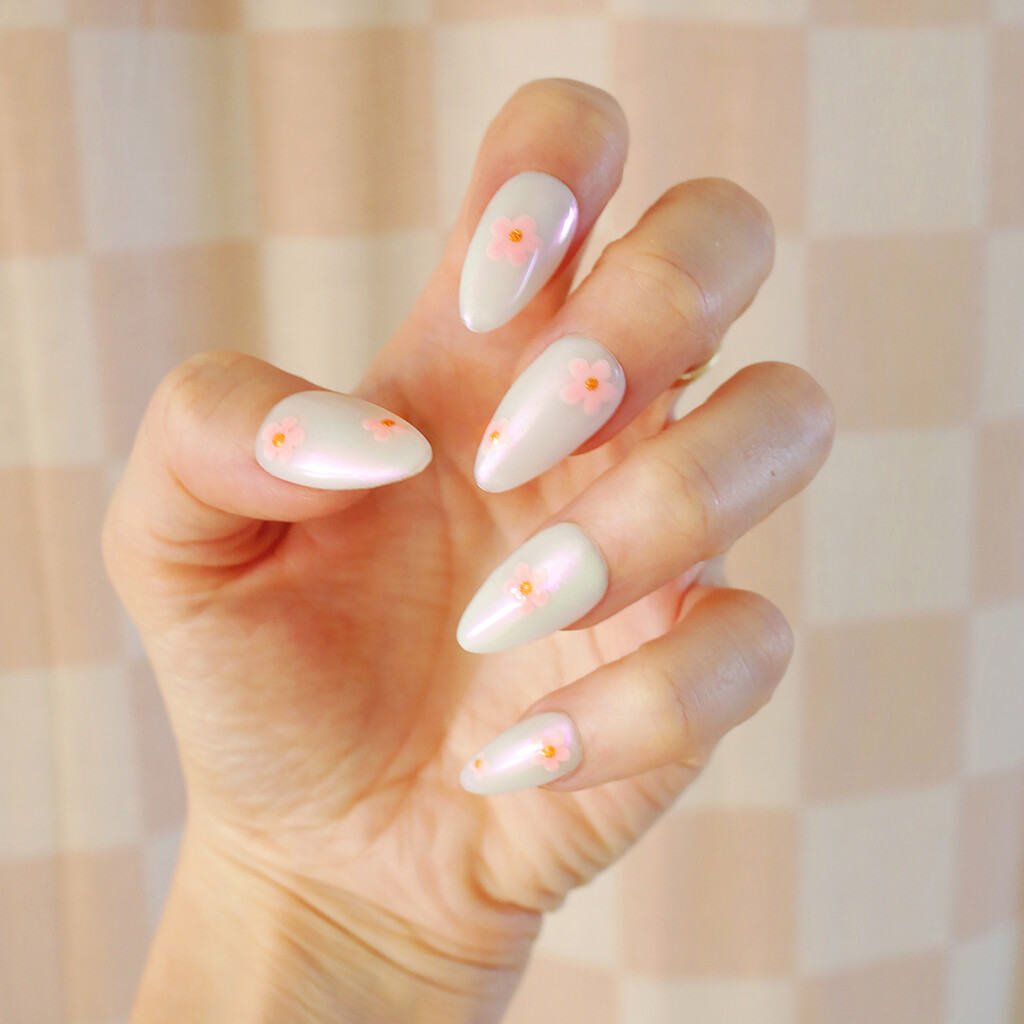
Sweet and Subtle
Light pink flowers on a shimmery white background is light and pretty for spring.
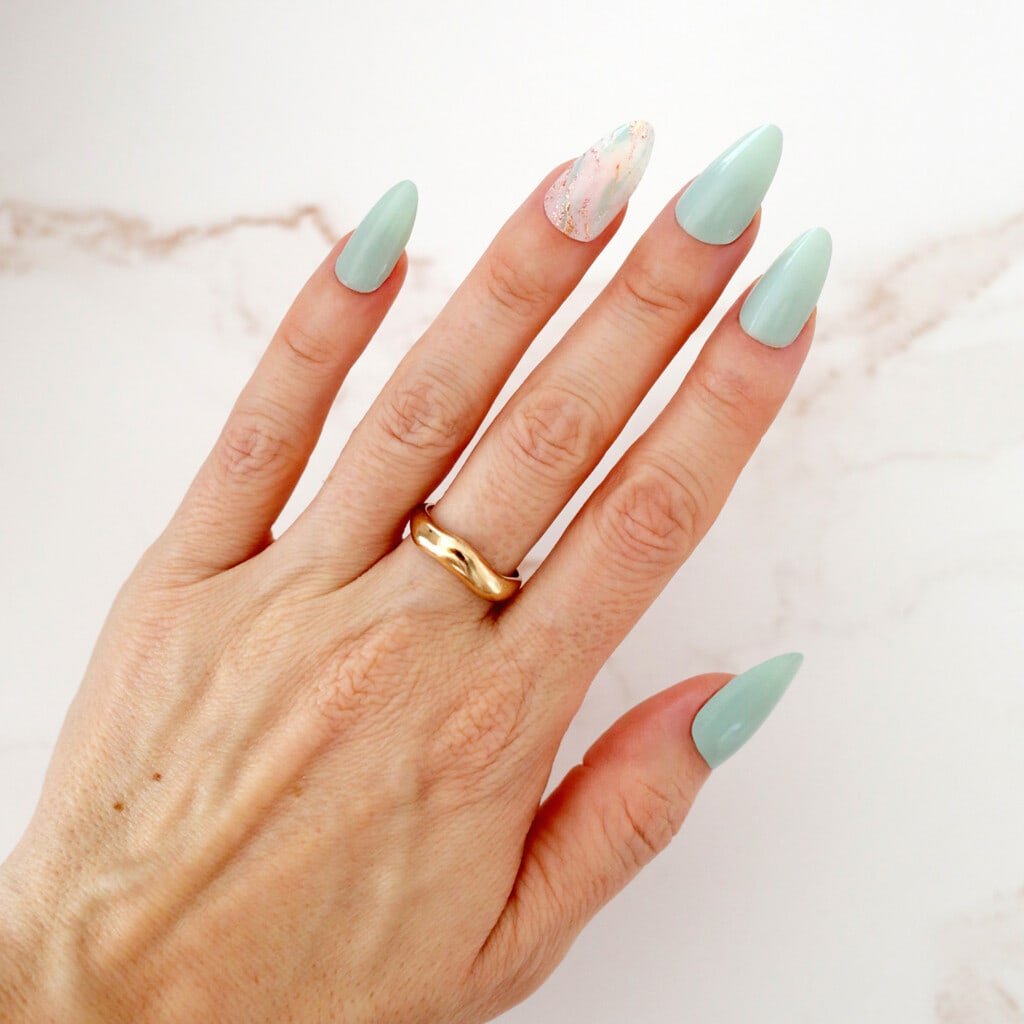
Mint Marble
A soft mint nail color with a gold marble accent nail looks fresh and light.
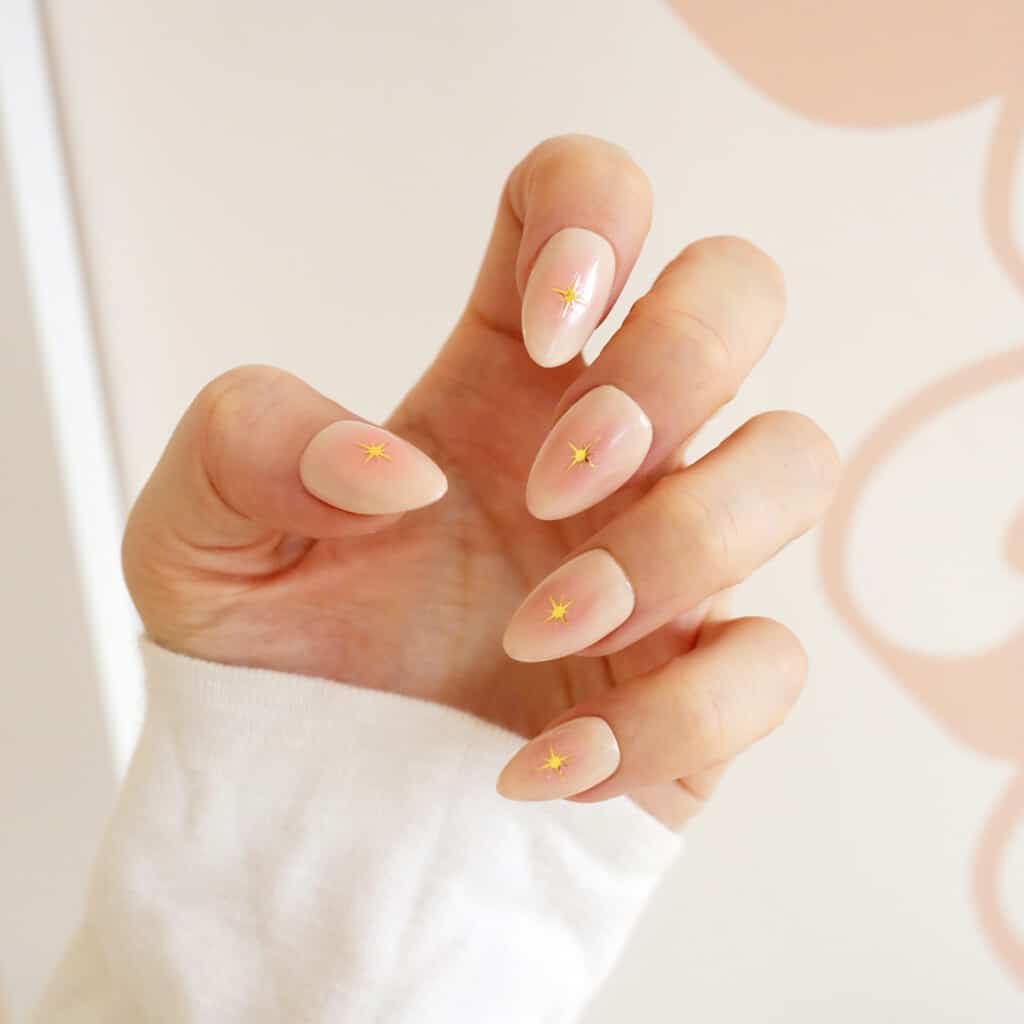
Star Kissed
Try these ombre blush centers accented with gold stars.

Green Waves
This wavy green pattern is modern but keeps you in the Christmas color palette.
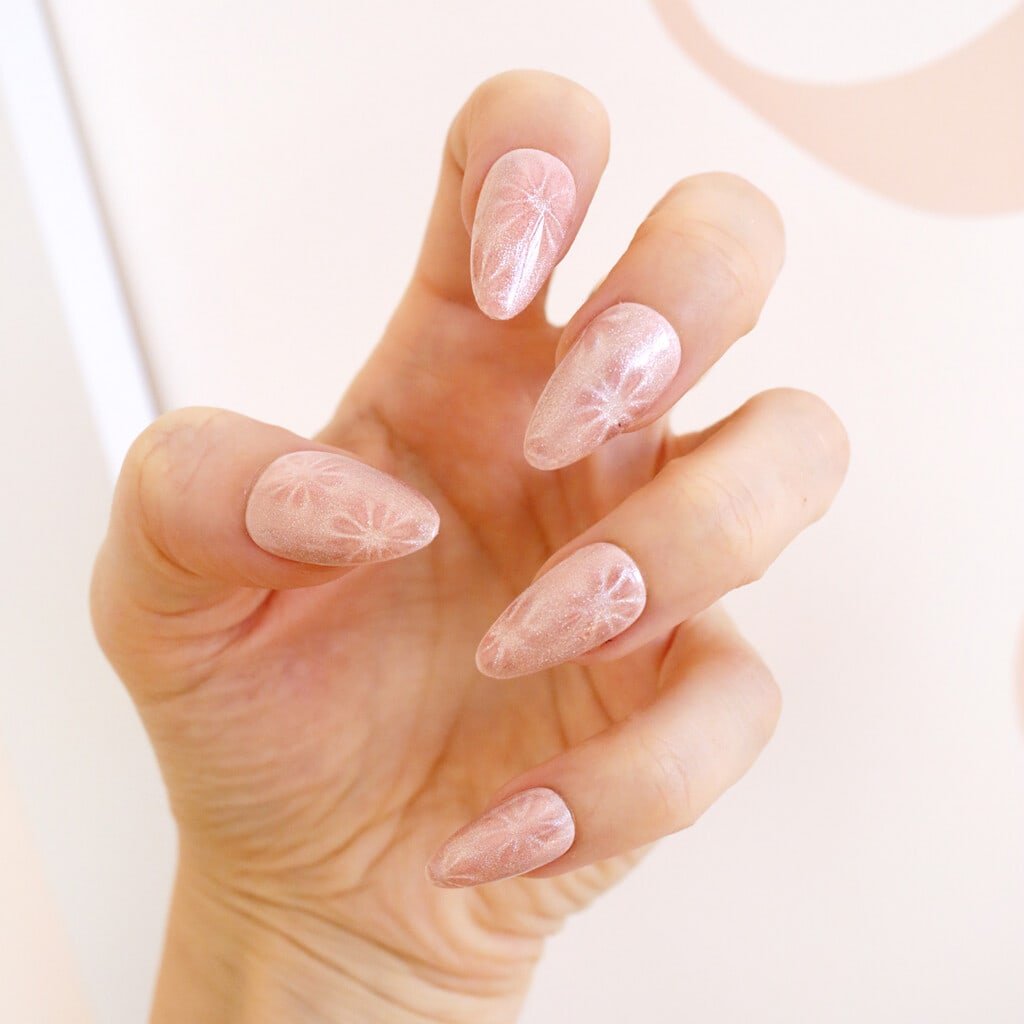
Pink Petals
Add a petal design into your favorite spring hue.
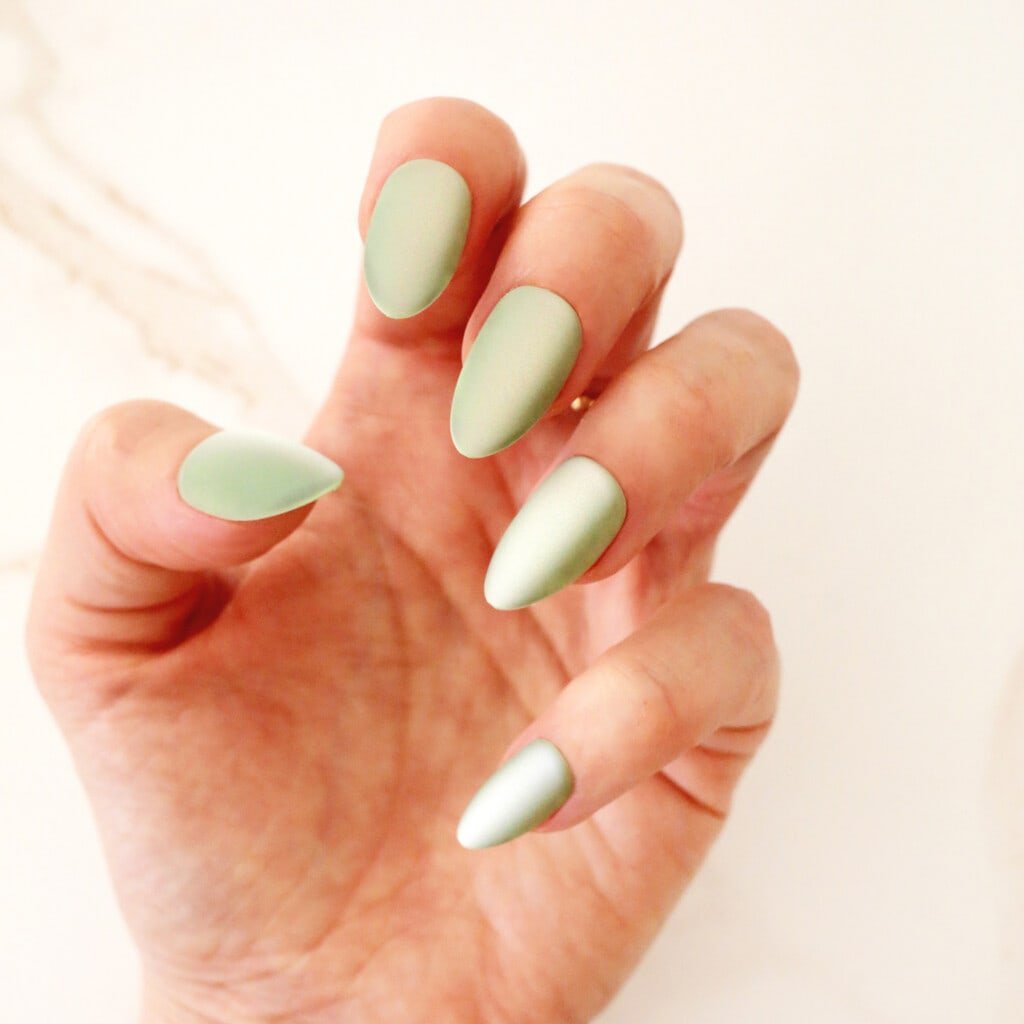
Velvety Green
Go for a green velvet look to match the new leaves that are popping up outside.
They look fancy, but are truly very easy to make.
I absolutely love this classic deviled egg recipe, but I also thought it might be fun to share a couple different variations of this delicious snack just in case your Easter celebration leaves you with a bunch of hard boiled eggs you need to use up.
Related: Looking for more appetizers? Check out 30 Easy Finger Foods for a Party, Tom Collins Recipe, 40+ Easy Picnic Food Ideas, and 50+ Easy BBQ Side Dishes.
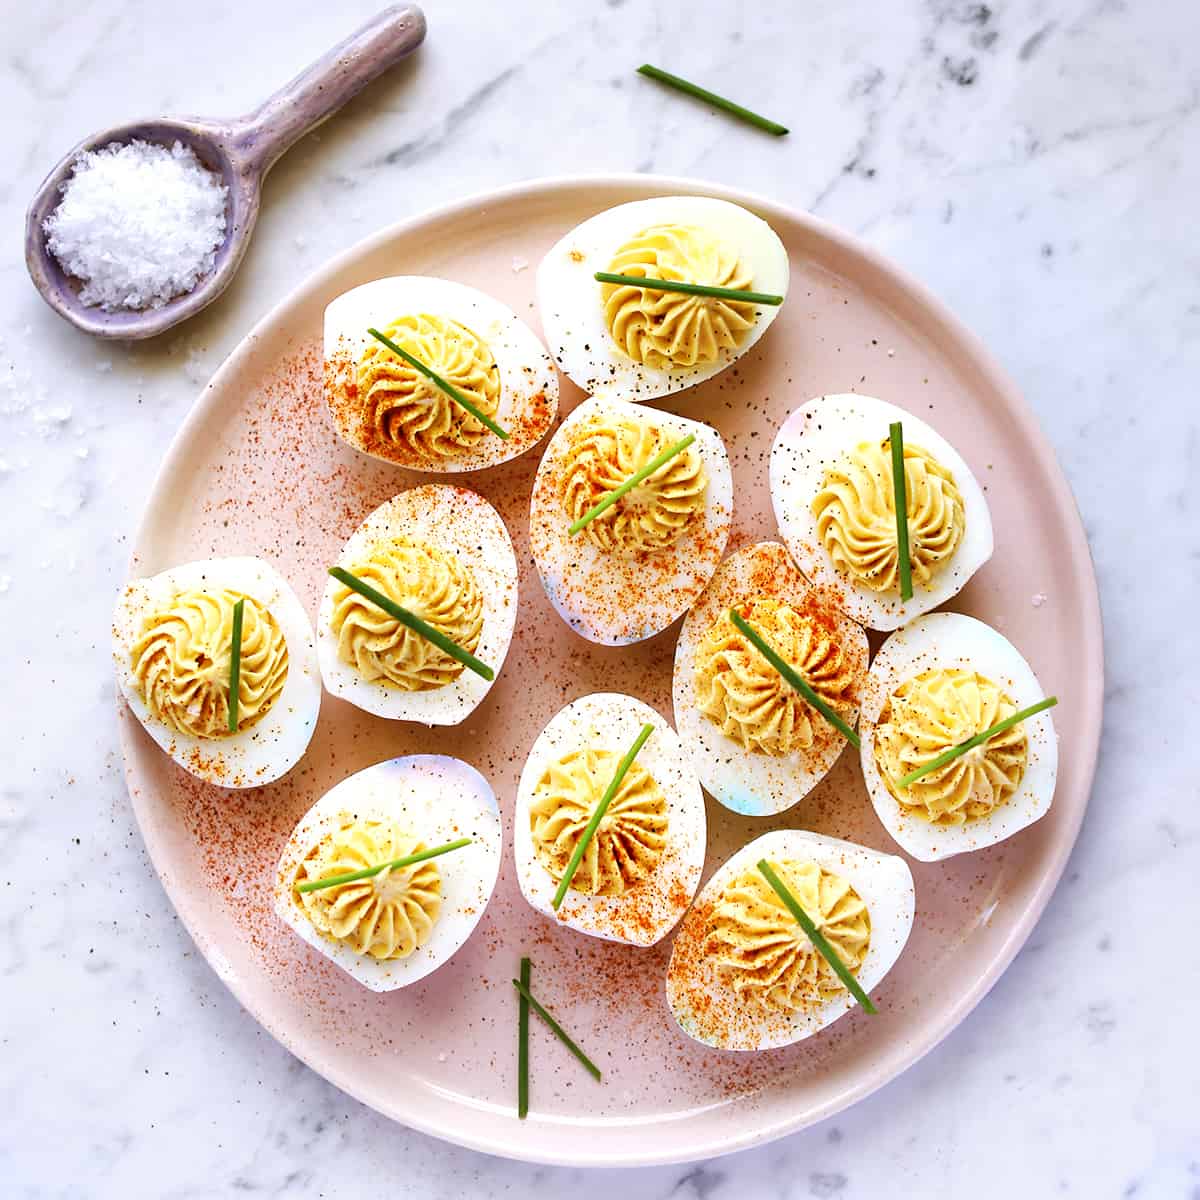
Classic Deviled Egg Ingredients:
- Hard boiled eggs
- Mayo
- Dijon mustard
- Vinegar
- Paprika
- Salt and pepper
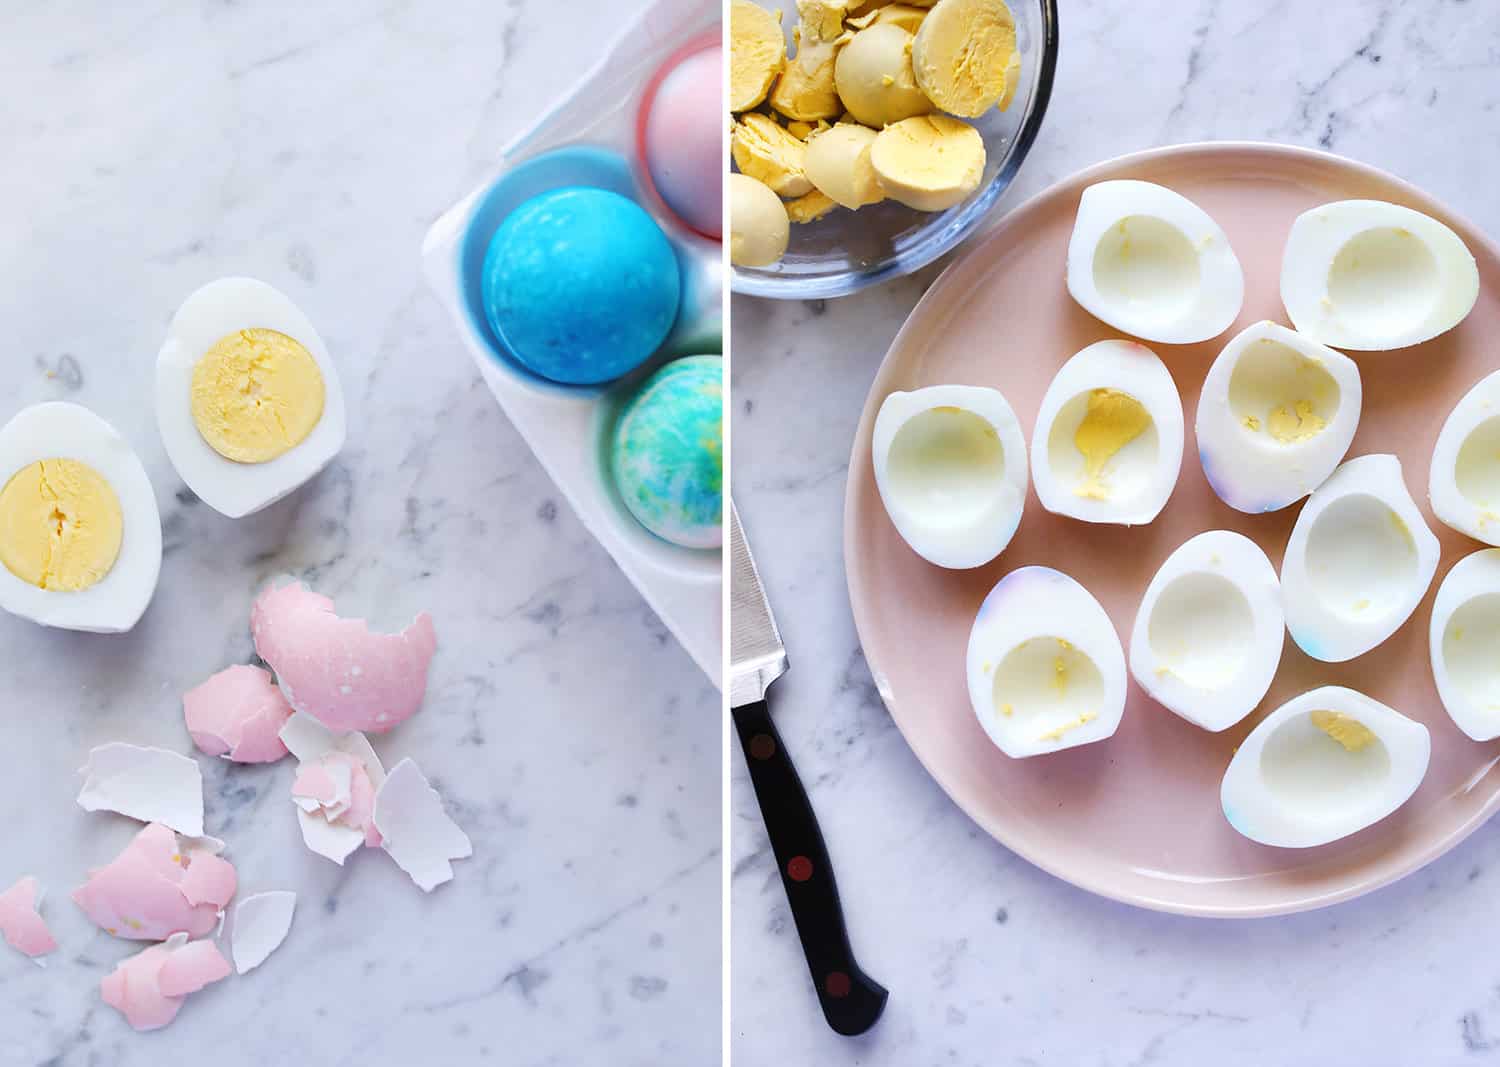
How Long to Boil Eggs:
To make hard boiled eggs, simply add eggs to pot and cover with enough water that all the eggs are submerged. Bring this to a boil. Then turn off the heat and cover the pot for 12 minutes. Afterwards, drain the water.
Once the eggs are cool enough to touch, peel the shells off.
You can also hard boil eggs in the oven.
Directions:
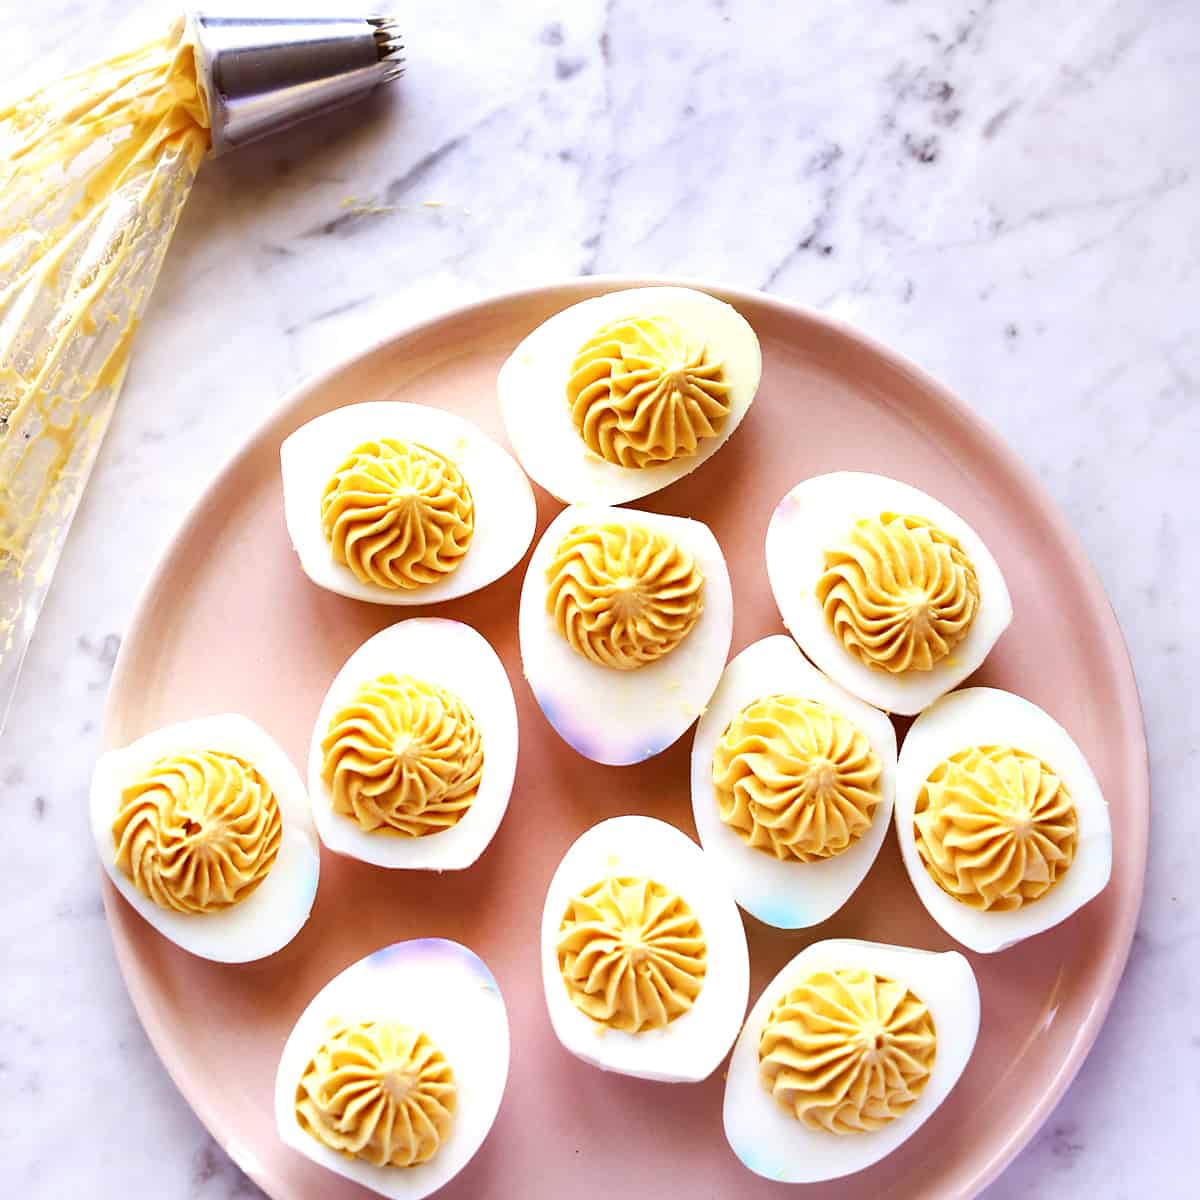
Cut the hard boiled eggs in half, lengthwise. Remove the yolks, reserving in a medium mixing bowl.
In the mixing bowl, add the mayo, dijon, and vinegar. Mix well to combine. I sometimes use an immersion blender or small food processor to puree until smooth. Taste and add a little salt and pepper as needed.
Pipe the yolk mixture back into the egg white halves. You can also simply spoon it into the halves, but I like the look of the piping. Sprinkle paprika over the tops.
Variations:
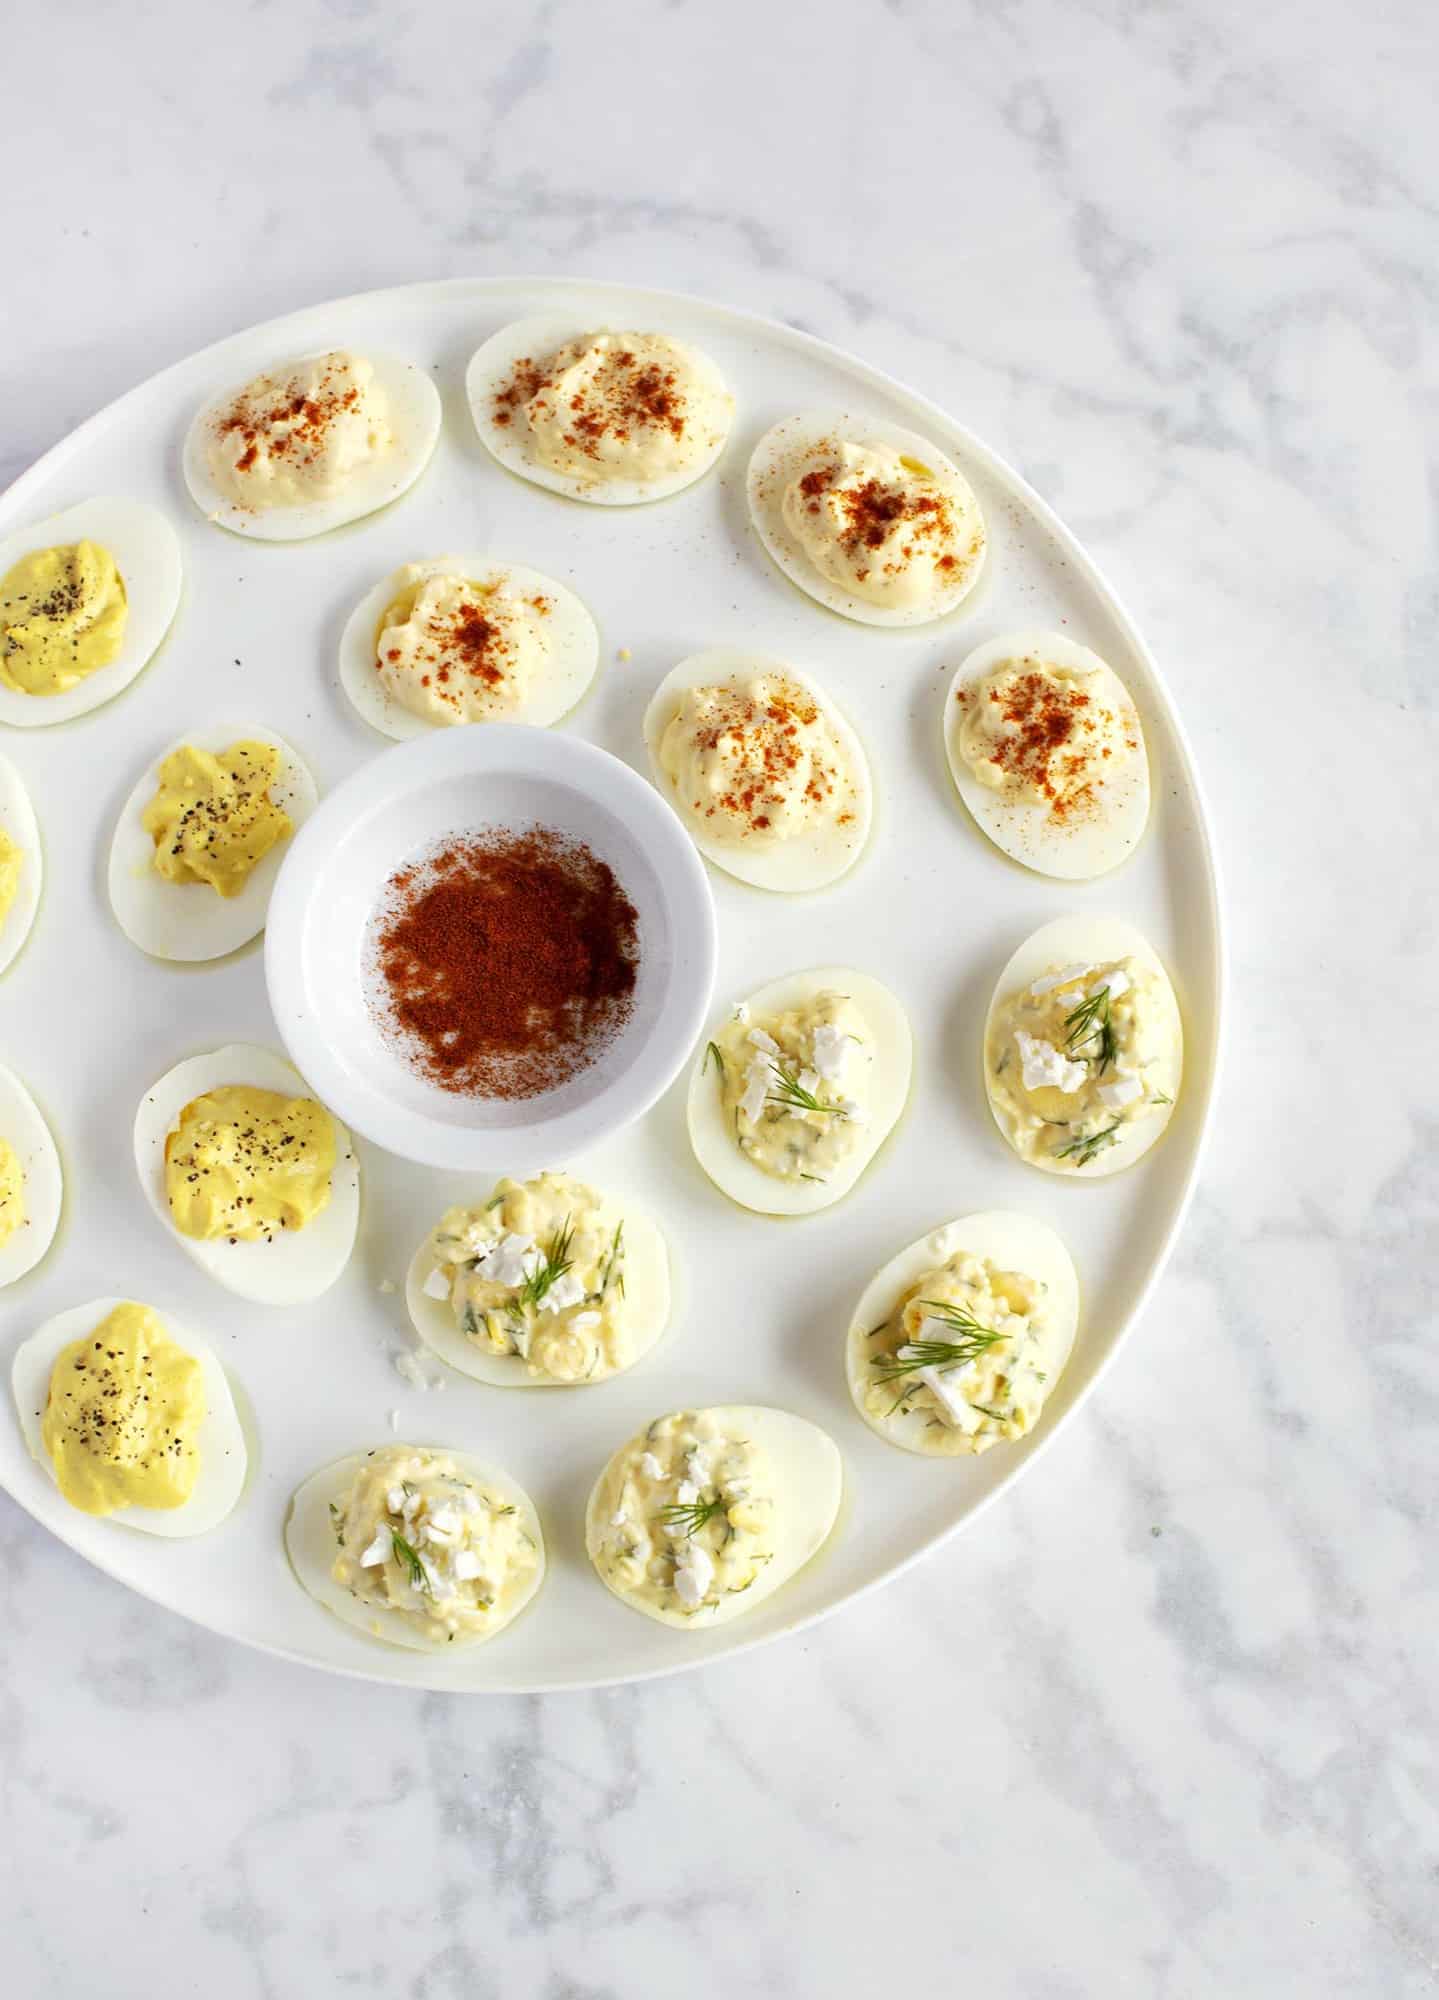
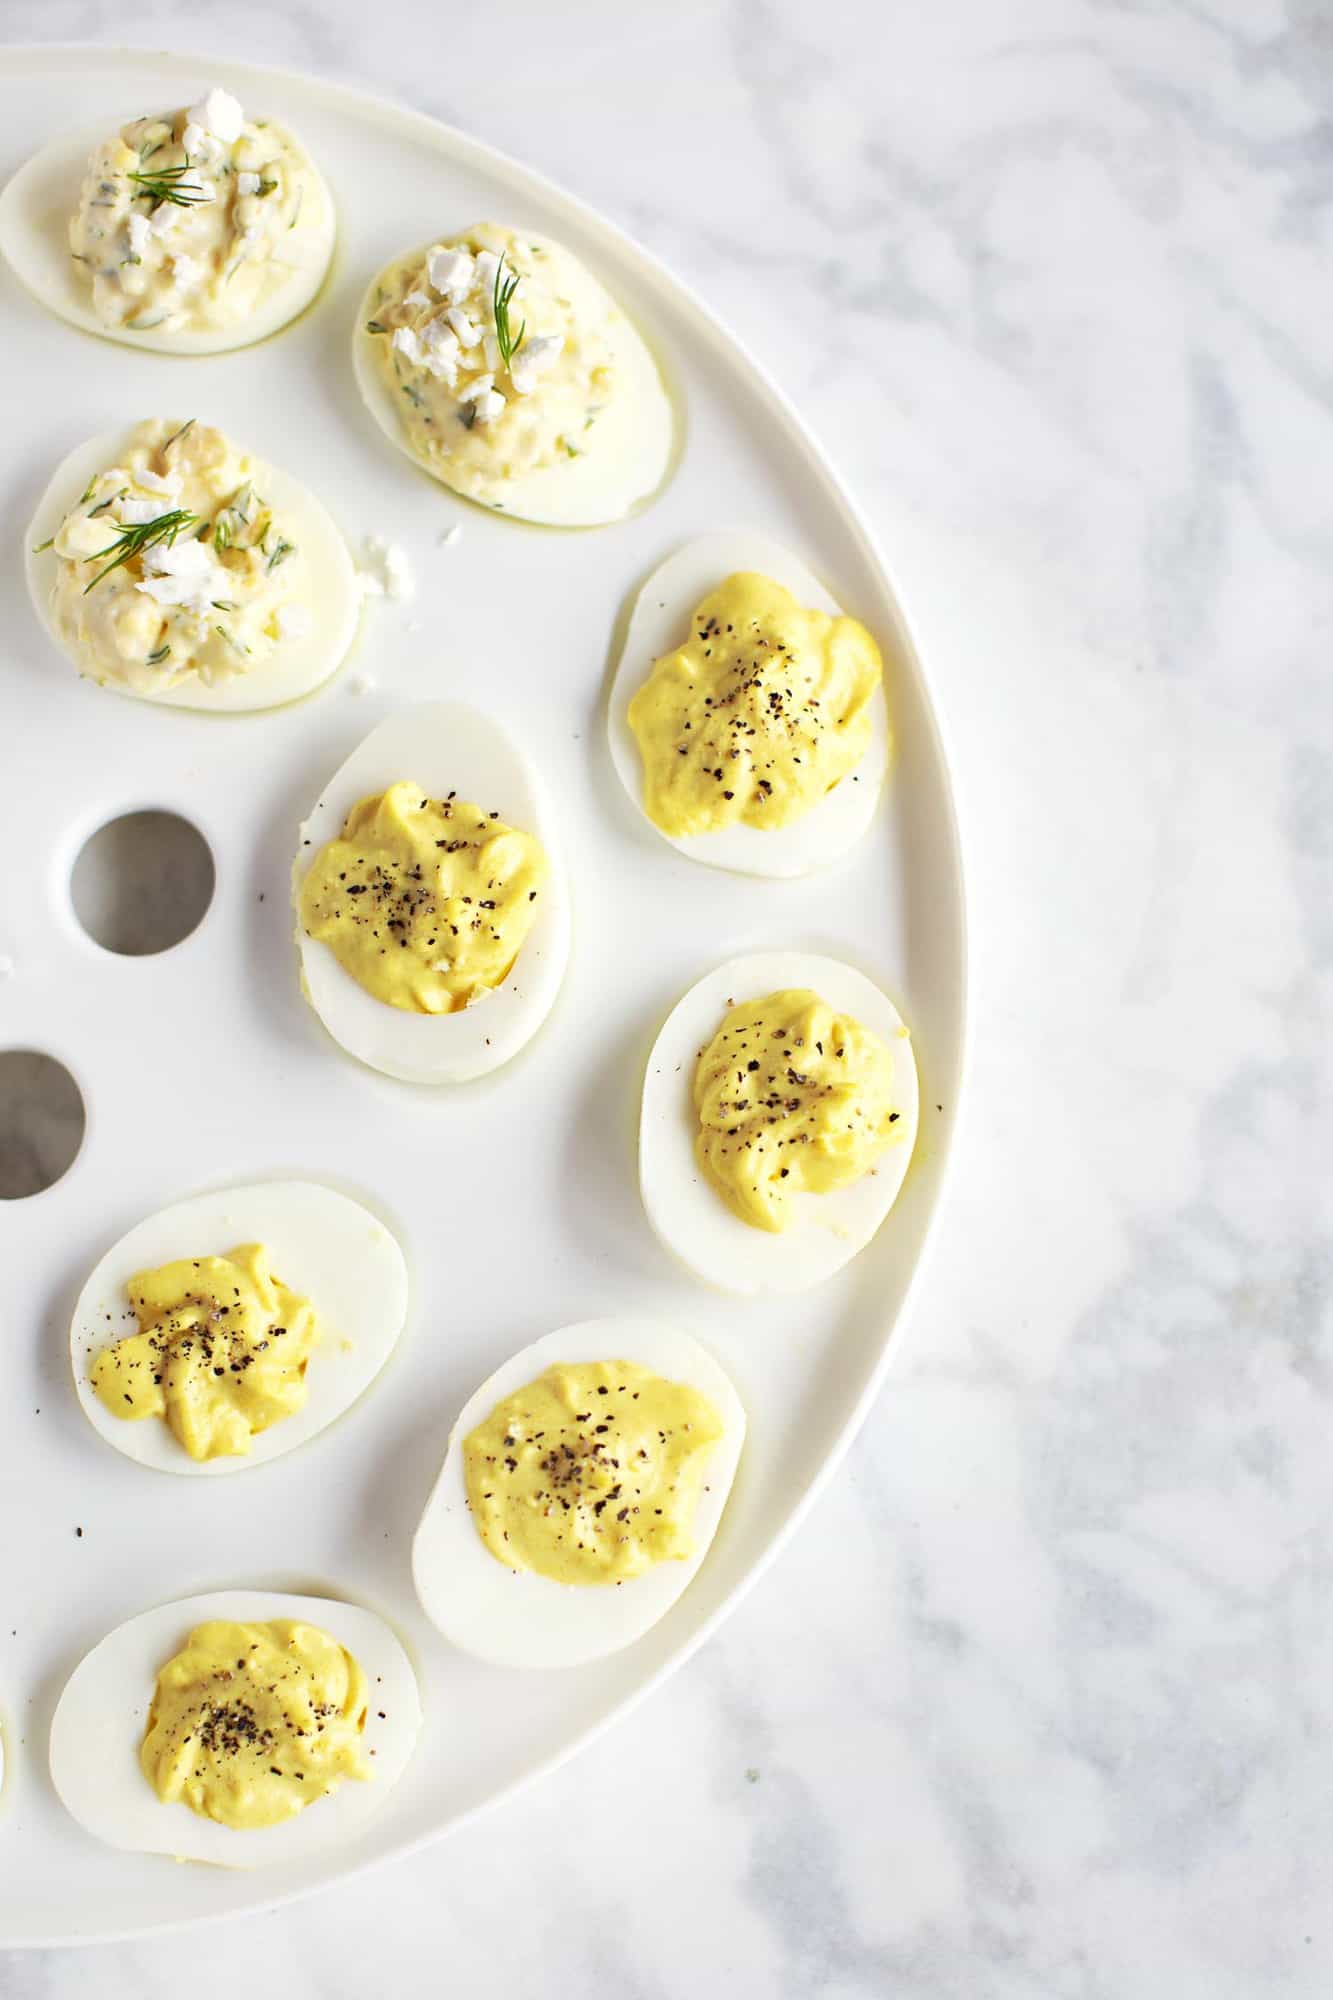
Swap the dijon for yellow mustard and add a little turmeric and ginger for a flavorful and spicy deviled egg variation.
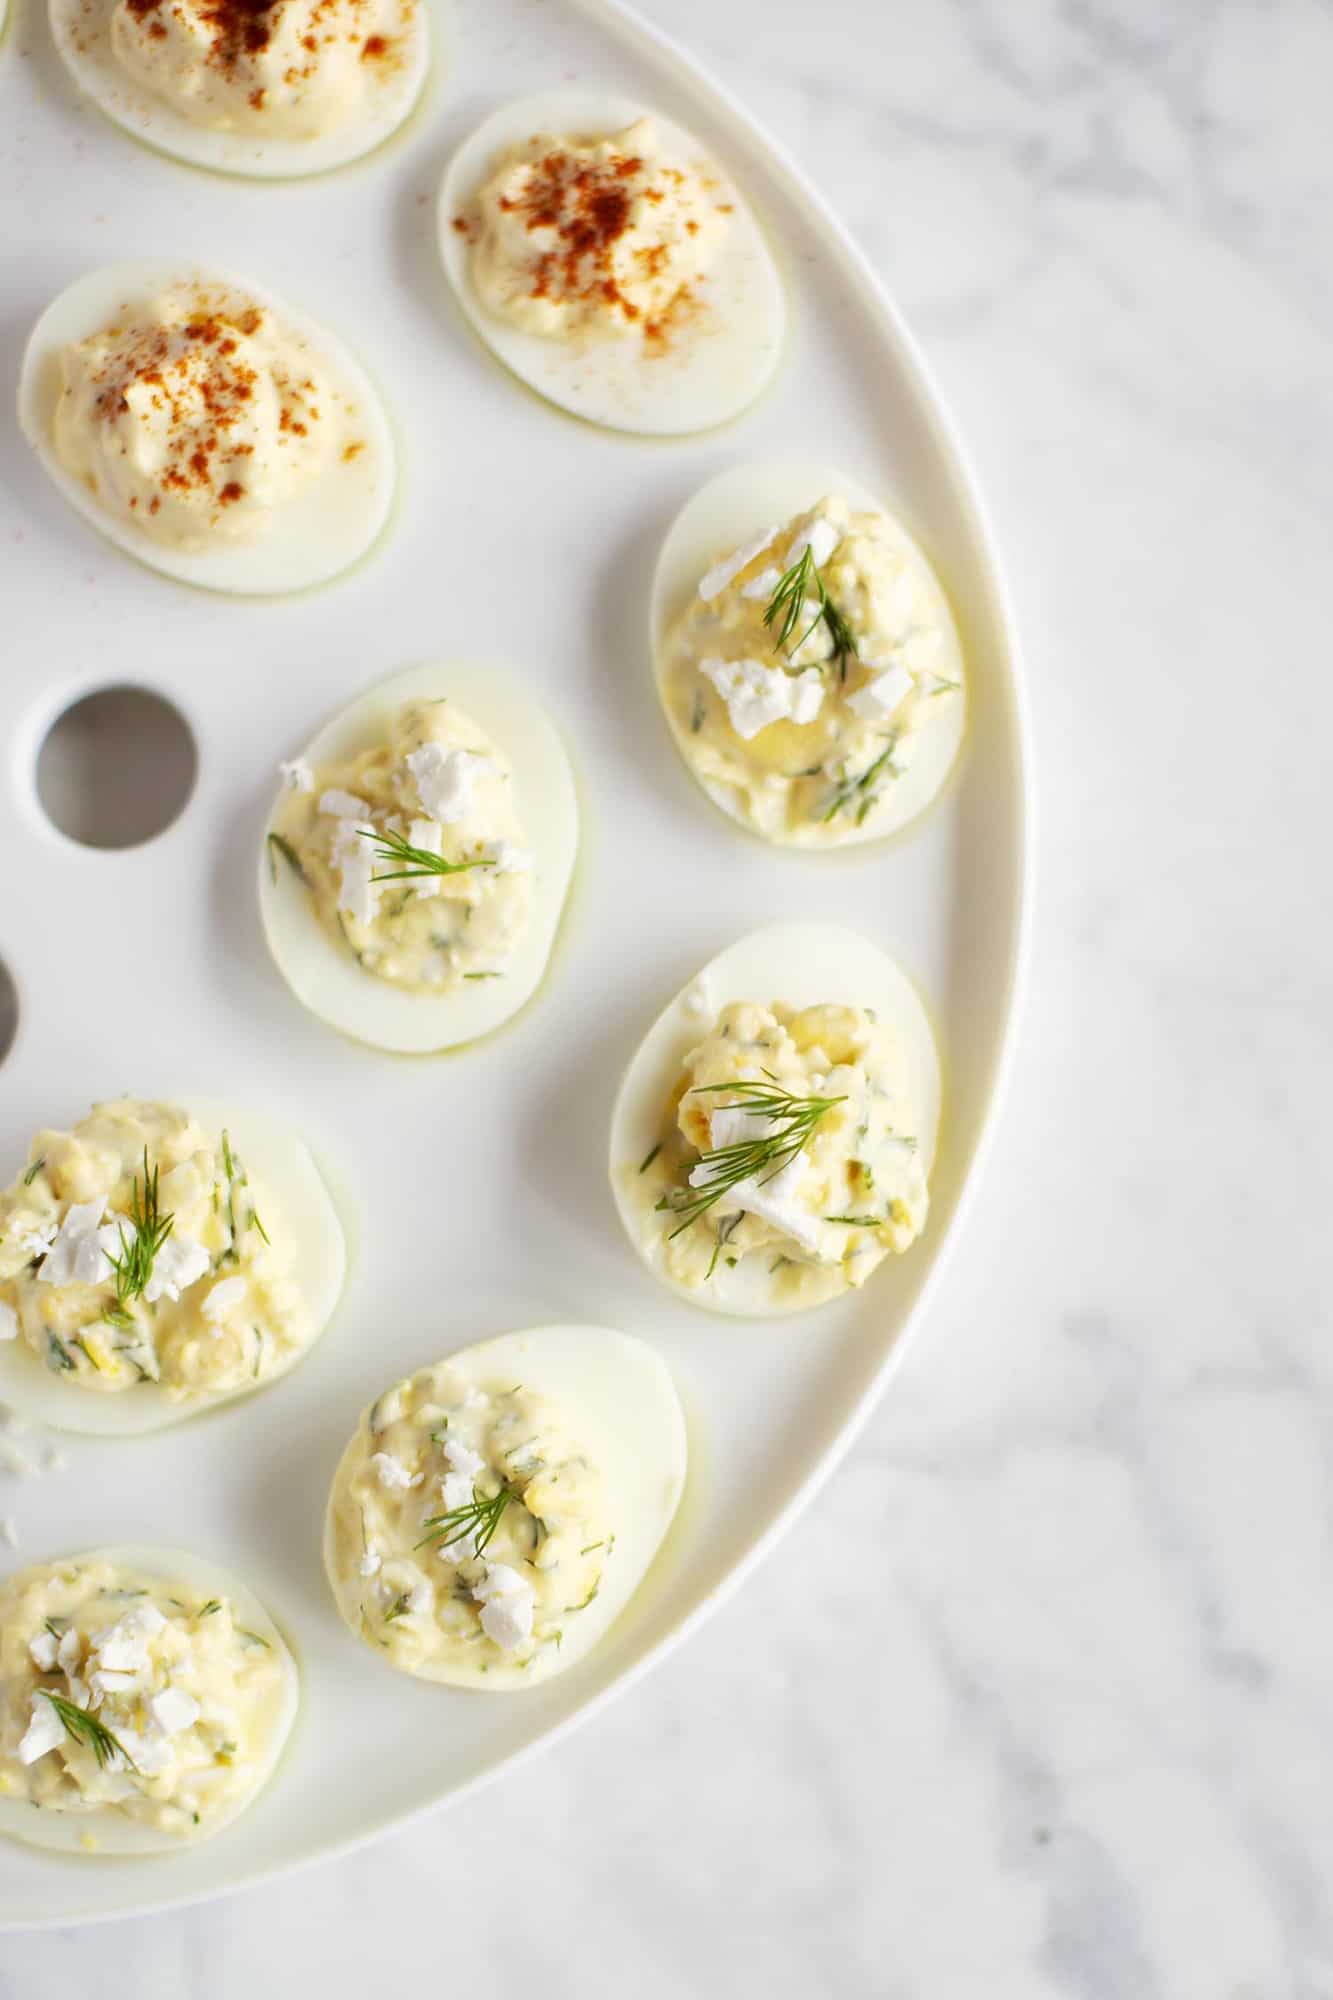
Add feta cheese and dill for a Greek-inspired deviled egg option.
 Whatever version you make, just be sure NOT to serve them side by side with these deviled egg jello shots. (!!!!!!) That could result in some very mixed reviews. Enjoy! xo. Emma
Deviled Eggs Recipes
Equipment
- immersion blender or food processor
Ingredients
Classic:
- 6 eggs hard boiled
- ¼ cup mayo
- 1 teaspoon dijon mustard
- 1 teaspoon vinegar white
- salt and pepper
- paprika for the tops
Golden:
- 6 eggs hard boiled
- ¼ cup mayo
- 1 teaspoon yellow mustard
- 1 teaspoon vinegar white
- ½ teaspoon turmeric
- ¼ teaspoon ginger
- black pepper for the tops
Greek:
- 6 eggs hard boiled
- 2 tablespoons mayo
- 2 teaspoons olive oil
- 1 teaspoon vinegar white
- 1 ounce feta crumbled
- 1 tablespoon dill chopped
Instructions
- To make hard boiled eggs, simply add eggs to pot and cover with enough water that all the eggs are submerged.
- Bring this to a boil.
- Then, turn off the heat and cover the pot for 12 minutes.
- Afterwards, drain the water.
- Once the eggs are cool enough to touch, peel the shells off.
- Cut the hard boiled eggs in half, lengthwise. Remove the yolks, reserving in a medium mixing bowl.
- In the mixing bowl, add the mayo and other ingredients you are using (depending on variation). Mix well to combine.
- Taste and add a little salt and pepper as needed.
- Pipe the yolk mixture back into the egg white halves.
- Sprinkle paprika over the tops, if using.
Notes
- I sometimes use an immersion blender or small food processor to puree the yolk mixture until smooth.
- You can also simply spoon the yolk mixture into the halves, but I like the look of the piping.
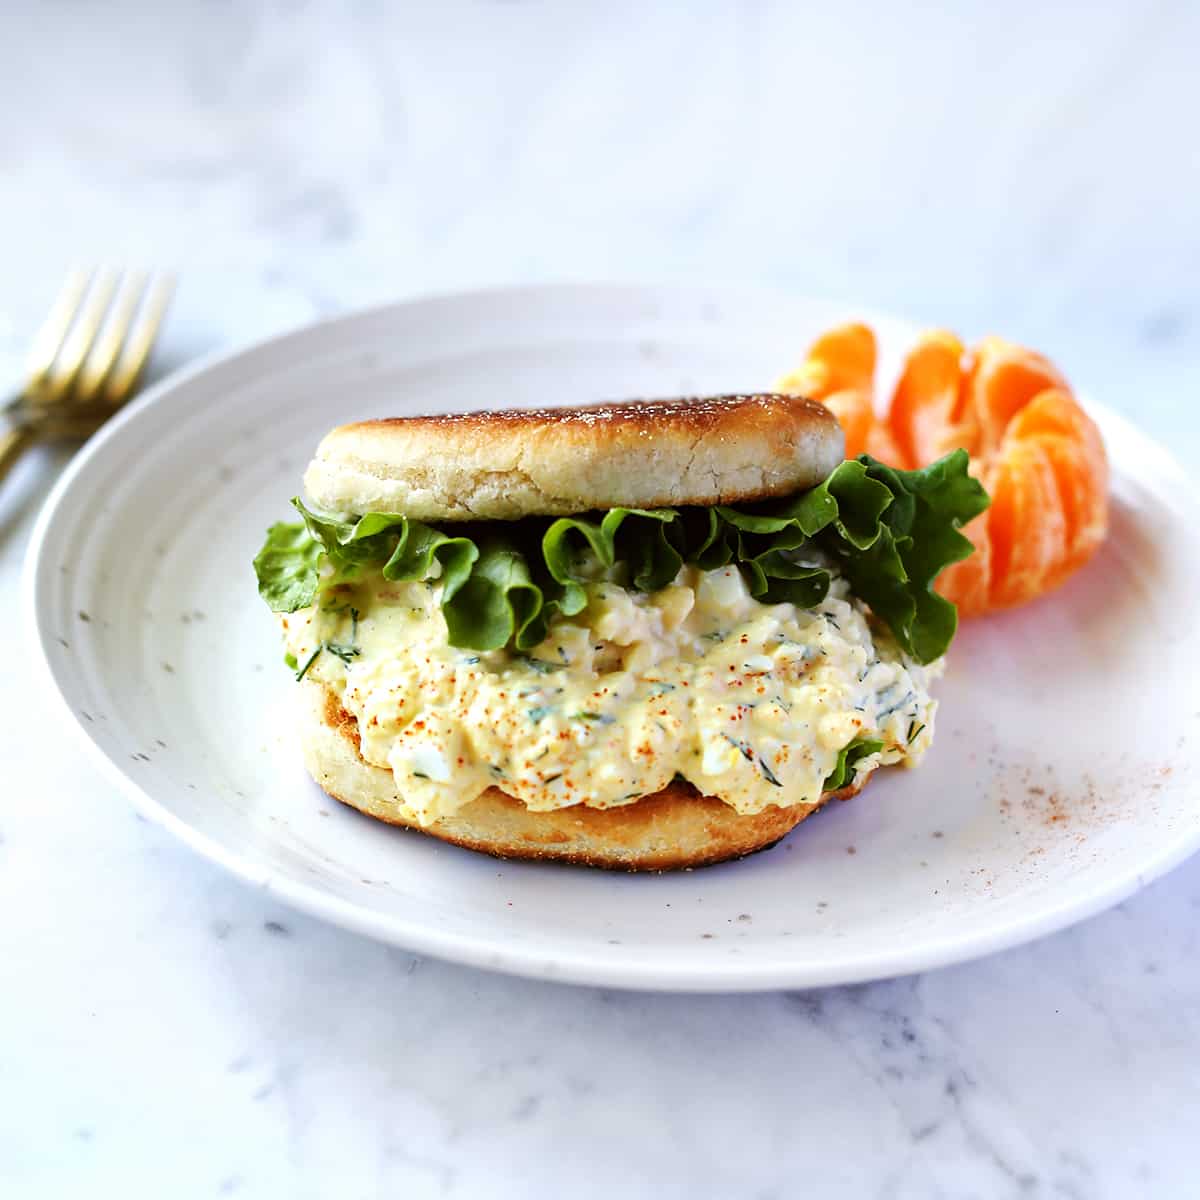
And while I truly love these egg salad recipes, if you are looking for more tea house-inspired food, I recommend this chicken salad and deli-style tuna salad. We have dozens of salad recipes to choose from.
Just serve any of these on a warm croissant with a hot cup of tea and you’ll be feeling like you’re at your favorite grandma’s tea house (high compliment, I promise!) in no time.
Related: Deviled Eggs Recipe, 40+ Easy Picnic Food Ideas and 50+ Easy BBQ Side Dishes.
Egg Salad Ingredients:
- Hard boiled eggs
- Mayo
- Dijon mustard
- Dill
- Chives
- Cayenne
- Salt & pepper
If you can’t find chives, you can substitute green onion or even skip it if needed.
Directions:
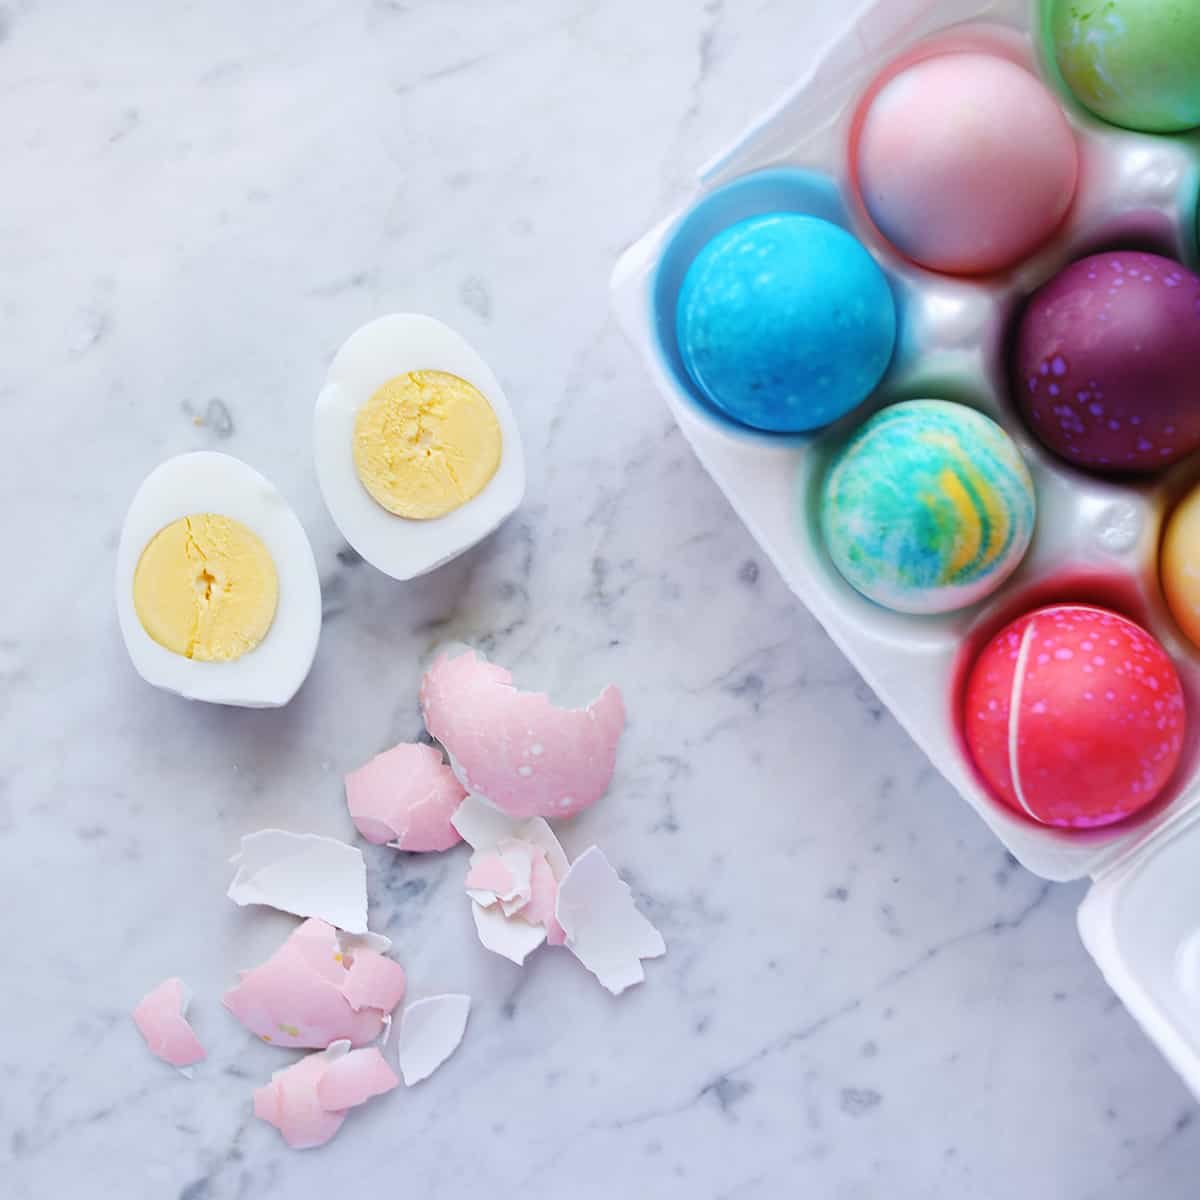
To hard boil eggs, simply add the eggs to a pot with enough water to cover them. Bring to a roiling boil, then turn the heat off and add the lid to the pot.
After 12 minutes, drain the water and once the eggs are cool enough to handle peel the shells off.
And here’s how to hard boil eggs in the oven.
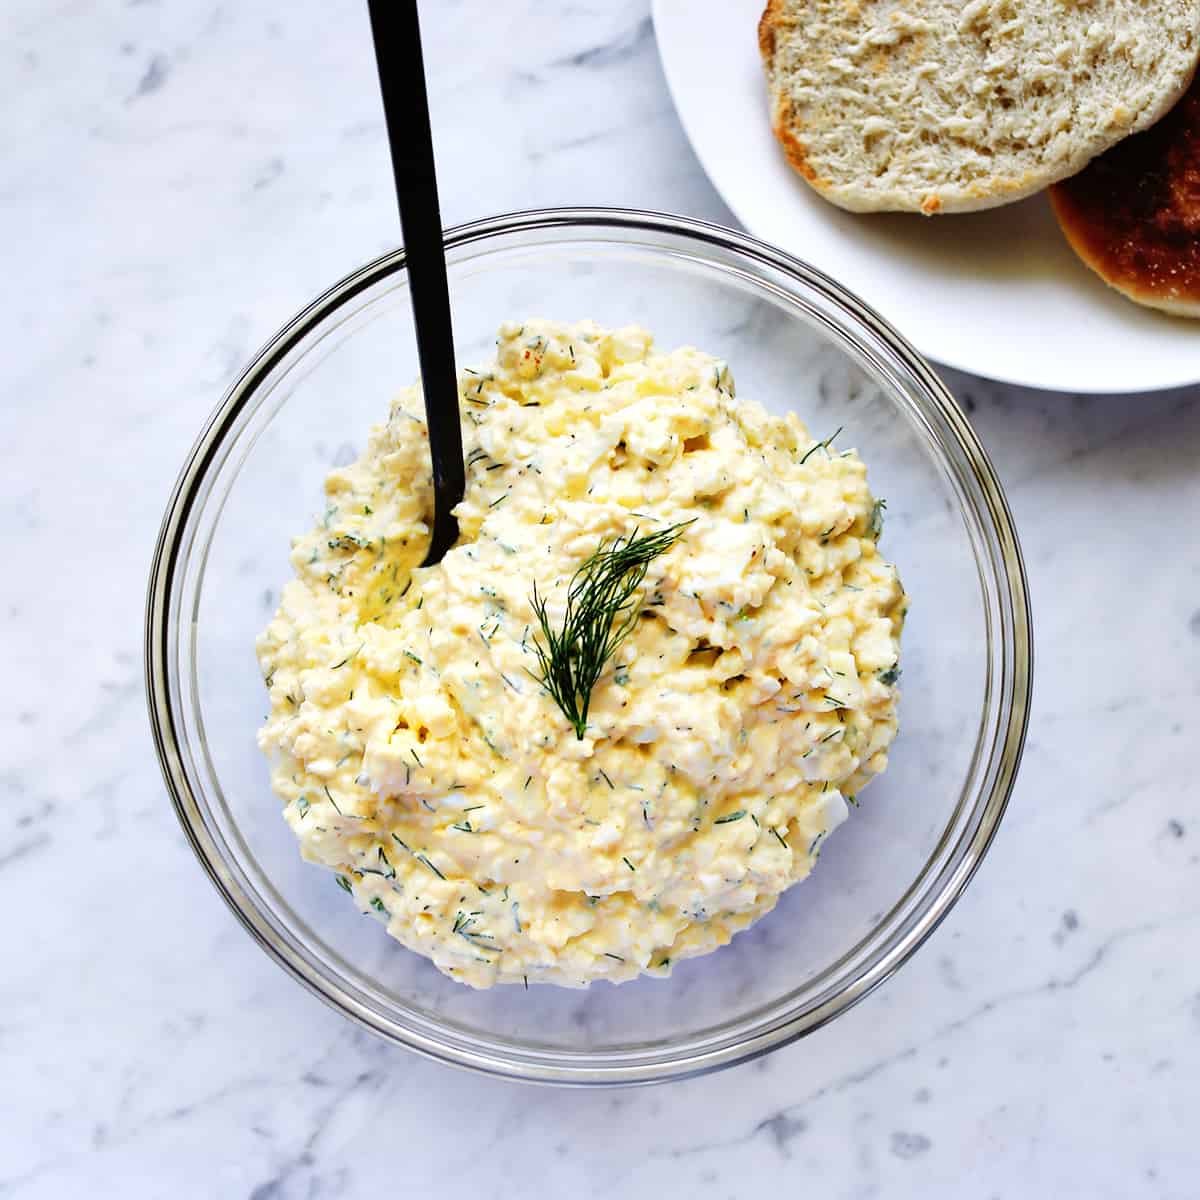
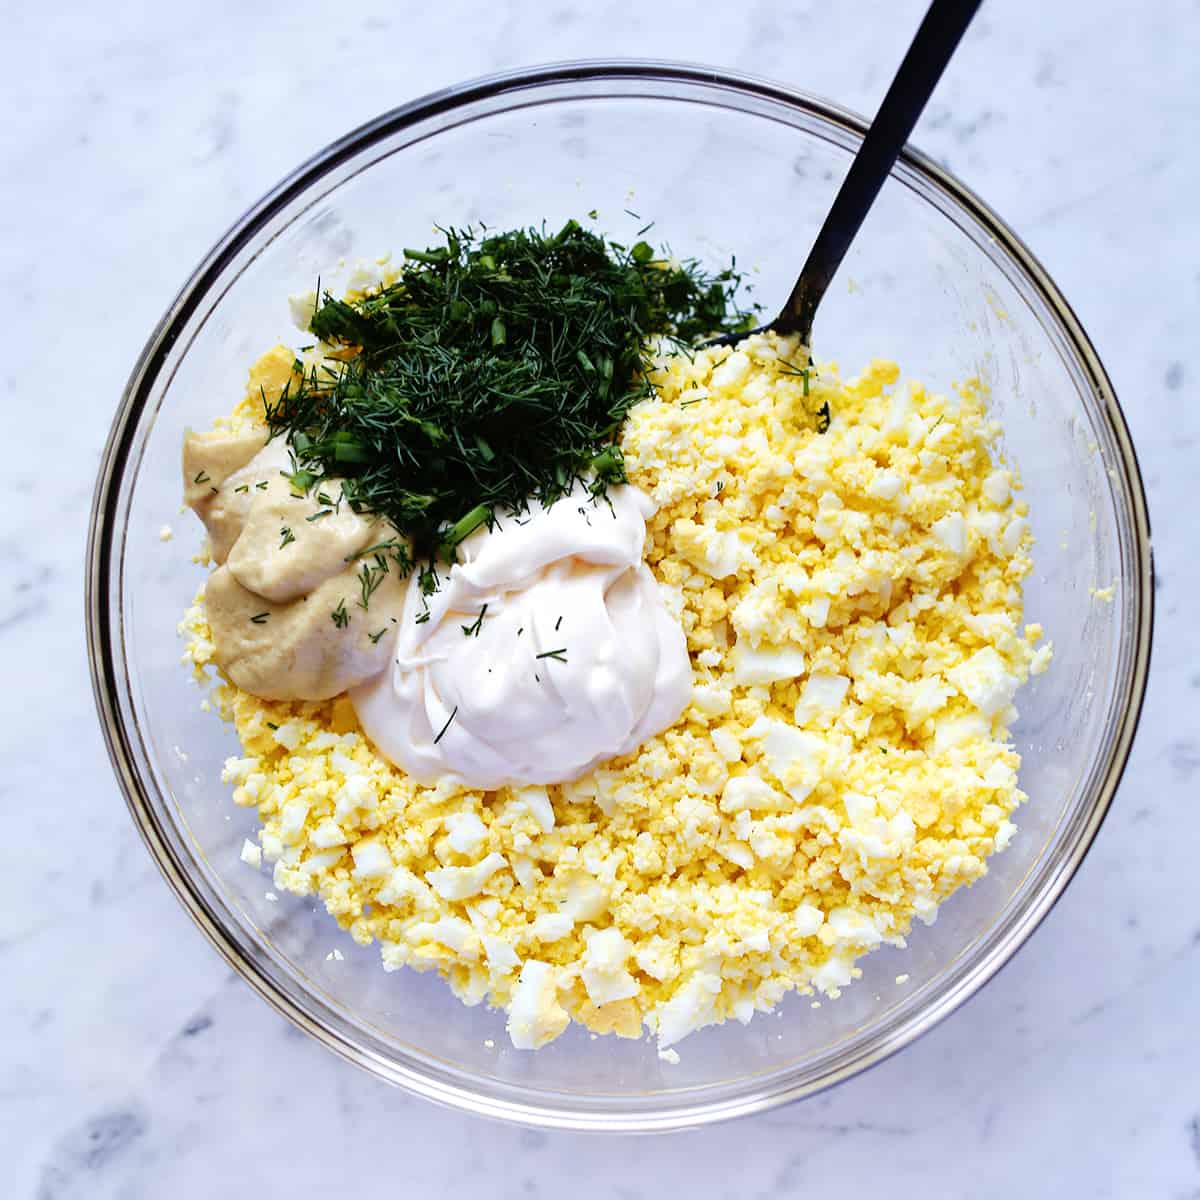
In a food processor, pulse the eggs a few times so they are very finely chopped. You can do this by hand, but I like the texture the food processor creates—plus, it’s faster.
Add the chopped eggs to a medium size bowl. Then, add the mayo, dijon, chopped dill, chopped chives, and cayenne. Stir together. Taste and add salt and pepper as needed.
Egg Salad Variations:
These are ingredients you can substitute for the dill and chives to change up the flavor.
- Try turmeric, ginger, and go heavier on the black pepper.
- Try rosemary and thyme in place of the dill and chives.
- Try sliced black and green olive with some feta cheese for a Greek-inspired egg salad.
Serving Suggestions:
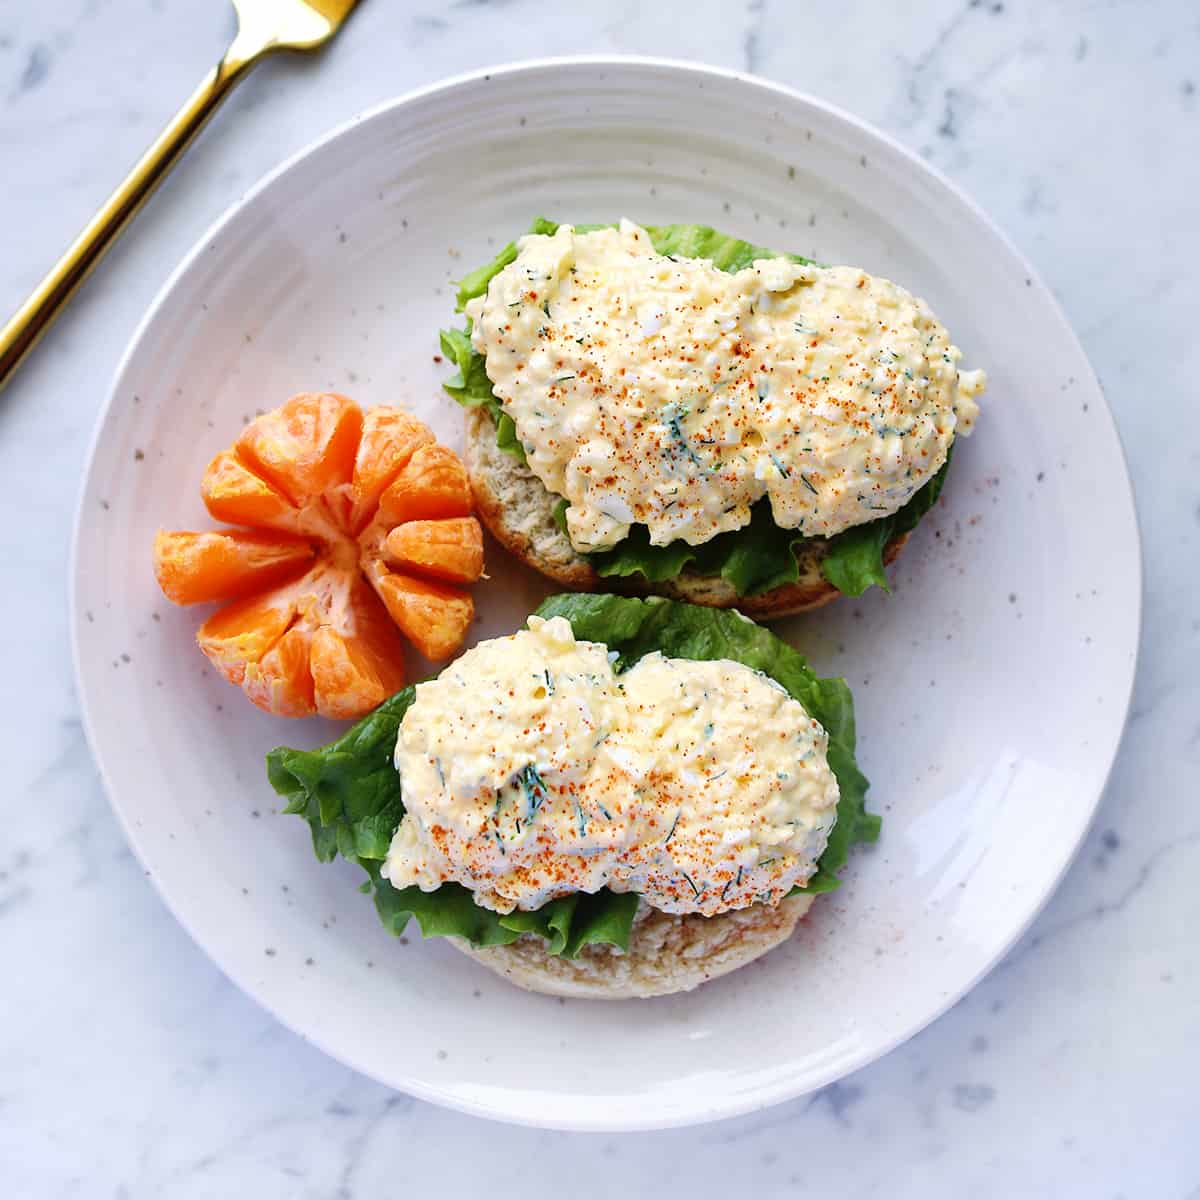
- Cucumber slices or lettuce leaves (for a lighter option)
- Warm croissant
- Toasted English muffin
- Whole wheat flatbread
- Crackers and celery sticks (for a snack option)
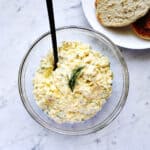
Egg Salad Recipe
Equipment
- Food processor
Ingredients
- 6 eggs
- ¼ cup mayo
- 2 tablespoons dijon mustard
- 2 tablespoons dill chopped
- 1 tablespoon chives chopped
- ⅛ teaspoon cayenne
- salt and pepper
Instructions
- To hard boil eggs, simply add the eggs to a pot with enough water to cover them.
- Bring to a roiling boil, then turn the heat off and add the lid to the pot.
- After 12 minutes, drain the water and once the eggs are cool enough to handle peel the shells off.
- In a food processor, pulse the eggs a few times, so they are very finely chopped.
- Add the chopped eggs to a medium size bowl. Then, add the mayo, dijon, chopped dill, chopped chives, and cayenne.
- Stir together.
- Taste and add salt and pepper as needed.
Notes
- Try turmeric, ginger and go heavier on the black pepper.
- Try rosemary and thyme in place of the dill and chives.
- Try sliced black and green olive with some feta cheese for a Greek-inspired egg salad.
Nutrition
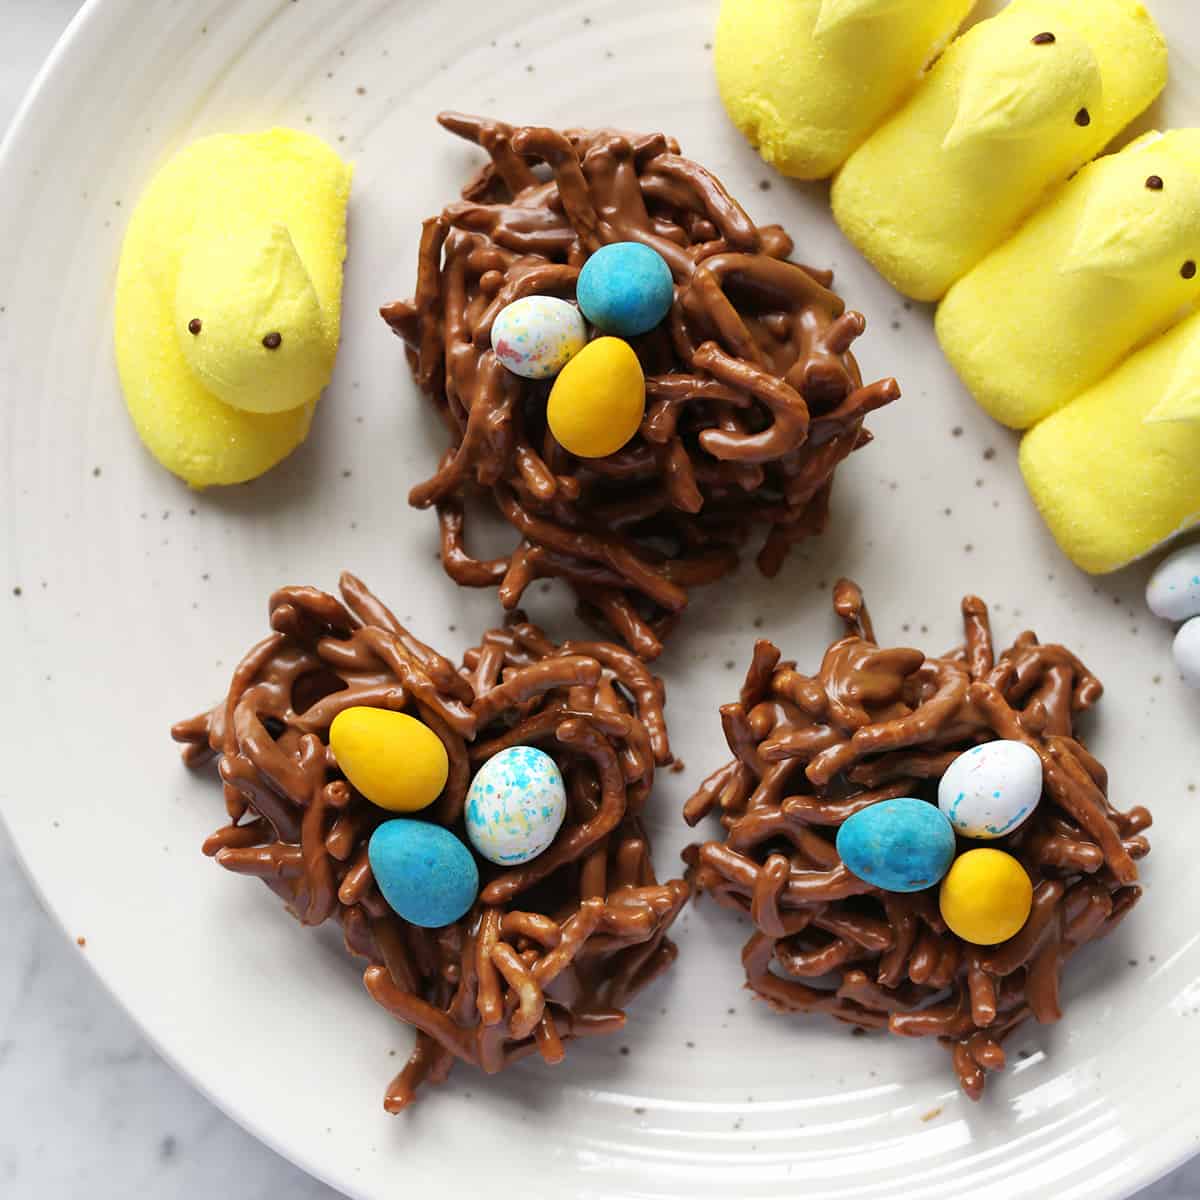
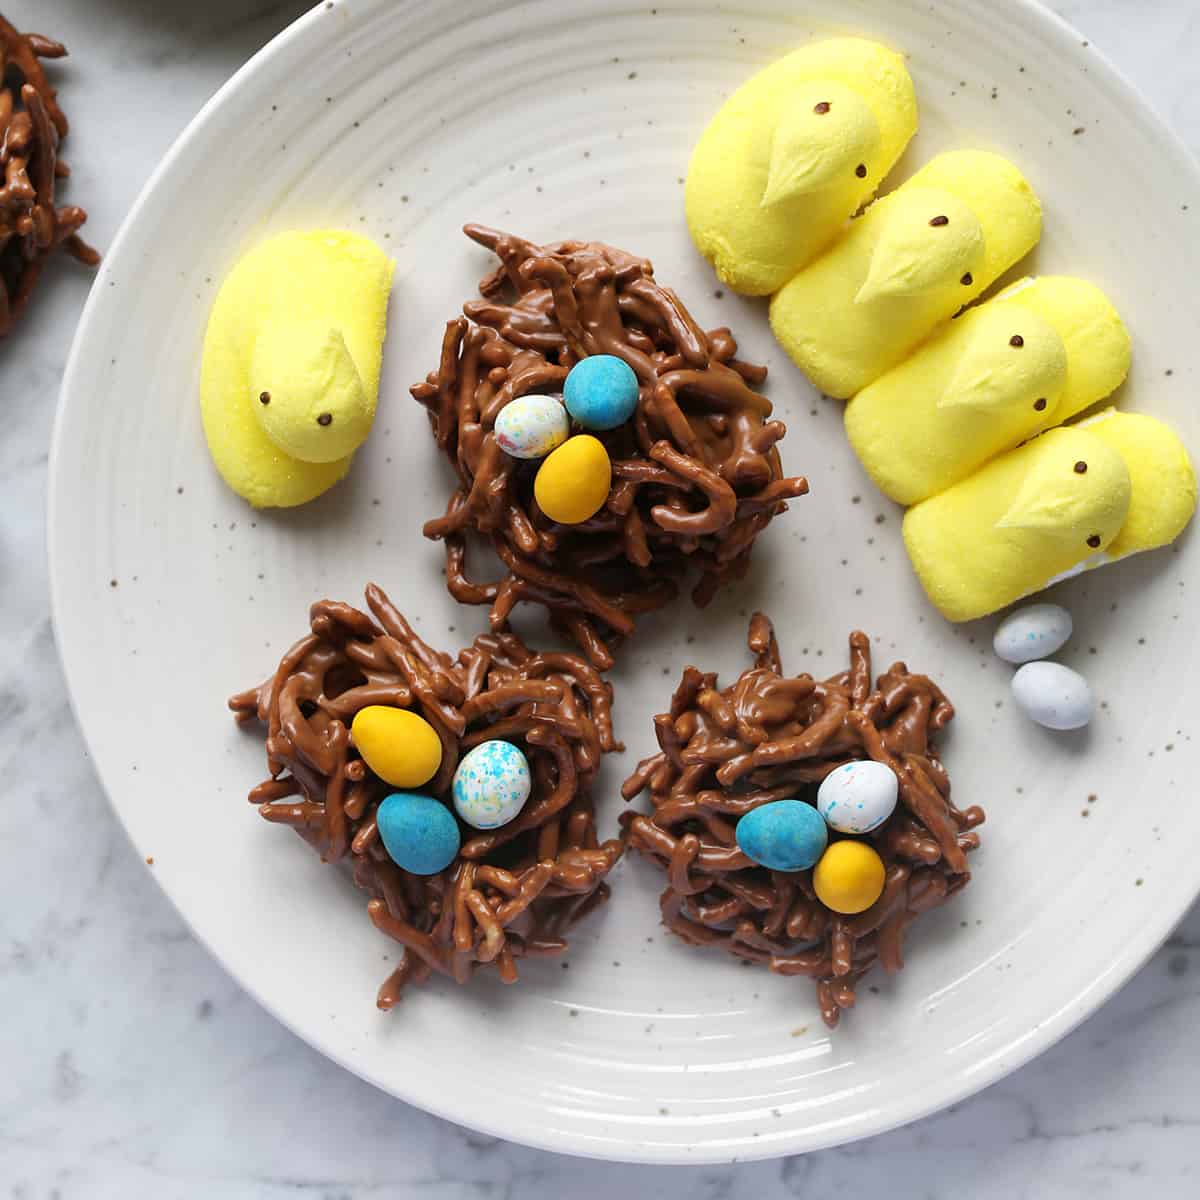
If you’ve never had bird’s nest cookies before, they are crunchy chocolate and peanut butter no-bake treats that get topped with candy eggs.
While they are usually referred to as cookies, I think of them as homemade candy like peanut brittle or buckeyes for the holidays.
Related: Want more no-bake treats? Check out 30+ Easy No-Bake Desserts.
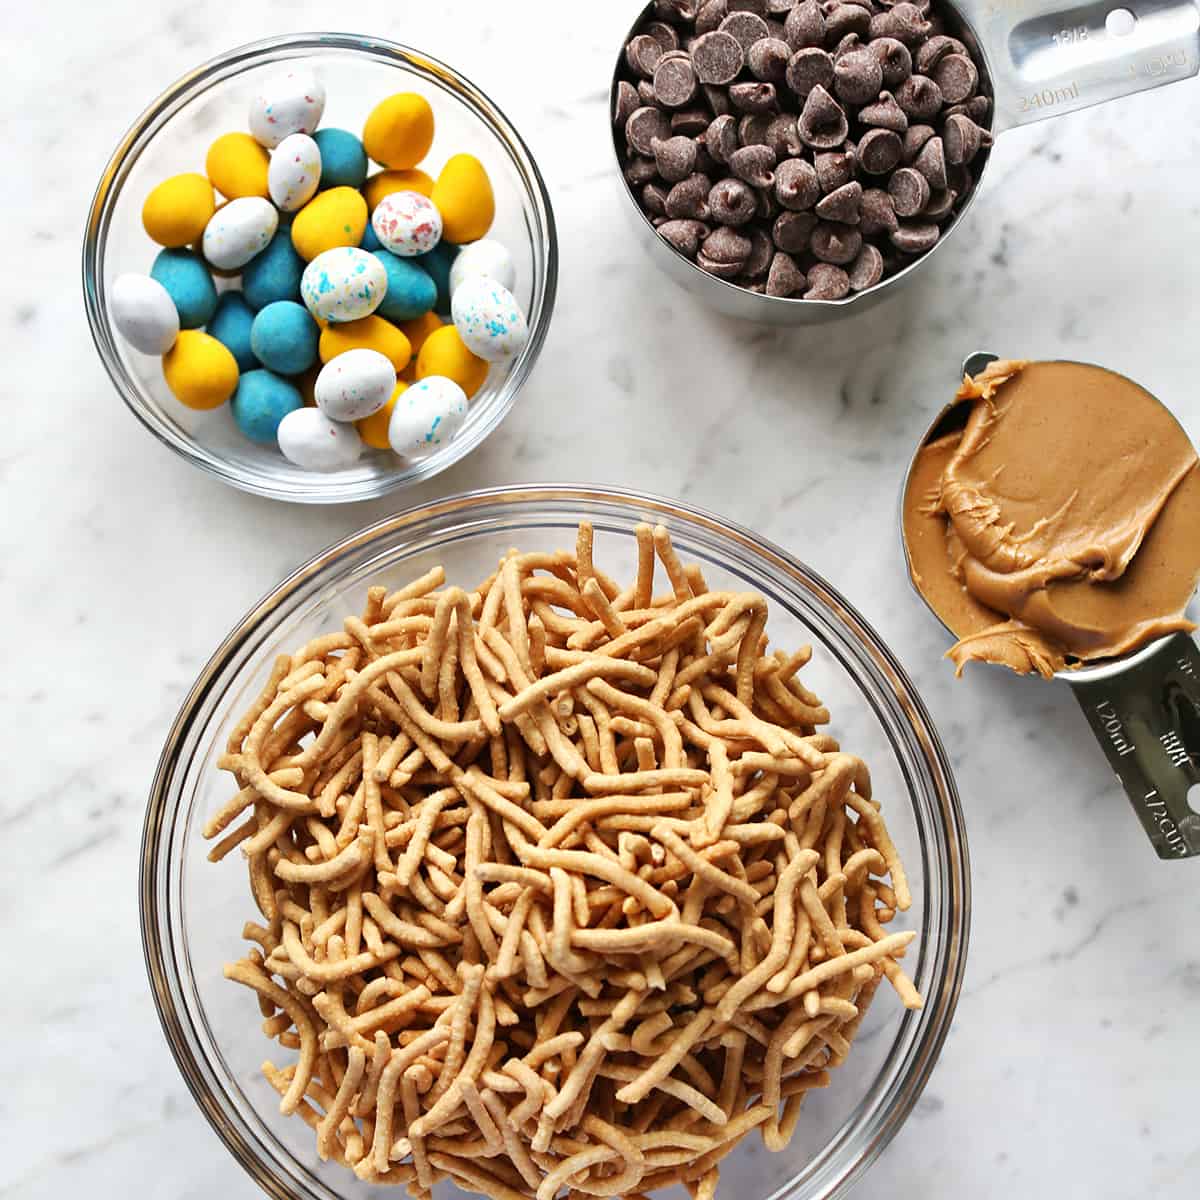
Bird’s Nest Cookie Ingredients:
- Chow mein noodles
- Chocolate chips
- Peanut butter
- Candy eggs
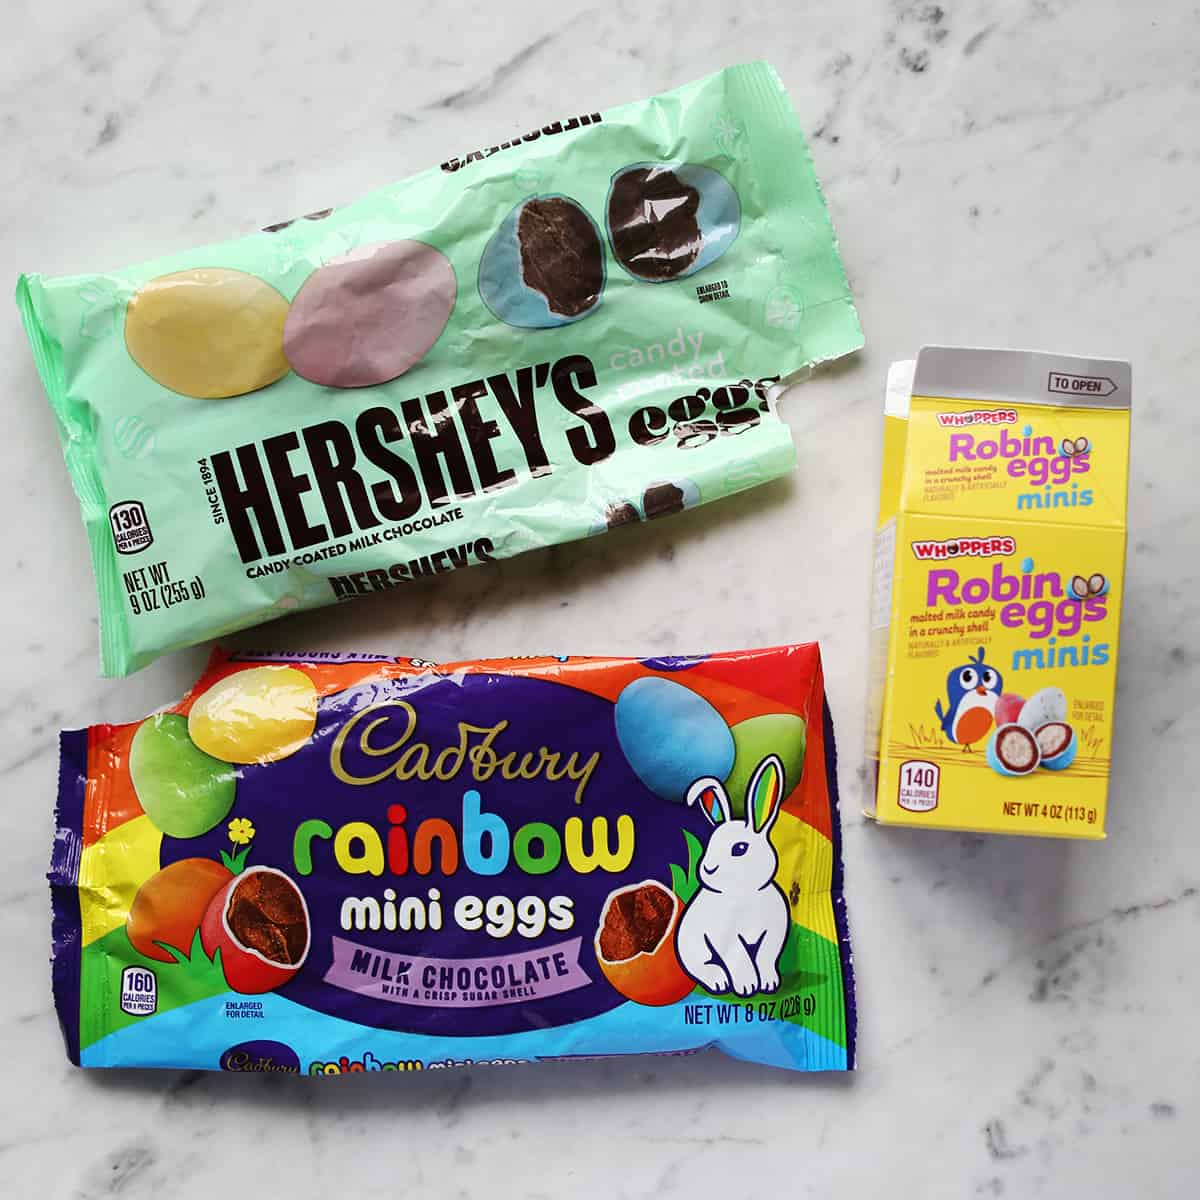
You can use any kind of candy eggs, or candy that looks like eggs. Think Cadbury mini eggs, whoppers, M&Ms, or you could use jelly beans if you want something less crunchy. The hard shell candies aren’t always a good option for younger children.
Directions:
Melt the chocolate chips and peanut butter. You can do this on the stovetop, a double boiler, or in the microwave. I usually do it in the microwave, as it’s faster. To do this, microwave in 30-second increments, stirring between. It will probably take 1 to 1.5 minutes.
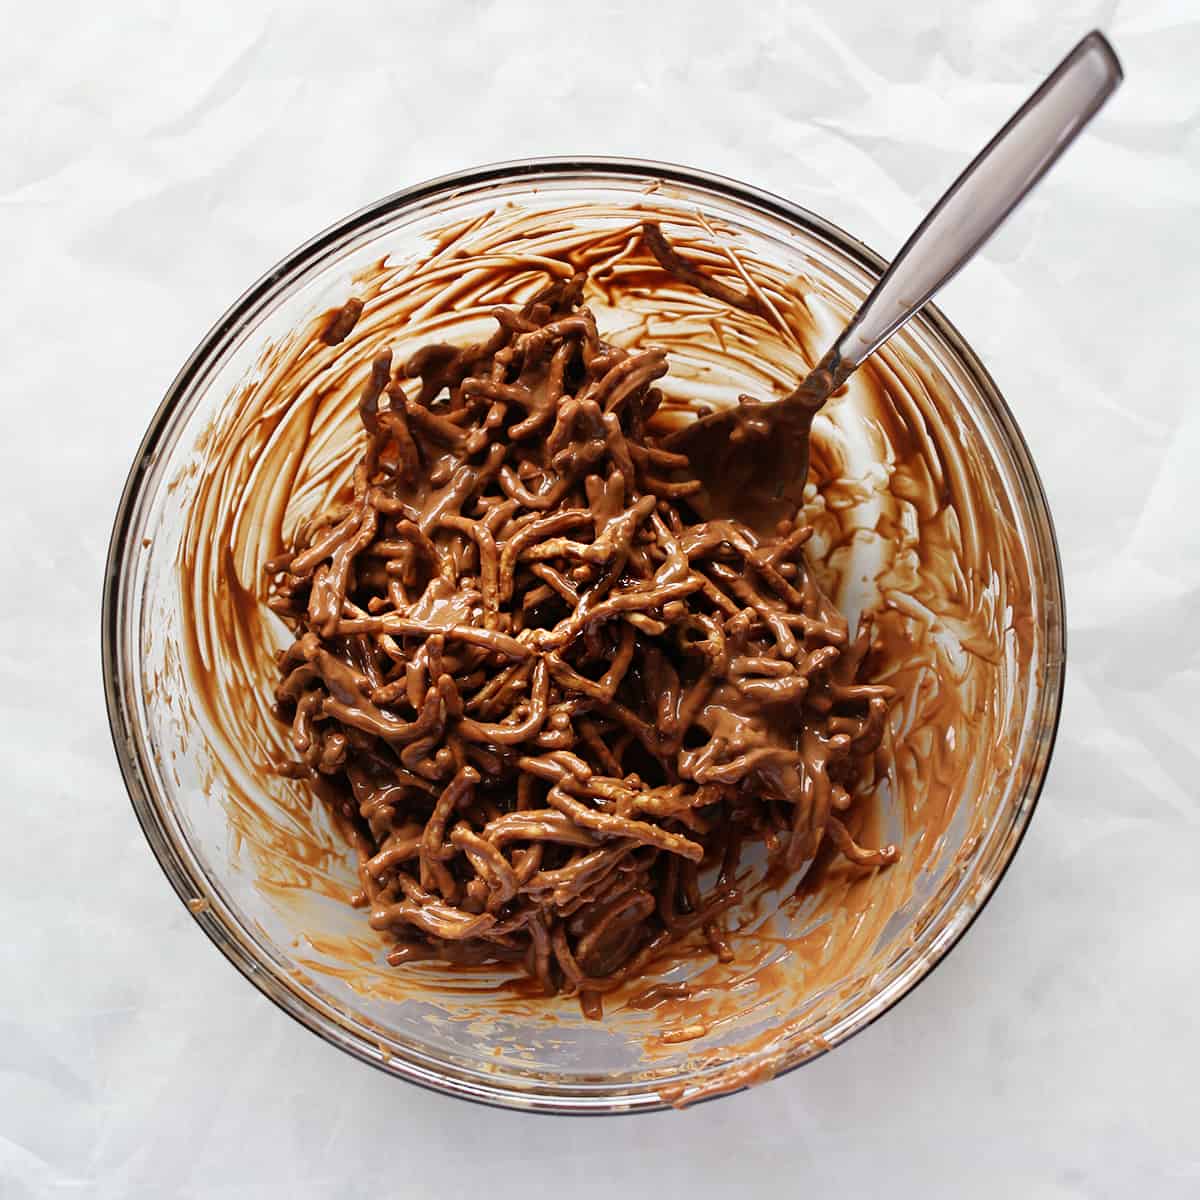
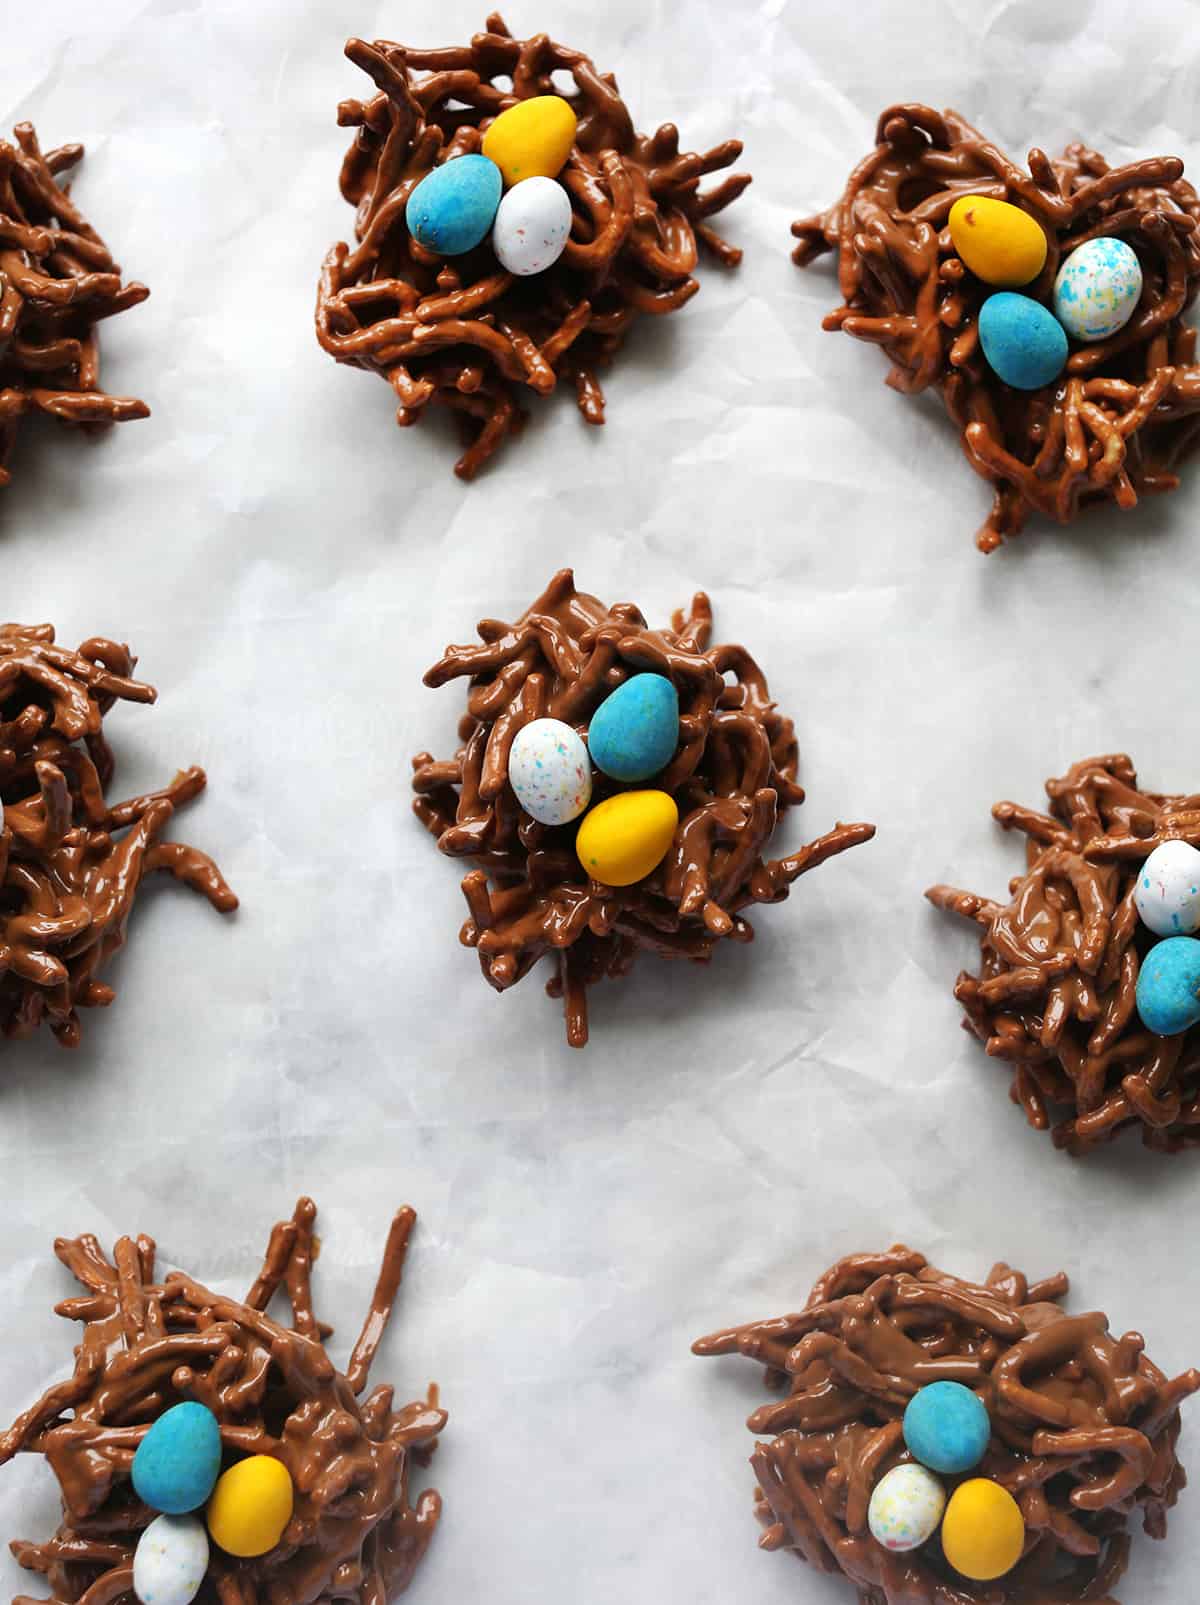
Add the chow mein noodles to the melted chocolate and stir to coat them all. Then spoon the mixture onto a surface covered with parchment paper or wax paper. Use the bottom of a tablespoon to create a bowl for the nest. Then add 2-3 candy eggs.
Allow the melted chocolate to set/harden. If you want to speed up this process, you can pop the cookies in the refrigerator.
Tips & Substitutions
- If you can’t find chow mein noodles, you can use shredded wheat cereal. Gently crush/pull apart the pieces before adding to the melted chocolate and forming the nests. Another option is toasted coconut flakes.
- You can use milk, dark, or semi-sweet chocolate chips depending on what flavor you prefer.
- If you plan to pop these in the refrigerator to help them set faster, form them on a cutting board or large plate with parchment or wax paper so you can easily move them to the refrigerator.
- Bird’s nest cookies do not need to be refrigerated after they have set, but do keep in mind they are made of chocolate and they can melt if they get too warm.
Other No-Bake Desserts:
- Easy Chocolate Oreo Truffles
- No-Bake Chocolate Oatmeal Cookies
- No-Bake Cheesecake Truffles
- No-Bake Peanut Butter Pie
- Easy Popcorn Balls
Frequently Asked Questions
What can I use instead of chow mein for bird’s nest cookies?
Shredded wheat cereal, toasted coconut flakes, or even Rice Krispie cereal can be used instead of chow mein noodles.
What can I use instead of peanut butter in bird’s nest cookies?
Almond butter or butterscotch chips can be used instead.
What cookies should I make for Easter?
Bird’s nest cookies, sugar cookies with royal icing, thumbprint cookies, and slice and bake cookie designs are all popular for Easter as they can be customized for the season.
Bird’s Nest Cookies – No Bake
Ingredients
- 1 cup chocolate chips
- ½ cup peanut butter
- 5 ounces chow mein noodles
- 30 candy eggs
Instructions
- Melt the chocolate chips and peanut butter.
- To do this, microwave in 30-second increments, stirring between.
- Add the chow mein noodles to the melted chocolate and stir to coat them all.
- Then spoon the mixture onto a surface covered with parchment paper or wax paper.
- Use the bottom of a tablespoon to create a bowl for the nest.
- Then add 2-3 candy eggs.
- Allow the melted chocolate to set/harden.
Notes
Nutrition
I thought about “carrot-shaped dessert idea” or maybe “crescent roll carrots” but this is where I’ve landed, I guess.
These are a fun and SUPER easy dessert you can make to celebrate spring or Easter with lots of different filling ideas, including what I used.
Related: Bird’s Nest Cookies, Easter Brunch Ideas.
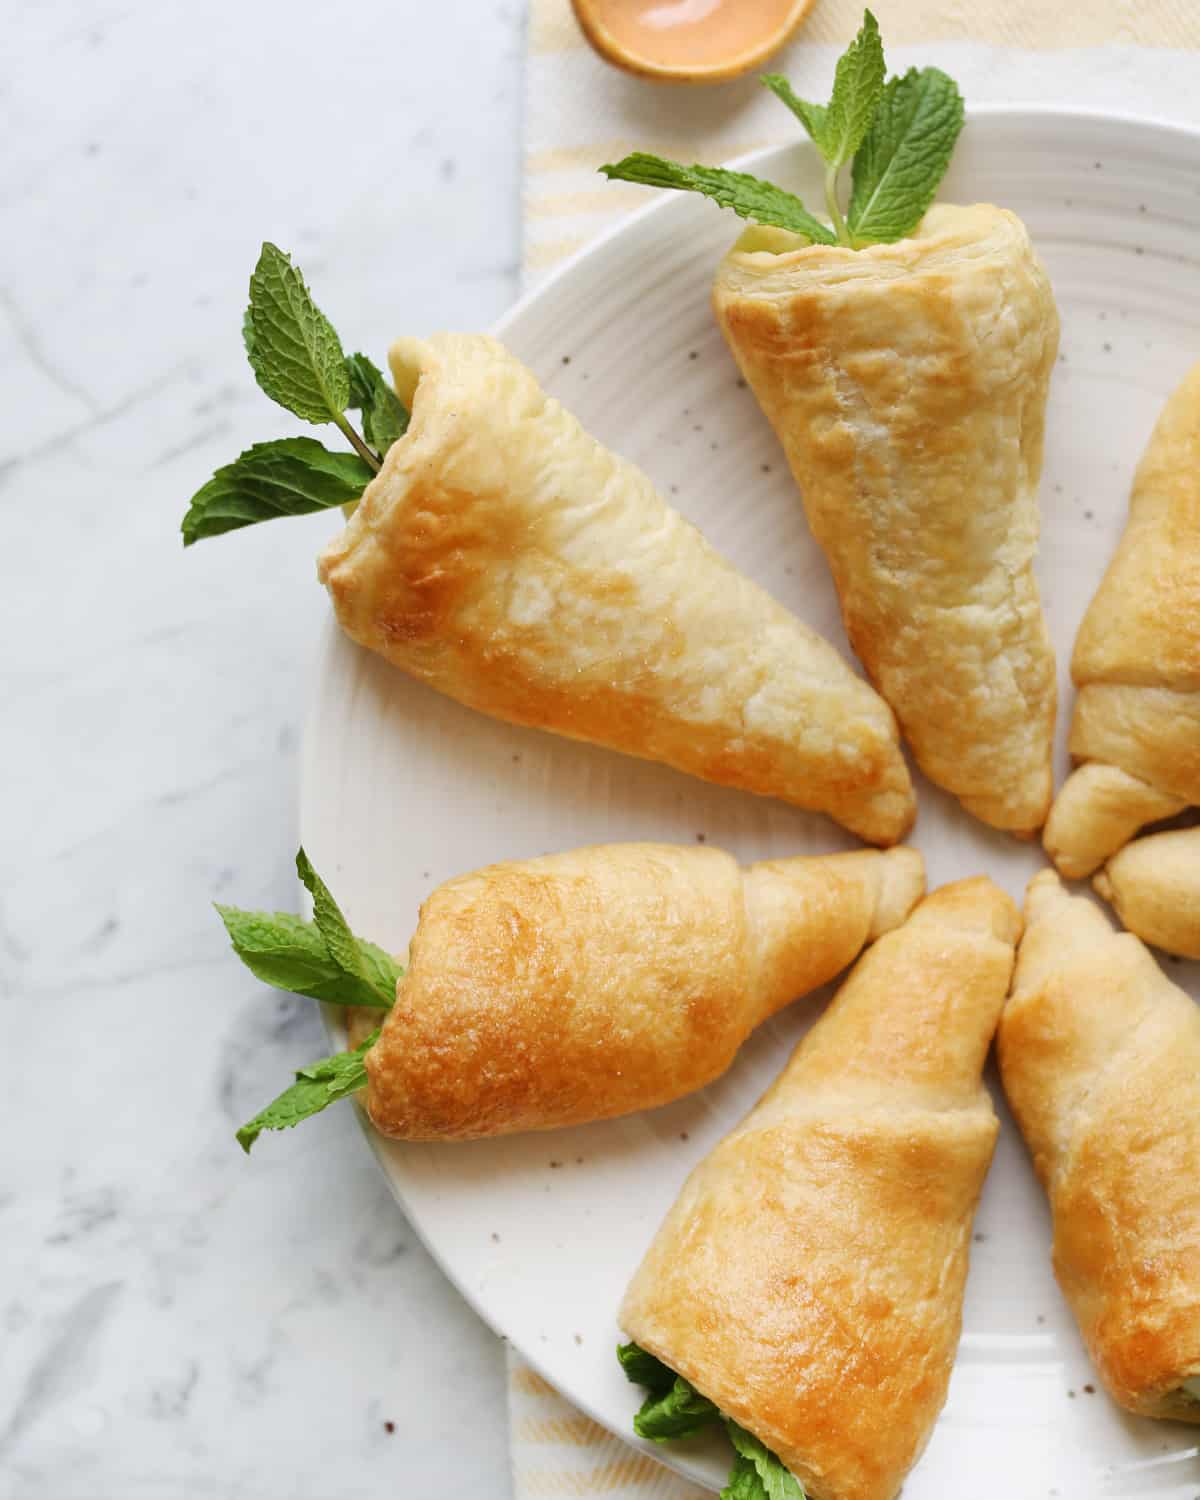
Depending what you fill these with, I could see this being a fun dessert you could serve at the end of a meal, or a breakfast pastry, or a party snack on its own or served alongside other sweets.
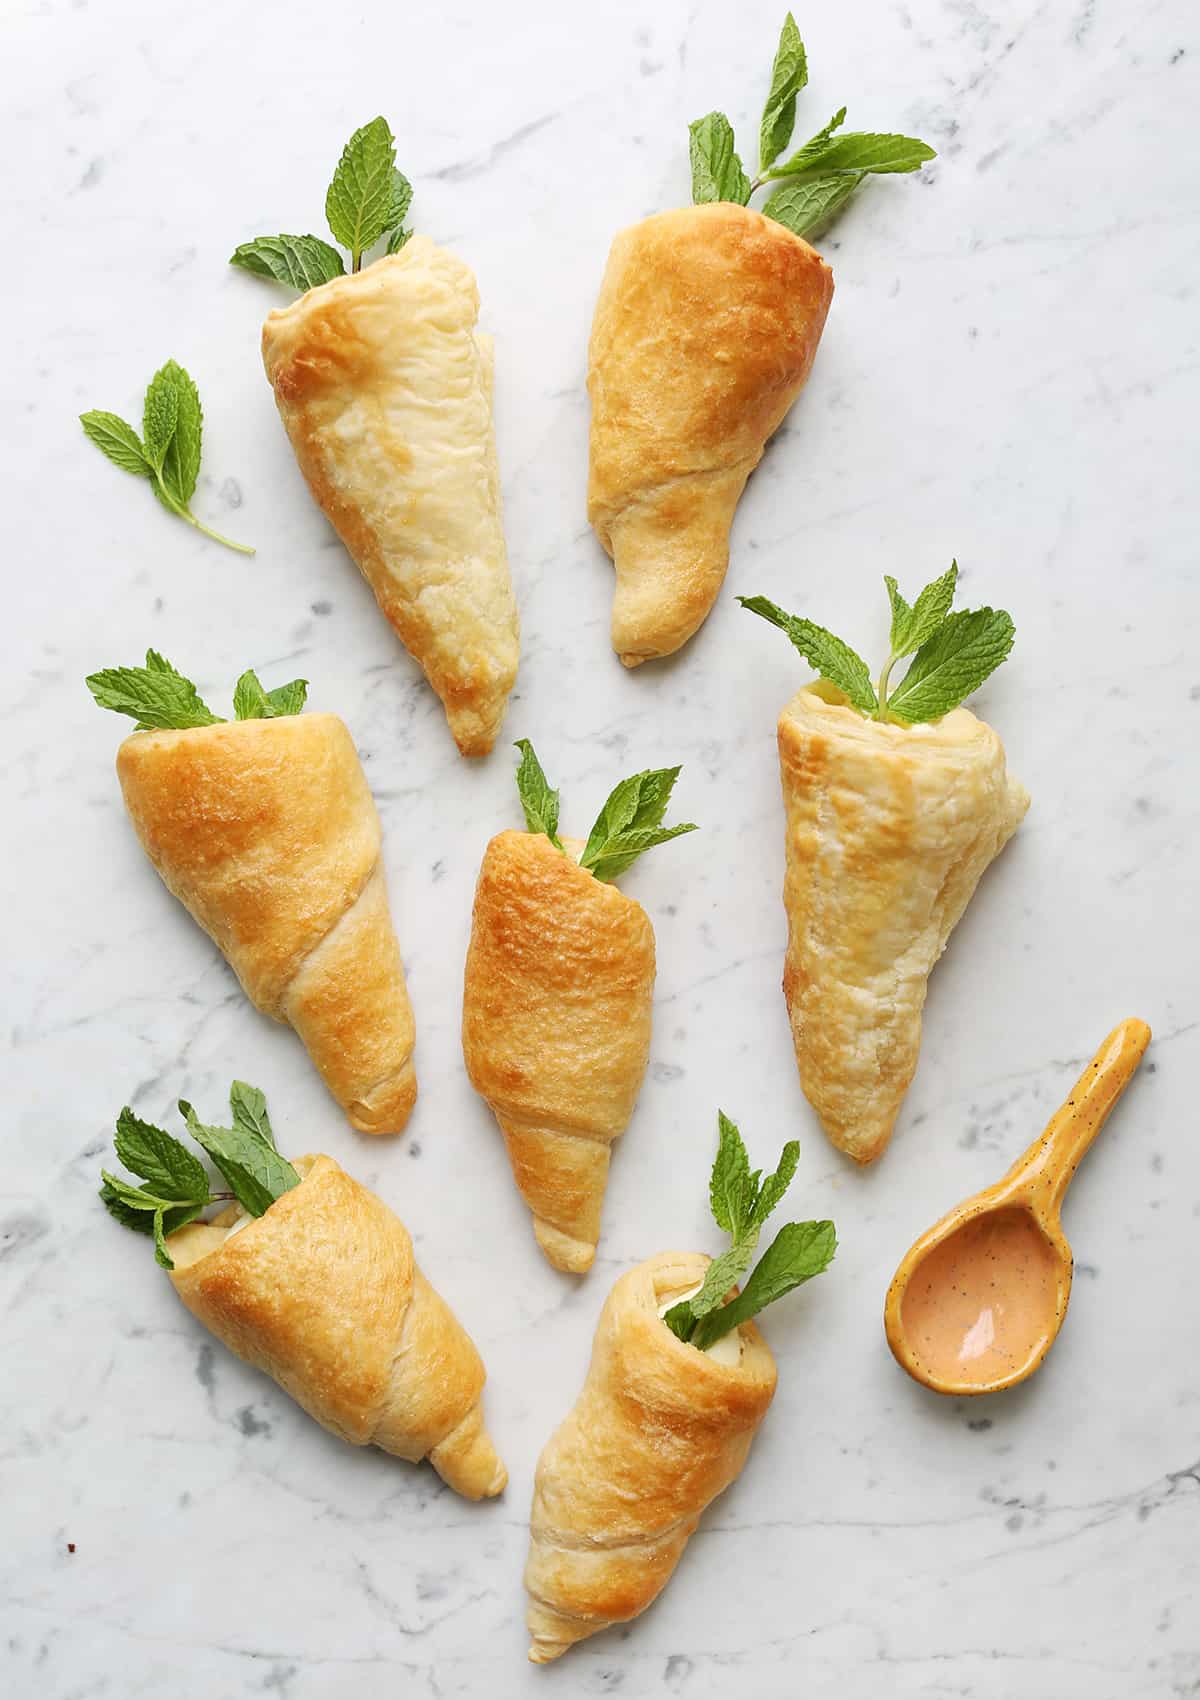
I tried a bit of an experiment as I worked on this recipe. I tried making these carrot-shaped pastries from three different kinds of store-bought crusts. Here are the results.
Crescent Rolls
By far, crescent roll dough was the easiest to work with. No thawing necessary, and the dough can be easily shaped and baked quickly. Crescent rolls are also versatile in that they could be filled with either a sweet or savory filling.
Puff Pastry
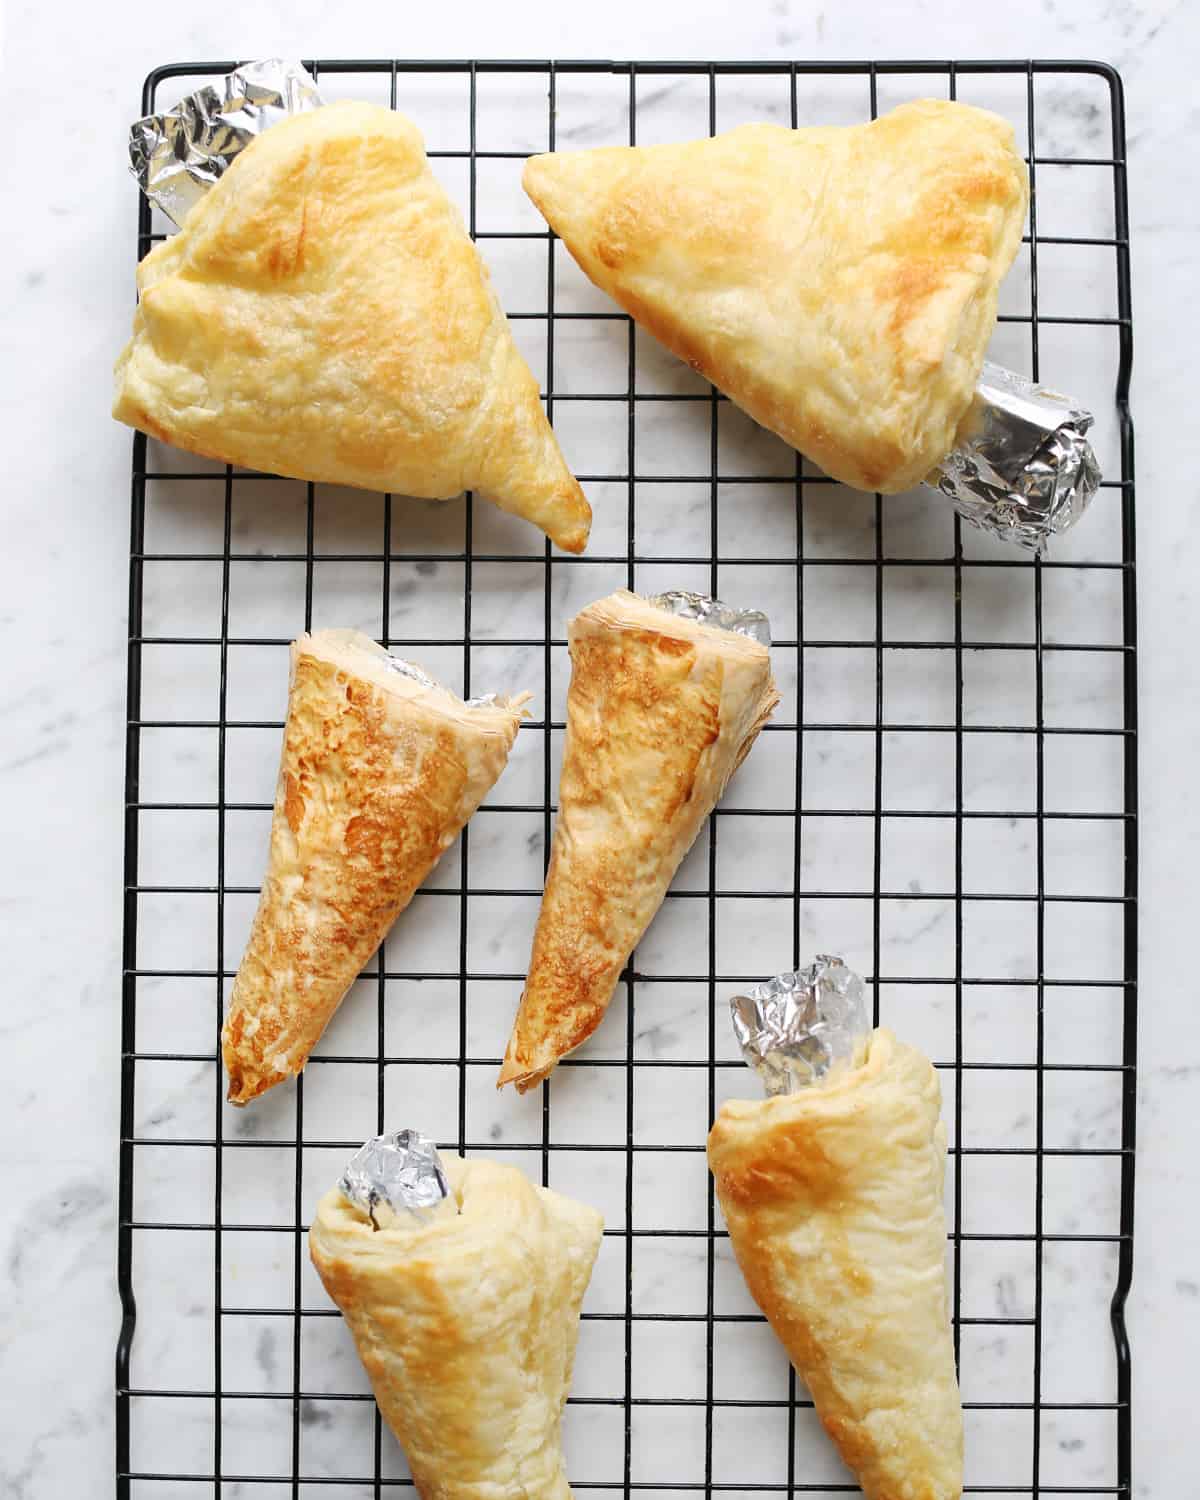
The next best option is puff pastry. Frozen puff pastry will need to thaw before you can shape it and bake it, but I prefer the taste of puff pastry to crescent rolls (so I think it’s worth the extra effort).
You will want to take more care when shaping the carrots to ensure the seams are pressed together well, or they can puff out when baking (see the above photo).
Phyllo Crust
I also tried frozen phyllo crust. And although it did technically work (it did hold the cone shape and baked fully), it wasn’t the best option for these, so I don’t recommend it.
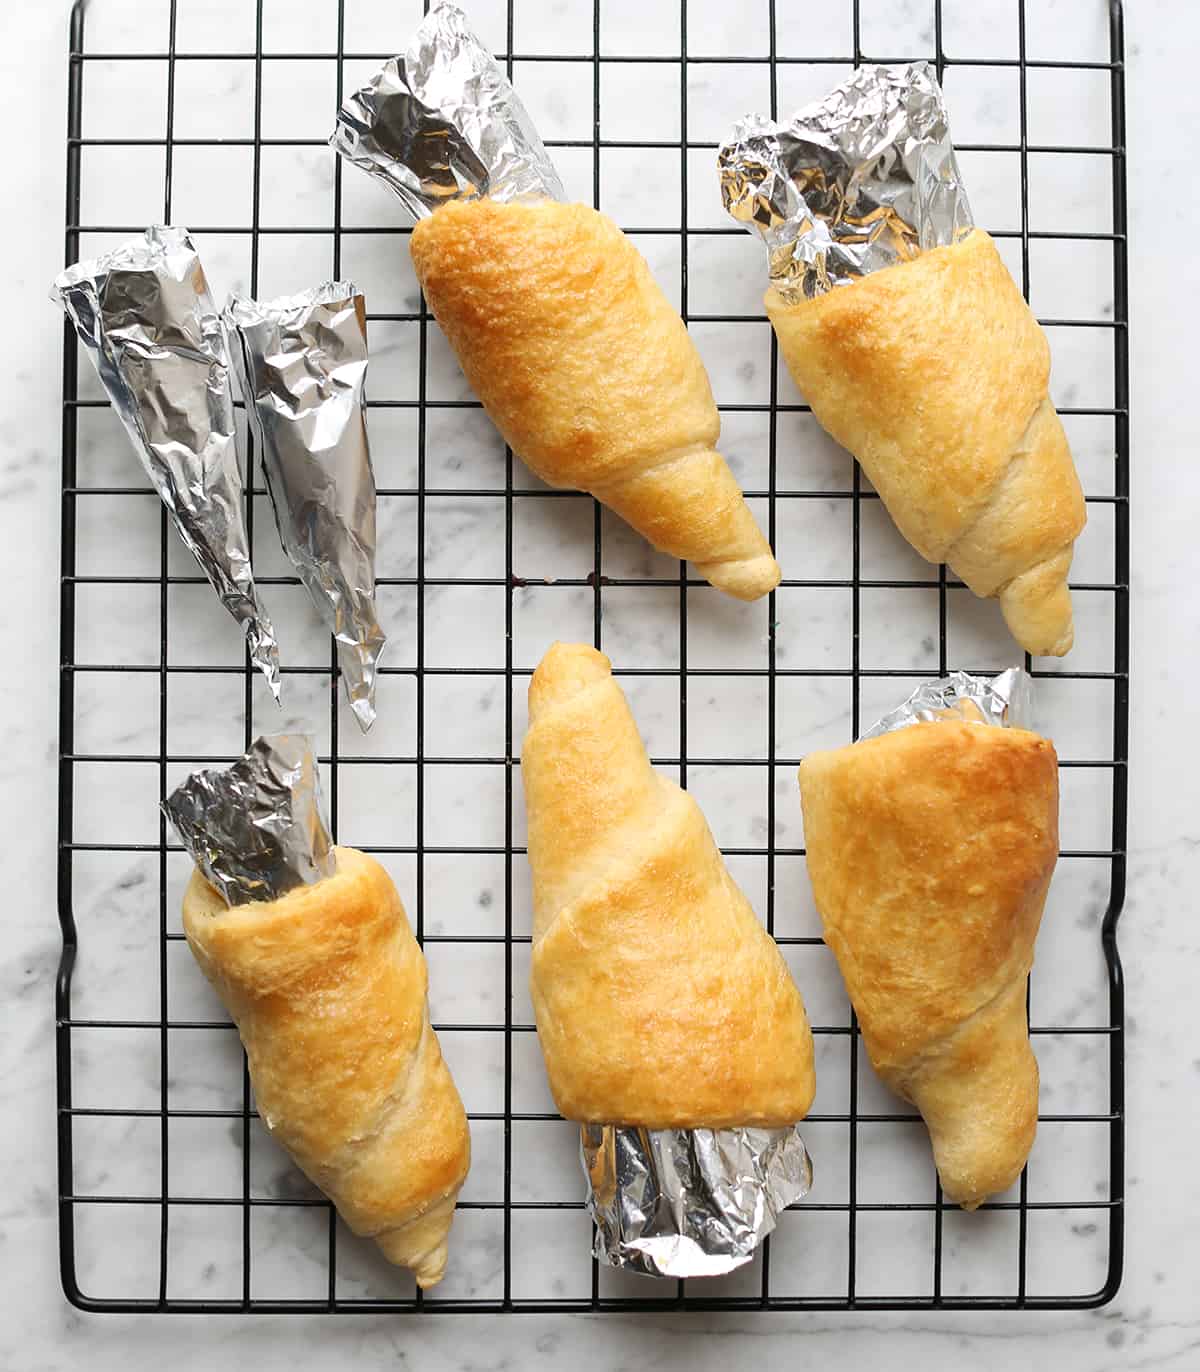
To make these, you simply create cones from aluminum foil (it can be mostly hollow), spray with non- stick cooking spray, and then shape your dough around them.
Brush with an egg wash and then bake according to the package directions (puff pastry will take longer to bake than crescent rolls).
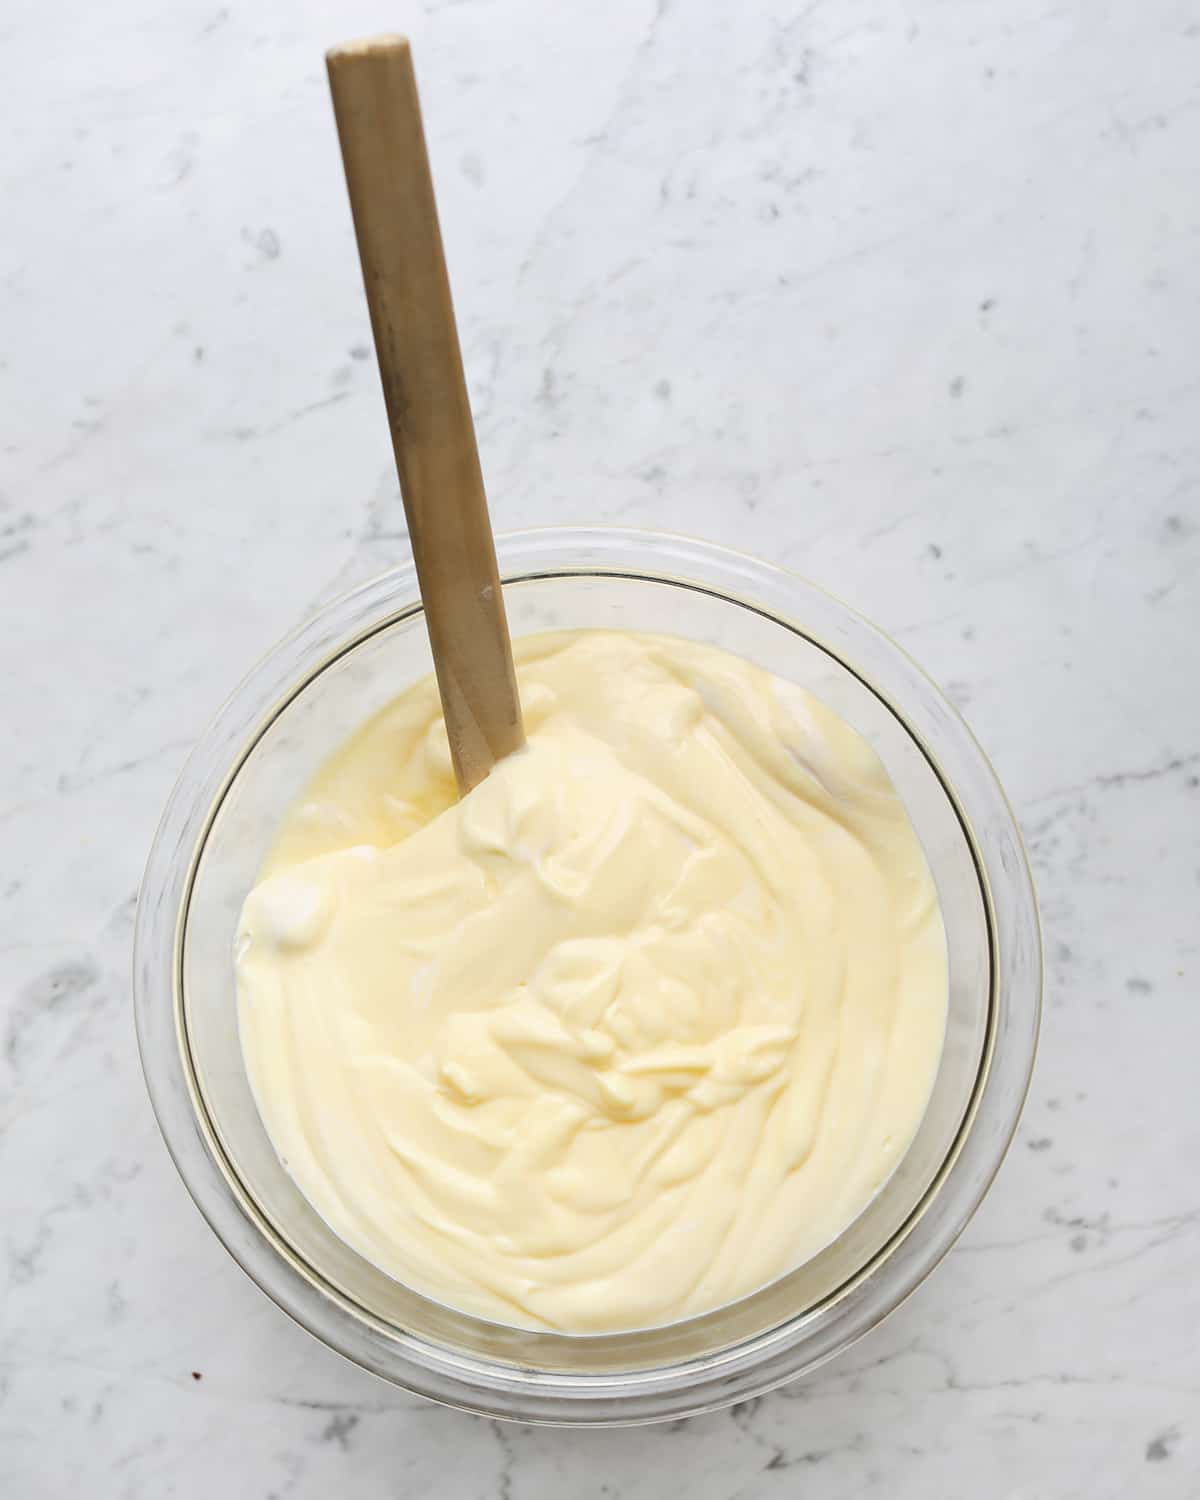
I used one package of banana pudding and then folded in one and a half cups of Cool Whip to make the filling for these. Then, I garnished with a mint sprig for the carrot top look.
You could use all sorts of other fillings like other puddings, no bake cheesecake filling, pastry creams (store bought or homemade), chopped fruit with a layer of Nutella (or other dessert spreads), or you could try a savory filling such as homemade French onion dip.
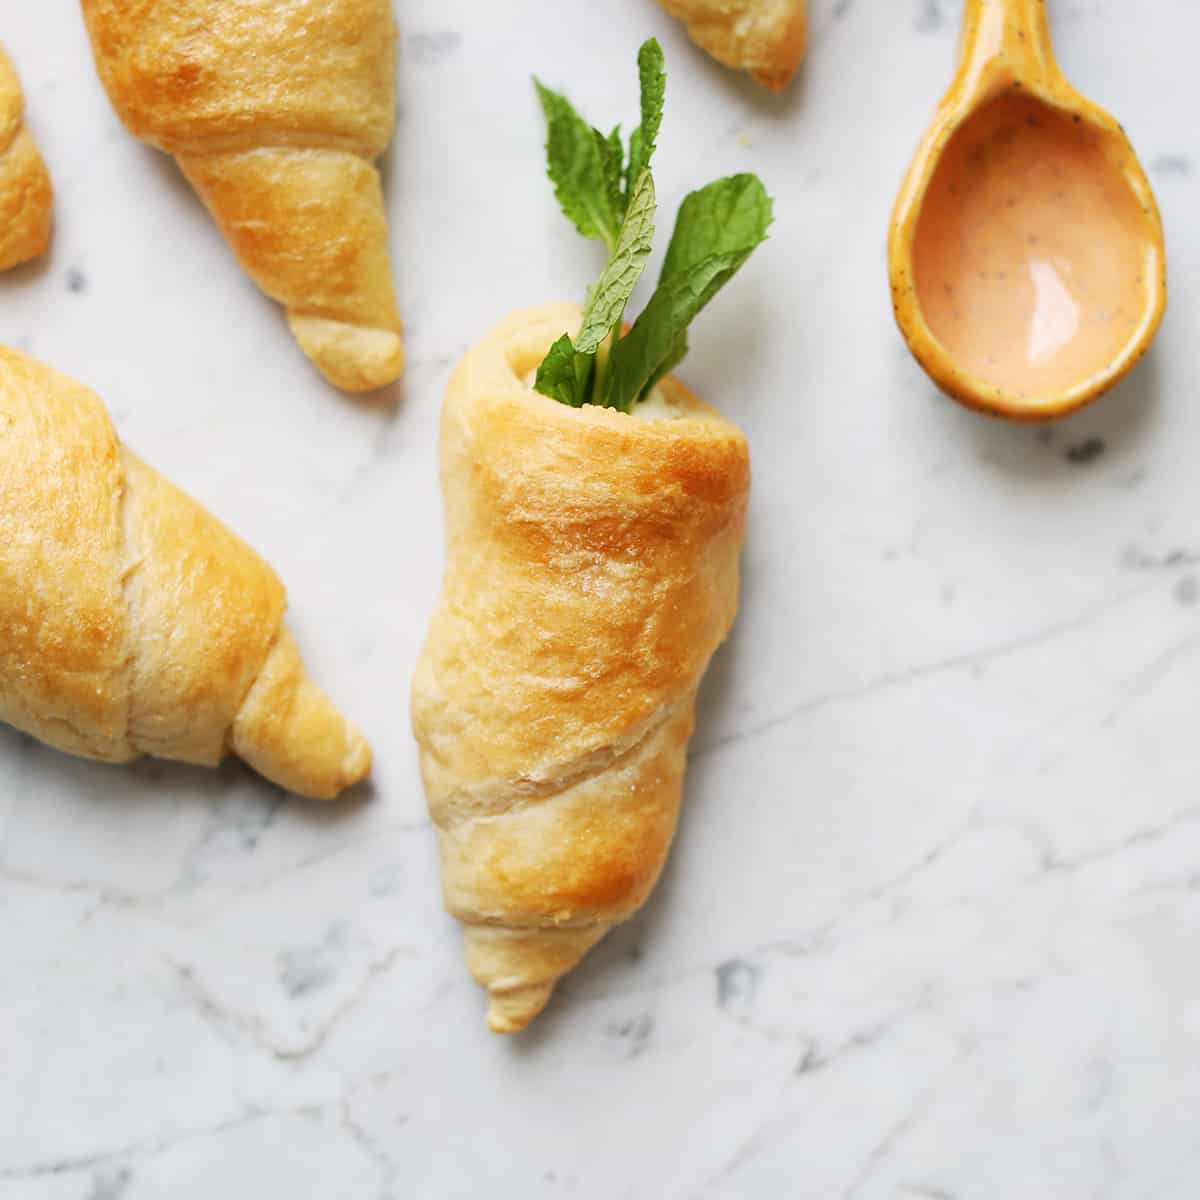
If you choose to use a savory filling, I would consider switching the top garnish from mint to parsley or maybe even cilantro.
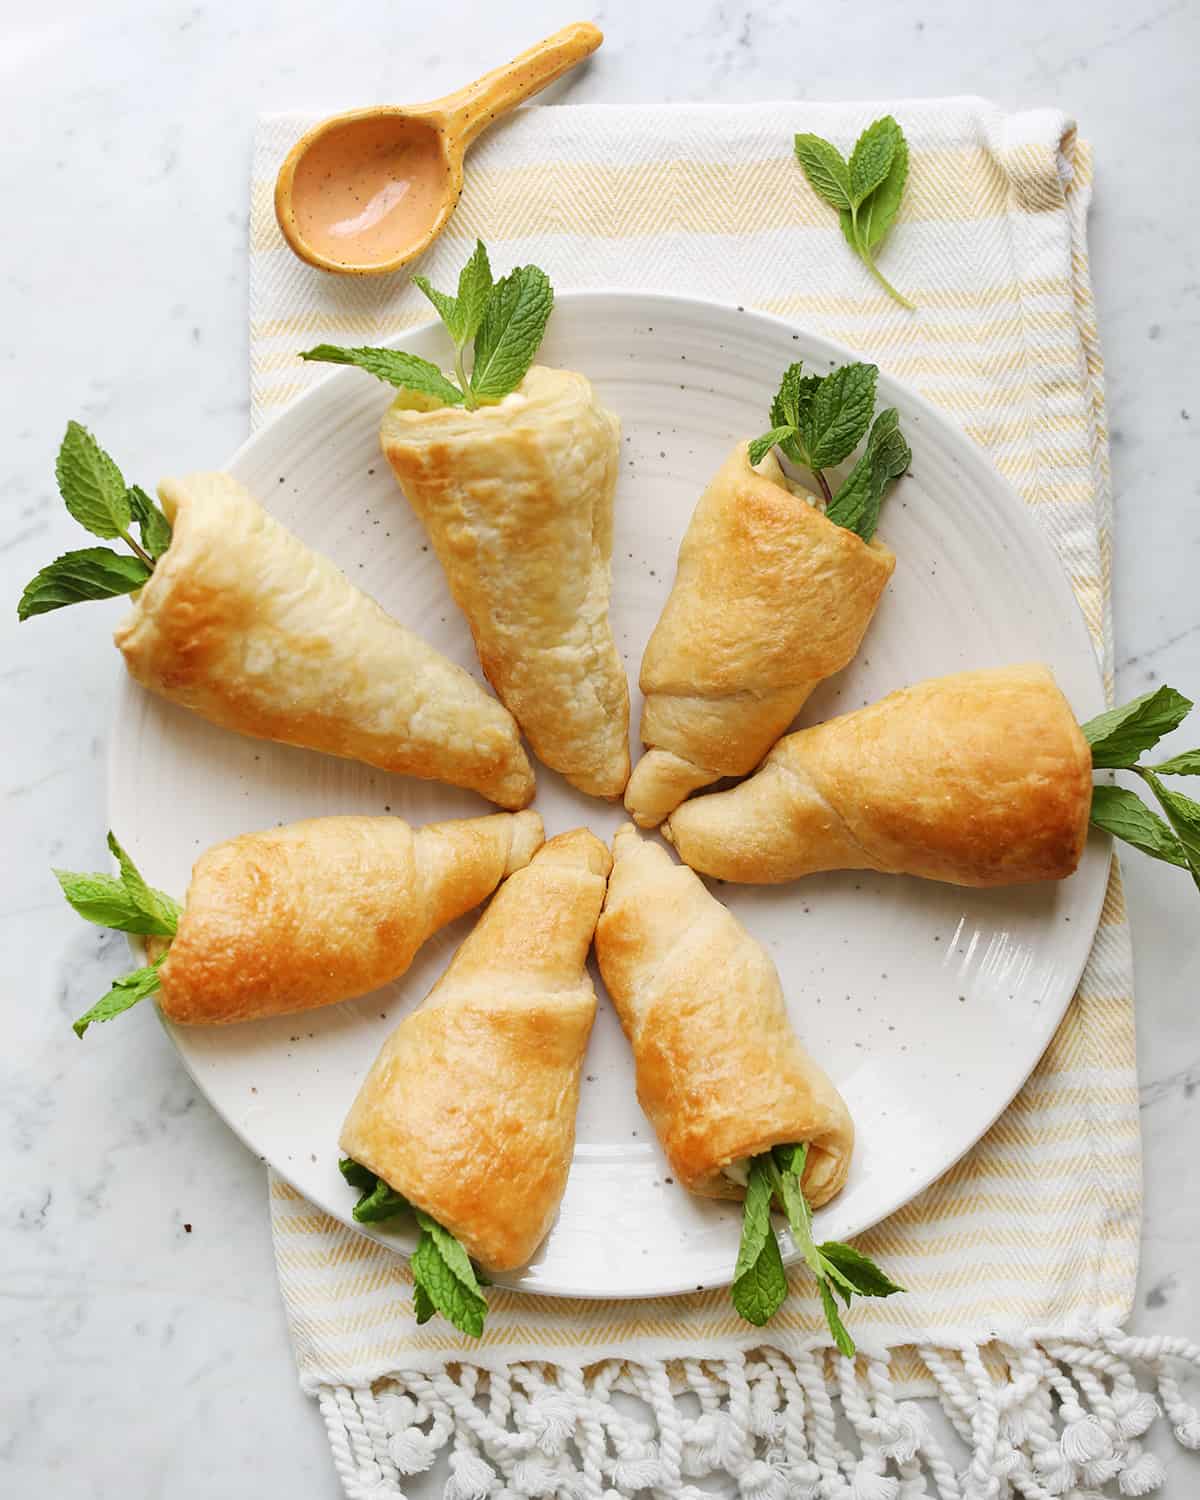
These carrot-shaped pastries are fun to make and even more fun to eat. Happy spring! xo. Emma

Carrot-Shaped Pastries
Equipment
- aluminum foil
Ingredients
- 1 package crescent rolls
- 1 package frozen puff pastry
- non-stick cooking spray
- 1 package banana pudding + milk
- 1 cup Cool Whip topping
- mint
Instructions
- Shape aluminum foil into small cones.
- Spray with non-stick cooking spray.
- Wrap the dough around the aluminum foil cones, press seams together.
- Brush with an egg wash, optional.
- Bake according to the package instructions, depending if you are using crescent rolls or puff pastry.
- While those bake, mix together the pudding and once set fold in the Cool Whip.
- Once the pastry shells are cool, fill with the pudding filling.
- Garnish with a mint sprig.
Using air-dry clay is an awesome way to create something special (and there’s very little mess involved, which is also nice).
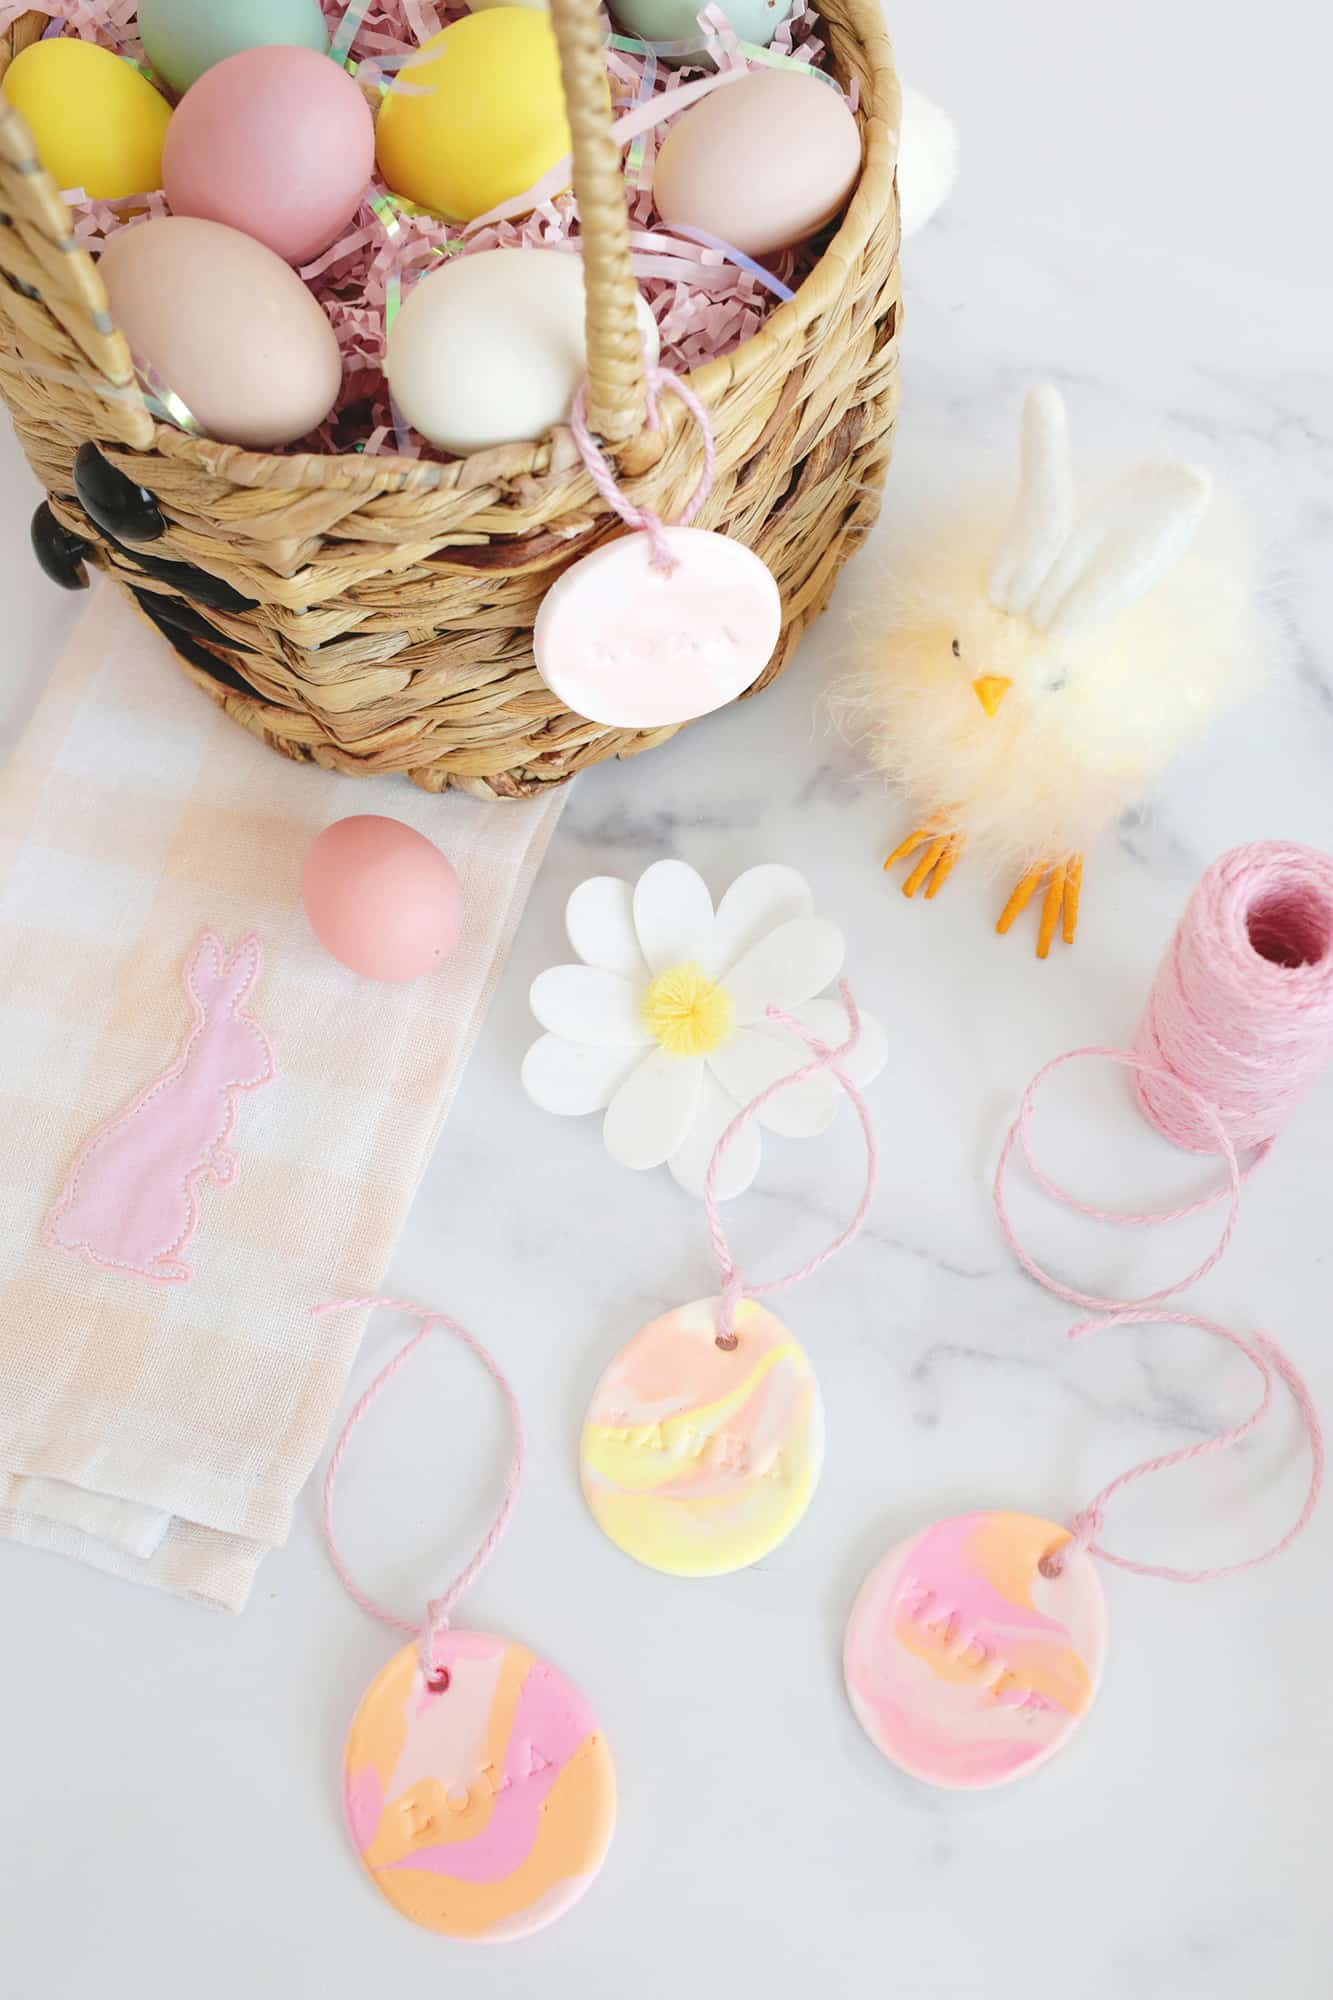
You can make this easy marbled air-dry clay project to create decorations to hang up throughout the house (hang single ones like ornaments or string some together for a garland!), but I thought it would be fun to personalize the egg shapes so they can be Easter basket tags instead.
And, air-dry clay is so easy to work with that you can marble it very easily, and just like our popular Marbled Clay Ring Dish project, it turns out really pretty in just a few minutes. Plus dry time. Haha.
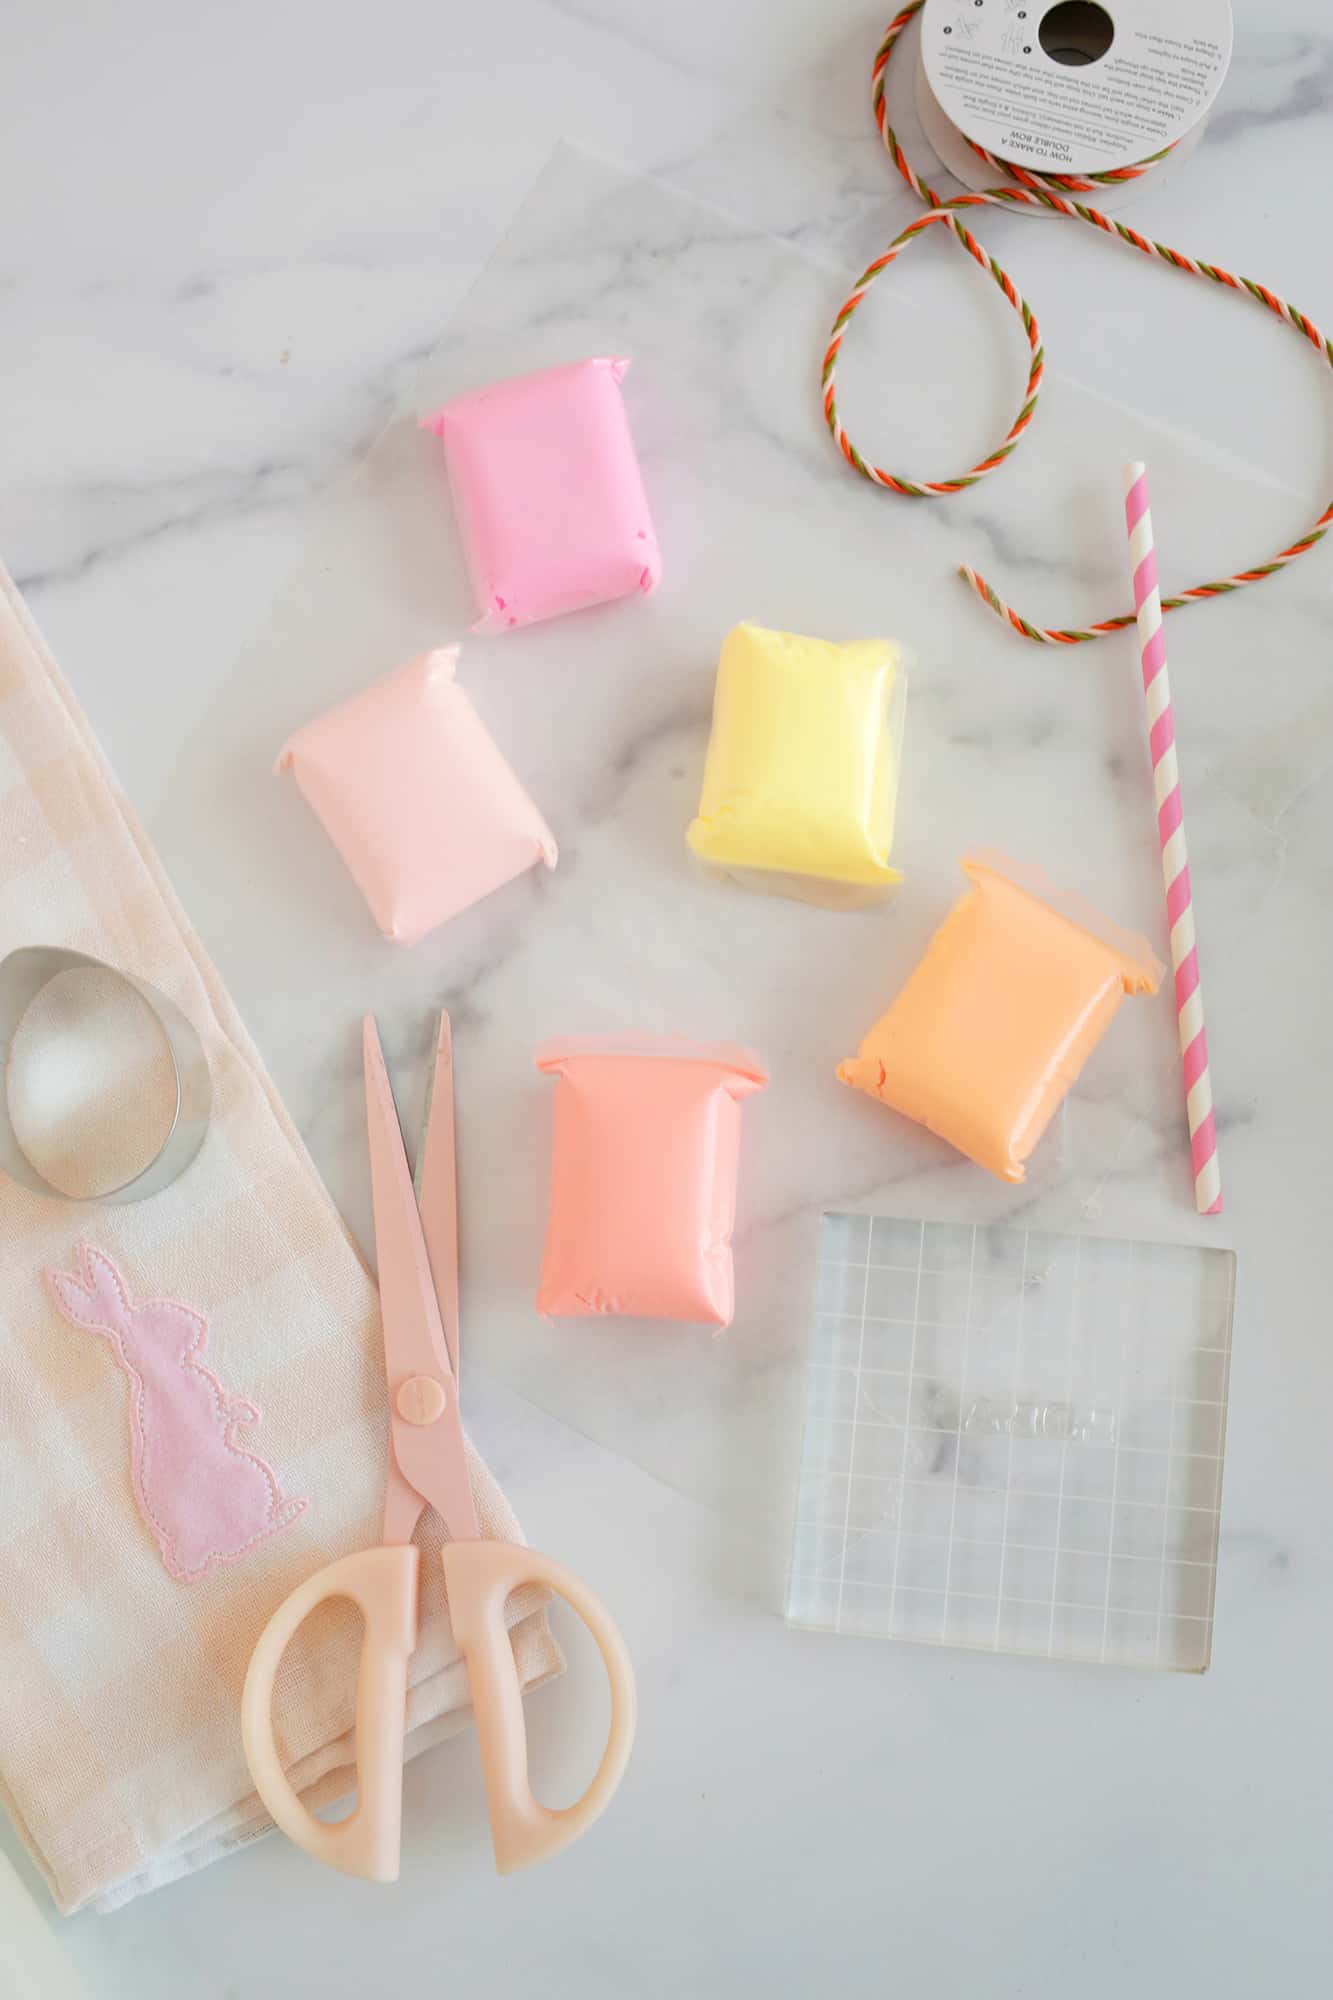
Supplies:
-air-dry clay (you can get bigger single-color packs like this or multi-color packs)
-wax paper or silicone mat for rolling out clay
–rolling pin (non-stick, like a silicone one)
–egg shaped cookie cutter (or other Easter shape like this Peeps one)
–letter stamp set
-straw to make hole
-twine or ribbon to tie the tag
-fine sandpaper to smooth edges (optional)
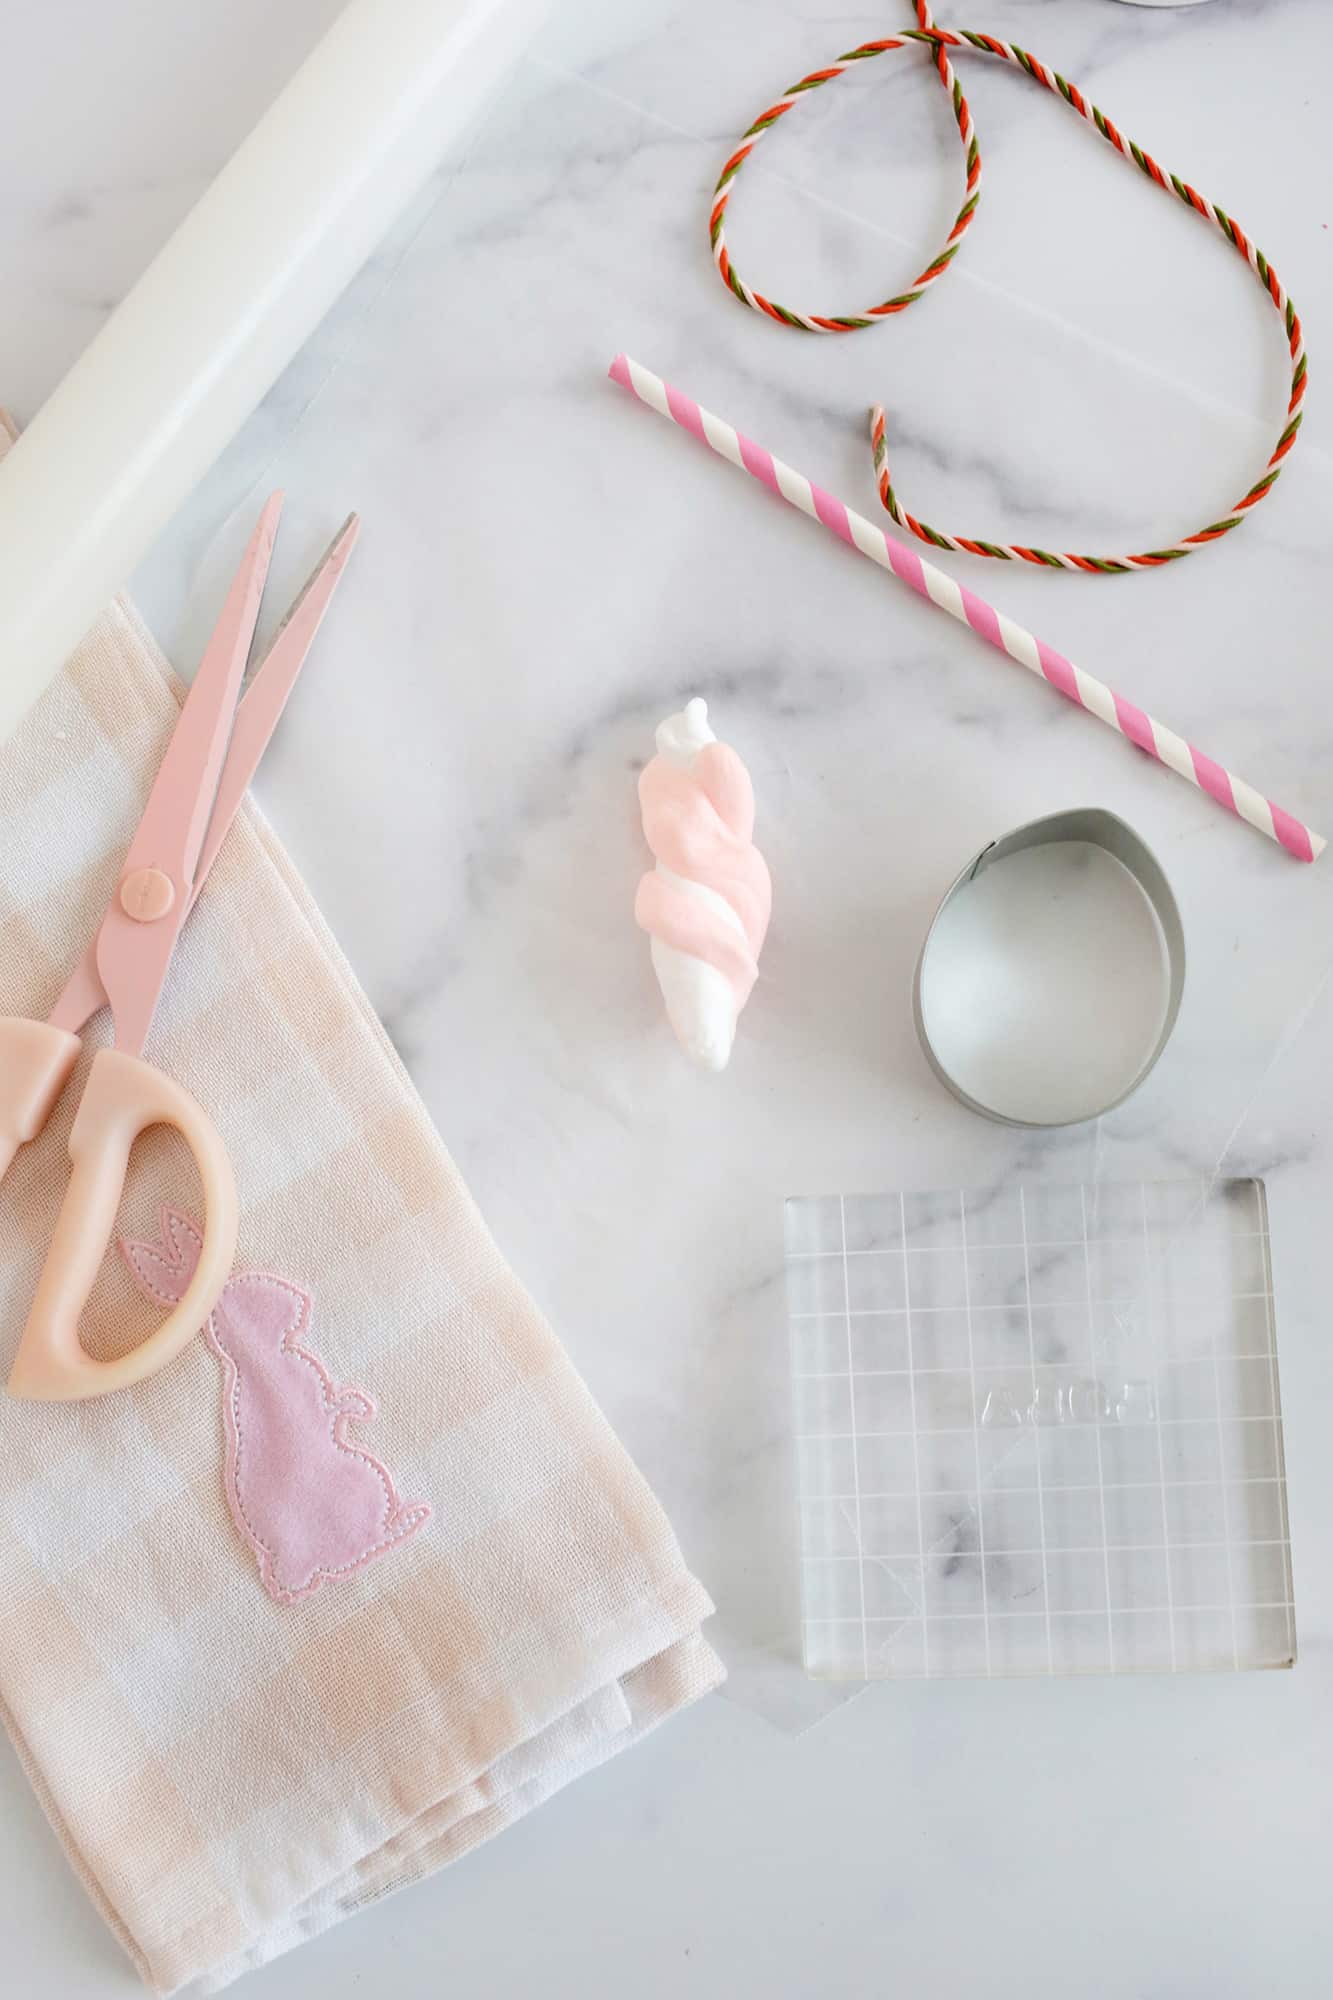
First, set up your stamp set (with the name you want to stamp) so it’s ready to go.
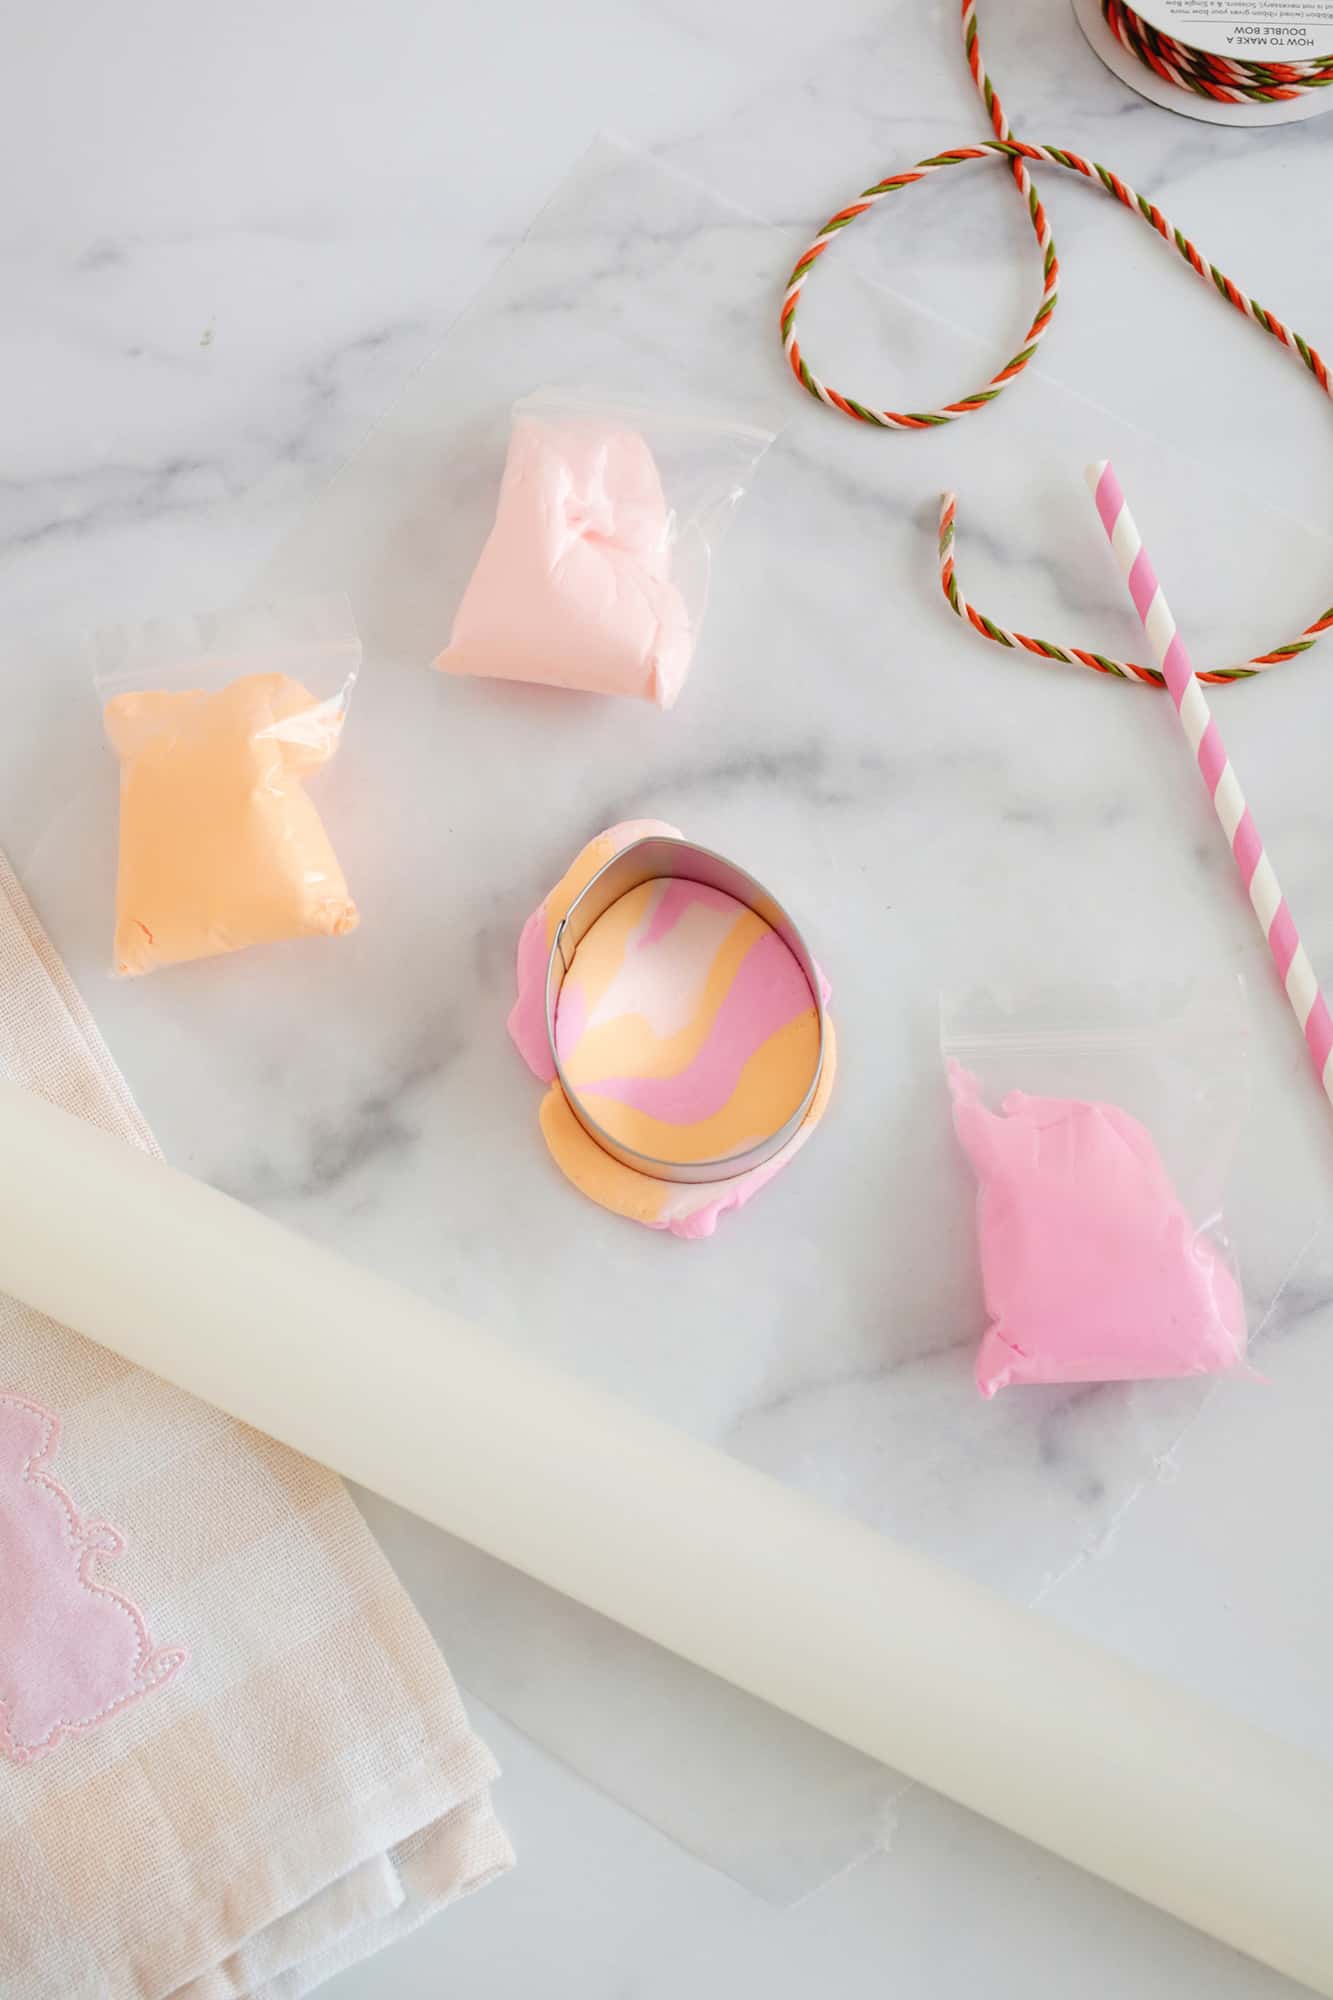
Then, grab two or three pieces of the colors of air-dry clay that you want to marble. You can either cut out one at a time or roll a larger slab and then cut several from the bigger piece.
Roll out short clay “snakes” with each color and then twist them together in one strand. Lay the strand down on your rolling surface and use the rolling pin to flatten out the clay.
If you like that pattern of marbling, go ahead and cut out your shape with your cookie cutter, or you can roll it into a few snakes again, re-twist it, and see if you like that marbling better before cutting.
Once your shape is cut, pull away the excess and use your straw to poke a hole in the top to tie the string or ribbon onto.
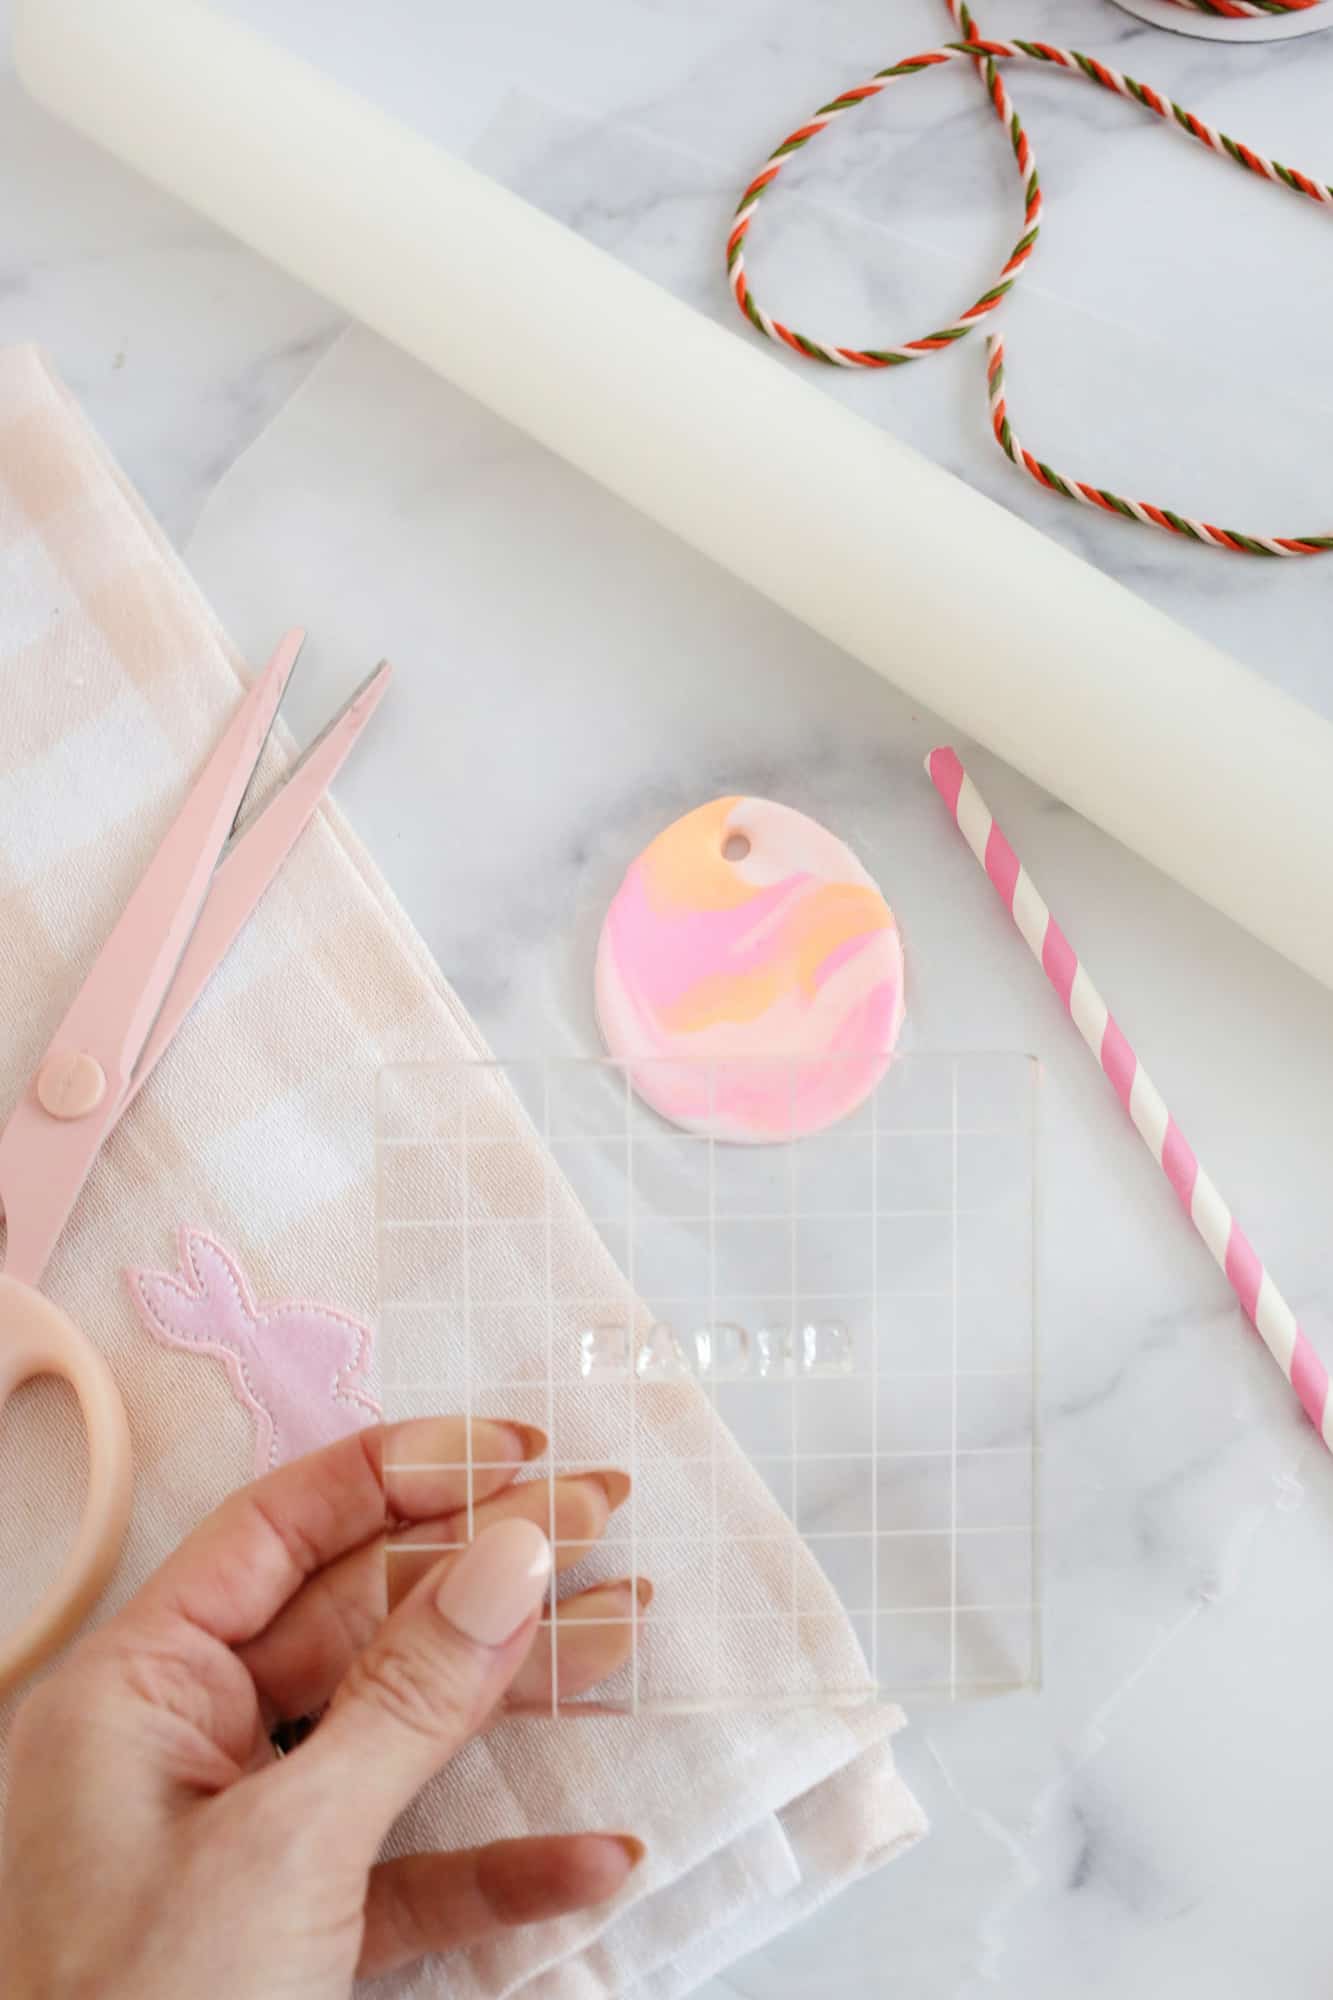
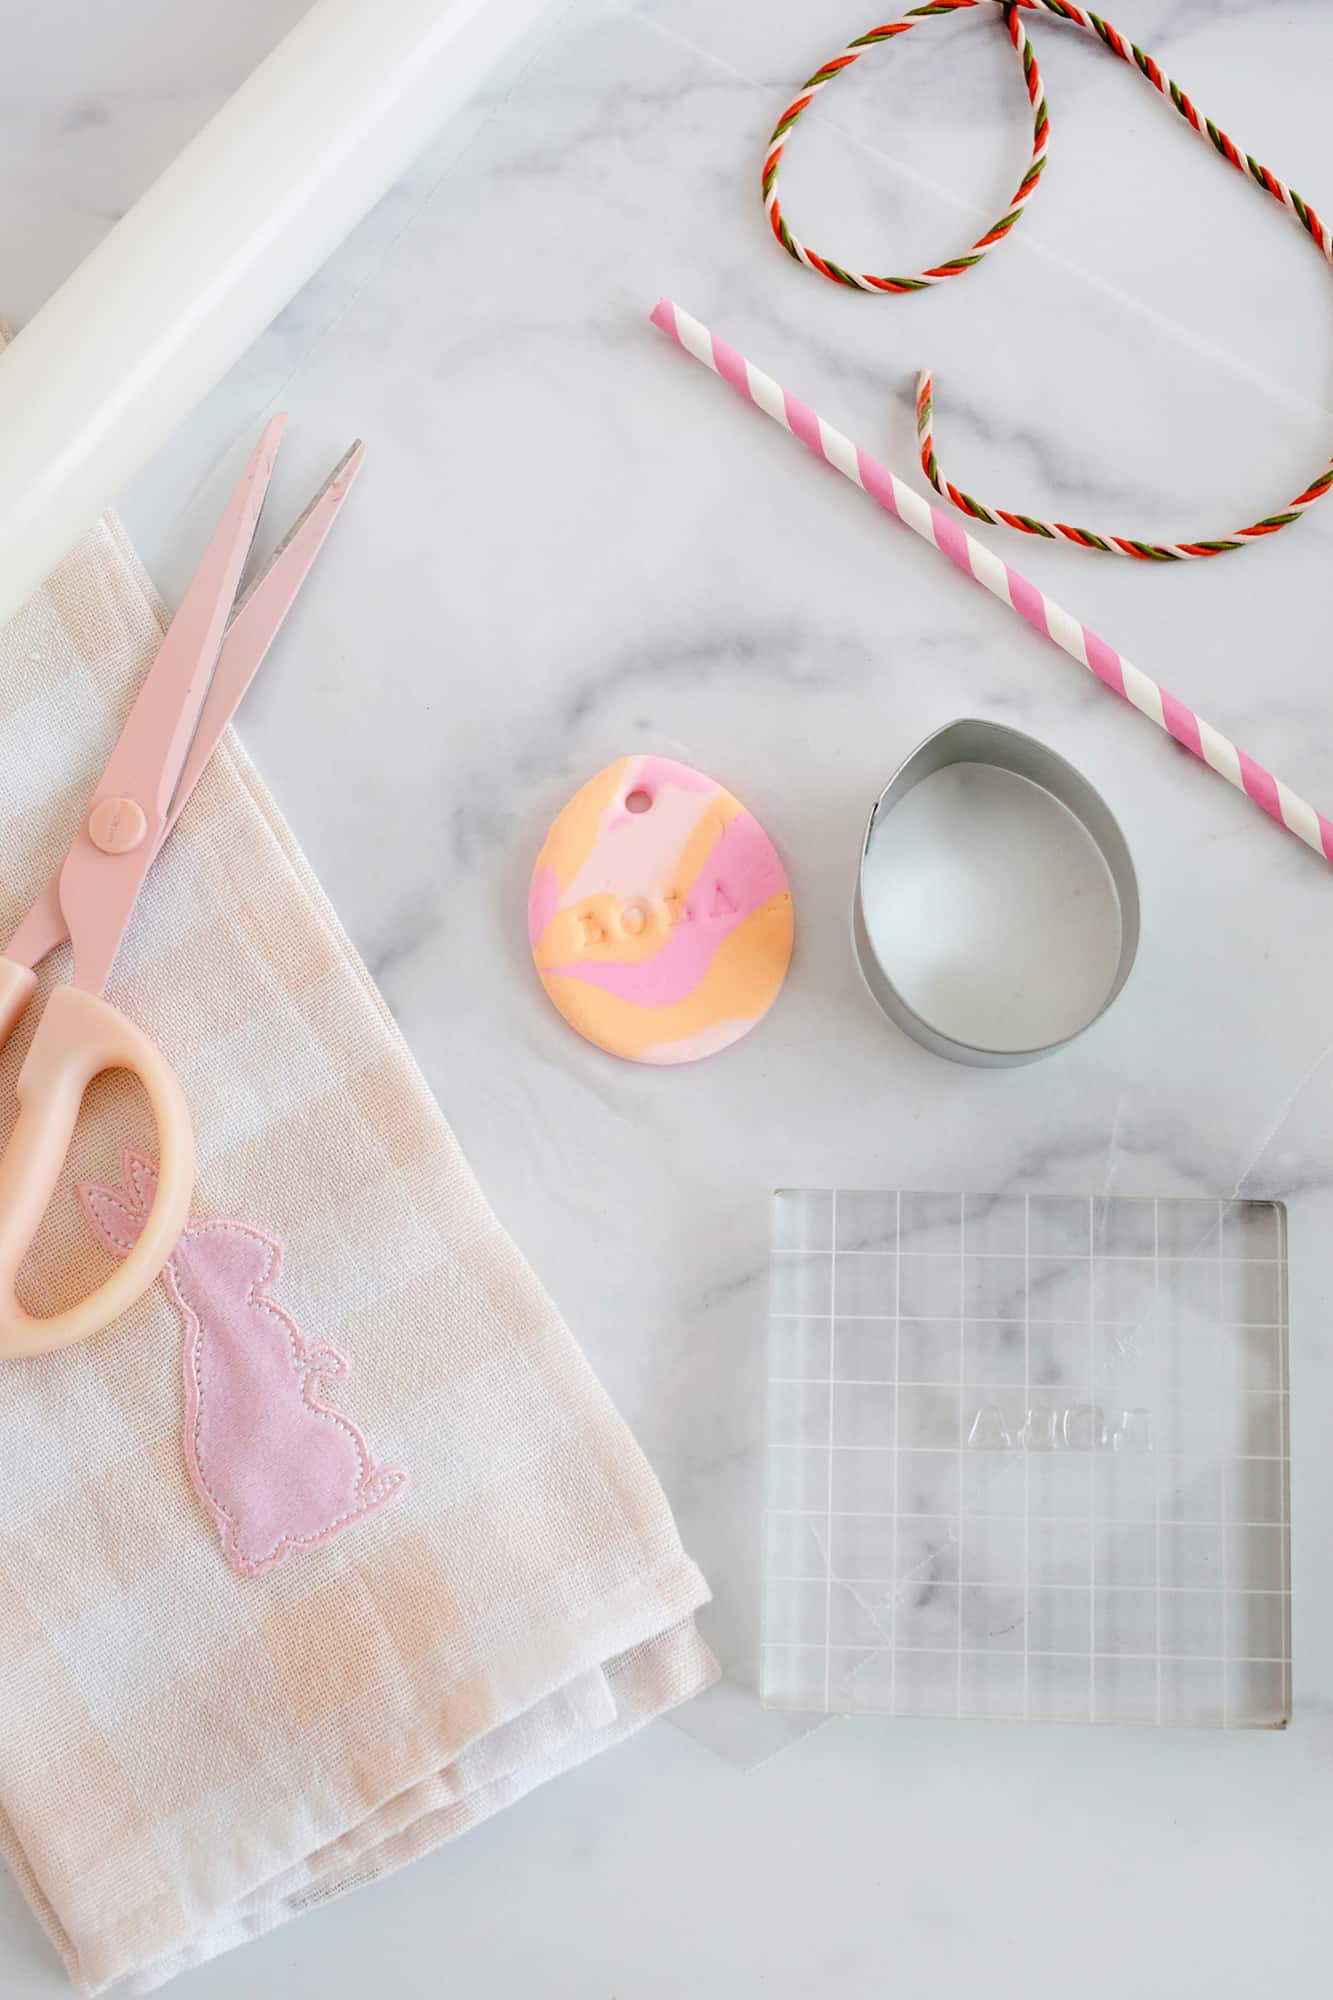
Press your name stamp into the clay (I love those clear sets because you can see exactly where you are placing it) and allow the clay to fully dry.
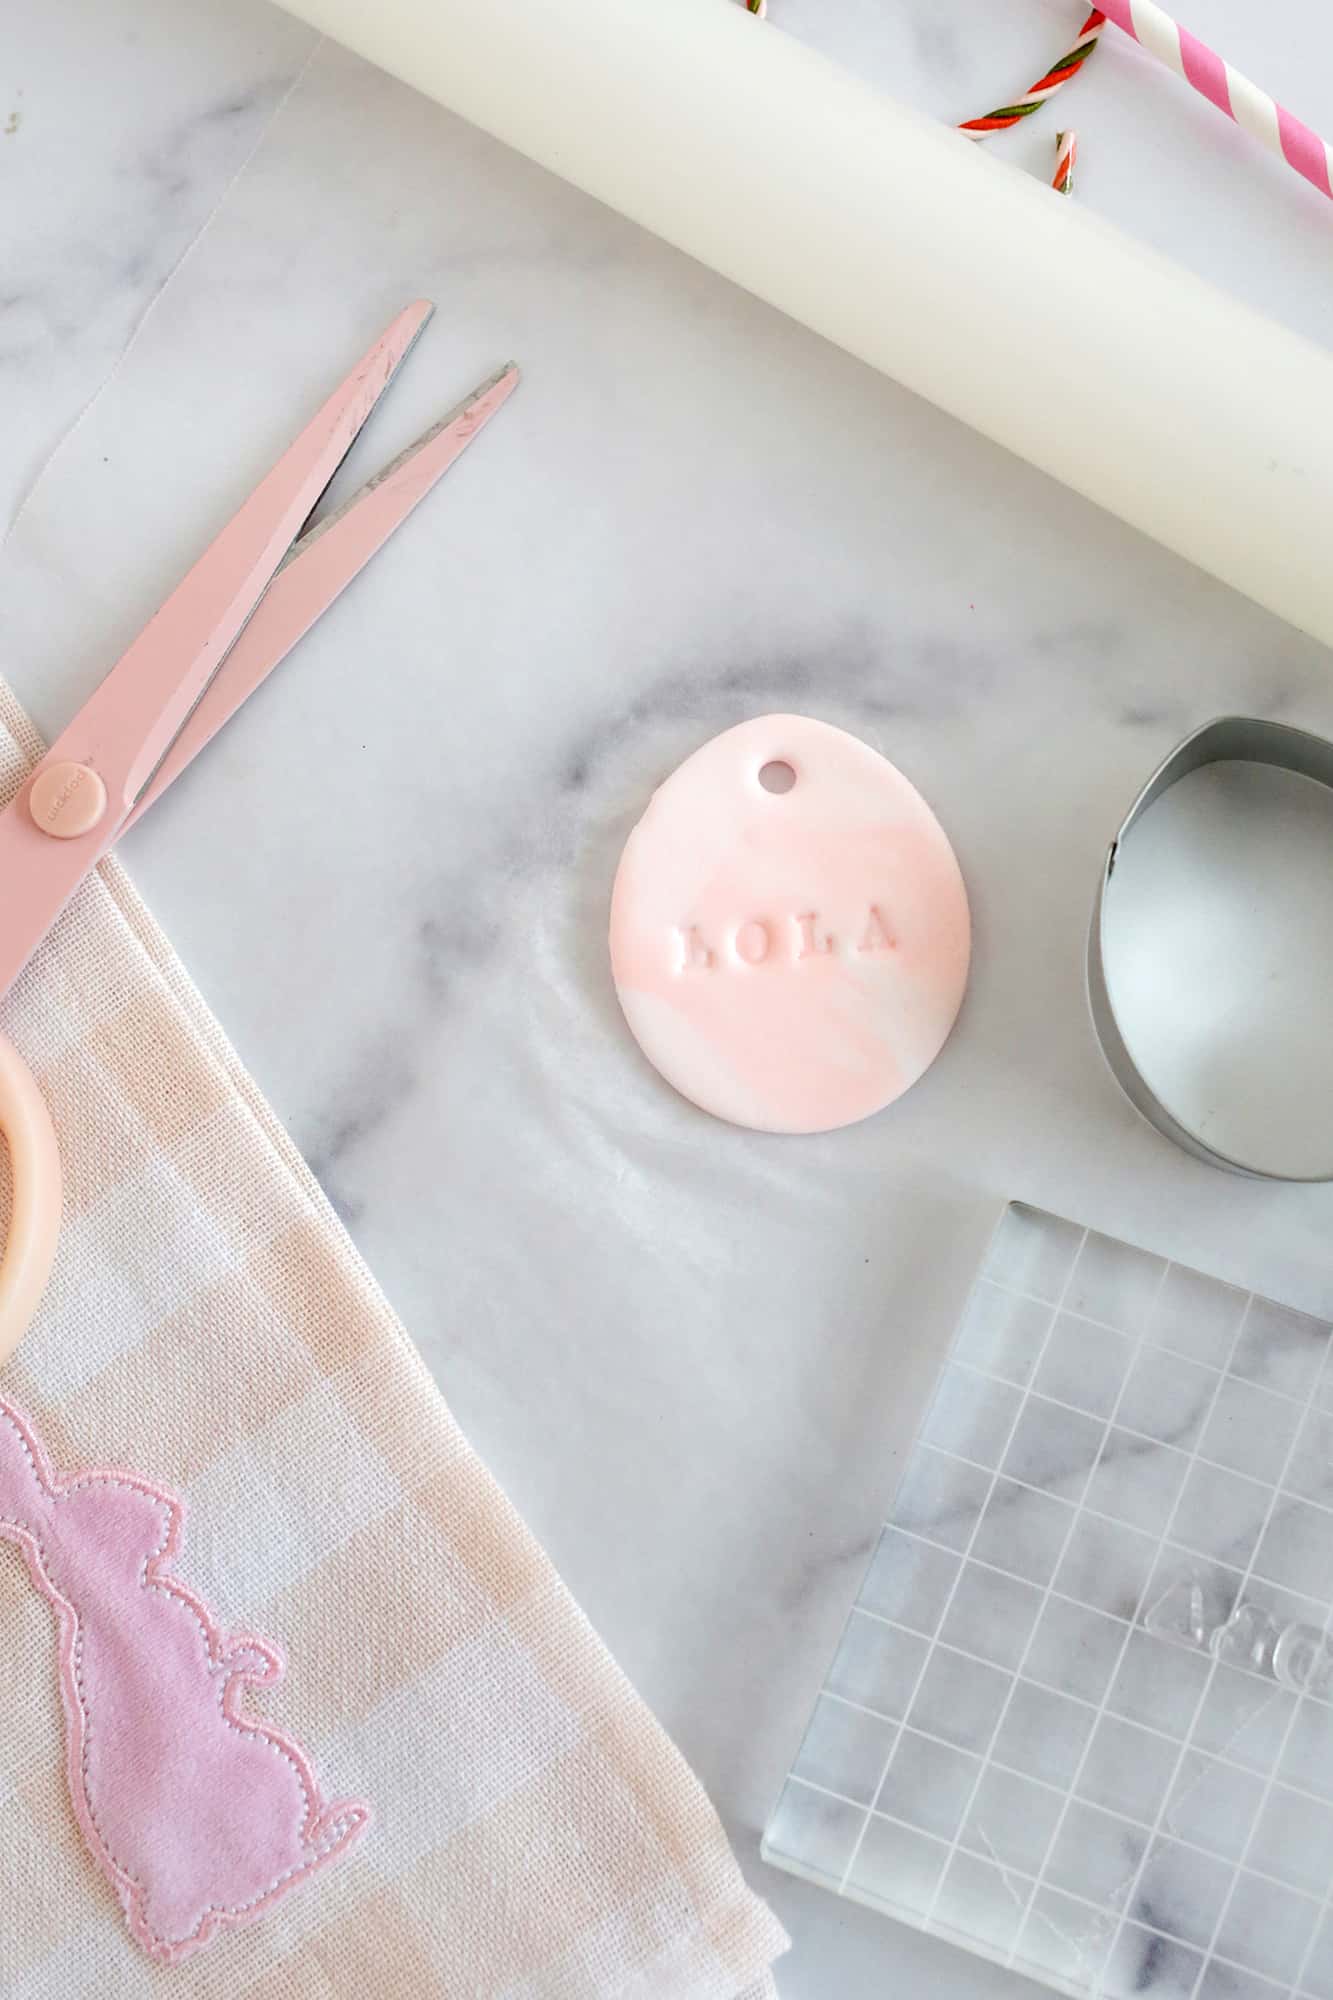
If you have a few rough edges, you can use a fine sandpaper when it’s dry to smooth them out. Otherwise, your tag is ready to use!
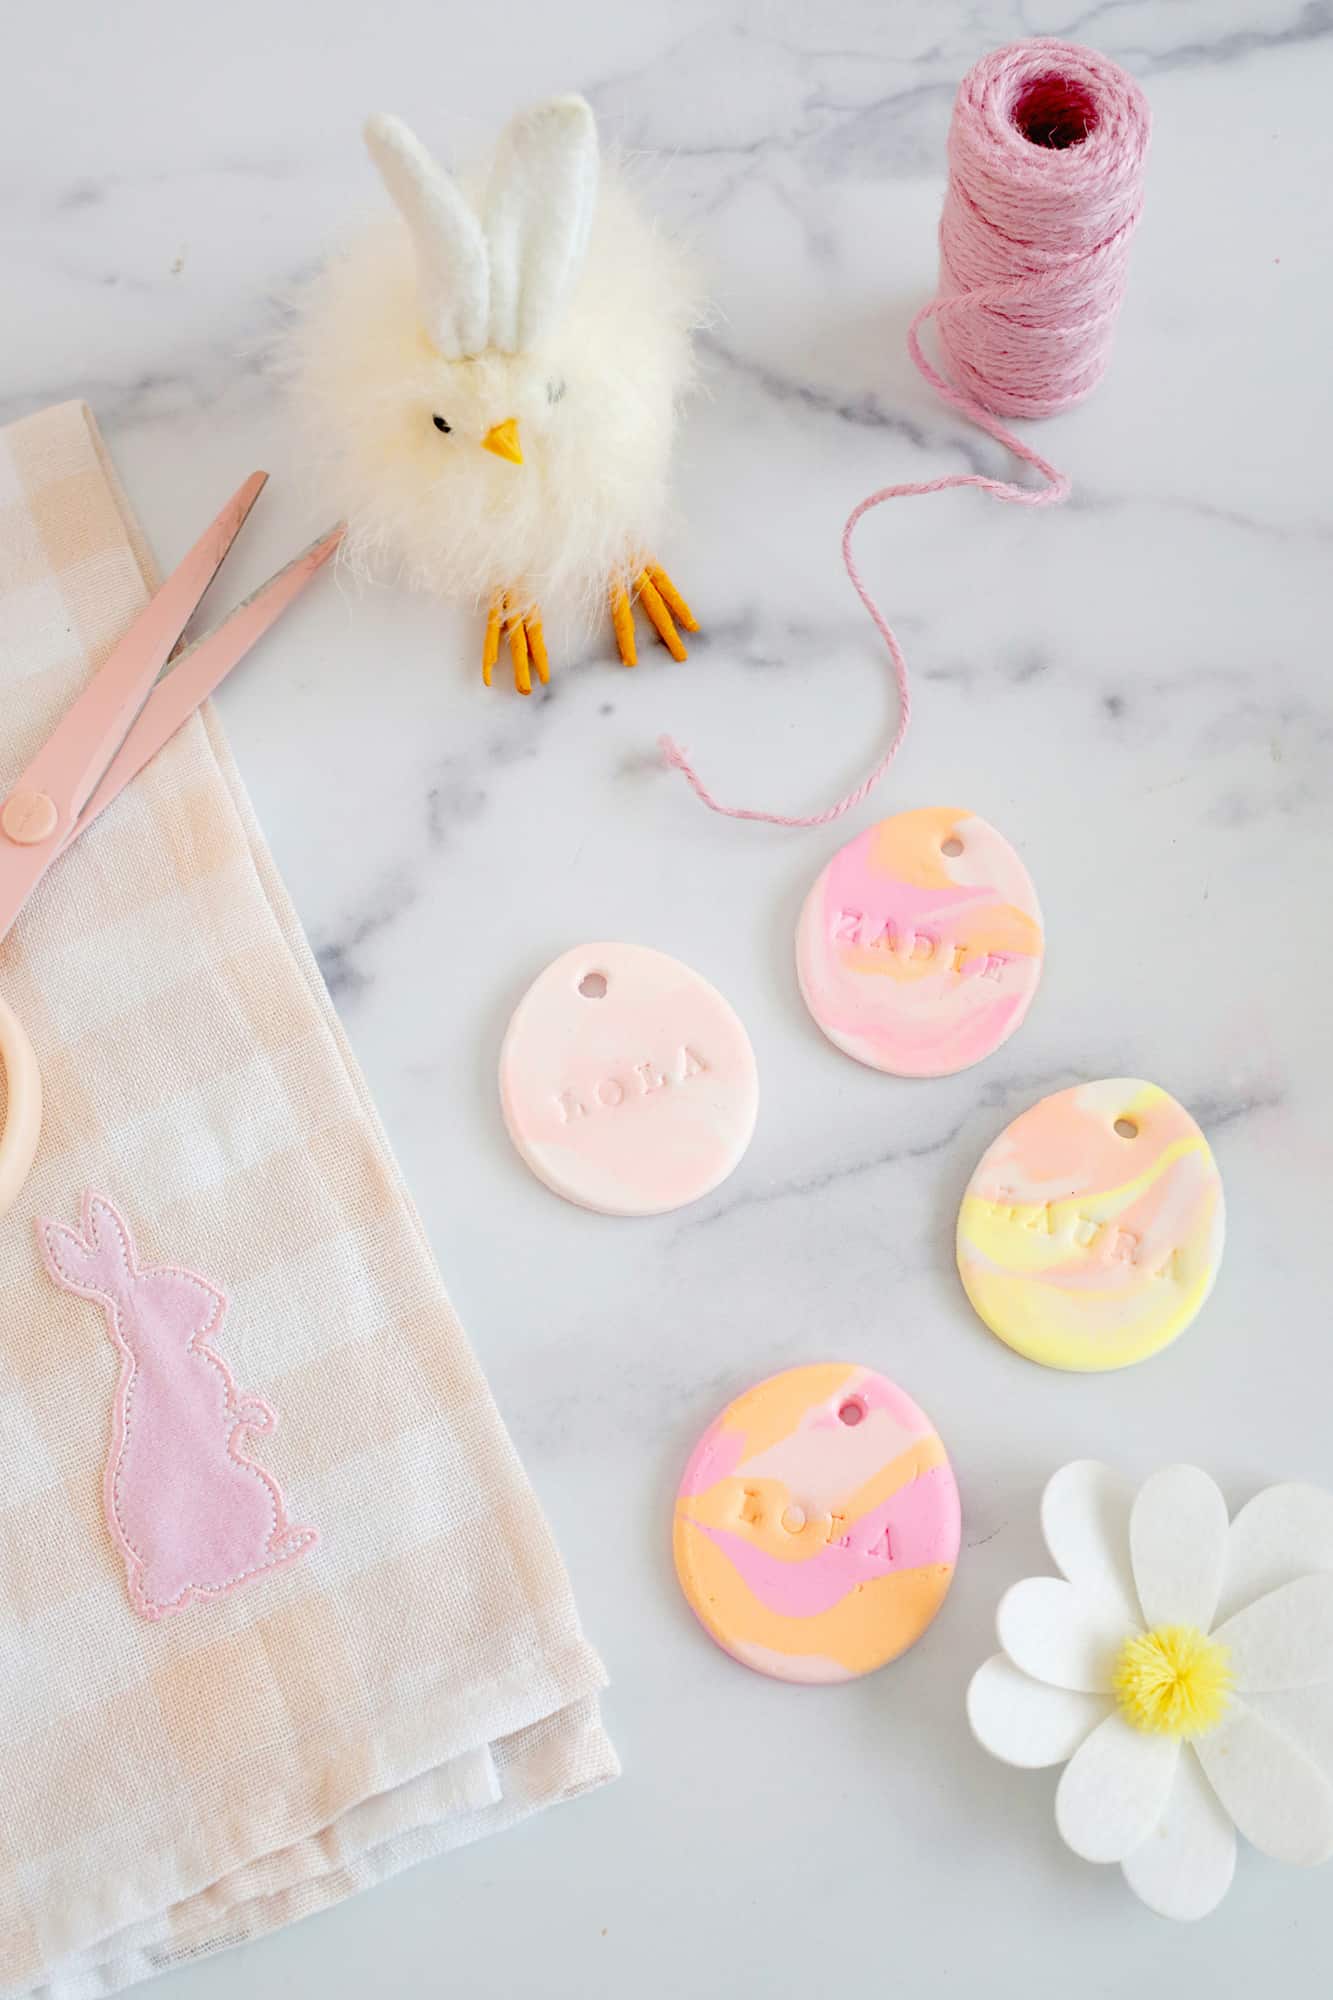
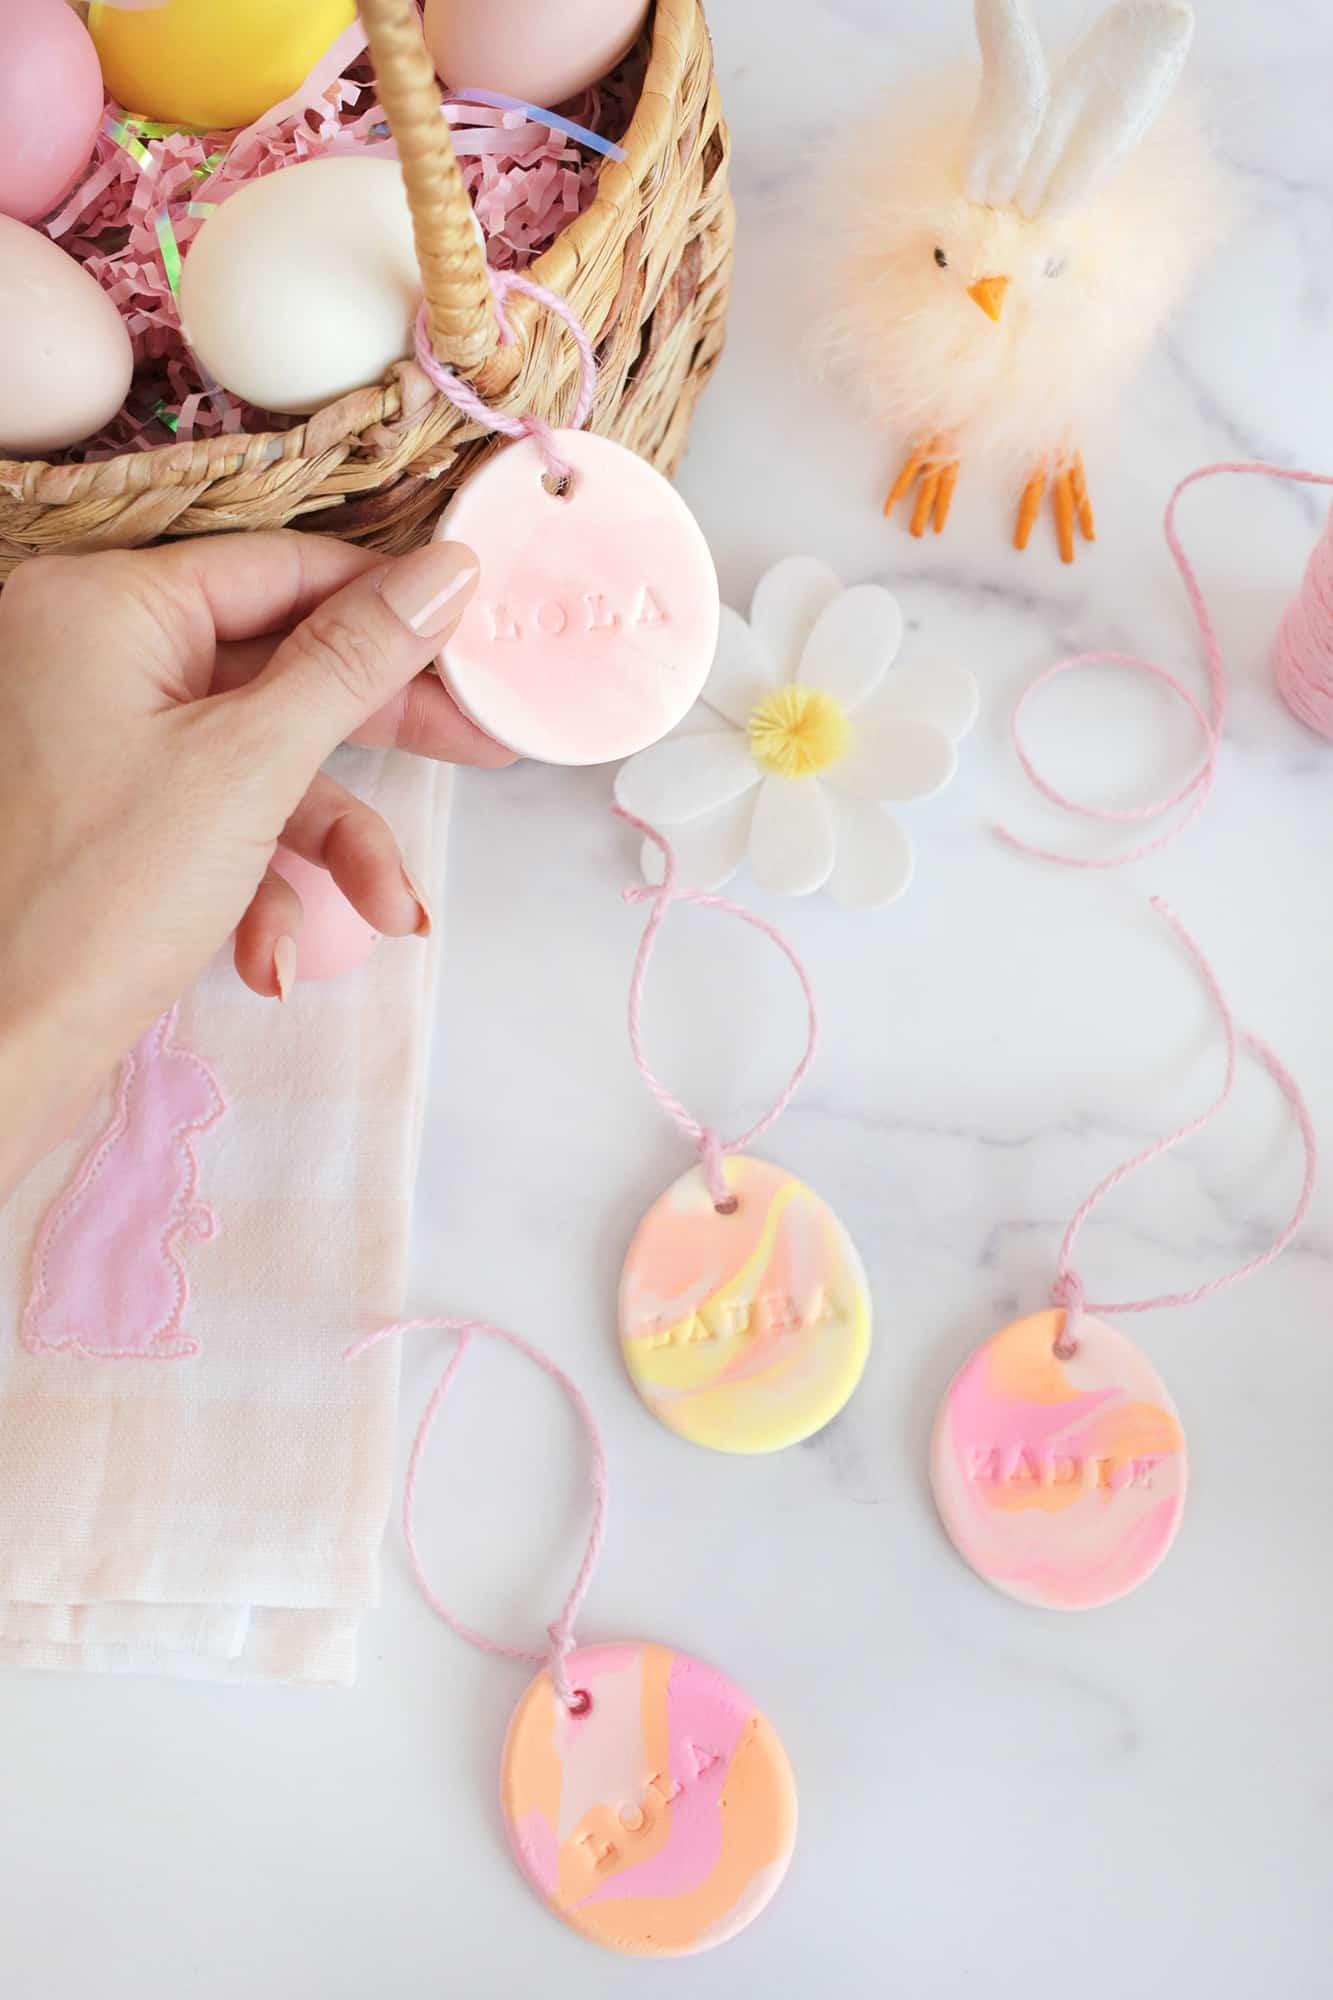
Other ideas for decorating the tags:
- Make solid color tags and then decorate them further with paint (or puff paint).
- Leave them unstamped until they dry and then stamp the name on with ink.
- Use straws or other stamps/objects to create dots or markings while the clay is still soft.
How cute are those?! They come together really quickly, and my 4-year-old had a lot of fun marbling her colors and using the egg cutter to cut them out (we are going to make a garland with hers).
Hope this name tag idea gives you a fun craft to do this Easter season! xo. Laura
Looking for more Easter crafts? Check out …
–Bunny Pom Pom Wreath DIY
–Easter Bunny Brunch + Pink Pancakes!
–Spring Wreath DIY

Marbled Easter Basket Name Tag (with Air-Dry Clay!)
Equipment
- 1 egg cookie cutter or other easter shape like lamb or bunny
- 1 silicone mat or wax paper
- 1 non-stick rolling pin
- 1 letter stamp set
Ingredients
- air dry clay in various colors
- 1 straw
- twine or ribbon
- fine sandpaper optional
Instructions
- First, set up your stamp set with the name you want to stamp so it’s ready to go.
- Then, grab two or three pieces of the colors of air-dry clay that you want to marble. You can either cut out one at a time or roll a larger slab and then cut several from the bigger piece. Roll out short clay “snakes” with each color and then twist them together in one strand. Lay the strand down on your rolling surface and use the rolling pin to flatten out the clay. If you like that pattern of marbling, go ahead and cut out your shape with your cookie cutter, or you can roll it into a few snakes again, re-twist it and see if you like that marbling better before cutting.
- Once your shape is cut, pull away the excess and use your straw to poke a hole in the top to tie the string or ribbon onto.
- Press your name stamp into the clay (I love those clear sets because you can see exactly where you are placing it) and allow the clay to fully dry.
- If you have a few rough edges, you can use a fine sandpaper when it’s dry to smooth them out. Otherwise your tag is ready to use!
Notes
-Make solid color tags and then decorate them further with paint or puff paint
-Leave them unstamped until they dry and then stamp the name on with ink
-Use straws or other stamps/objects to create dots or markings while the clay is still soft
So, I’m making an effort. Here is a spring garland DIY I made recently with yarn carrots. This was partially inspired by Laura’s yarn pumpkin garland, which I think is super cute. You can consider this the spring-themed companion.
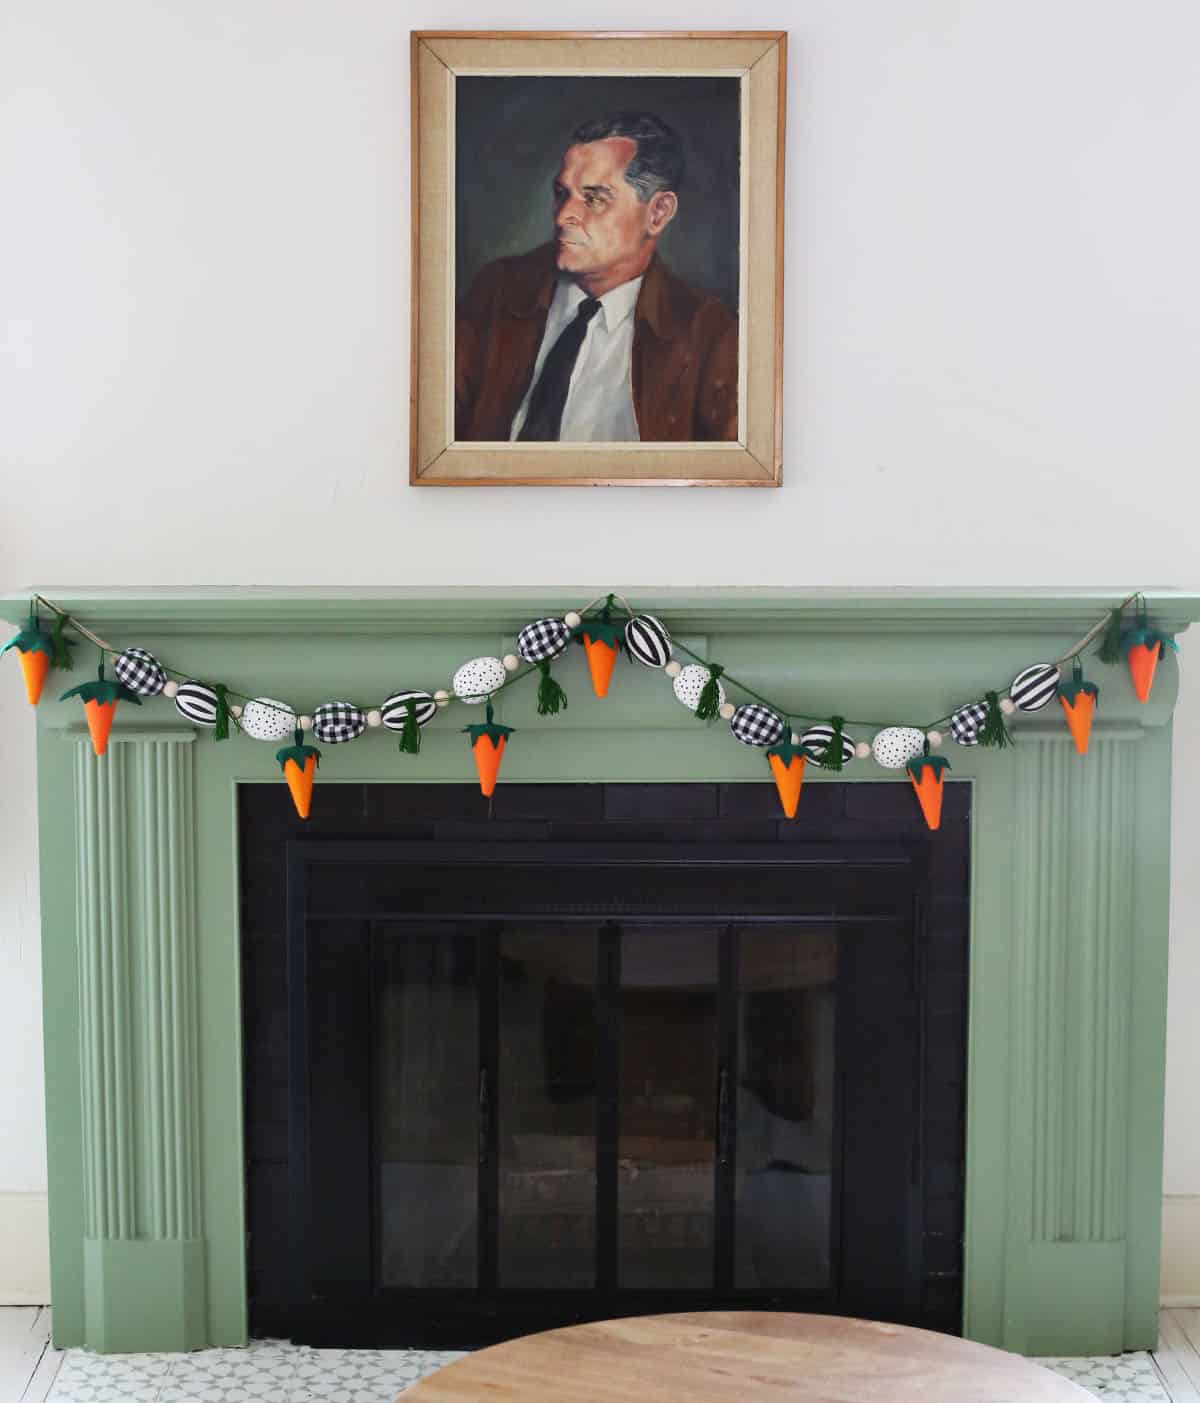
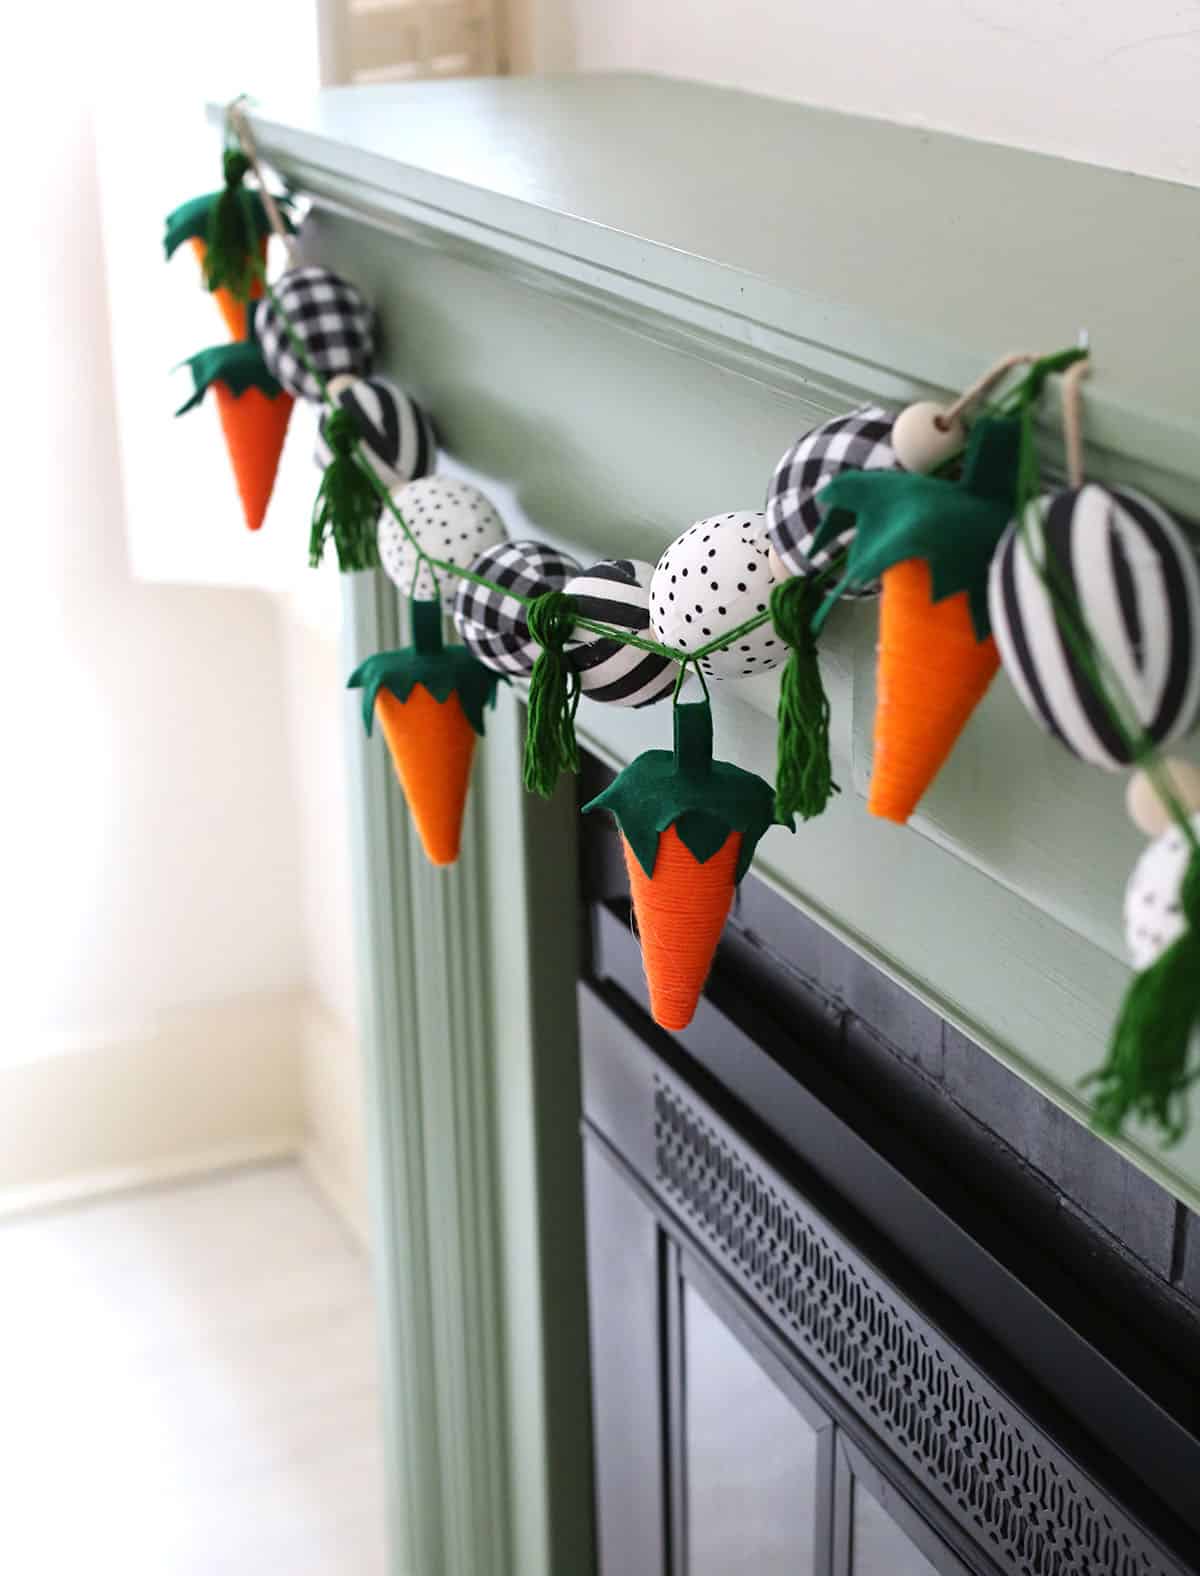
This DIY is basically how to make carrots from foam cones, yarn, and felt. This is a good project if you enjoy hot glue guns—which is when I know I’m crafting.
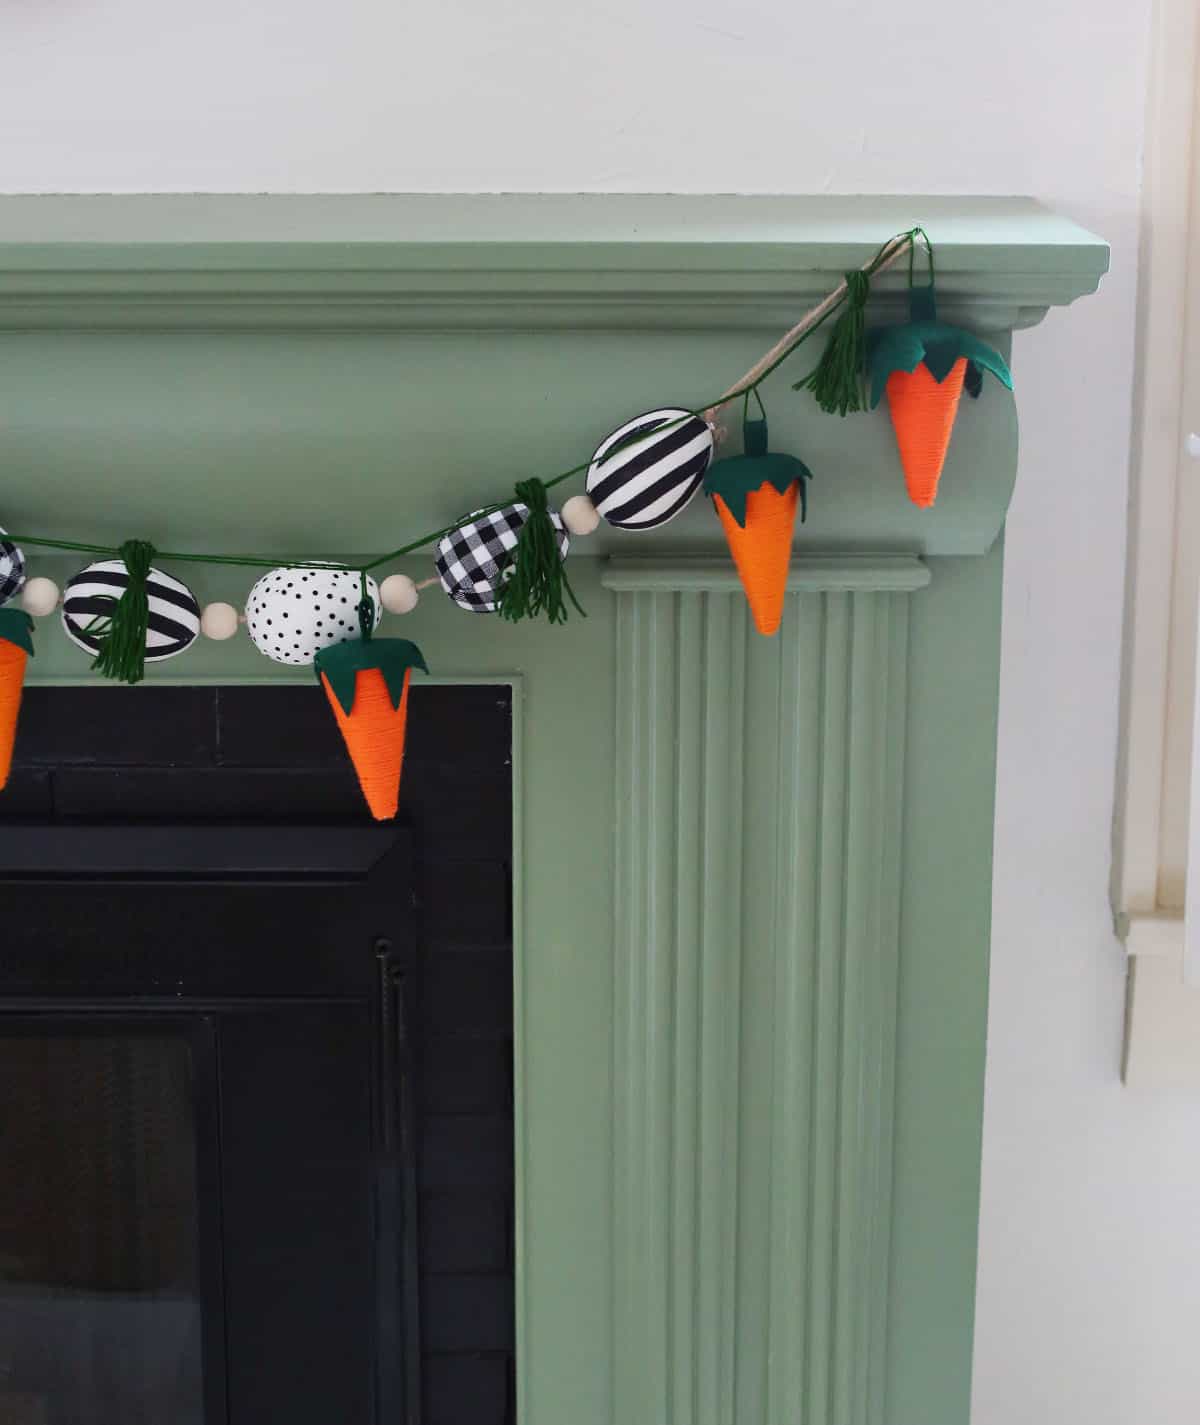
Once you have the carrots made, you can simply add them to yarn or even layer with other garlands you might already have.
Looking for more spring decor inspiration? Try these projects:
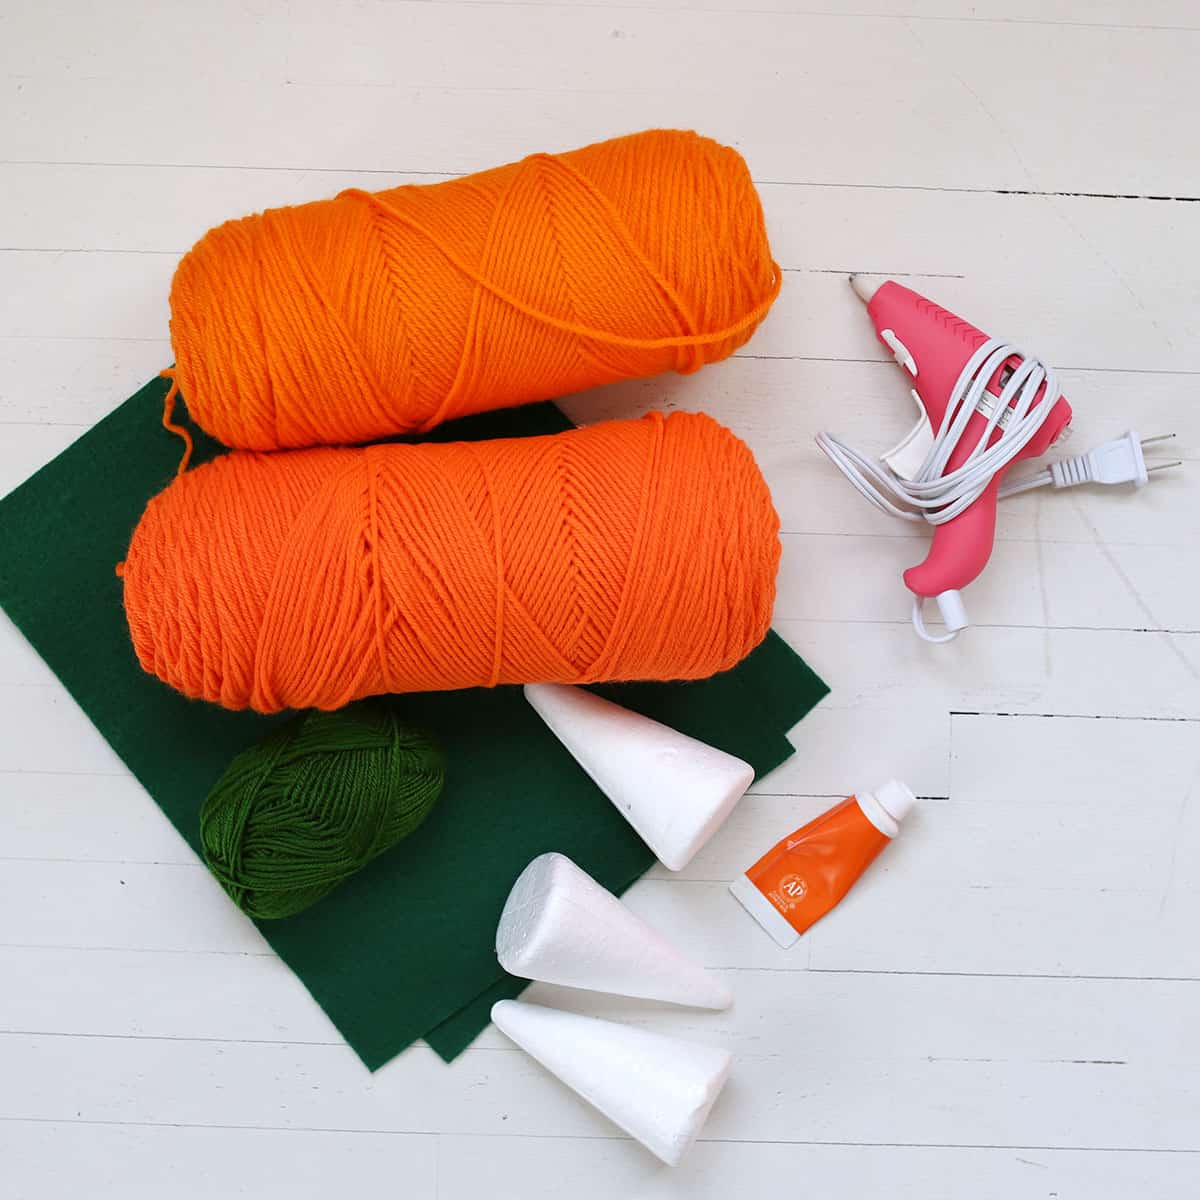
Supplies:
–foam cones
–orange paint and brush
–orange yarn
–green felt
-fabric scissors
–hot glue gun and glue sticks
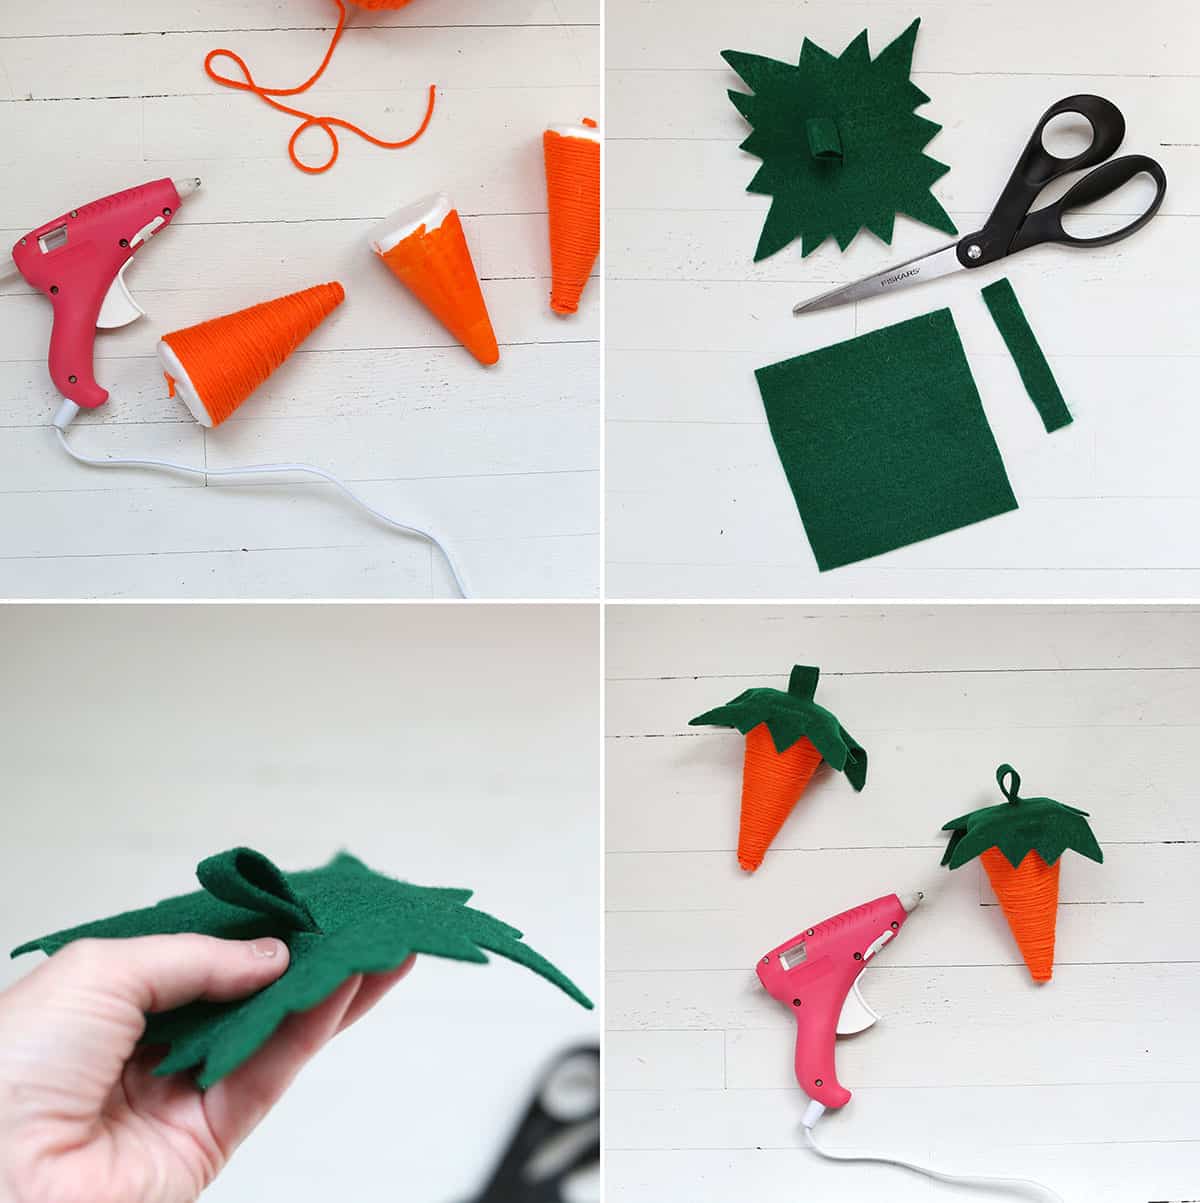
Step One: Paint the foam cones orange. This is so the white foam won’t peek through the yarn.
Step Two: Wrap the (dry) painted cones in orange yarn using hot glue as the adhesive. I think this is fairly straightforward, but you can see me do this in the video above if needed.
Step Three: Create the carrot tops from green felt.
Step Four: Attach the tops with hot glue. Now you can hang these carrots to a garland, wreath, or however you’d like to decorate with them.
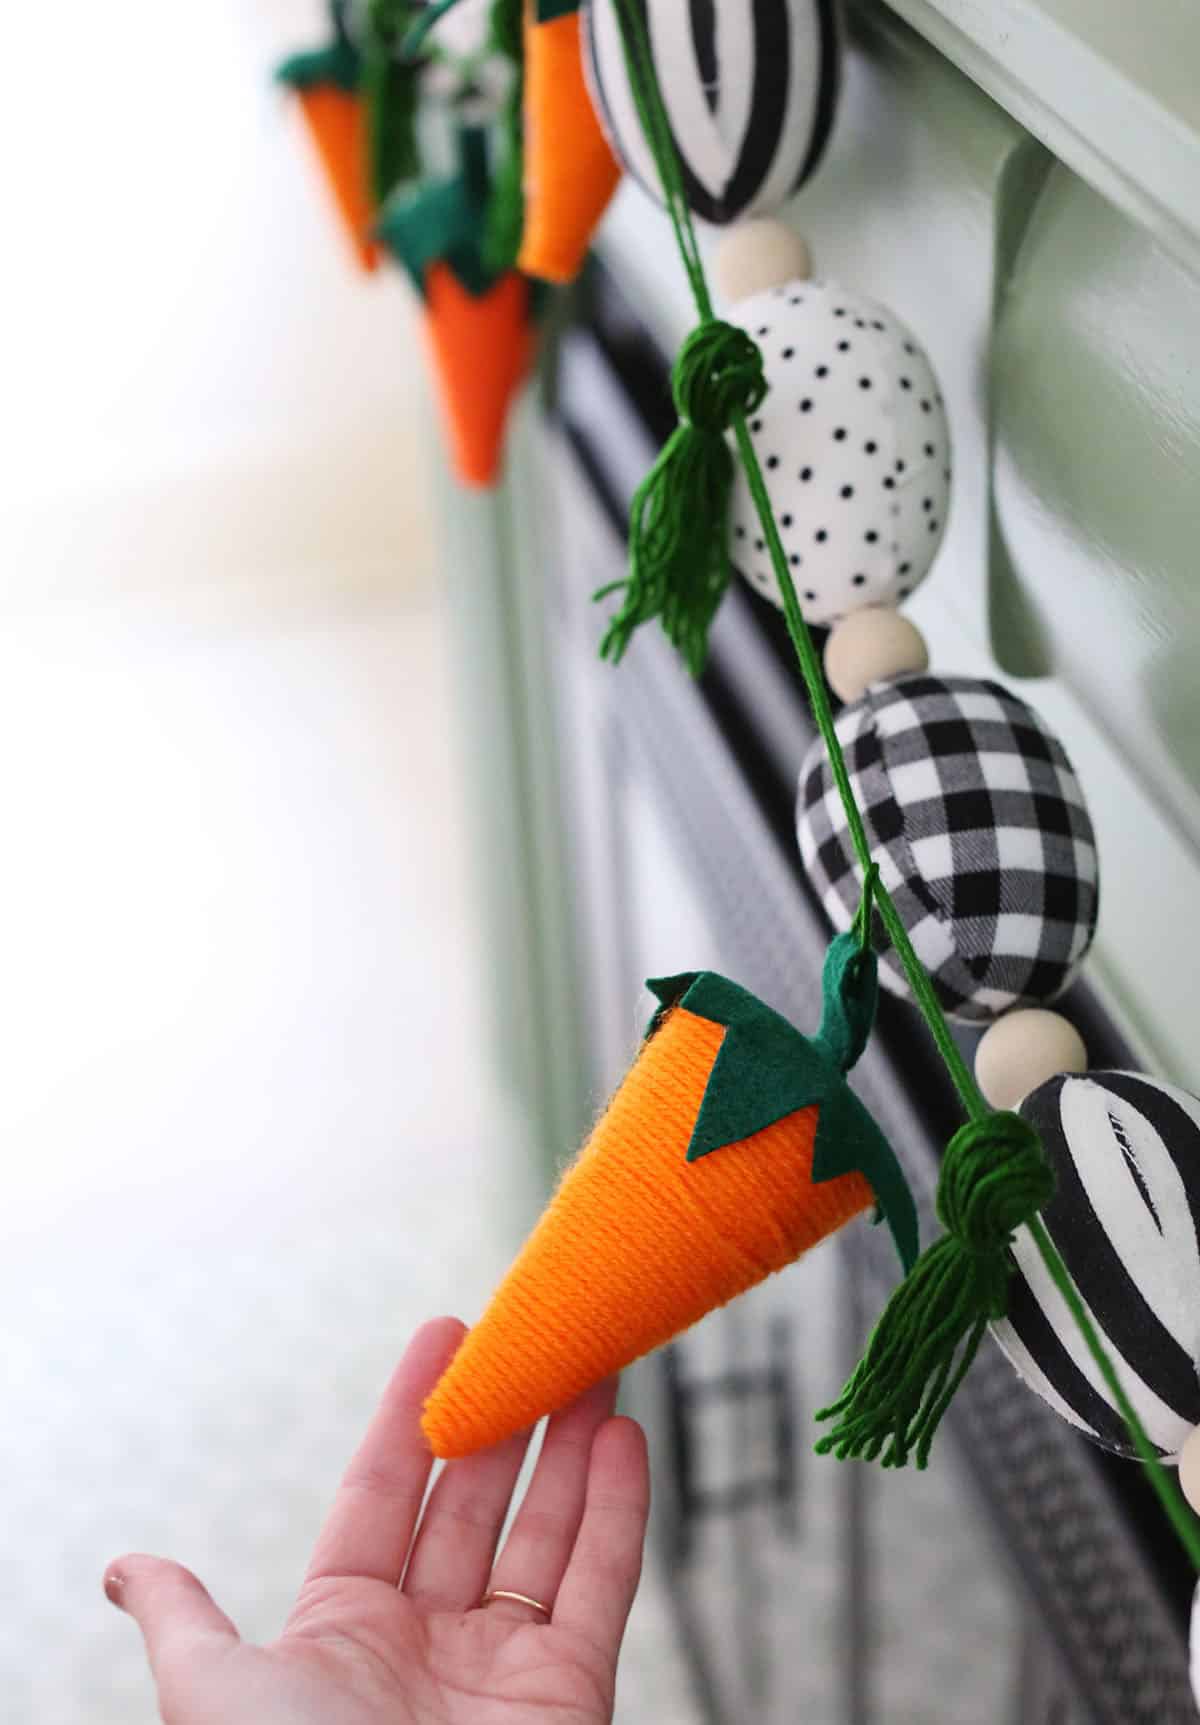
You can keep your garland super simple of layer it with other garlands. Read this post on how to transform your Christmas garland for tips on layering garland to make them feel more full and visually pleasing.
I layered my yarn carrot garland with a black and white Easter egg garland I already had. I like the contrast of the colors together.
Personally, I love a garland on our fireplace mantel. I hang it using just a few small nails. But, if you need a damage free option, I’d recommend using Command Strips.
You could also hang a seasonal garland on a piano, doorway, open shelf, or above your bed.
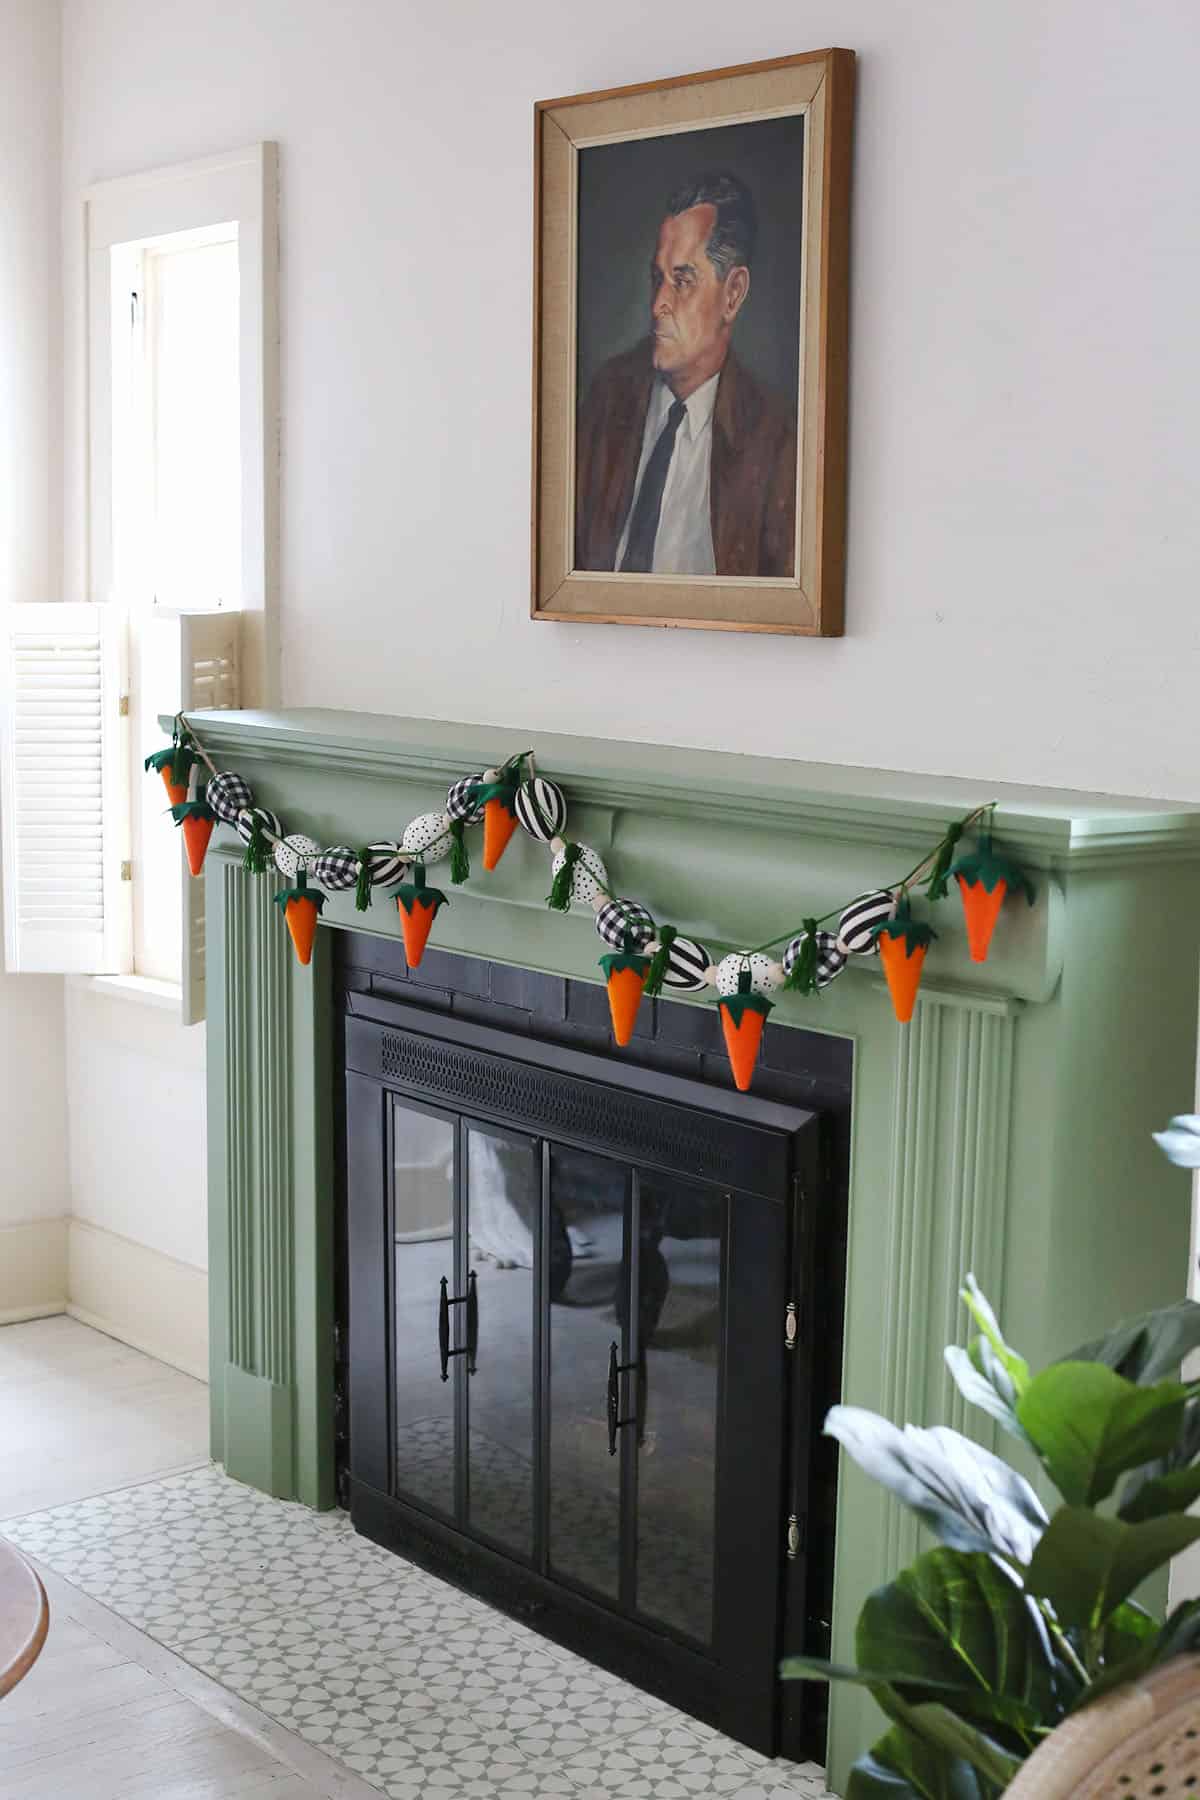
Thanks for letting me share my spring garland DIY idea with you. I love how it looks hanging on our mantel this month, and it makes me even more excited for the season.
And in case you are curious, the portrait above my mantle is vintage. It’s actually a family heirloom—a portrait of my great-grandfather, Rafael Vegas. xo. Emma
Spring Garland DIY Idea – Yarn Carrots
Equipment
- fabric scissors
- hot glue gun
Ingredients
- white foam cones
- orange paint + brush
- orange yarn
- green felt
- hot glue sticks
Instructions
- Paint the foam cones orange. This is so the white foam won’t peek through the yarn.
- Wrap the (dry) painted cones in orange yarn, using hot glue as the adhesive. I think this is fairly straightforward, but you can see me do this in the video above if needed.
- Create the carrot tops from green felt.
- Attach the tops with hot glue. Now you can hang these carrots to a garland, wreath, or however you’d like to decorate with them.
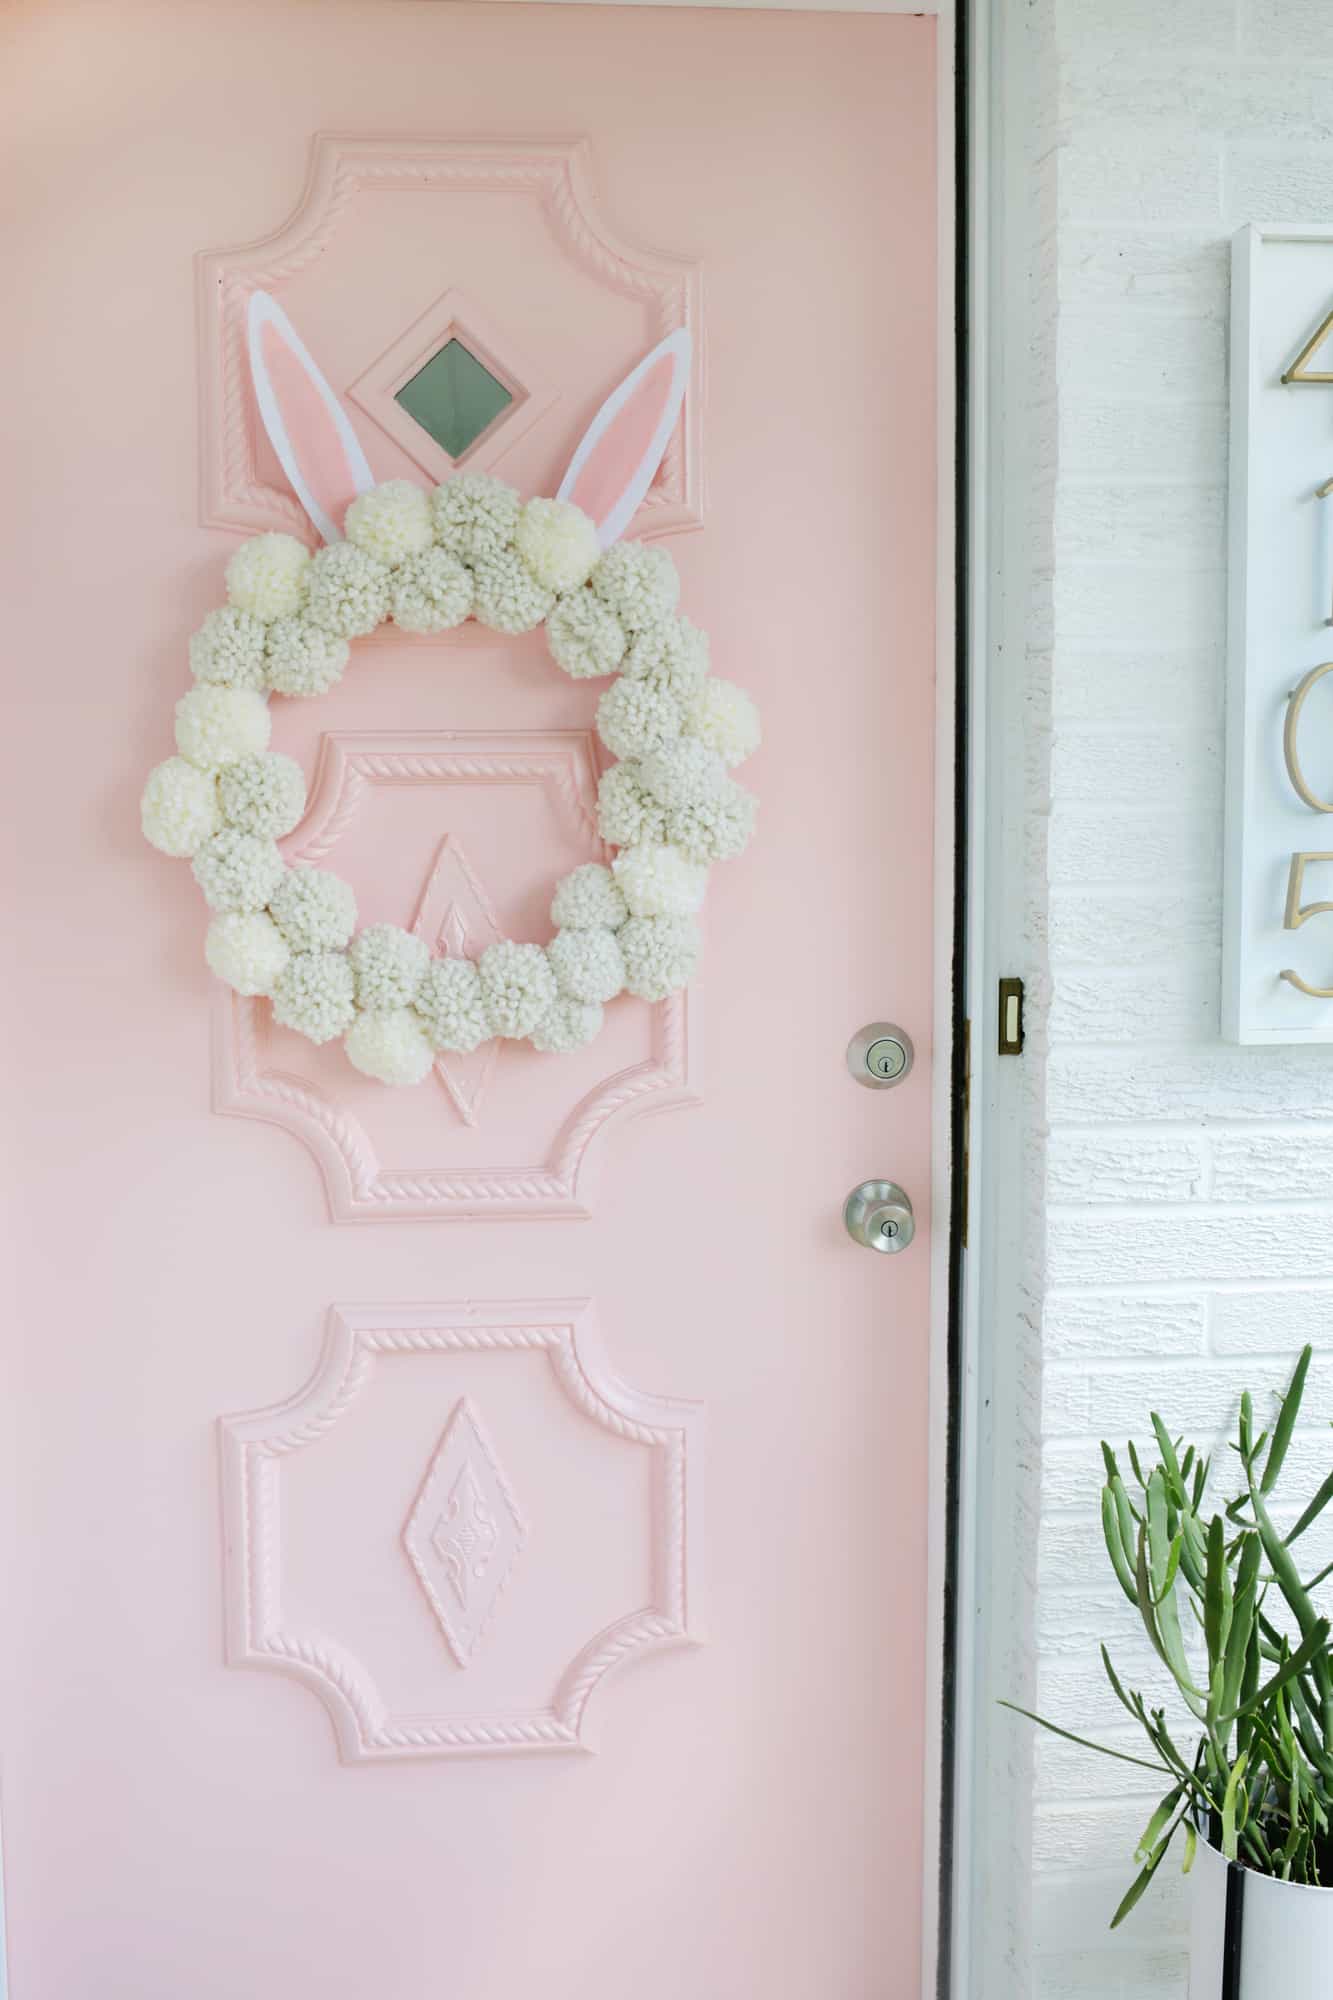 I thought I had my stash of Easter decorations all set for the year until I was browsing around a craft store and saw a little pom pom bunny ear wreath and thought, “Uh oh … that’s pretty cute!”
The one I saw at the store was rather small and I like to do bigger wreaths on my front door, so I decided to DIY my own version to add a little more Easter flair to the front porch. Here’s what I did!
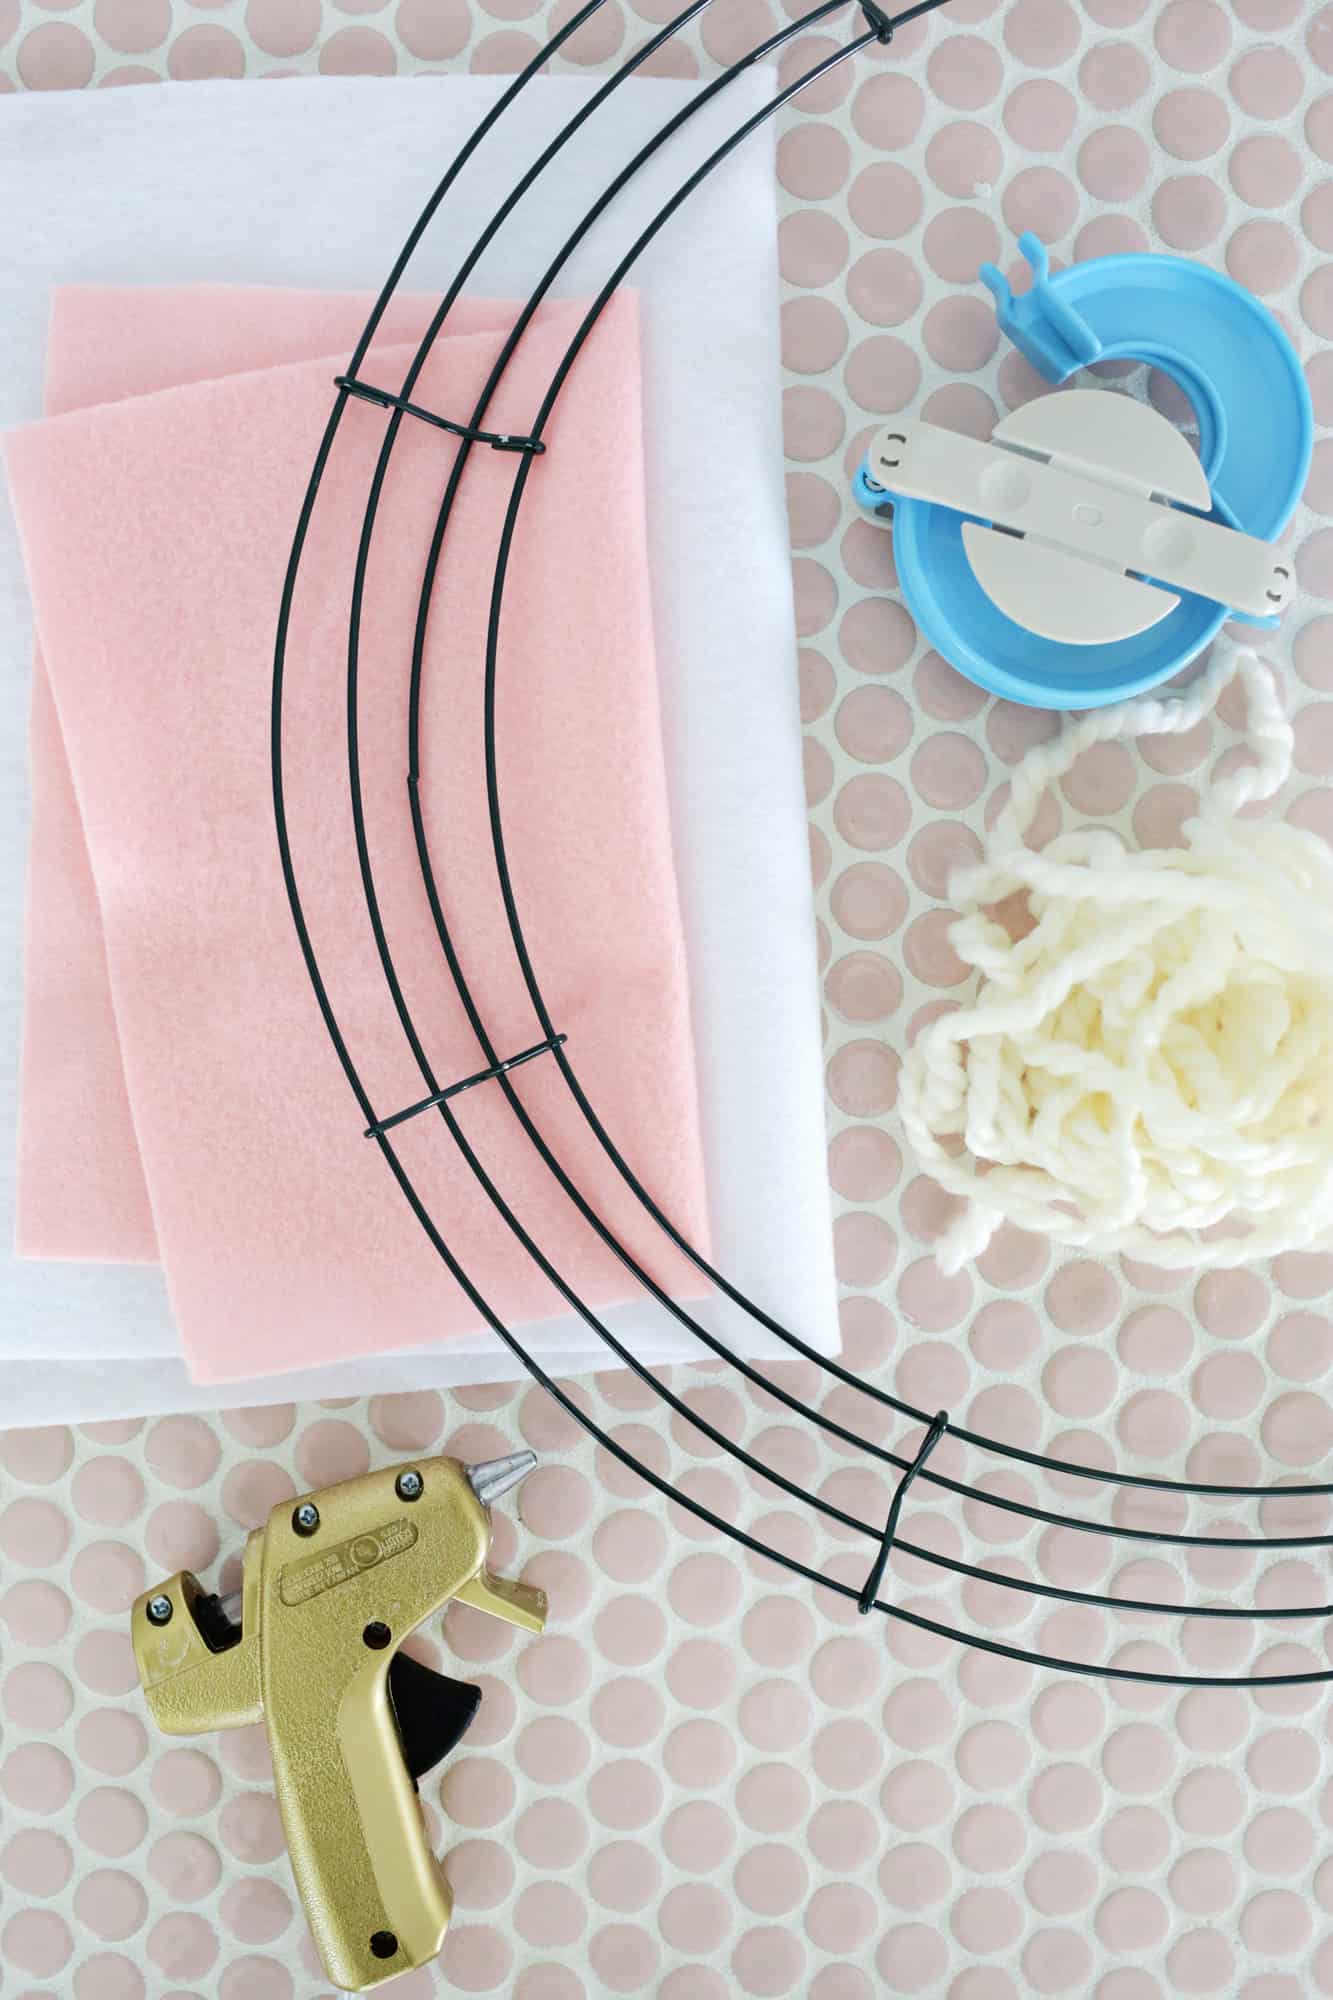
Supplies:
–wire wreath frame (in whatever size you want!)
–thicker white or cream yarn (I used 3 packs to make mine)
–large pom pom maker
-white scrap fabric
–hot glue gun
–pink and white felt
–floral wire (or other thin wire)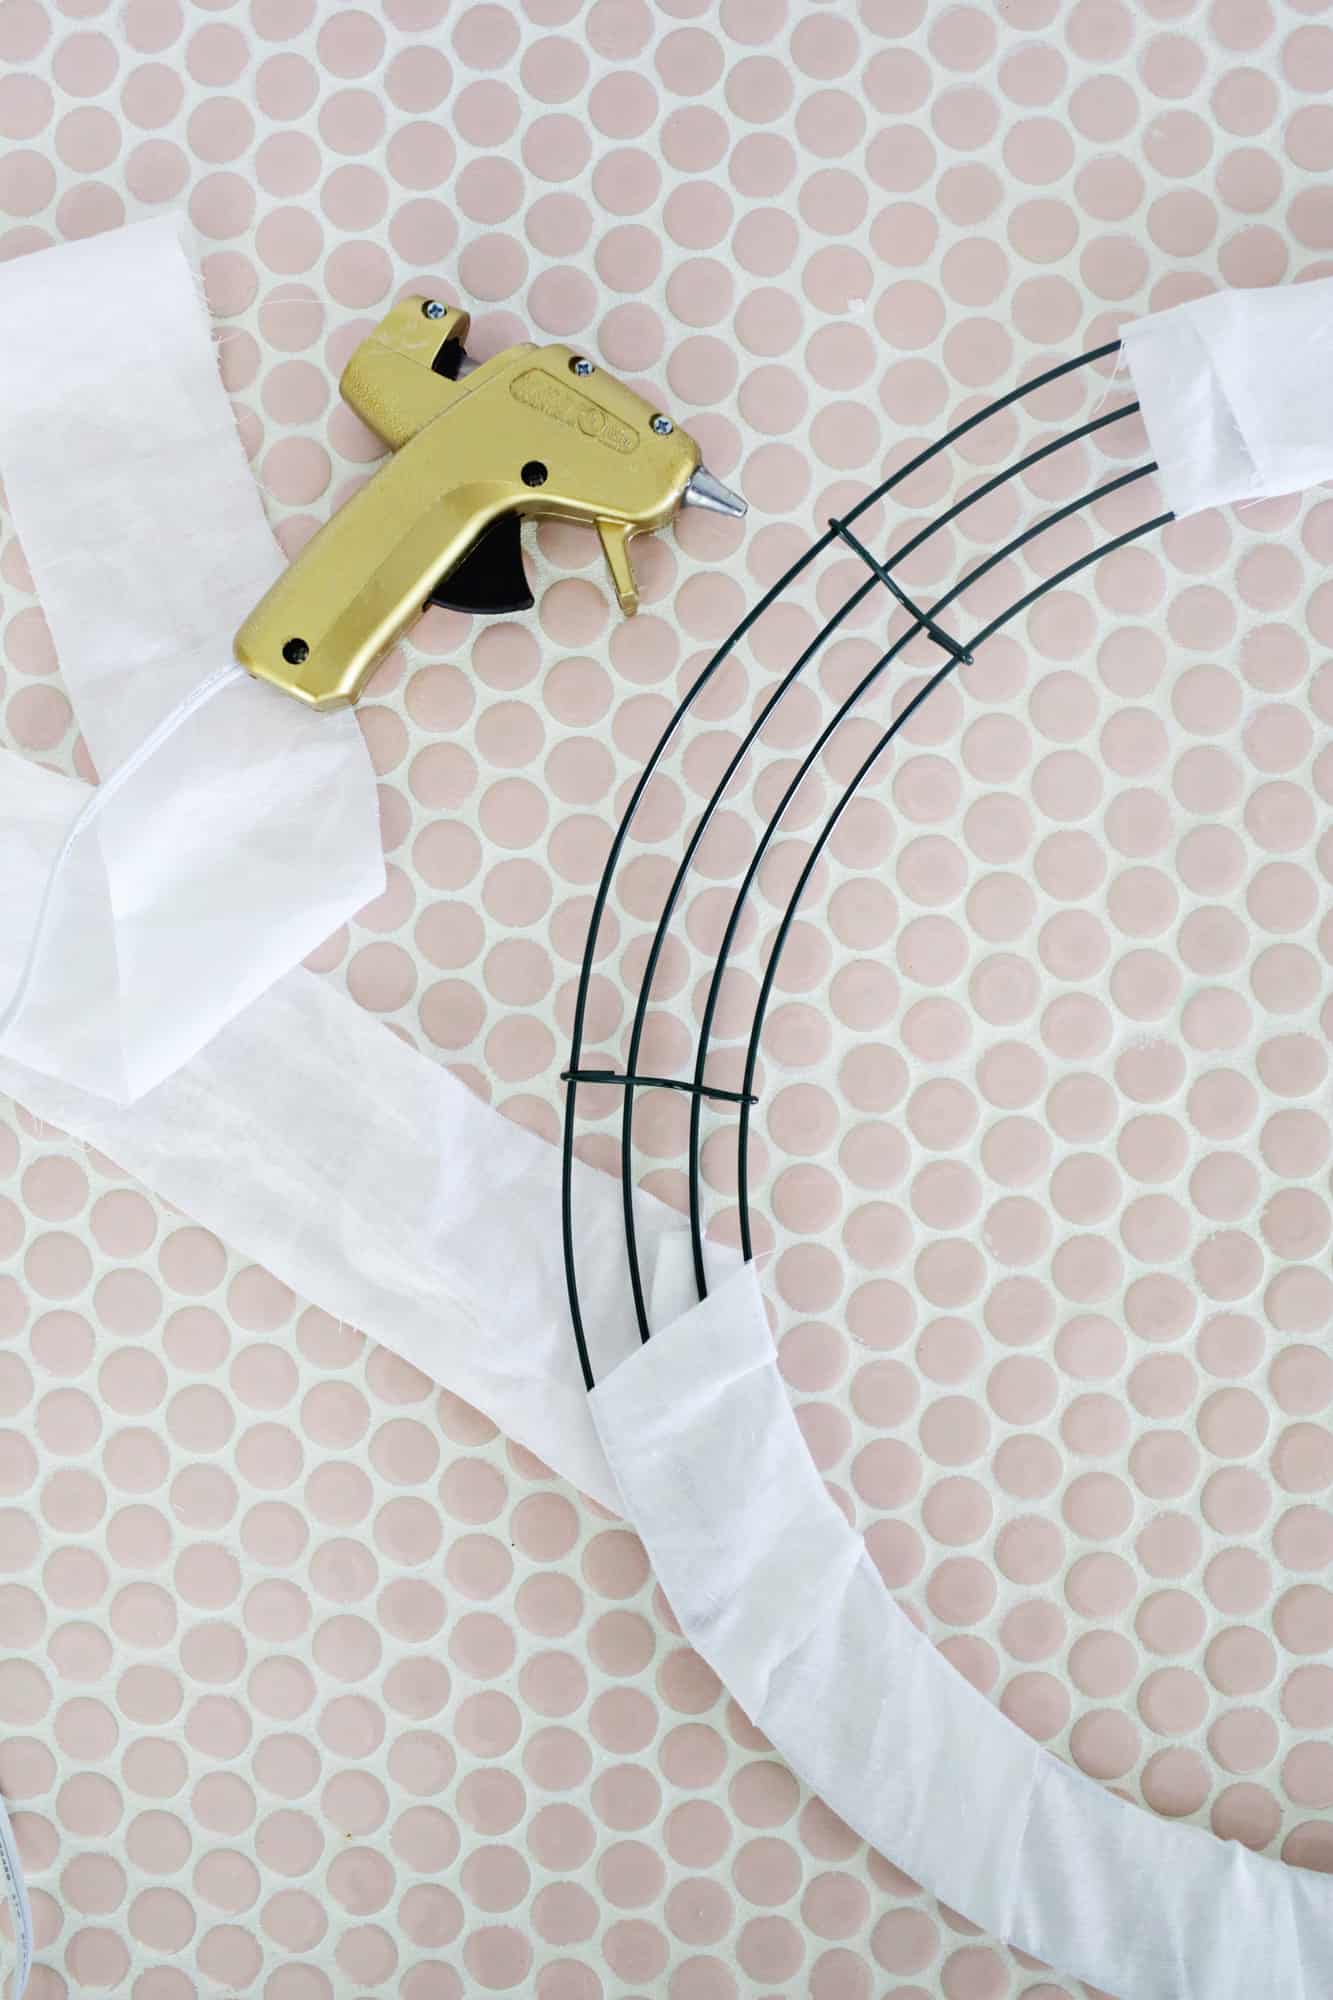
First, I cut several long 3″ wide strips of white scrap fabric and wrapped my wreath frame with the fabric to give me a base to glue my pom poms onto (just use the hot glue to attach strips of fabric together). Then, I cut two long white ears out of felt and two smaller pink centers. It’s basically a daisy-petal shape with the bottom cut off—no need to be perfect!
I glued some wire to the pink centers so the ears would stand up and then glued the centers to the white ears, sandwiching the wire between them.
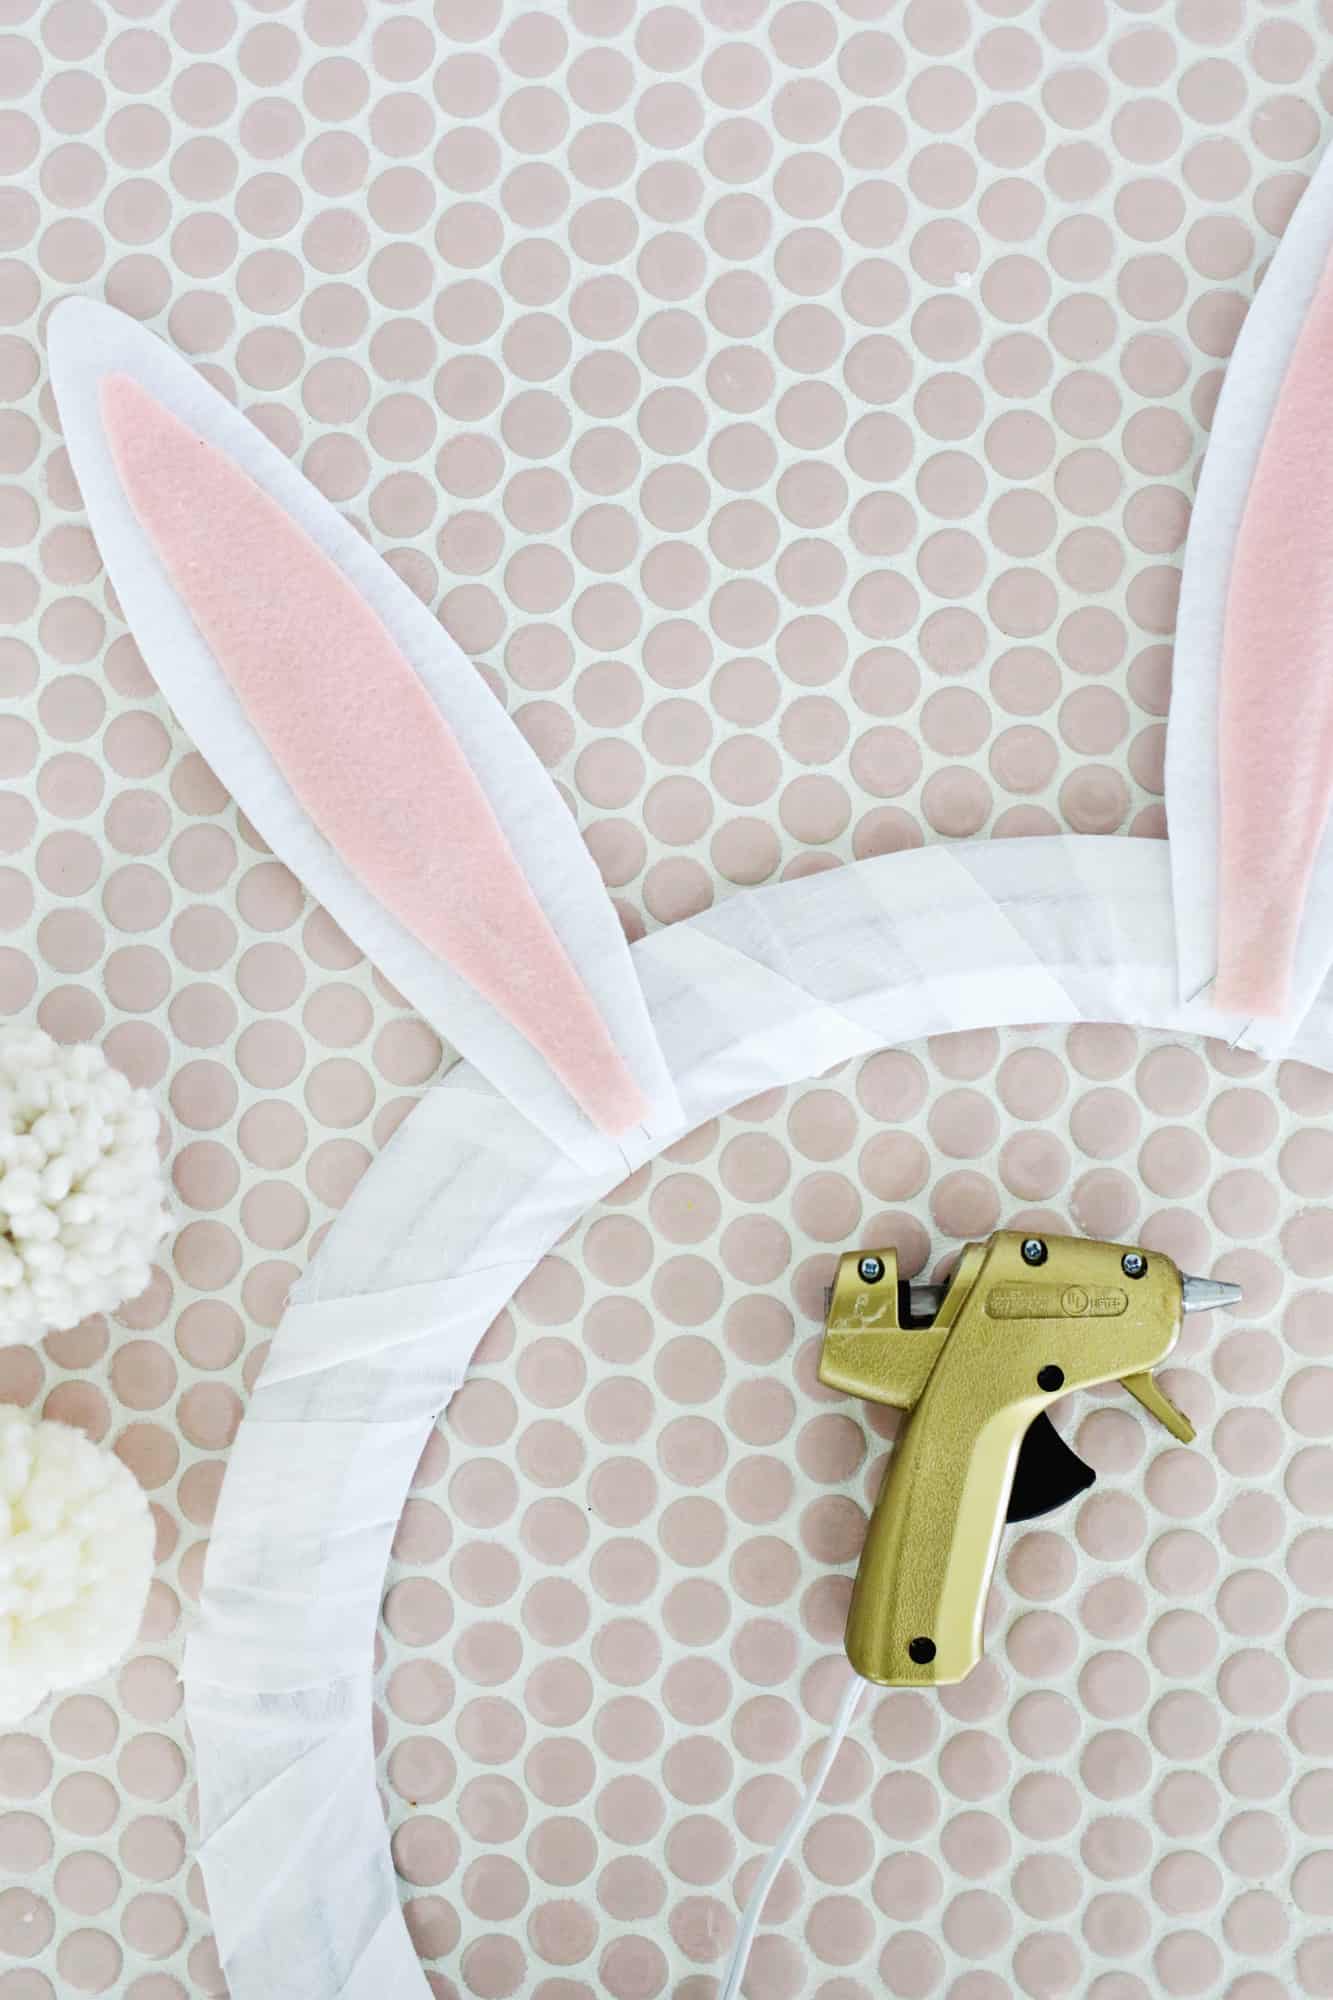 Next, I glued the ears to the top of the frame.
I made a punch of pom poms with my pom pom maker (totally worth having those makers if you like to make pom poms for things) in two shades of white for a little visual variety.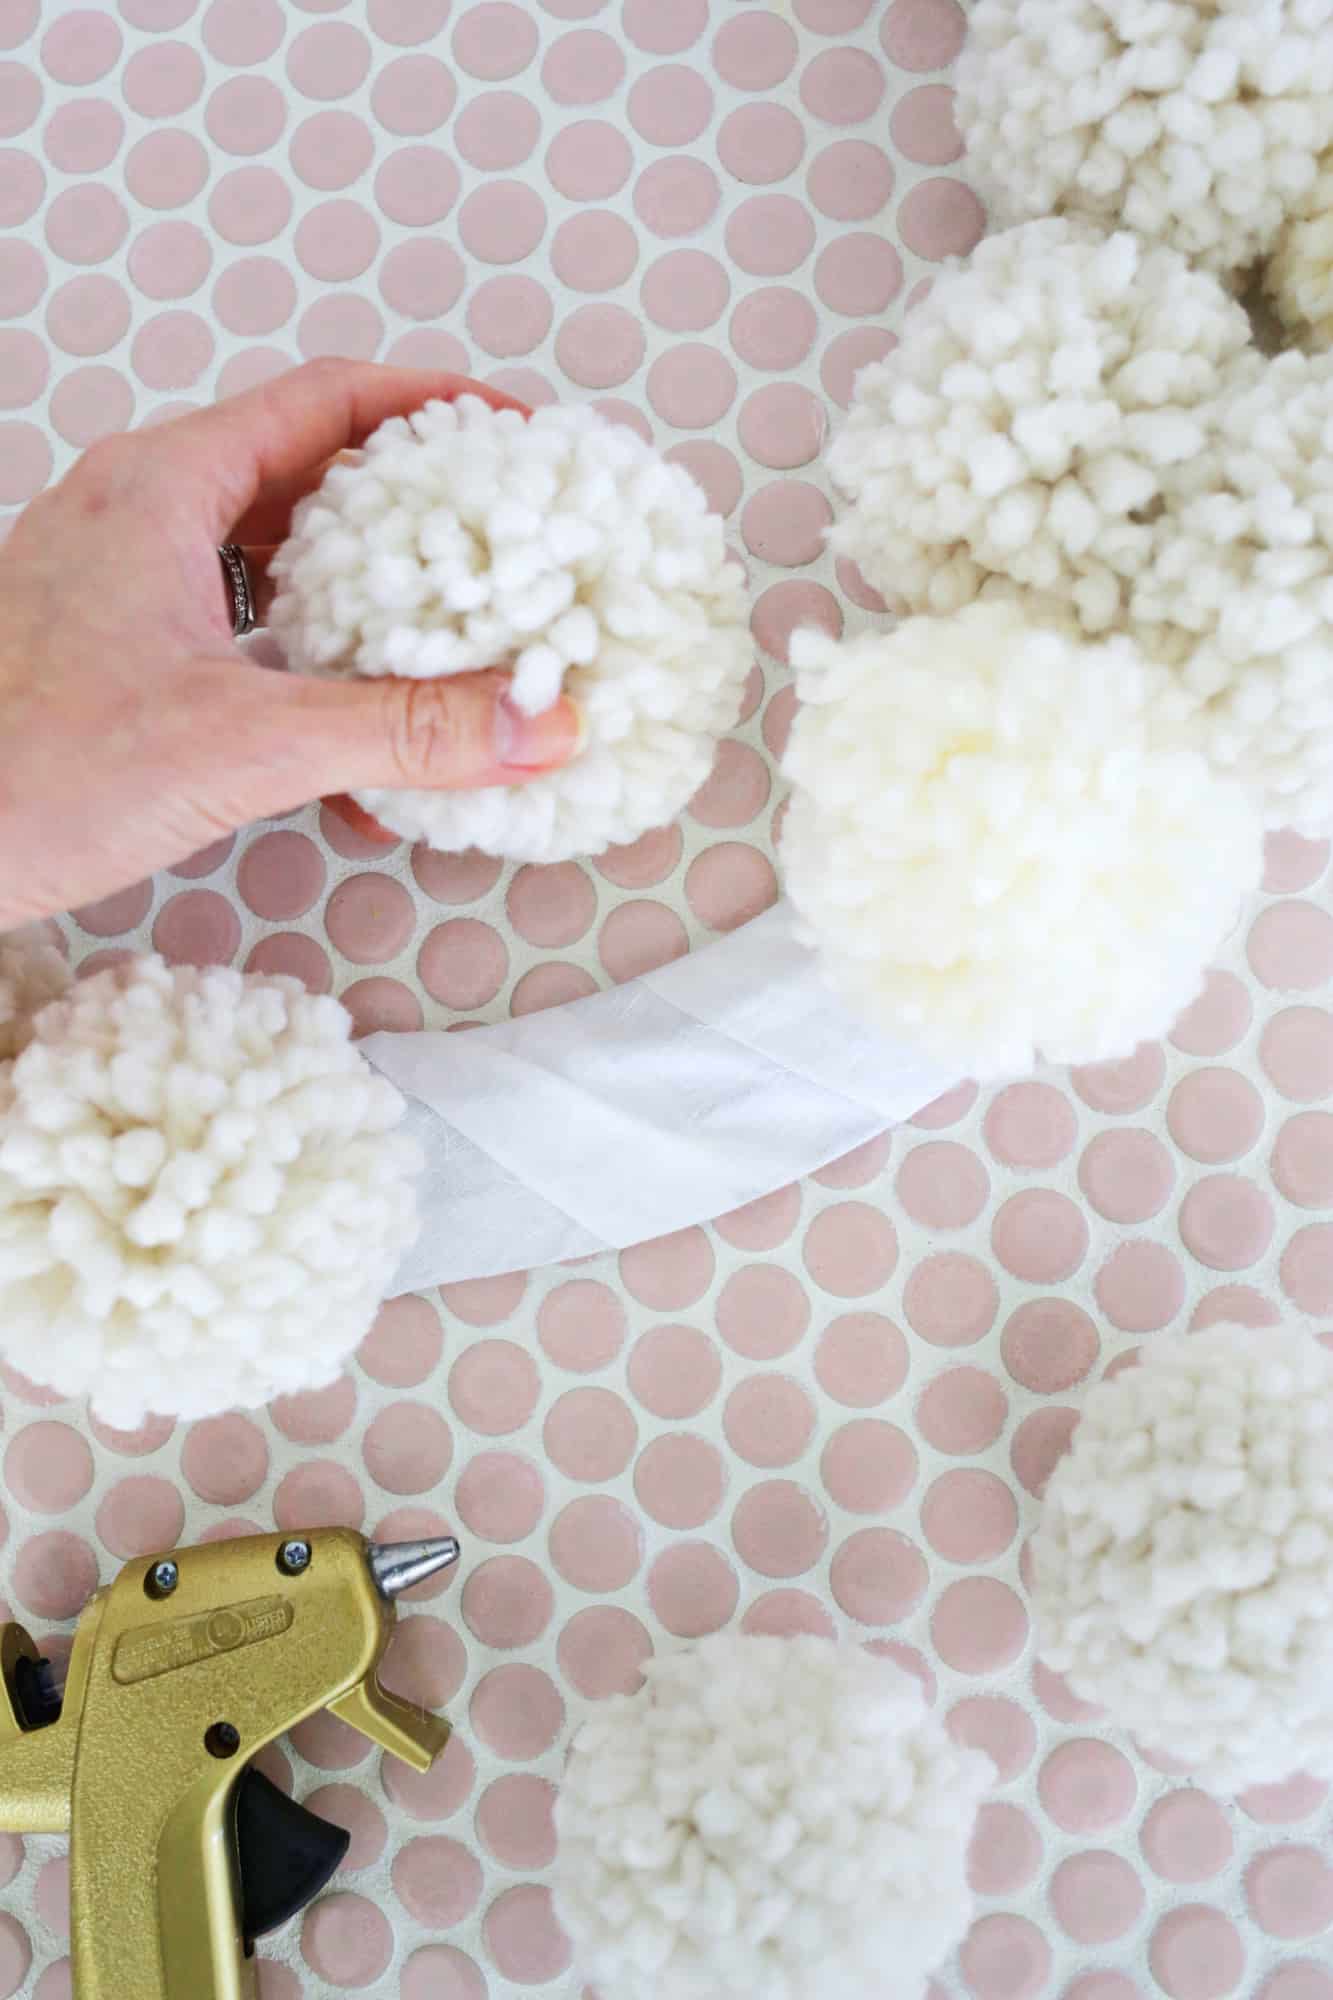
Once I had a pile of poms, I glued them onto my frame until the wreath and the base of my bunny ears were covered.
For hanging (if you don’t already have a wreath hanger on your door), you can simply tie a string or wire around the wreath between the two ears and make a loop to hang—the pom poms will hide the yarn/wire beneath them.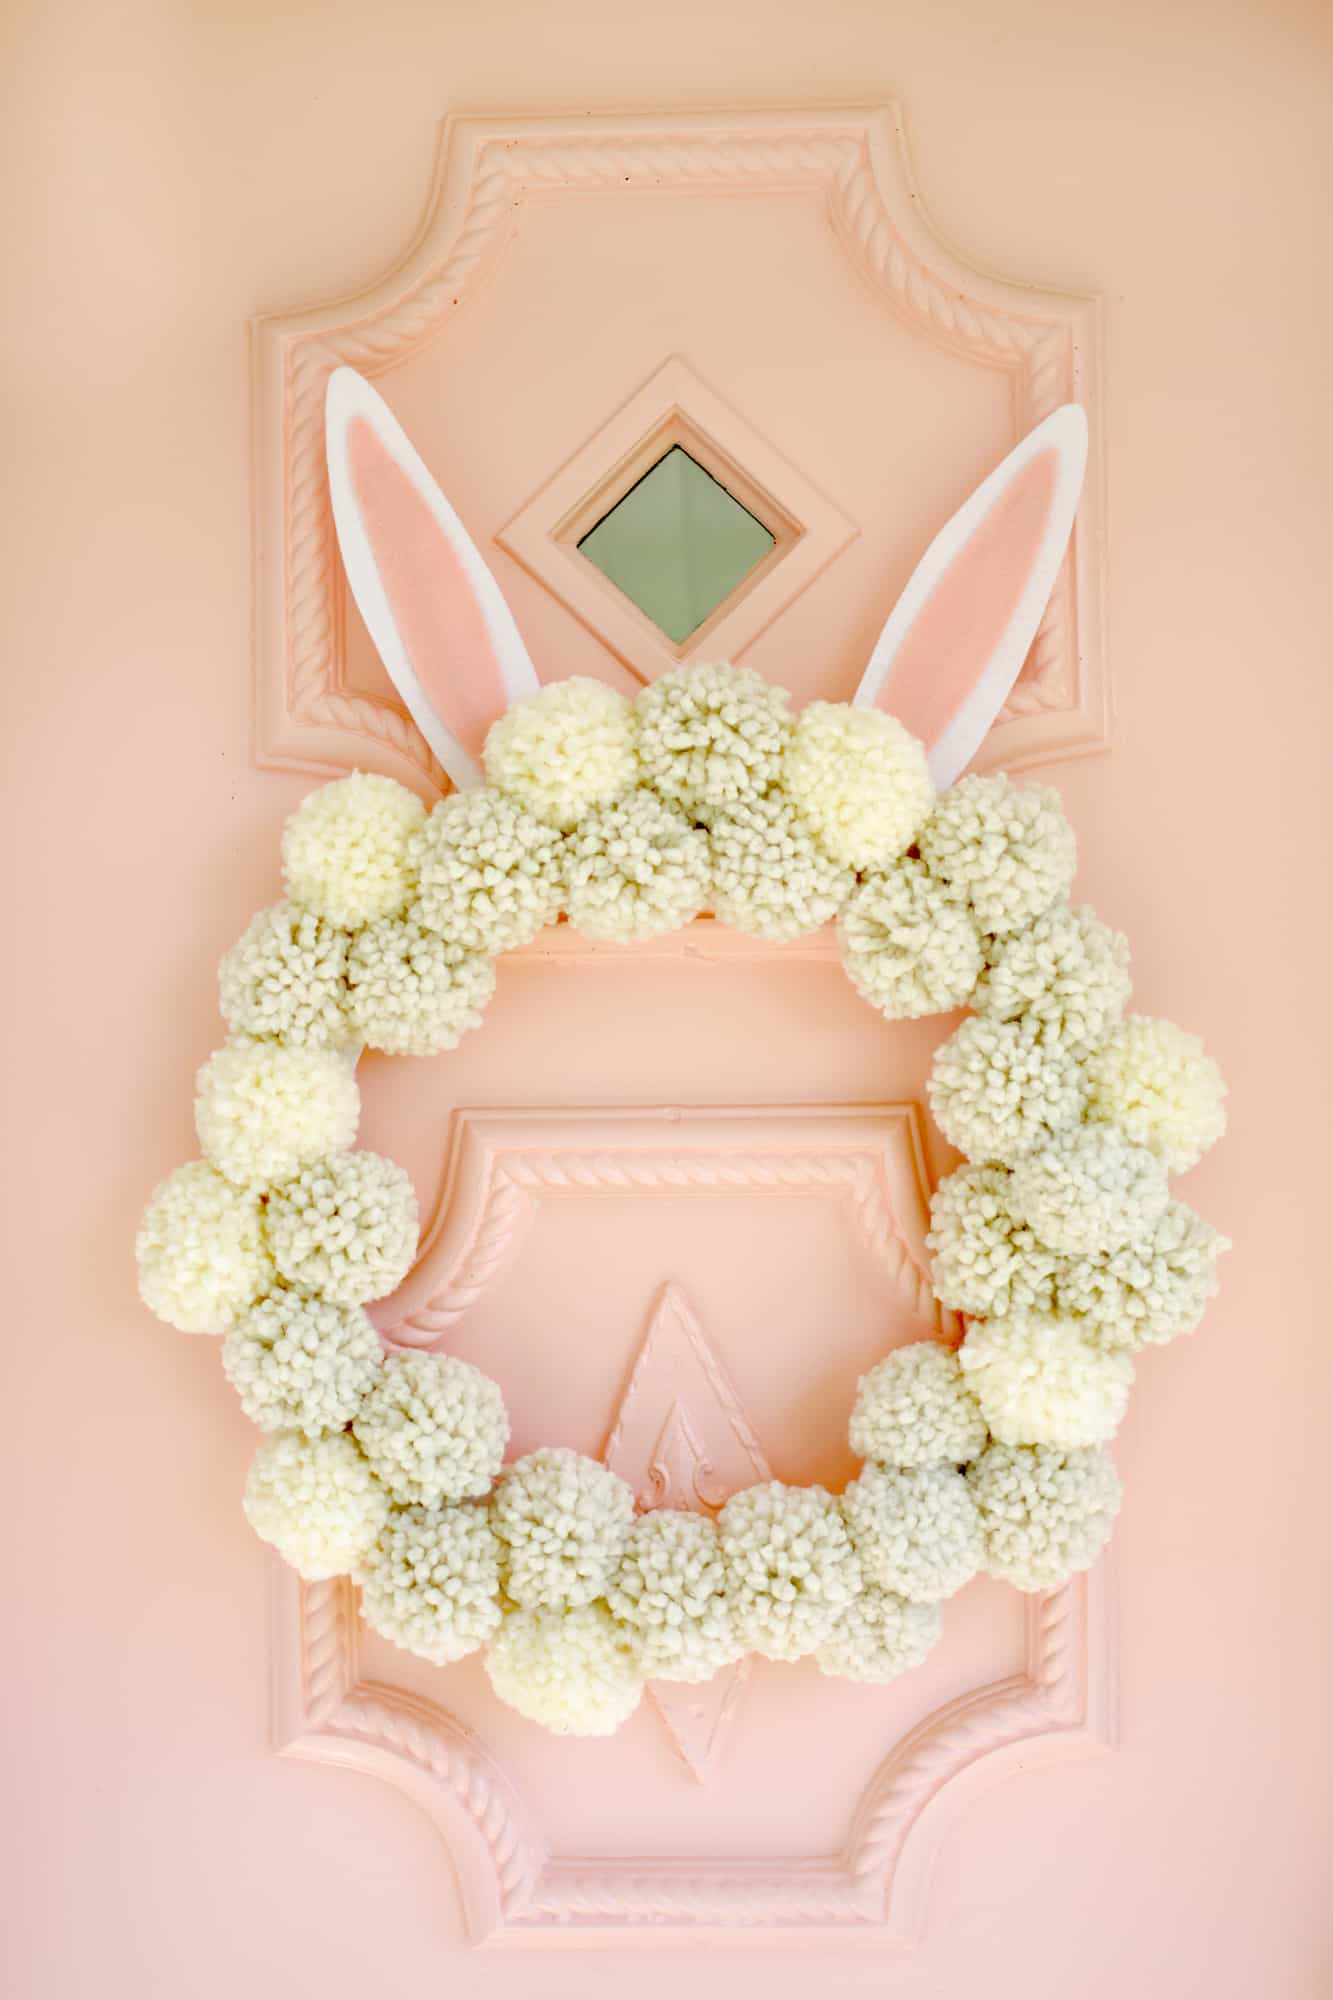
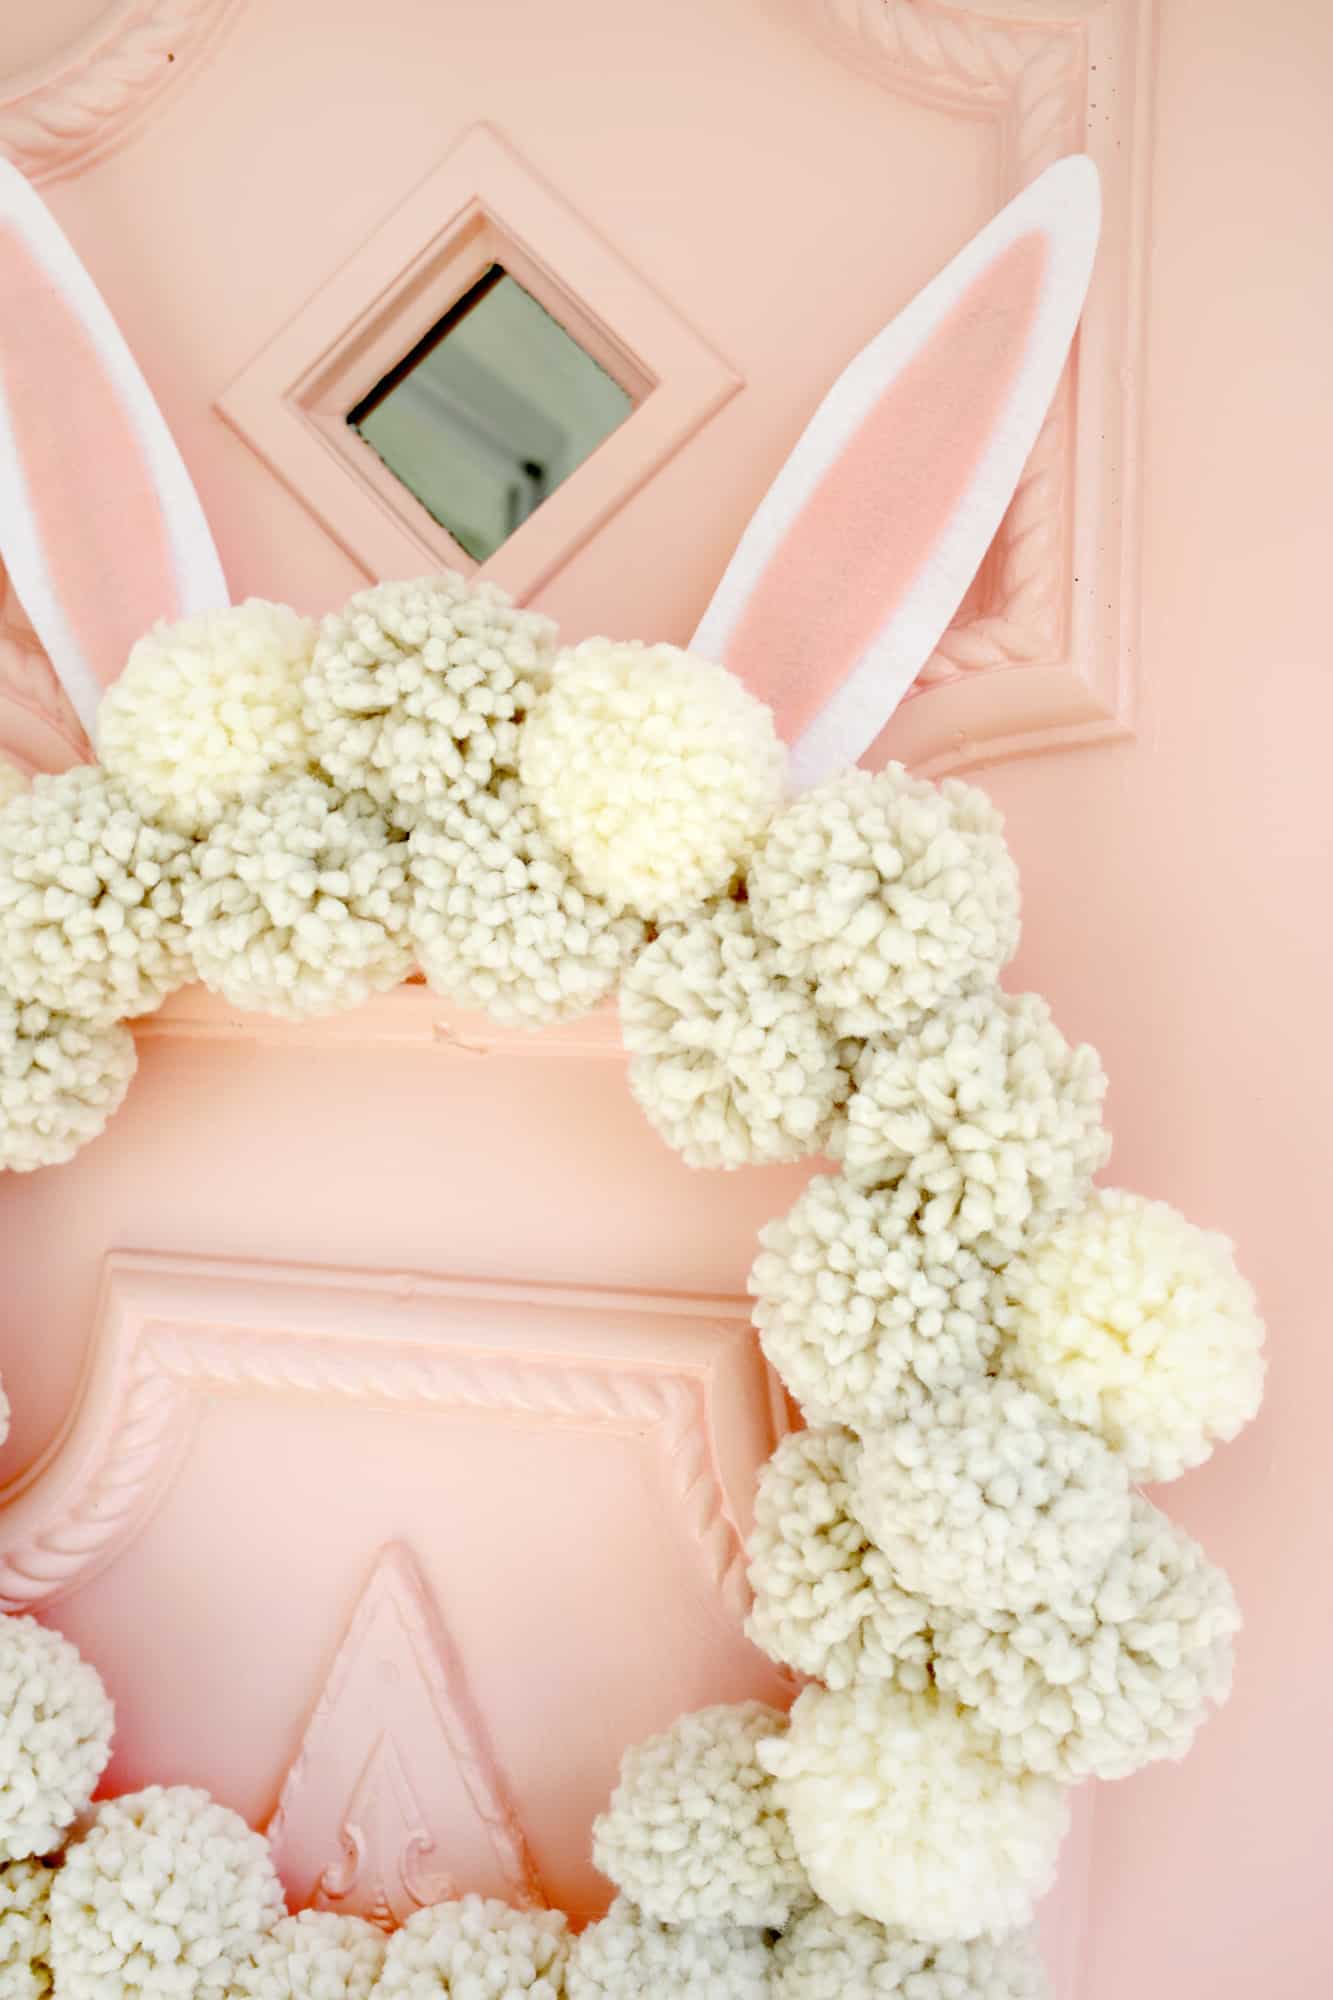
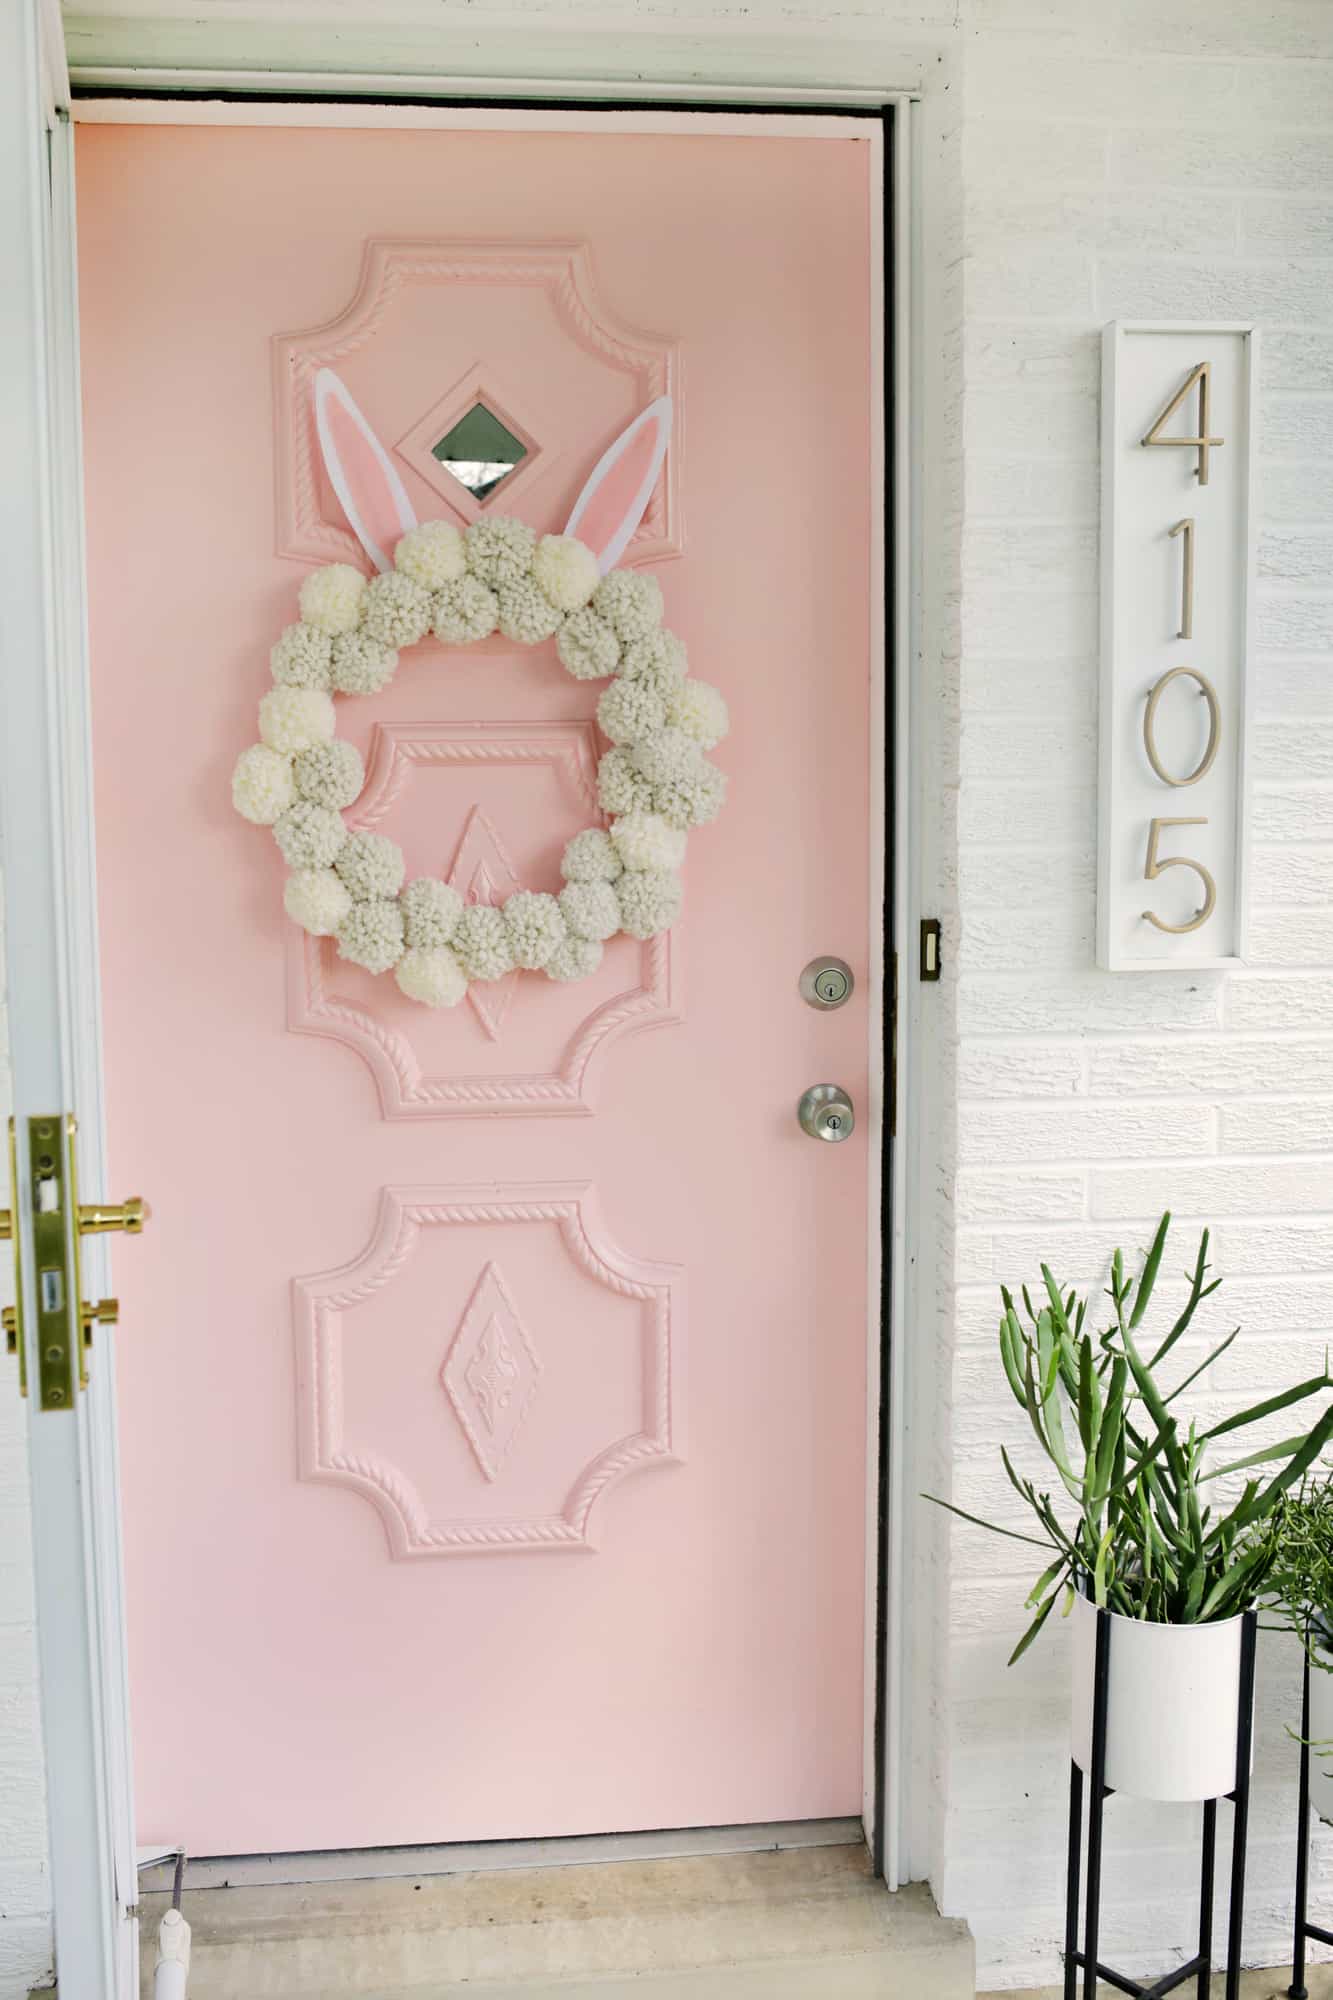
Just the cutest! I love things that are fun and whimsical that grownups and little ones can enjoy without it feeling too childish, and this project totally fits the bill for me.
Now, I just have to finish Lola’s Easter basket haul and I guess we’ll be all set! xo. Laura
Looking for more wreath DIYs? Check out How to Make a Wreath (For Any Season)!